 ch.dabre
The plotter (printer actually) uses a pen to draw images on a paper which is installed on a drum. The images are loaded into processing, then converted into binary with a dithering algorithm and then sent pixel by pixel to the arduino-equipped device.
resolution: the pen dictates 120 dpi at the moment.

 Electroniclovers123
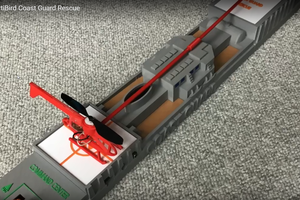
 Luke J. Barker
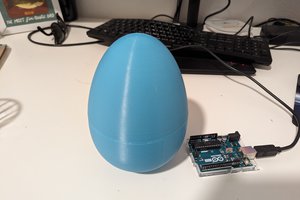
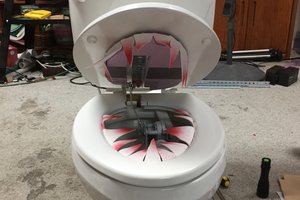
 Krockwell