Close
0%
0%

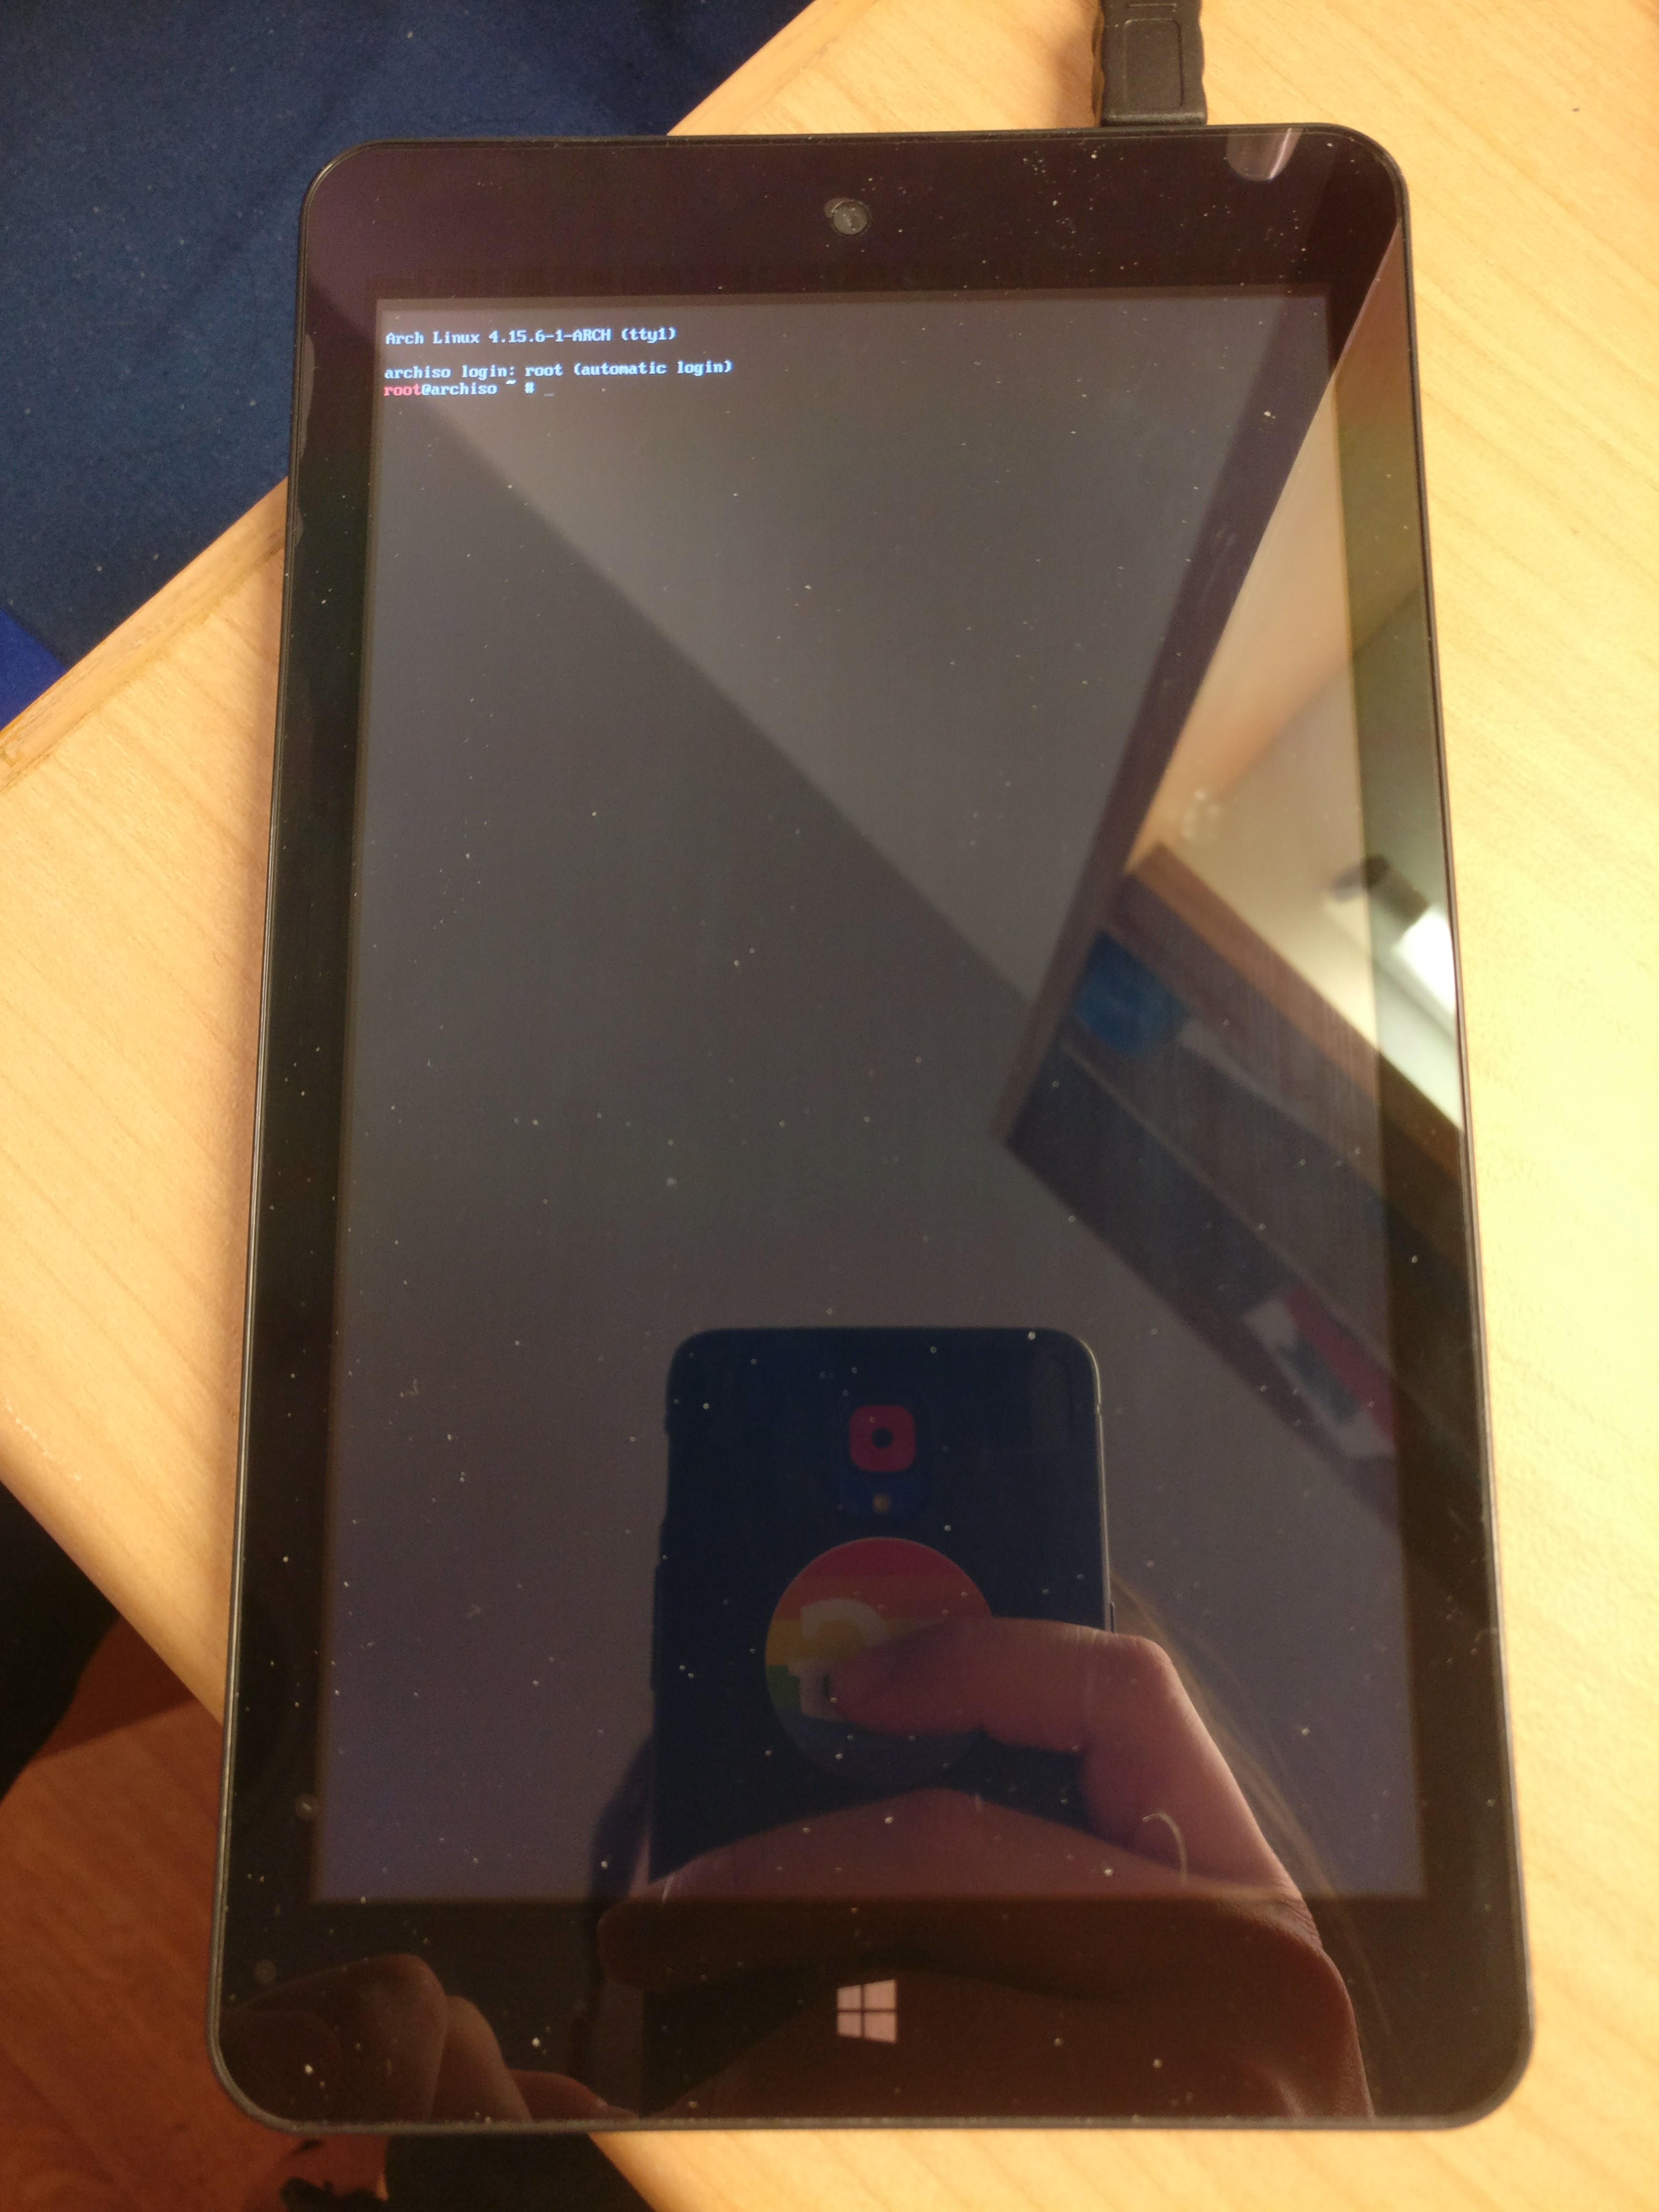
Liberating a $50 Windows Tablet

Installing Arch Linux on a Pipo W7

Similar projects worth following
This is supposed to be a small write-up of my steps to installing Arch Linux on a x86 64 bit tablet.

mssl1680.fw

Extracted Firmware

- 37.90 kB - 03/13/2018 at 18:30

Download

  • Testing the Touchscreen

    marble03/12/2018 at 05:49 2 comments

    After some googling around and good comments from friend of mine i was able to get some good key words to look for when trying to get the touchscreen running.

    The first is silead. Silead Inc. is the manufacturer of the touchscreen and silead is also the Linux kernel module providing the driver.

    lsmod  | grep silead
    silead                 16384  0 
    
    dmesg | grep silead
    [    3.089142] silead_ts i2c-MSSL1680:00: i2c-MSSL1680:00 supply vddio not found, using dummy regulator
    [    3.089179] silead_ts i2c-MSSL1680:00: i2c-MSSL1680:00 supply avdd not found, using dummy regulator
    [    3.089698] silead_ts i2c-MSSL1680:00: Silead chip ID: 0x50910000
    [    3.234661] silead_ts i2c-MSSL1680:00: Direct firmware load for silead/mssl1680.fw failed with error -2
    [    3.234671] silead_ts i2c-MSSL1680:00: Firmware request error -2
    [    3.235217] silead_ts: probe of i2c-MSSL1680:00 failed with error -2

    Here we get the chip ID 0x50910000 and also the path where it assumes a firmware silead/mssl1680.fw (this path is relative to /lib/firmware/ so the full path ist /lib/firmware/silead/mssl1680.fw)

    On GitHub there is a repository containing these firmware files for multiple tablets, but mine. But there is a firmware for the PiPO W2S. So I tried it out.

    git clone https://github.com/onitake/gsl-firmware
    sudo mkdir -p /lib/firmware/silead/
    sudo cp gsl-firmware/firmware/linux/silead/gsl1680-pipo-w2s.fw /lib/firmware/silead/mssl1680.fw
    sudo rmmod silead; sudo modprobe silead
    dmesg | grep silead
    [    3.089142] silead_ts i2c-MSSL1680:00: i2c-MSSL1680:00 supply vddio not found, using dummy regulator
    [    3.089179] silead_ts i2c-MSSL1680:00: i2c-MSSL1680:00 supply avdd not found, using dummy regulator
    [    3.089698] silead_ts i2c-MSSL1680:00: Silead chip ID: 0x50910000
    [    3.234661] silead_ts i2c-MSSL1680:00: Direct firmware load for silead/mssl1680.fw failed with error -2
    [    3.234671] silead_ts i2c-MSSL1680:00: Firmware request error -2
    [    3.235217] silead_ts: probe of i2c-MSSL1680:00 failed with error -2
    [    3.156110] silead_ts i2c-MSSL1680:00: i2c-MSSL1680:00 supply vddio not found, using dummy regulator
    [    3.156145] silead_ts i2c-MSSL1680:00: i2c-MSSL1680:00 supply avdd not found, using dummy regulator
    [    3.158094] silead_ts i2c-MSSL1680:00: Silead chip ID: 0x50910000
    [    6.133417] input: silead_ts as /devices/platform/80860F41:01/i2c-1/i2c-MSSL1680:00/input/input7
    sudo cat /dev/input/mouse0

    When running the last command and touch around on the display, I get gibberish, which means, it works in gerenal. When running the X server, the curser wasn't below my finger and also the axis seemes swapped. So apparently some configuration and calibration is needed.

  • Installing Arch Linux

    marble03/11/2018 at 15:15 0 comments

    Since the actual installation also needs a 32-Bit UEFI comaptible bootloader, installing Arch is not as trivial. Again, after some search, I found a Medium Post that descibes exactly that. The only thing missing was using grub-mkconfig to make a new GRUB config.

    You can see the way I did it in the instructions of this project.

  • Creating a 32-Bit UEFI comaptible Live Boot Stick

    marble03/11/2018 at 15:02 0 comments

    Since I knew that a 32-Bit UEFI comaptible Linux Live Images was needed, I looked for similar projects.

    The first thin I found was Linuxium's blgopost about customizing Ubuntu ISOs. She/He wrote a shell script that used some other tools to alter a boot image. But as the title suggests it only works with ubuntu flavored Linux distros. I gave it a shot with Xubuntu and indeed it bootet. The problem was that during the installation GRUB would always fail.

    Since I didn't want to dive too deep into that, I searched for "arch 32 bit efi". The first result that came up was an Arch Wiki article about installing Arch on a ASUS x205ta. The steps described in that article are basically what maked up the bash listing in the first instruction of this proejct.

    Is basically has three steps to it.

    1. Download Arch Linux
    2. Create bootia32.efi
    3. Copy everything to an USB stick

    When that is done you can connect the USB stick and a keyboard to the tablet via the USB OTG cable and a hub. I even used USB 3.0 hub. This is not neccessary though, but it's nice to know that it works.

    Again, going to the system setting byt hitting Esc or Del, booting from the USB stick under Save & Exit > Boot Override and you are presented with the Arch Linux Install GRUB and then the root shell.

  • Booting

    marble03/11/2018 at 14:51 0 comments

    In the box was next to the Tablet itself the Mirco-USB charging cable and a Micro-USB OTG cable. This is needed for getting into the system setting, because you can only boot into them by pressing Esc or Del at boot.

    In my case, stuff like Secure Boot was not enabled, but I may be different for you. The first thing I did was disabling Quiet Boot just to be greeted by the nice American Megatrends screen every boot.

    At the Golden Computer Arcade I also bought a USB3.0 hub, so I can simultaneously connect a keyboard and the boot stick. I also could have tried booting from SD card, but I didn’t.

    In the Save & Exit tab is a section called Boot Override where you also can choose a bootable USB stick, if plugged in. In the beginning I tried and failed to boot from a normal boot stick I created with dd. I first I thought that the hardware is still locket to a specific kernel signature, although Secure Boot is inactive.

    After some googling around I found out that in order too boot stuff on this or similar machines, I need something with a 32-Bit UEFI comaptible bootloader. When searching for “32 bit efi arch” I found this Arch Wiki Article. They describe the same problem for a different pice of hardware, so i gave it a shot.

  • Buying

    marble03/11/2018 at 14:45 0 comments

    Yesterday I bough the cheapest tablet I could find at one of the stalls at Golden Computer Arcade, Hong Kong. It’s a PIPO W7 which ran Windows. Although it was super cheap (389 HKD = 49.63 USD = 40.33 Euro) it was reasonably performant.

    When I bought it, I asked the seller whether it can run Linux. He responded “no”, but I think he meant that currently no Linux is installed, but Windows.

    CPU1.33GHz Intel Atom Z3735G Quad Core 2MB L2 Cache
    RAM1GB
    GPUIntel HD Z3700 Series
    ROM16GB
    Screen7 Inch 1280x800 IPS capacitive multi touch
    Battery3Ah
    Wifi802.11 b/g/n
    miscellaneousBluetooth
    USB OTG
    Mini HDMI
    Gravity Sensor
    3.5mm Audio Jack
    Micro SD

View all 5 project logs

  • 1
    Creating a 32-Bit UEFI comaptible Live Boot Stick

    I like to write code listing so that they can be easily copypastad. Please do so at own risk. Some values, links etc. may be out of date. Instead of executing the code listing, you can also follow the instruction from the Arch Wiki Article.

    # parameters
    date=2018.03.01
    iso=archlinux-$date-x86_64.iso
    stick=/dev/sdb
    point=/mnt/usb0
    # download Arch Linux
    wget http://mirrors.evowise.com/archlinux/iso/$date/$iso
    label=$(isoinfo -i $iso -d | grep "Volume id" | grep -o "\w*$")
    # create bootia32.efi
    echo "
        insmod part_gpt
        insmod part_msdos
        insmod fat
        insmod efi_gop
        insmod efi_uga
        insmod video_bochs
        insmod video_cirrus
        insmod font
    
        if loadfont \"${prefix}/fonts/unicode.pf2\" ; then
          insmod gfxterm
          set gfxmode=\"1024x768x32;auto\"
          terminal_input console
          terminal_output gfxterm
        fi
    
        menuentry \"Arch Linux archiso x86_64\" {
          set gfxpayload=keep
          search --no-floppy --set=root --label $label
          linux /arch/boot/x86_64/vmlinuz archisobasedir=arch archisolabel=$label add_efi_memmap
          initrd /arch/boot/x86_64/archiso.img
        }
    
        menuentry \"UEFI Shell x86_64 v2\" {
          search --no-floppy --set=root --label $label
          chainloader /EFI/shellx64_v2.efi
        }
    
        menuentry \"UEFI Shell x86_64 v1\" {
          search --no-floppy --set=root --label $label
          chainloader /EFI/shellx64_v1.efi
        }" > /tmp/grub.cfg
    grub-mkstandalone \
        -d /usr/lib/grub/i386-efi/ -O i386-efi\
        --modules="part_gpt part_msdos"\
        --fonts="unicode"\
        --locales="uk"\
        --themes=""\
        -o "/tmp/bootia32.efi"\
        "boot/grub/grub.cfg=/tmp/grub.cfg" -v
    # partition and format USB stick
    sudo fdisk /dev/sdb << EEOF
    g
    n


    t
    1
    w
    EEOF
    sudo partprobe
    sudo mkfs.vfat -F 32 -n $label "$stick"1
    # copy everything to USB stick
    sudo mount "$stick"1 $point
    sudo bsdtar xf $iso \
    --exclude=isolinux/ \
    --exclude=EFI/archiso/ \
    --exclude=arch/boot/syslinux/ \
    -C $point
    sudo cp /tmp/bootia32.efi $point/EFI/boot/bootia32.efi
    sync
    sudo eject $stick 
  • 2
    Installing Arch Linux

    During your normal Arch installation you usually come to the point where you install the bootloader. In most cases either GRUB or systemd-boot. We will install GRUB.
    For the following commands I assume, you have arch-chroot ed into the installation.
    I also assume that /boot will be your EFI System Partition.

    pacman -S efibootmgr grub
    grub-install \
        --target=i386-efi \
        --efi-directory=/boot \
        --bootloader-id=Archlinux
    grub-mkconfig -o /boot/grub/grub.cfg 

View all instructions

Enjoy this project?

Share

Discussions

hamrsaid wrote 09/20/2021 at 20:55 point

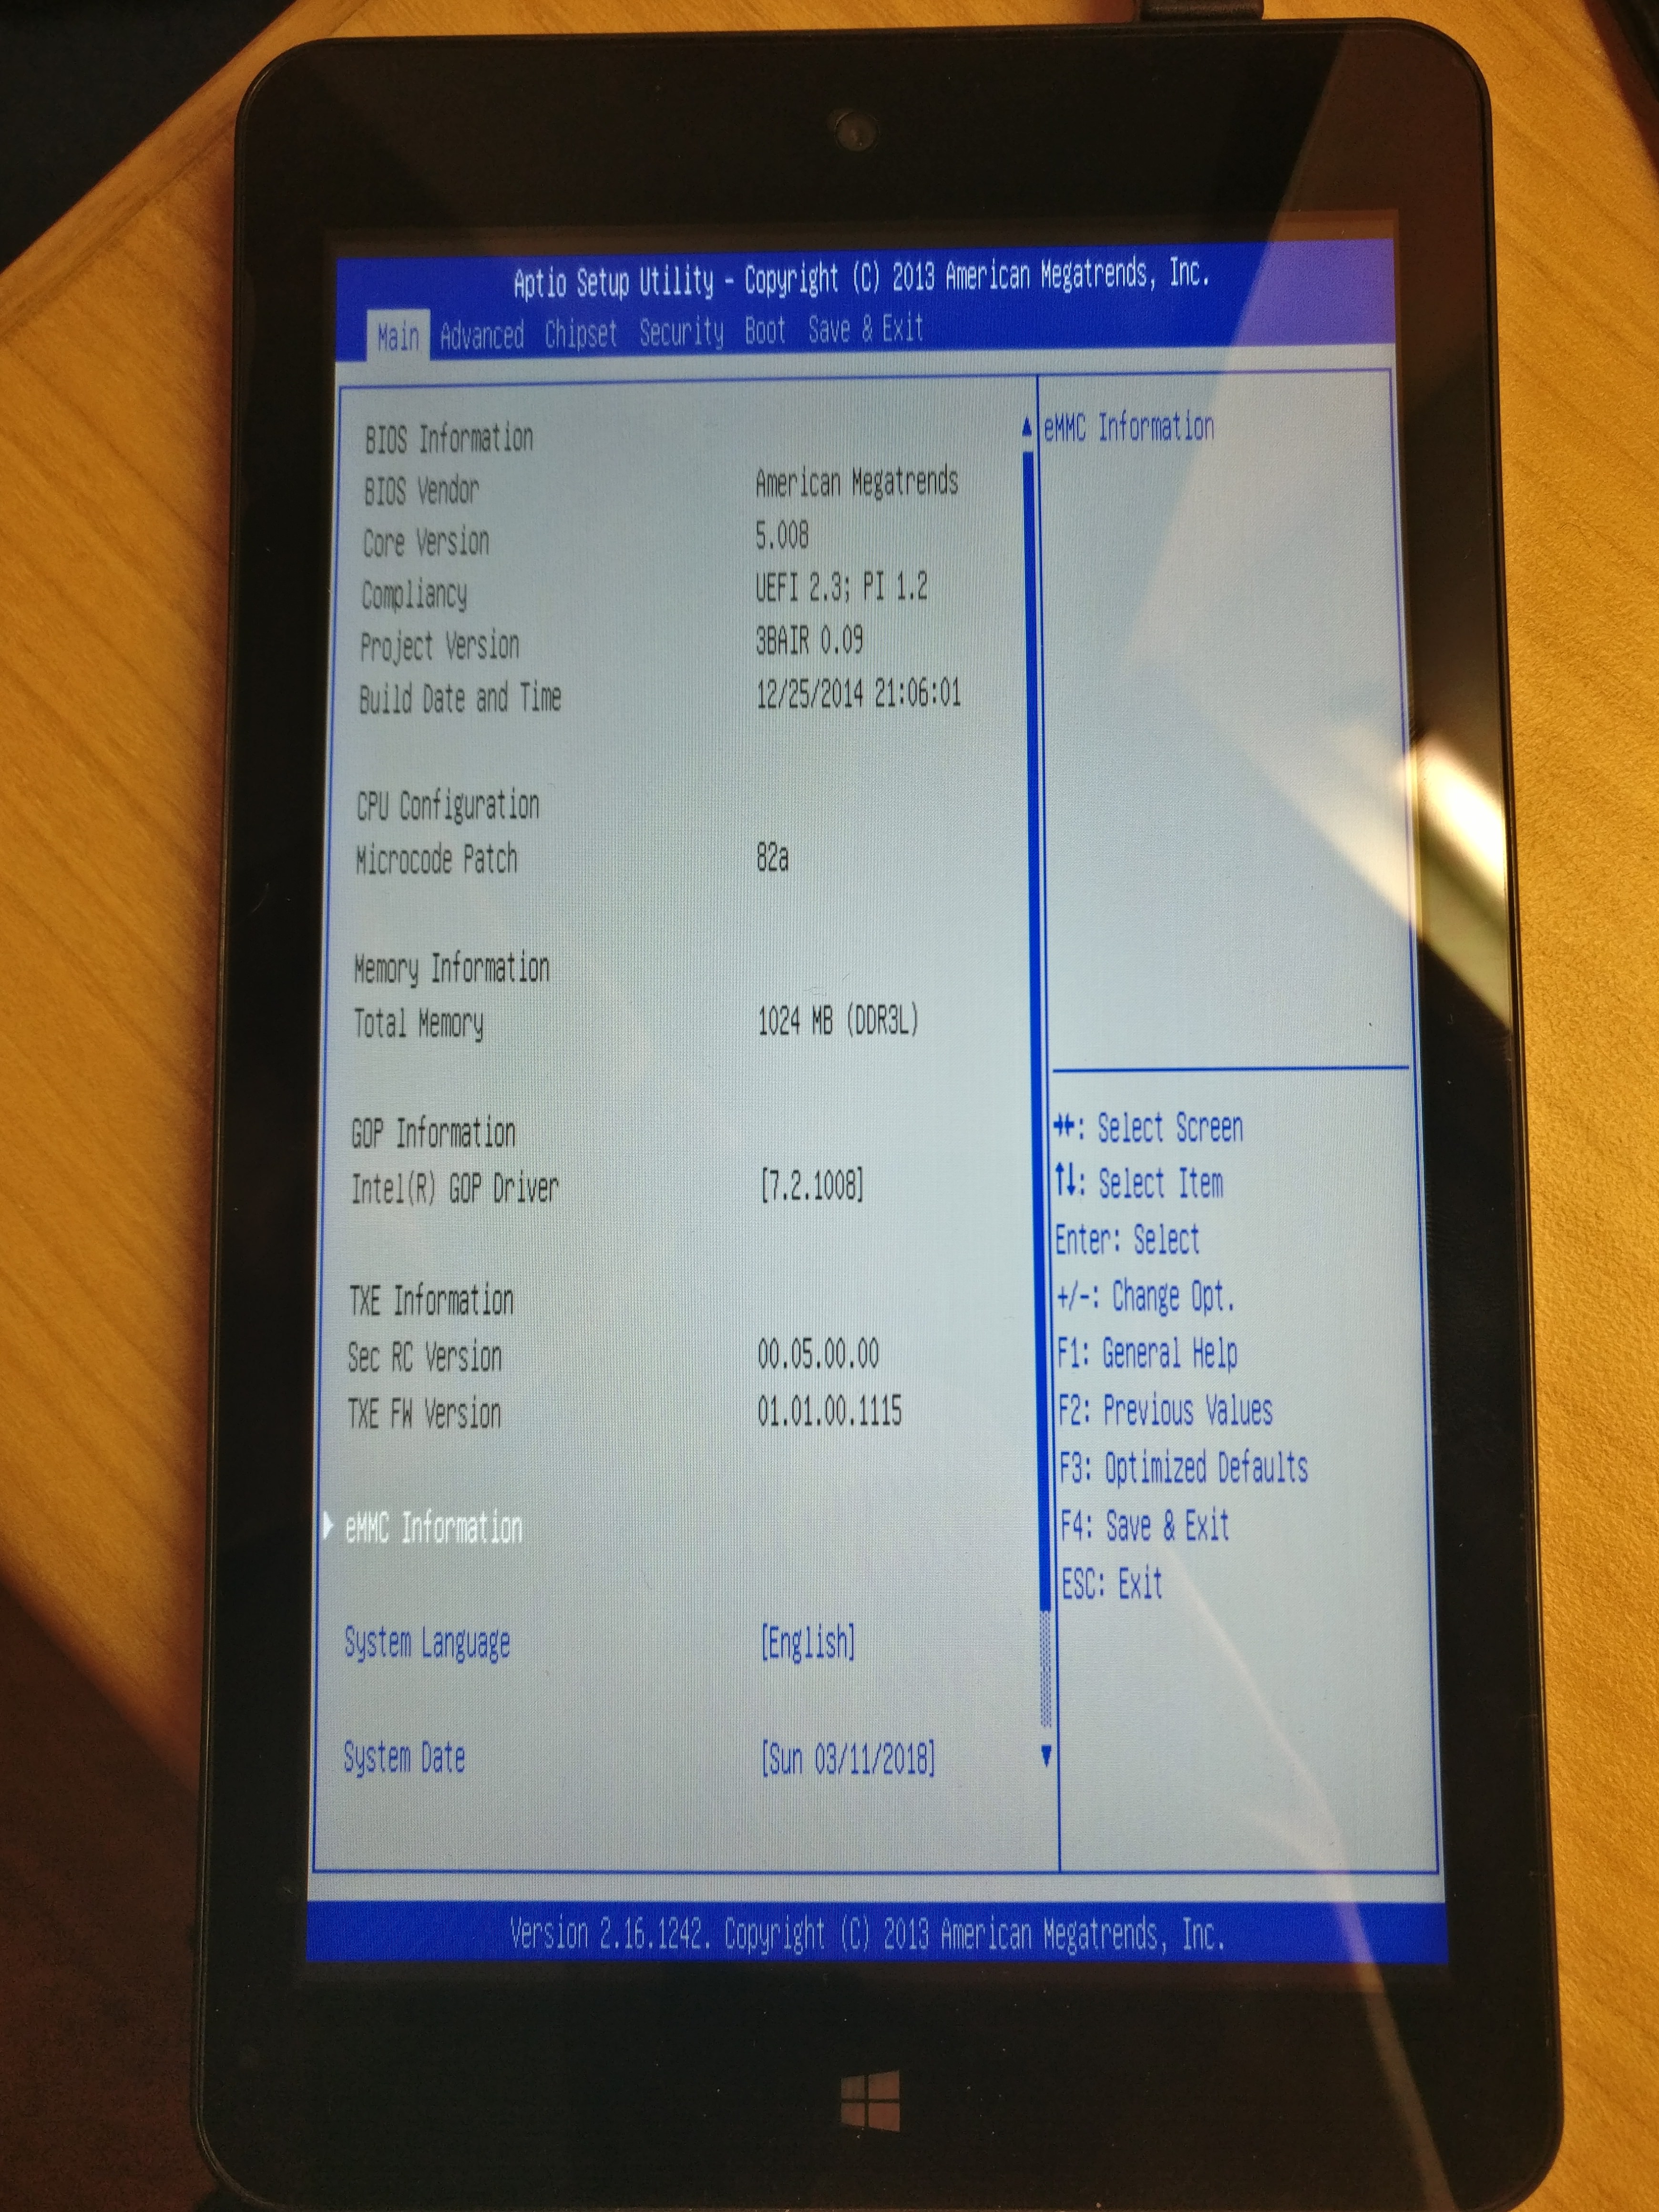
Can you share the spec of this device? I want to write about it on my tablet review blog, you can see here https://techtheeta.com/best-drawing-tablet-for-kids/

  Are you sure? yes | no

Scorpion2185 wrote 09/09/2018 at 21:54 point

How enable speakers and camera?

  Are you sure? yes | no

Scorpion2185 wrote 09/08/2018 at 10:15 point

You can extract the firmware from the driver of your device using that repository don't convert it. Then place it in /lib/firmware/silead/ with the name that you had referred in the /driver/platform/x86/silead_dmi.c of the custom  kernel. Also made a copy with the mssl1680.fw name  (backup firmware) in that folder. Then using onboard or a screen-keyboard (with some settings) you have the touchscreen!

  Are you sure? yes | no

prosto wrote 07/11/2018 at 20:26 point

is similar this?   https://www.gearbest.com/tablet-pcs/pp_984305.html?wid=1433363

Type: Tablet PC 
OS: Android 6.0 
CPU Brand: MTK 
CPU: MTK8163A 
Core: 1.5GHz,Quad Core
RAM: 2GB 

ROM: 32GB 
External Memory: TF card up to 64GB (not included)
WIFI: 802.11b/g/n wireless internet 

Support Network: WiFi 
GPS: Yes 
Bluetooth: 4.0

this is tablet with Android or findofs?

  Are you sure? yes | no

Similar Projects

Does this project spark your interest?

Become a member to follow this project and never miss any updates