 Big Joe
When trying to think of a good way to sense the hand and apply the high voltage pain / fun, [x3n0x] and I [Big Joe] went through a couple of iterations. We first thought of just putting copper traces on the bottom of the box, but we decided against that. Putting your hand on a flat surface didn't sound very comfortable. (Just because we are inducing high voltage pain, doesn't mean that we shouldn't try to make it more comfortable and ergonomic.) I wondered what we could use to house the electrodes that would be fairly comfortable for the participants to put their hand on. The idea came to me to use an old mouse. [x3n0x] liked the idea and was able to find an old PS/2 Kensington ball mouse in his junk box for use in our project.
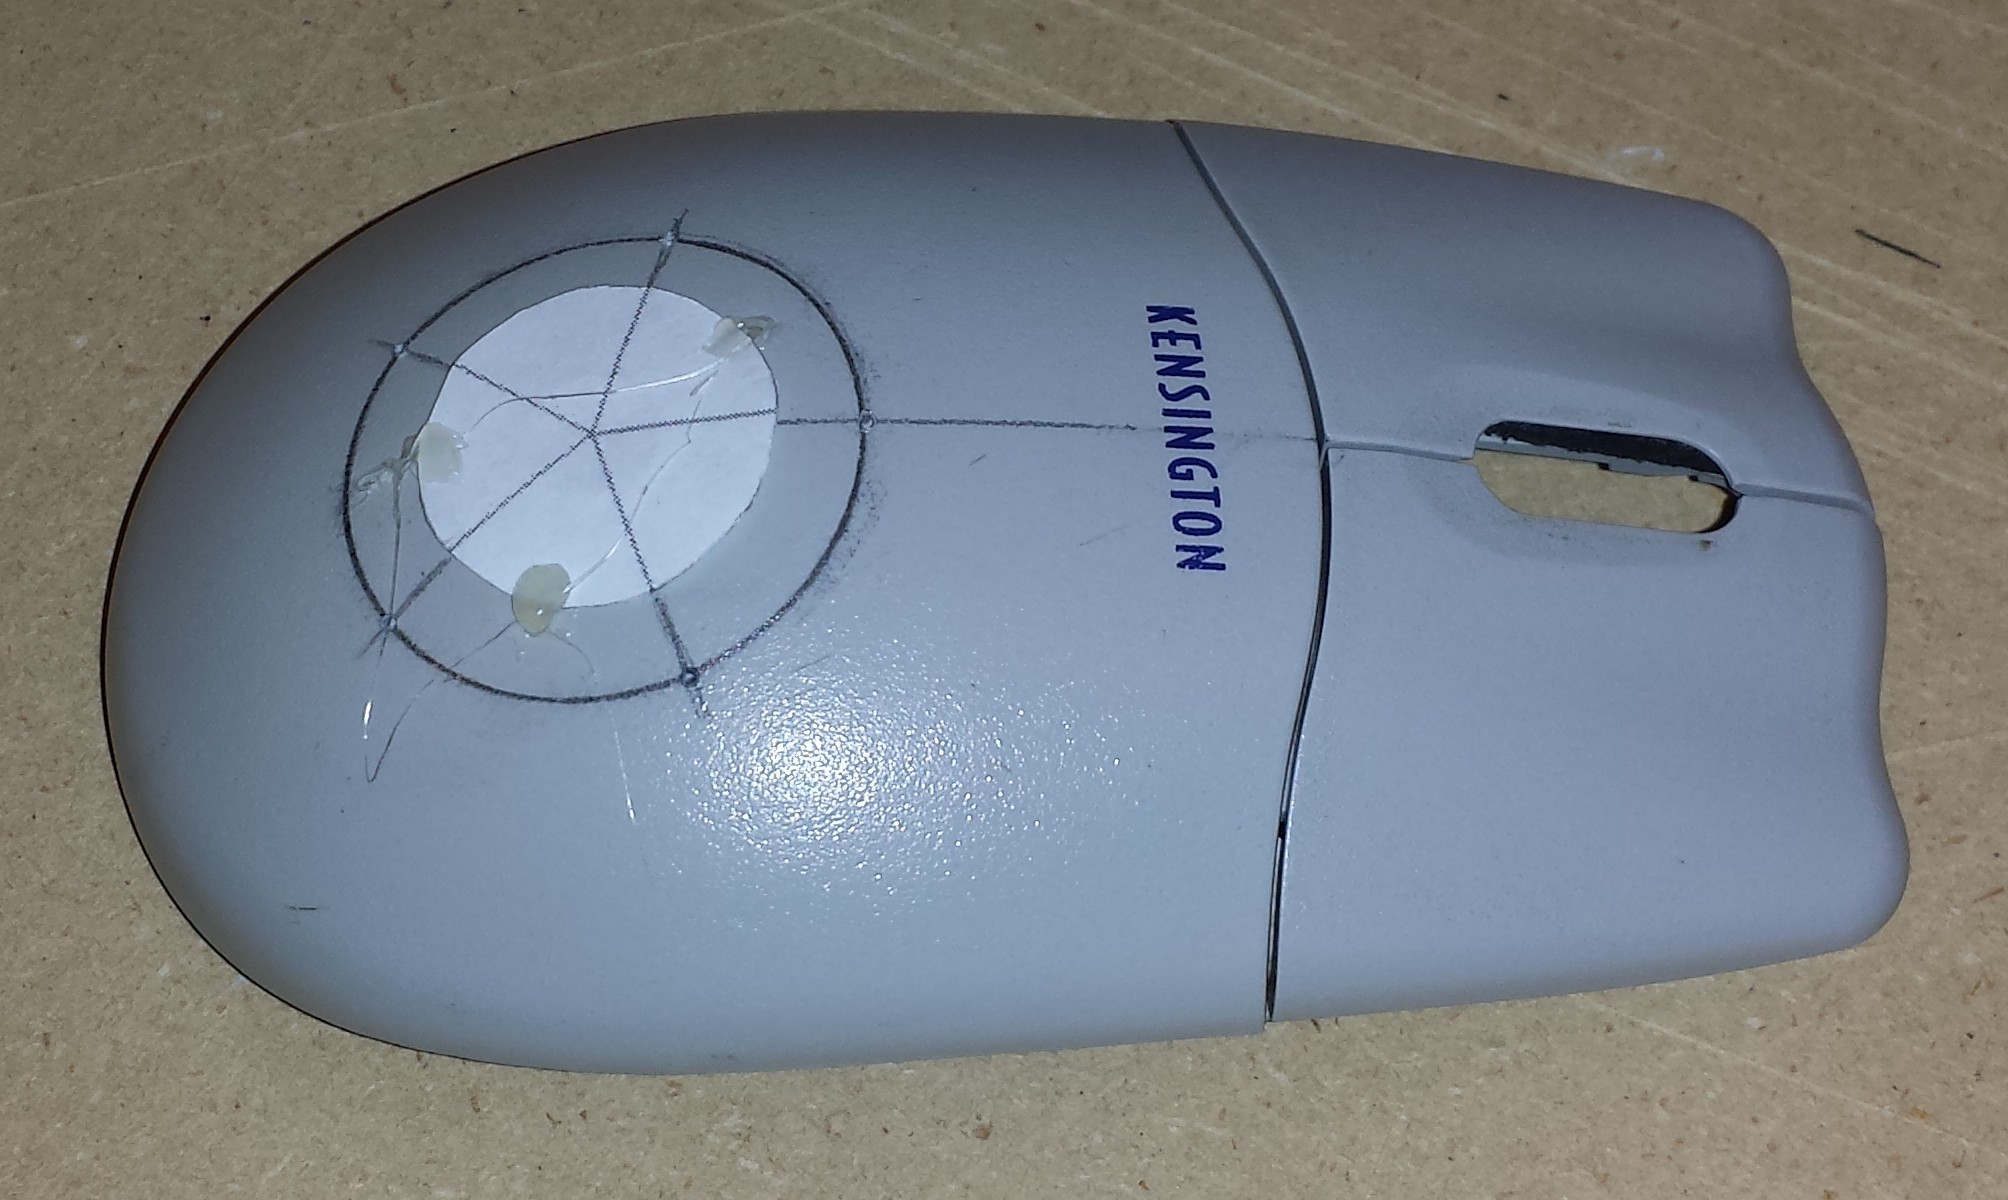
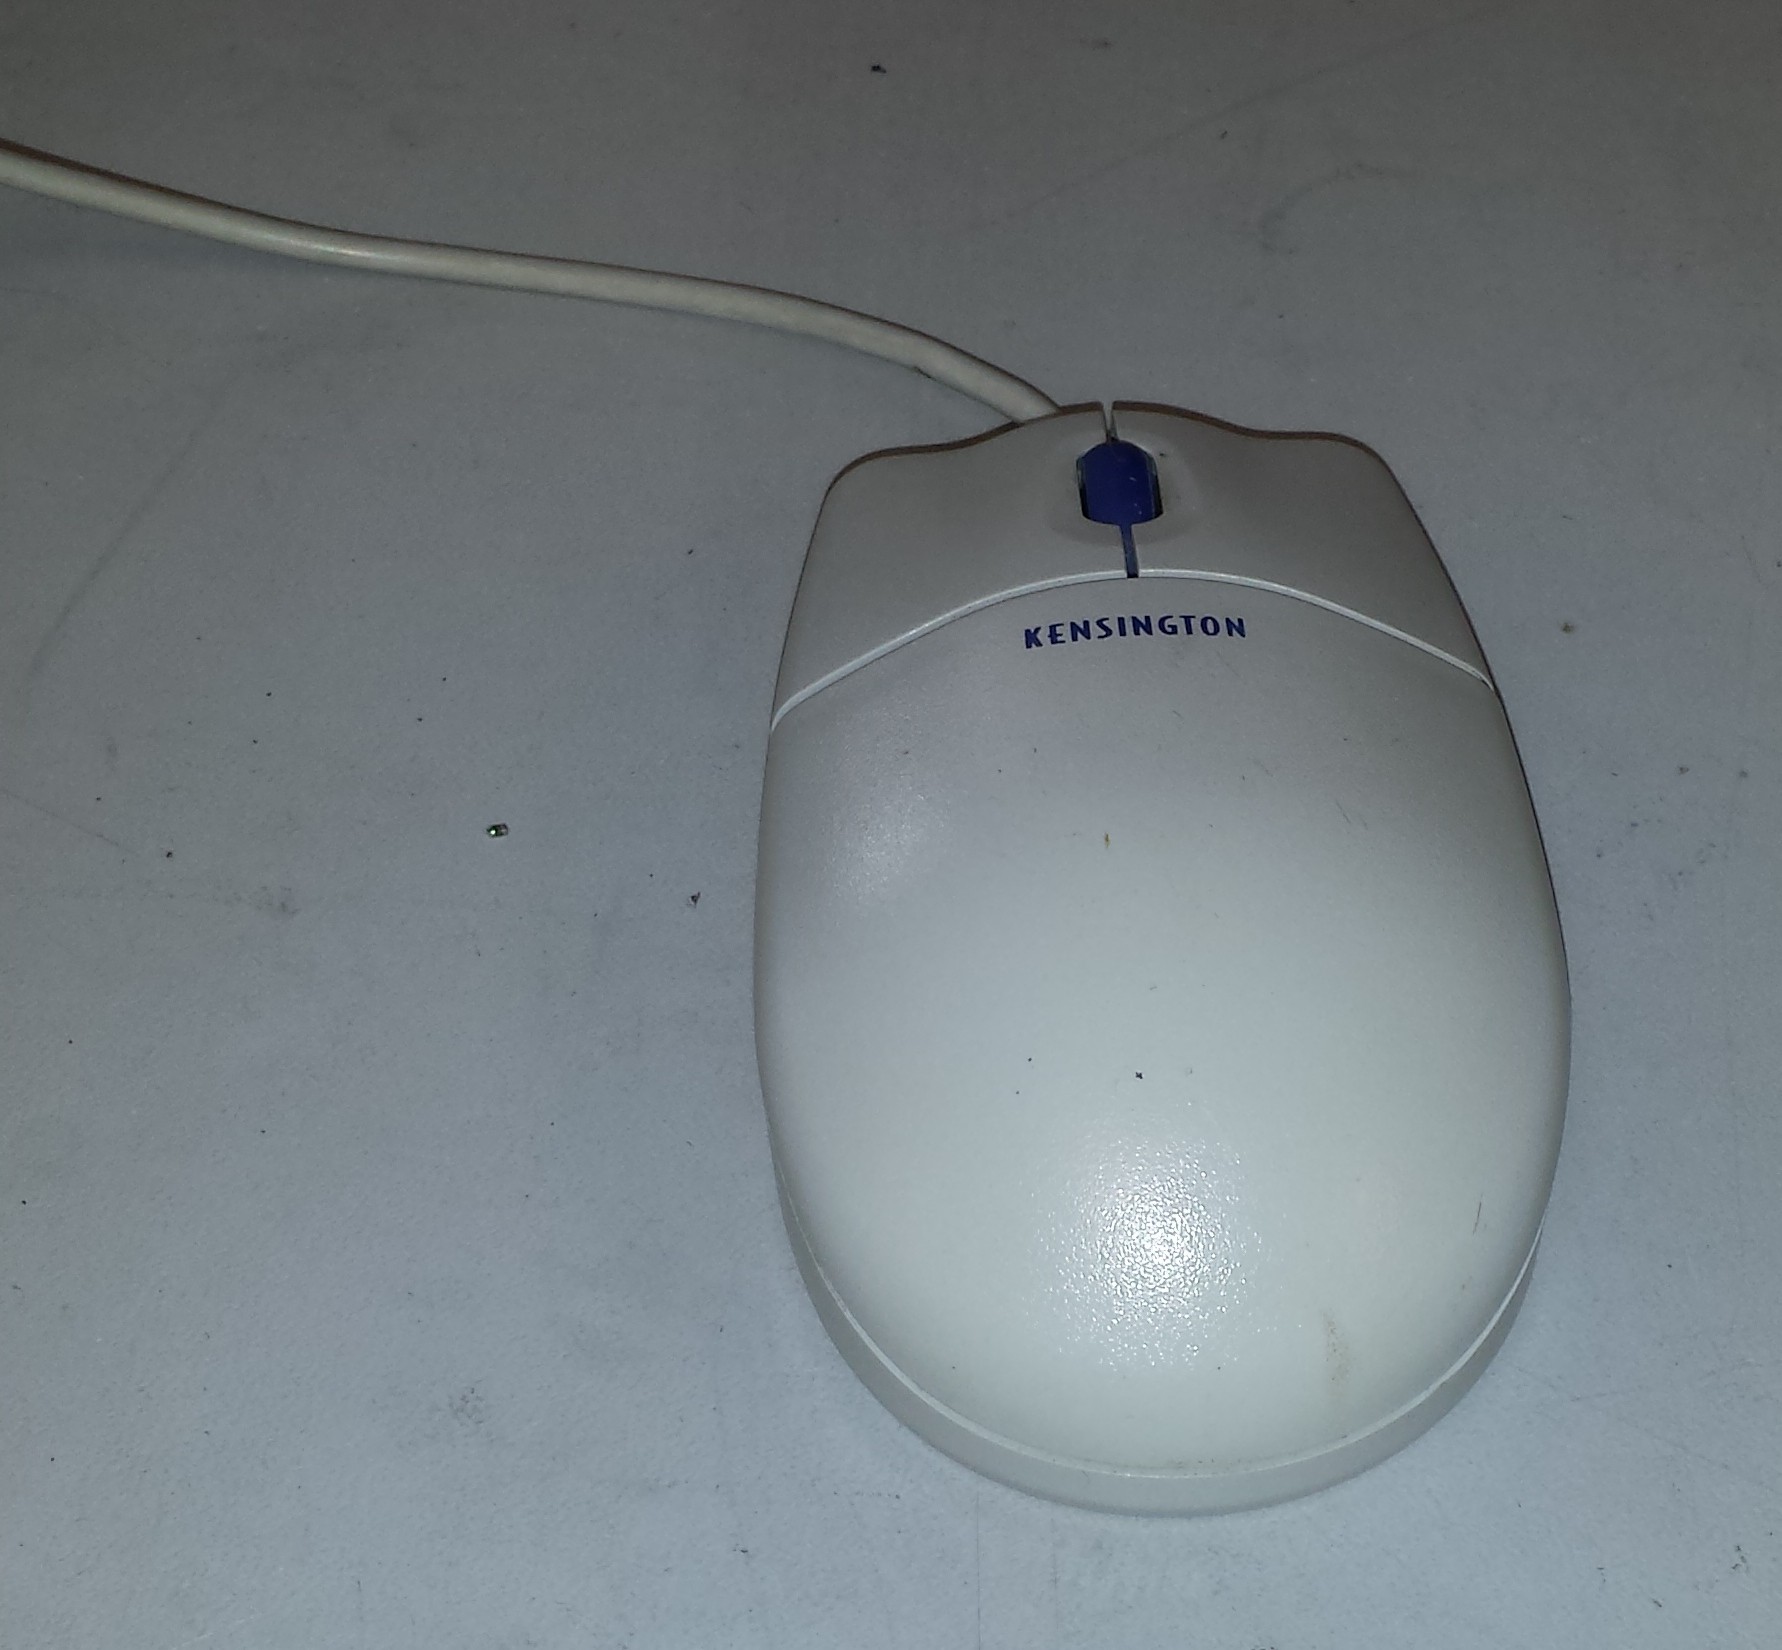 Here is our victim.
For the hand sensing part, [x3n0x] at first tried to use the electrodes and measure skin resistance. The idea was to switch between sensing and shocking using a relay. We decided against it for a few reasons. The circuit he developed worked pretty well at detecting a touch on the sensor input lines, but detecting a release proved more difficult. He probably could have got the touch release working, but I was concerned about the variations in skin resistance making it difficult for this to work reliably.
[x3n0x] came up with the idea to embed a CDS cell light sensor in the middle of the mouse, surrounded by a ring of ultra-bright LEDs. If the participant placed their hand above the mouse attempting to cheat the test by not actually touching the Hell Mouse, the light from the LEDs would reflect off of the participant's hand and hit the sensor. Thereby letting the Reverend Mother know that the participant is a filthy cheater and she can dispose of them accordingly. Like wise if no hand was placed in the box, then the light would reflect from the top of the hand chamber to the CDS cell.
I really liked this idea. It also has the benefit of an ominous glow coming out of the box during the test. [x3n0x] supplied me with 5 3mm ultra-bright red LEDs (or so he thought at the time) and I got to work hacking the innocuous, obsolete Kensington mouse into the Hell Mouse.
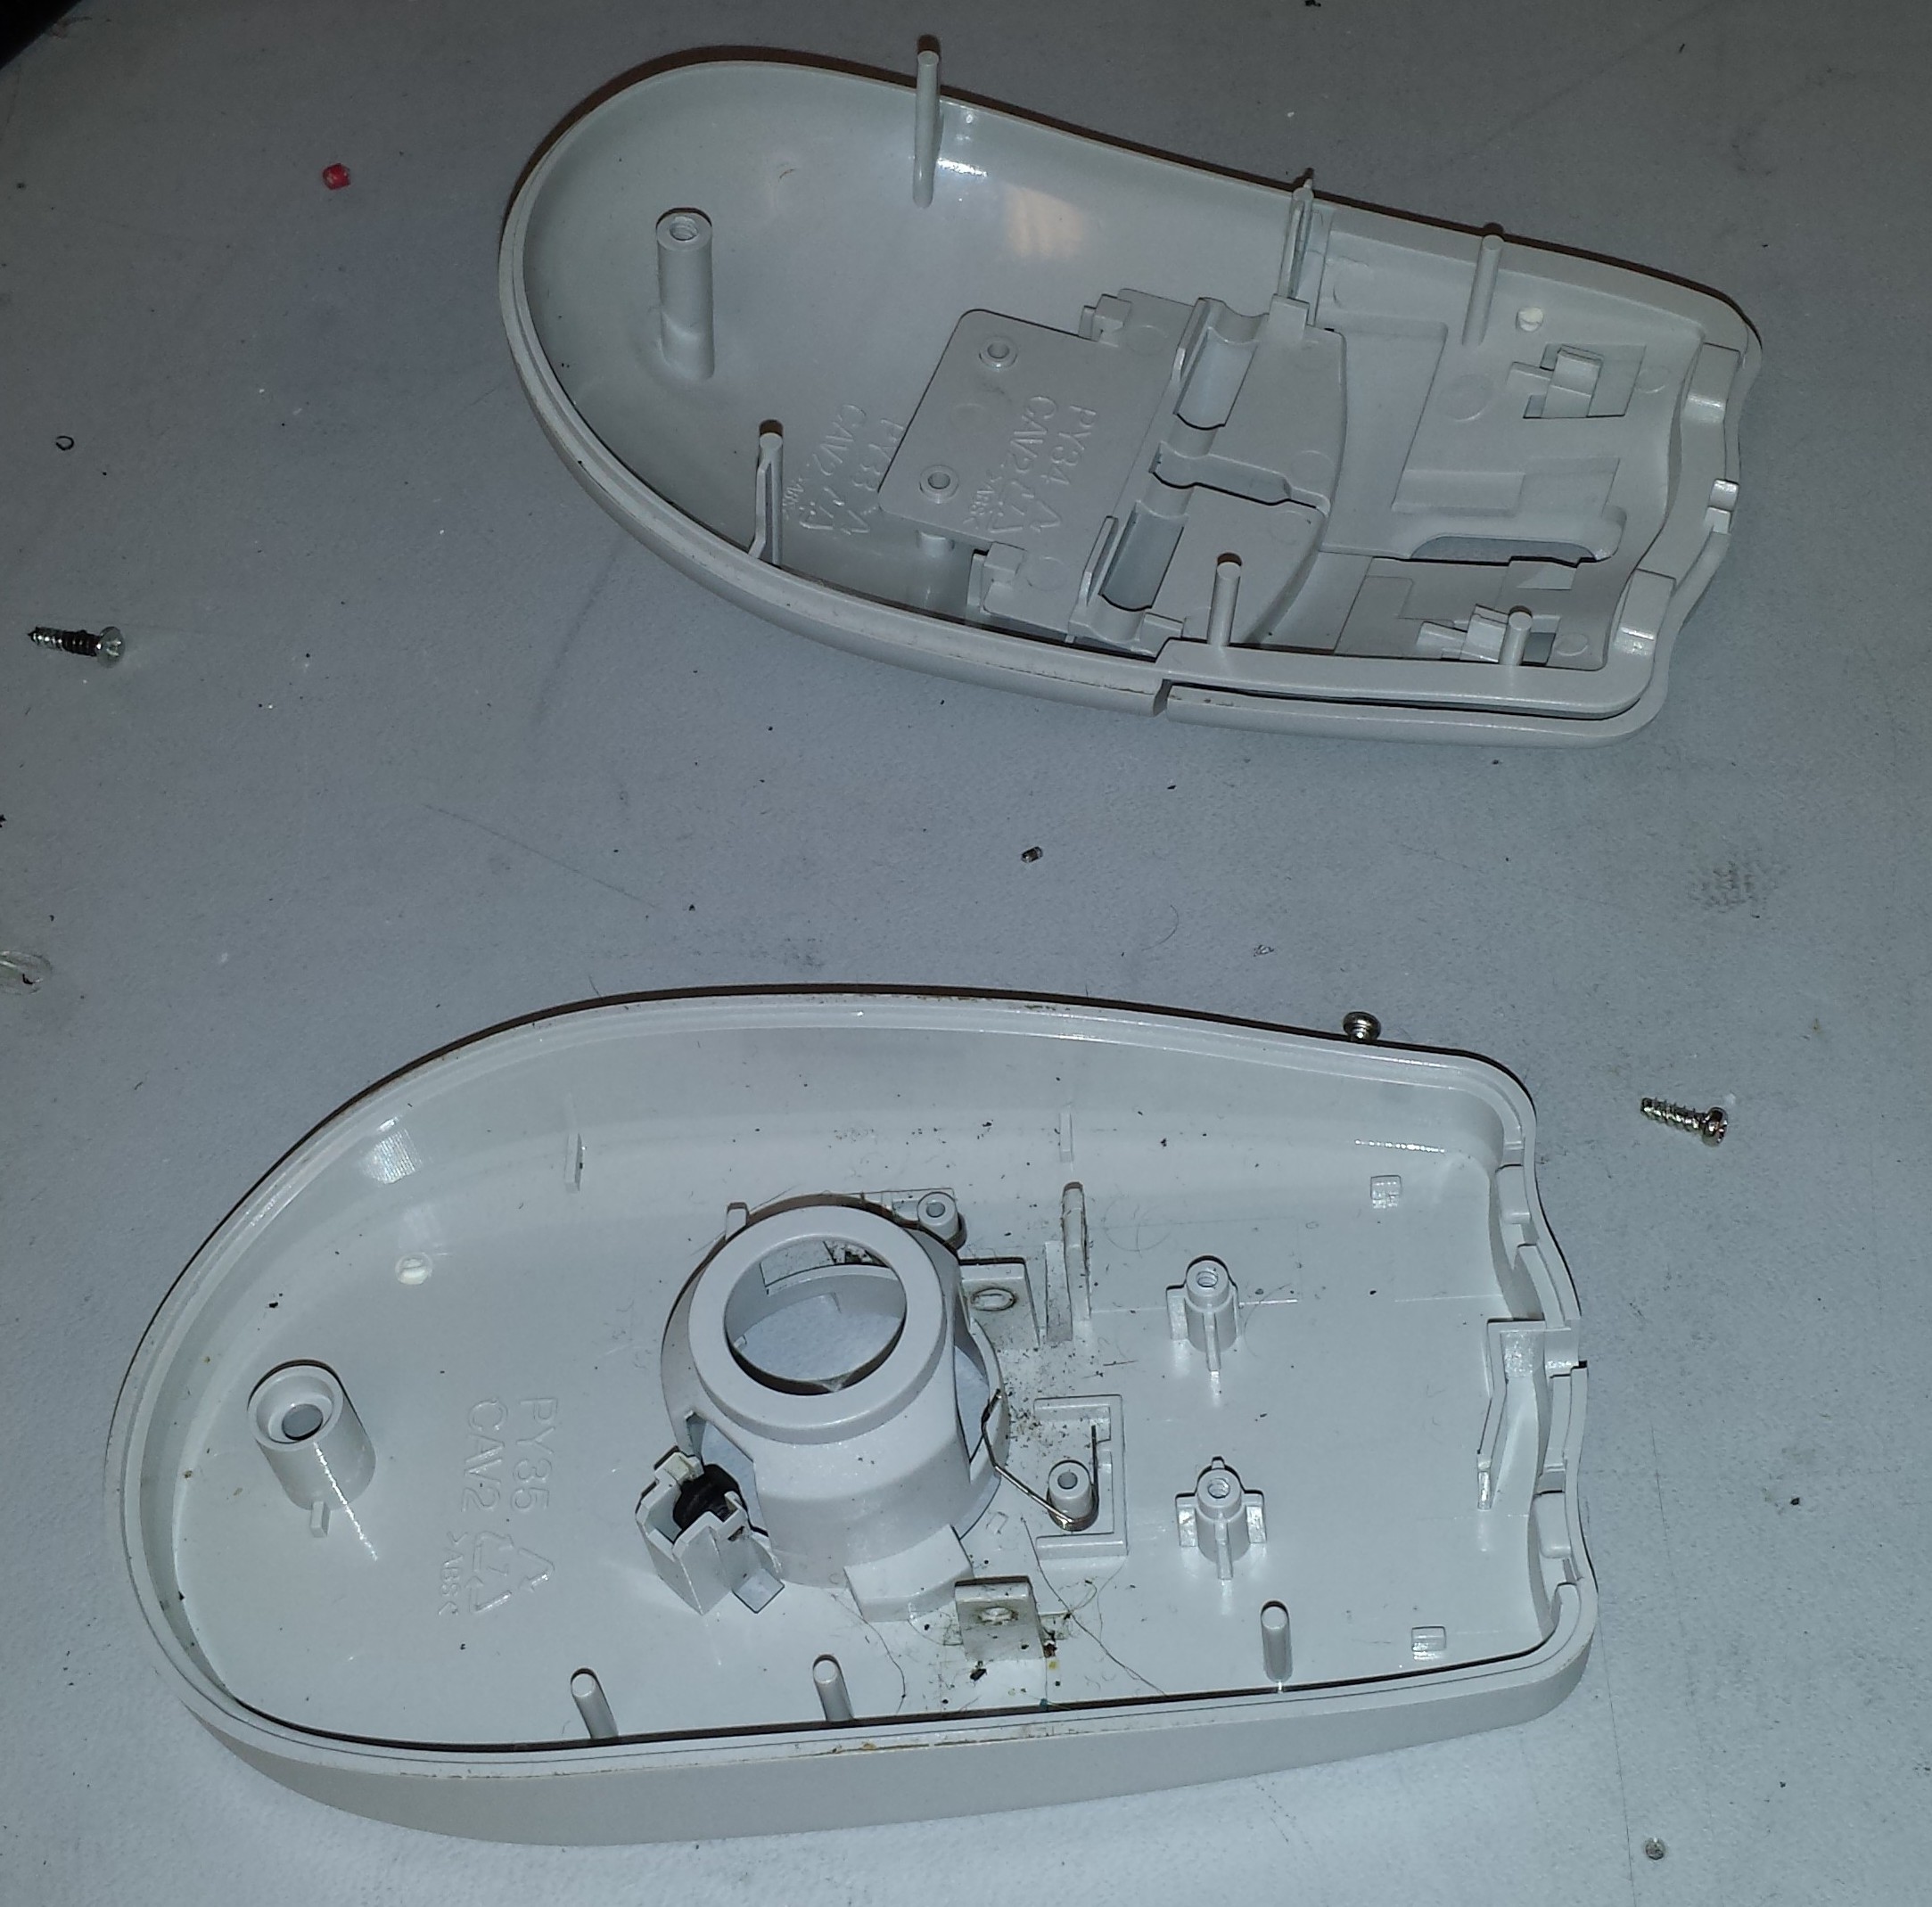 First thing on the agenda is open the thing up and pull out its guts. A single screw (seen in the photo above) is the only thing holding this thing together. I clipped off the cord and pulled the PCB and ball out leaving me with the above.
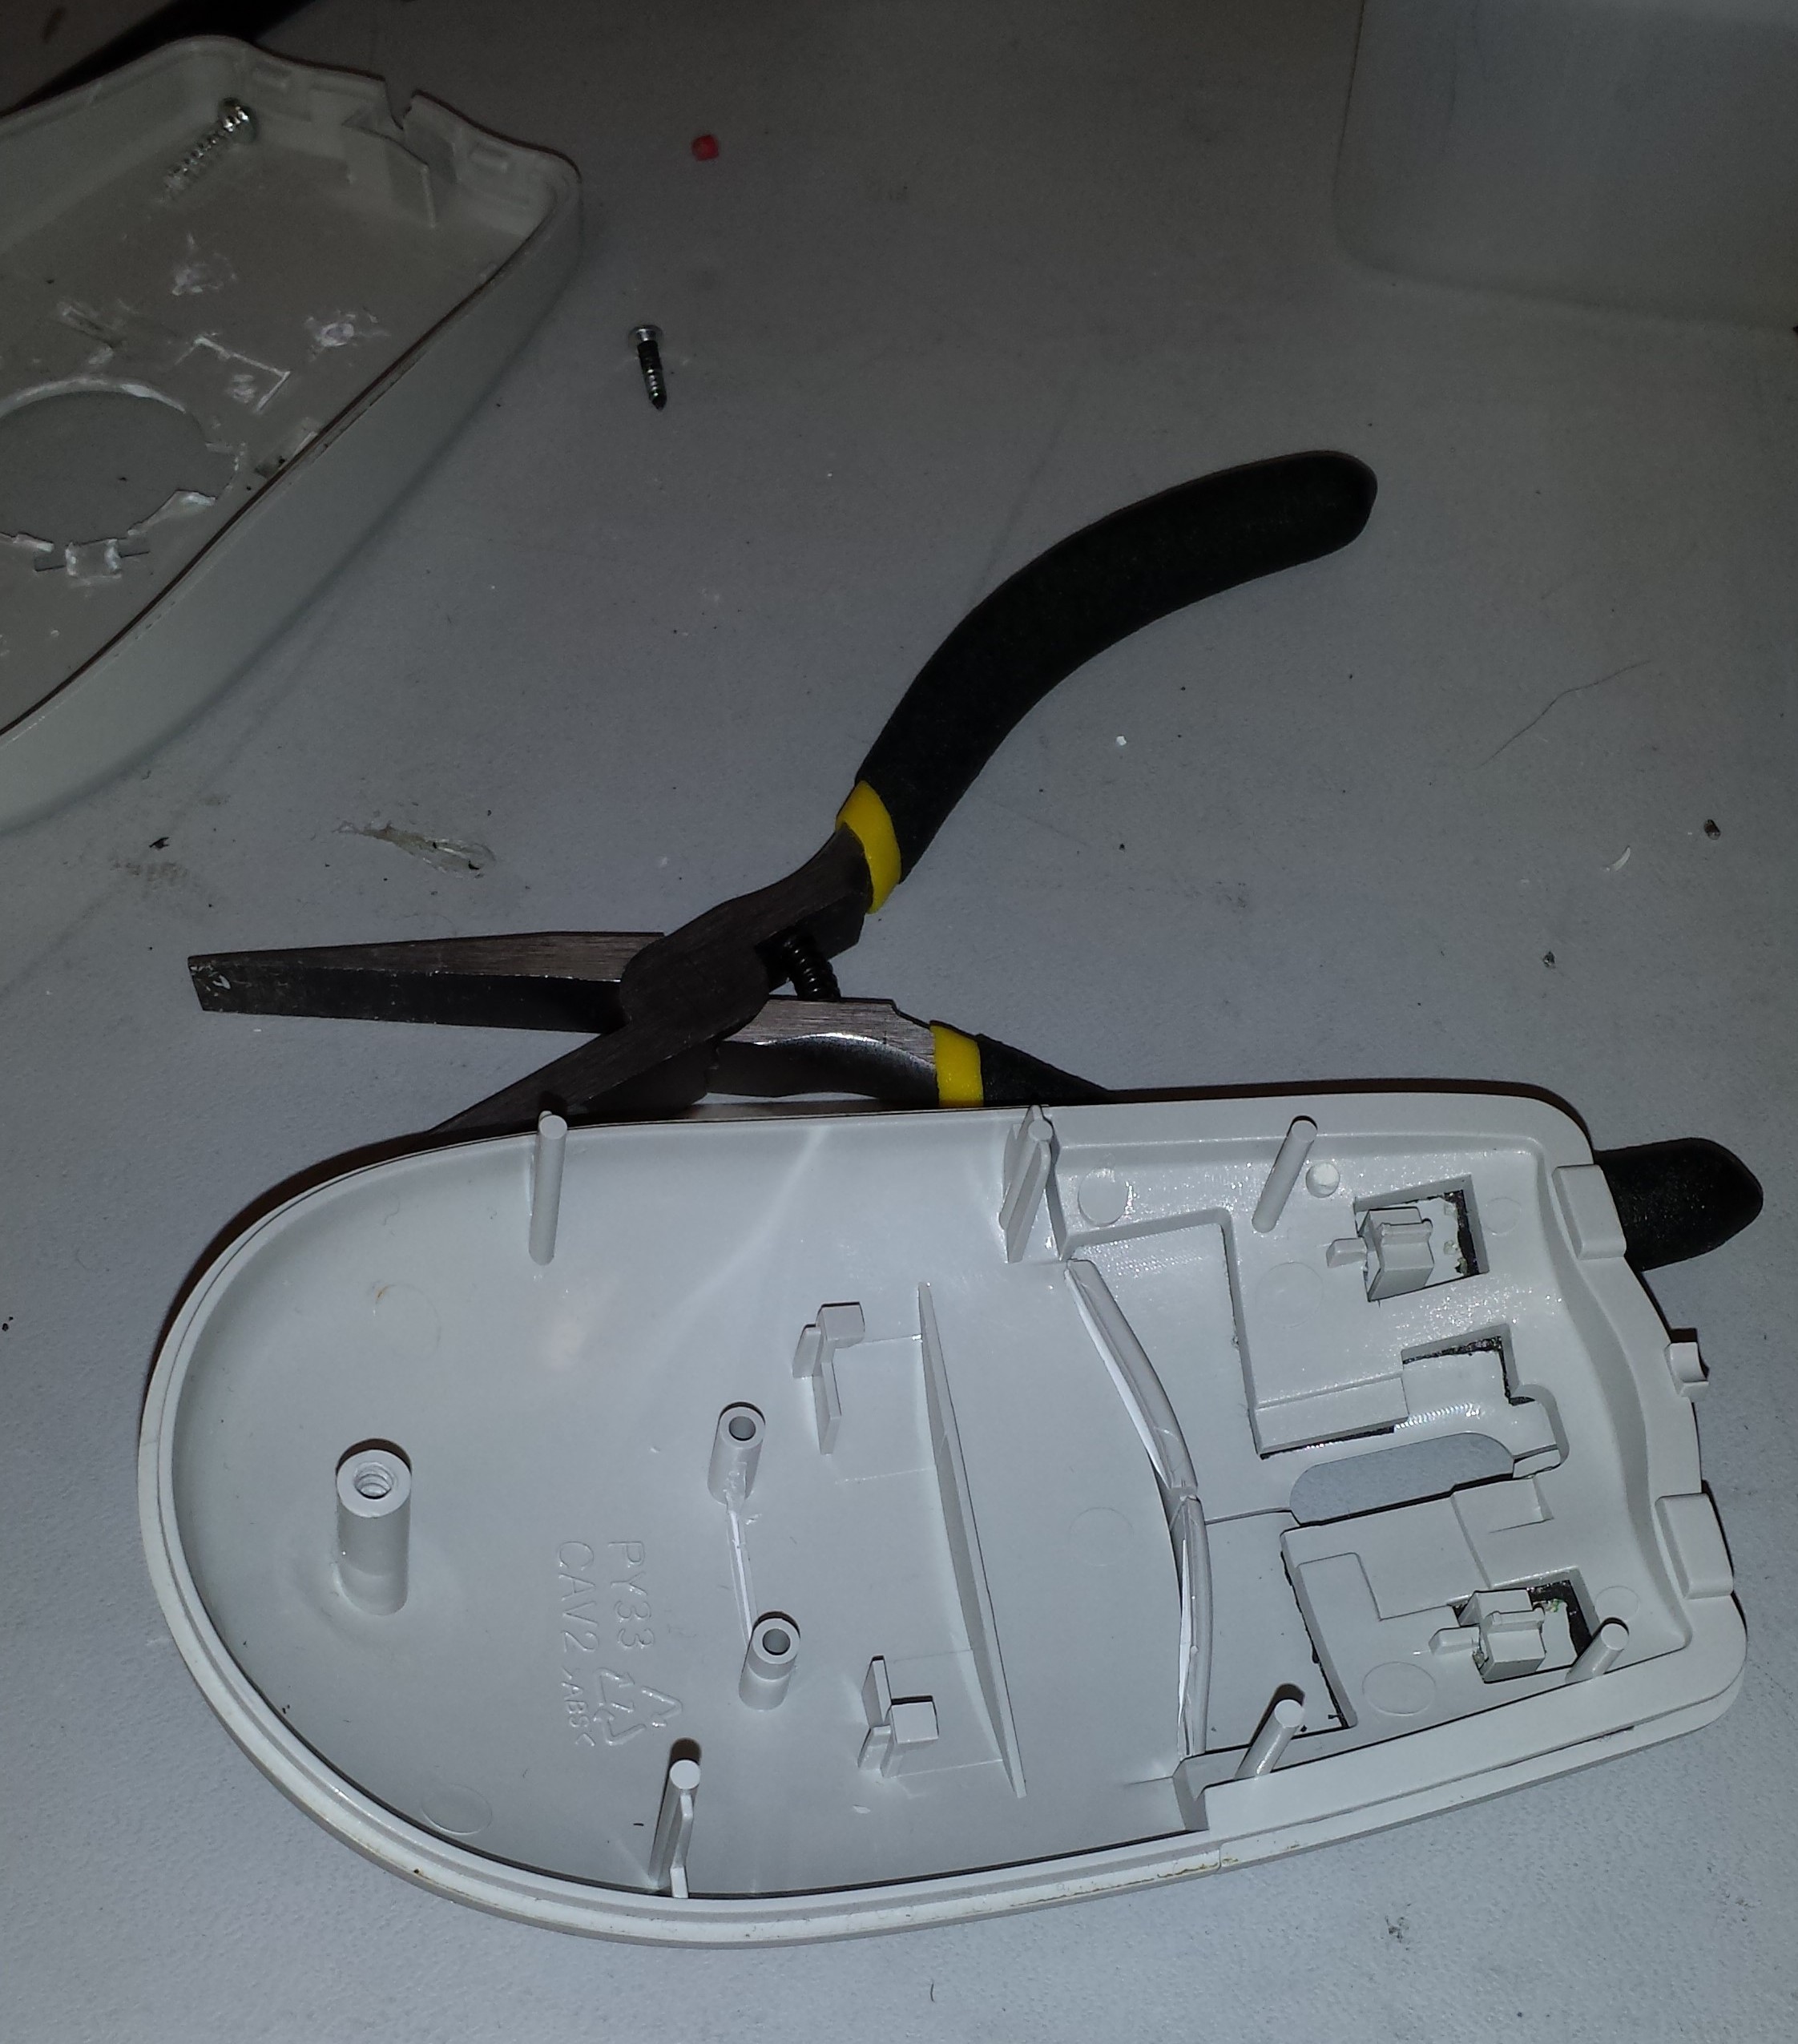
 Next, I needed to clear out some of the plastic bosses and other features to make room for the Hell Mouse guts. My method was to score the bottom of the plastic feature I was trying to remove and snap it off using a pair of needle nose pliers.
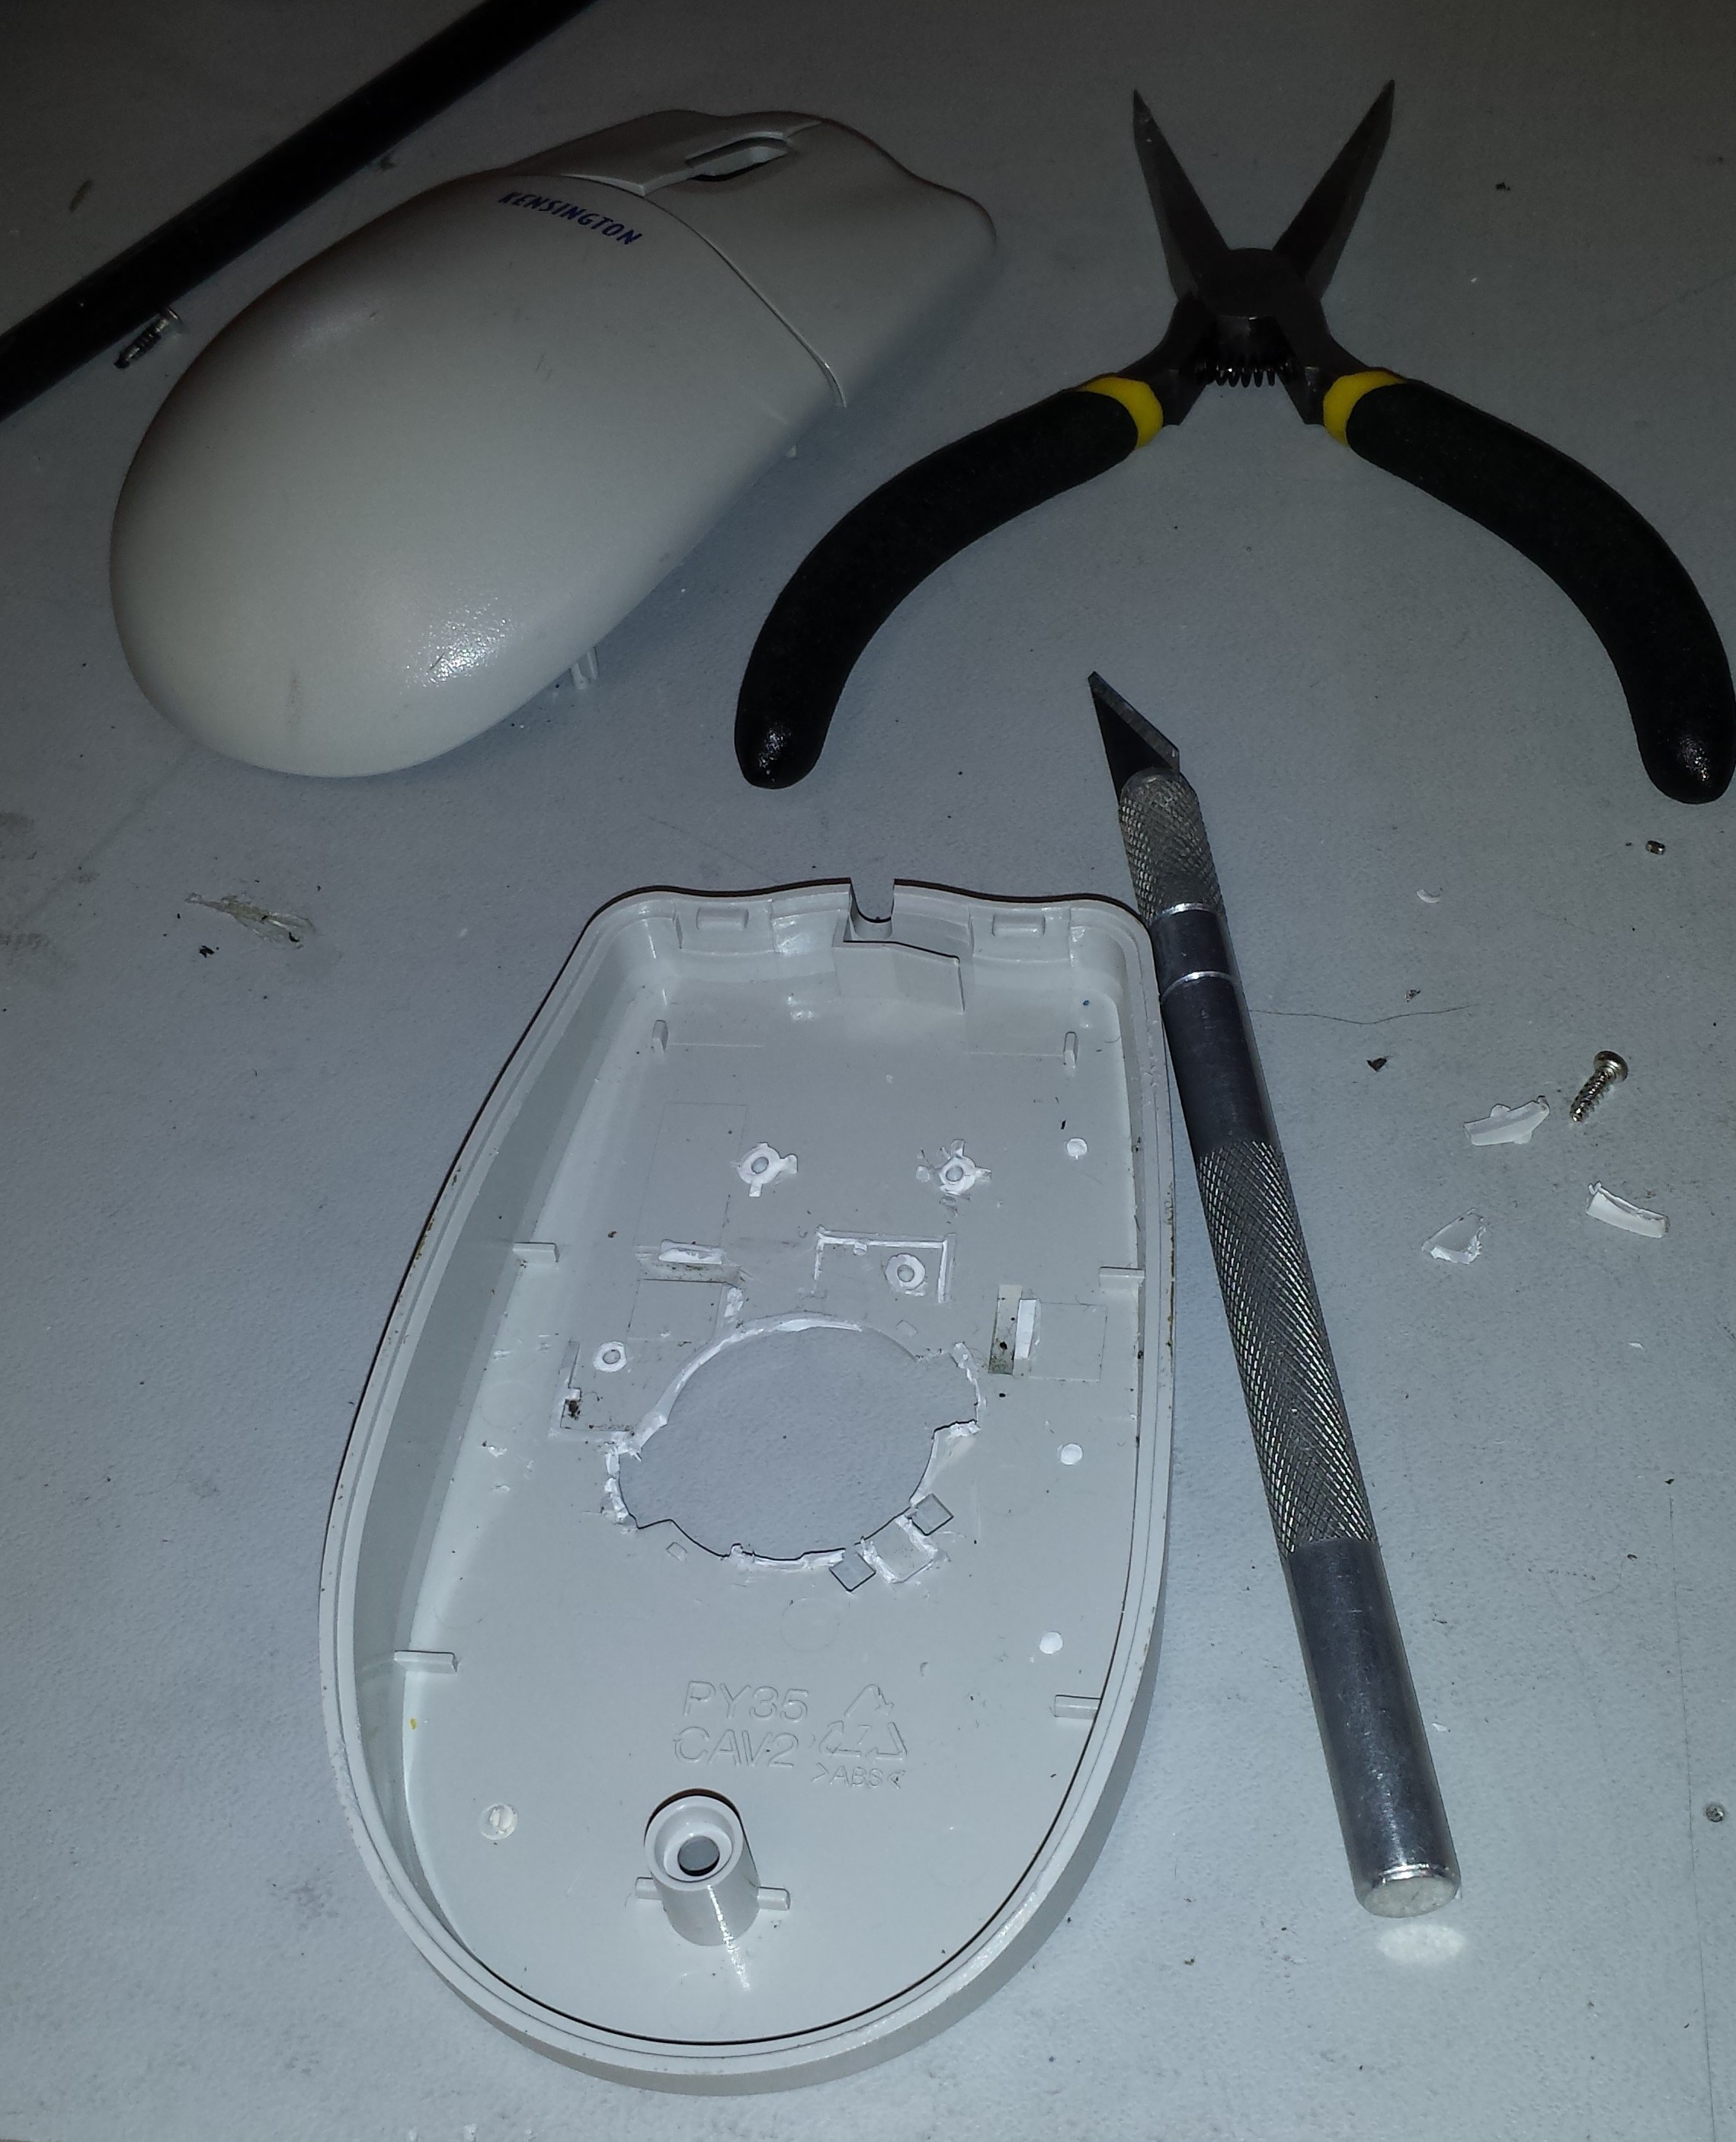 The end result of clearing out the plastic features is above. Next, I cut out some of the plastic brackets holding the buttons in place. I toyed with the idea of leaving the buttons off, but I decided to keep them to retain a more continuous look and feel.
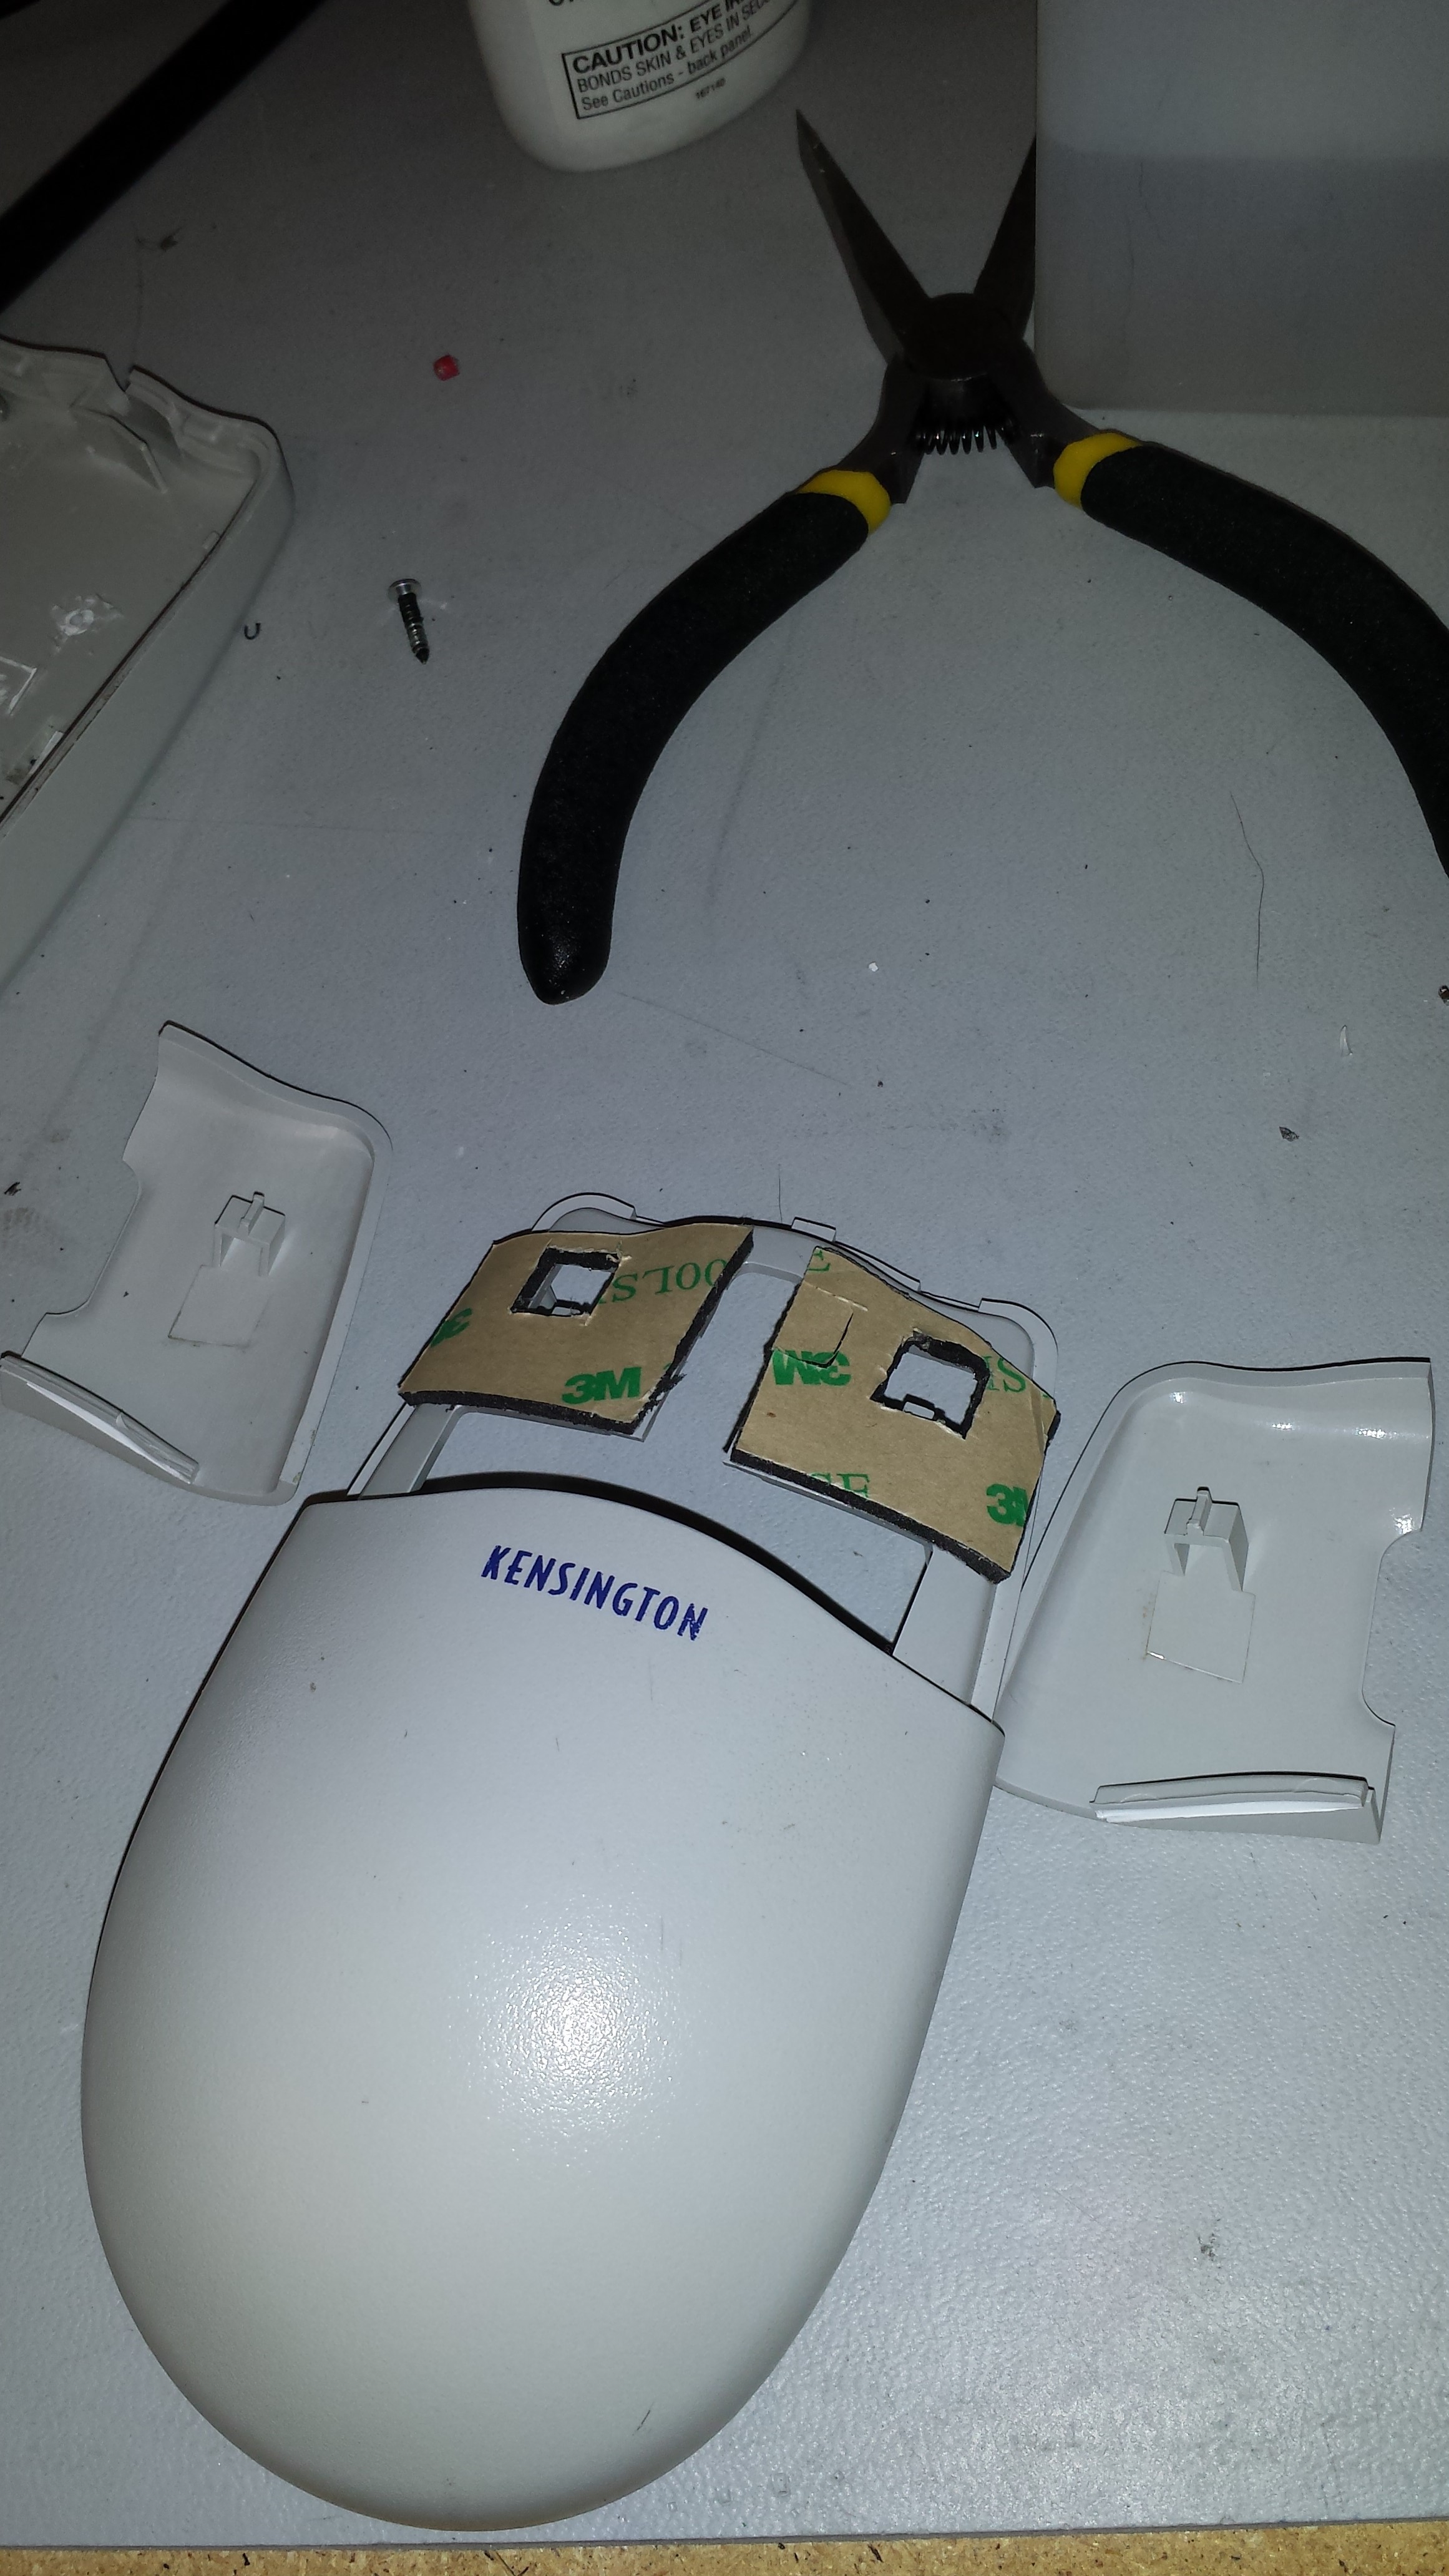 Without the supports that I chopped out, the buttons sat too low. Fortunately I had some 3M double sided sticky pads that I cut to size. As luck would have it, this spaced the height of the buttons perfectly! It also held the buttons securely to the body of the Hell Mouse.
 Here is a view of the underside of the top of the mouse after doing this step.
 Here I cleaned out the plastic features on the top side where I will be mounting the sensor.
 In order to space the 5 LEDs evenly, I created a quick 2D drawing in FreeCAD of a circle sliced every 72 degrees. I drew on a circle using a circle template of 1 1/4". I printed the drawing out undersized and extrapolated where to place the LEDs. I marked the center of the circle and the intersections with a punch to aid in drilling.
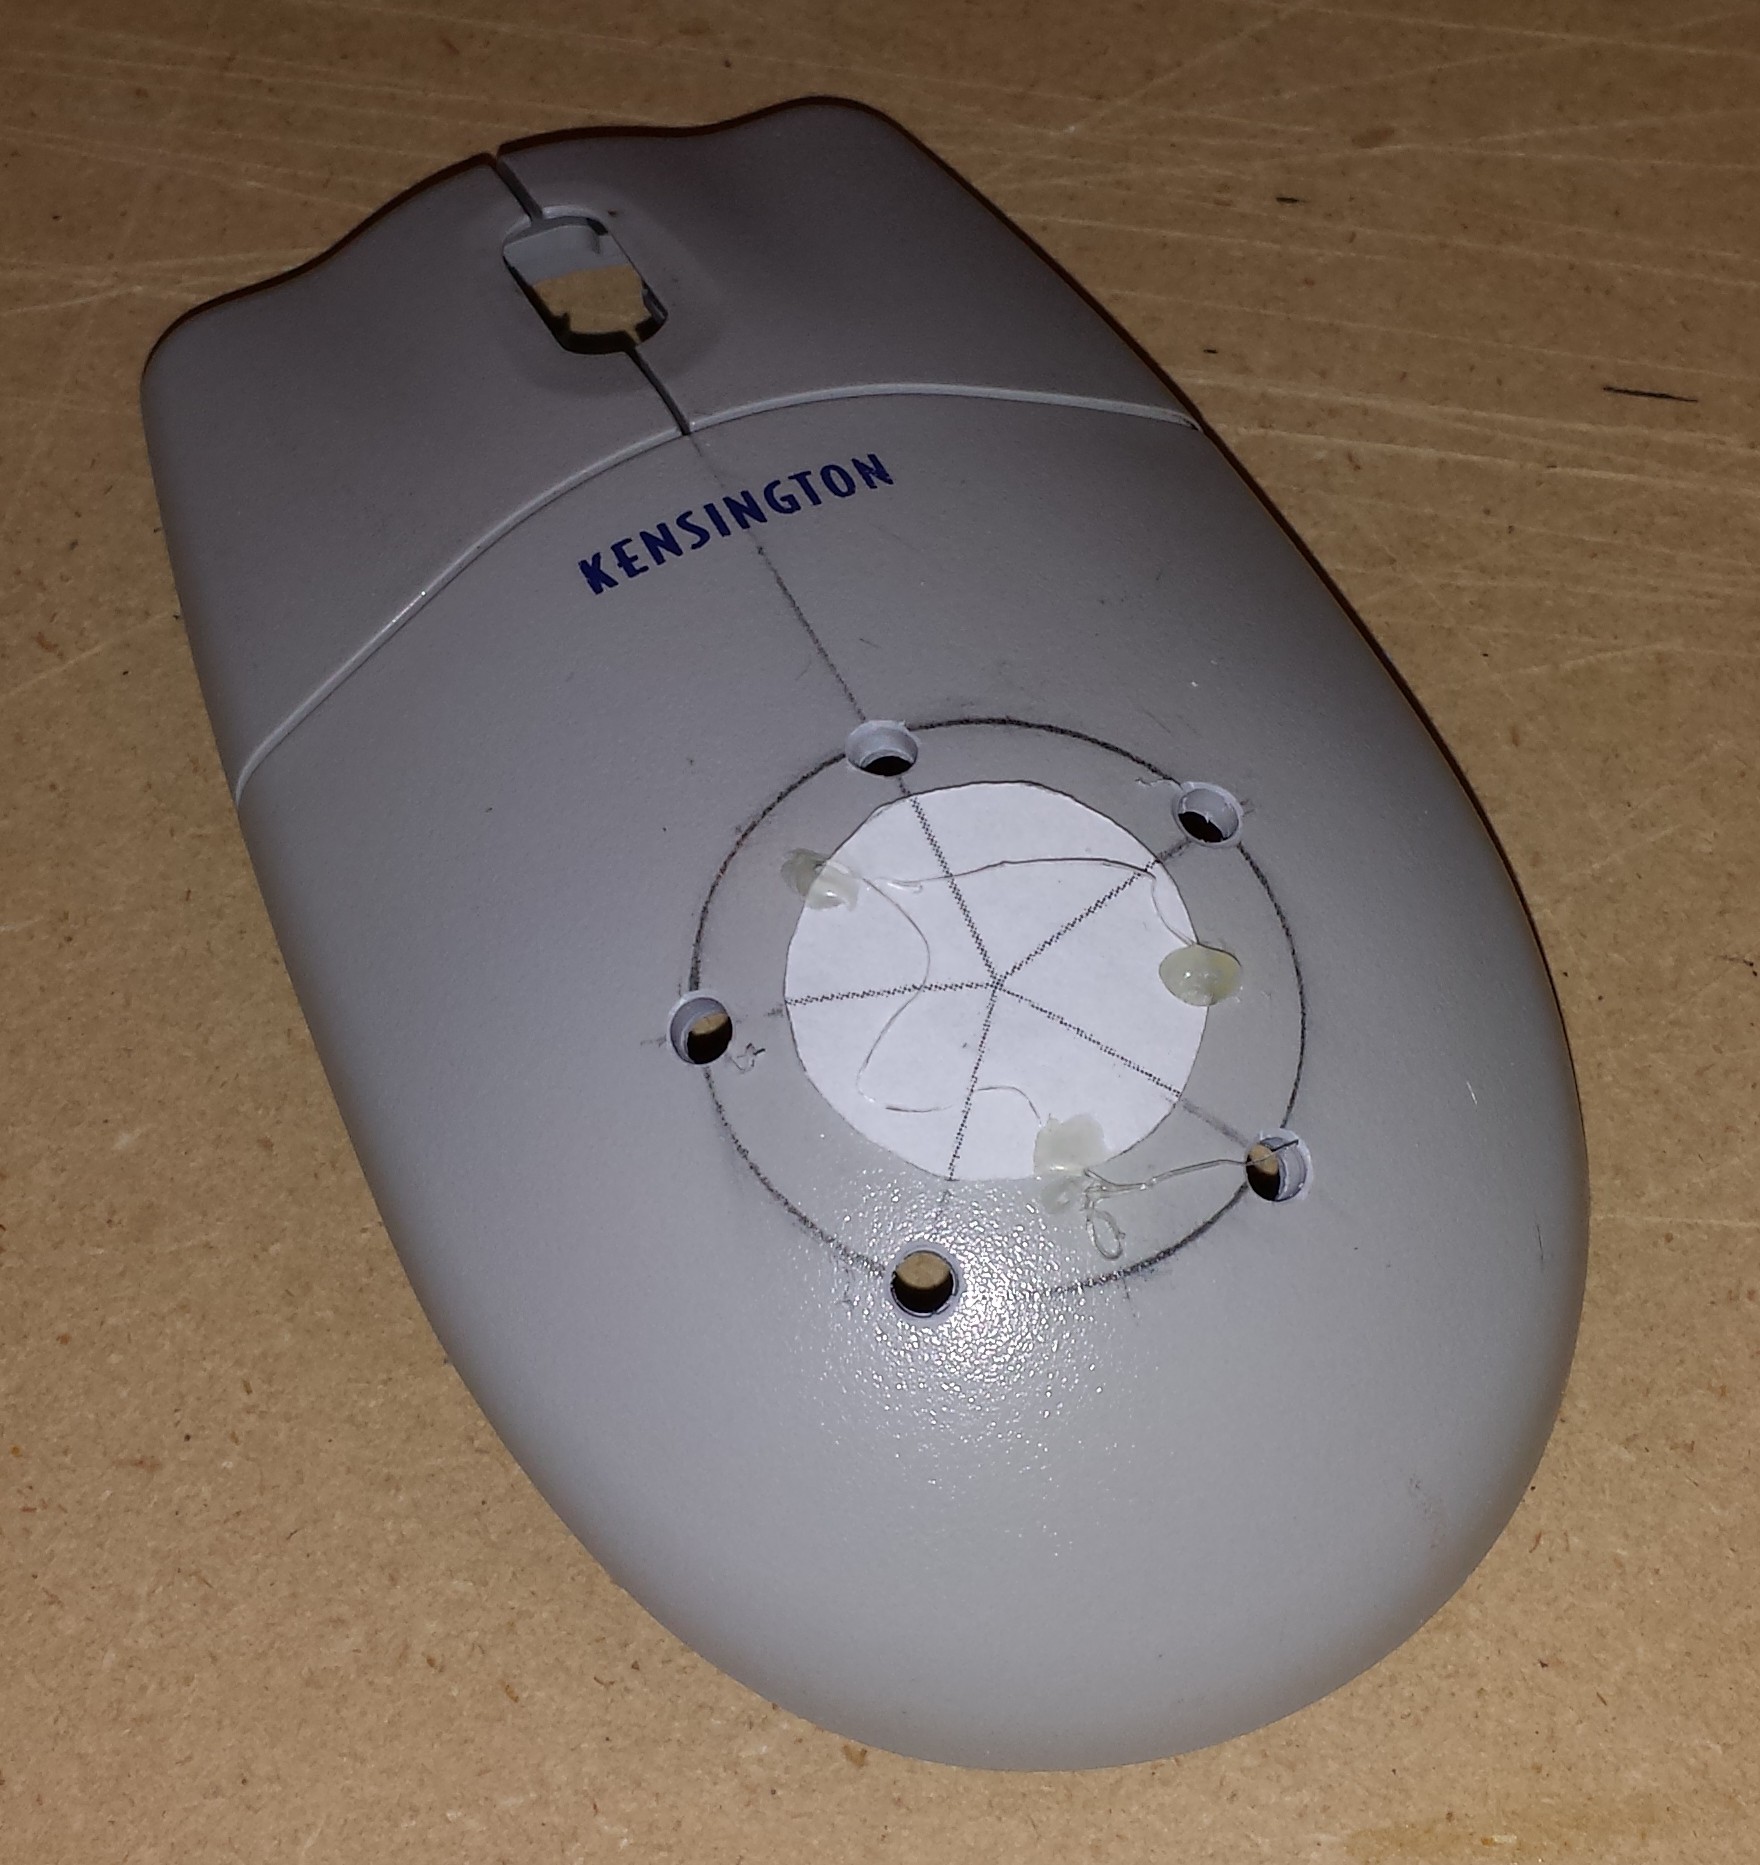 Due to the non-flat nature of this mouse, I opted to drill this using a hand drill rather than my drill press. It probably doesn't matter too much, but it seemed to work out well. I then drilled out the larger hole for the CDS sensor with a short length of heat shrink tubing to block ambient light.
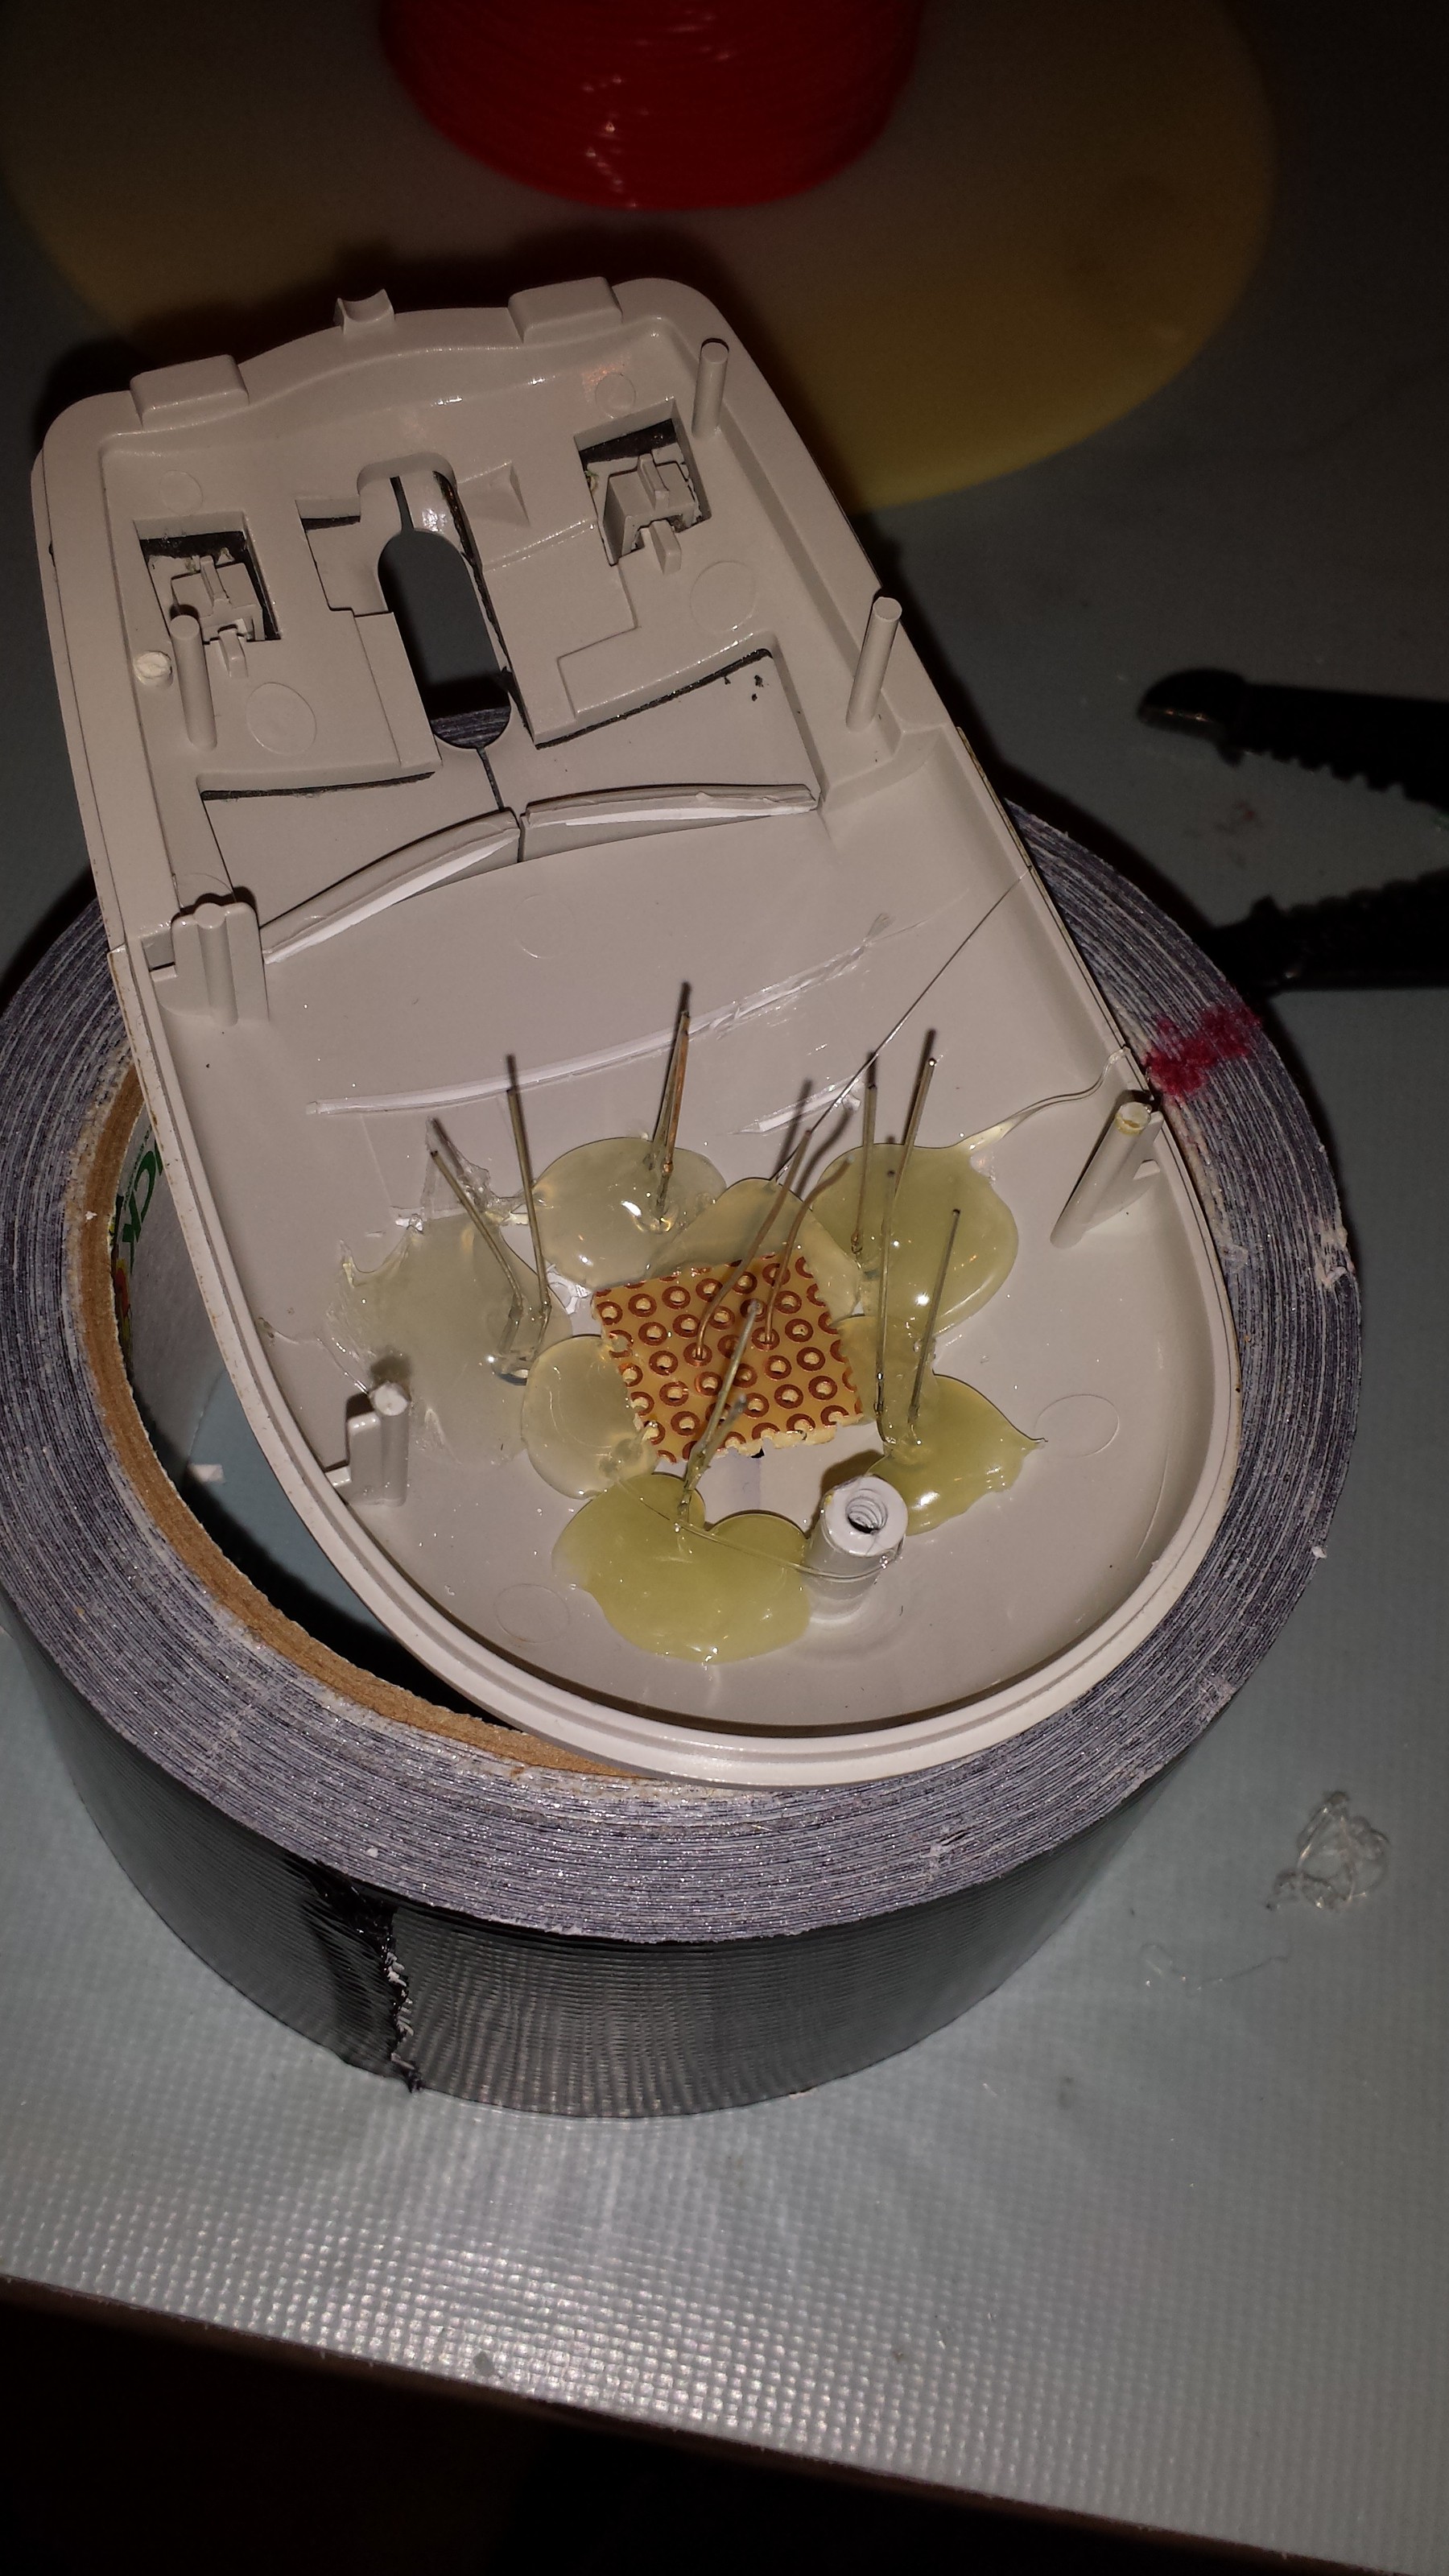
This is the sensor circuit inside the mouse. I opted to do point to point wiring since this circuitry is pretty simple.
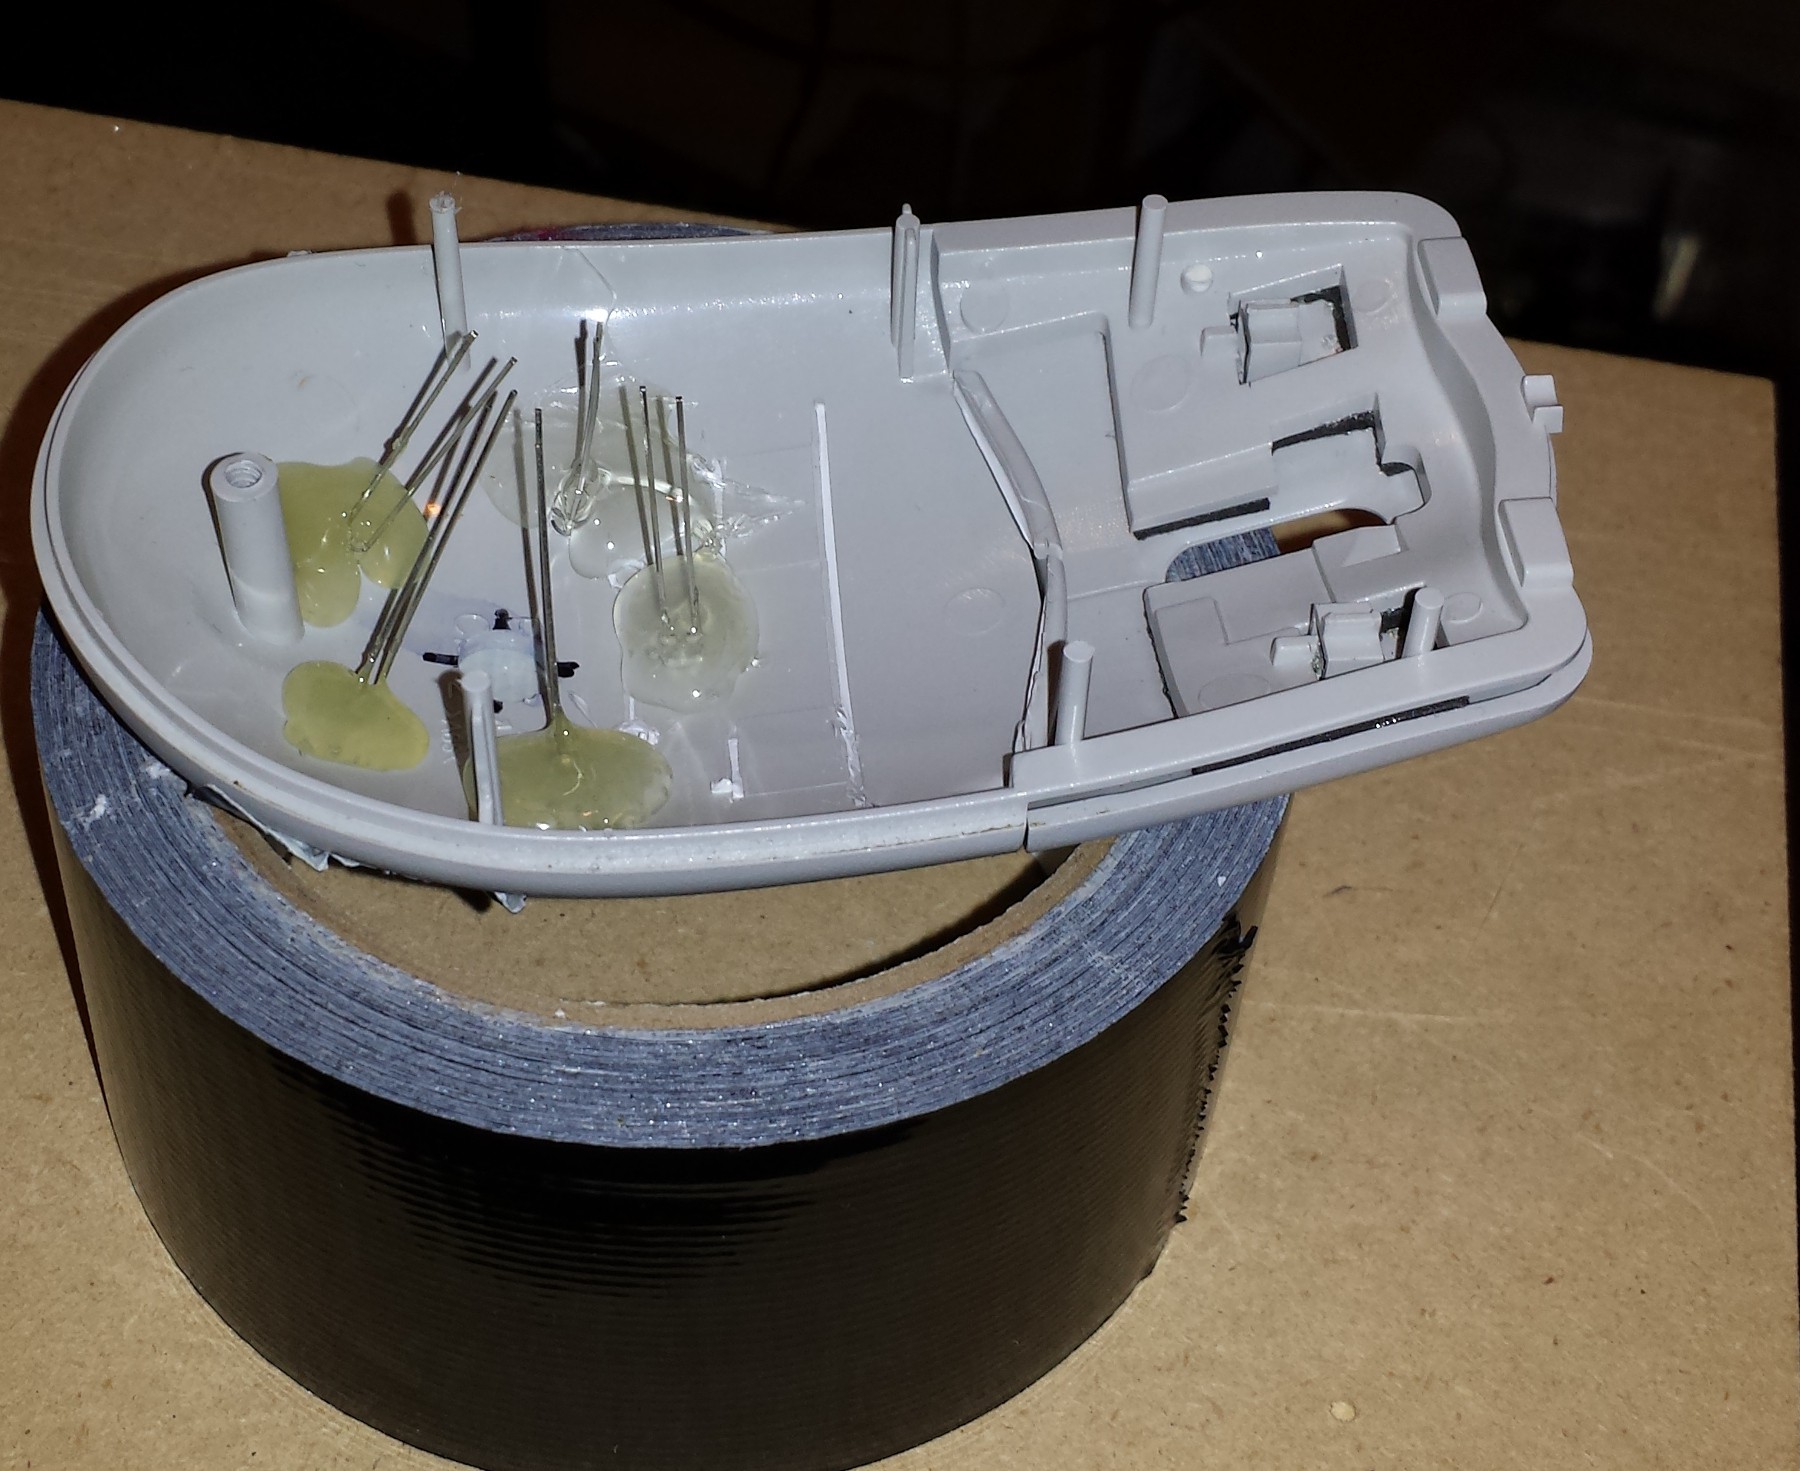 The LEDs were glued in place. I made all of the LEDs anodes face inwards since they are all connected together. (Yes that is a roll of duct tape holding the mouse so I can work on it.)
 I'm using a small piece of protoboard to help hold the CDS cell in place. I then built up hot glue around the protoboard.
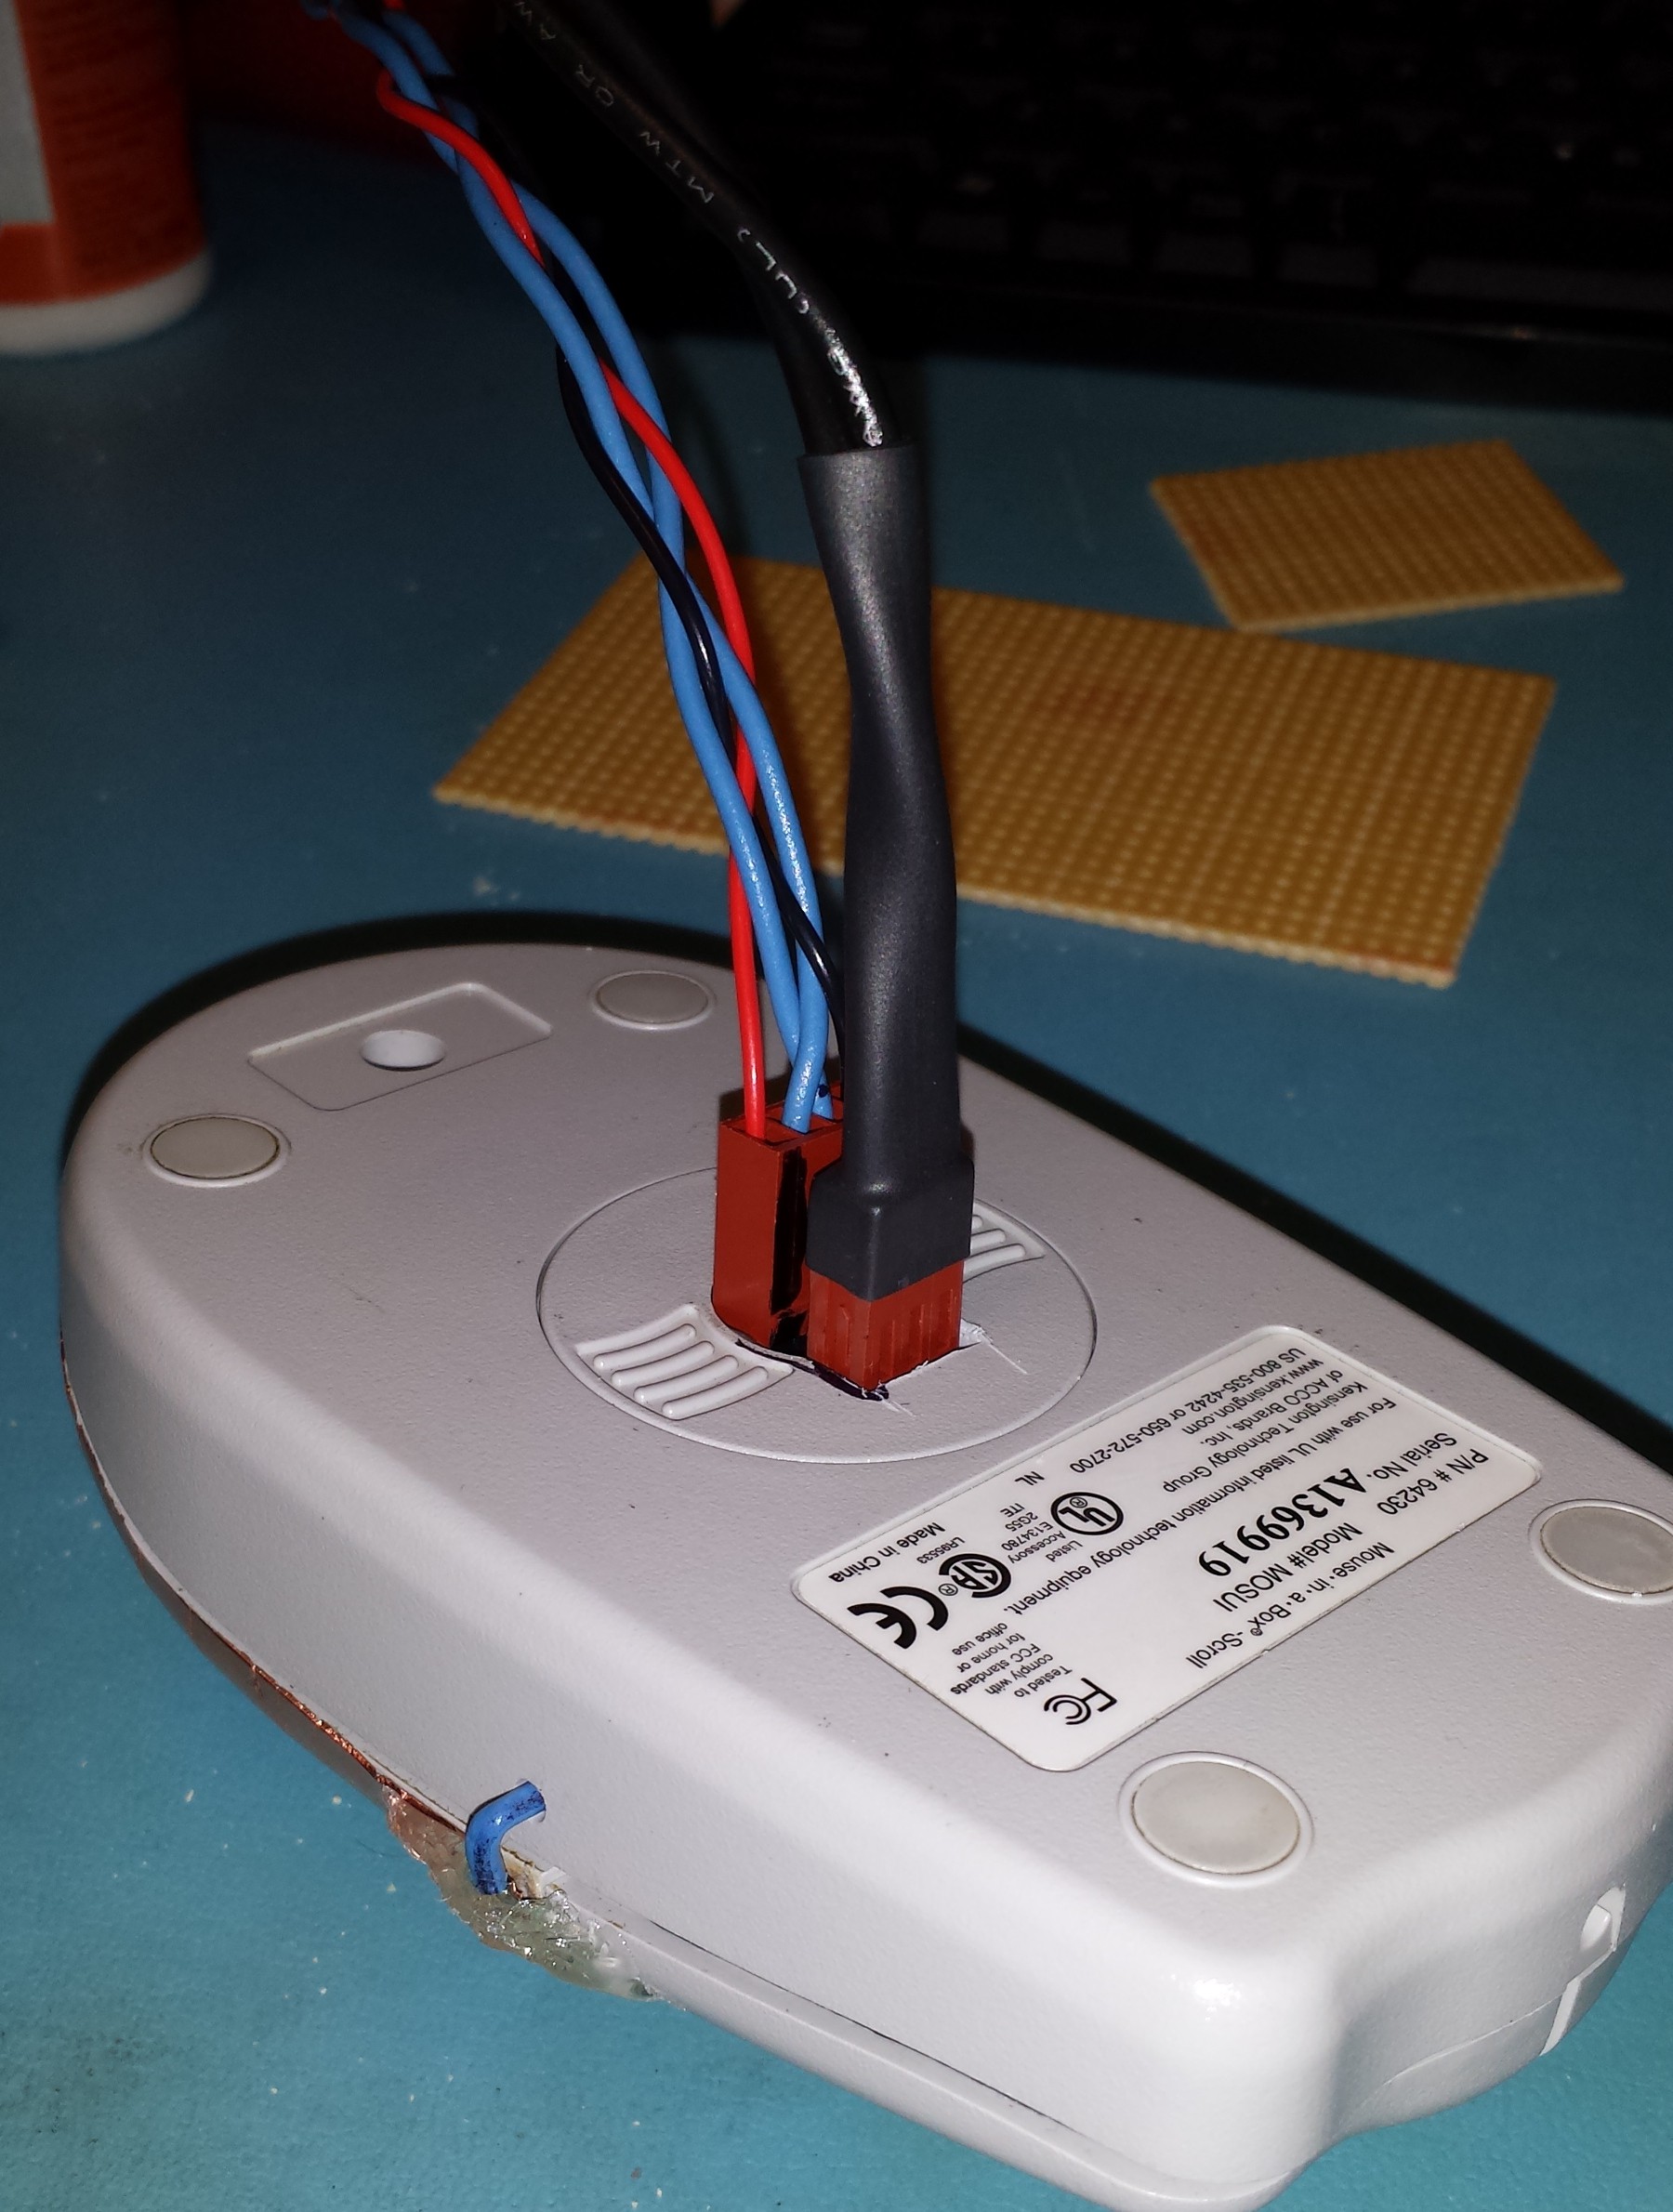
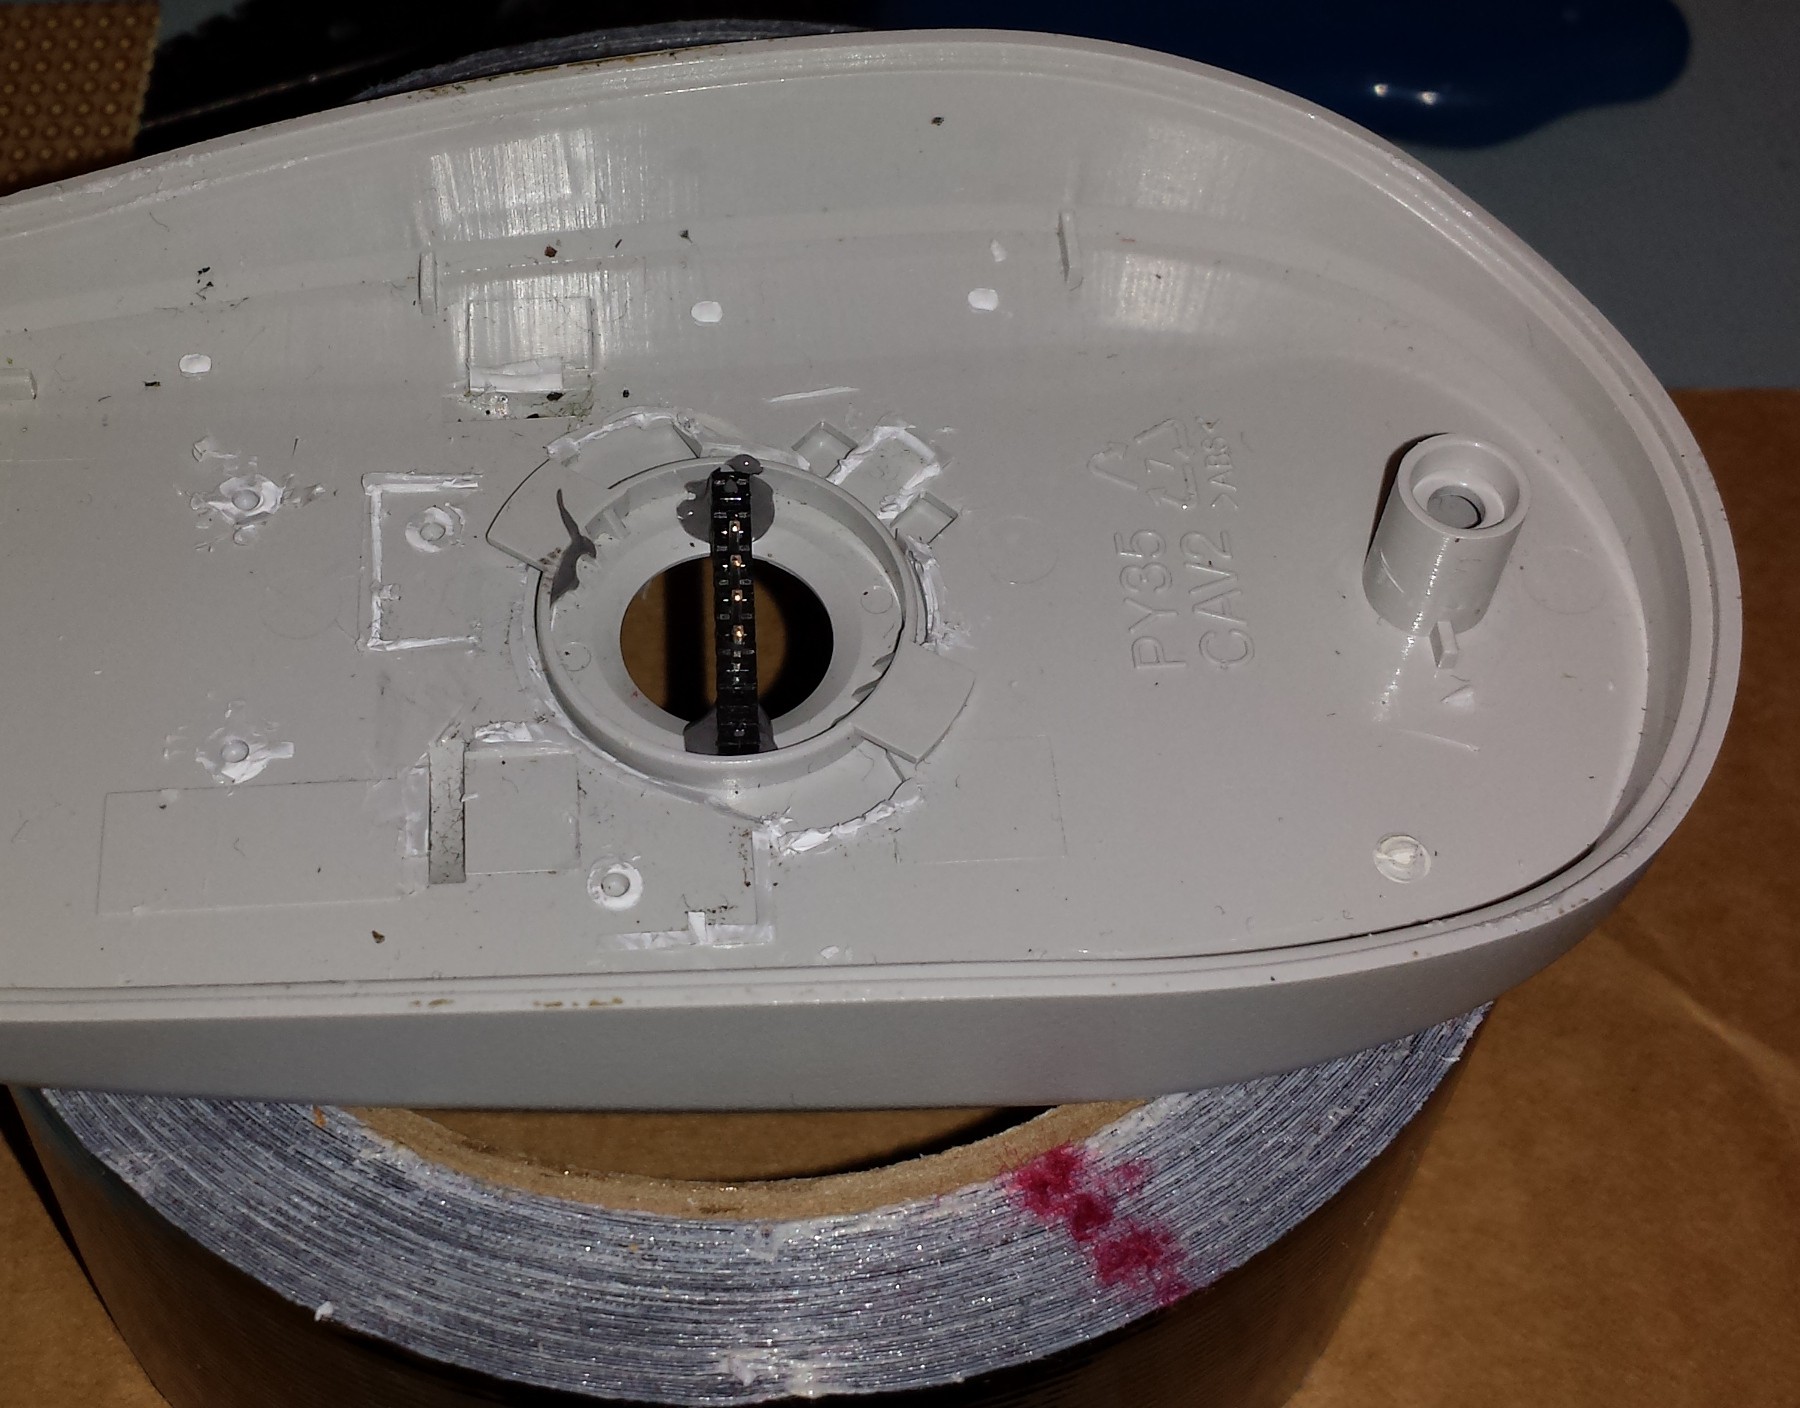 Here is the first of two headers glued in to the bottom of the mouse. The box will have mating connectors embedded in the bottom that will interface the Hell Mouse to the rest of the electronics.
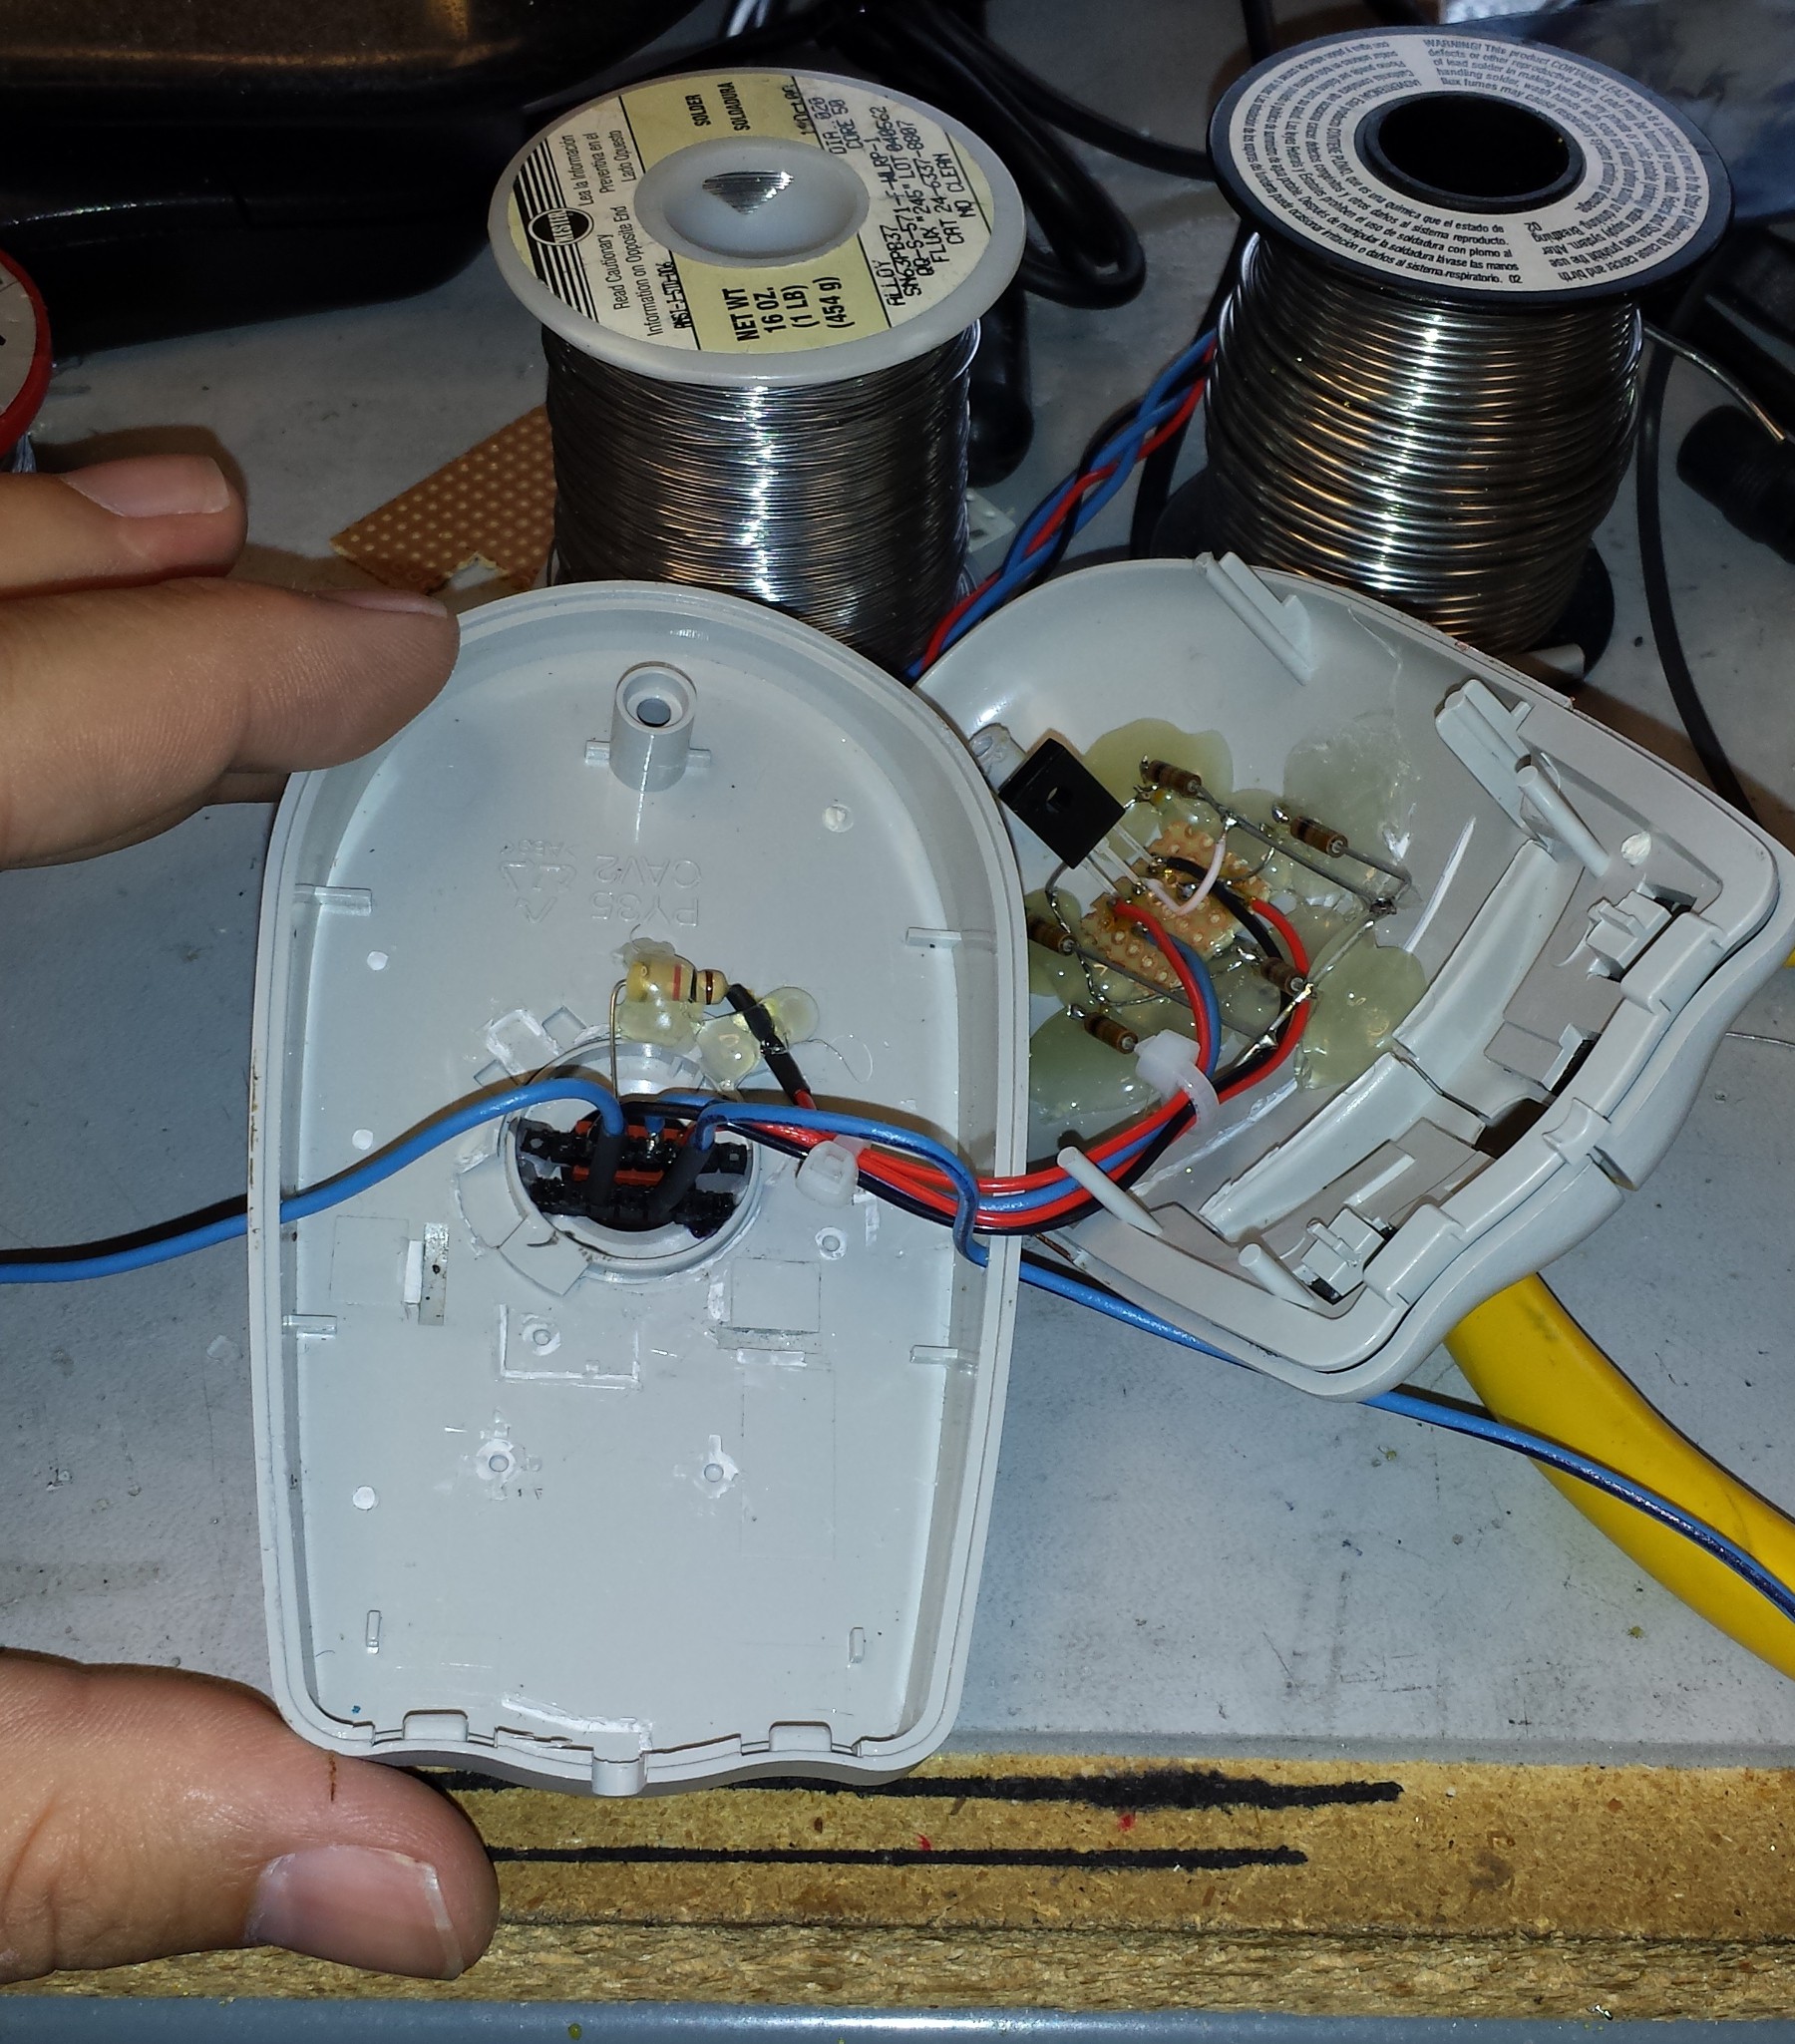
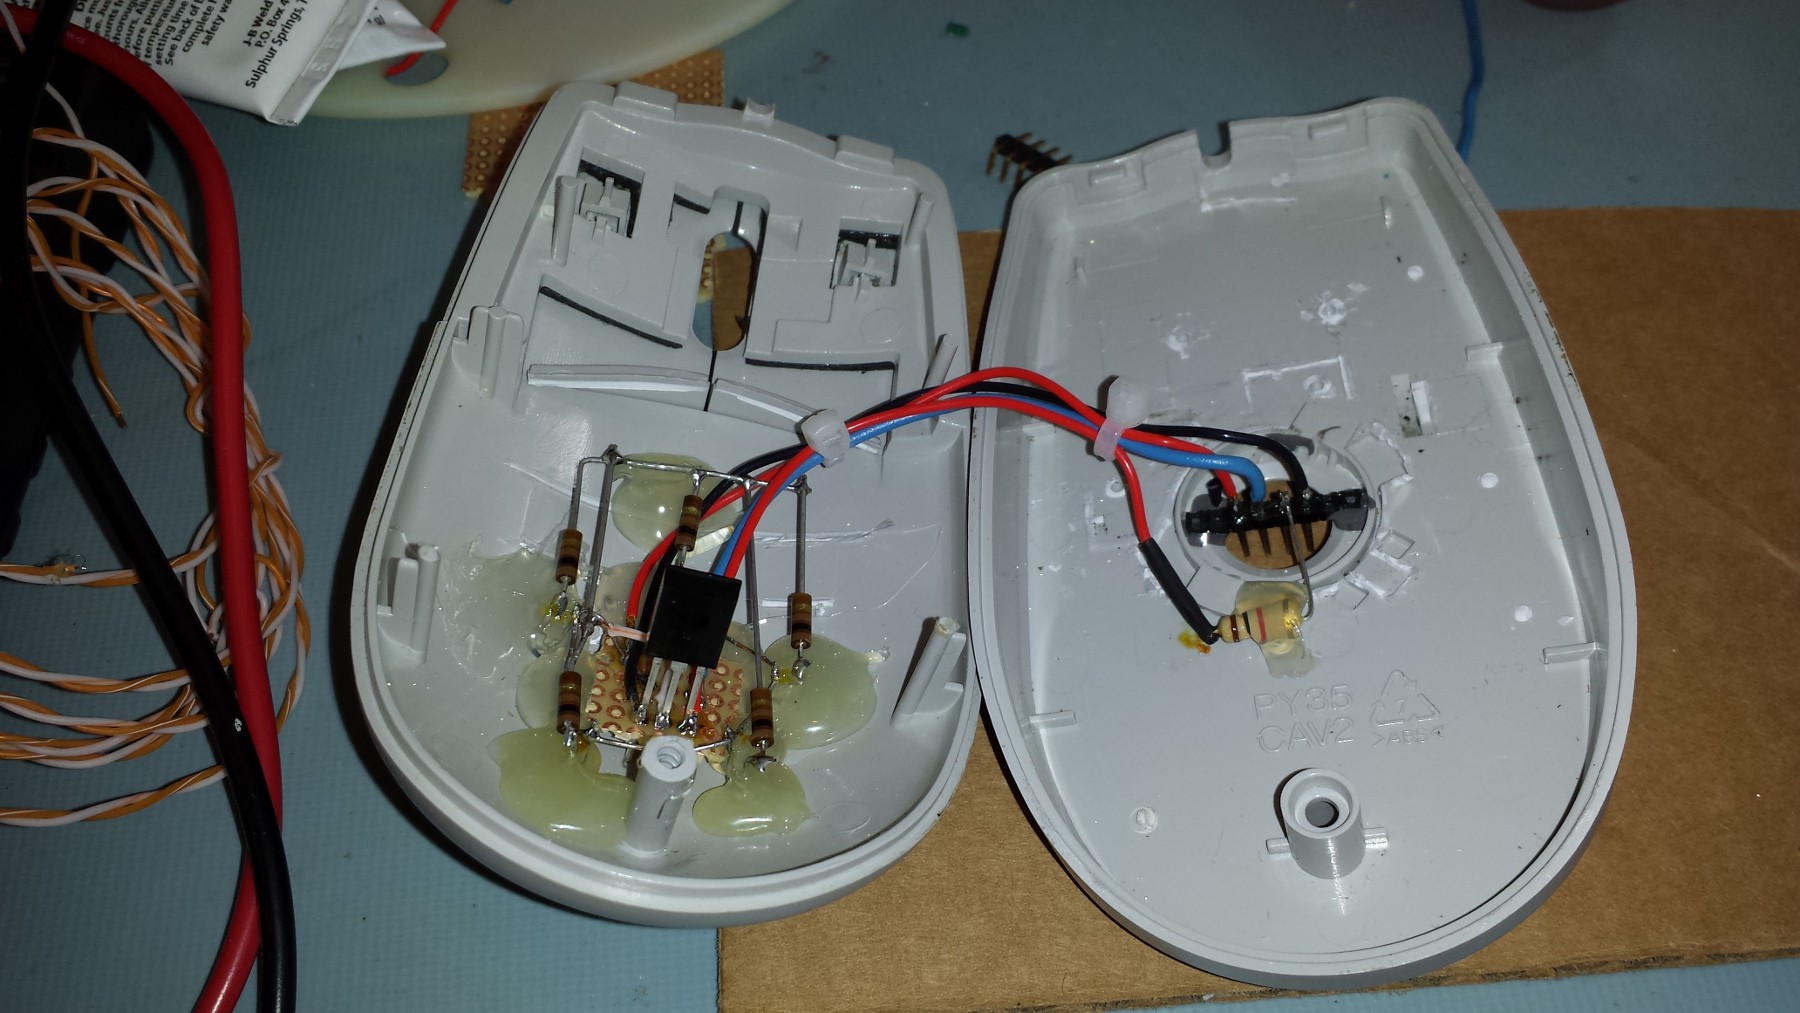 I wired this clam shell style so it could be easily opened and accessed if needed.
 The second header for the high voltage electrodes is shown above with the blue wires. A normal 0.1" header was used. The middle pin was pulled out to give the high voltage wires some distance from one another. I have a video (which I will upload later) of this sensor being tested and it seems to work great!
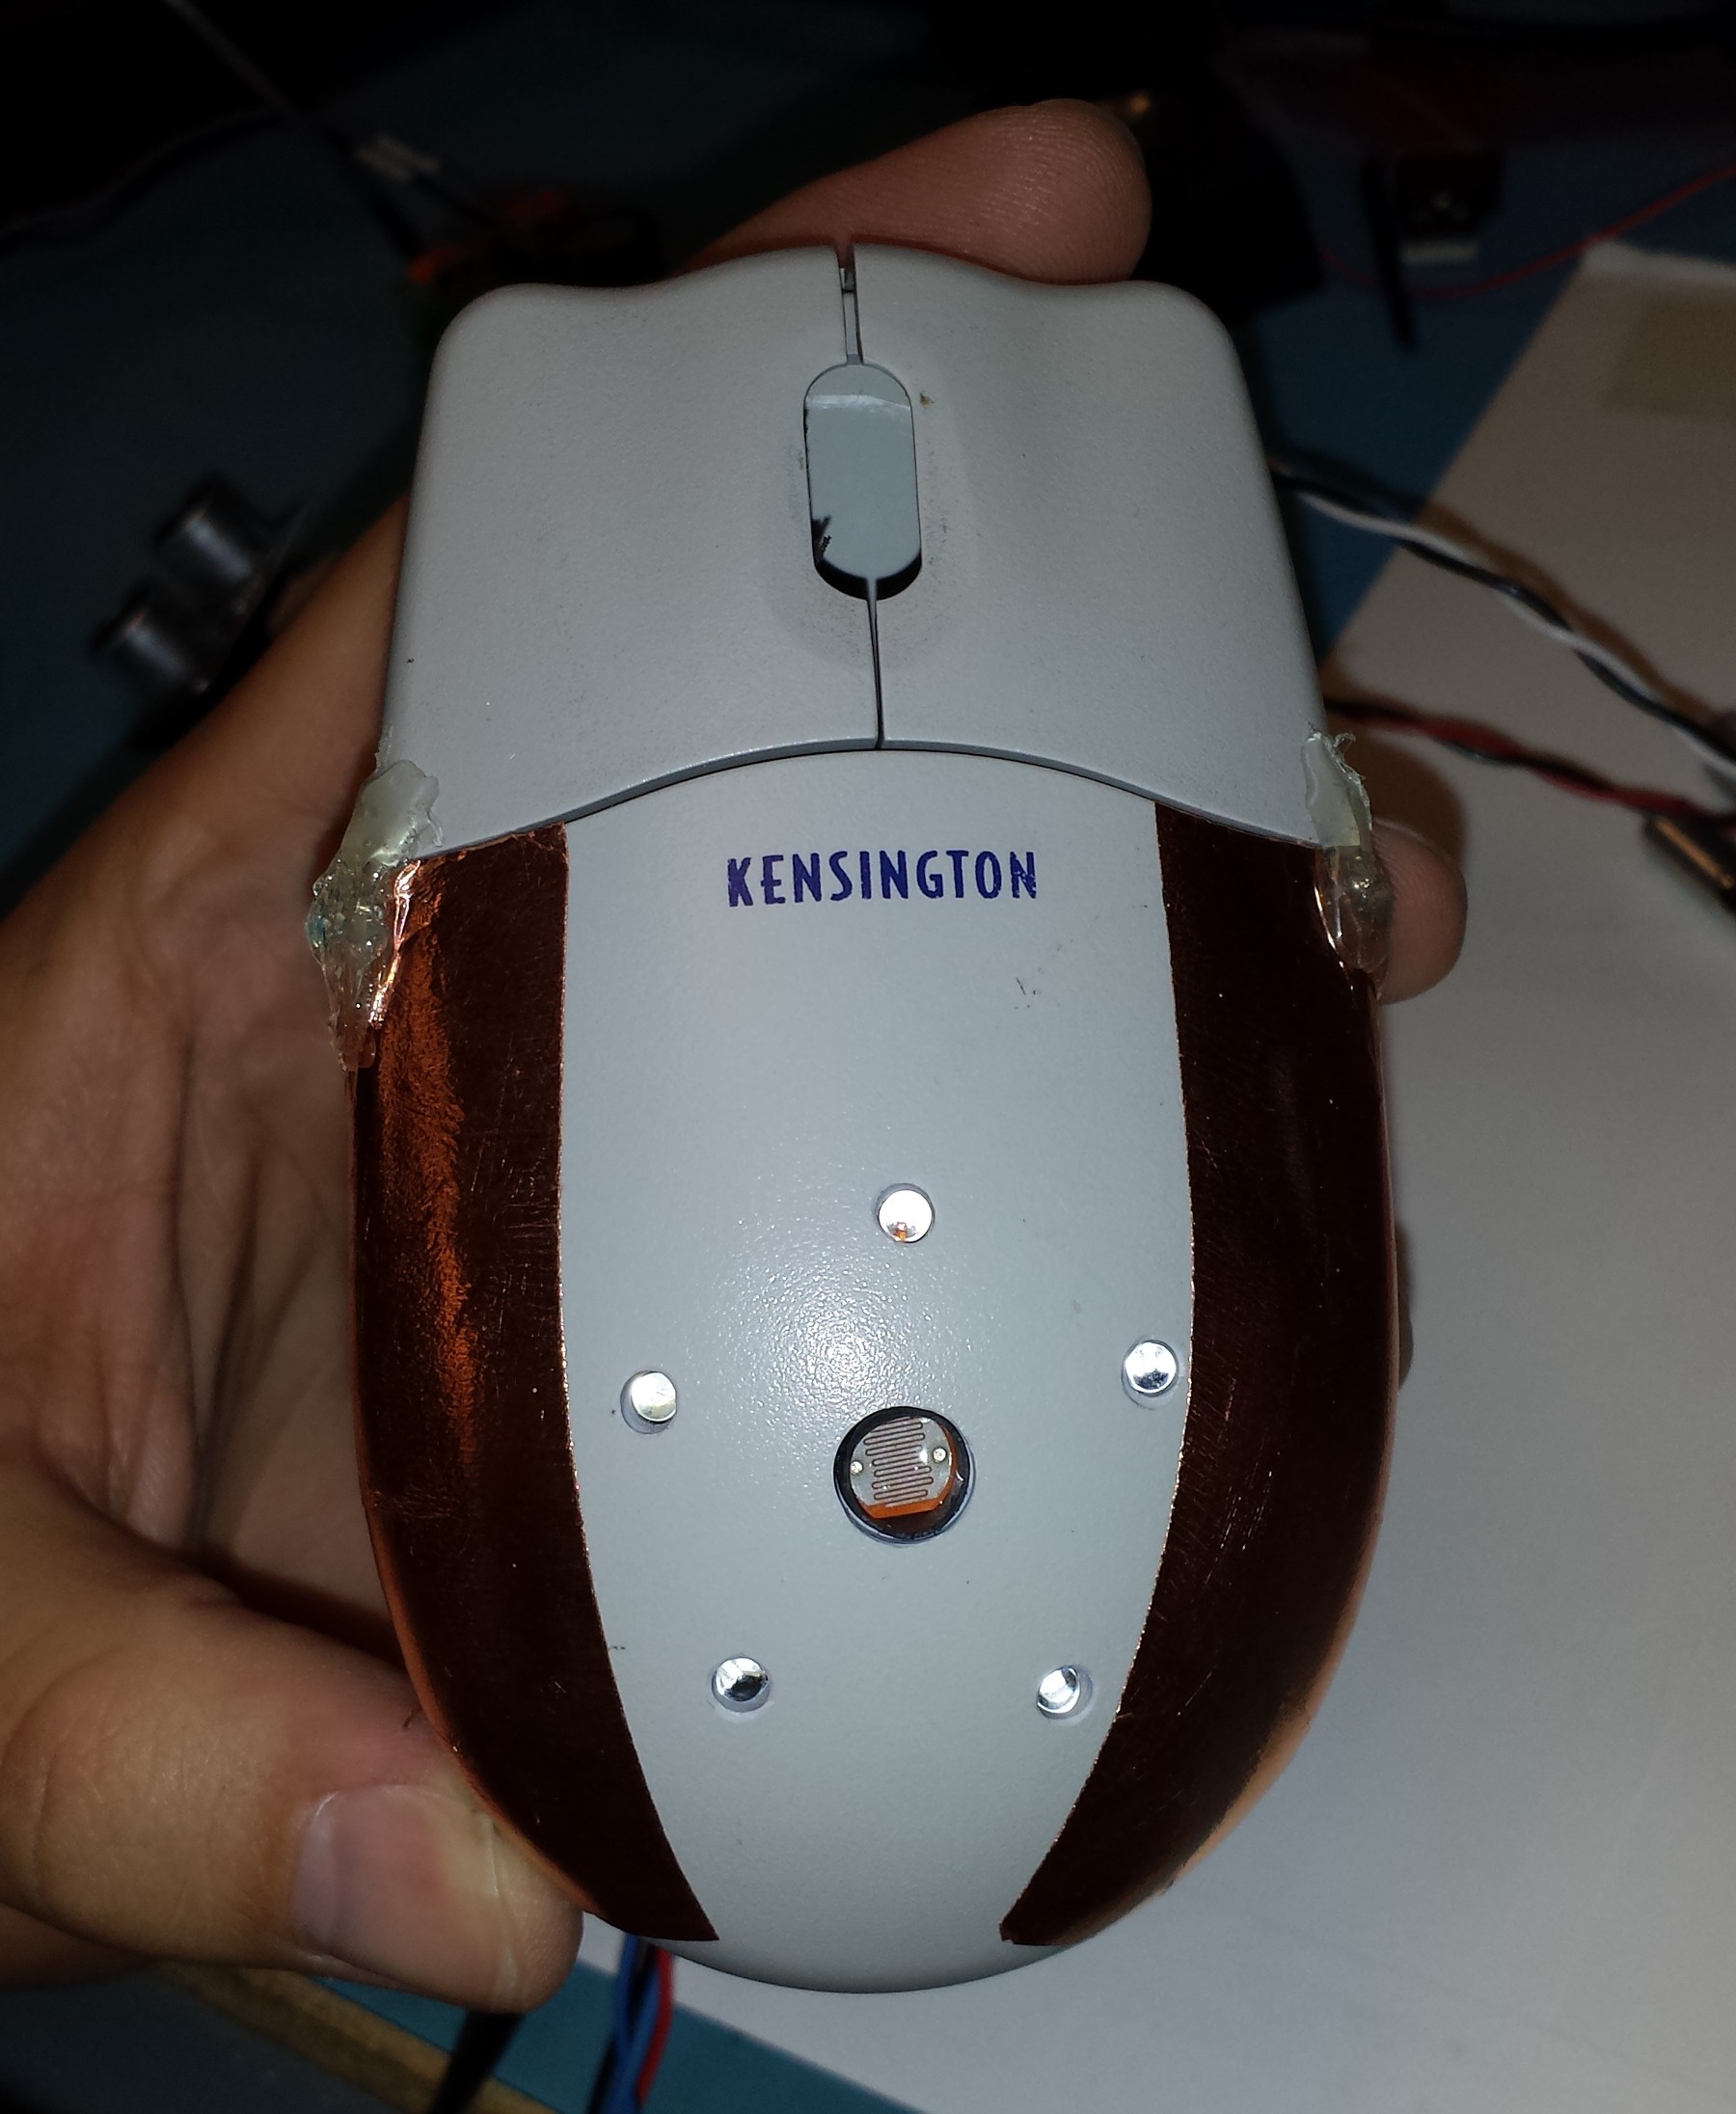 [x3n0x] applied some strips of adhesive backed copper foil to the Hell Mouse. I ran wires from the high voltage header to each side and tacked it on with solder. Unfortunately the stupid copper foil started peeling off and threatening to rip, so I had to tack it down with a ugly glob of hot glue. Other than the hot glue globs, this thing is looking pretty good so far!
 Trying out the fit of the connectors to the headers. I had to cut out a chunk of plastic so the high voltage connector could get fully seated to the header. This wire harness will be integrated into the bottom of the pain box.
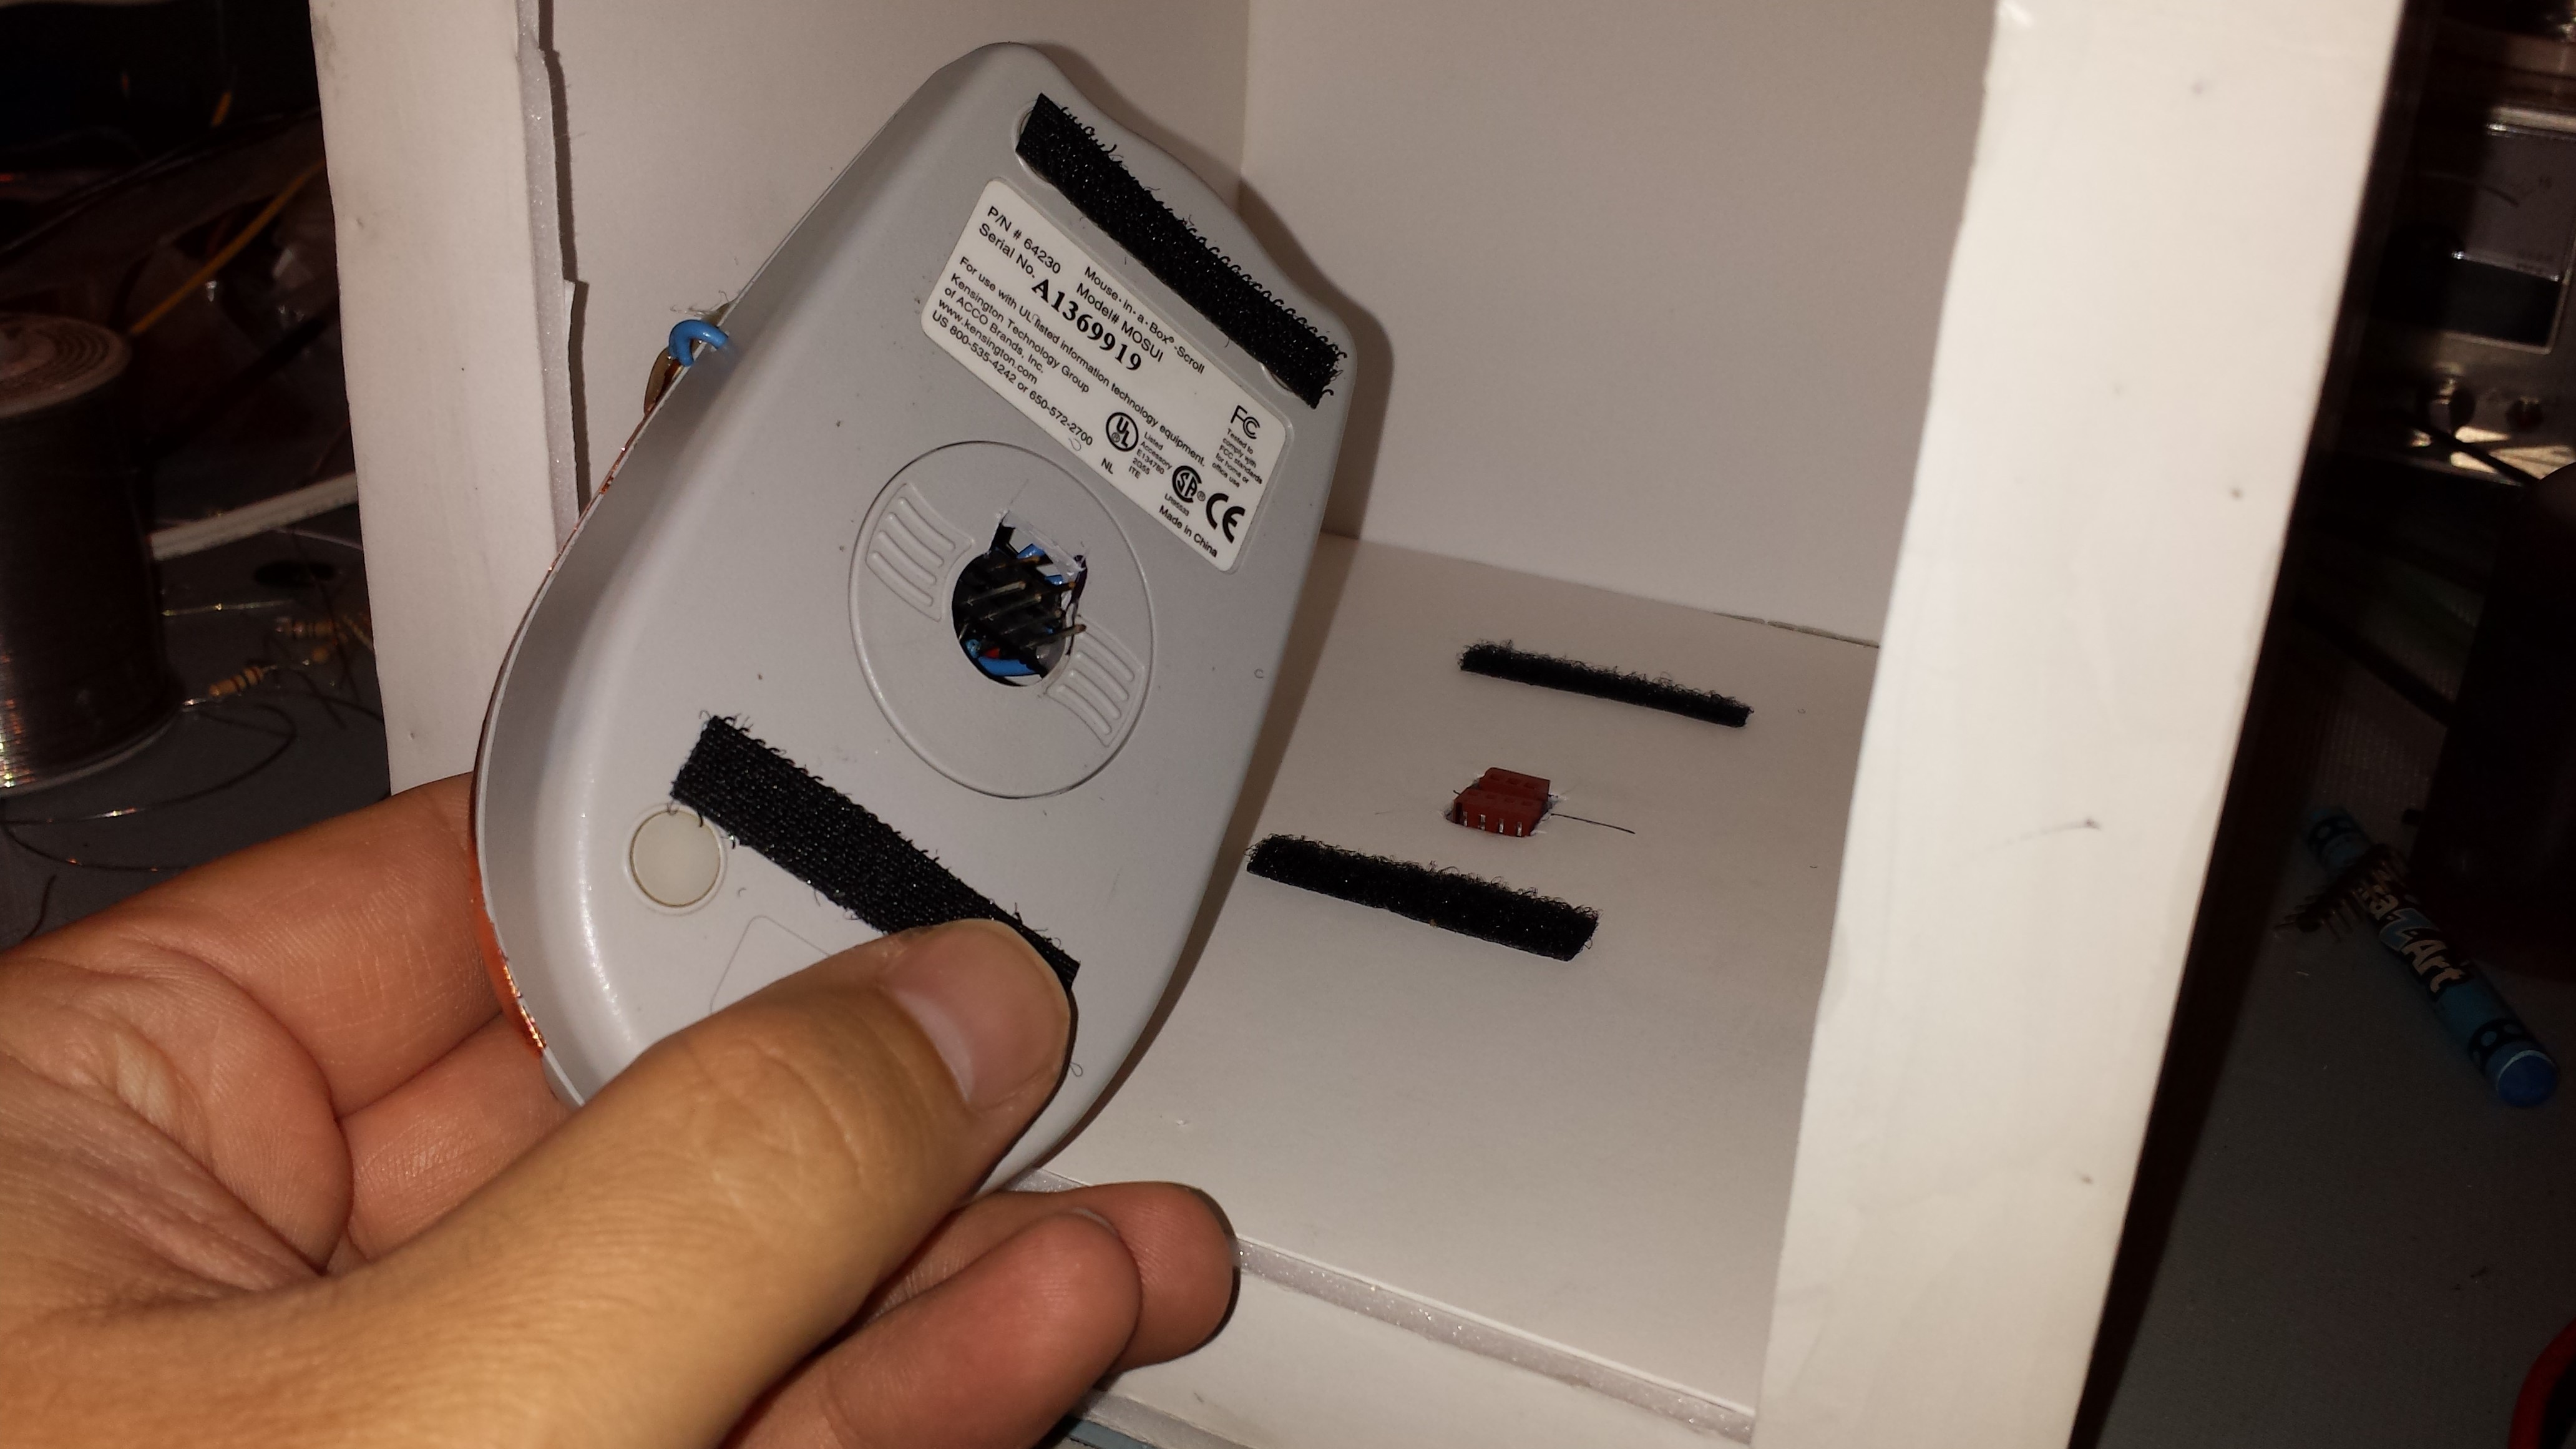 I added 2 narrow strips of hook and loop to the Hell Mouse to help hold it down securely, yet remain removable. I was afraid the hook and loop strips would tear off the foam core, but the few test disconnections showed it was working perfectly.
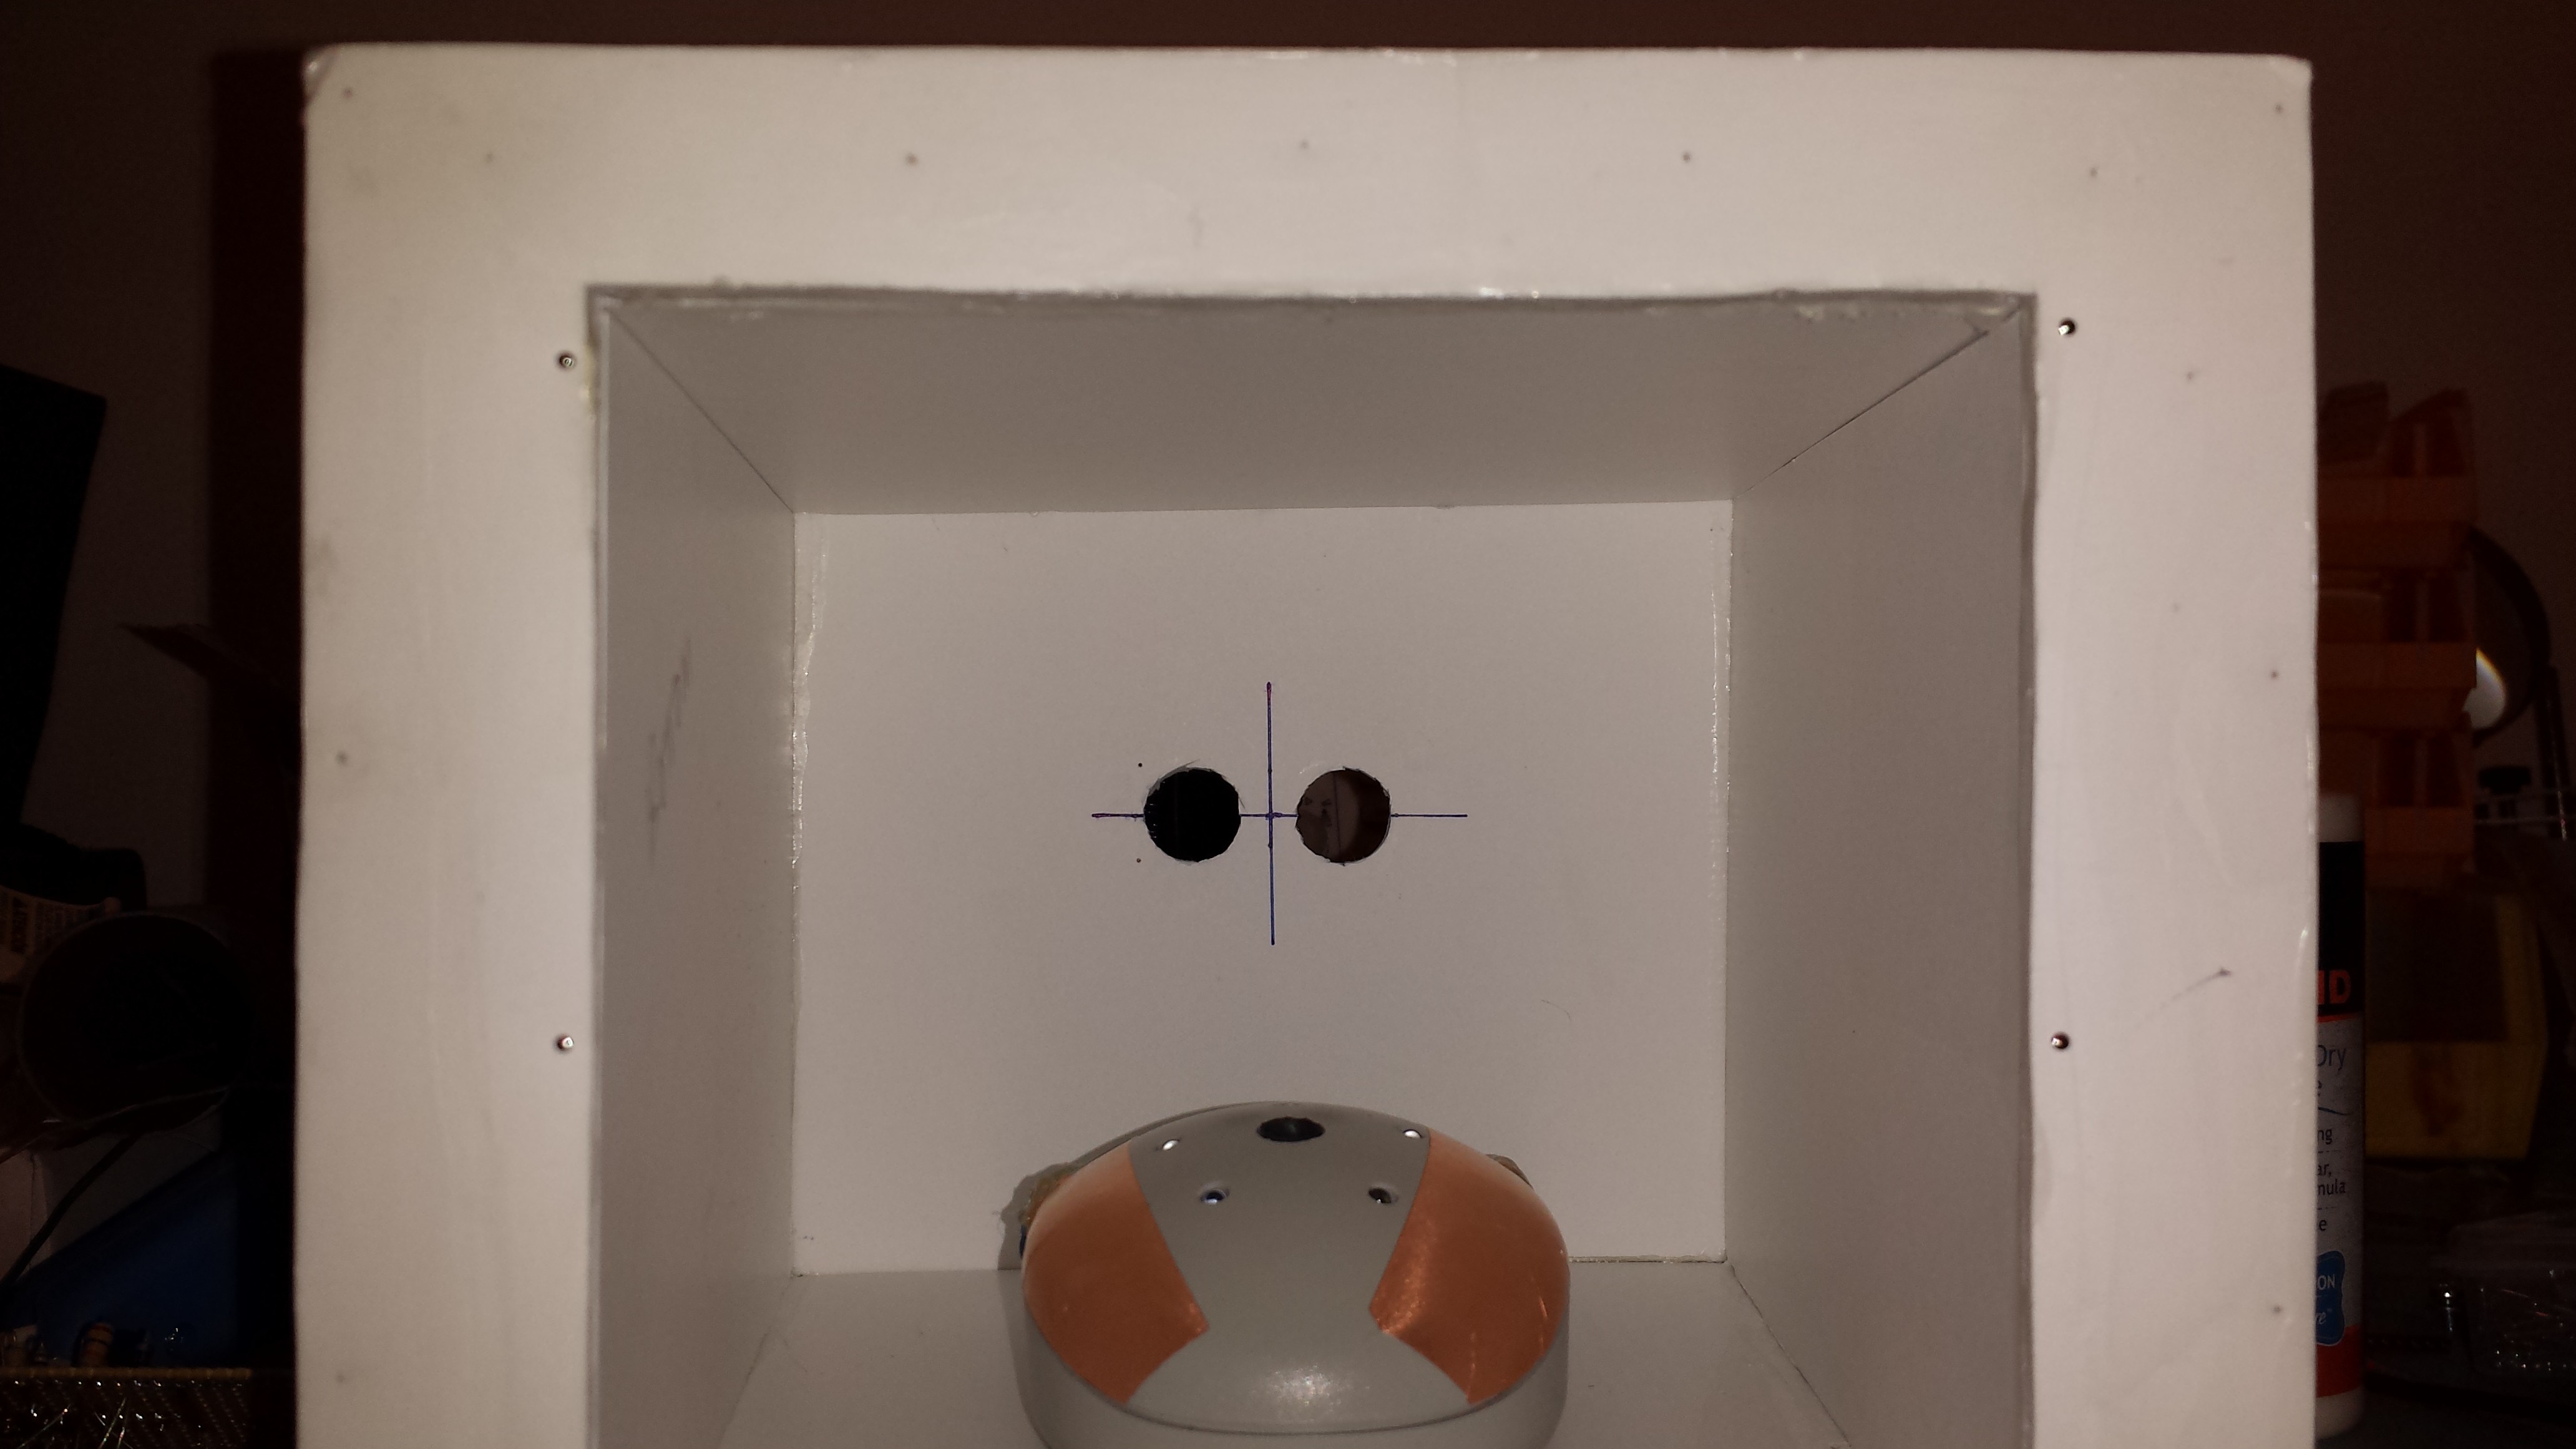 Here is the little beast installed in the box, ready to assist the Reverend Mother in testing for animals.
Discussions
Become a Hackaday.io Member
Create an account to leave a comment. Already have an account? Log In.
Are you sure? yes | no
Are you sure? yes | no