 Tim Wilkinson
I suppose the basis for any project which has to move is its frame. Originally I had planned to use PVC tubing to build the frame. This appears to be quite common when building an ROV; it's easily available, comes with lots of different joints to plug pieces together, and is waterproof. However, when I was at the local hardware store looking at options, I was surprised with just how heavy PVC piping is (somehow I'd never really noticed this). Also, piping doesn't help much when it comes to attaching things to it; it's very round after all.
Then I came across Actobotics. Actobotics reminds me of Mechano when I was a kid (I admit I was always more of a Lego fan). This stuff has a couple of properties I found appealing. First, it's aluminum which makes it light and rustproof. Second, it's design for attaching stuff to. Ultimately I chose the mini-channel stuff as the basis for the frame.
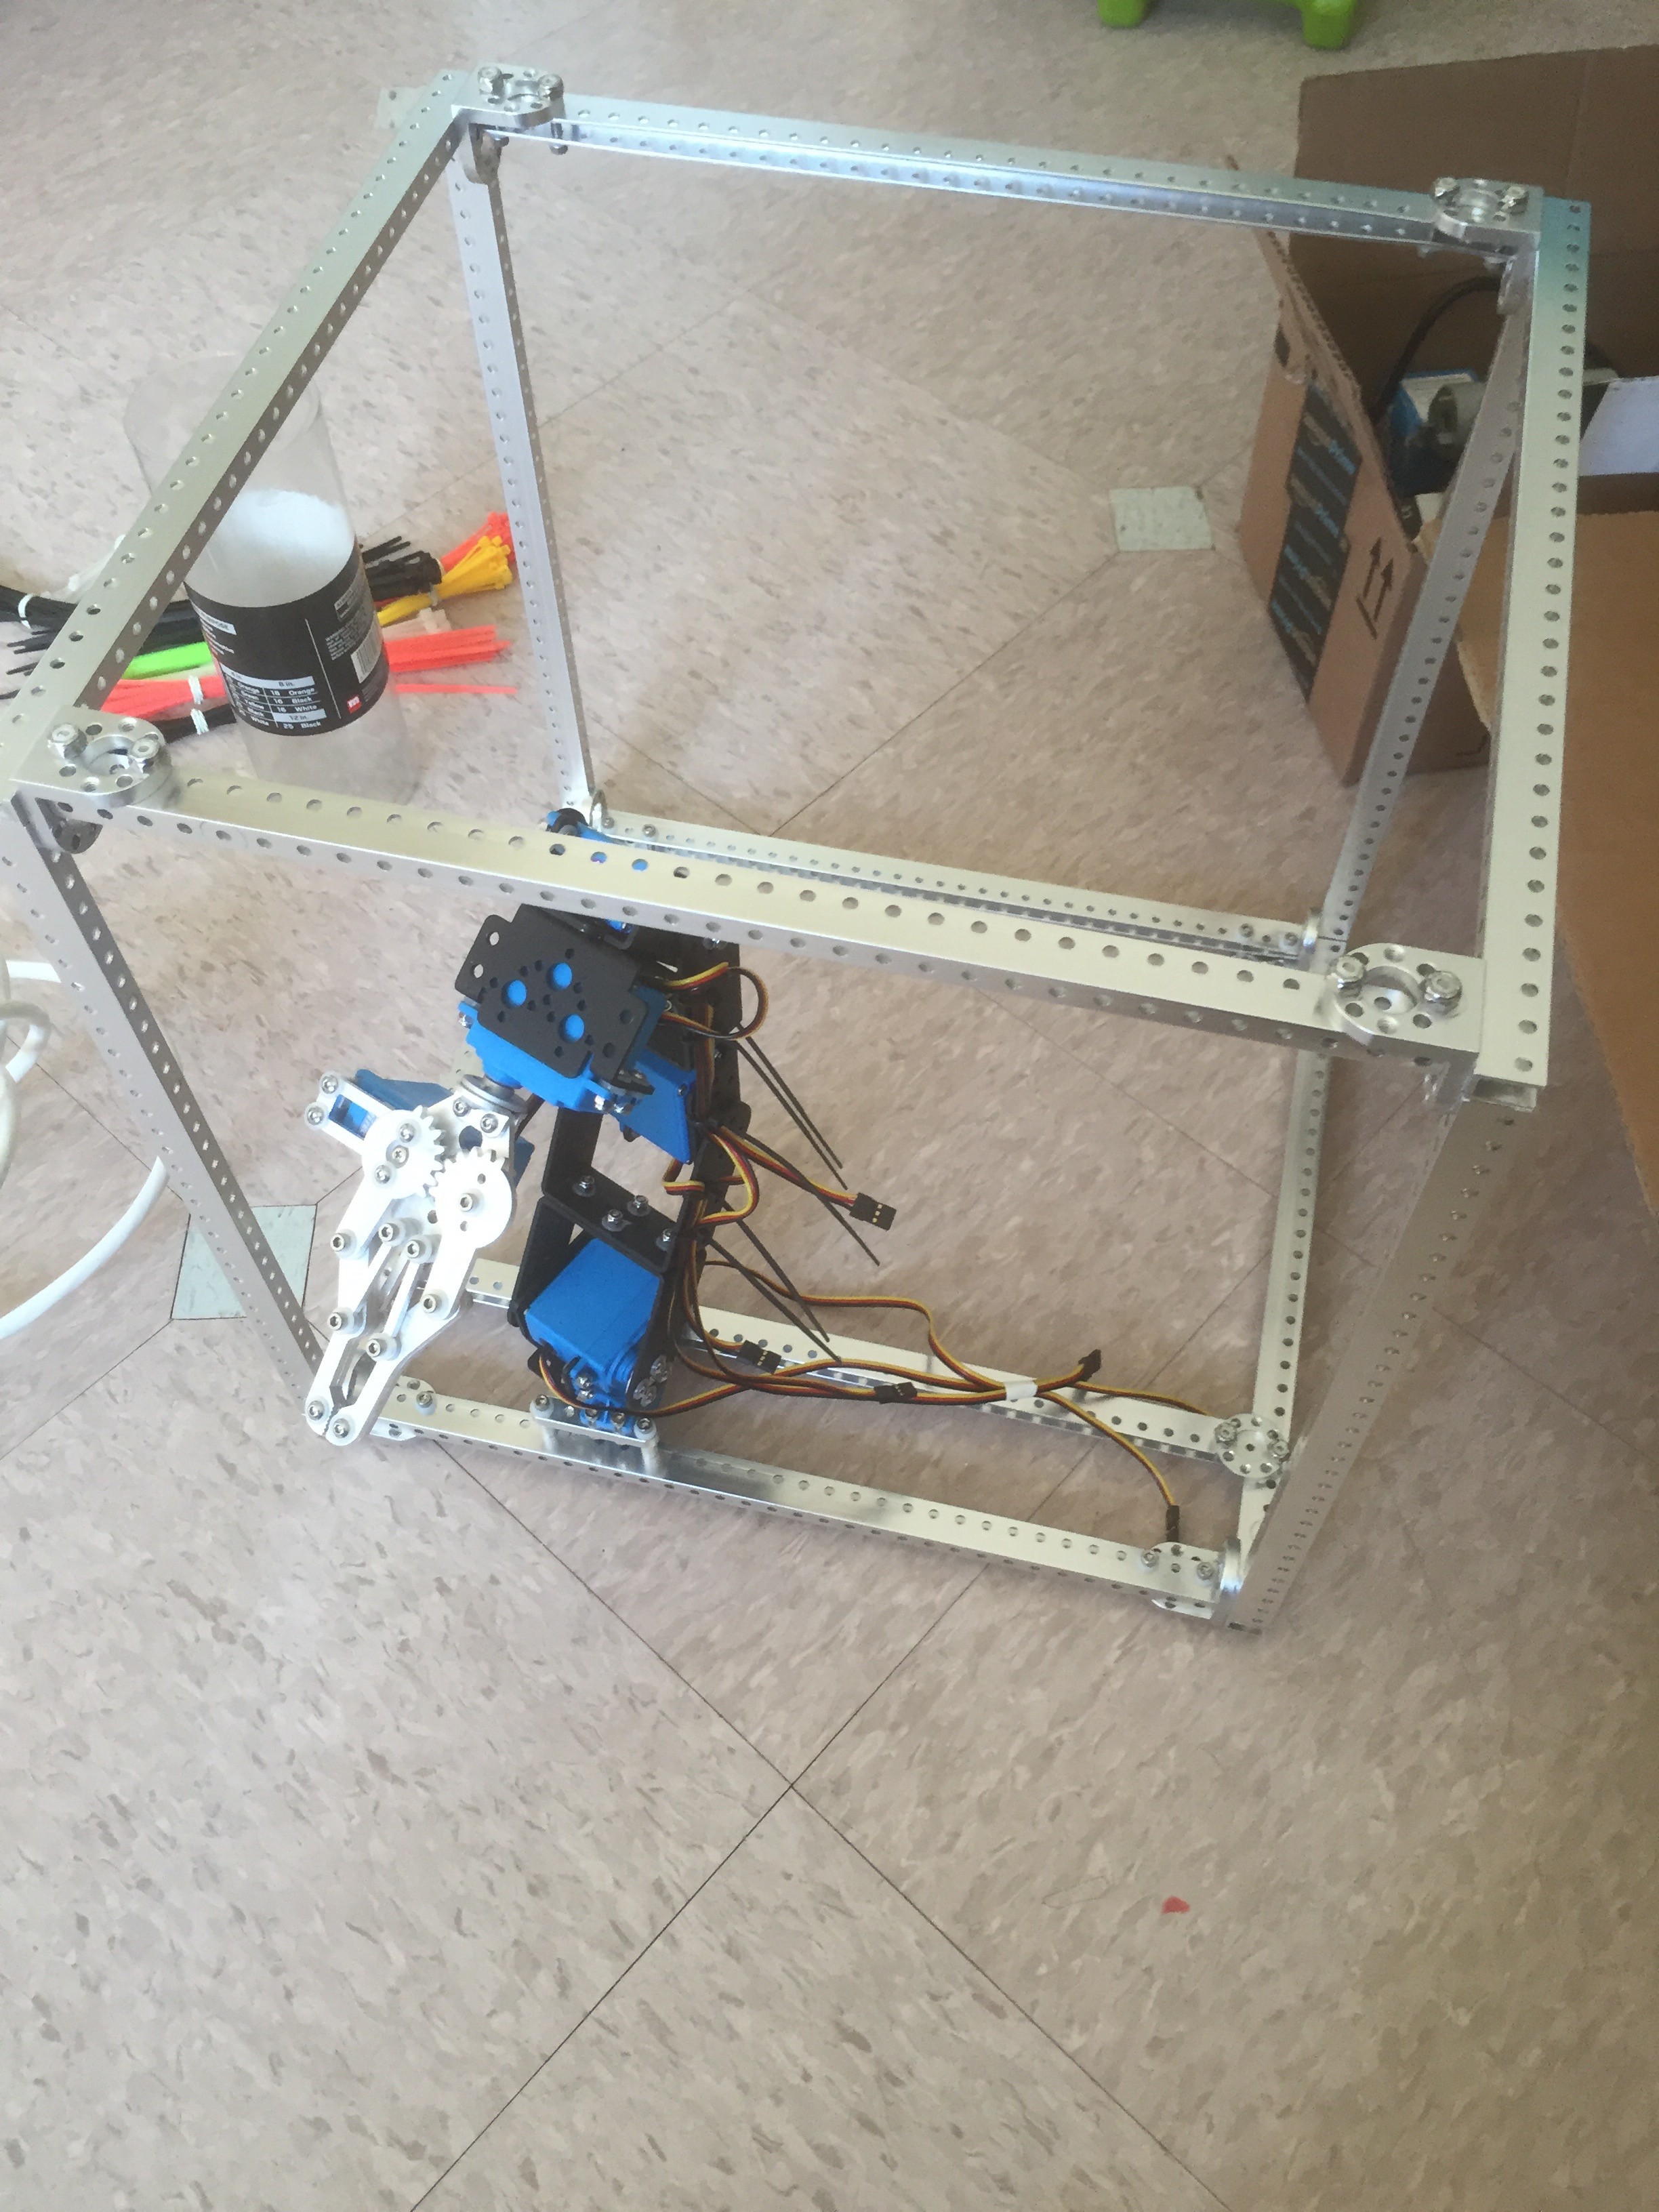
Another early choice I made was for my craft to be a cube. Now, if you look at the literature about the shape of submersibles, cubes are not exactly top of the list. Still, my focus was on making a craft that was highly maneuverable, and a cube would allow me to mount thrusters to make that happen. My theory (untested so far) is that I can give the craft stability though the use of many small thrusters mounted on the frame. I'll find out if that's true soon enough.
I've used 12" pieces of mini-channel for each side of the cube. Unfortunately Actobotics does not make it very easy to build a cube. Specifically there are no good corner pieces to let me connect three mini-channels, each at 90 degrees to the rest. After a few failed experiments, I've settled on using 90 degree hub mounts. I think there are more options if you use the larger channels.
Here's the final frame (with the attached robot arm which I'll take about another day):
Discussions
Become a Hackaday.io Member
Create an account to leave a comment. Already have an account? Log In.