 MDreamer
The staff
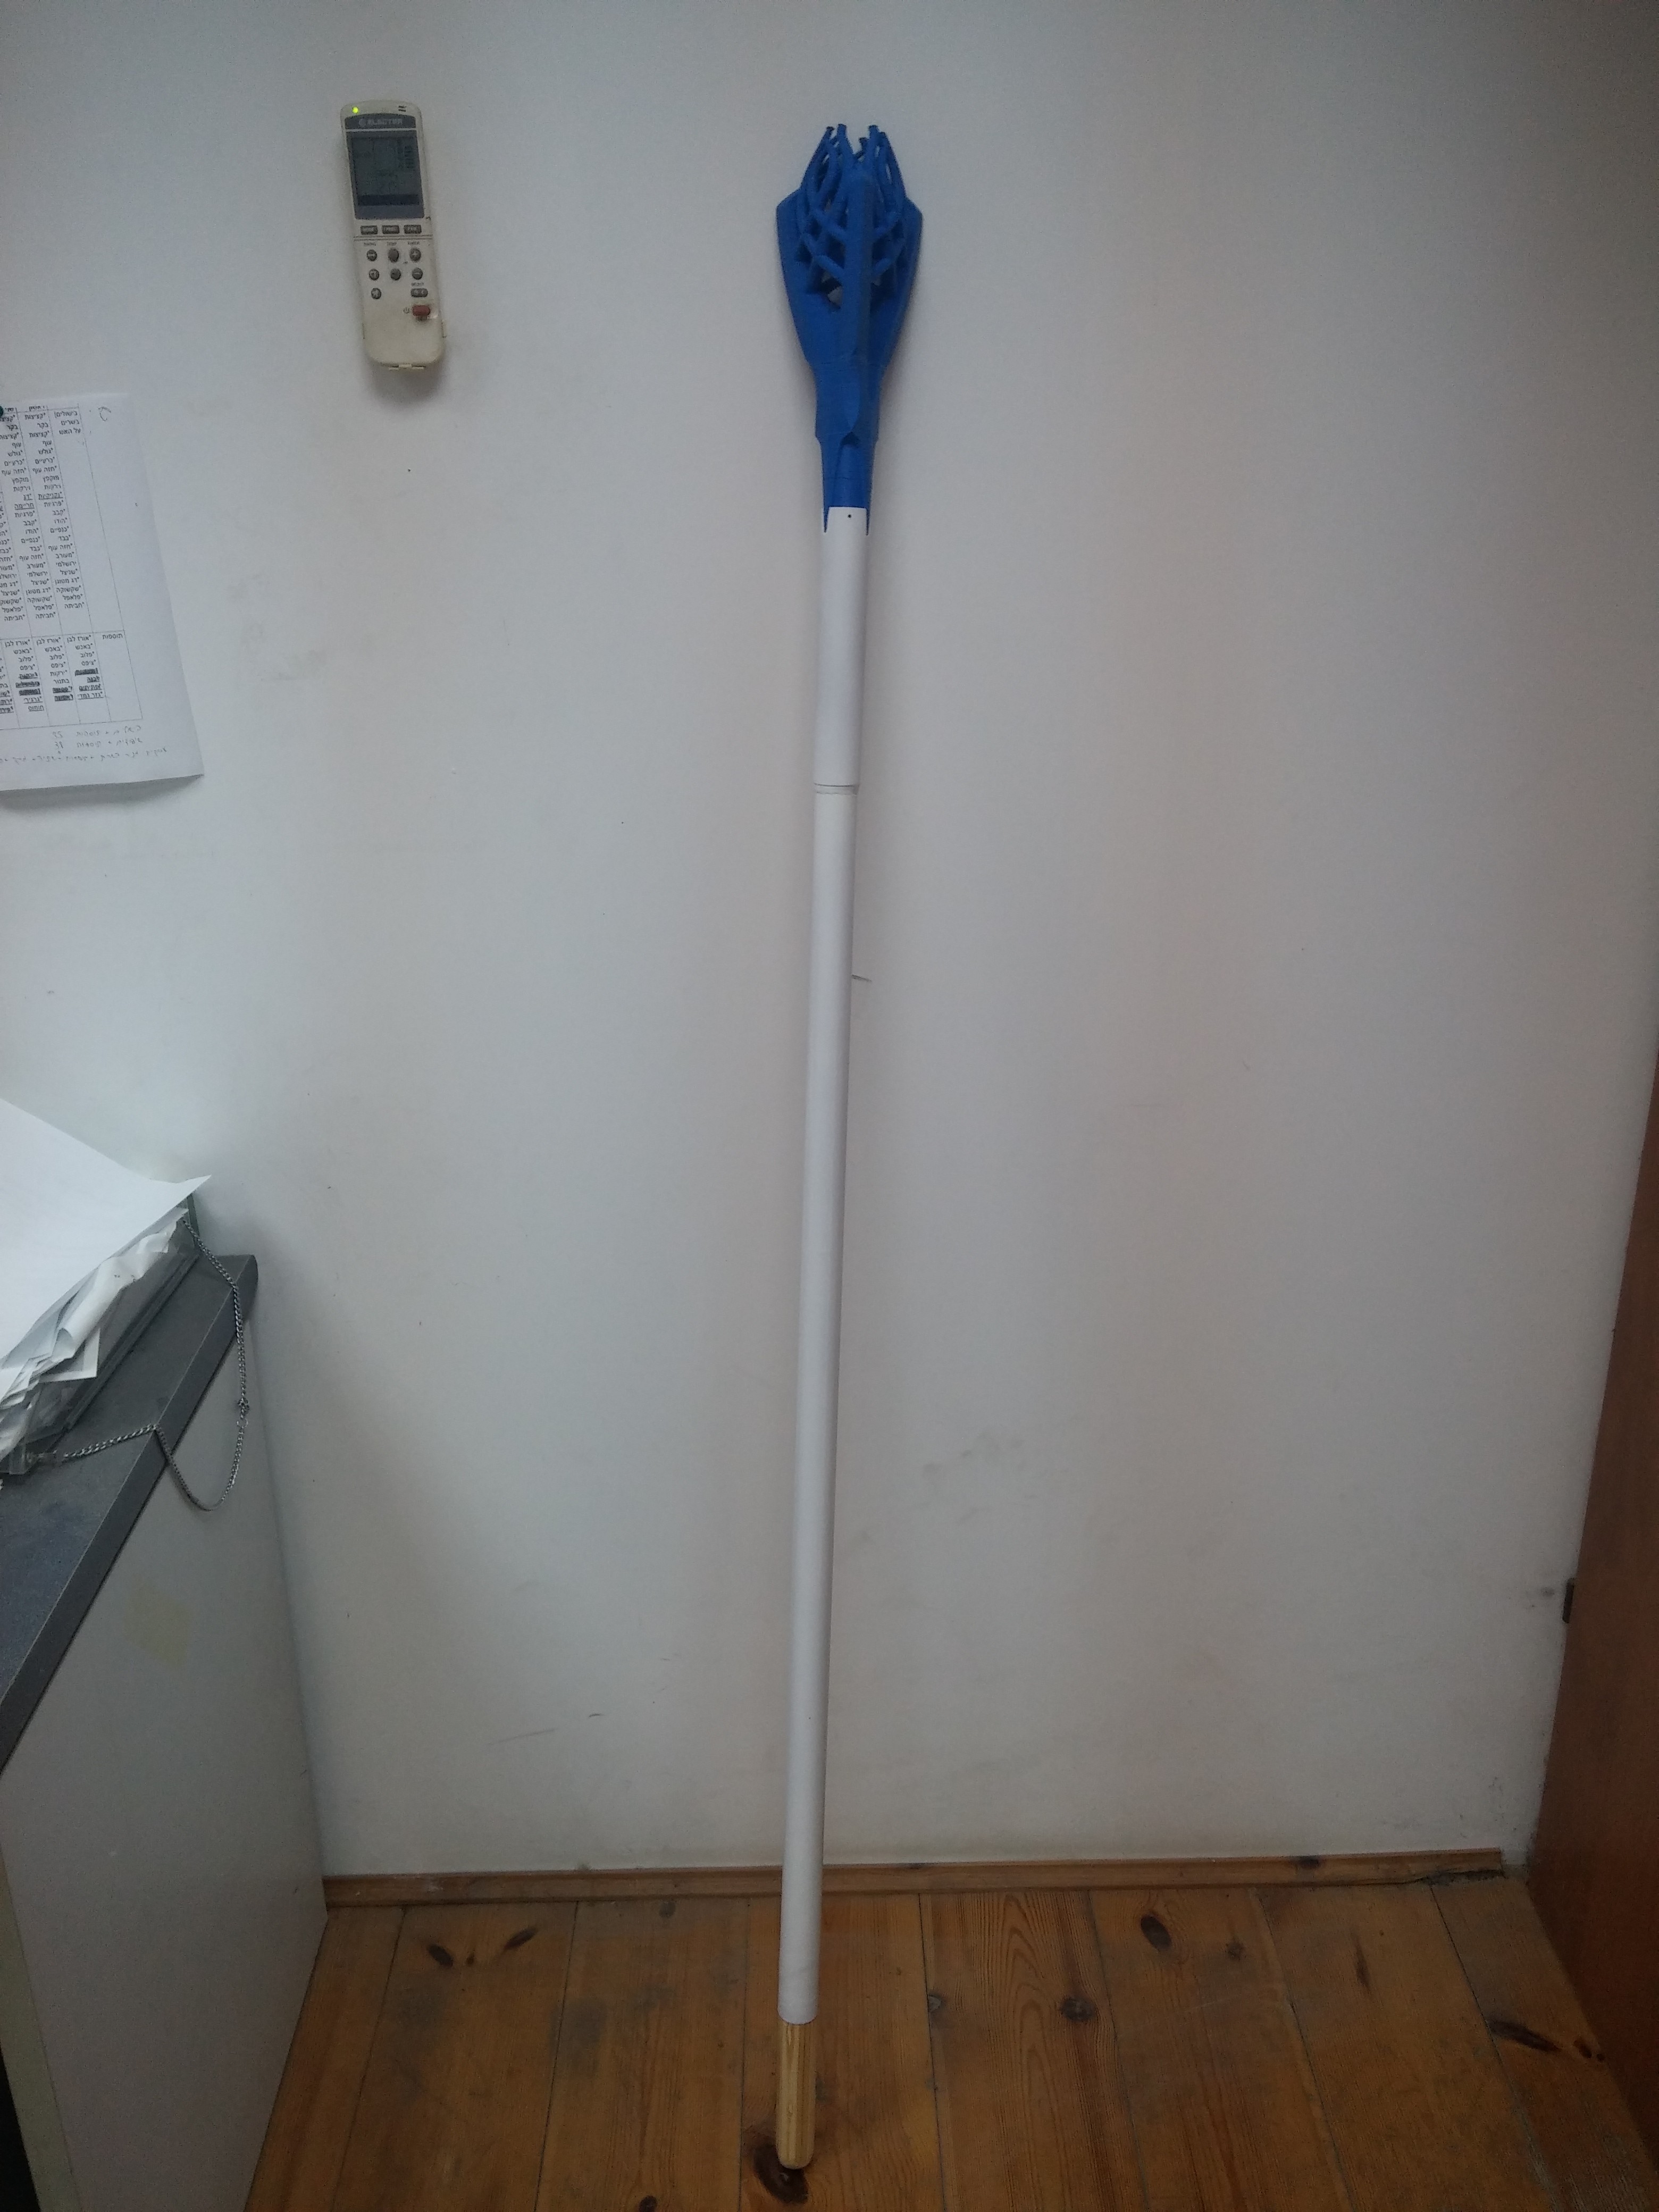
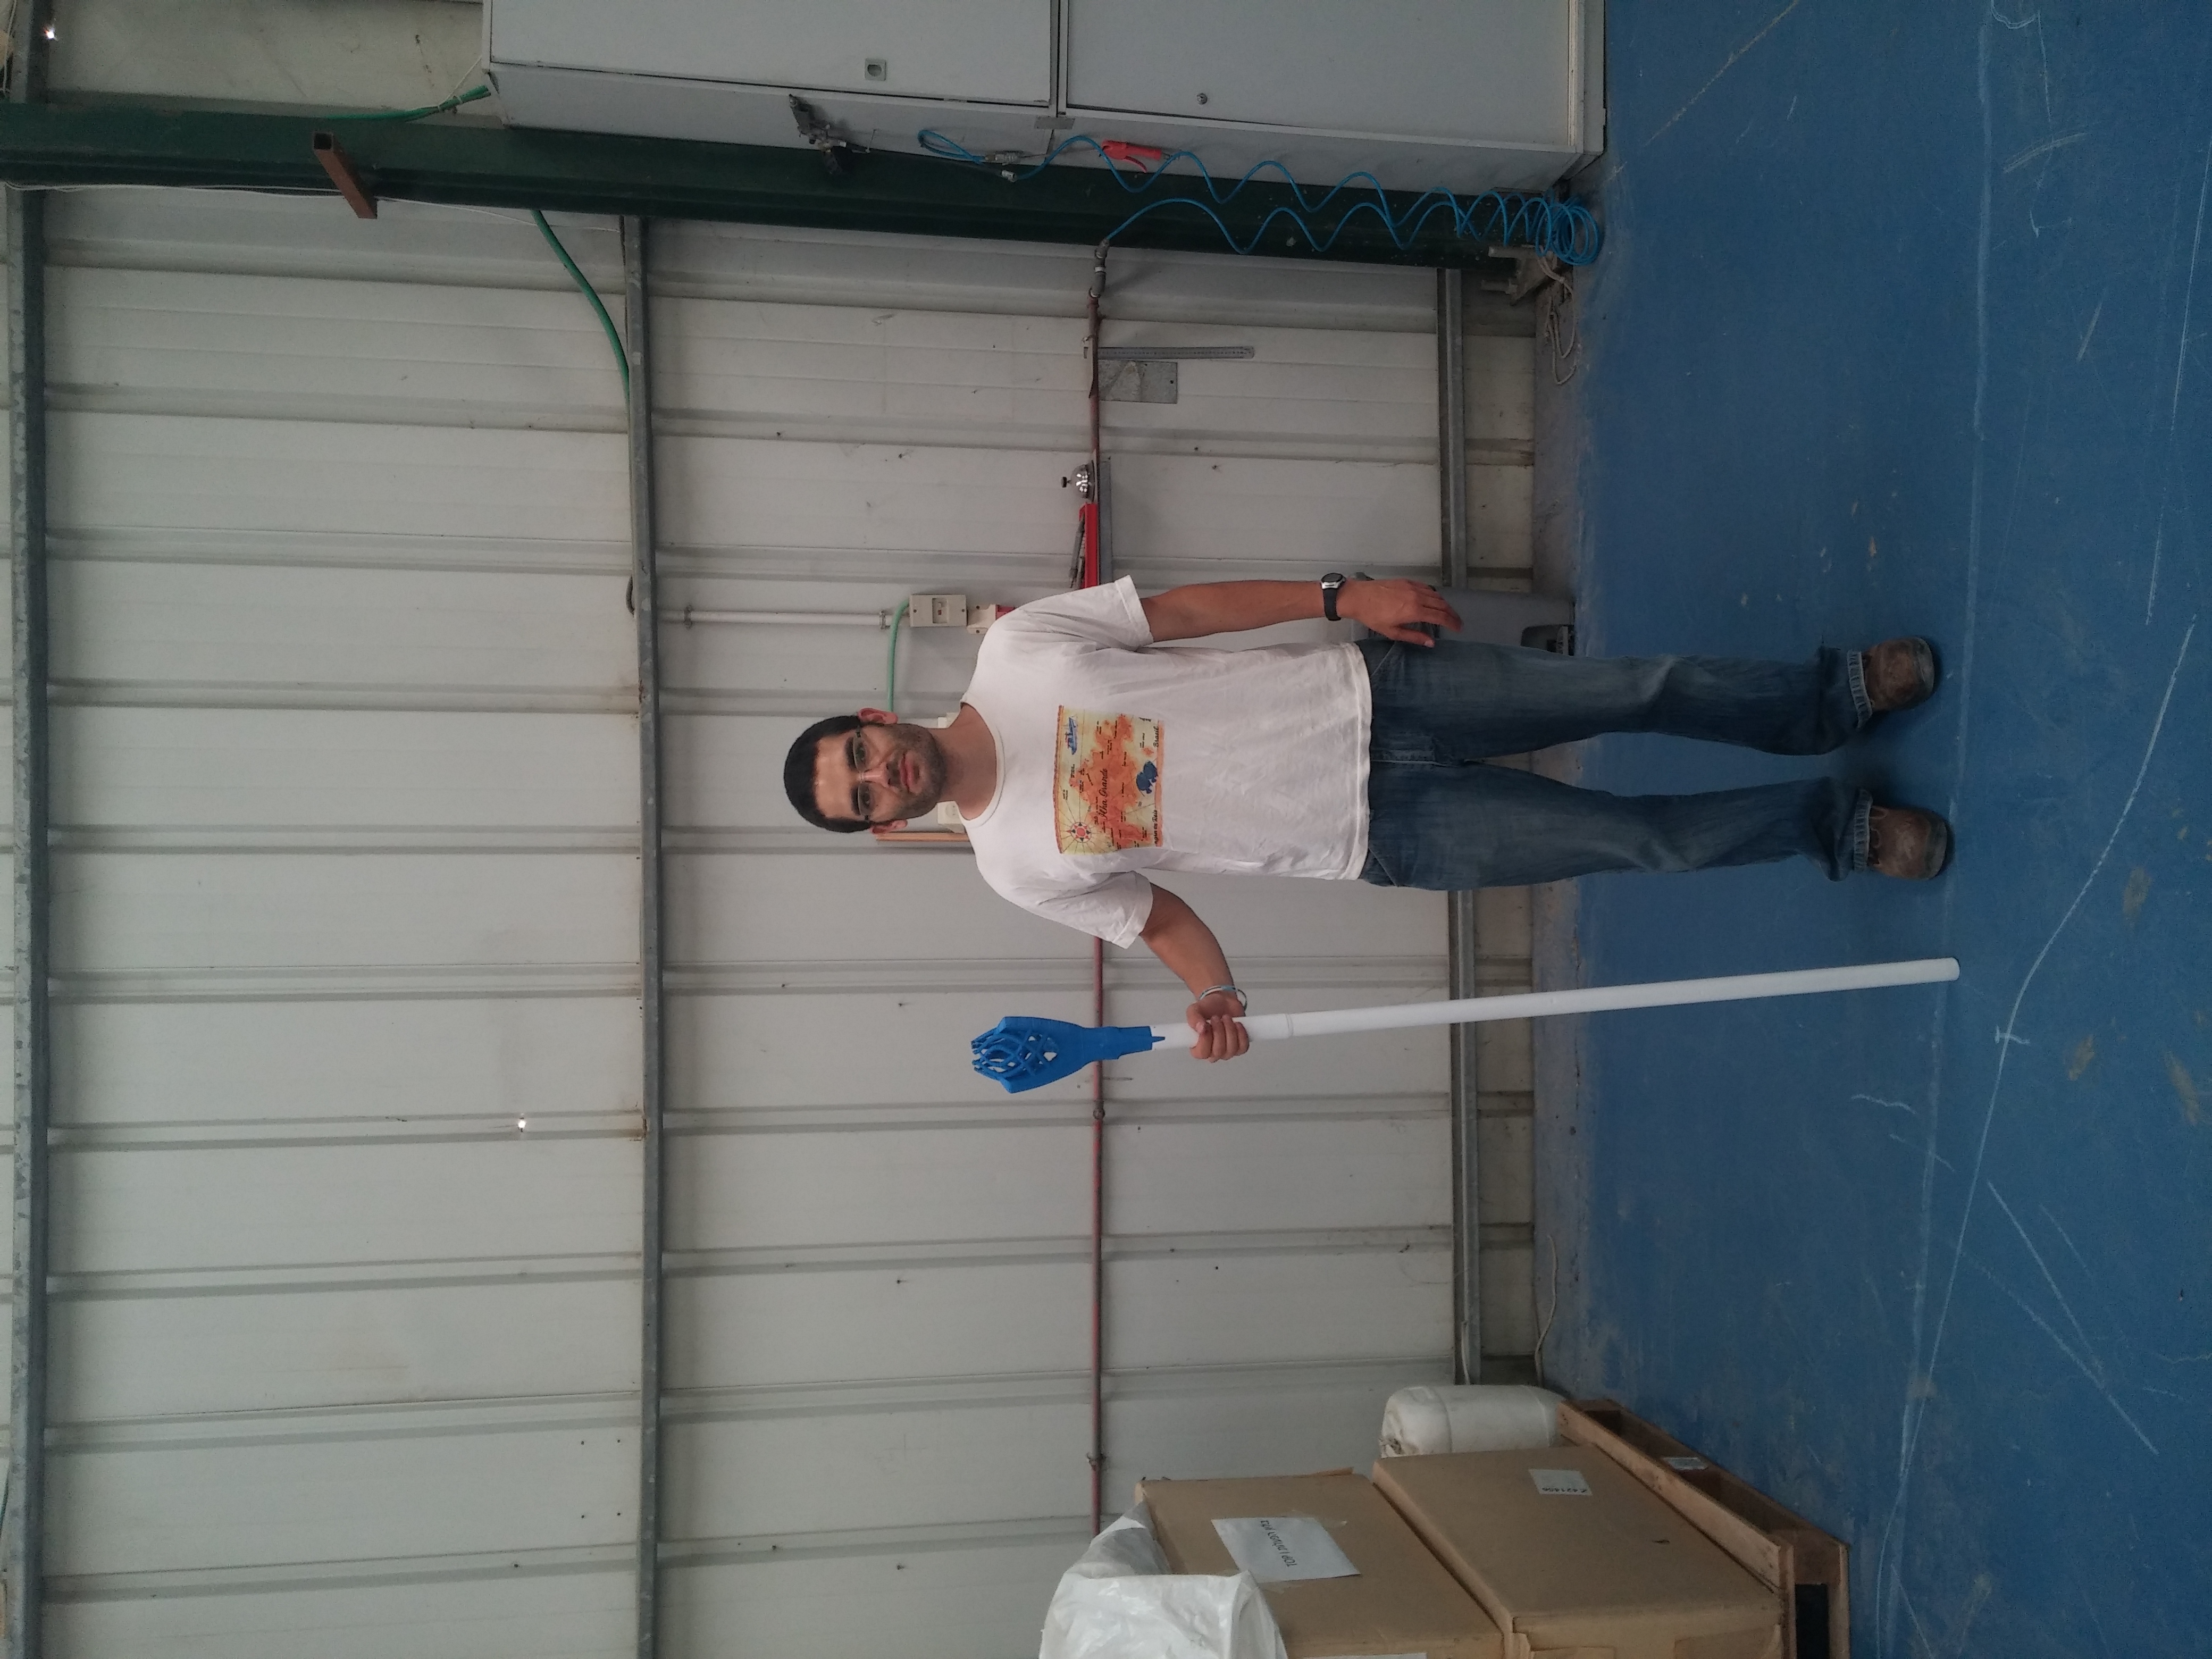
Every warlock has a staff and this staff is packed with goodies – soft lights, high lights, fairy lights and cloak color and pattern control that is being done by a lot of software, electronics and wireless modules – very useful lights for the Playa’s night. The staff was built from three main parts – head, aluminum pipe and carbon fishing rod. Those type of materials are sometime hard to work with and require knowledge in composite materials. The configuration and materials were chosen because of two main feature: Aluminum and carbon are not para-magnetic and they are extremely light – this issue is going to be
explained later.
The head of the staff is Gandalf The White Staff and I download the design from http://www.thingiverse.com/ and printed it – the guy did miraculous job in designing it.
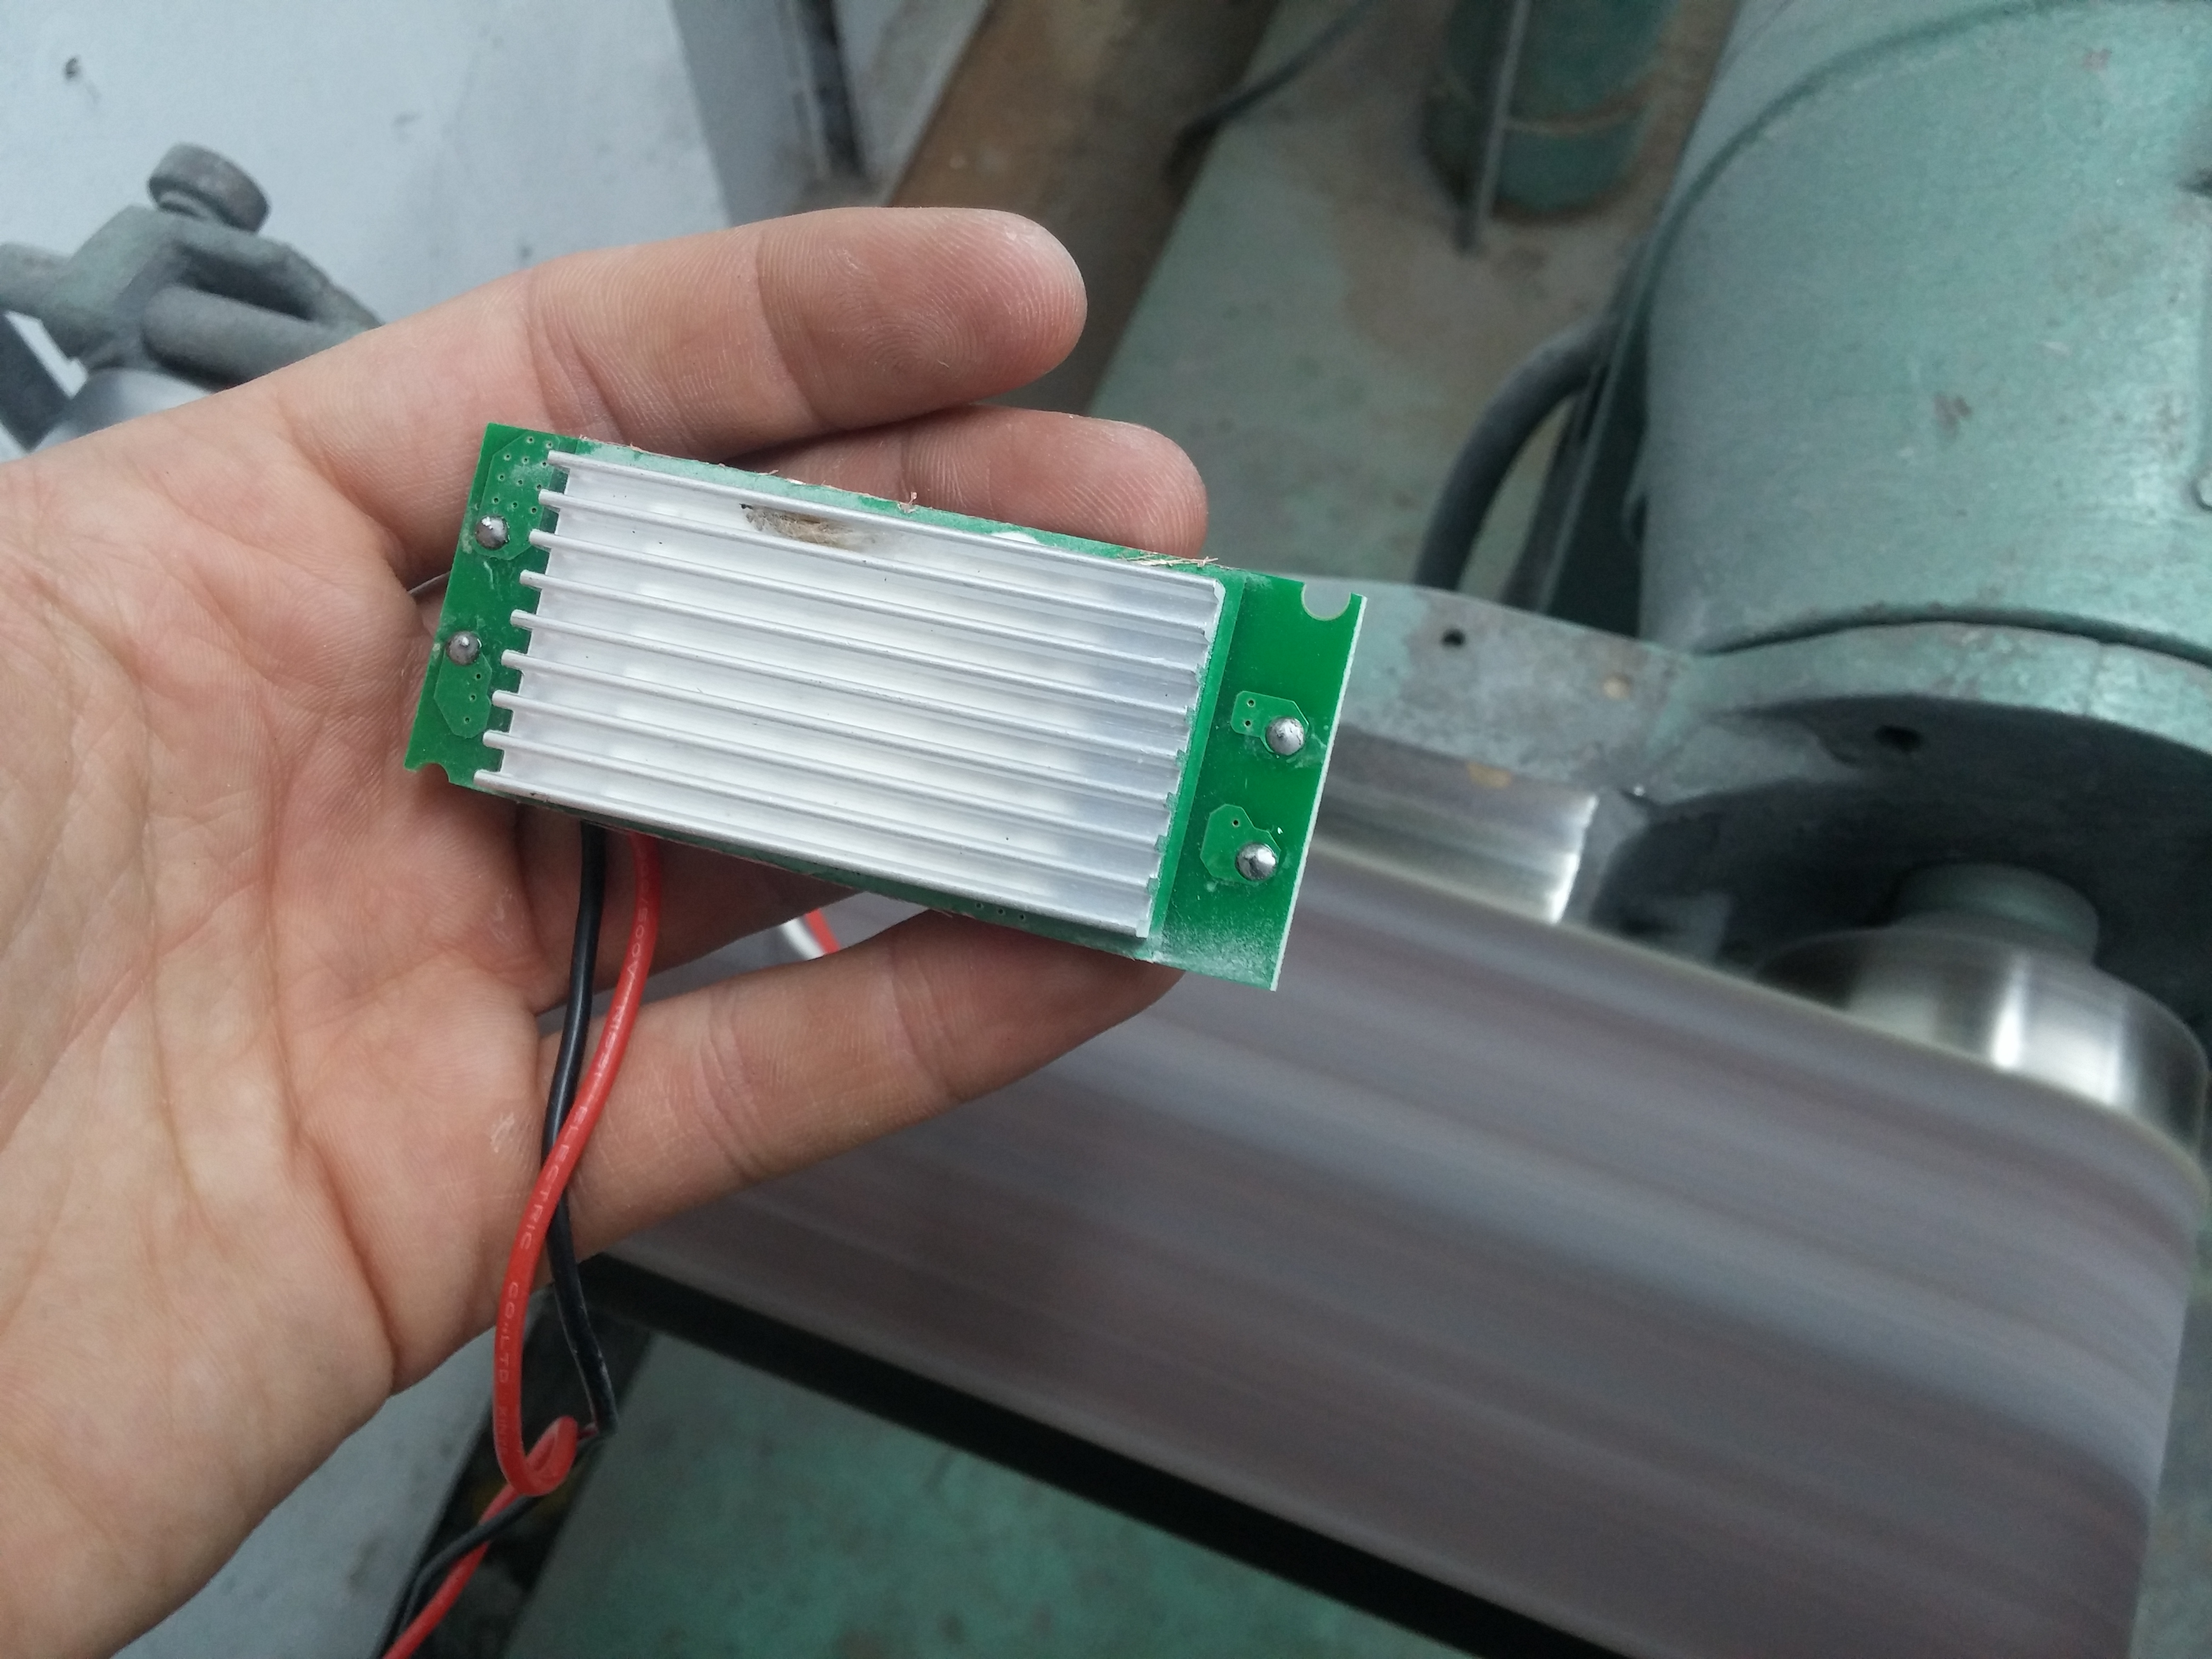
I changed the original size a bit and distorted the ratio according to my needs. It looks great and fit perfectly into my staff design. A 20Watt (!!!) LED light that runs on 36V was mounted inside the head of the staff – I had to remove some of the inner part of the printed staff’s head.
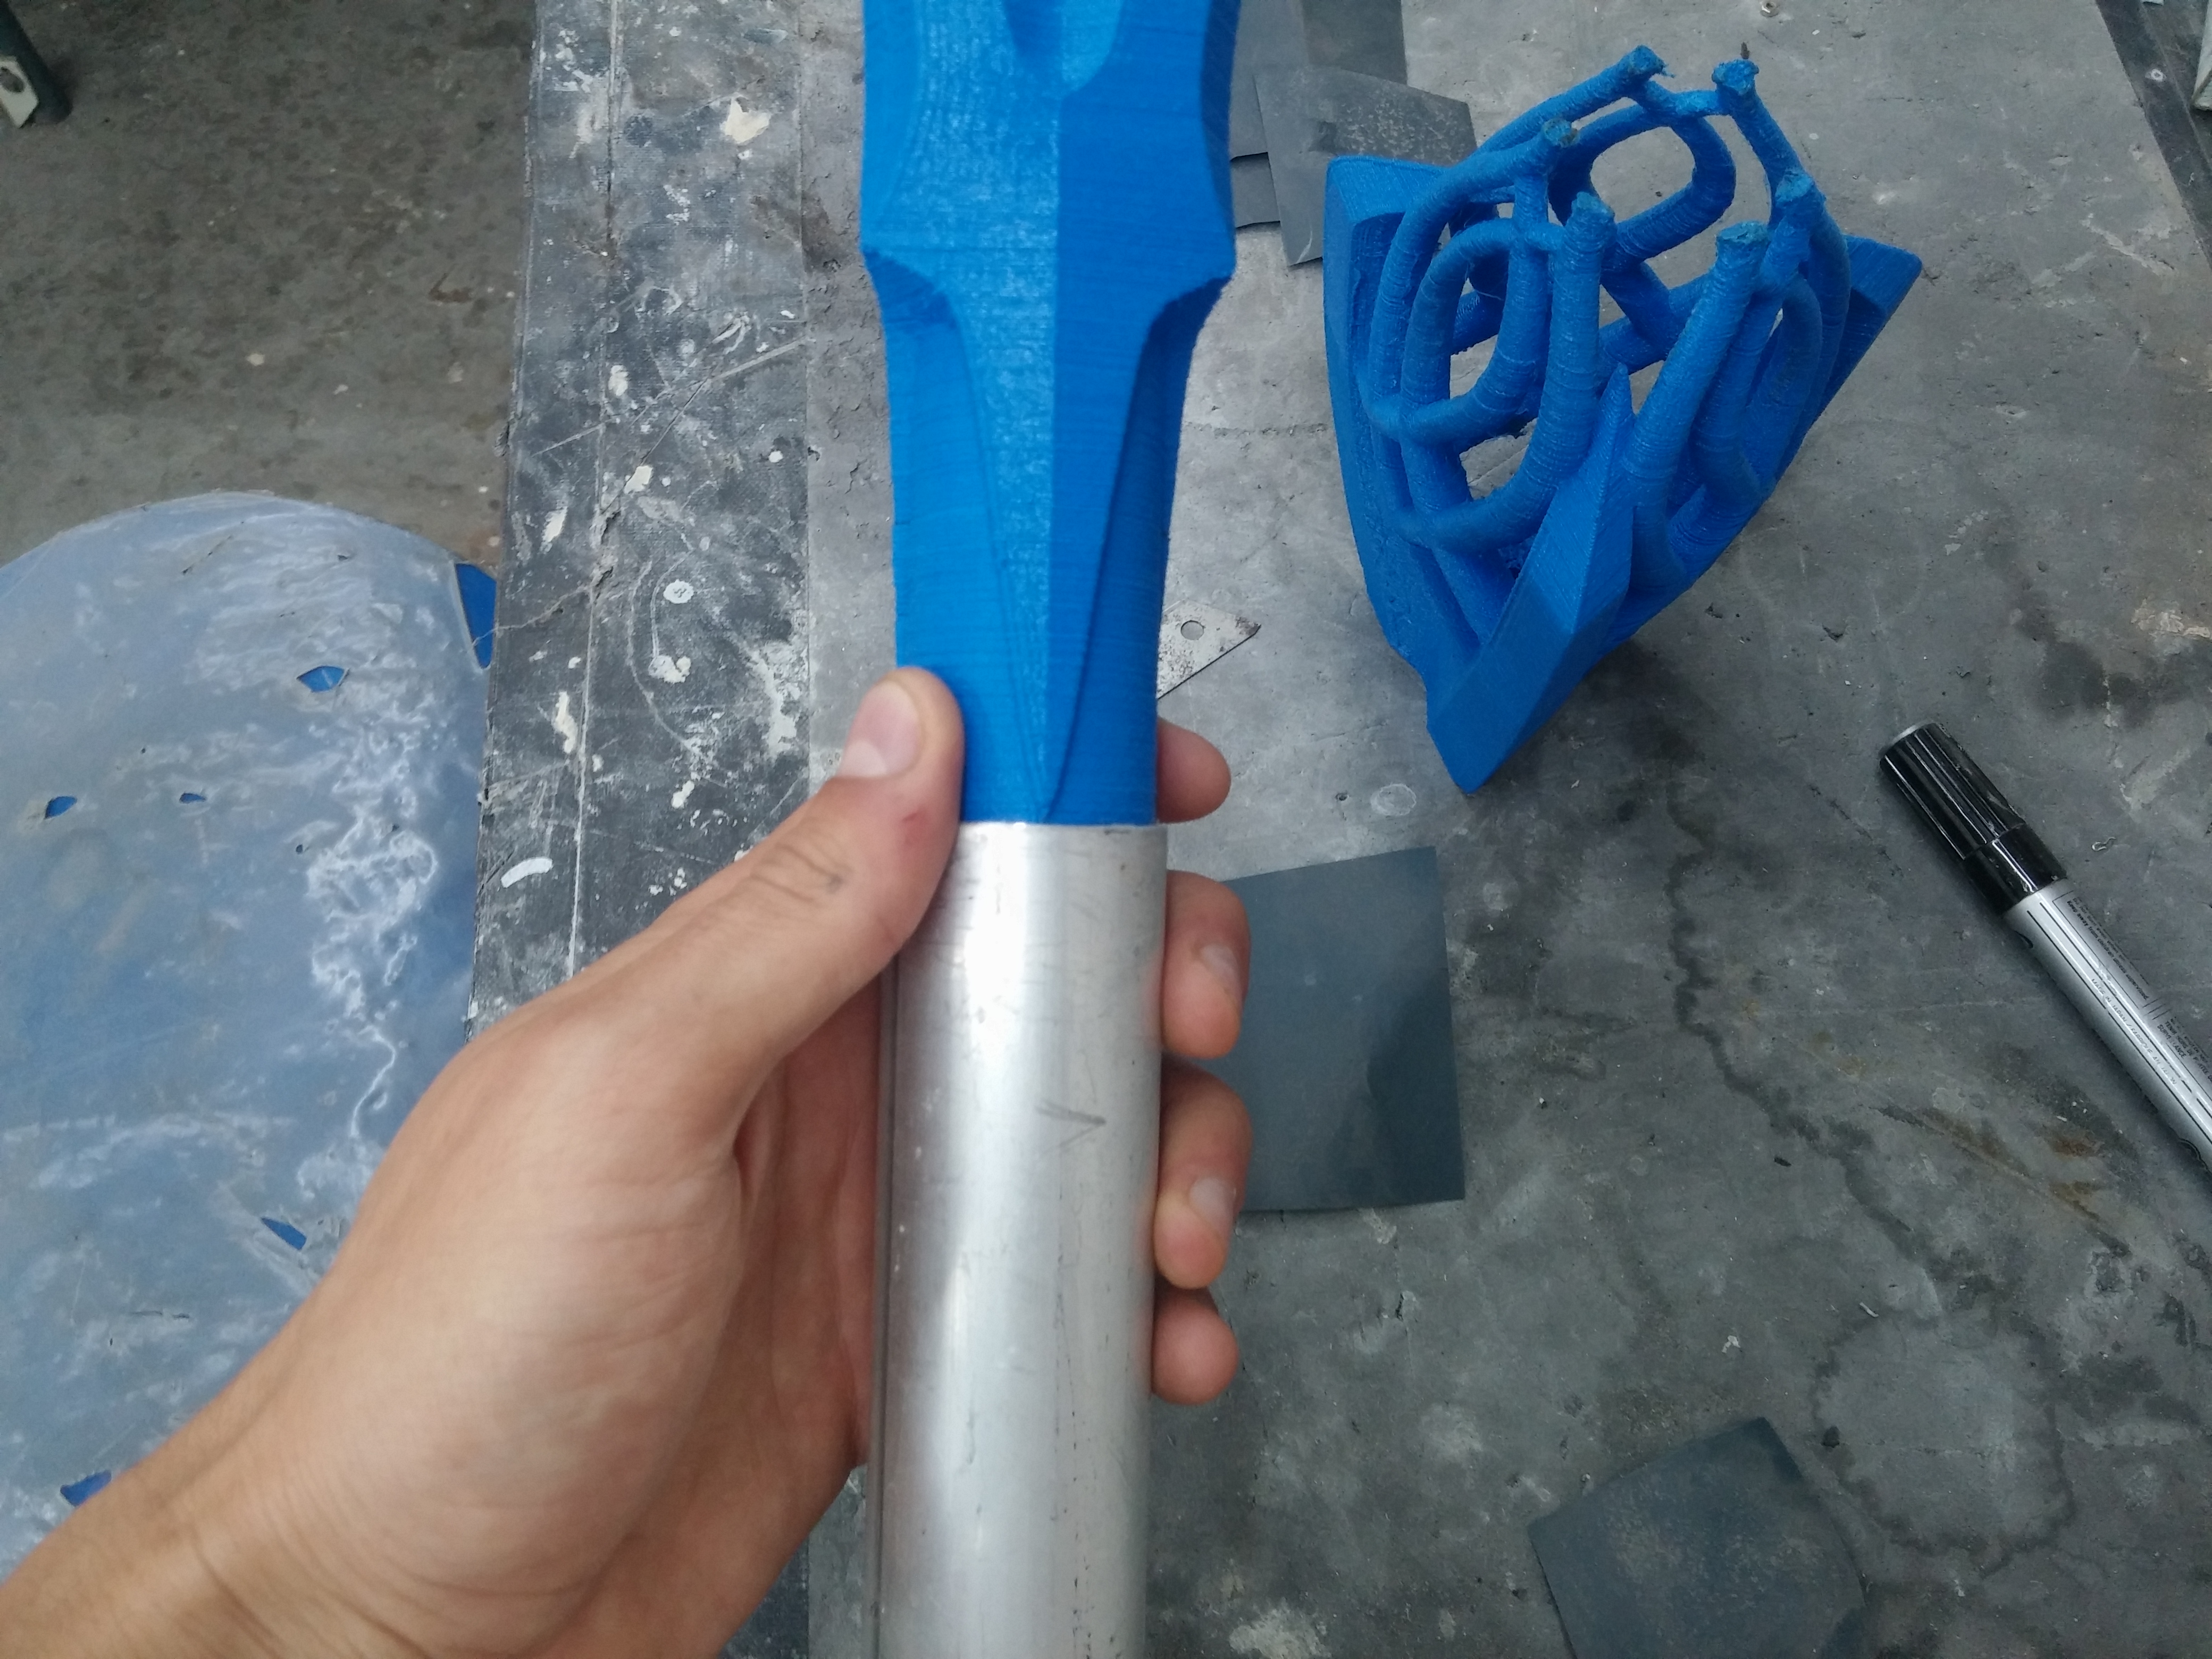
 The aluminum part is it mount, the head of the staff is connected to it, I used a pipe and cut it on the circumference on order to have the head of the staff integrated into the aluminum part. I used 3M screws to secure the two part together.
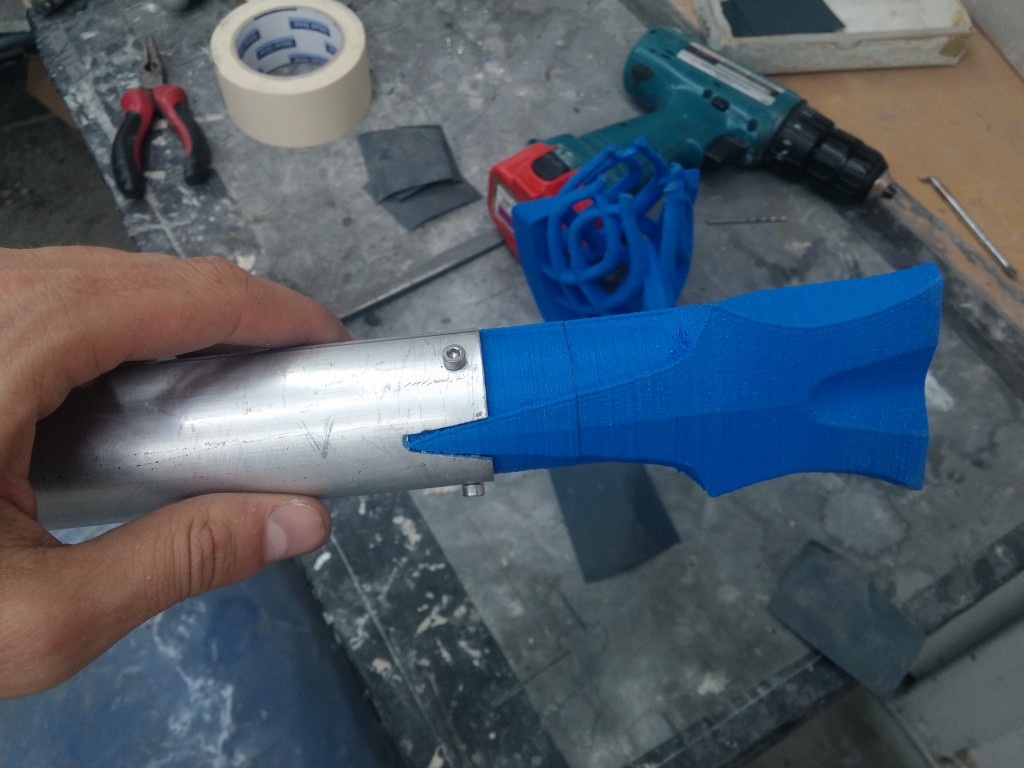
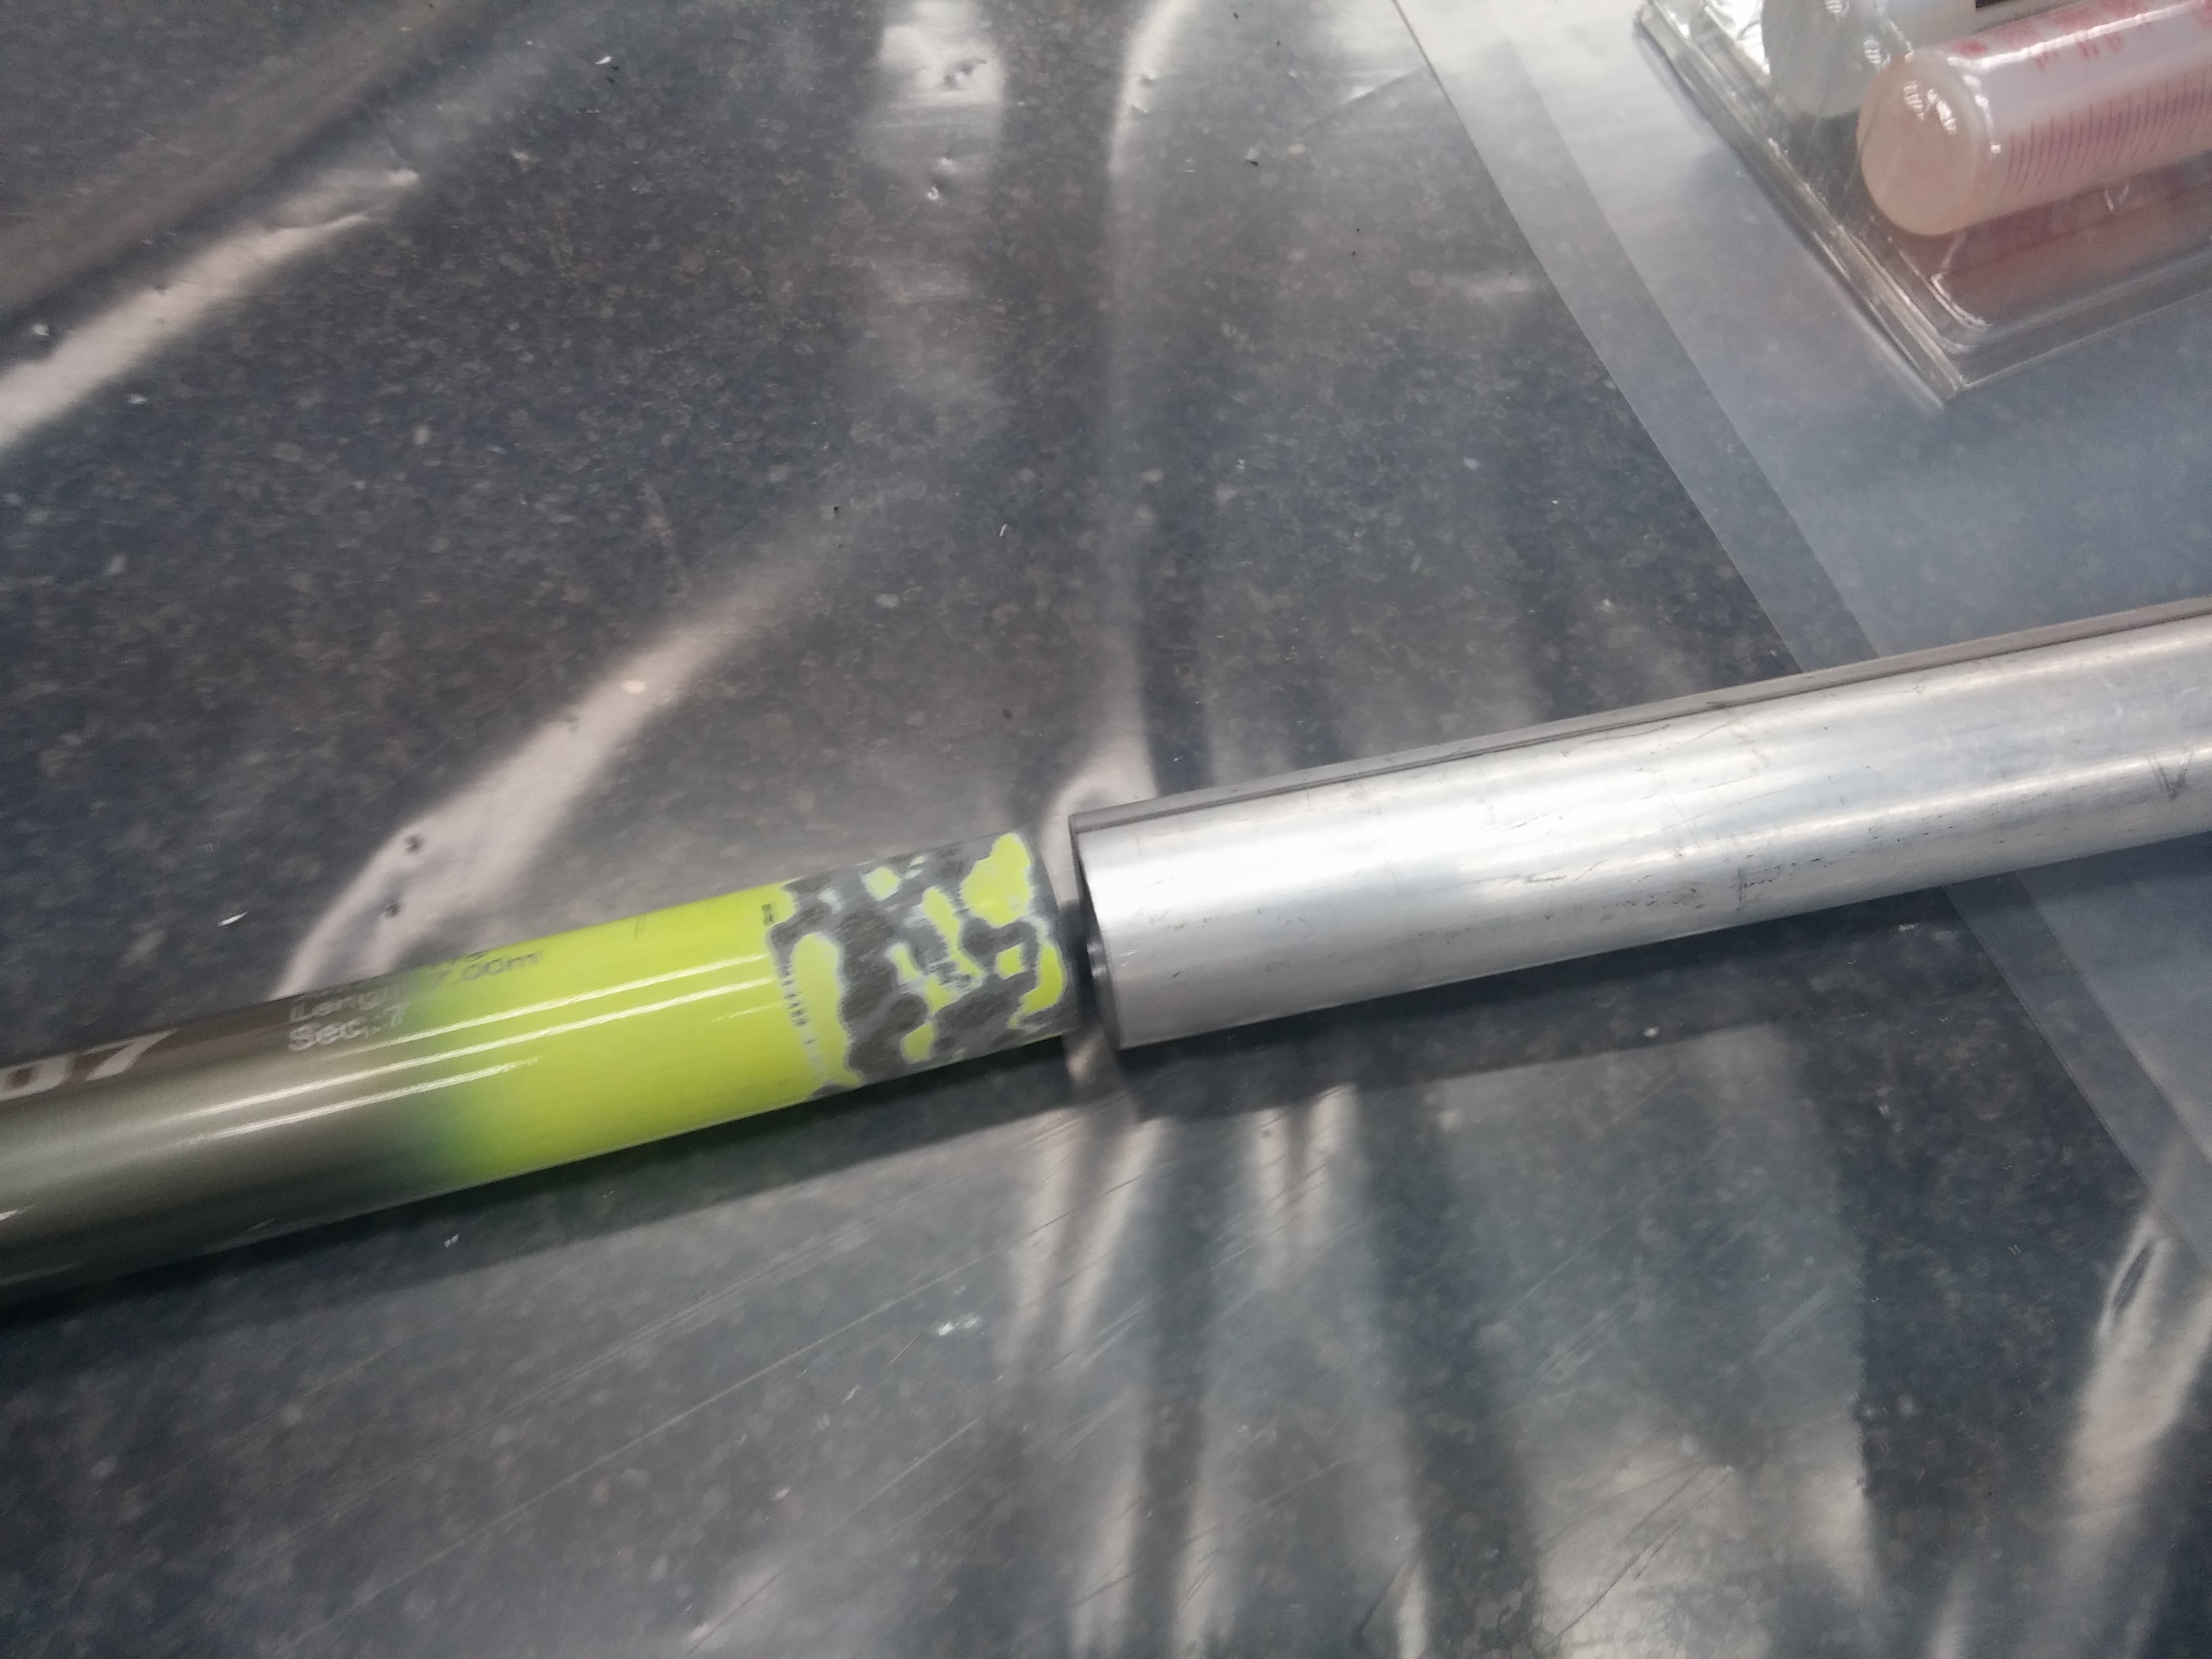
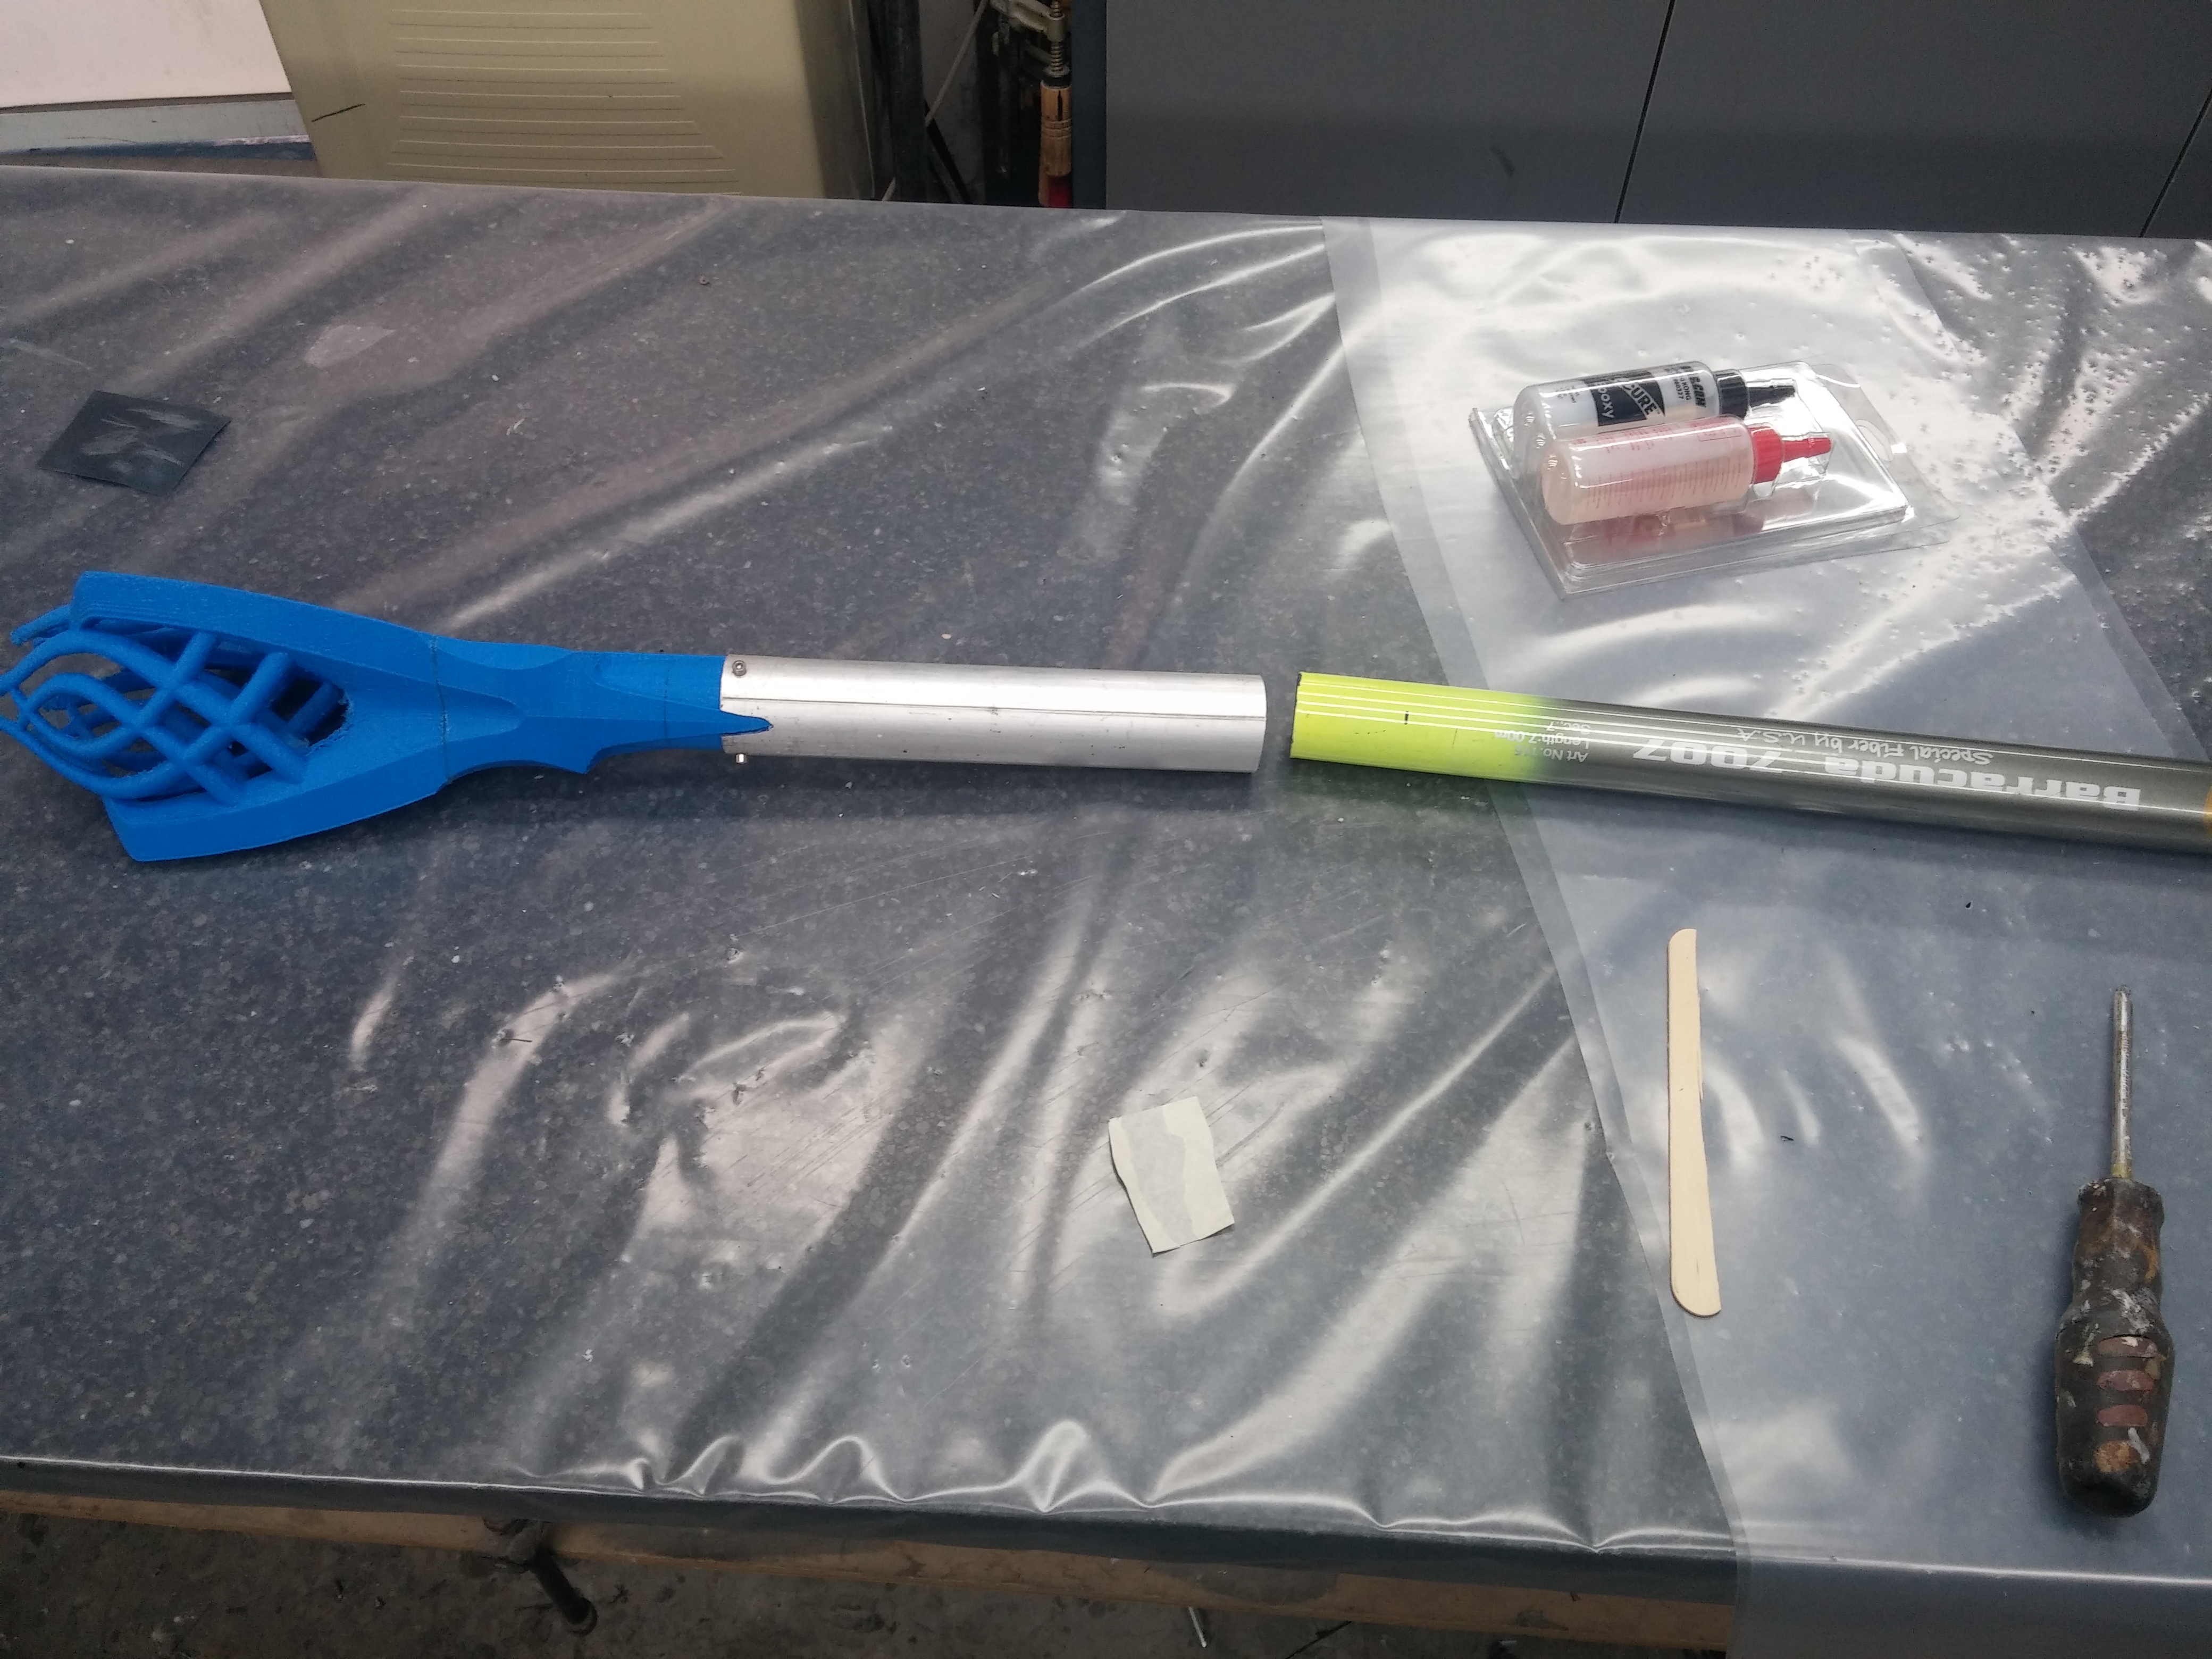
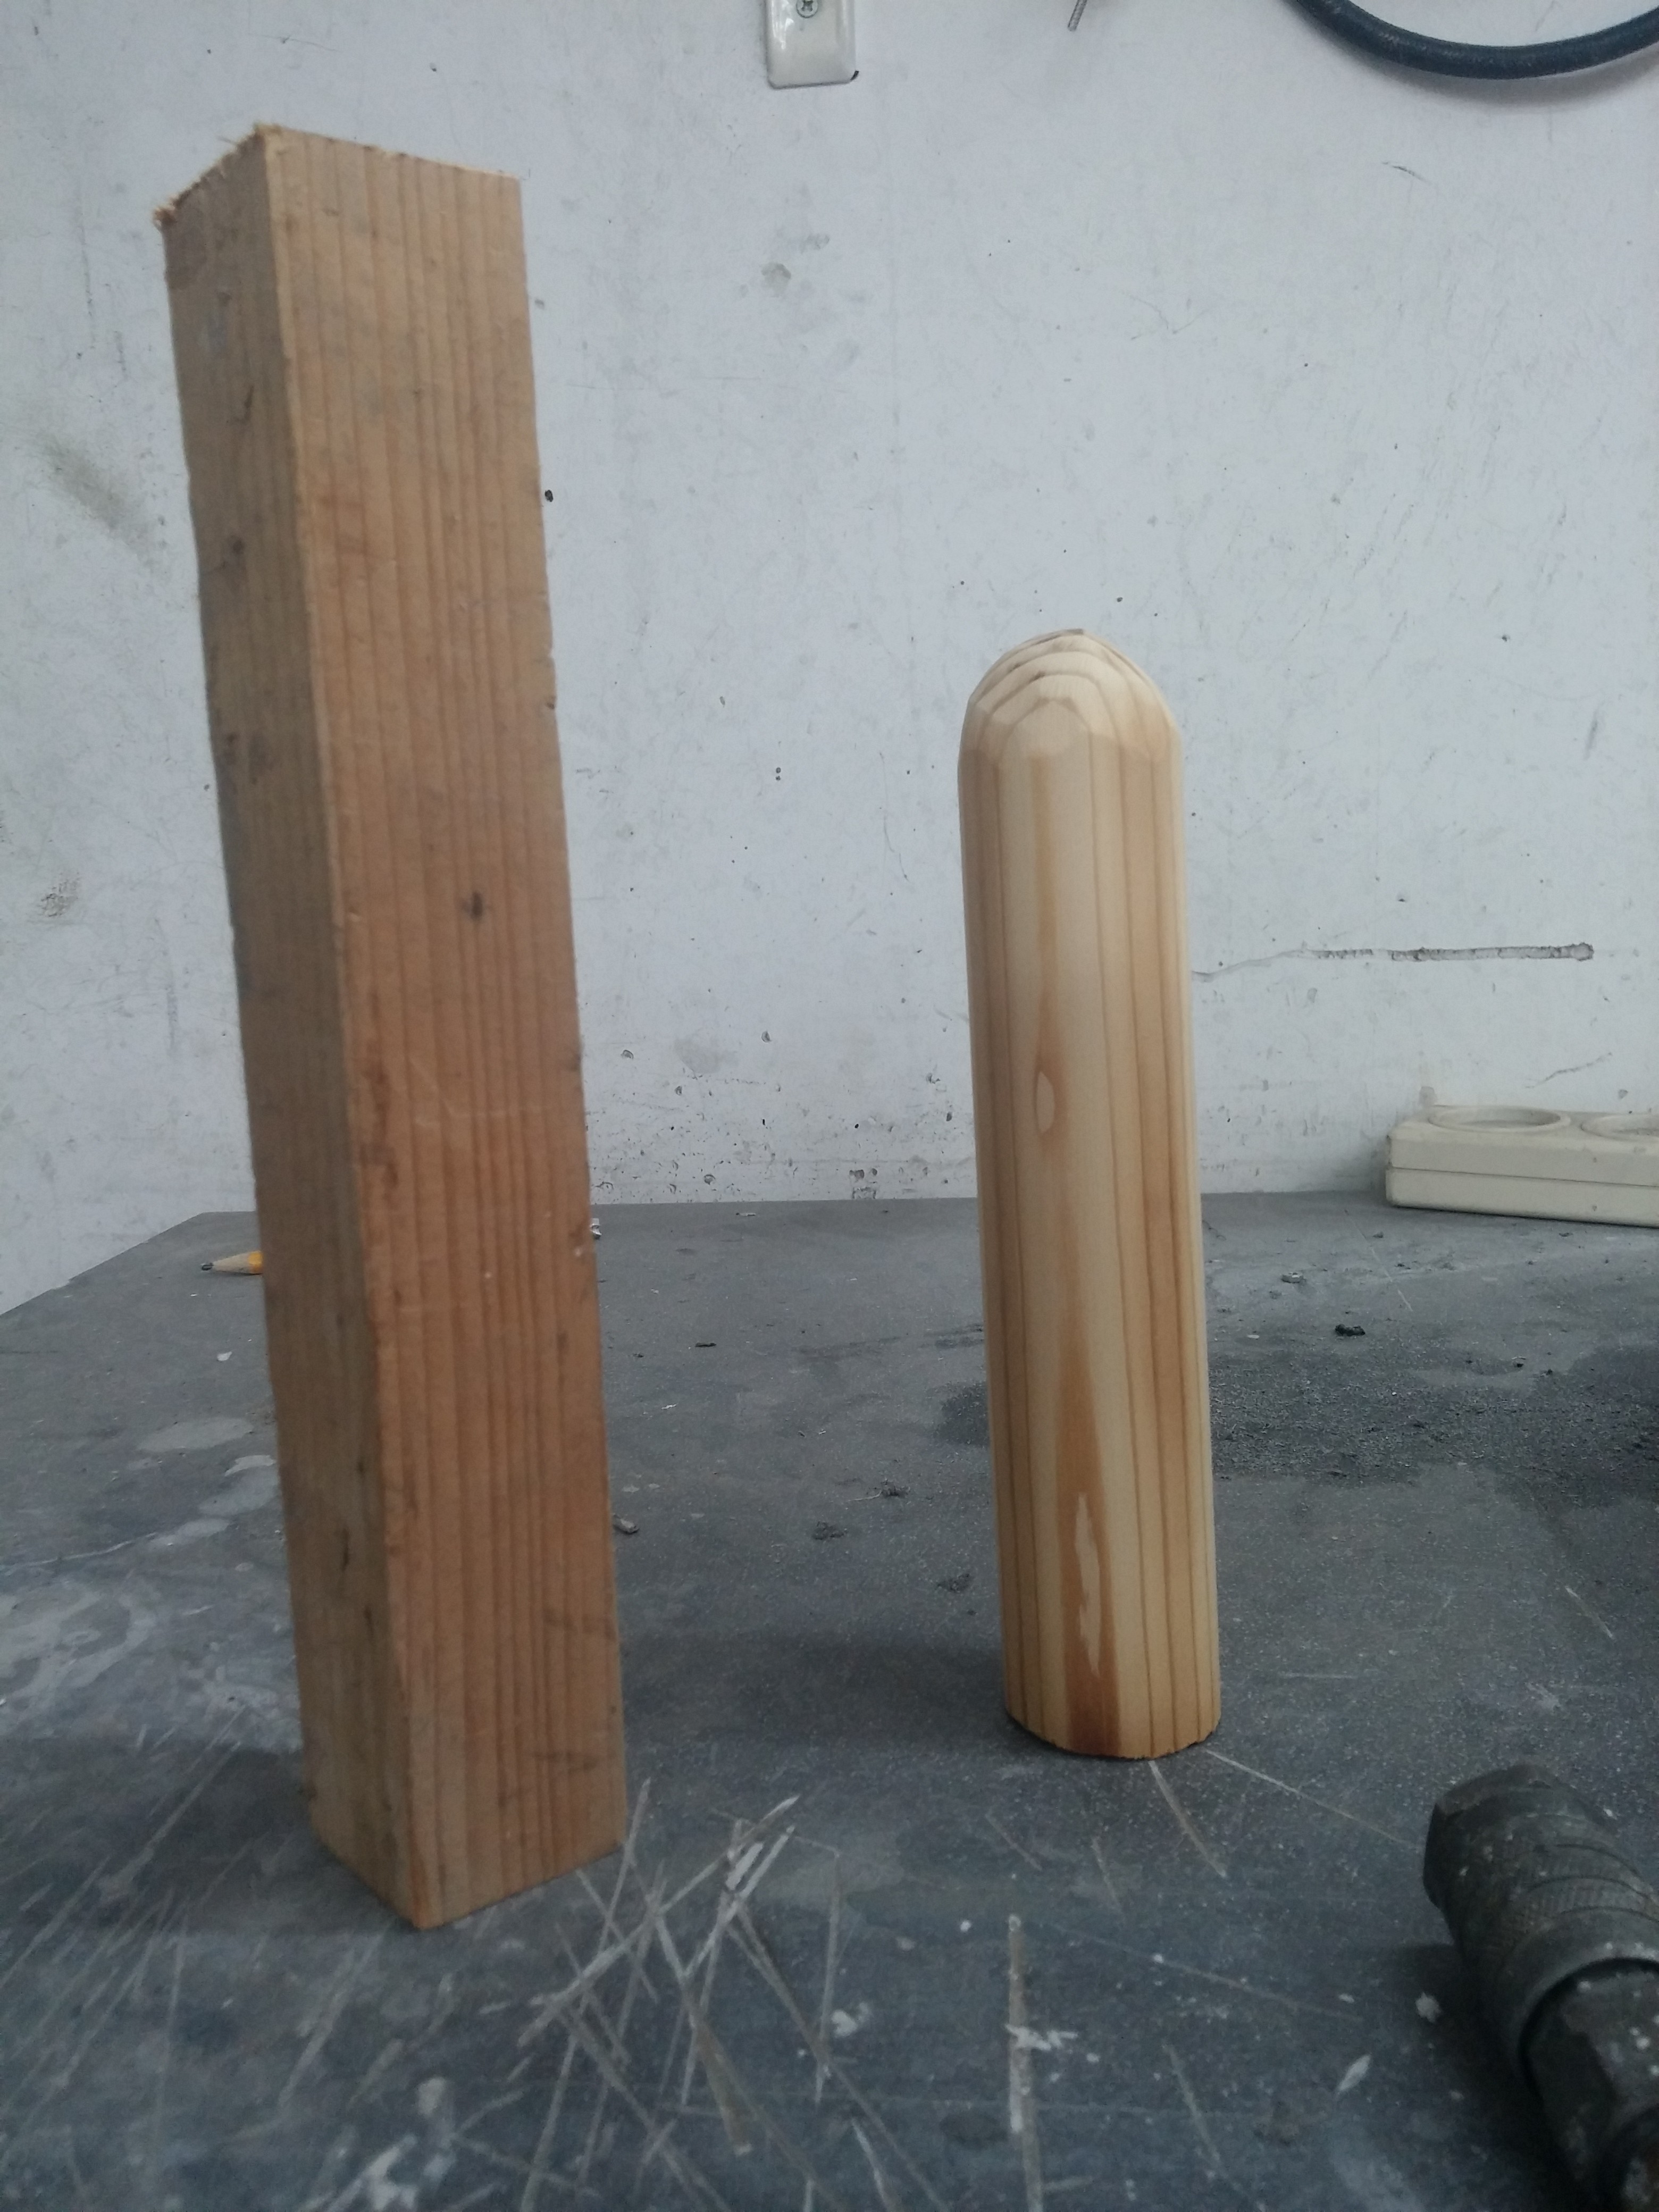
The rest body of the staff itself is made out of carbon fishing rod – I sanded the inner part of the the aluminum part and the exterior circumference of the carbon rod in order to have a nice solid structure. Later on I used an structural aerospace epoxy resign with Aerosol and micro-balloons to create a paste like resin that will hold the part together. 24 hour later it was hard as steel!
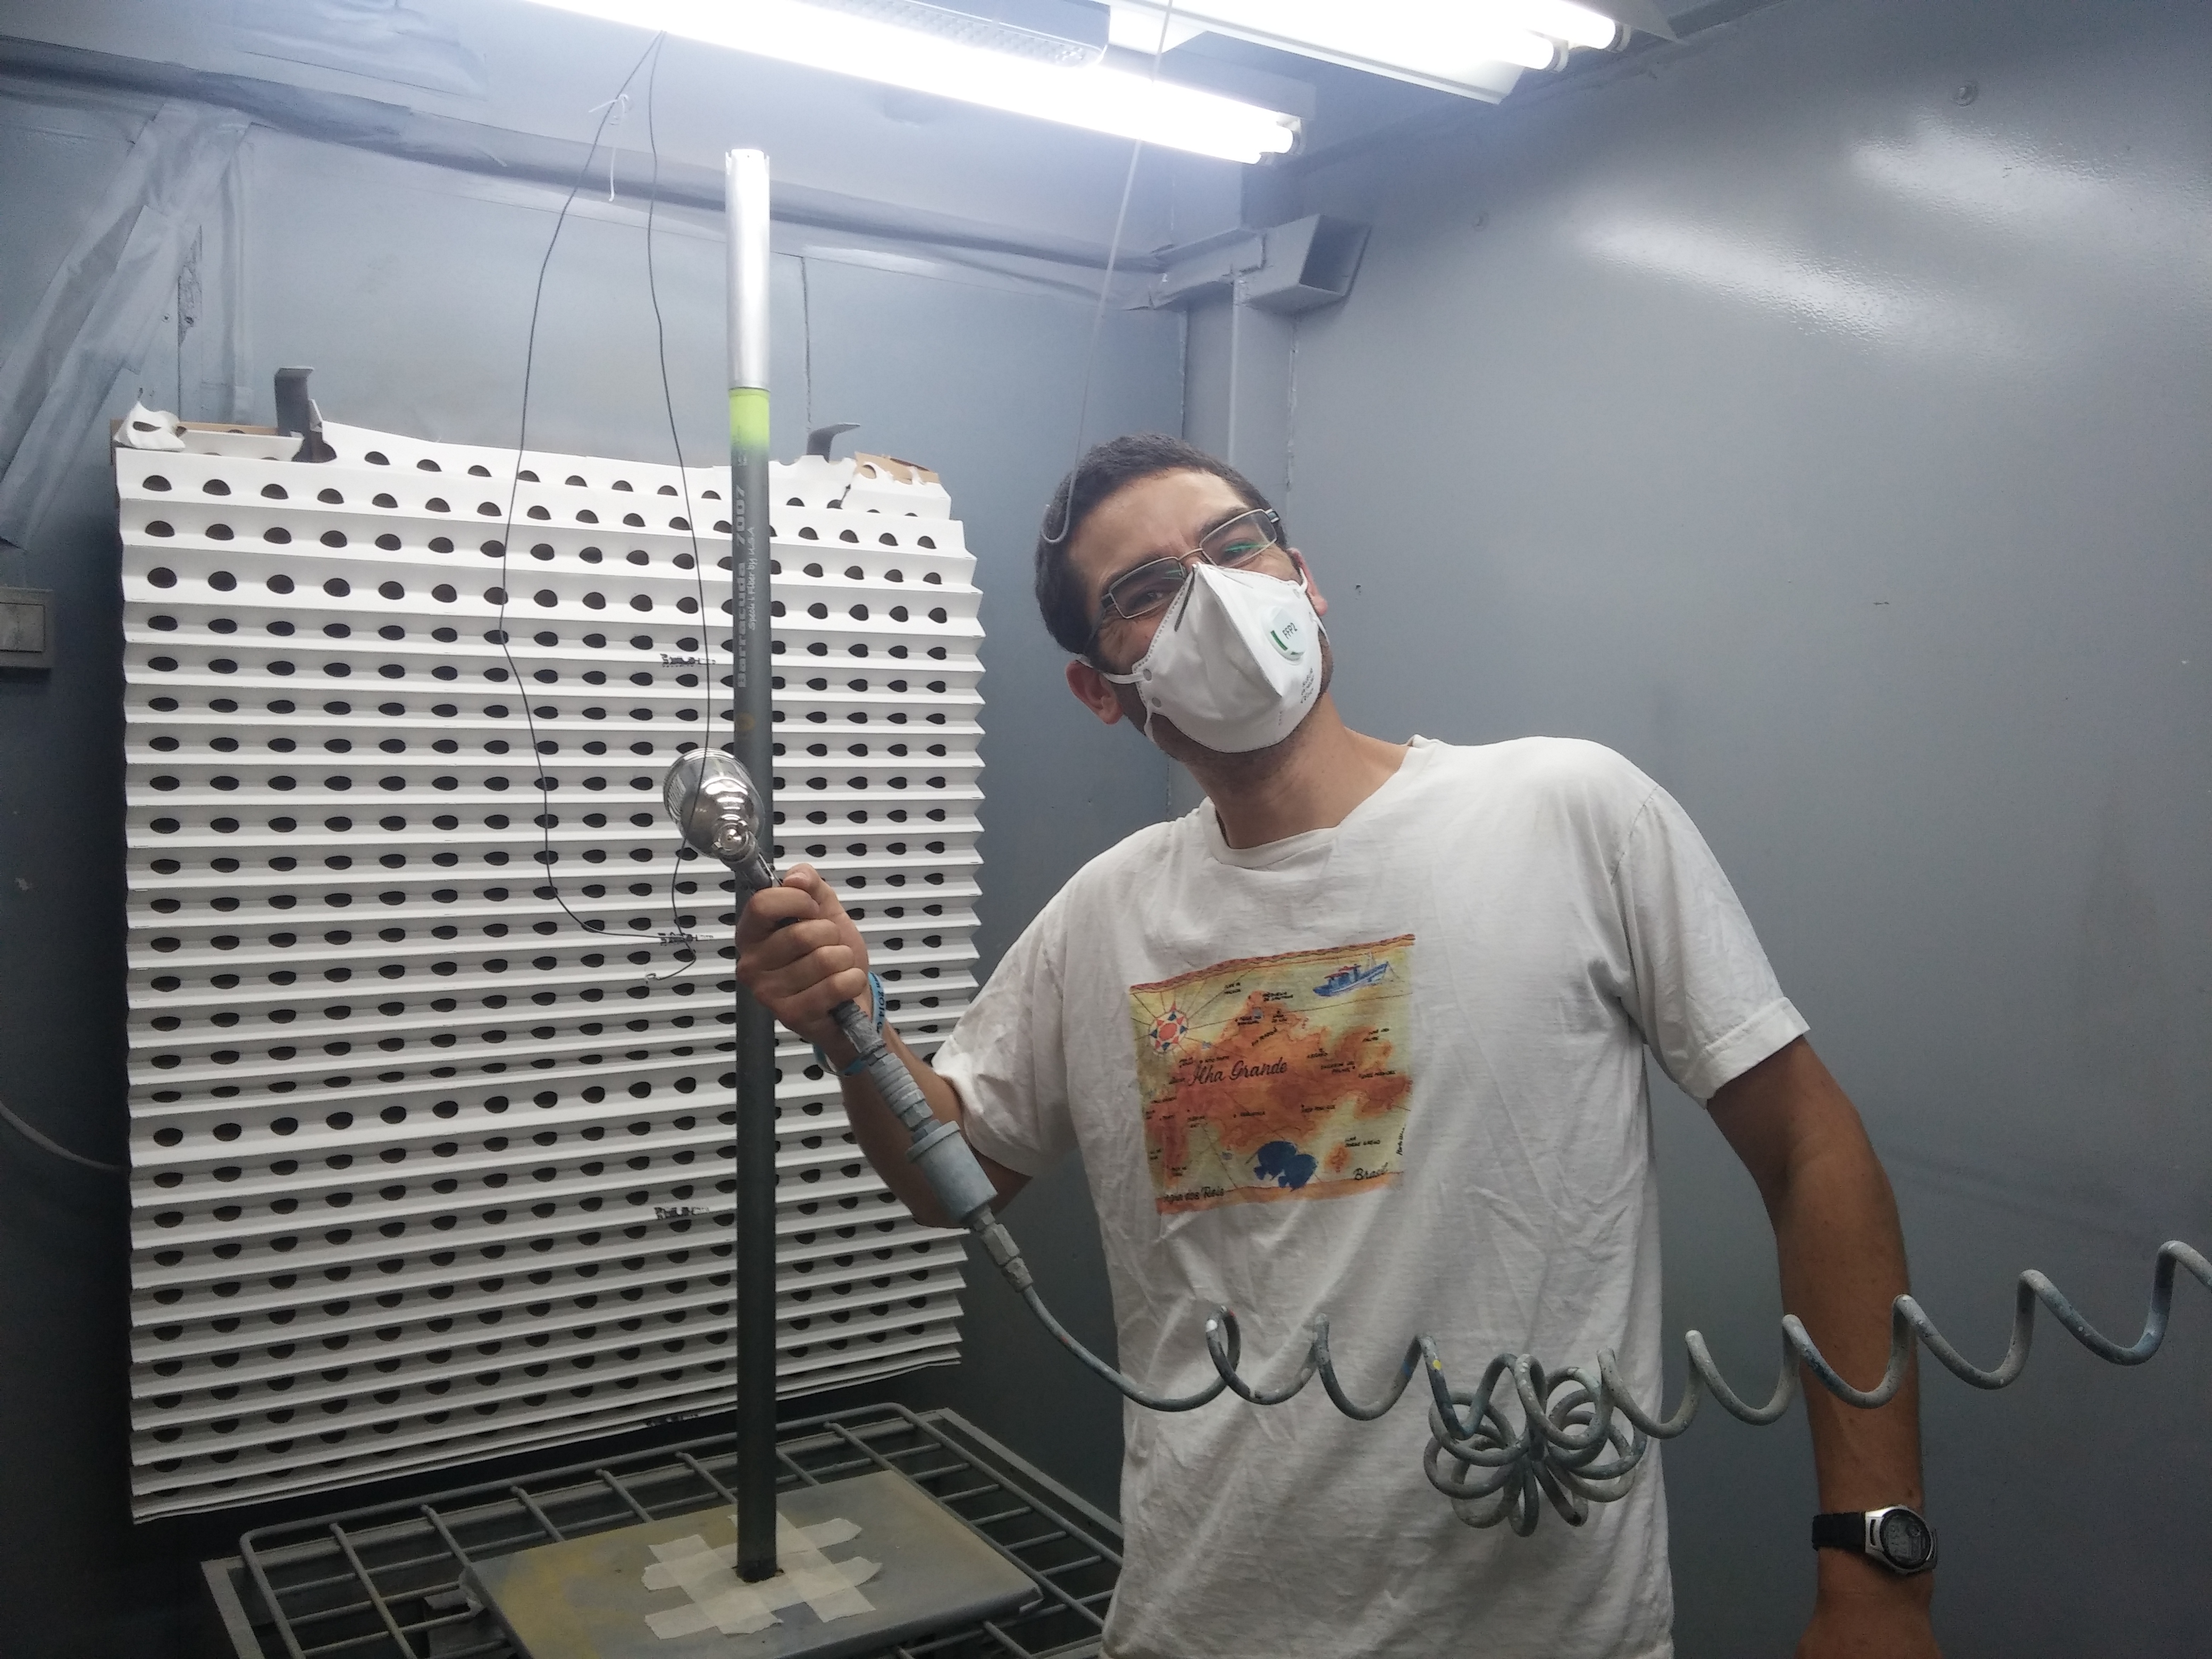
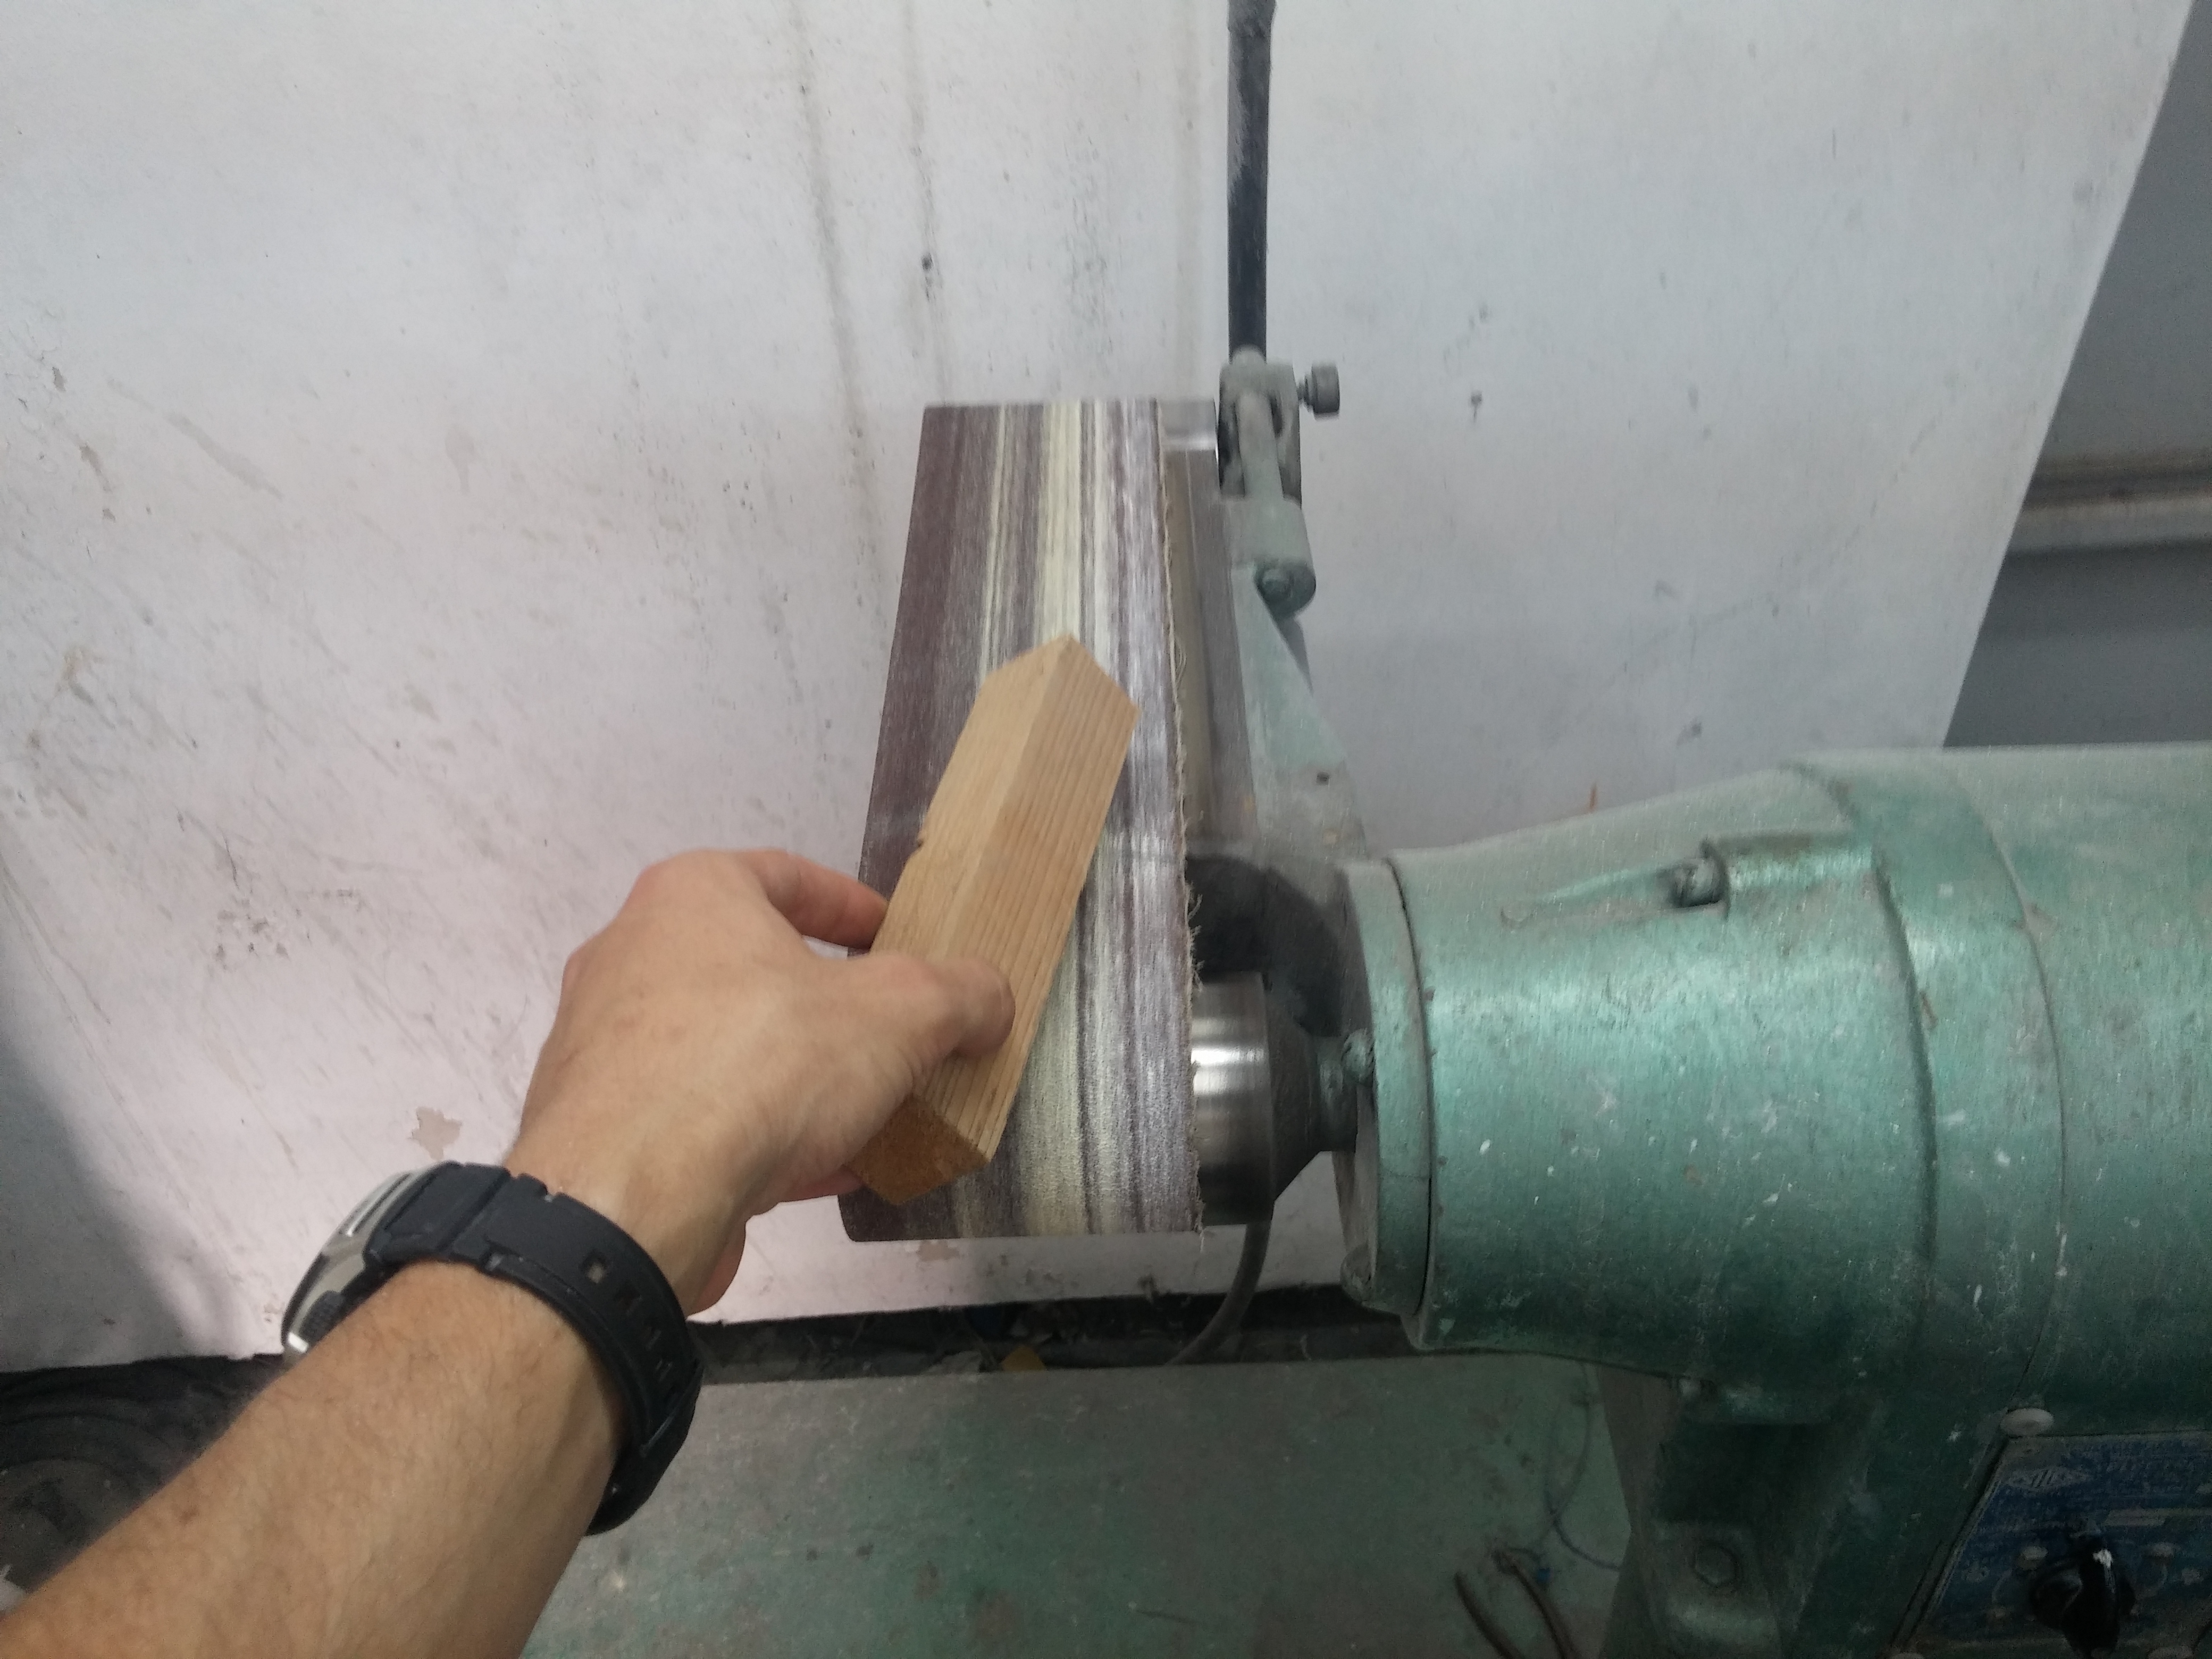
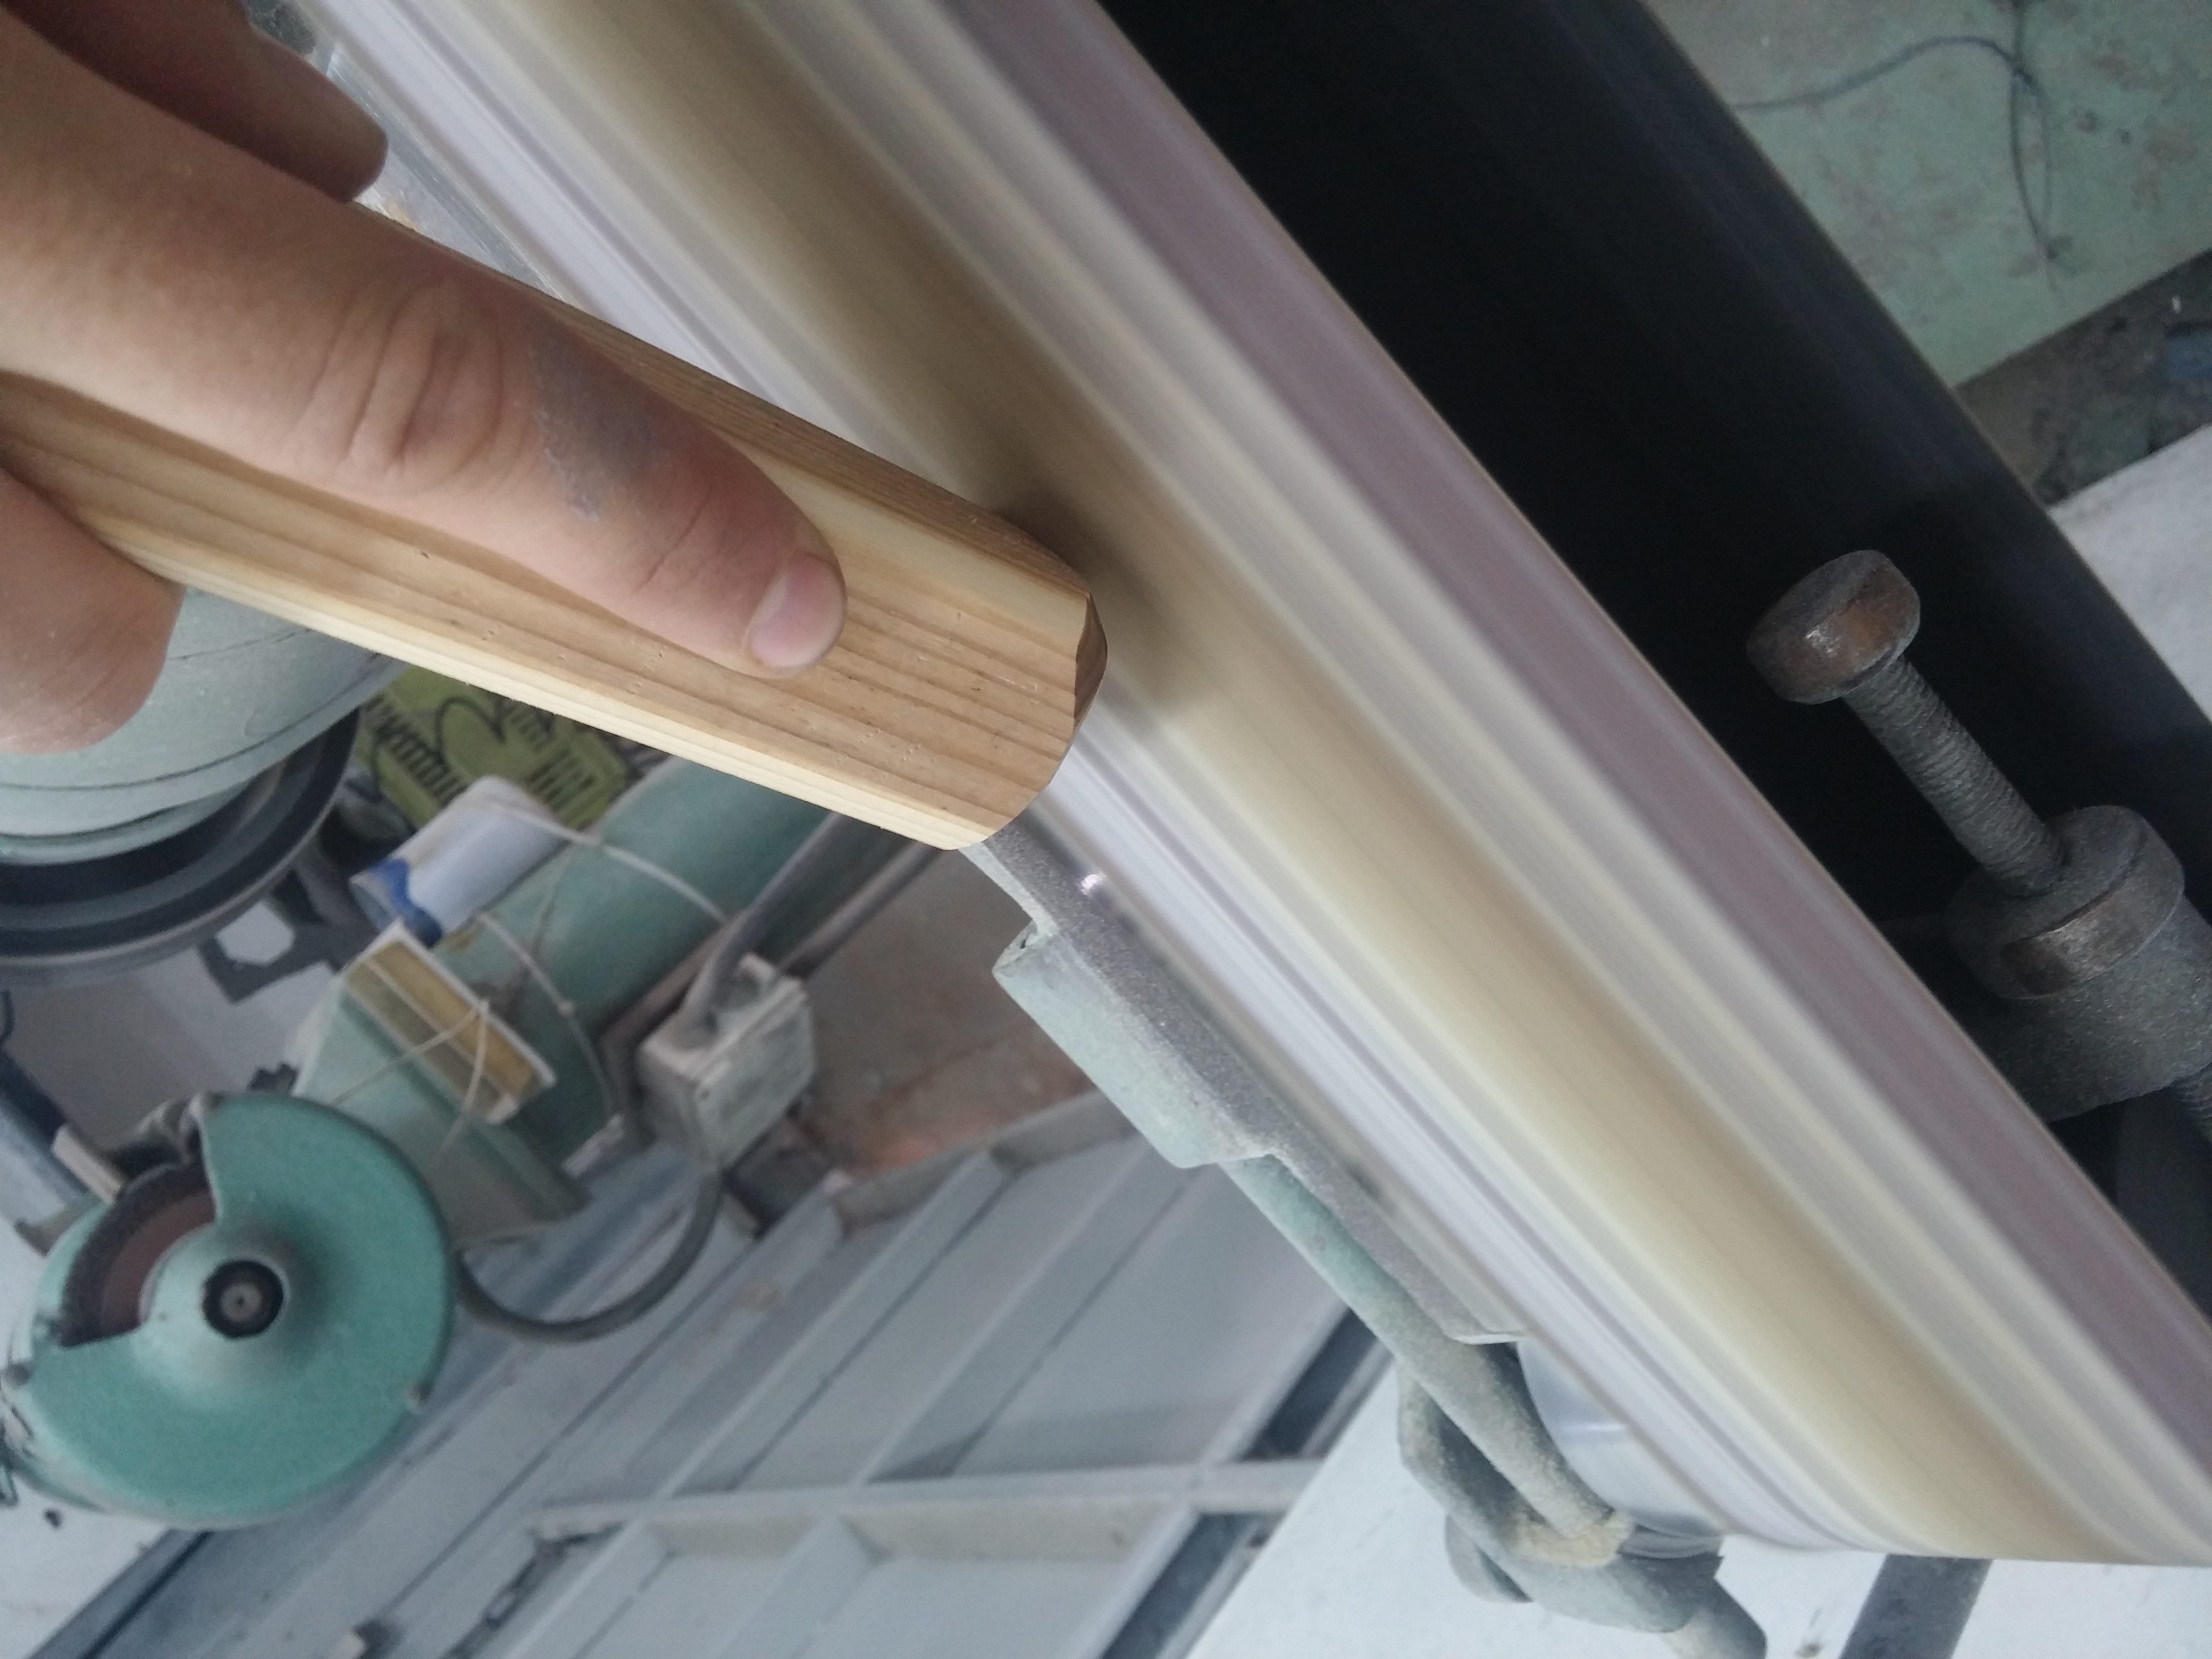
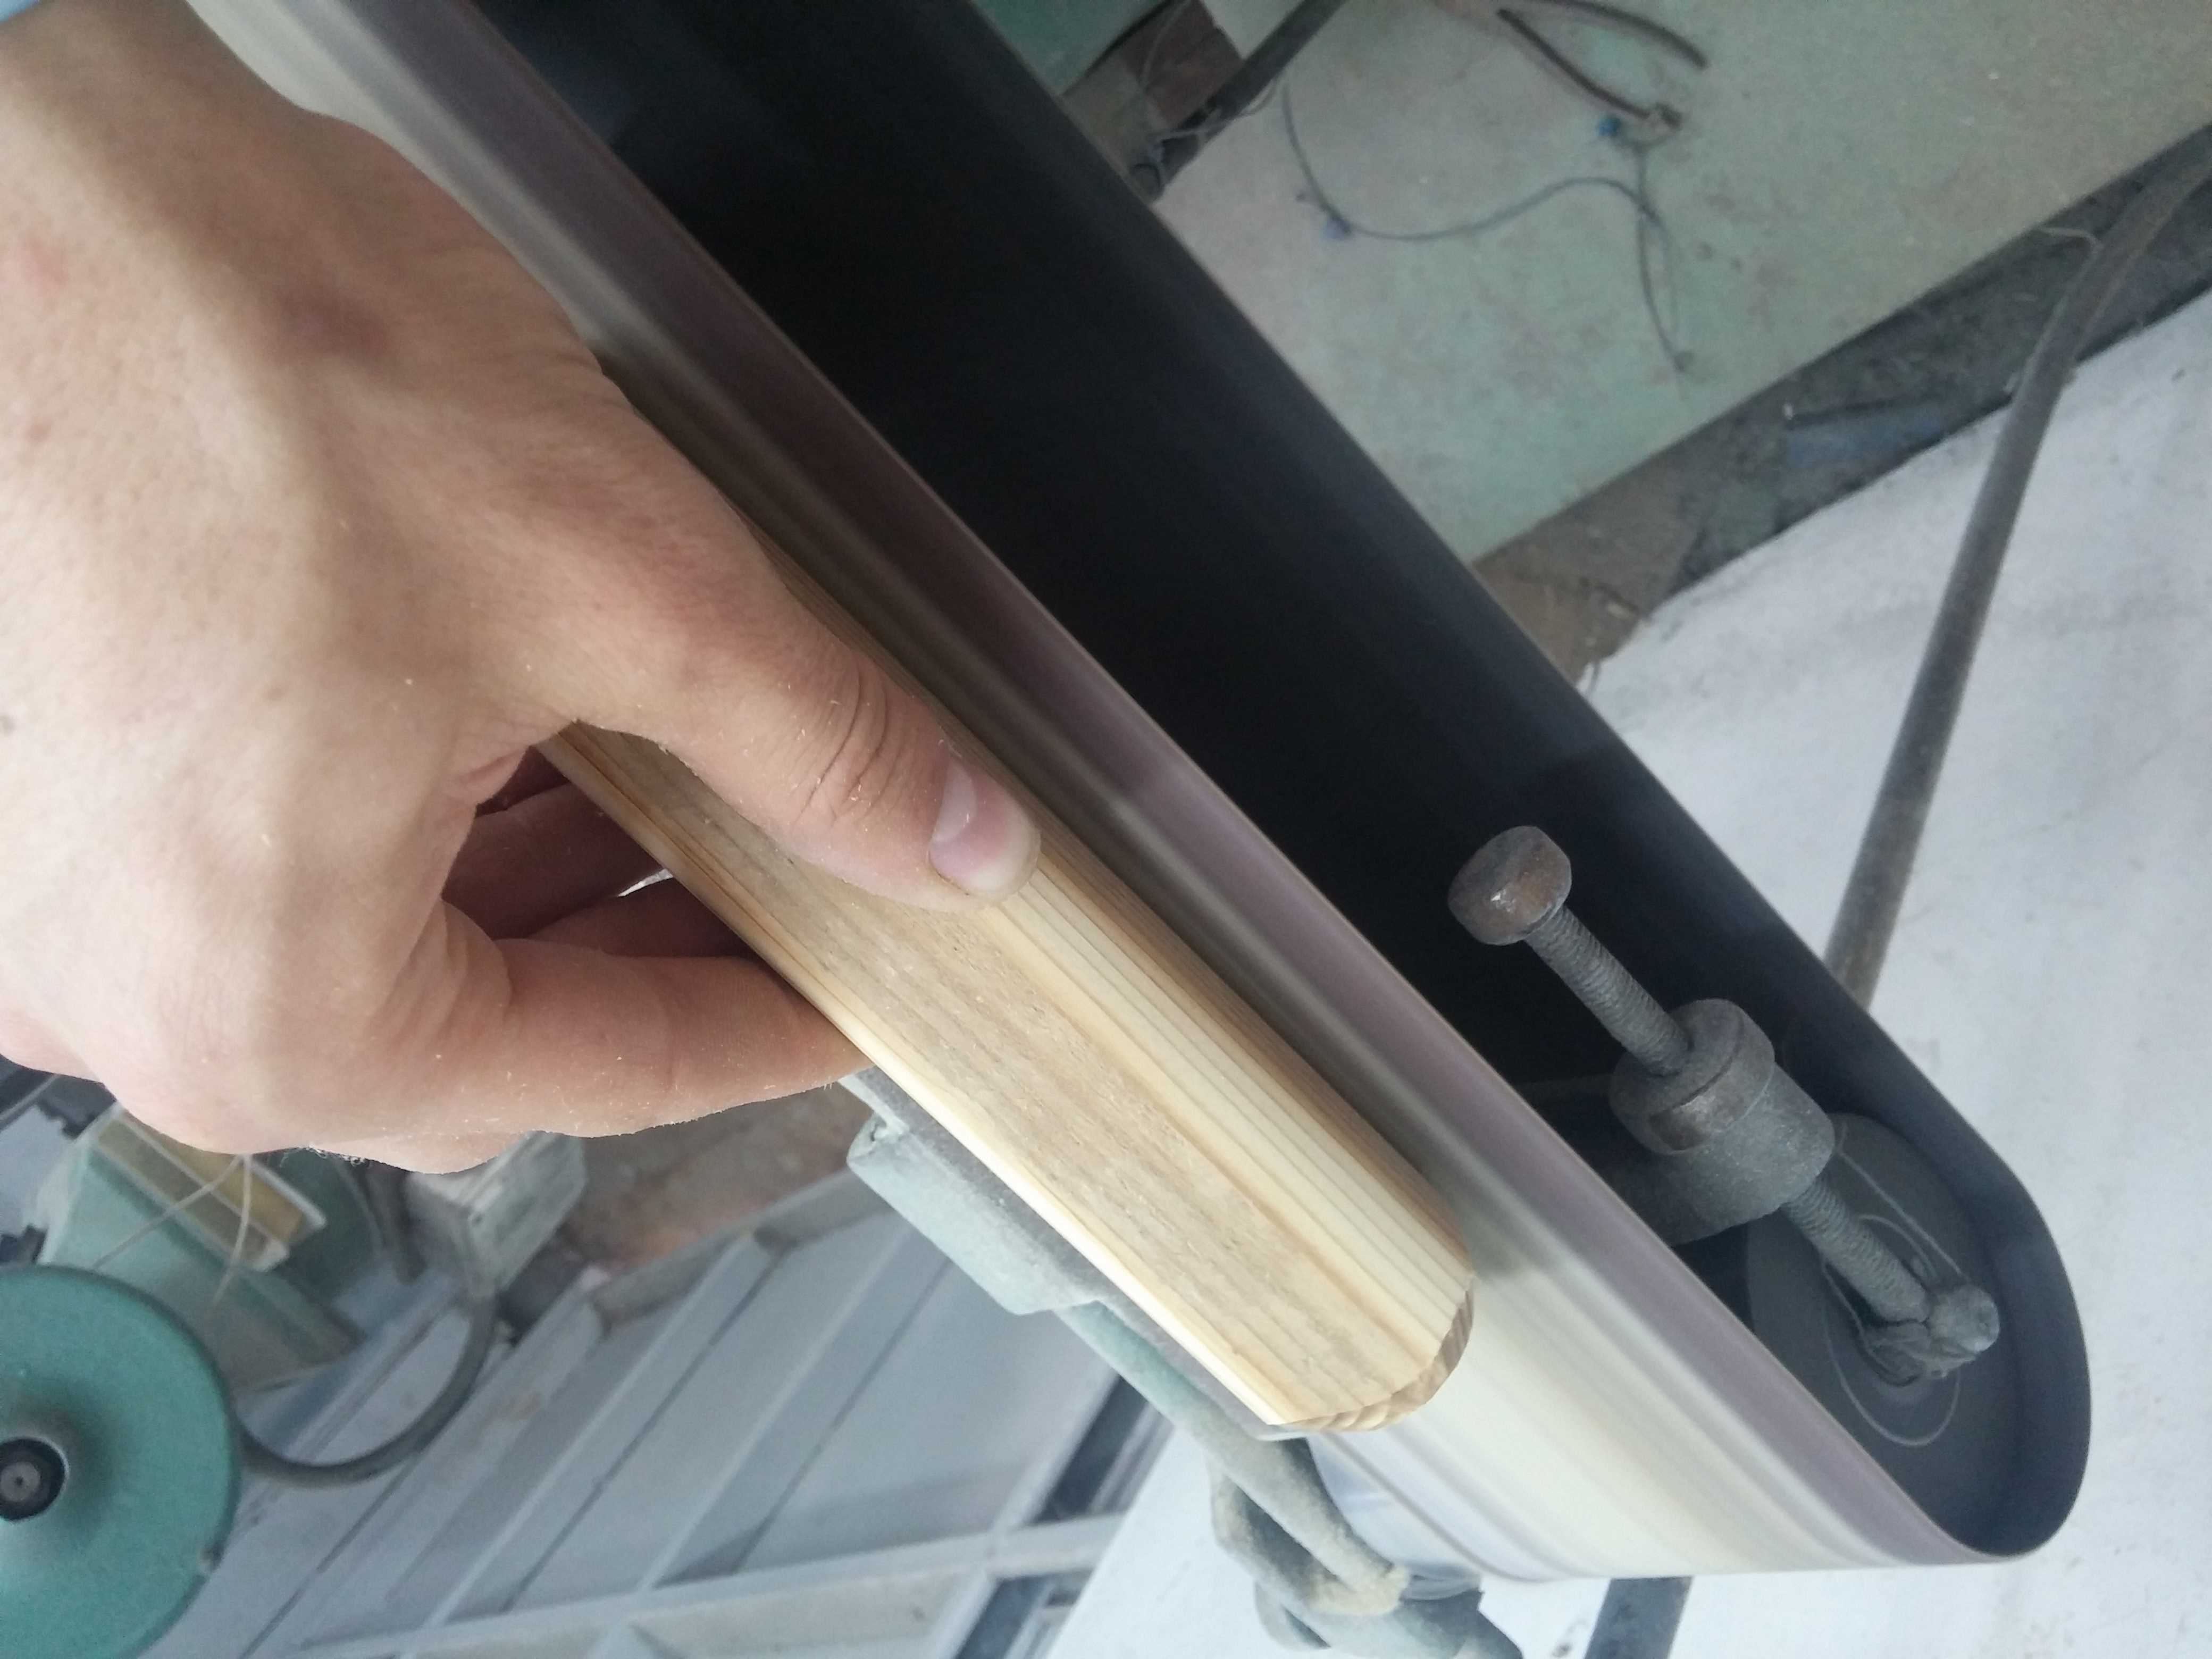
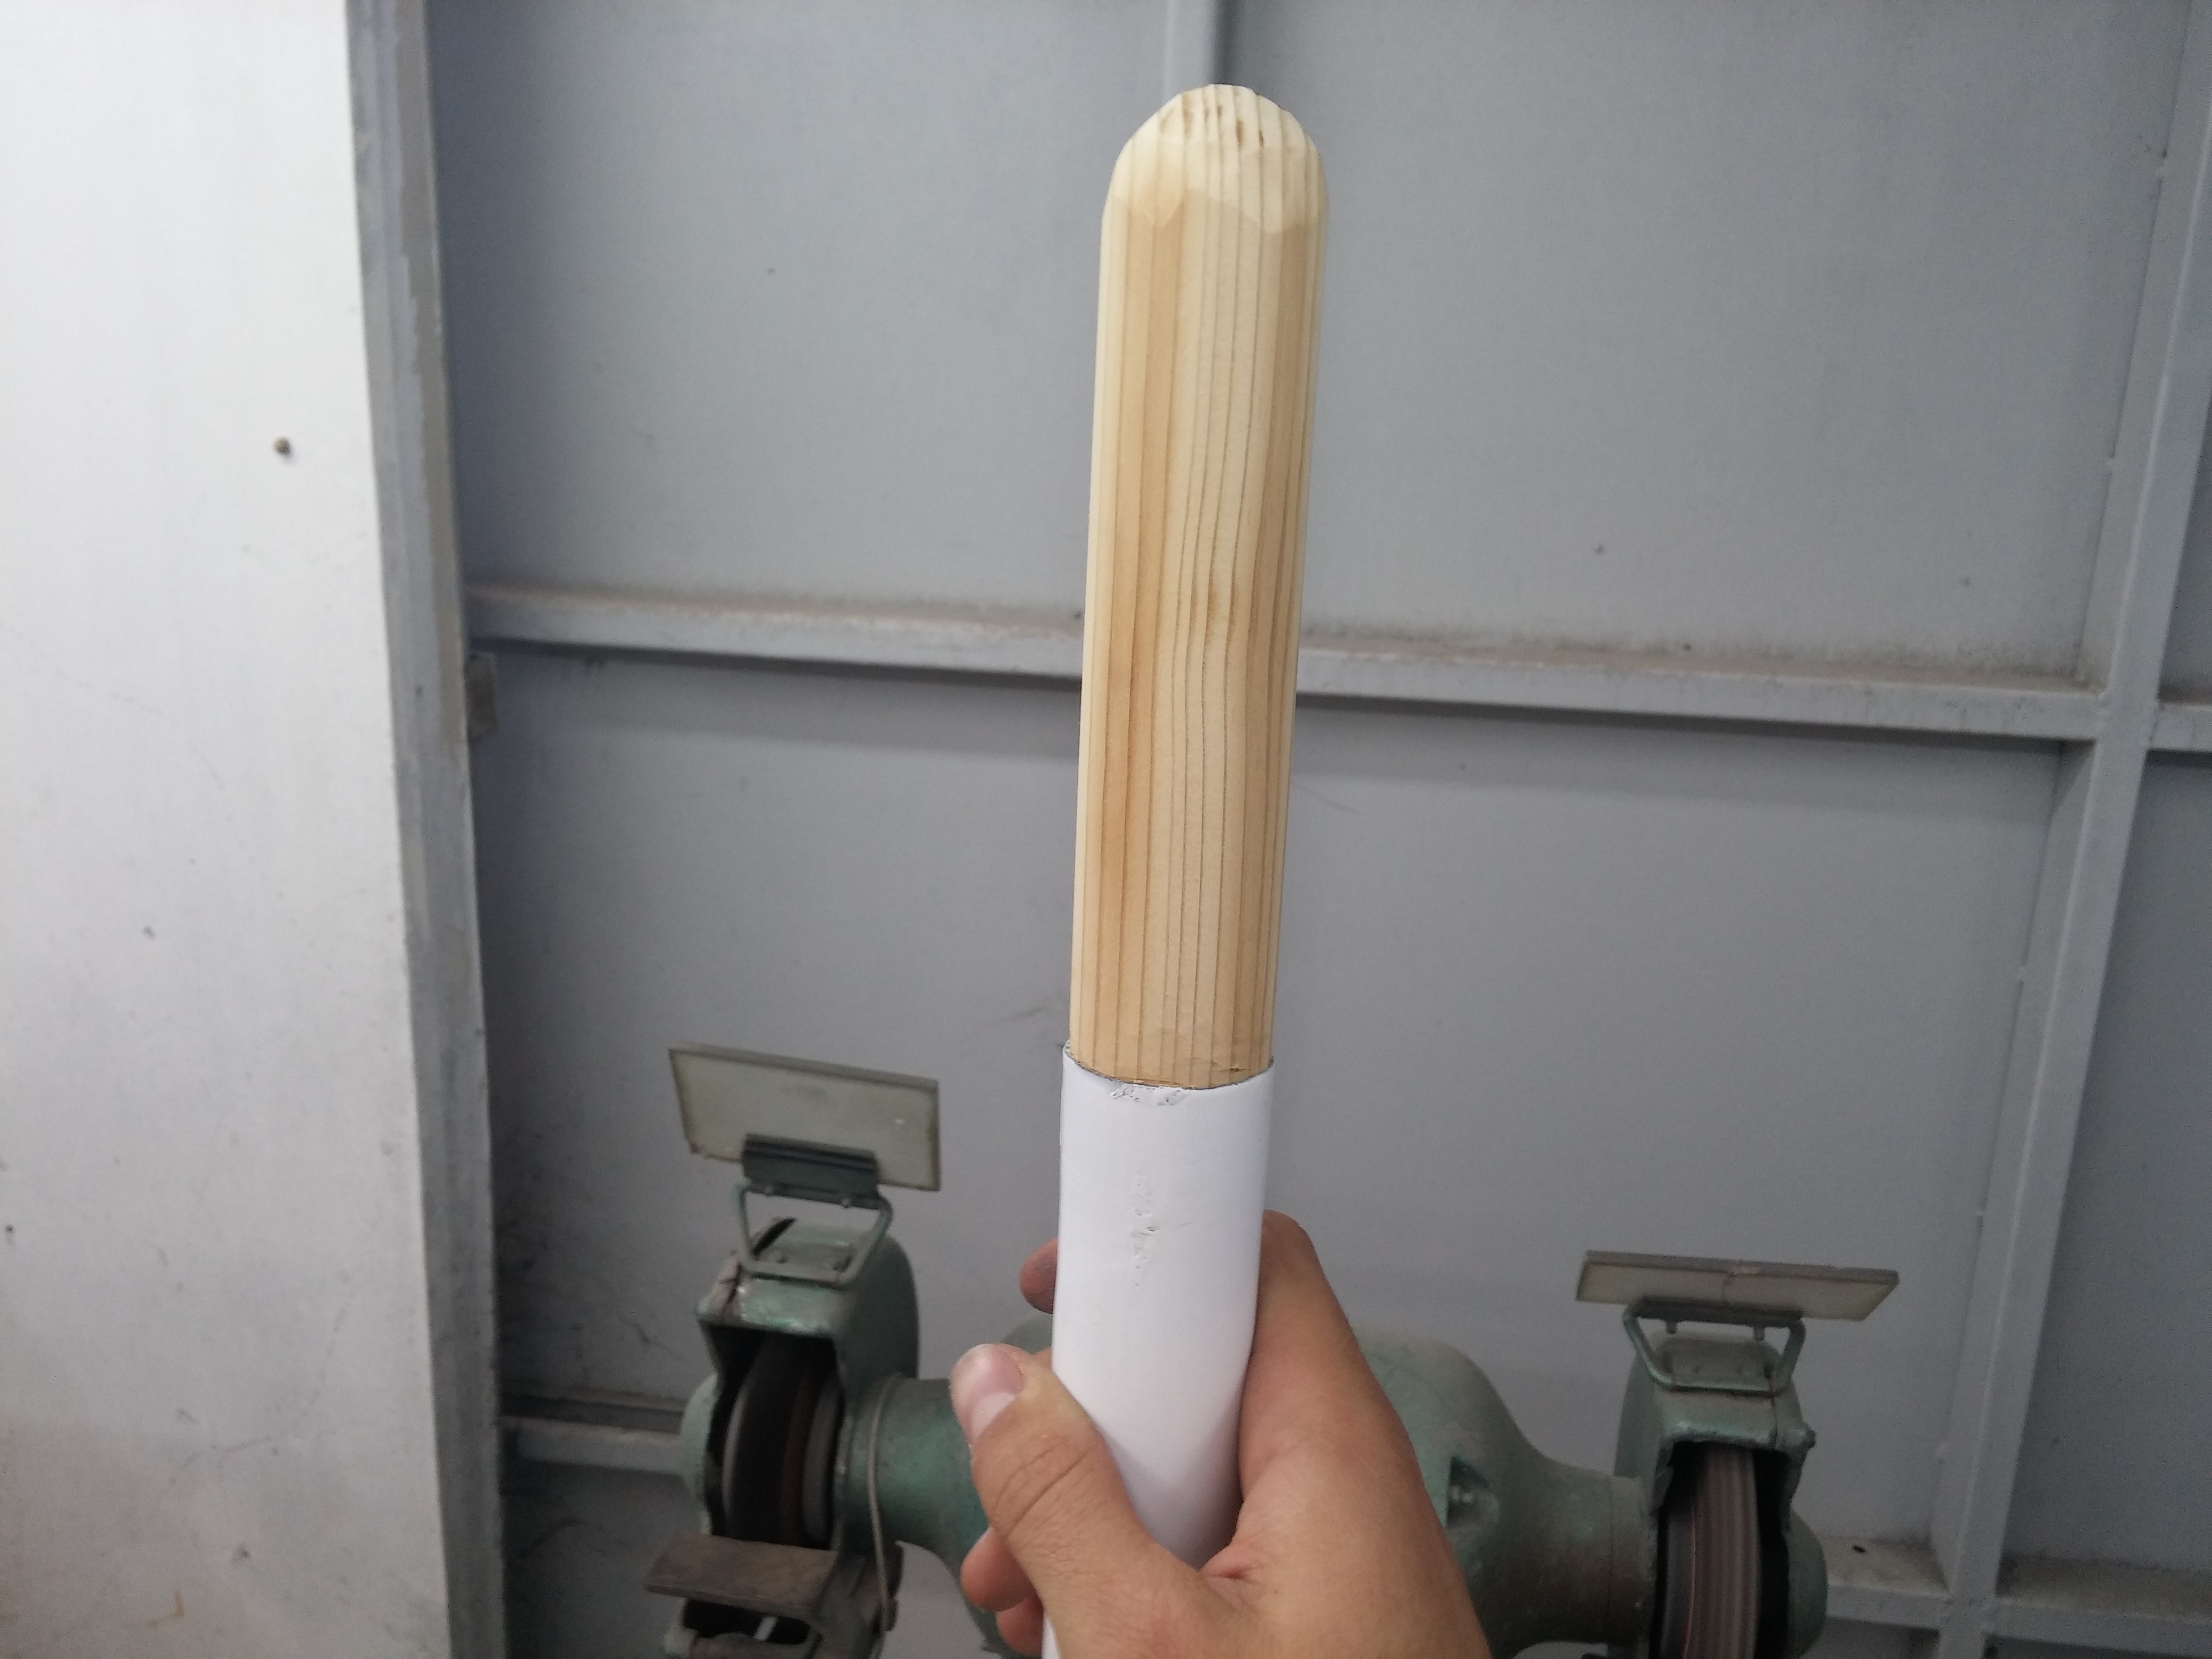
Later on I used mat-white 2 components spray paint in order to get the right finish. The bottom end of the staff is sealed with a wooden cap that I hand made. This wat is can be replaced easily and it used as a dumper when I walk with it.
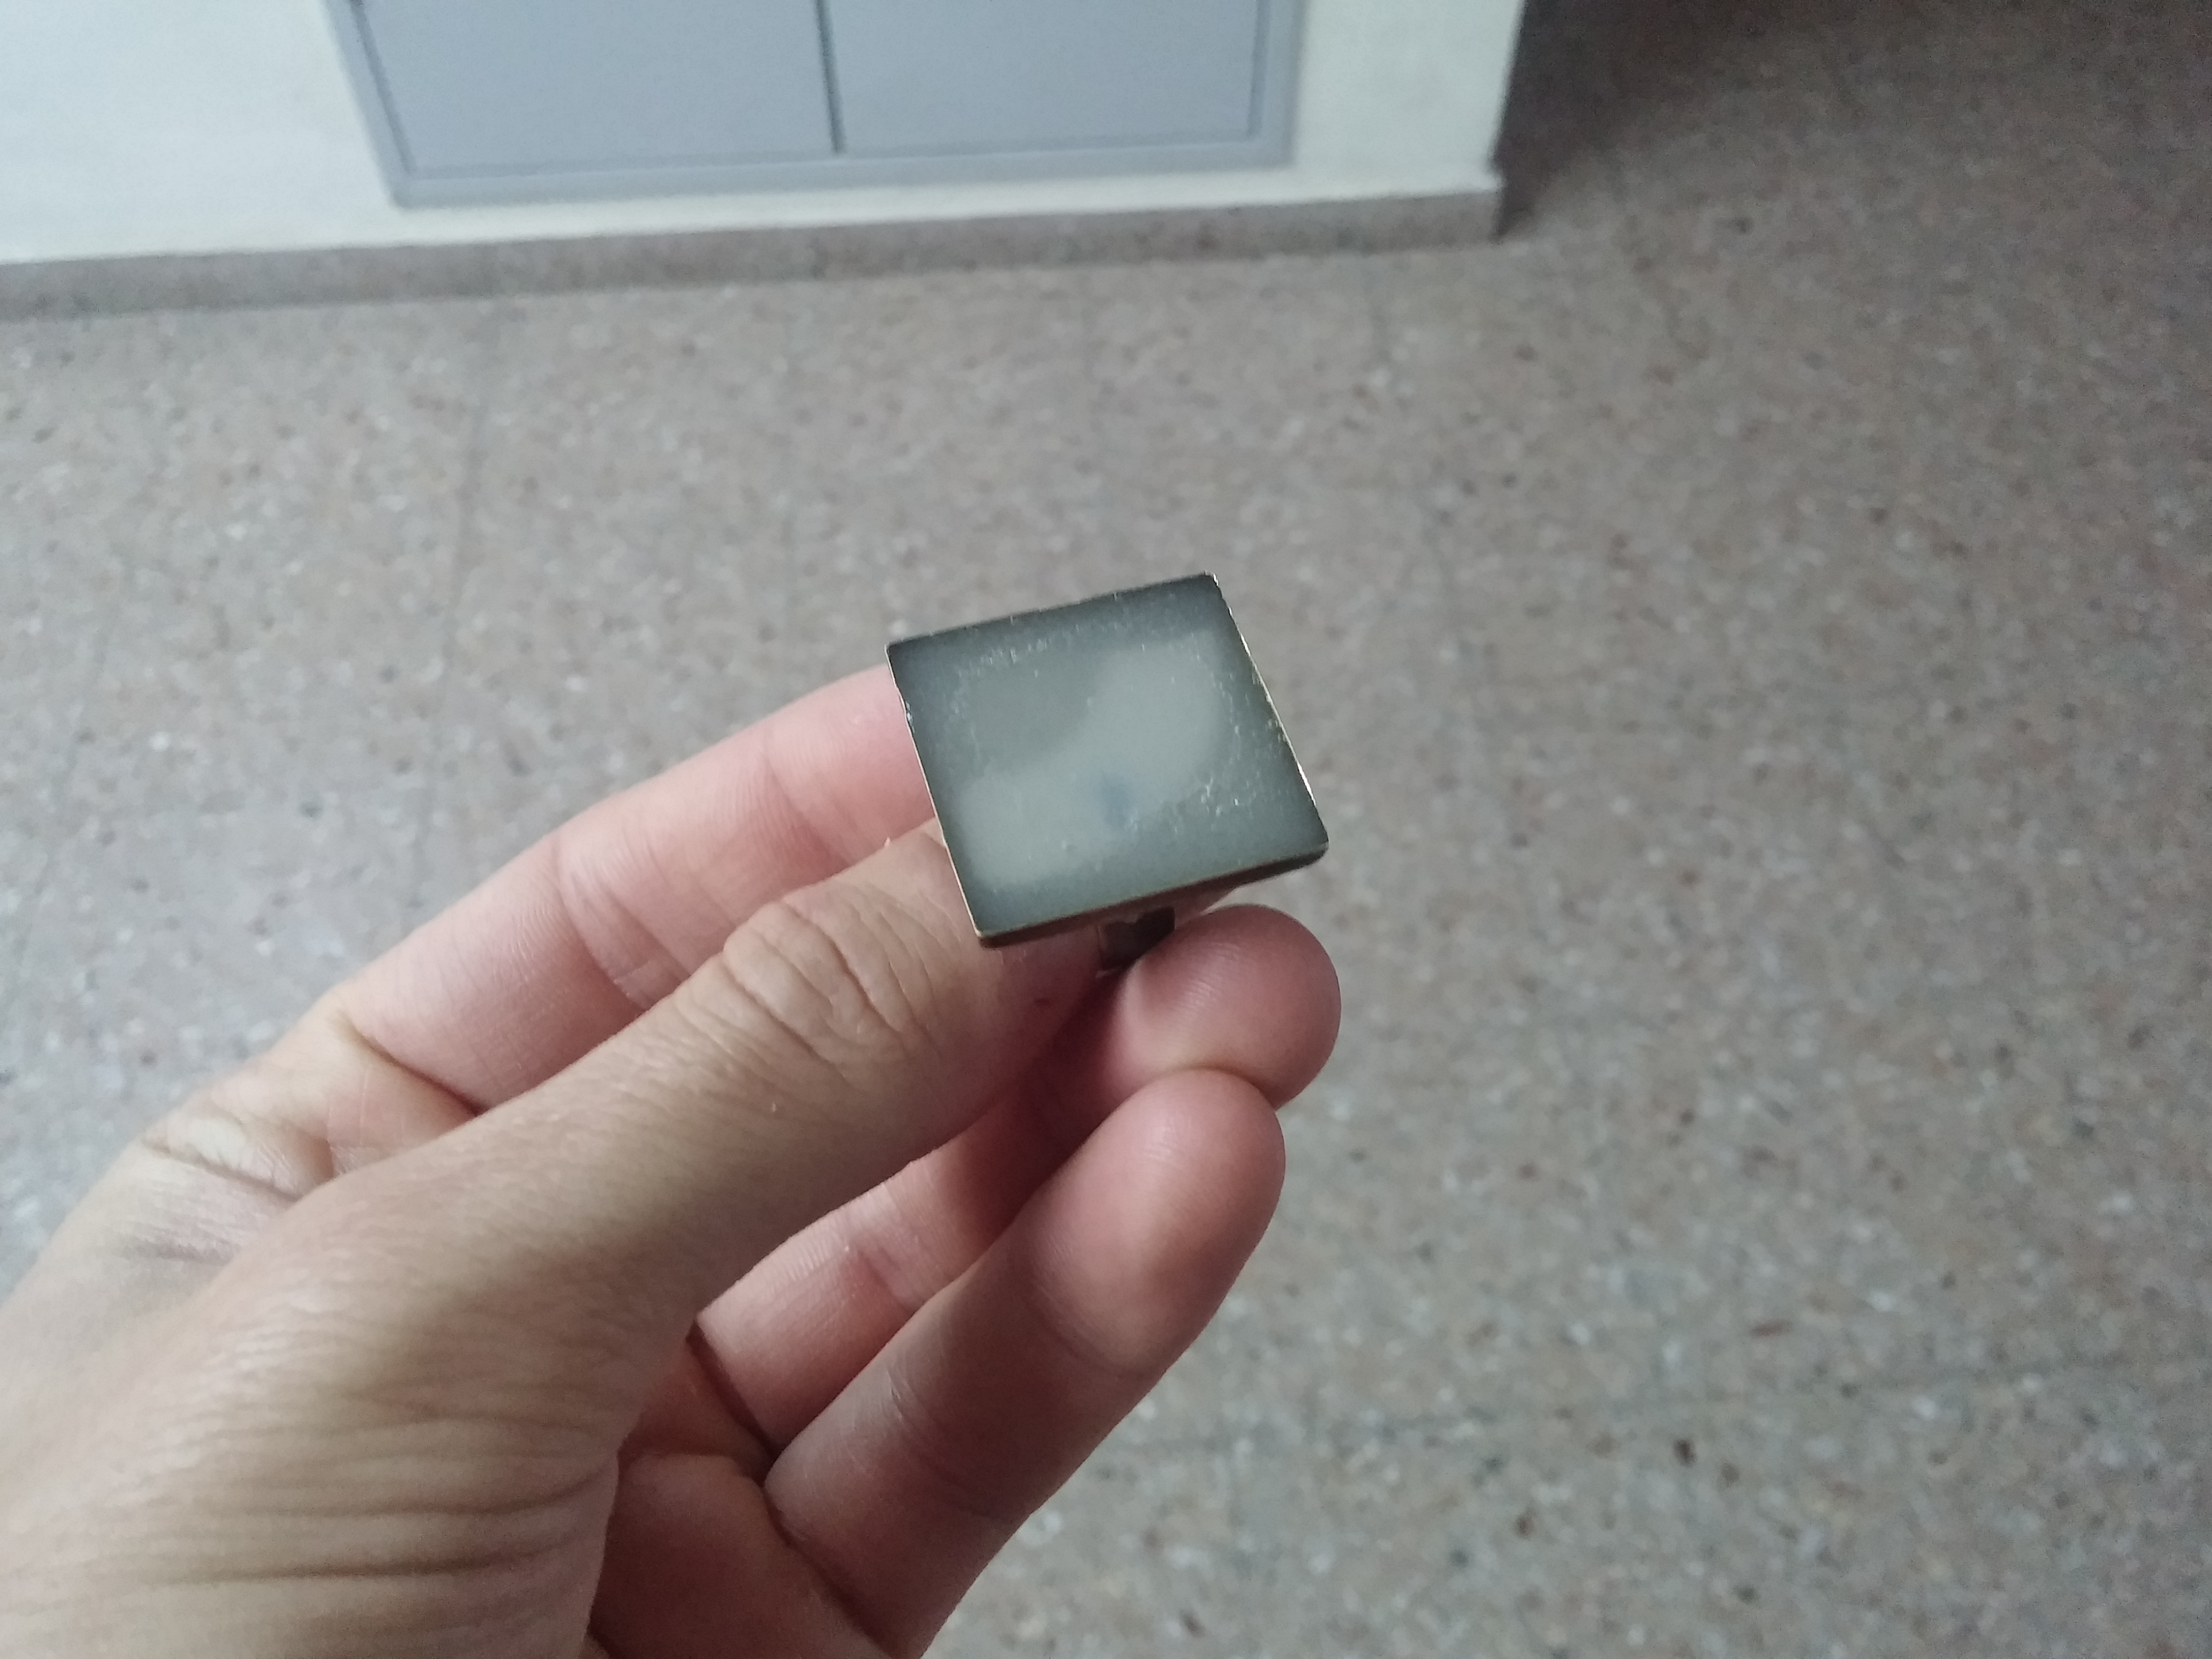
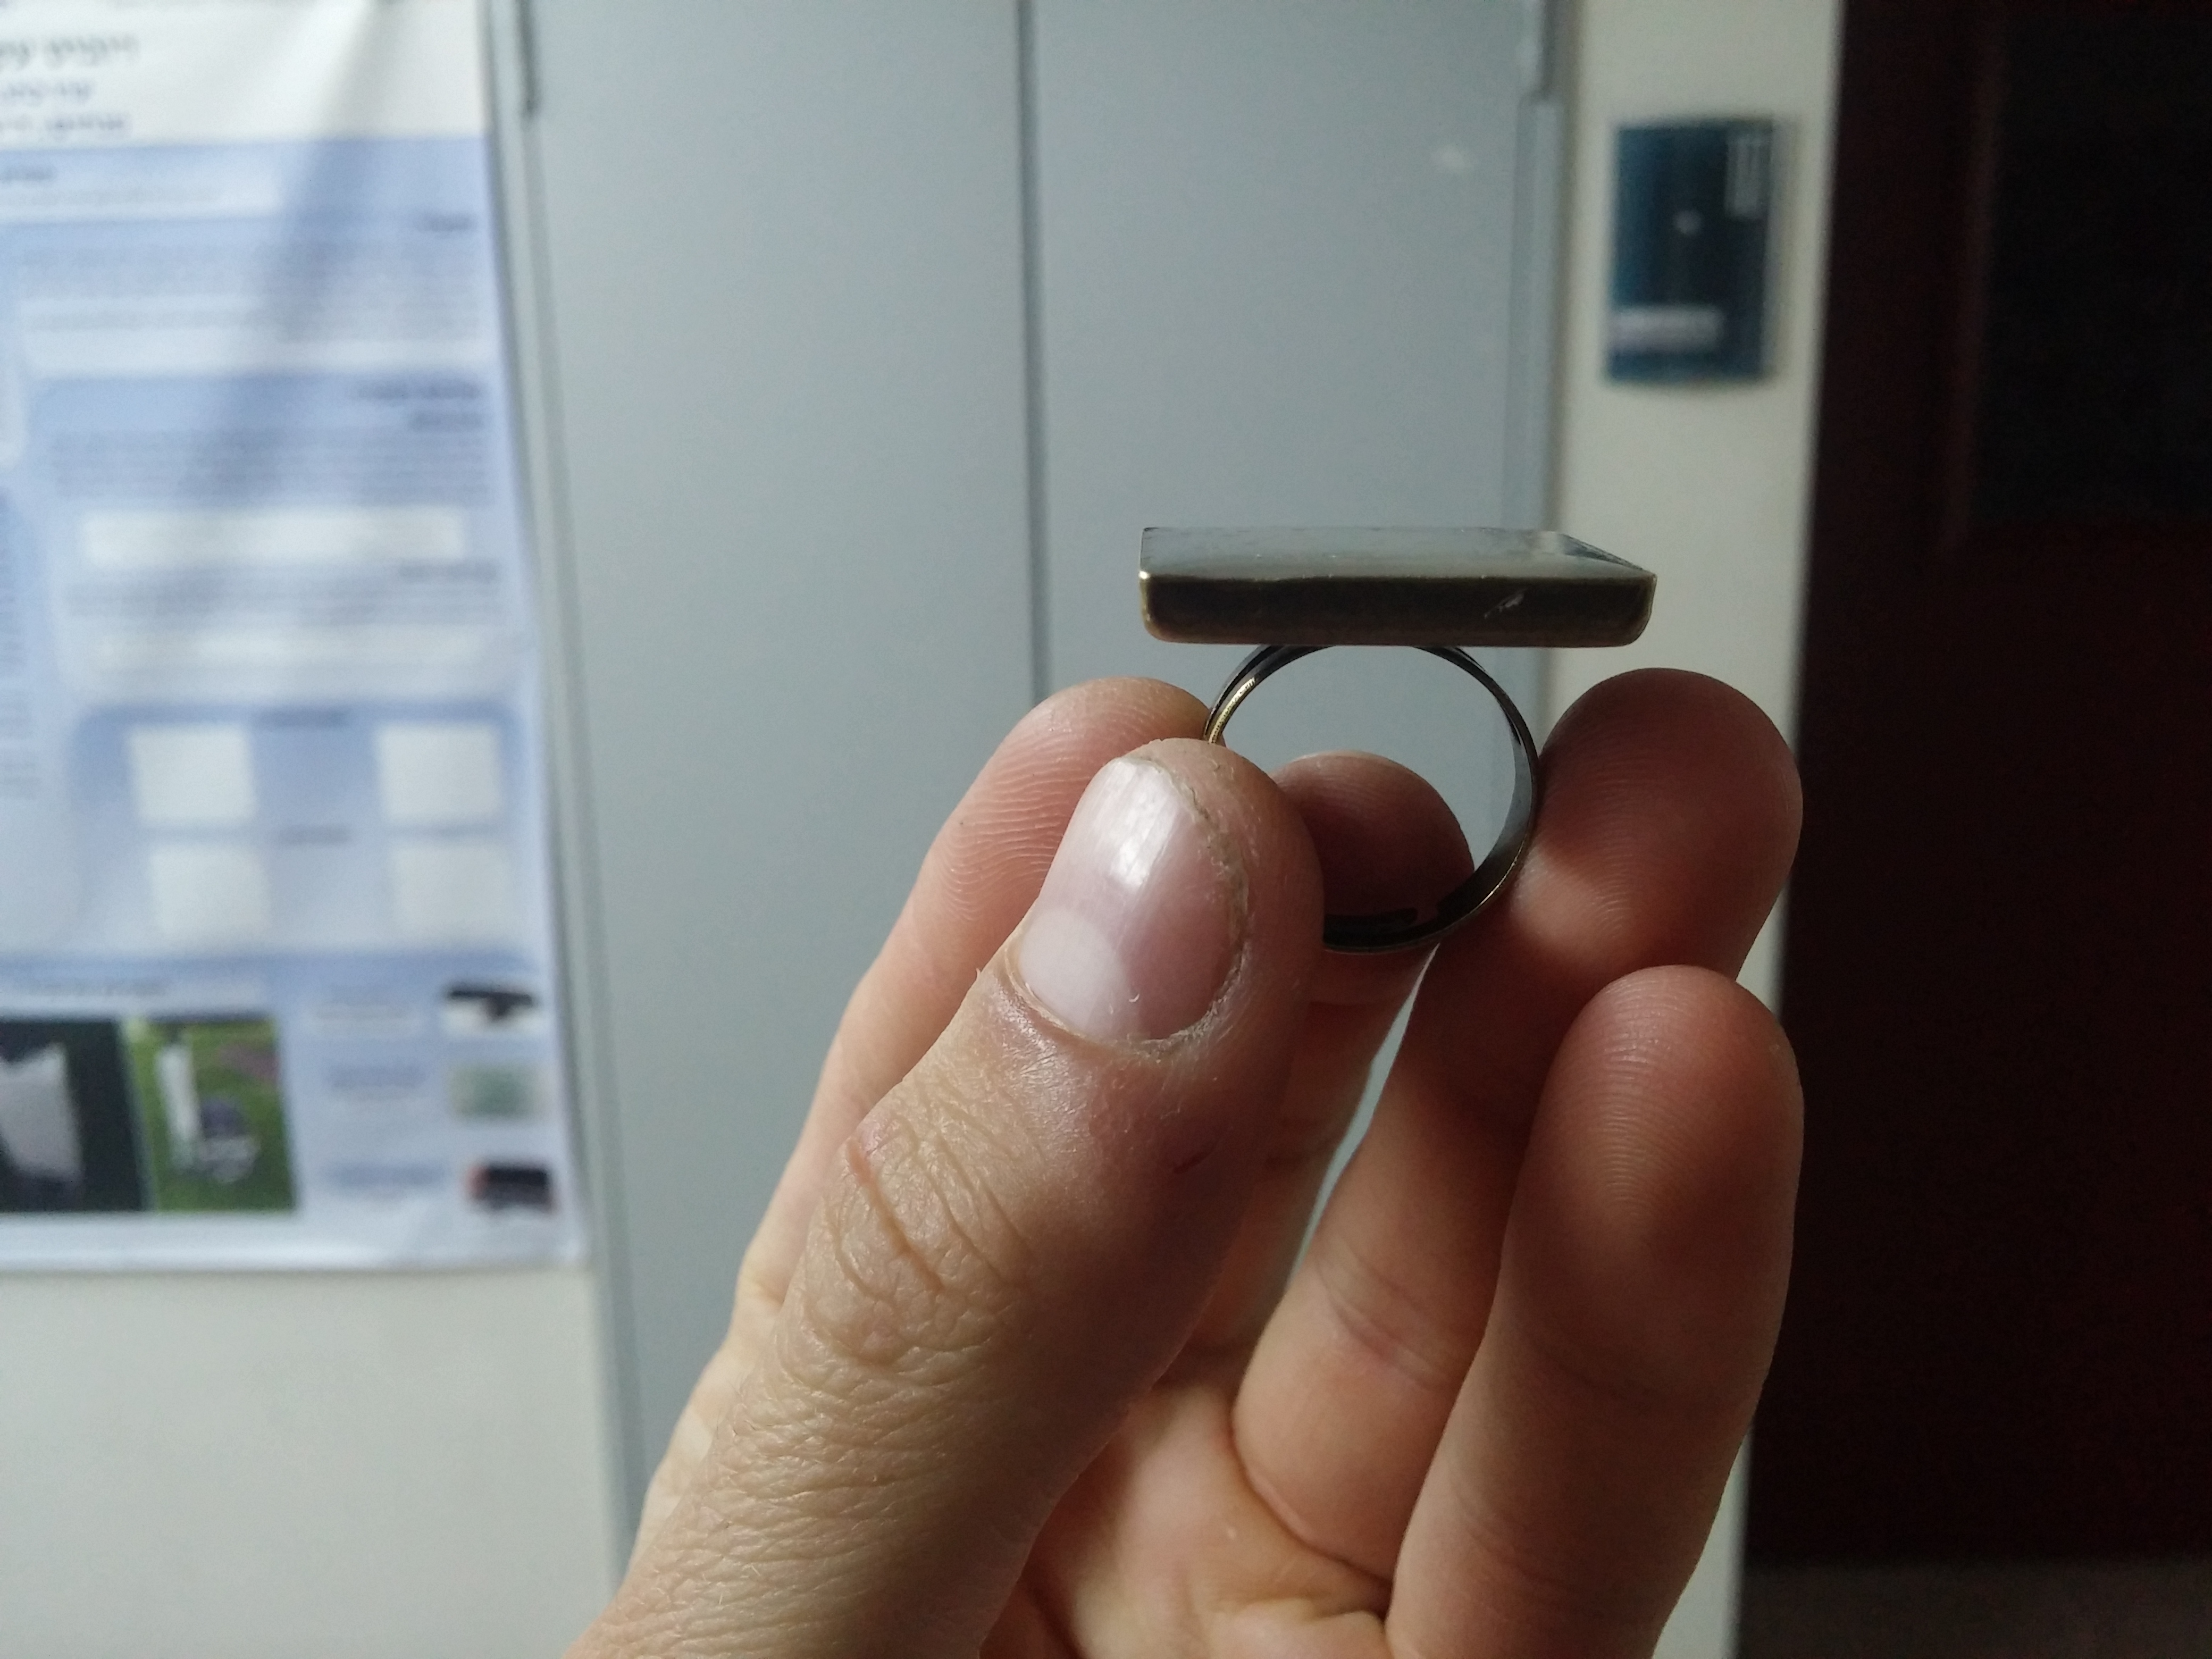
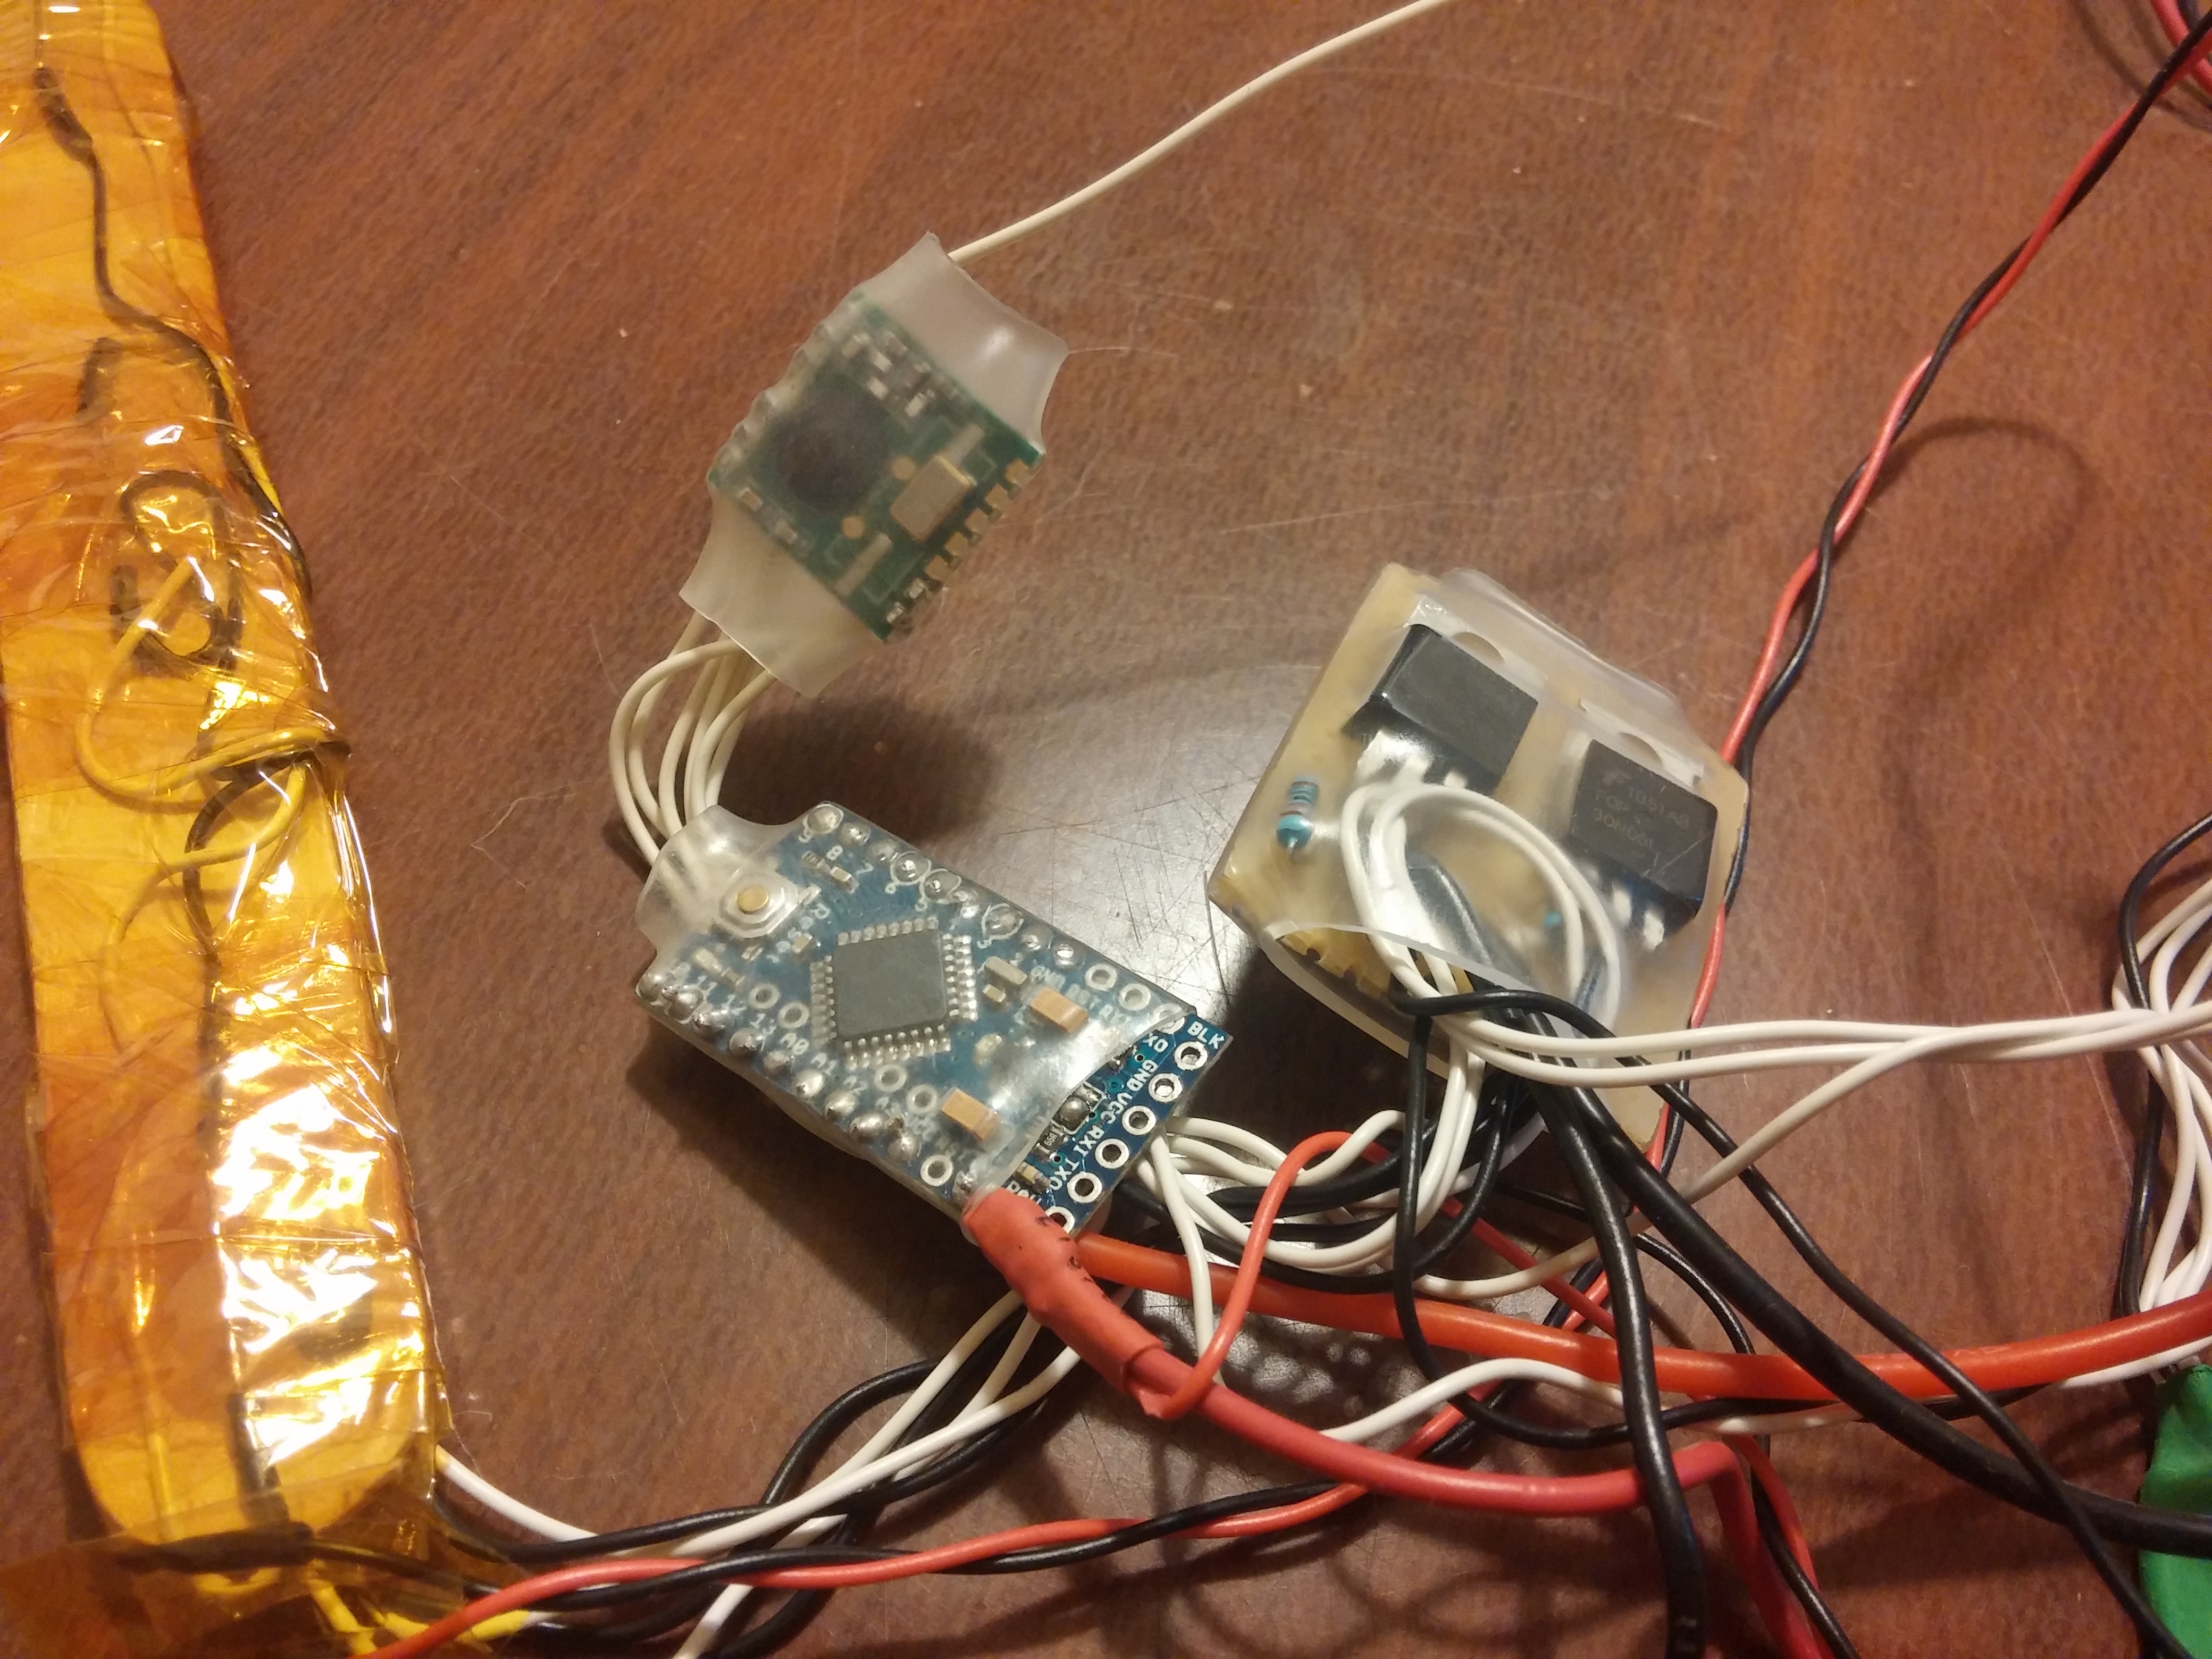
In a “real” warlock staff the are no buttons – only magics  so I wanted to create the same illusion – I wanted to get “smooth” look for the staff . This means no buttons – this is the reason that I used reed switches – reed switched are basically works like regular button or a micro-switch, but, with one different. You don’t have to physically touch them in order to create a “button press”. We simply need to have a strong magnet next to it and a “press” is triggered – on old hard disk naudiom magnet was my weapon of choice. I broke a piece of it, placed it inside a ring and with the help of a friend (Tal Raindel) we casted polyoritan and glow in the dark powder on top of it. The result was perfect!
This is the ring:
This is the reed switch tapped on a wooden stick with Kapton tape, I slided it into the head of the staff with all the electronics:


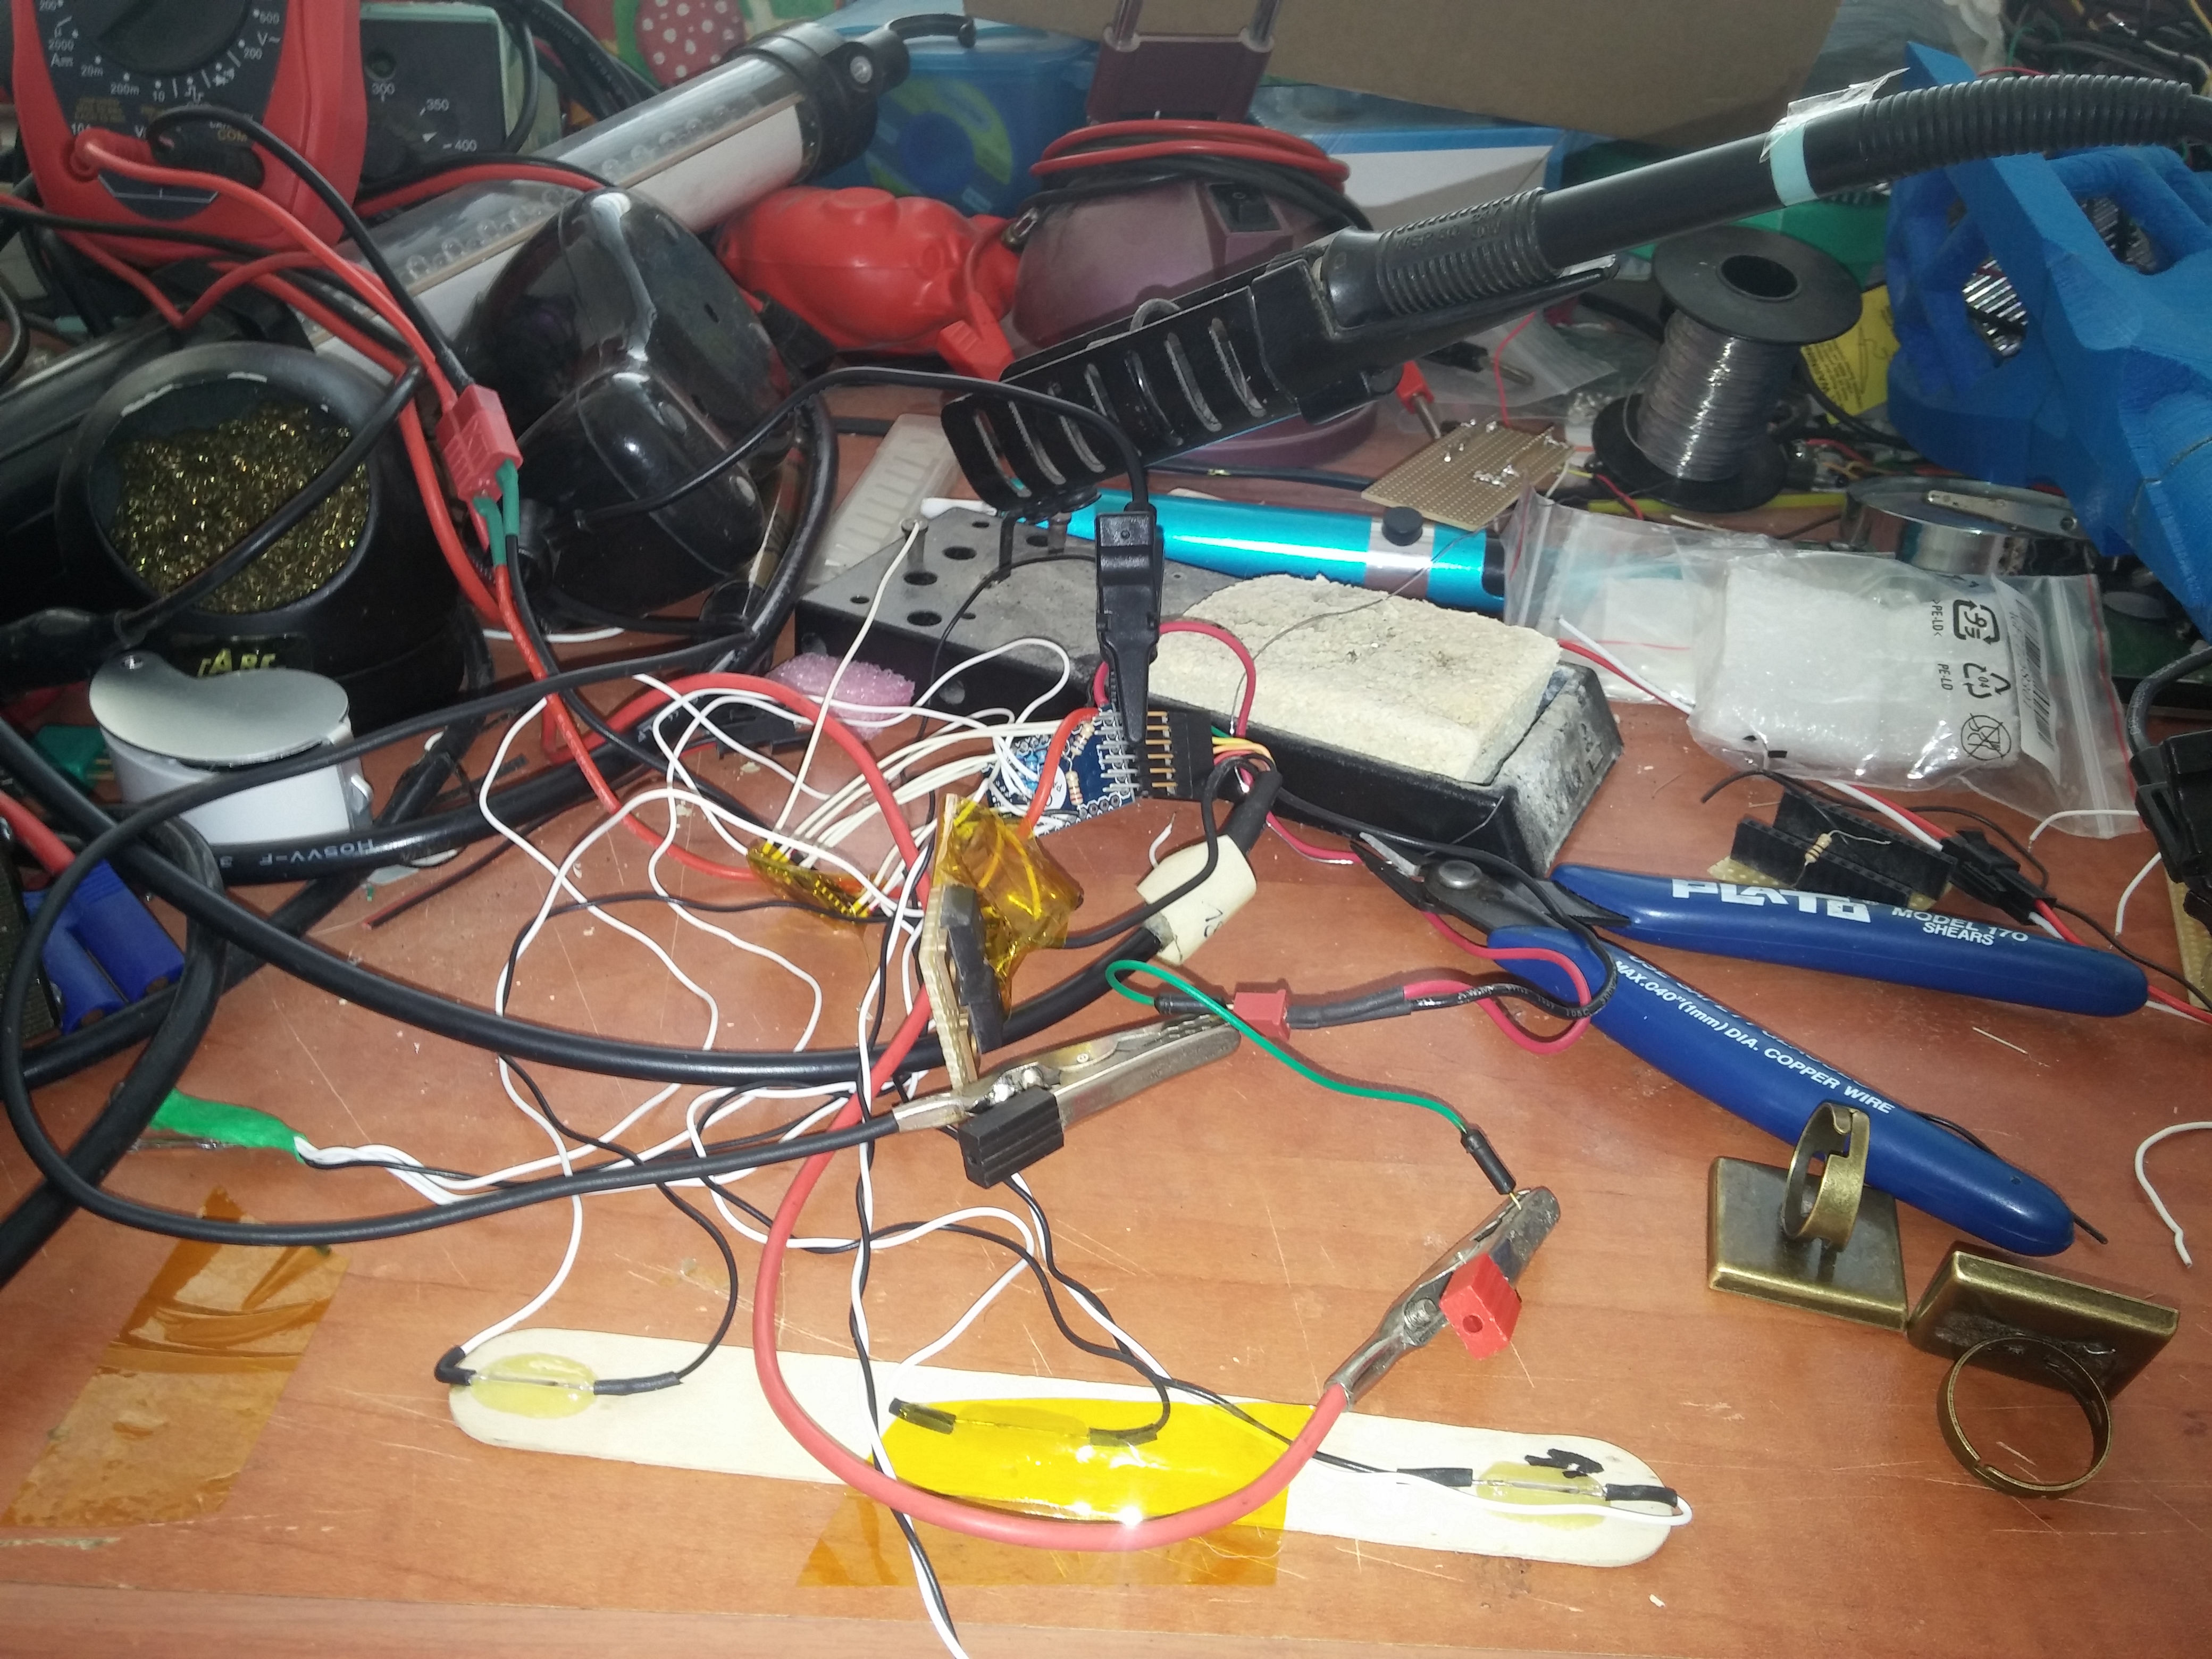
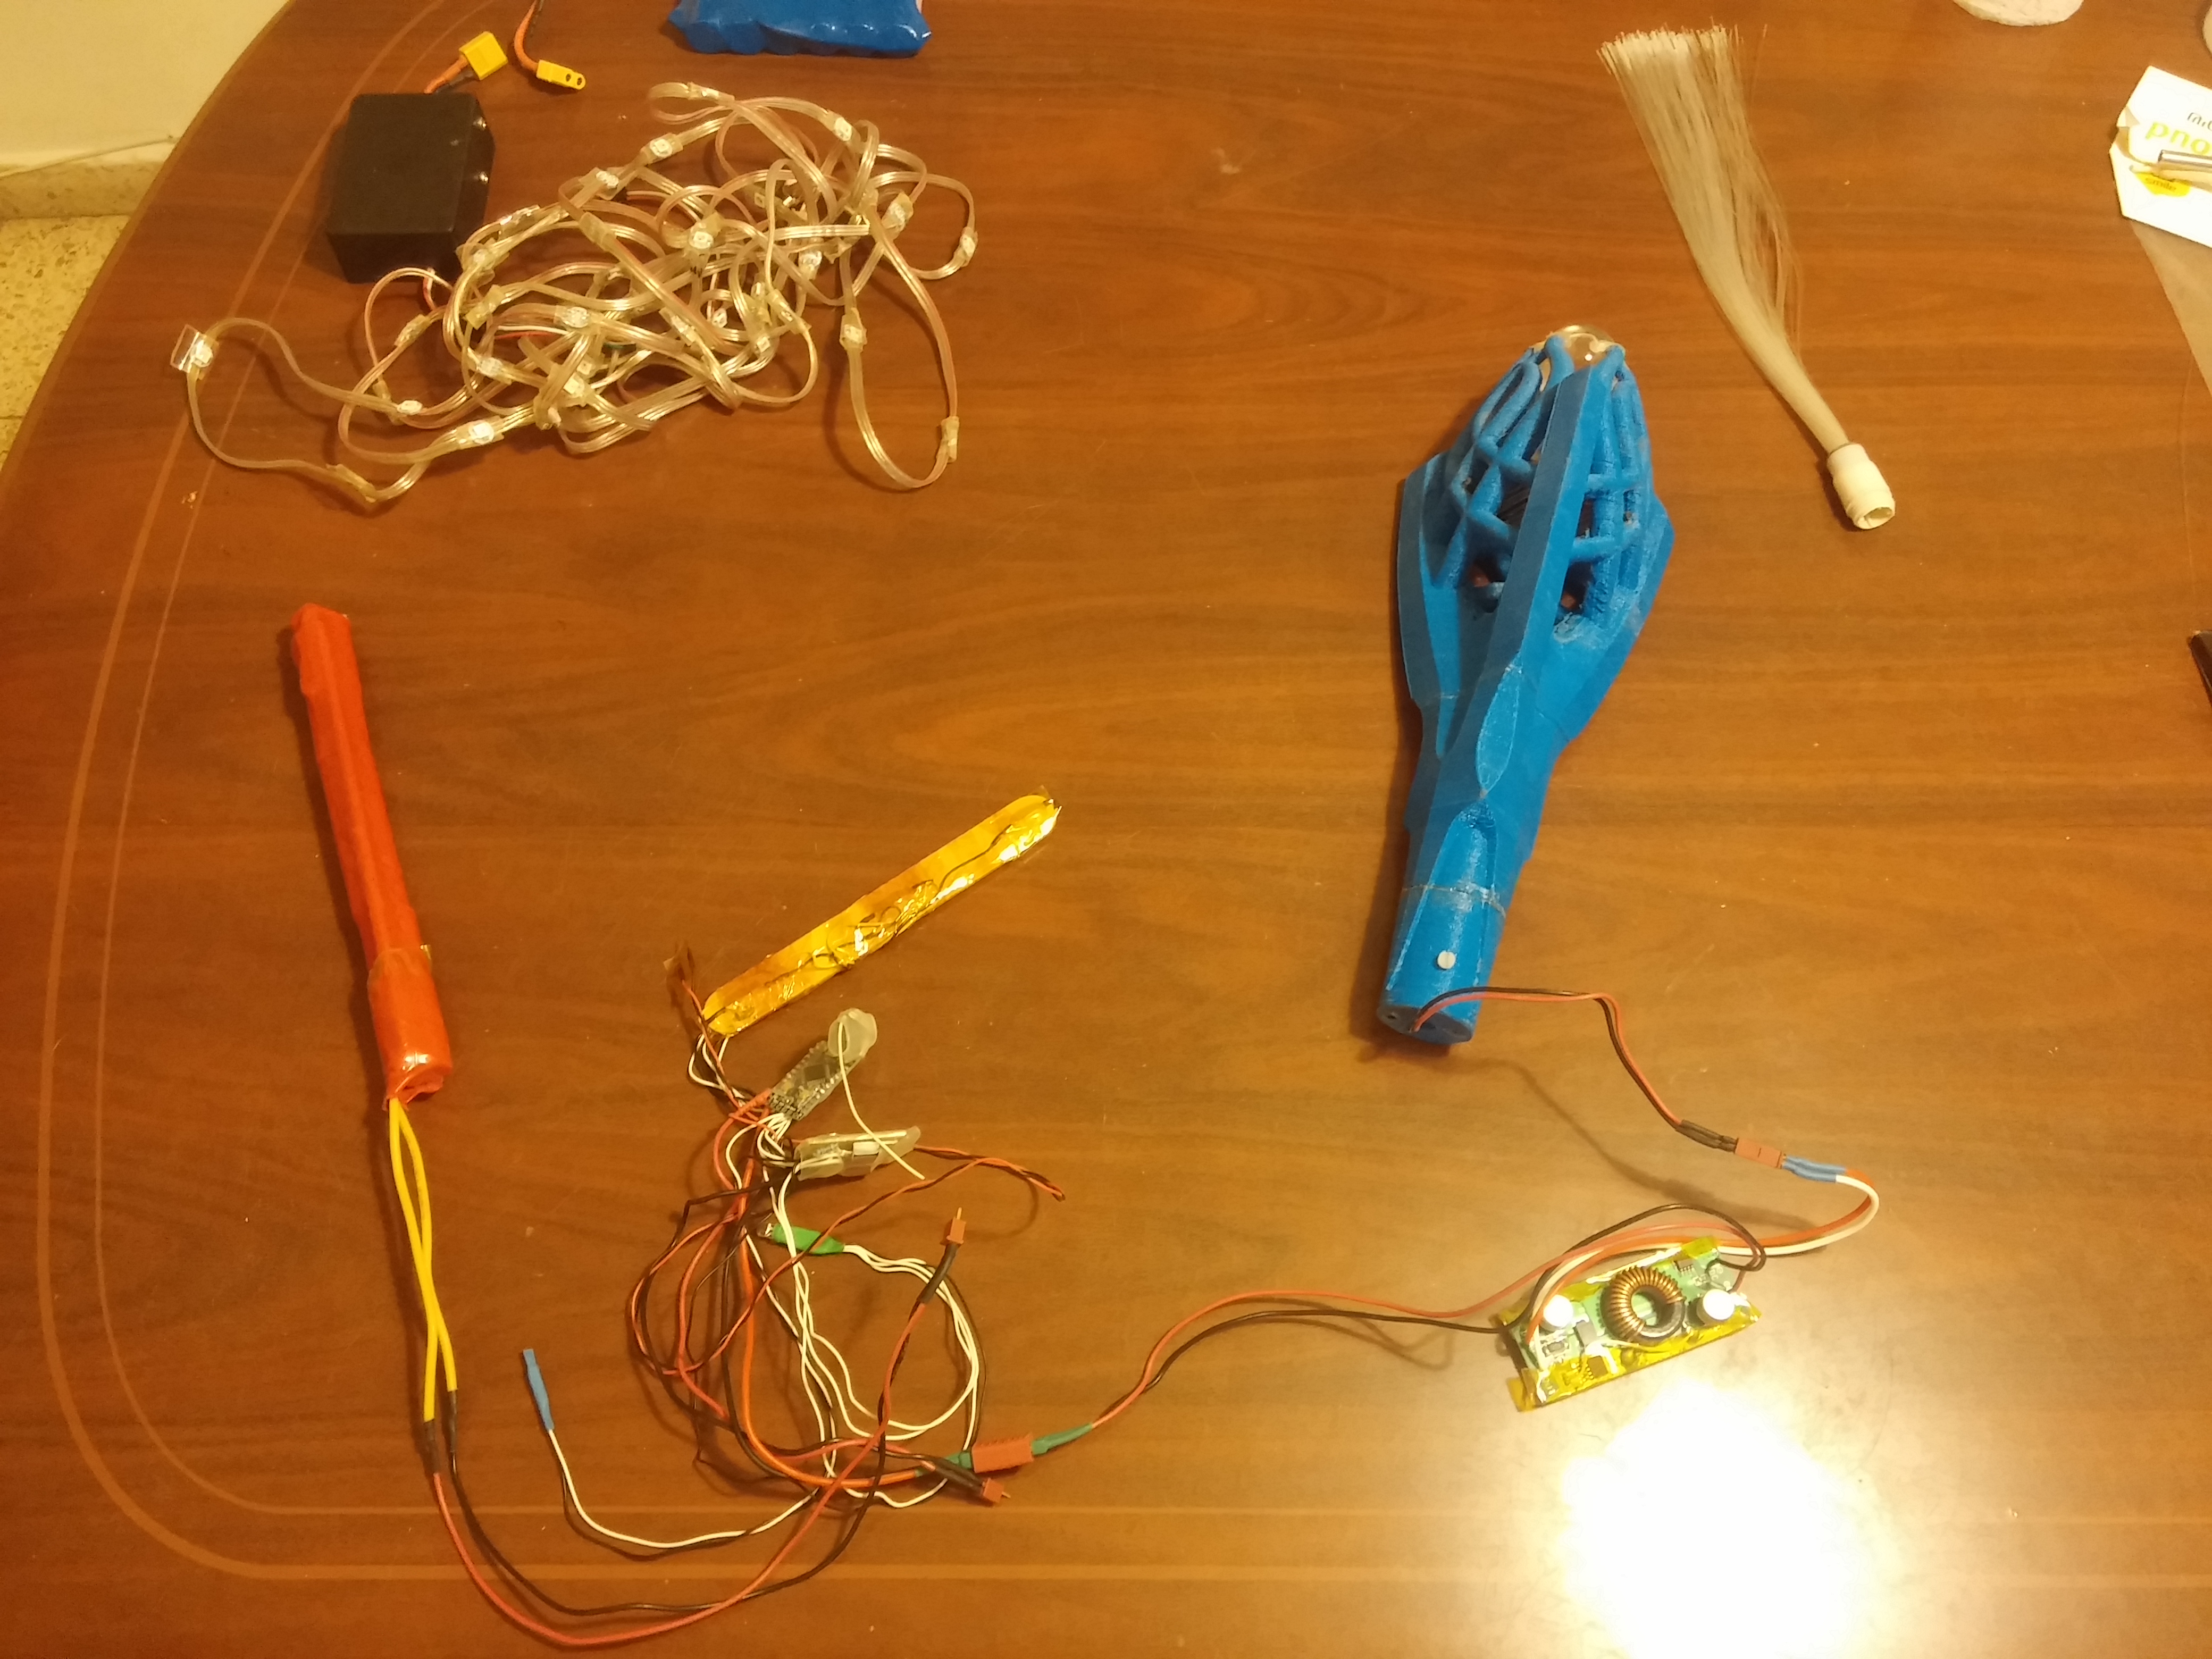
Here are some more picture from the construction process of the staff itself, most of it is sawing, cutting, sanding, gluing and painting: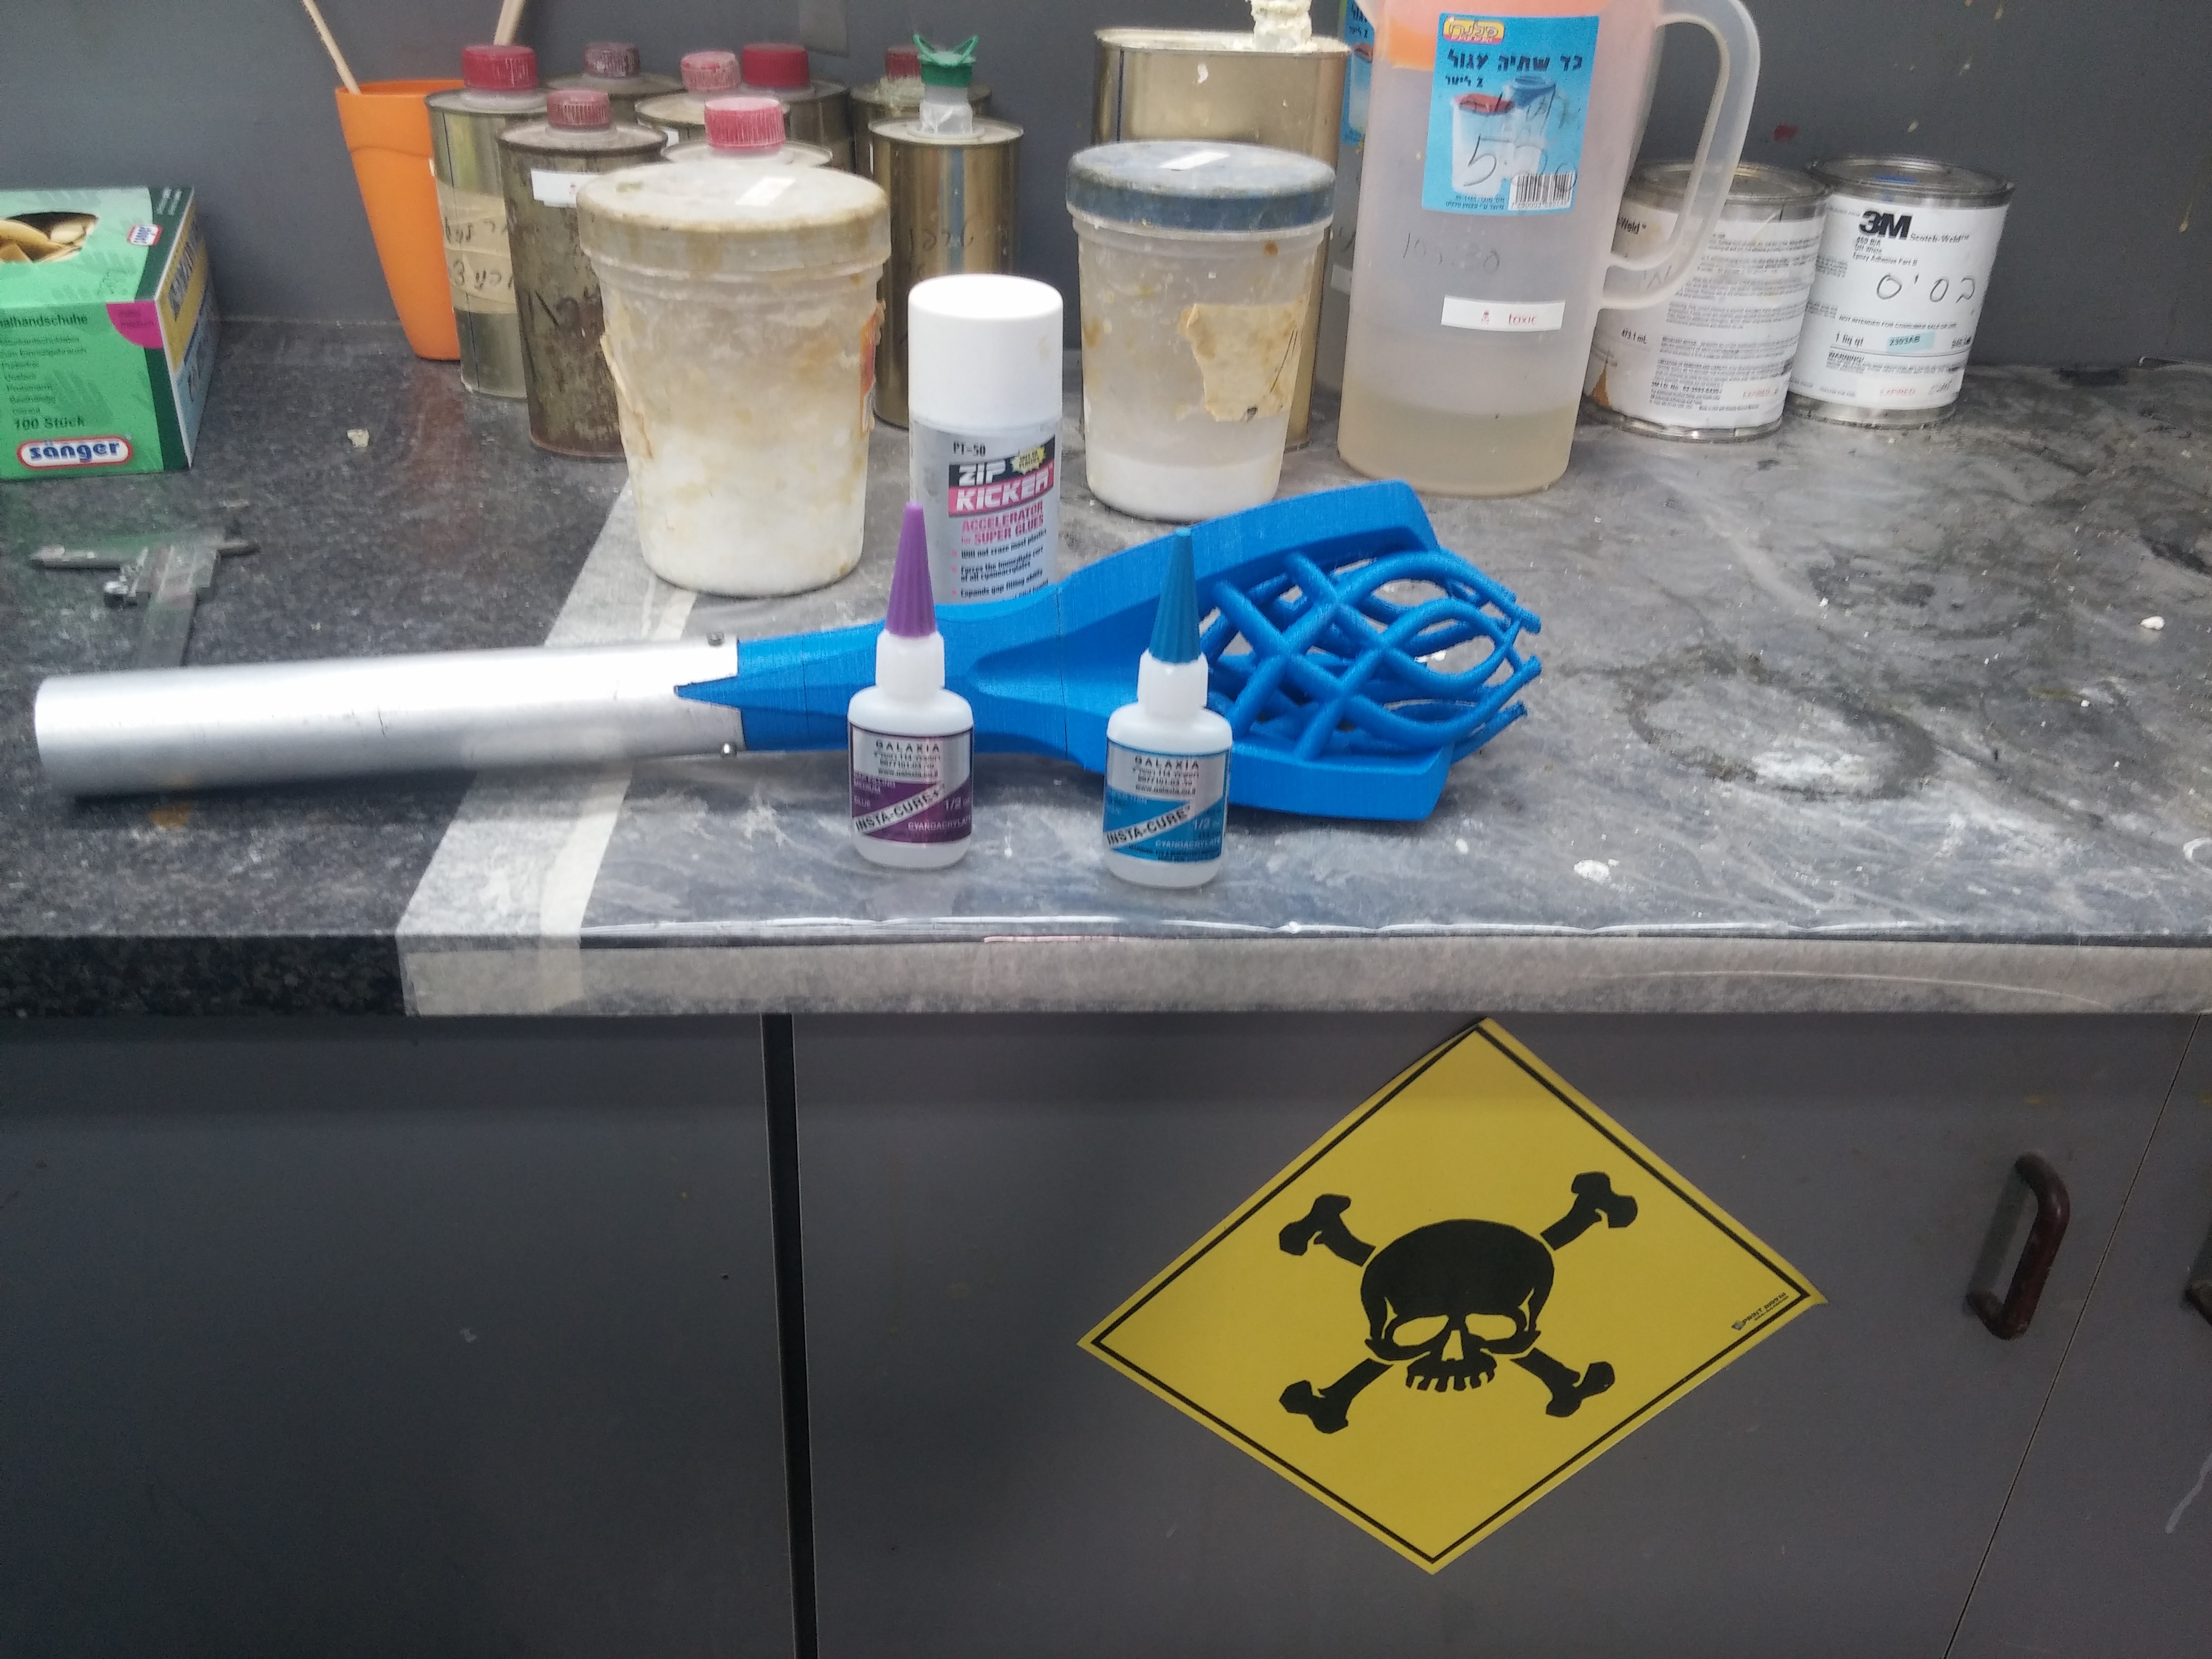

The cloak
The cloak itself is a master piece created from scratch by Tamar Goldstain and I. We saw example of different cloaks online and figured out what’s the right pattern in order to achieve the desired illusion and effect. Tamar Goldstain is truly an amazing artist that studied in Betzalel art academy and spent several days with my in designing and sewing the cloak from scratch. I with to thank her. I don’t know how to sew well and without her this amazing project wouldn’t have finished with this result.


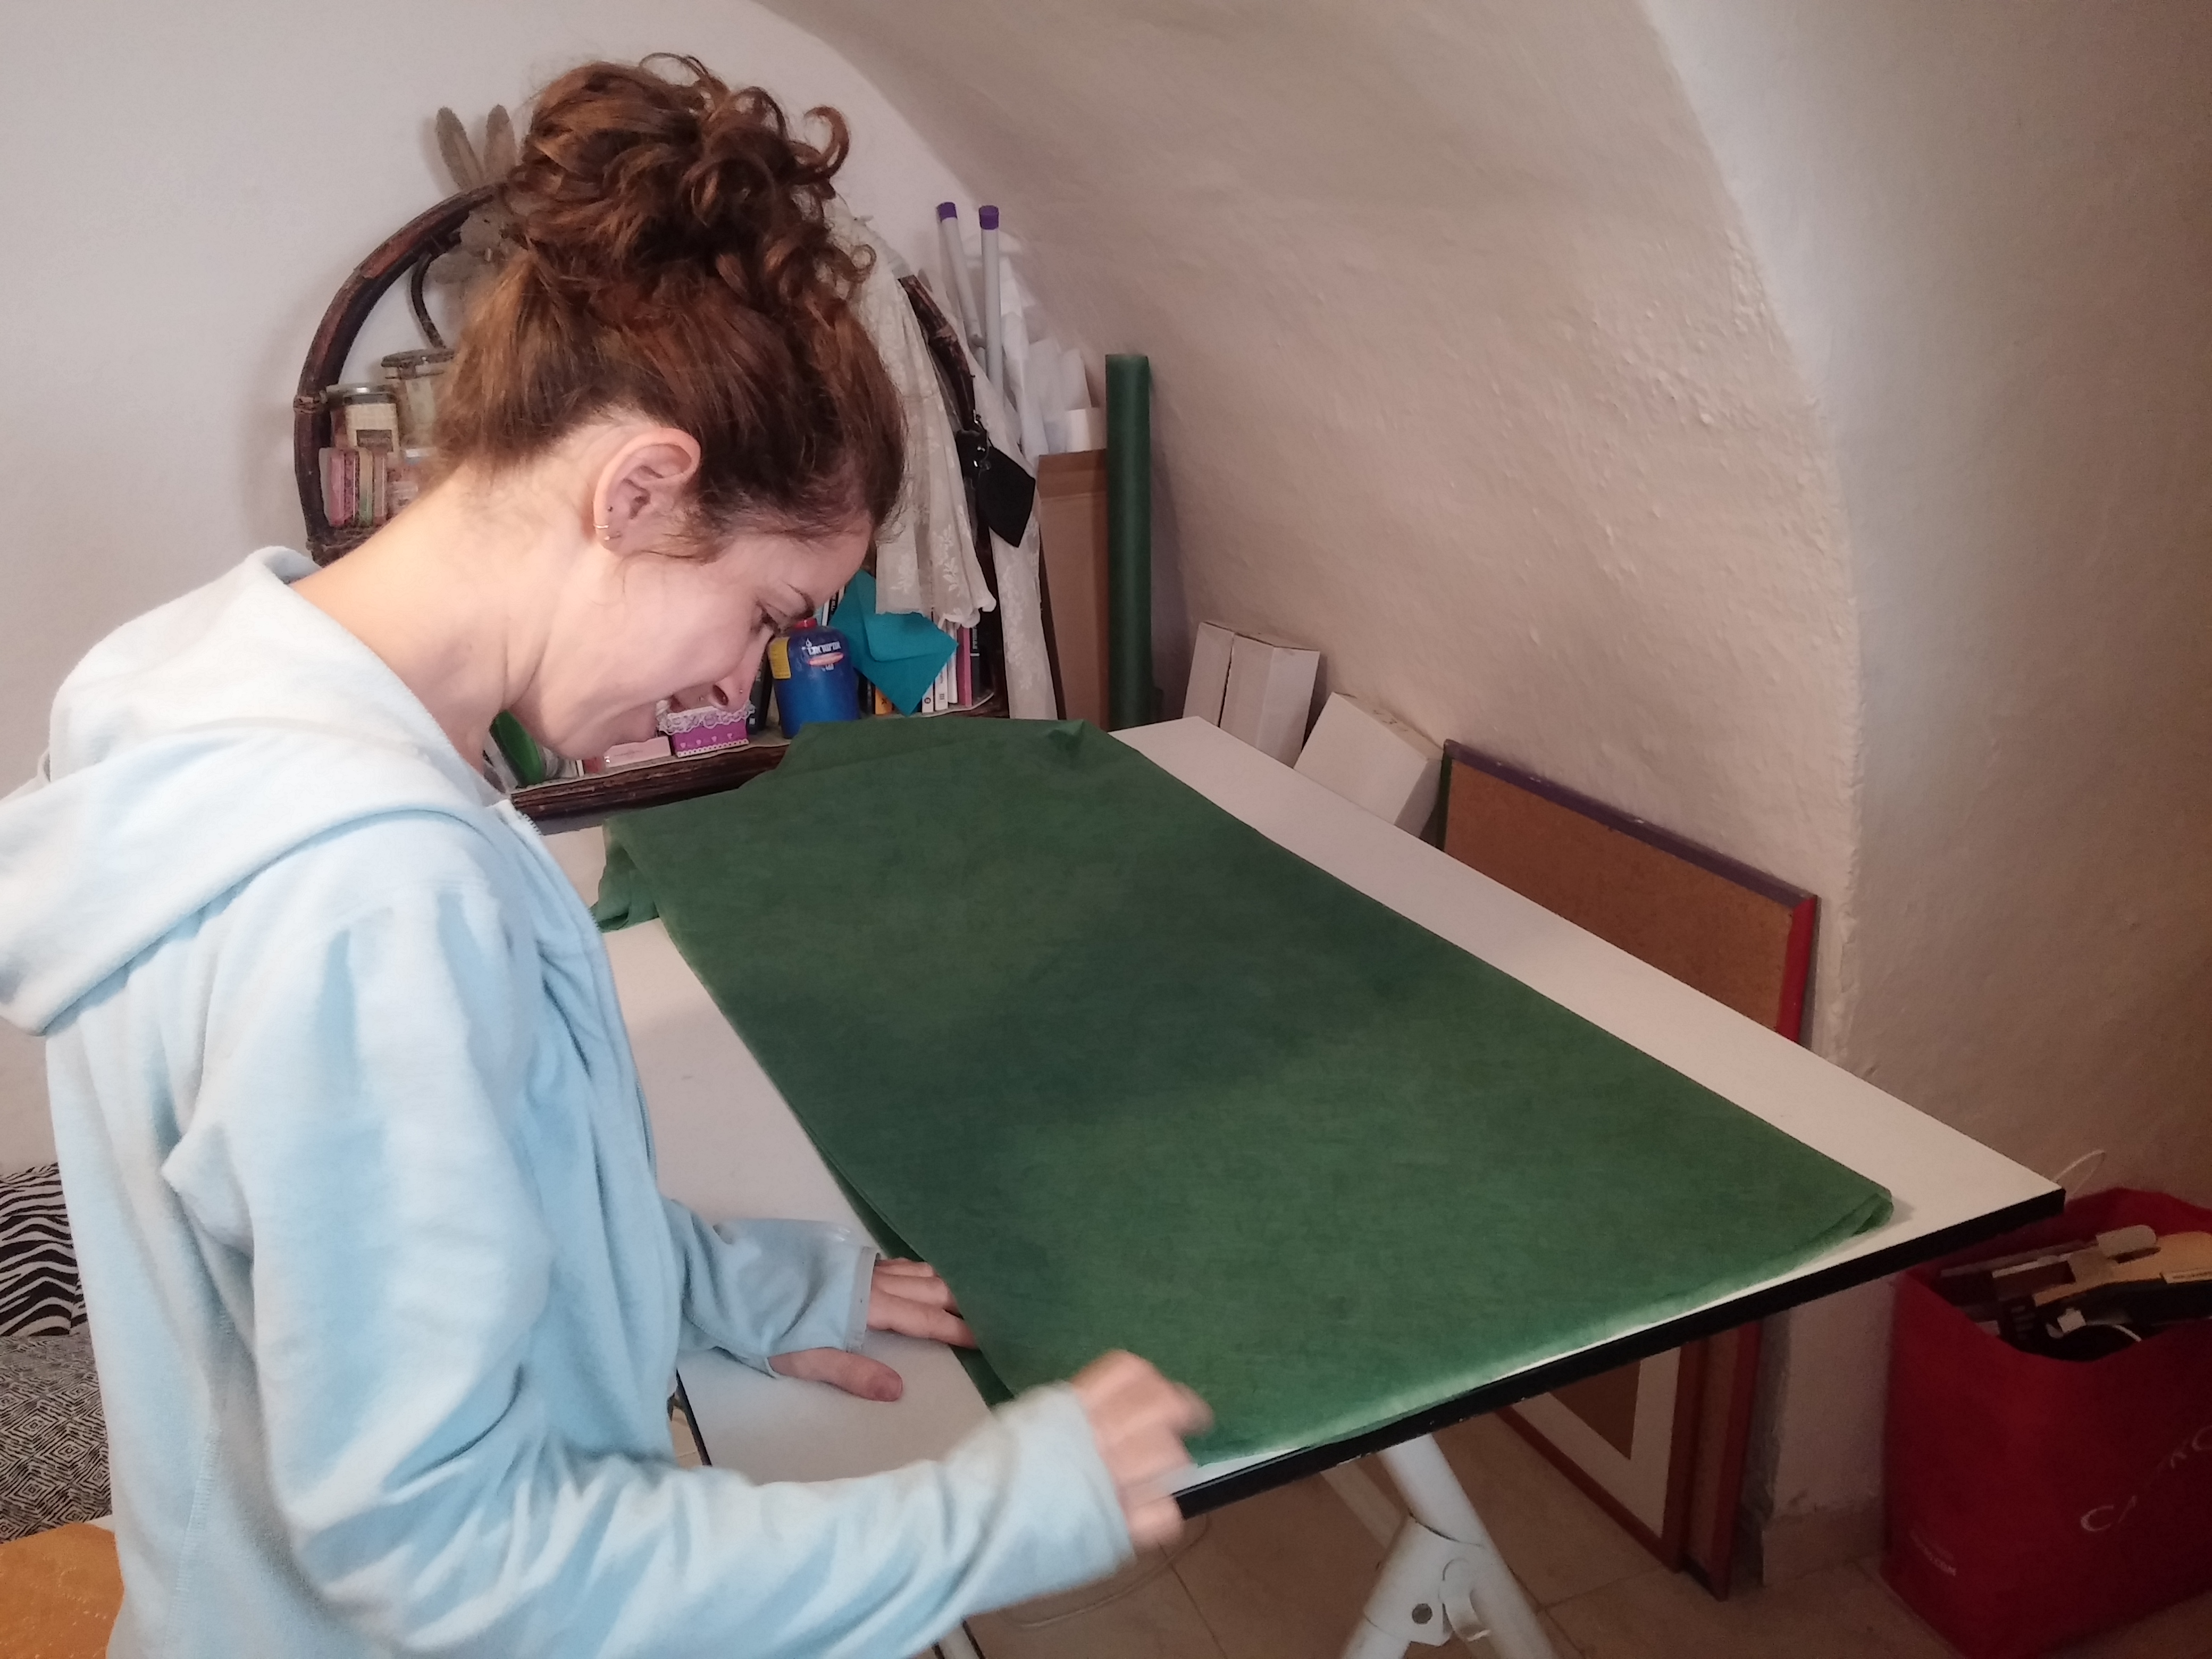
Back to the technical stuff.. The cloak is made from 2 fabrics – one gives the figure, shape and creamy off-white color that suits the Playa and the second one is the fiber optic fabric.

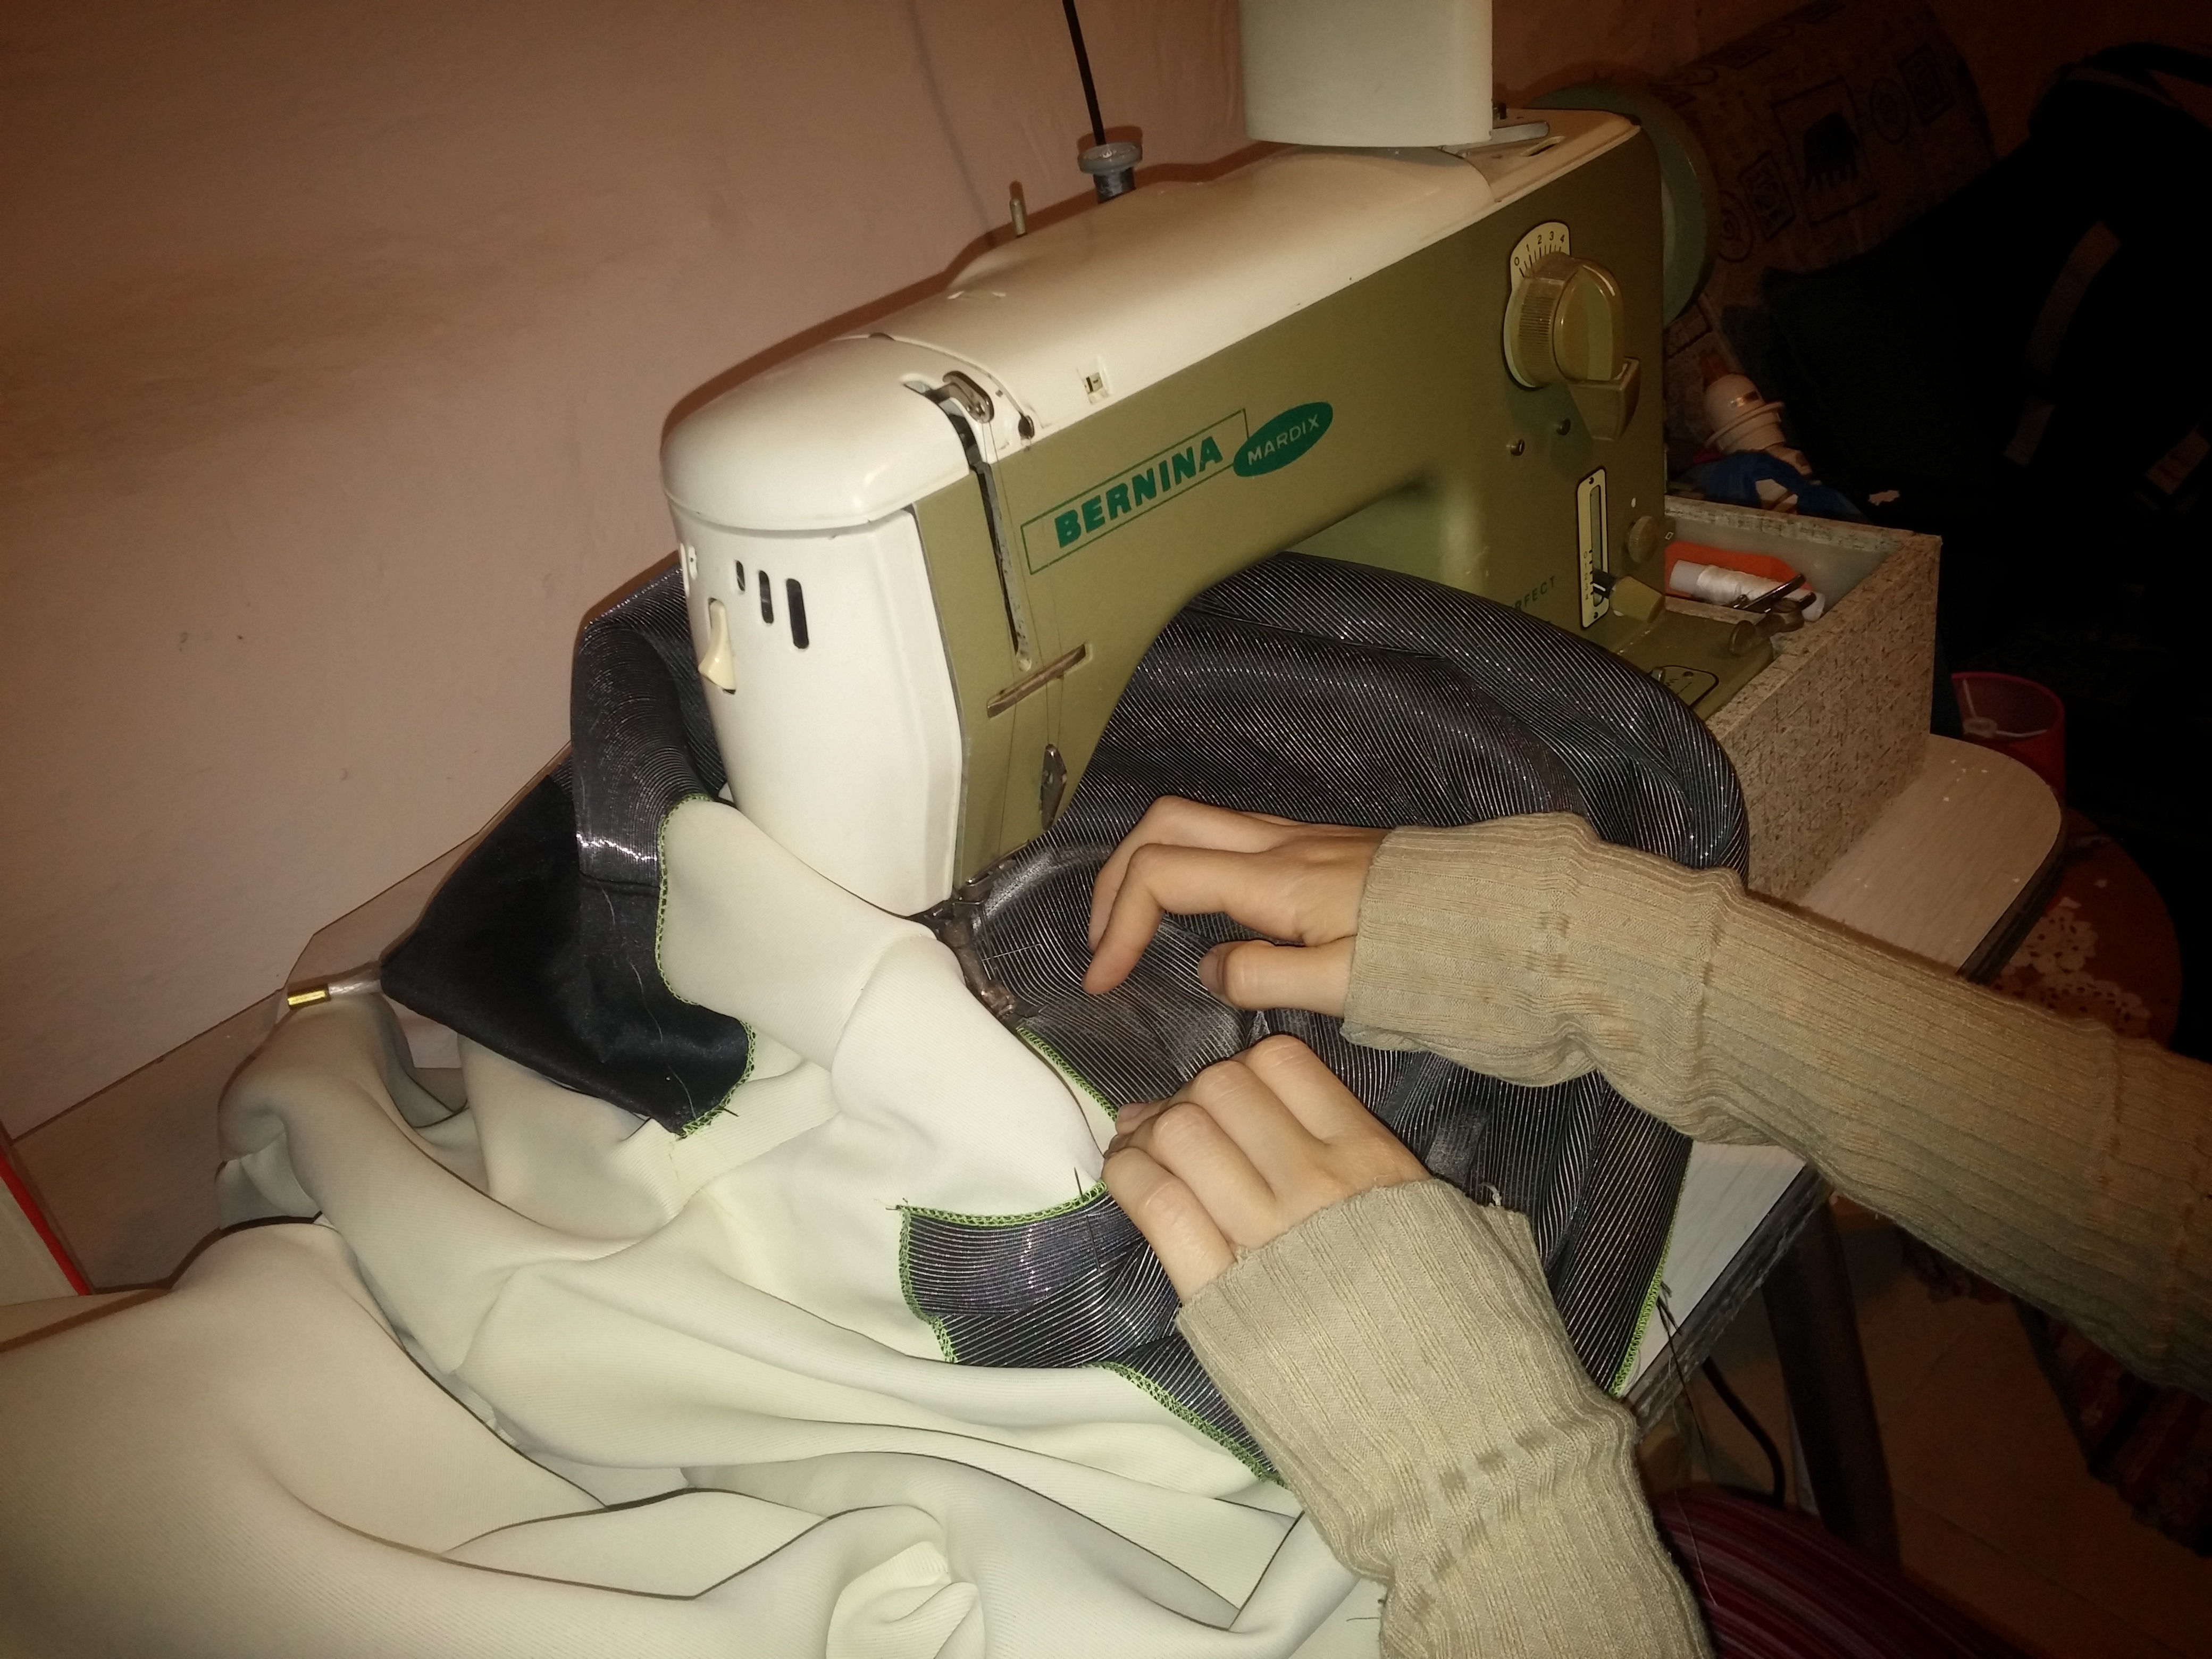
The fiber optic fabric contains lots of lots of “polluted” fiber optics. Usually the purpose of fiber optic is to transfer light from one end to another without and light losses but this time is different. In this special fabric the fibers that were used are emitting...
Read more »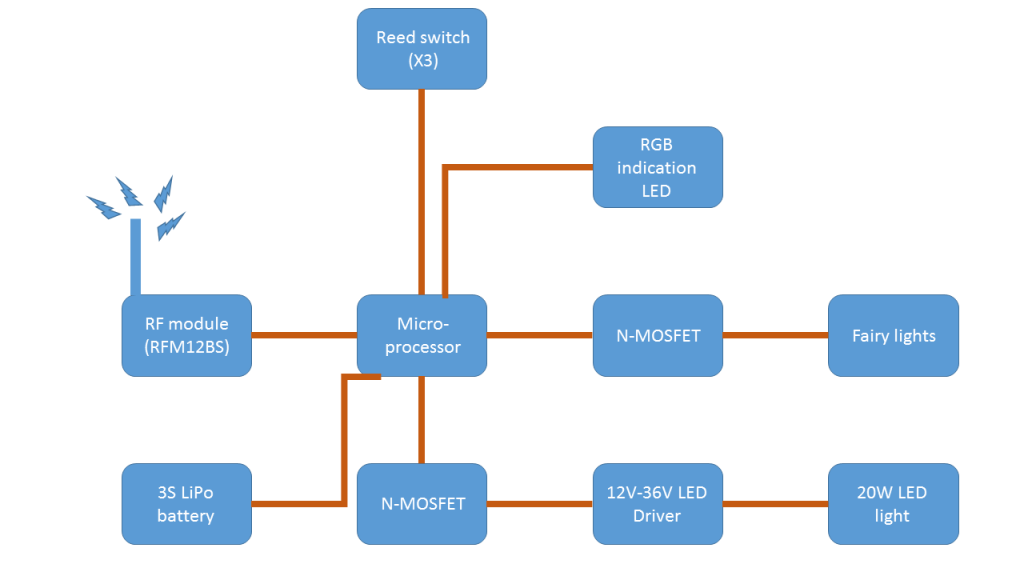


 audreyobscura
 sky-guided
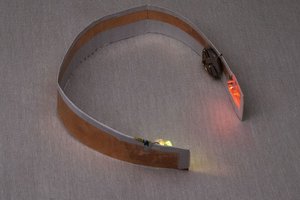
 Roger
Roger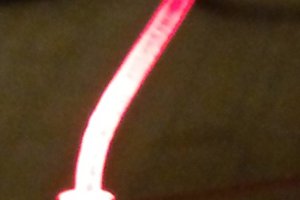
This looks incredible!