 ACROBOTIC Industries
What is RASPICON?
RASPICON is a Retro Gaming and Media Center computer rolled up into one, inside a sleek-looking console. Powered by a Raspberry Pi, RASPICON runs a customized version of Raspbian, which includes two fantastic Open-Source software packages:

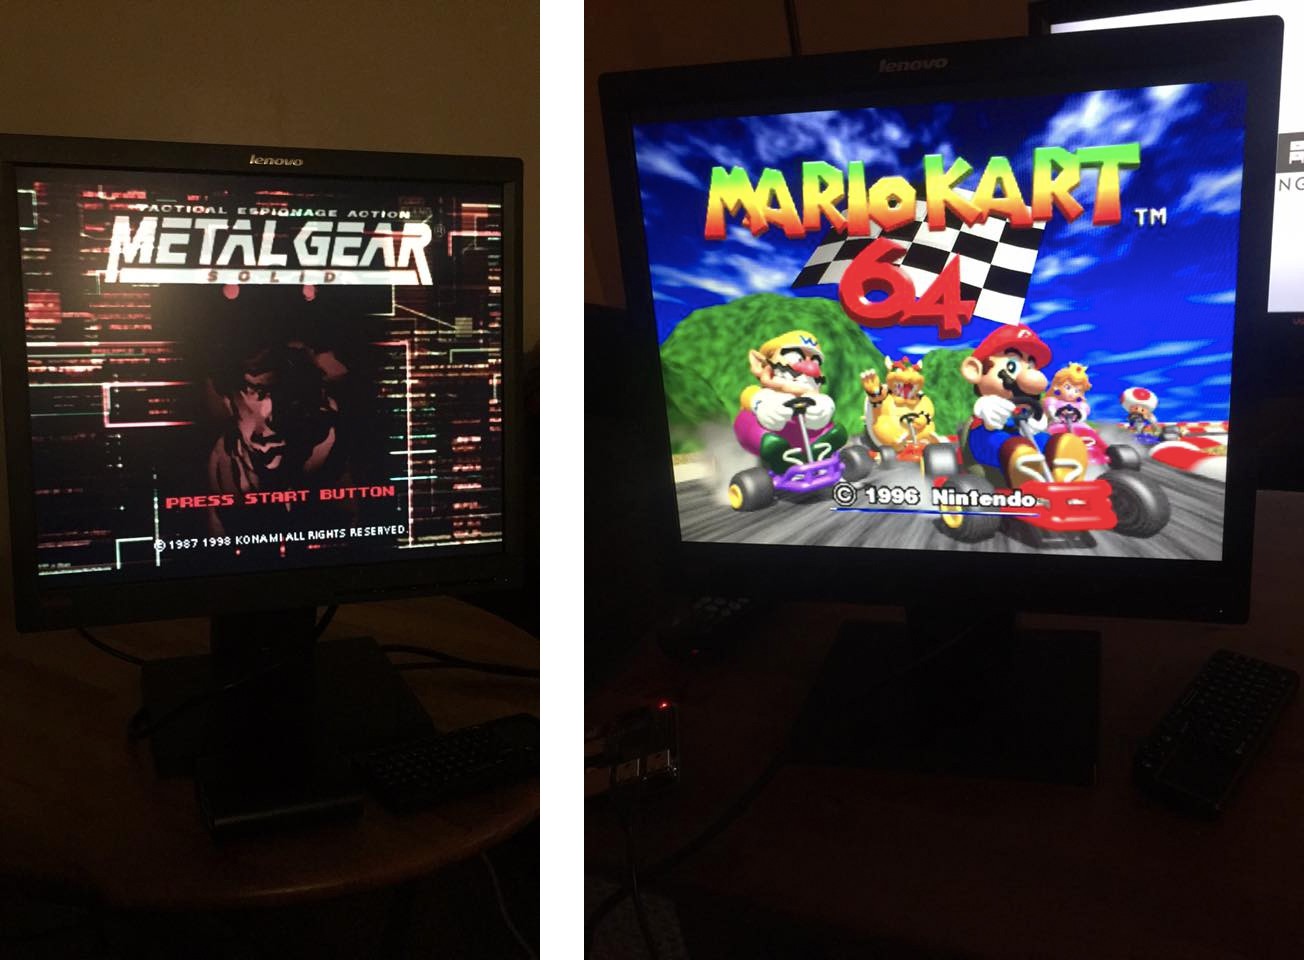
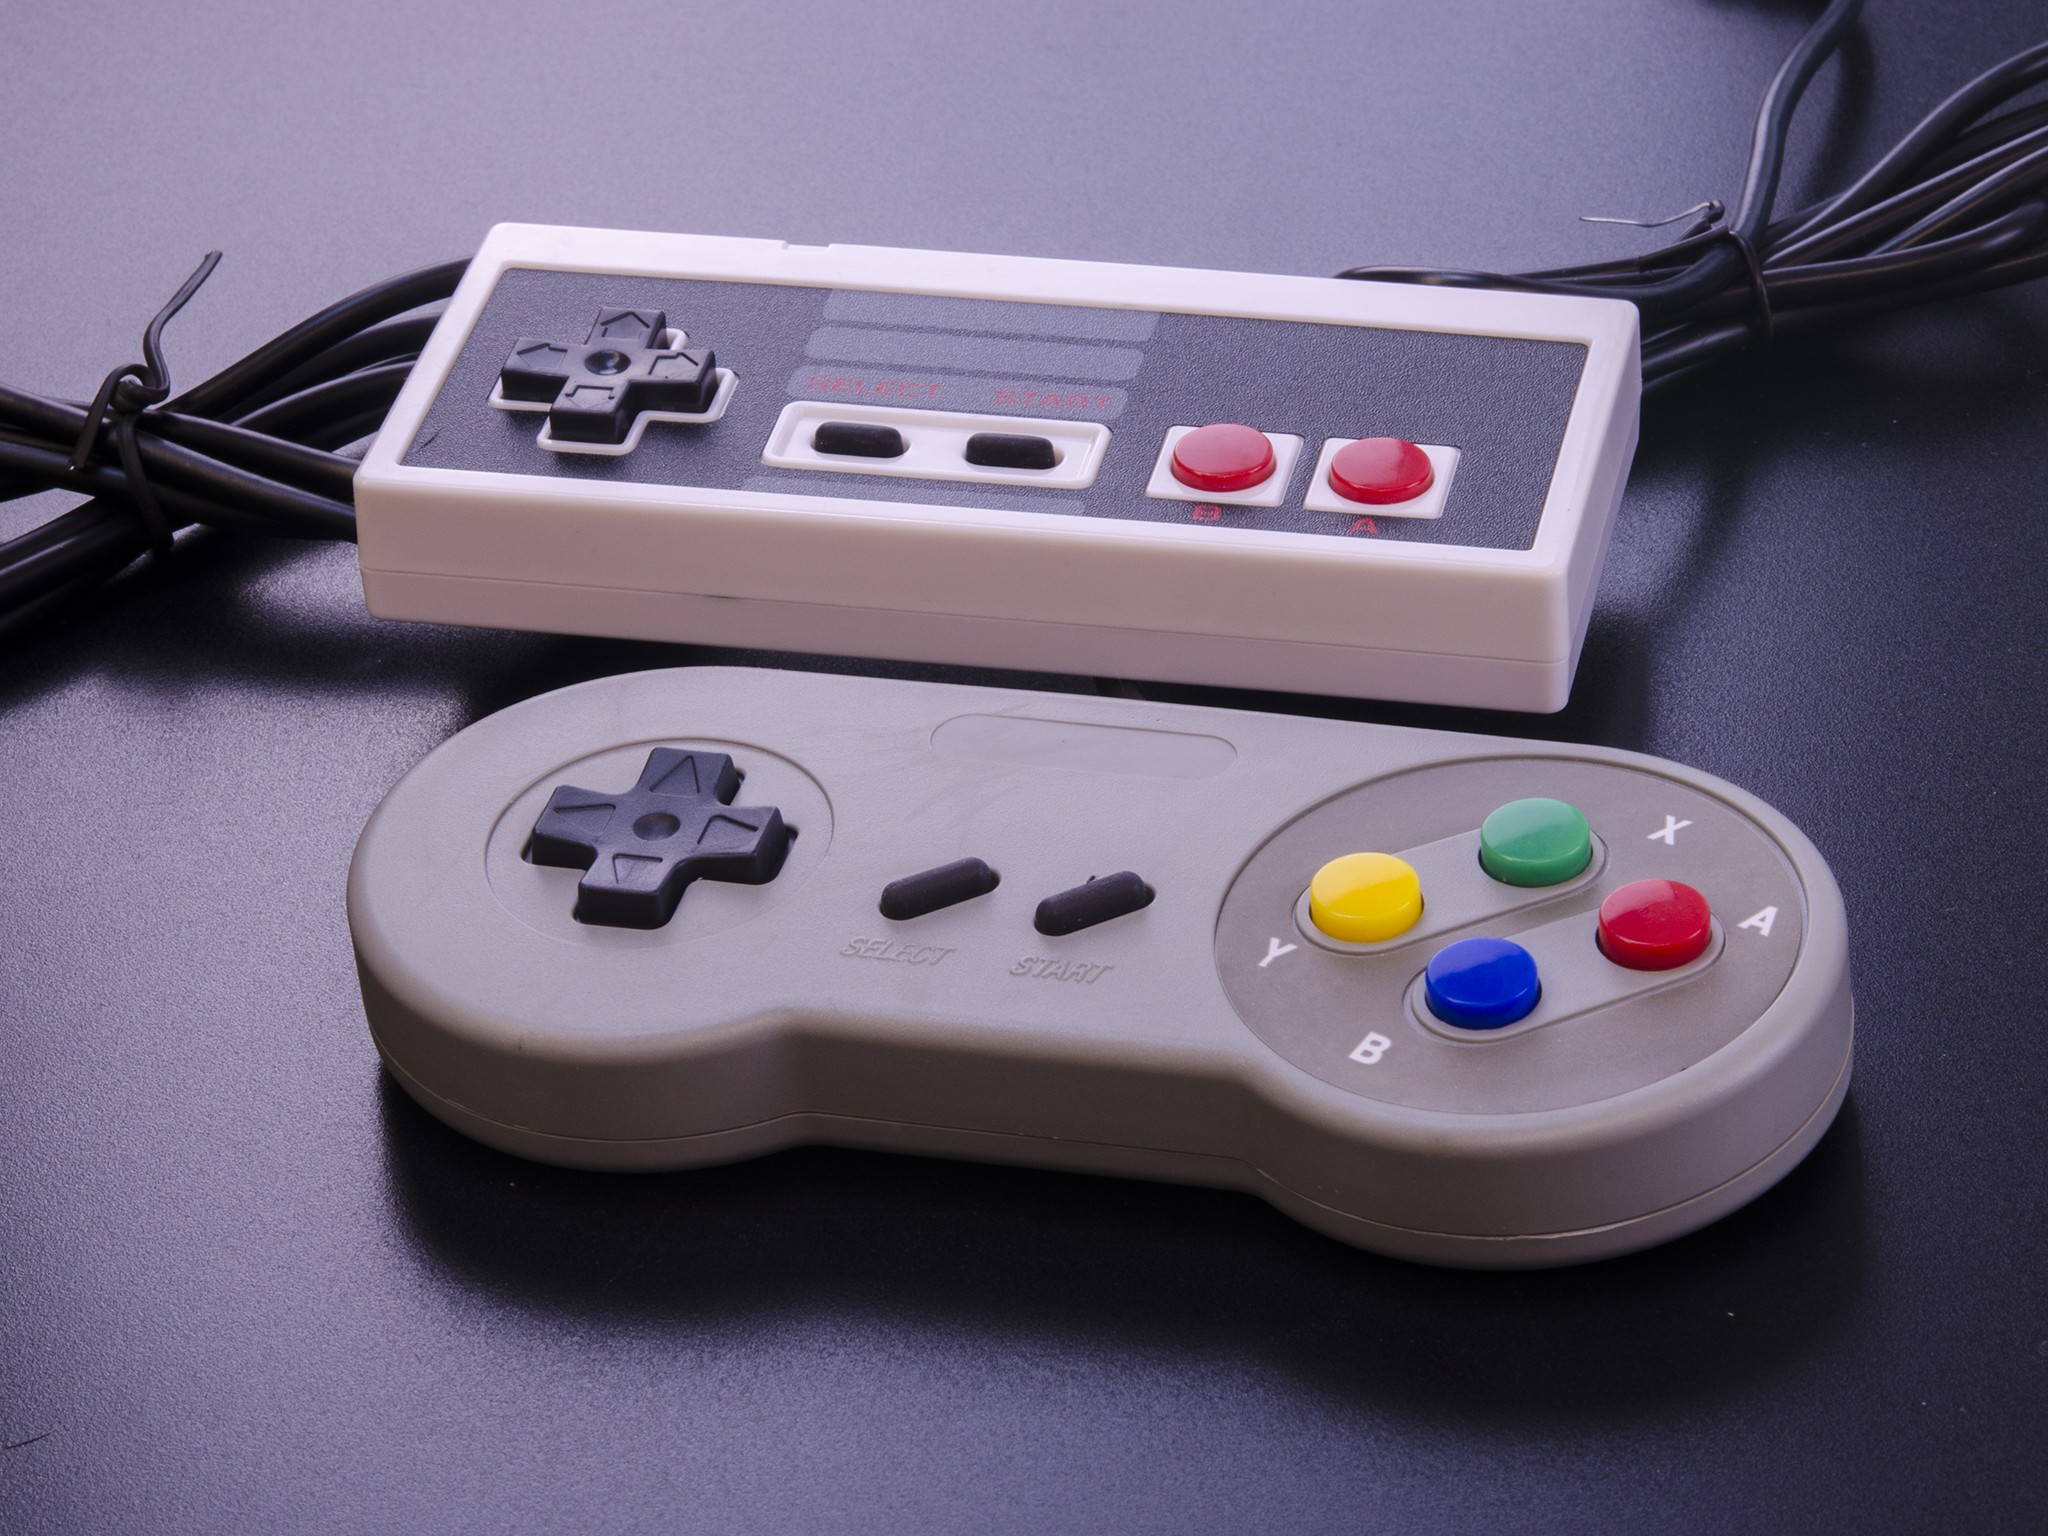
Allows you to play the world's favorite games from beloved consoles like Atari, Nintendo (NES), Super Nintendo (SNES), Sega Genesis, Game Boy Color/Advance, Nintendo 64 (N64), Playstation (PSX), and more!
- Kodi® (formerly known as XBMC™)

Through a custom, easy-to-use menu, select this option for streaming audio/video as well as for playing files like videos, music, podcasts, pictures from your SD cards, USB sticks, or network-attached drives!
What's under the 'hood'?
- Classic enclosure
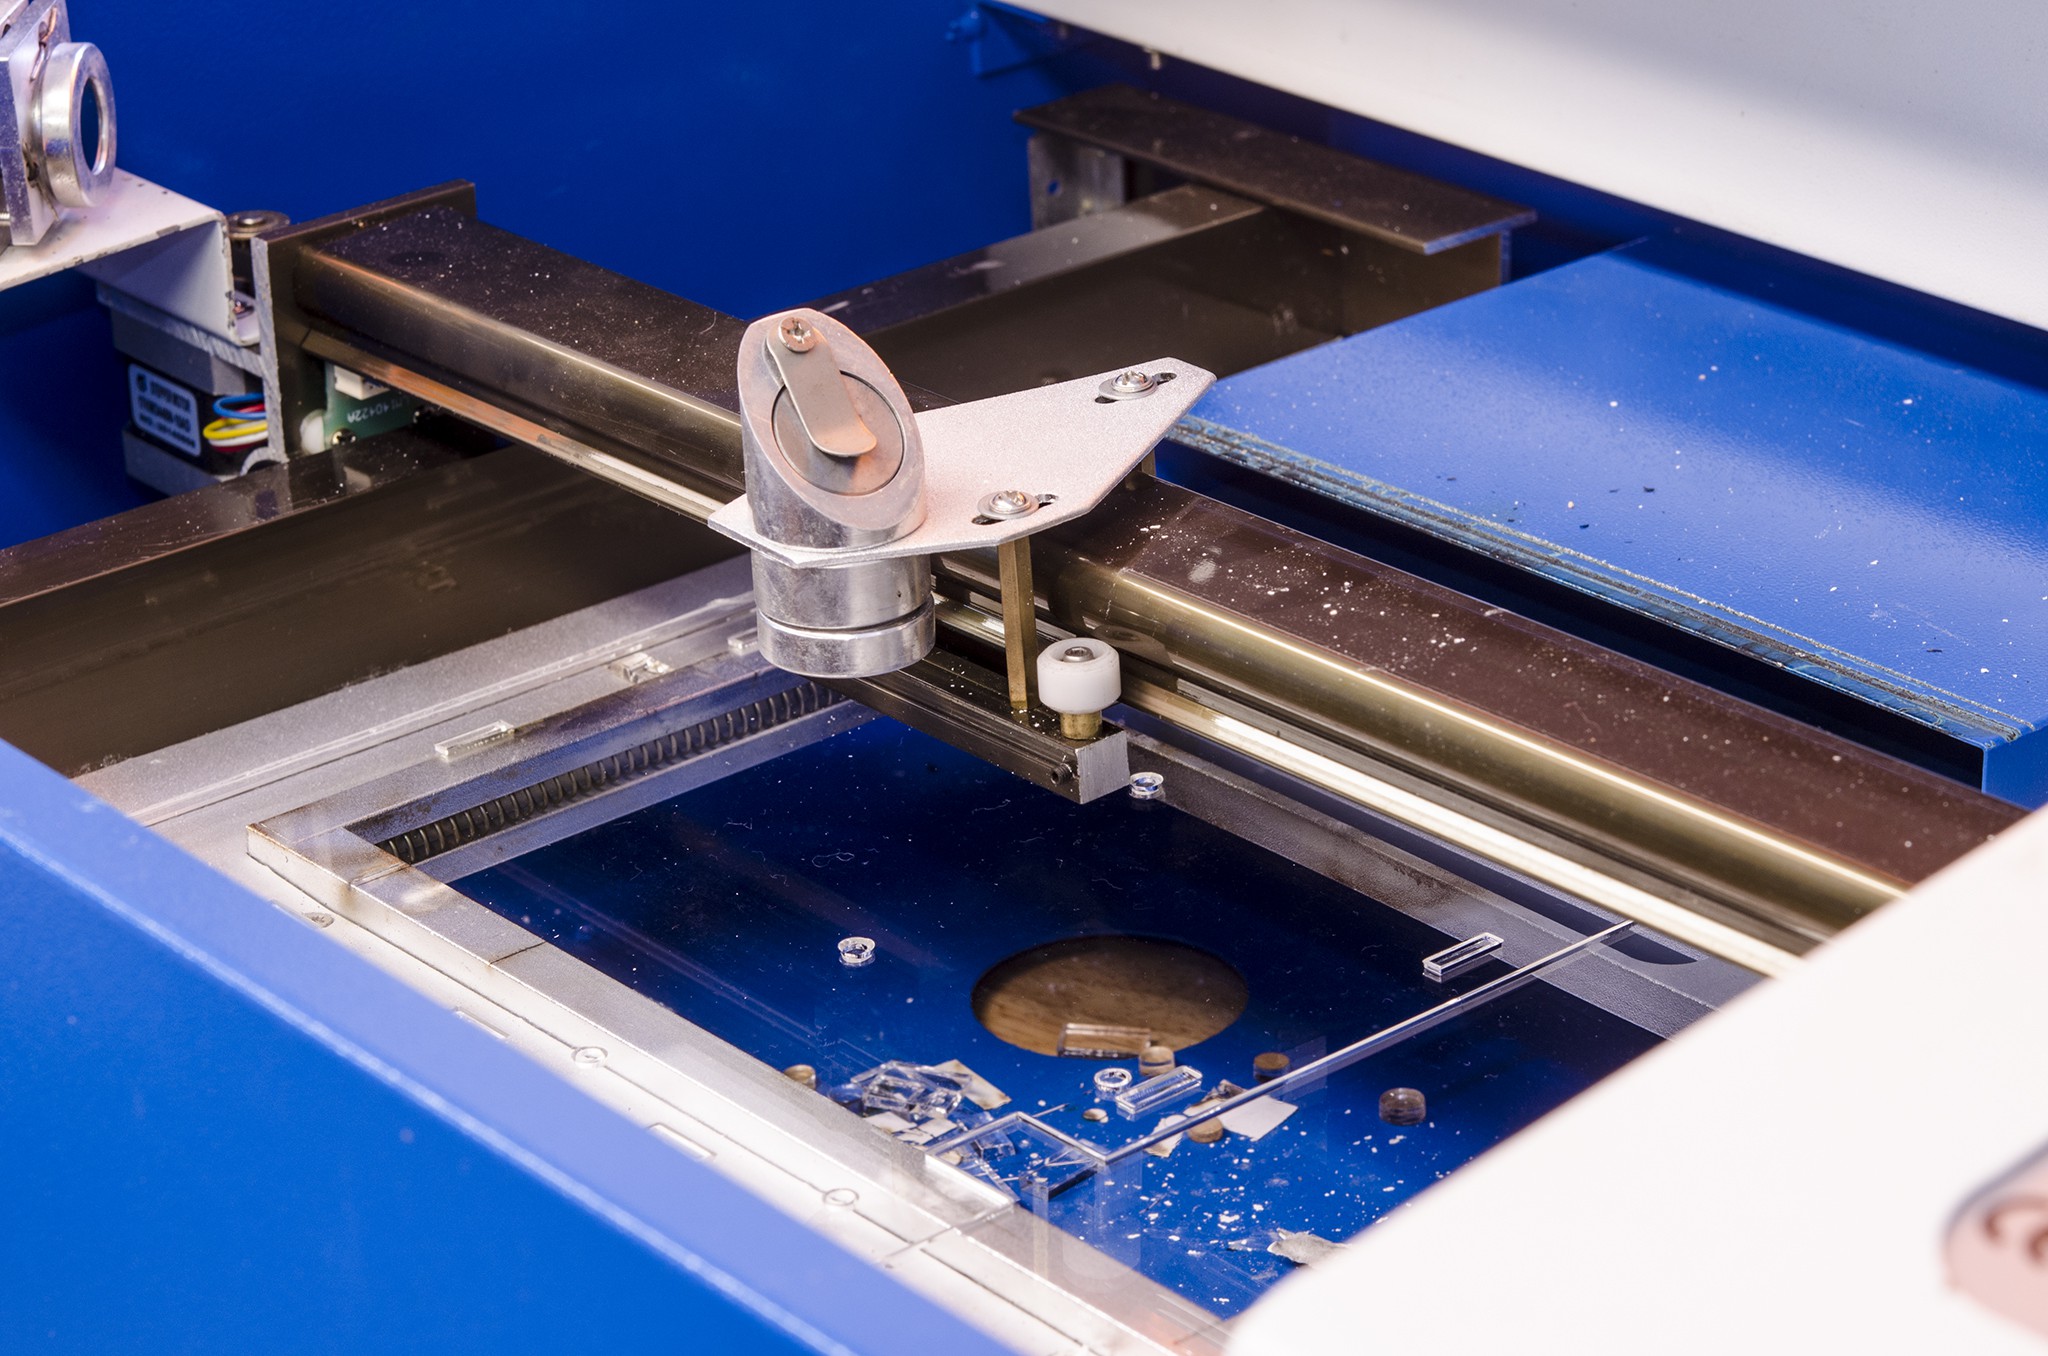
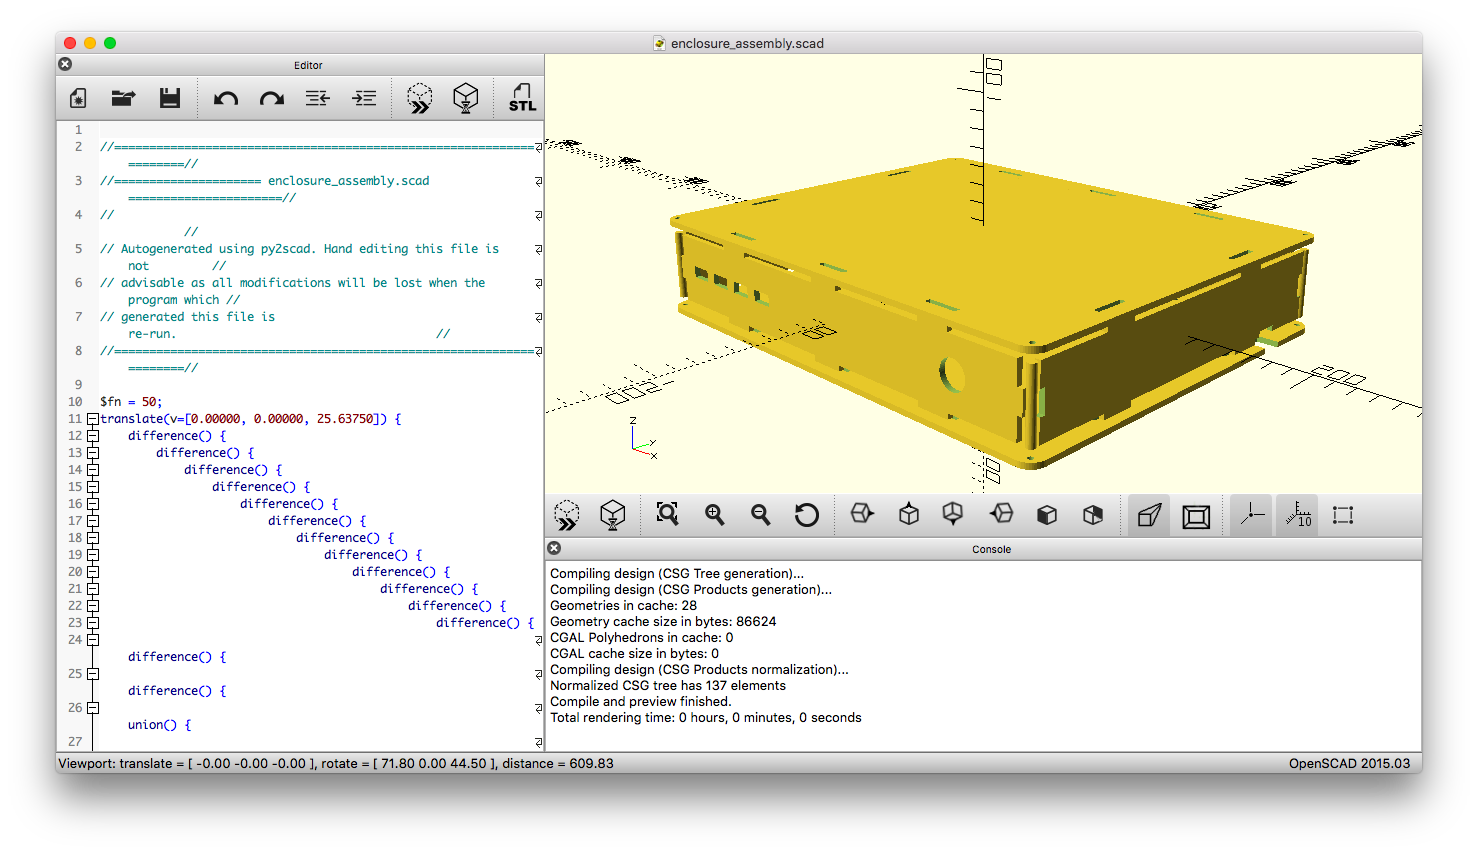
We've put a lot of effort into the design of the RASPICON enclosure that houses our console. As Makers, we wanted something that combined digital fabrication and excellent aesthetics for a low cost. We're very happy with the results!
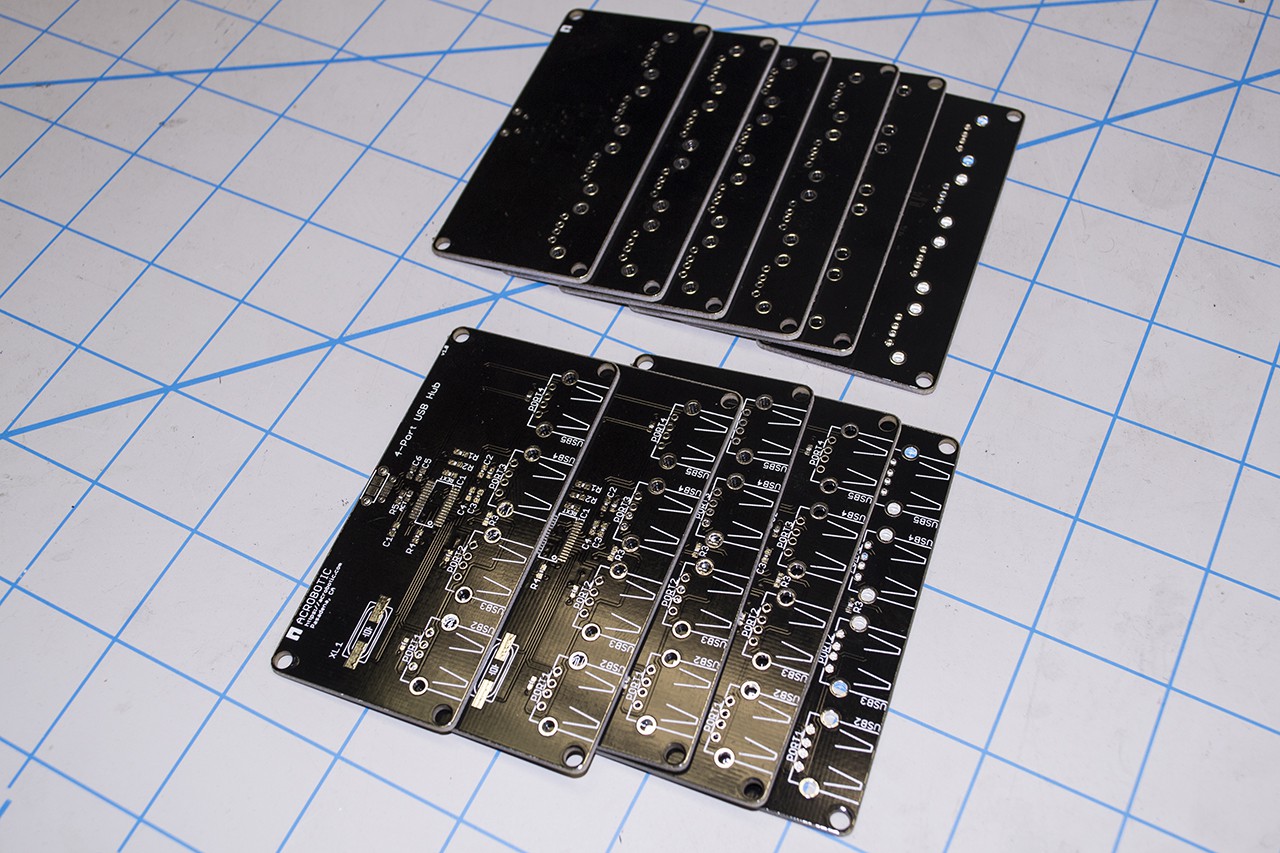
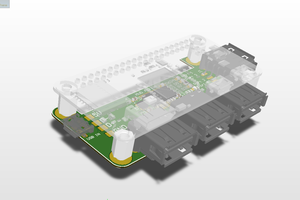
- Hardware electronics
Inside the sleek, custom-made RASPICON enclosure you'll find the popular Raspberry Pi 3 single-board computer, running a custom version of the Raspbian Operating System, which includes everything needed for playing classic video games.
- Custom Easy-to-Use User Interface
To access any of the platforms or content the RASPICON OS has an easy-to-use User Interface. We use a custom, great-looking theme for both Kodi® and Emulation Station that is aesthetically pleasing.
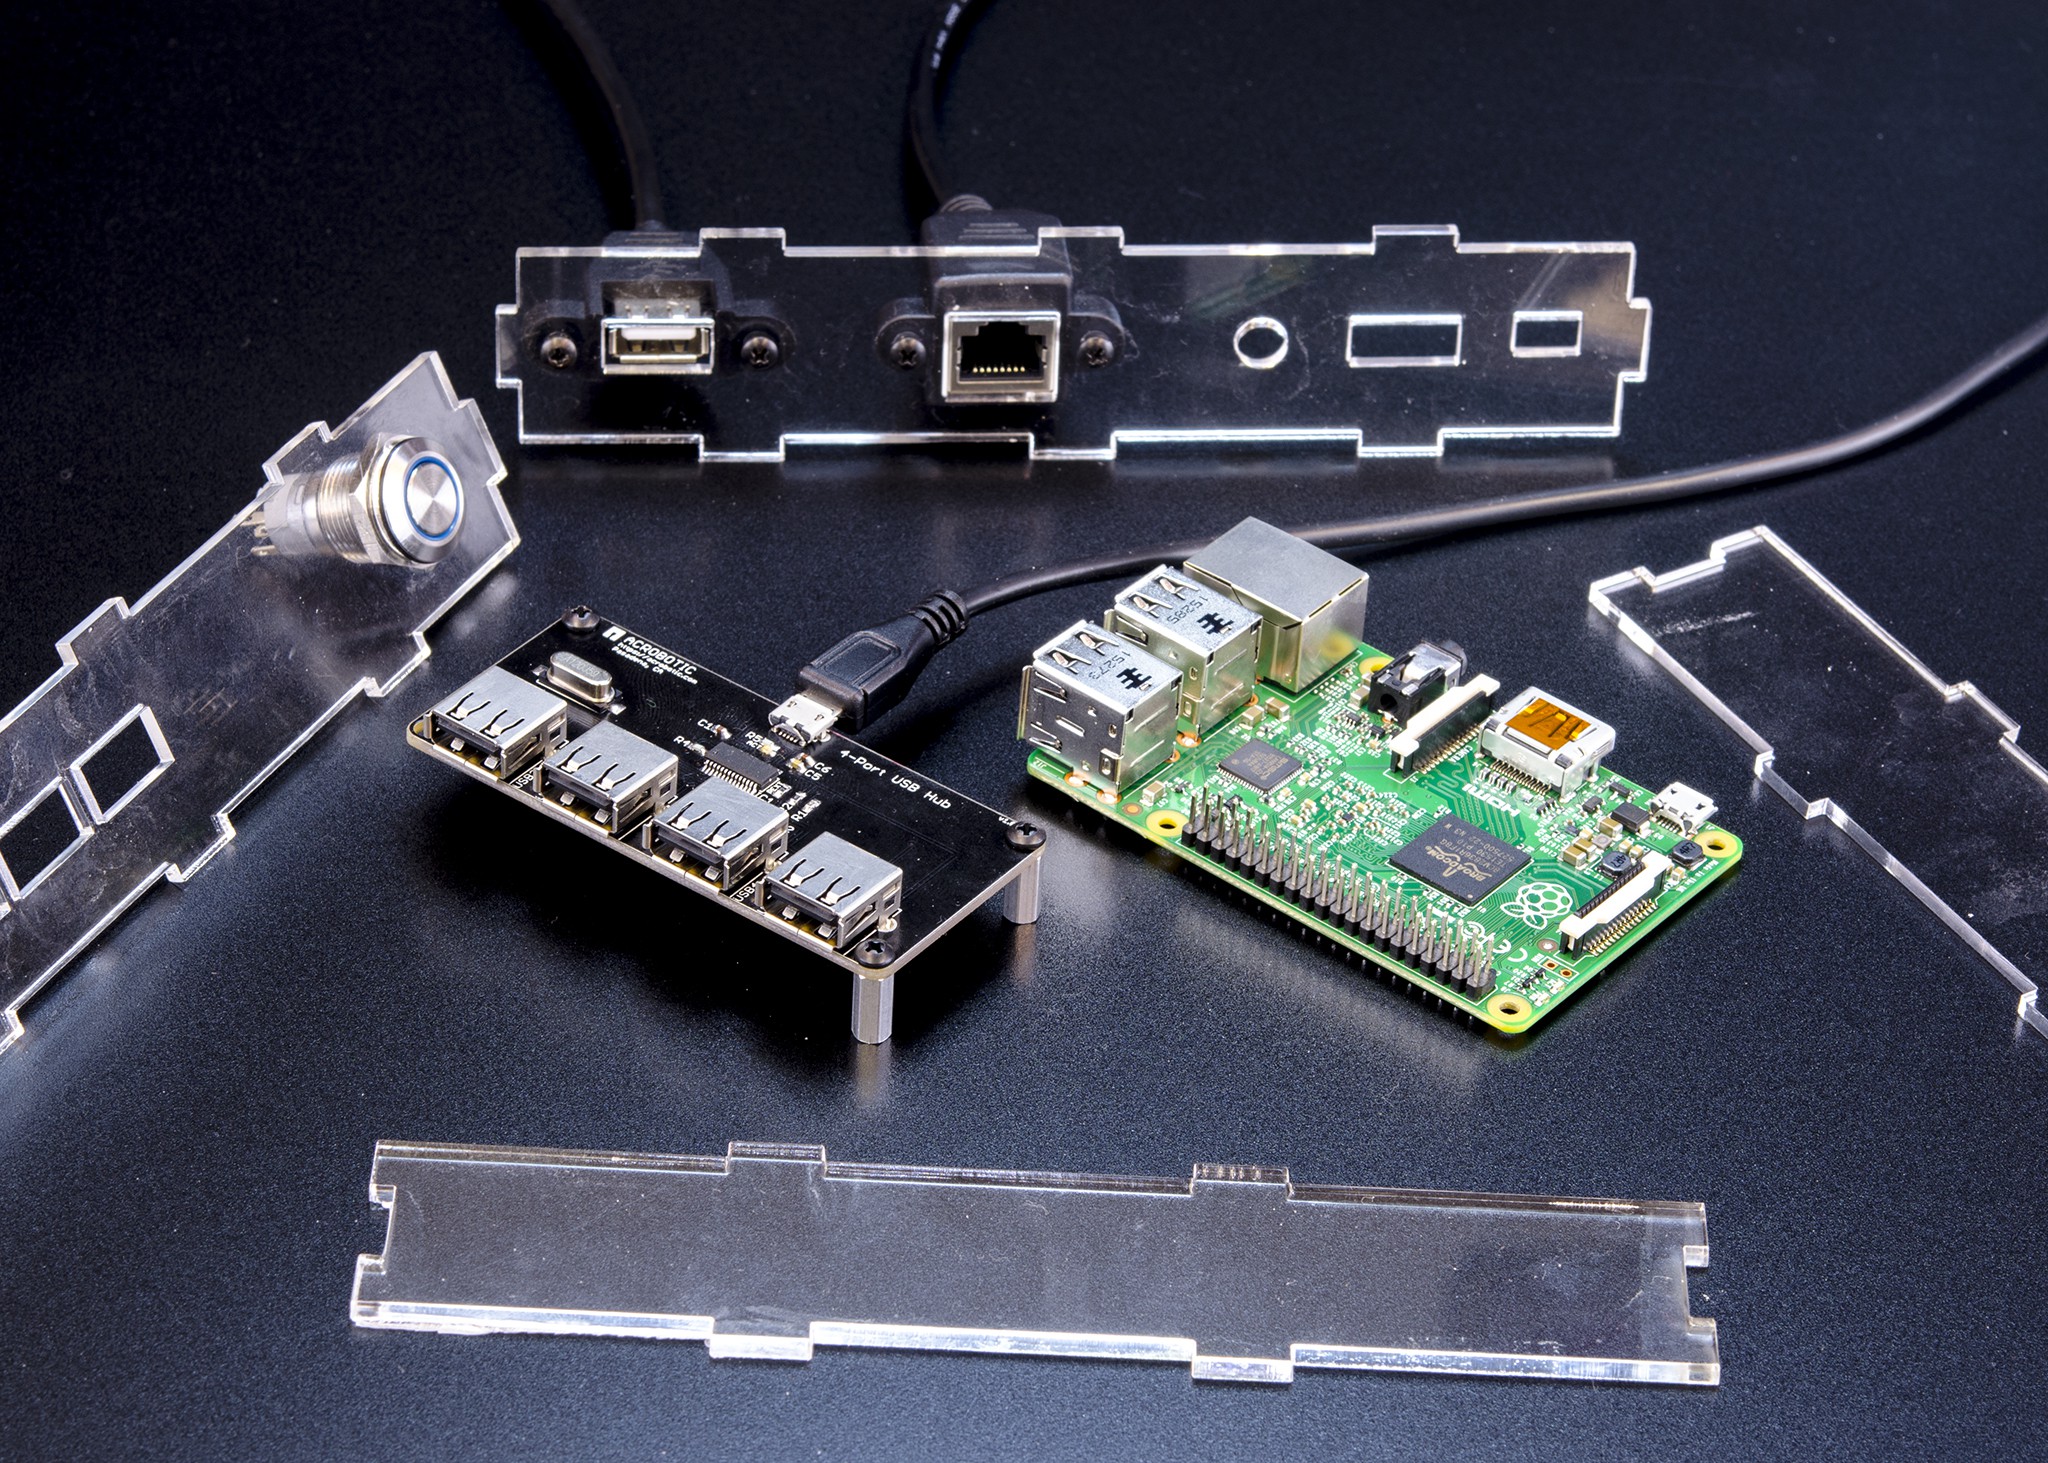
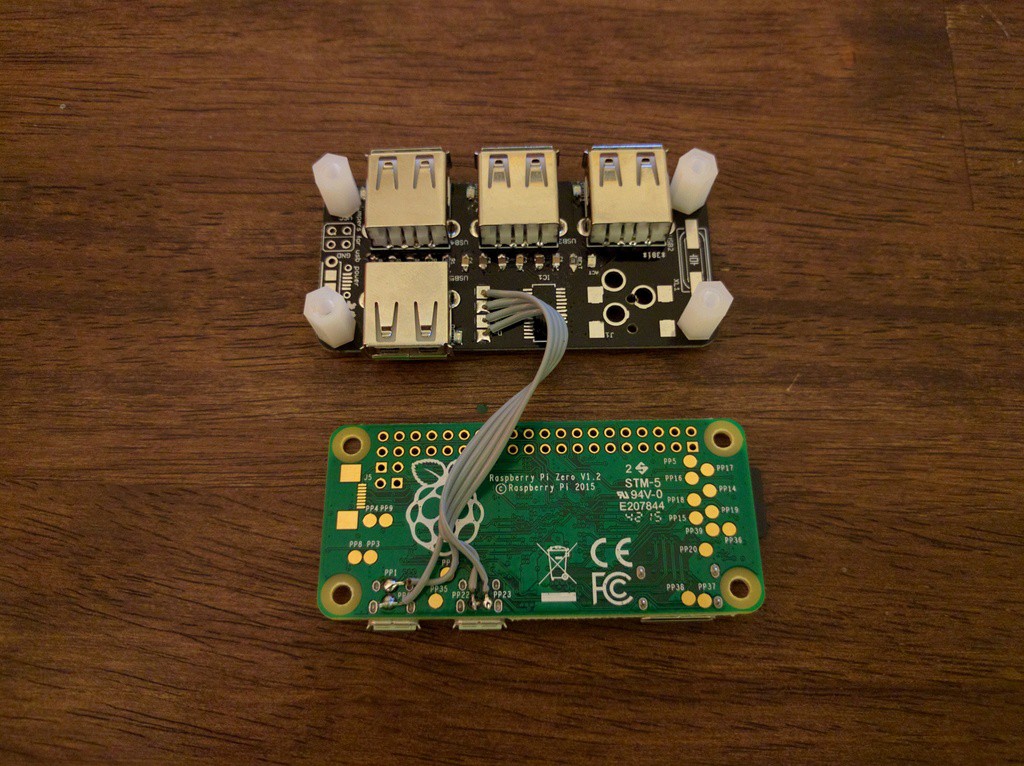
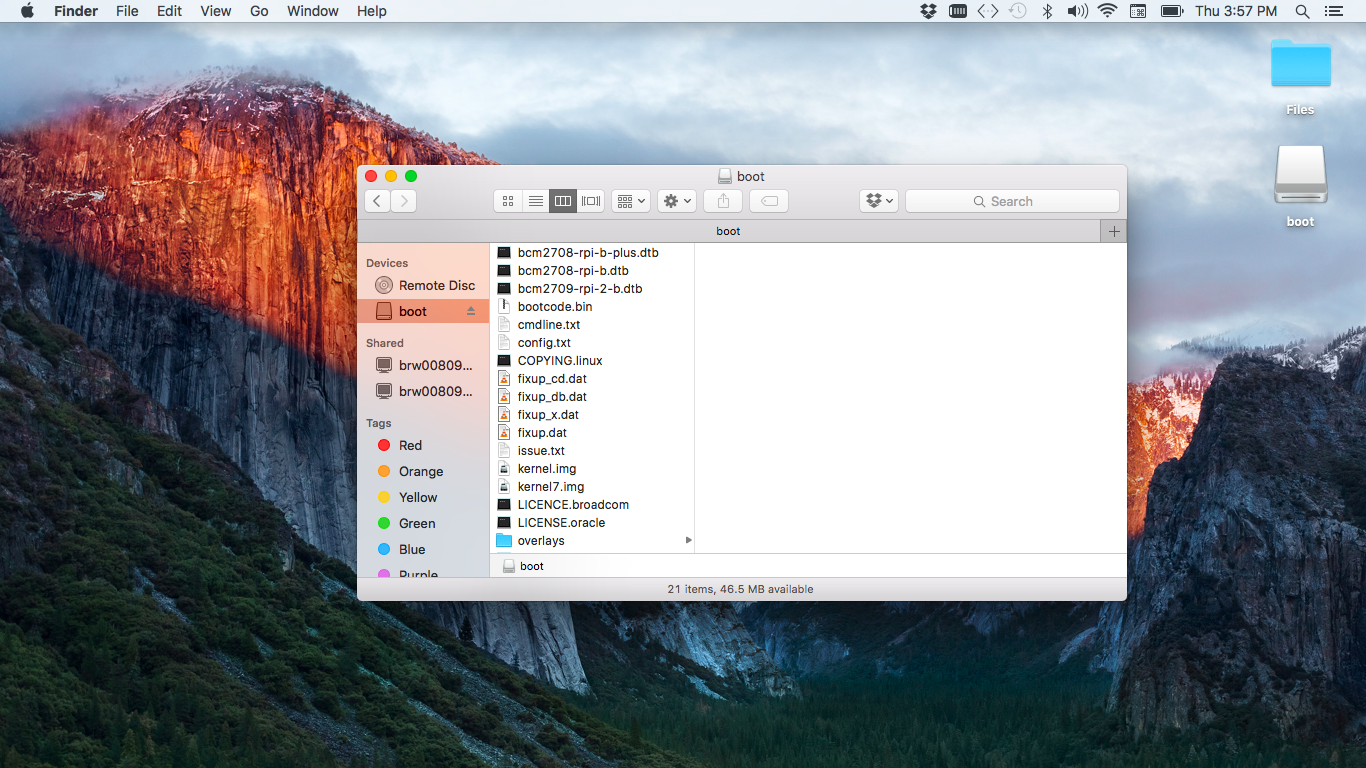 First test using a microSD card reader connected to the hub carrying... you guessed it... a microSD card with Raspbian loaded on it :)
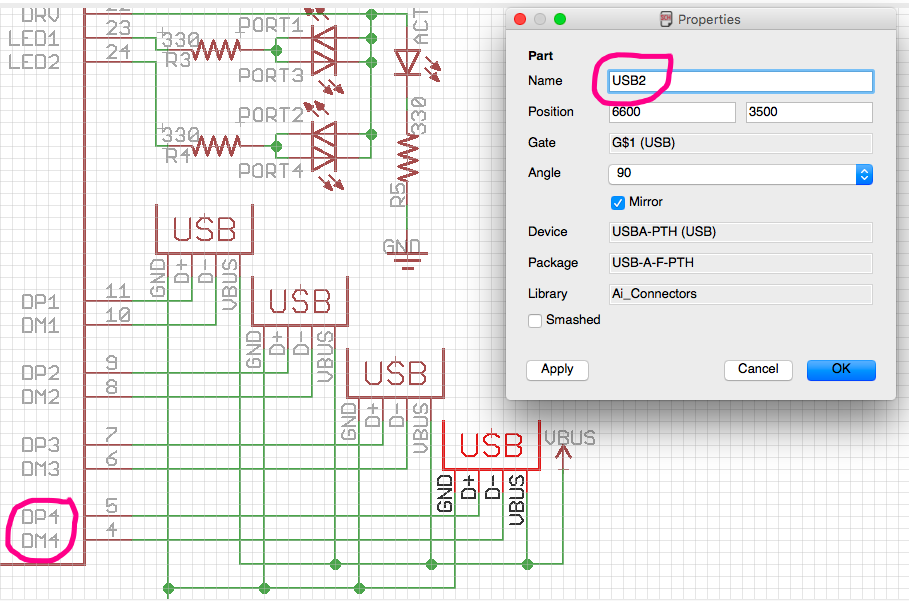

 Because we're connecting our Hub directly to one of the USB ports on the Raspberry Pi, we can have peace of mind knowing that the USB-related circuitry on the Pi is reliable. We skip dealing with some of the nuisances that encountered when designing powered hubs.
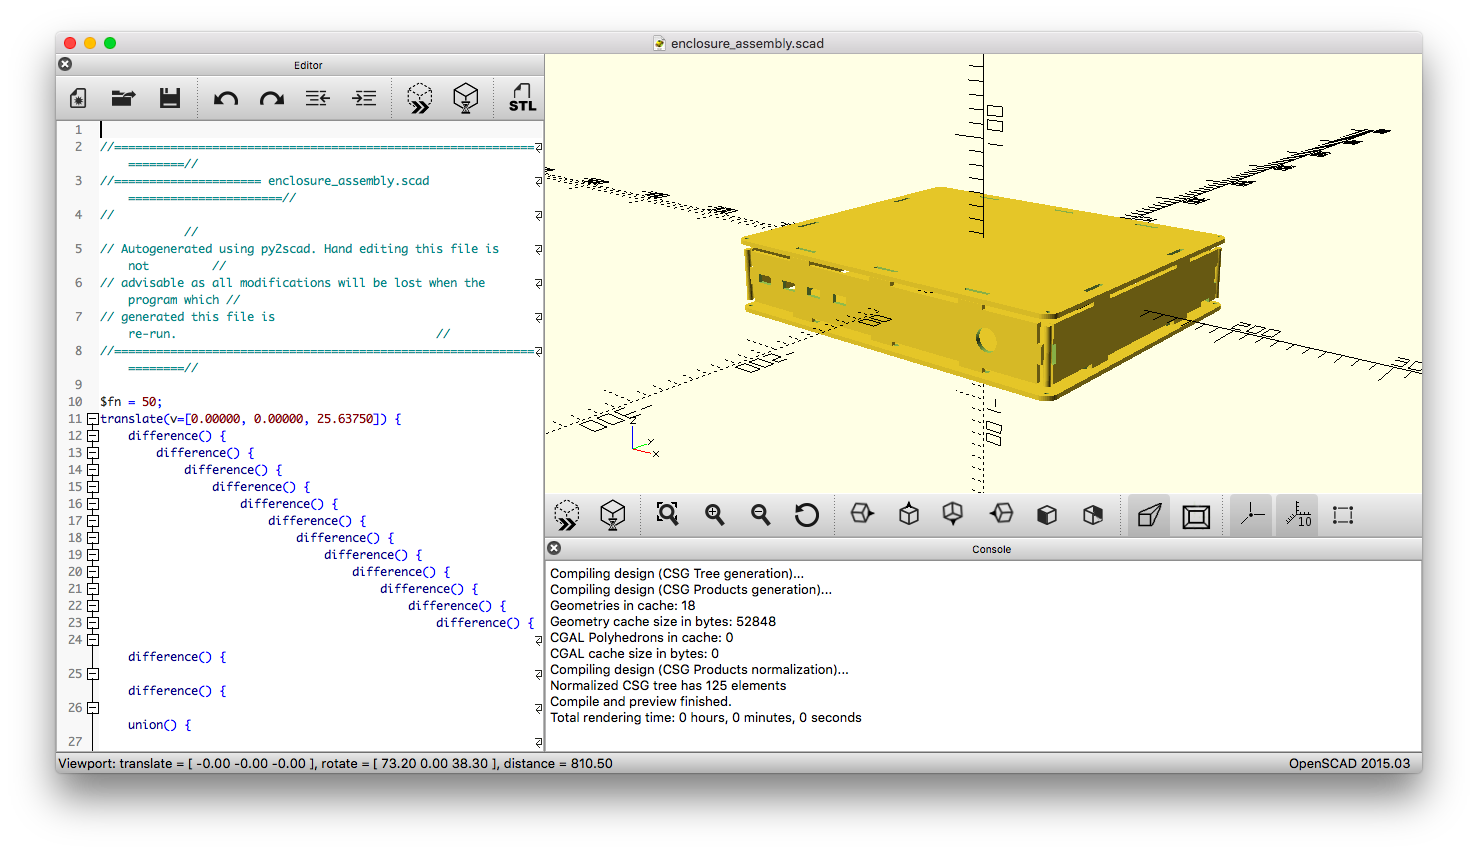

 helge
helge
 davedarko
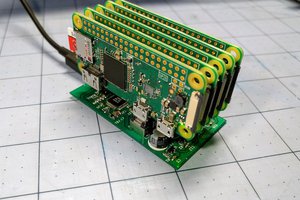
 ajlitt
So basically a computer that runs an emulator...
https://www.youtube.com/watch?v=rj-5lL-Ljqg