 Christoph
uGFX is configured by a few header files which set flags and parameters for its submodules. The main configuration is done in gfxconf.h, which must be somewhere in the compiler's include path for uGFX to find. gfxconf.h sets things like submodules to include, which OS to use (Win, linux, raw, arduino, ...) and others.
When uGFX includes a hardware driver (for a display, audio device, whatever) it also needs a configuration header that specifies what features that driver has. For a display driver this is done in gdisp_lld_config.h. The driver also needs information about the low-level interface it uses: how to aquire the bus (like SPI), how to reset or select the device, etc.
Arduino looks for libraries until it finds a requested header file like SPI.h. When multiple libraries have this header in their main directory, arduino might pick the wrong one. We need to circumvent this somehow, while still allowing a sketch to configure uGFX through header files which are specific to that sketch.
This is where things get complex. I've managed to separate the uGFX core from driver libraries, and this seems to work reliably even though they all provide a gdisp_lld_conf.h. This is the overall structure:

I'm not exactly sure why this works, but apparently it does.
So in order to get ugfx working in arduino, you need a couple of things:
- ugfx in arduino's library folder. Easy! Just download and extract or clone in that place.
- ugfx-arduino: The library that picks the correct ugfx core source file. This is simple and available in this project's github repo.
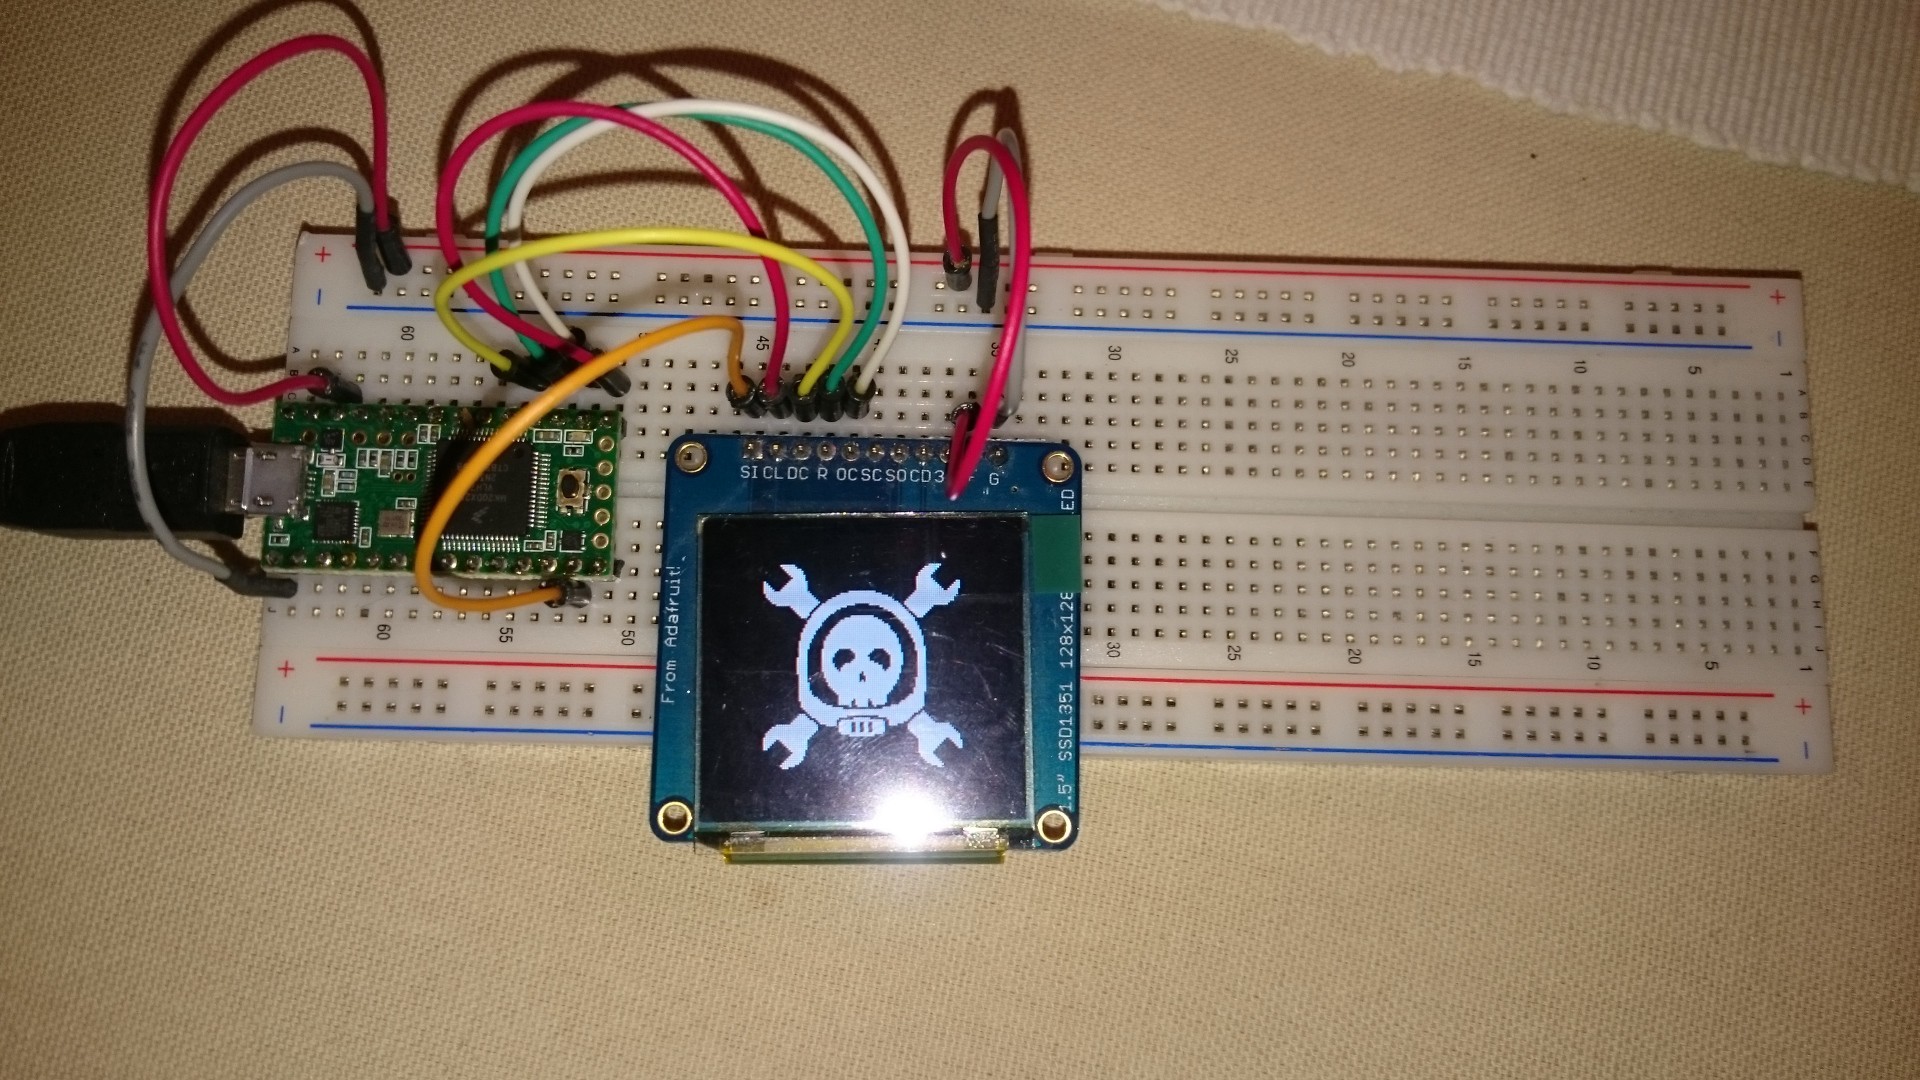
- ugfx-arduino driver library/-ies: drivers for specific displays or other types of hardware supported by ugfx. These should not specify which pins are used for connecting a piece of hardware to your project, but rely on some external project-specific configuration instead. I've written an example SSD1351 driver.
- [optional] ugfx-arduino font libraries: it's really easy to add your own custom fonts!
- project-specific configuration library: supplies configuration information for ugfx and the ugfx-arduino driver libraries. You have to write this for each of your projects. You can also add other classes here that you don't want in your sketch! An example is included in this project's repo.
- Your sketch.
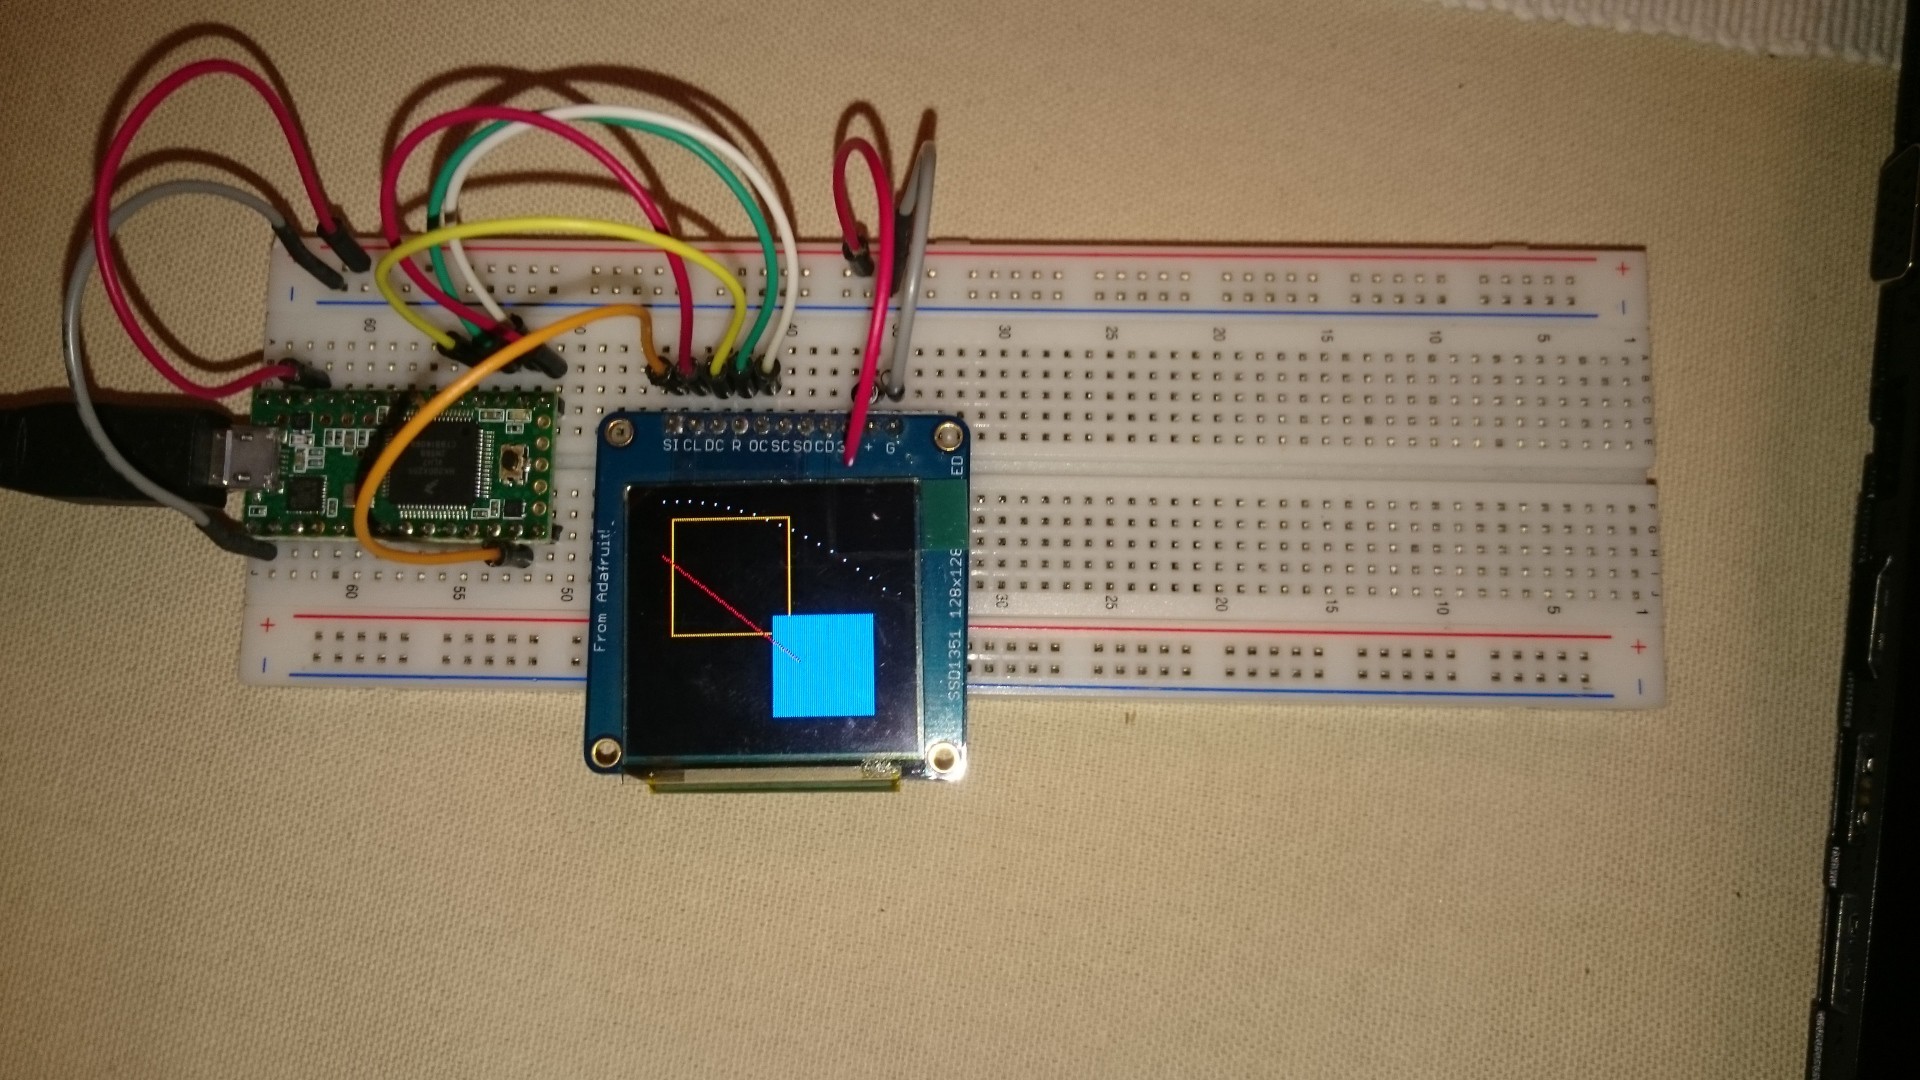
I'm currently testing different variations of passing information to driver libraries. Header files work, but they can confuse arduino. Configuration structs works as well, and I think they are the way to go if several displays of equal type have to be driven. I've already successfully tested the idea outlined here.
This way of splitting uGFX, drivers, and project-specific configuration into three libraries might actually not work reliably, or break in the future if arduino's way of looking up libraries is changed. I've tested this with arduino-1.6.6
 Alexander
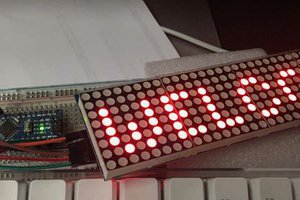
 Peter
Peter
 CiferTech
 doctek