Eric Hertz
A few interesting techniques and whatnots learnt during this process:
Some bolts are self-tapping (!?)... Awesome. Look for cut-out flutes and a tapered-end.
Computer slot-covers are quite handy little strips of metal... They come in various materials, some more malleable than others, some aluminum, others with ridges for structural-purposes.
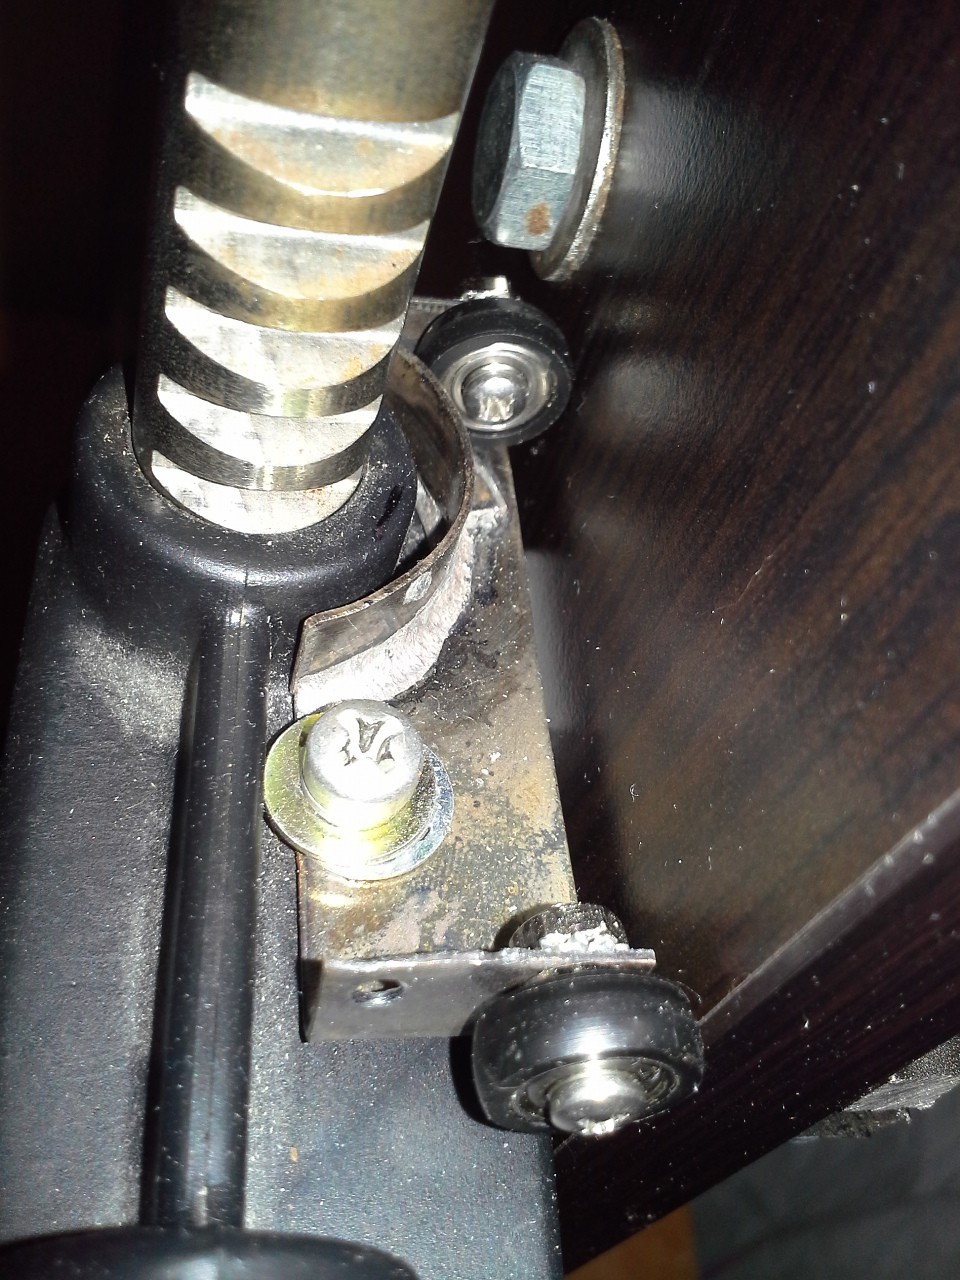
I needed to attach roller-wheels to the particle-board surface, as, otherwise, the drill could rotate with the rack(/pinion). The original rotary-tool mount had a bracket with an upright thing that prevented too much rotation (but quite a lot was still allowed). That upright thing had to be removed for this attachment.
Because only one bolt is used to hold the wheel-mount, and because the bracket lost some width due to wrapping around the rack, the bracket flexes a bit at the distant-side. So I added the upright "band", as seen here, for some added-support
Doing-so was interesting... I don't have a welder. So I set my soldering iron to its highest setting which was just enough to run a hefty bead on each edge. Wasn't sure what I was going to do to melt those two beads together, though. It was difficult to heat both materials with the bead separating them from their resting-position. Then it hit me... I wanted to "reflow" the solder-beads together, right? And how do most 1337 Haxorz reflow [PCBs]? In the oven!
Well, I don't want all those fumes lining my oven, and I just happen to have acquired a whole bunch of pots and pans, more than I could ever cook with. So I set it in a stainless-steel pot, didn't even bother trying to clamp 'em. Covered with a bit of aluminium-foile, and turned the stove-burner on high. A bit later there was quite a bit of smoke (definitely open the windows and use a fan for something like this!). A bit later the smoke had dissipated... about 20 minutes in I checked it and much to my surprise the thing aligned itself quite nicely and made a beautiful fillet.
Very cool technique for the future bag-o-tricks!
This particular bracket still flexes a little bit at the far-wheel, but it's certainly better and the rotation is on-par with the amount the rotary-tool setup had... It could probably be improved, still.
The bottom of the mount is attached to the "rack's" bolt via plain ol' L-bracket, where the original rotary-tool mount was bolted.
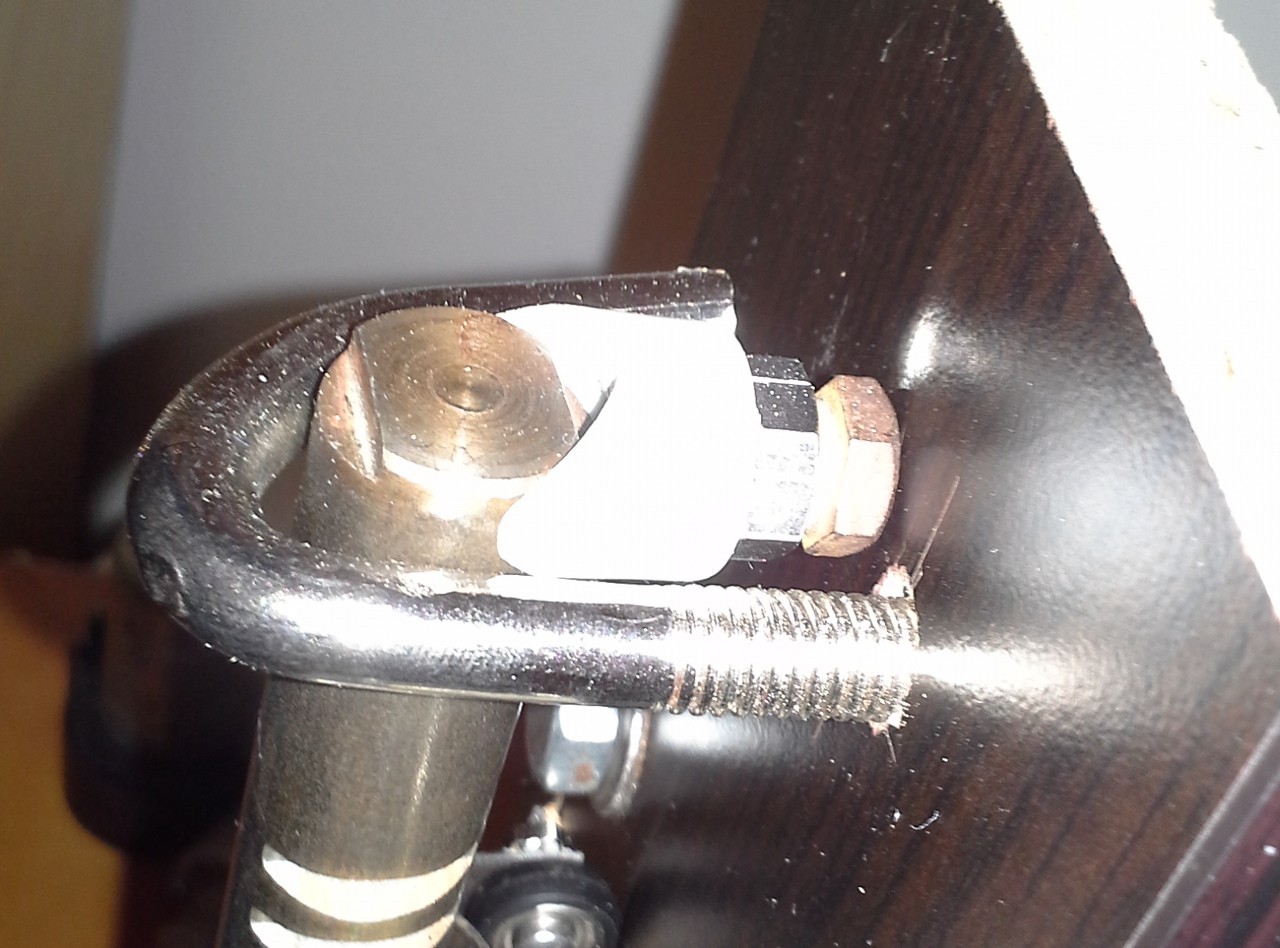
The top was a bit more difficult. I found an L-shaped bolt-clamp thing originally used to clamp a lamp to a desk-top. Did some bending so it'd grab the "rack". Actually tried two different bends before deciding a straight-up U is obviously the right choice. Well, it's almost a U.
The spacer is three pieces, a bolt and a nut, and the third plastic piece was from an old stroller I scrapped years ago. It's hard to describe at the moment... The bolt-head is just clamped against the surface (no drilling necessary), and the nut makes it adjustable to get everything as square as possible.
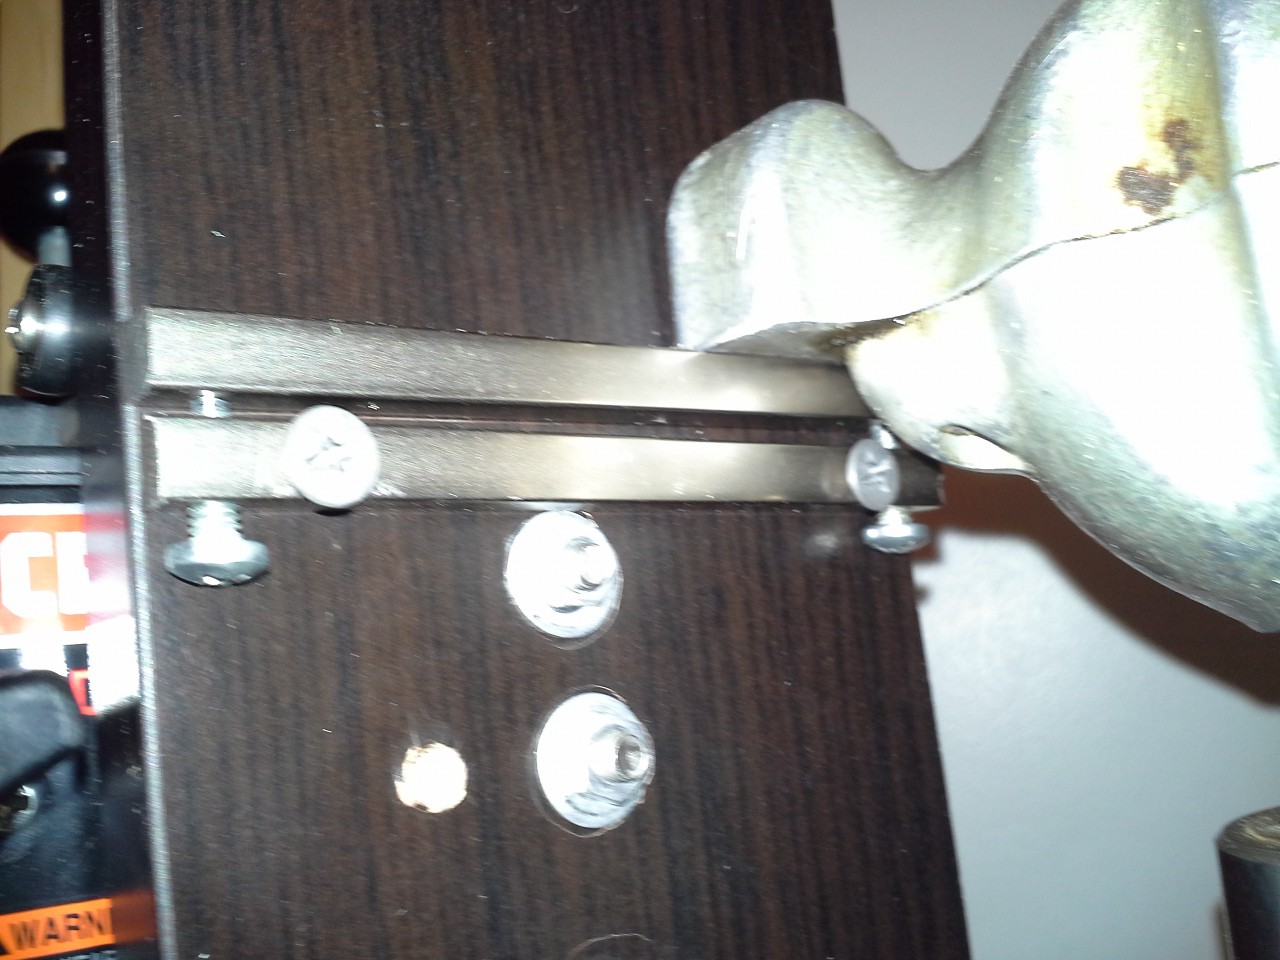
The right-angle drill-attachment had a wooden handle that was held in with a single bolt. I unscrewed the handle and used that bolt-point to attach it to the plywood. But it wasn't difficult to rotate the whole attachment around that bolt. But there's a flat surface. I used two pieces of steel(?) cut from a square-shaft originally used to drive the paper-feed grippers in an old dot-matrix printer. I also had a similar piece of aluminum, but didn't want it to flex too much.
I planned on using 6-32 bolts for fine-adjustment, but couldn't wrap my head around the necessity for cutting-fluid (and the expected mess)... and, suffice-to-say, I got the tap all the way through the first hole (but not fully-threaded) before the tap broke. Thankfully there was enough of the tap remaining to grab-hold of for removal.
So I went up a size and used vegetable-oil as cutting-fluid and, of course, it was a *much* smoother process. (In case you're like me, and need to know "why" before being convinced "that"... my theory is that the "cutting" fluid doesn't actually aid in *cutting* at all, but that it reduces the friction between the surfaces that rub together *after* being cut. And, I probably deserve a "duh" there... but ah well.)
I managed to keep the mess down to practically ziltch, keeping the cat, my living-room carpet, and my apartment-manager happy. I clamped the piece in the vice *in* a plastic-bag, then wrapped the open-end of the bag up around the vice's jaws. All the oil ended up only on the piece or in the bag. Nice.
I might've gotten away with much shorter pieces, but I figured the force would be better-distributed this way. (And, I just realized, it's exactly the right way to distribute that force, that was just luck.)
Here it is chucked-up in my hand-drill.
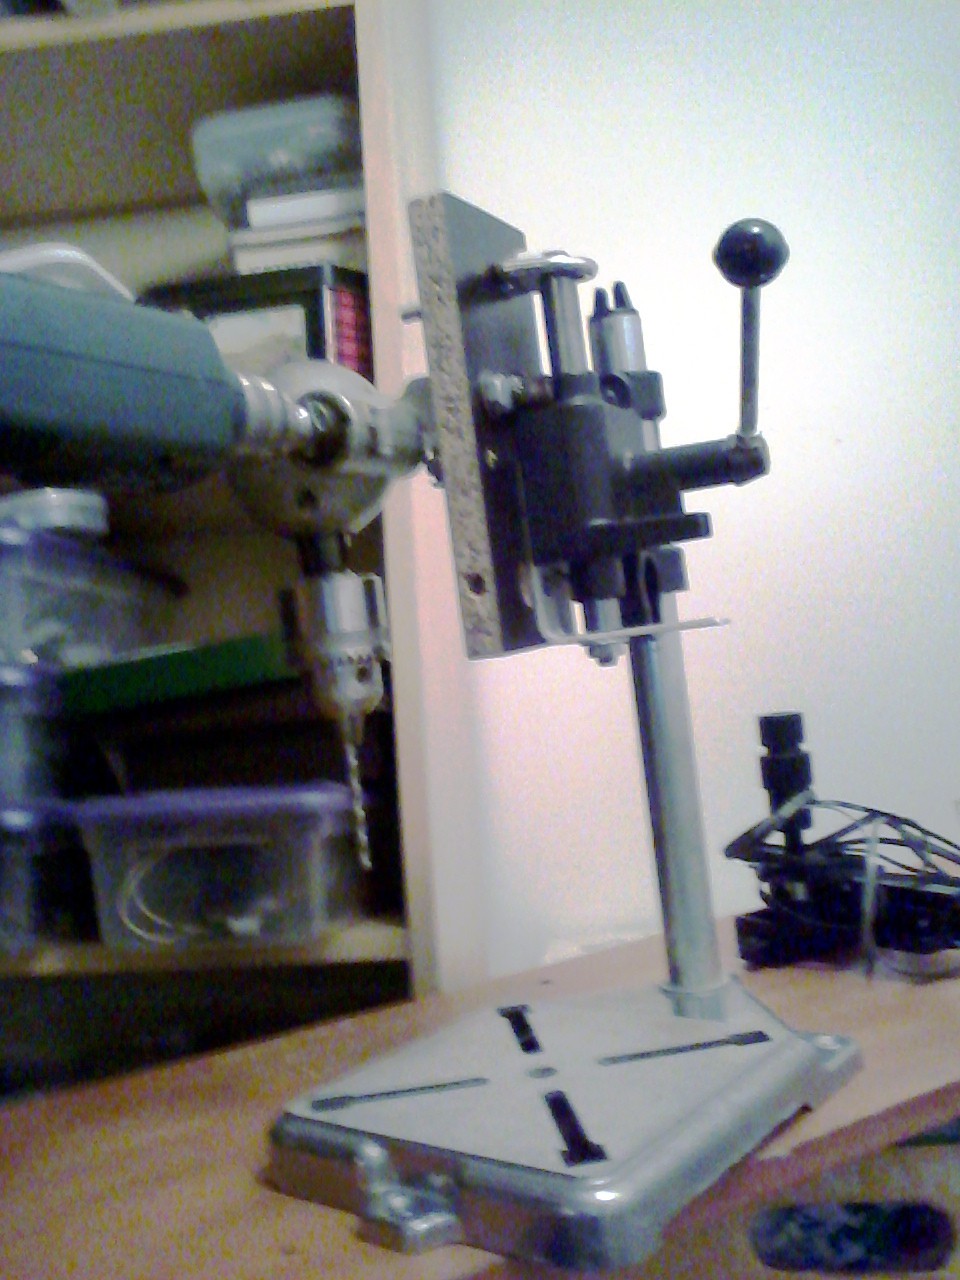
Heh, in this picture it looks really non-square, but it's on a non-level surface.
I've so-far used it to drill three 1/2inch holes in double-stacked particle-board and eight 0.2inch holes in aluminum (for another project)... seems to work great. It does require clamping of the material being drilled, since it takes two hands to operate (one to hold the drill, another to raise and lower it). There's a little bit of lateral(?) play due to the roller-wheel, but that's easy enough to work around. It might also be improved by merely putting a spacer under the wheel-bracket, as it's currently "floating" mid-air.
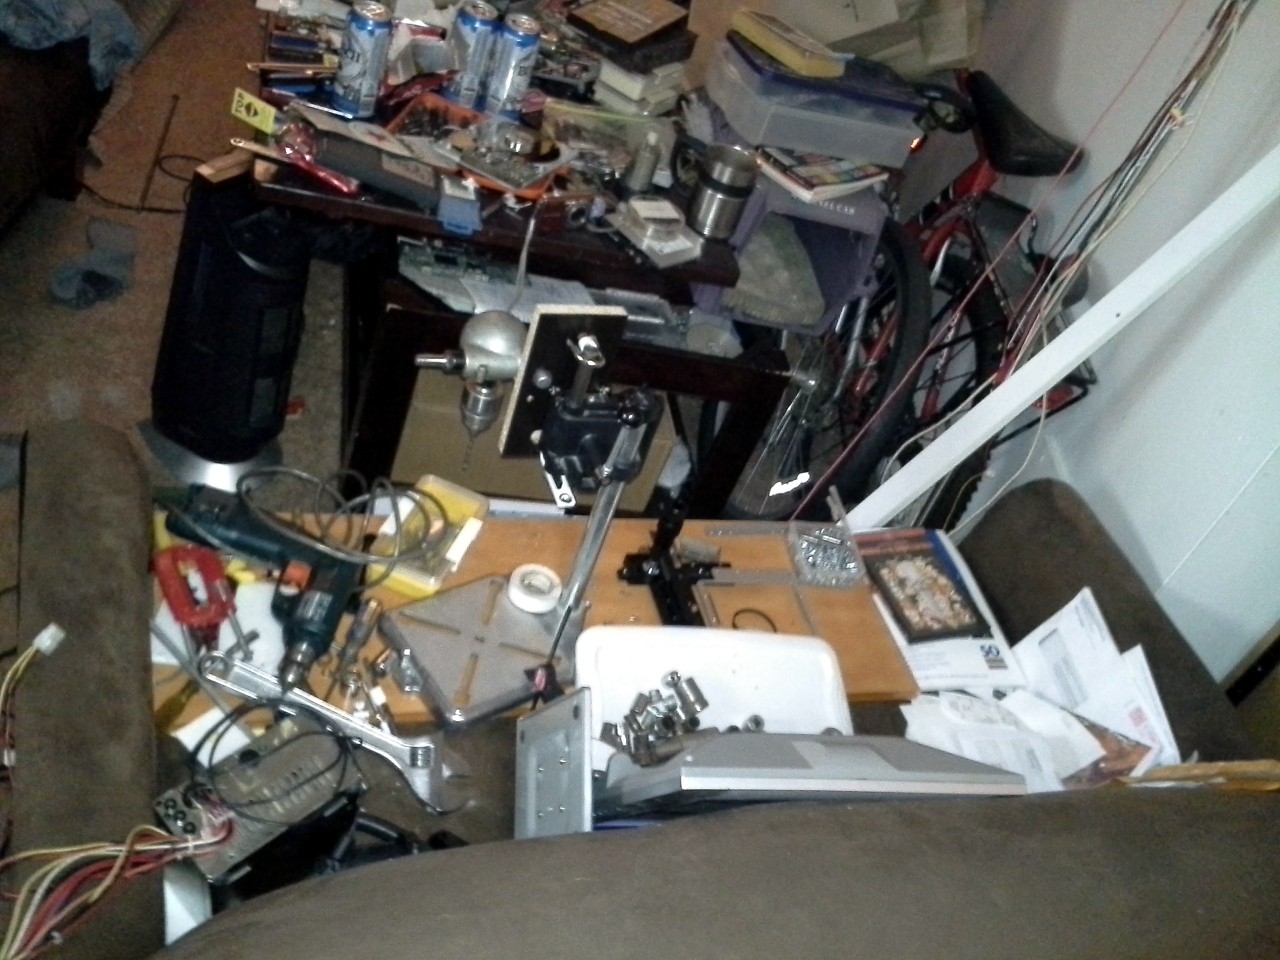
This's been a week+ project-binge, and so-far my "saw-horse" has been my couch... The cat's REALLY glad I had to clean-up for Turkey-Day. Fun times!