Working code was step one, now my focus is entirely on the physical part of the sculpture. I've been working to get the size of the sculpture just right so the screen feels perfectly proportional.
I spent a few hours at SVA's Visual Futures Lab using their Structure scanner and Skanect. That was much easier than what I'd been doing. Very easy to set up, a lot less cumbersome, and a lot faster than using the Kinect and my laptop. So big shoutout to the people at the VFL.
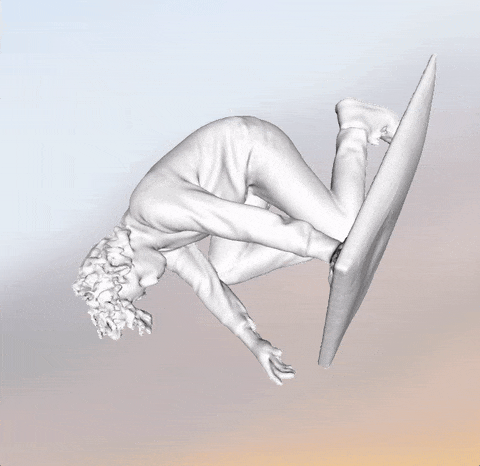
Below the results of the scan after a little work on Blender and Meshmixer.
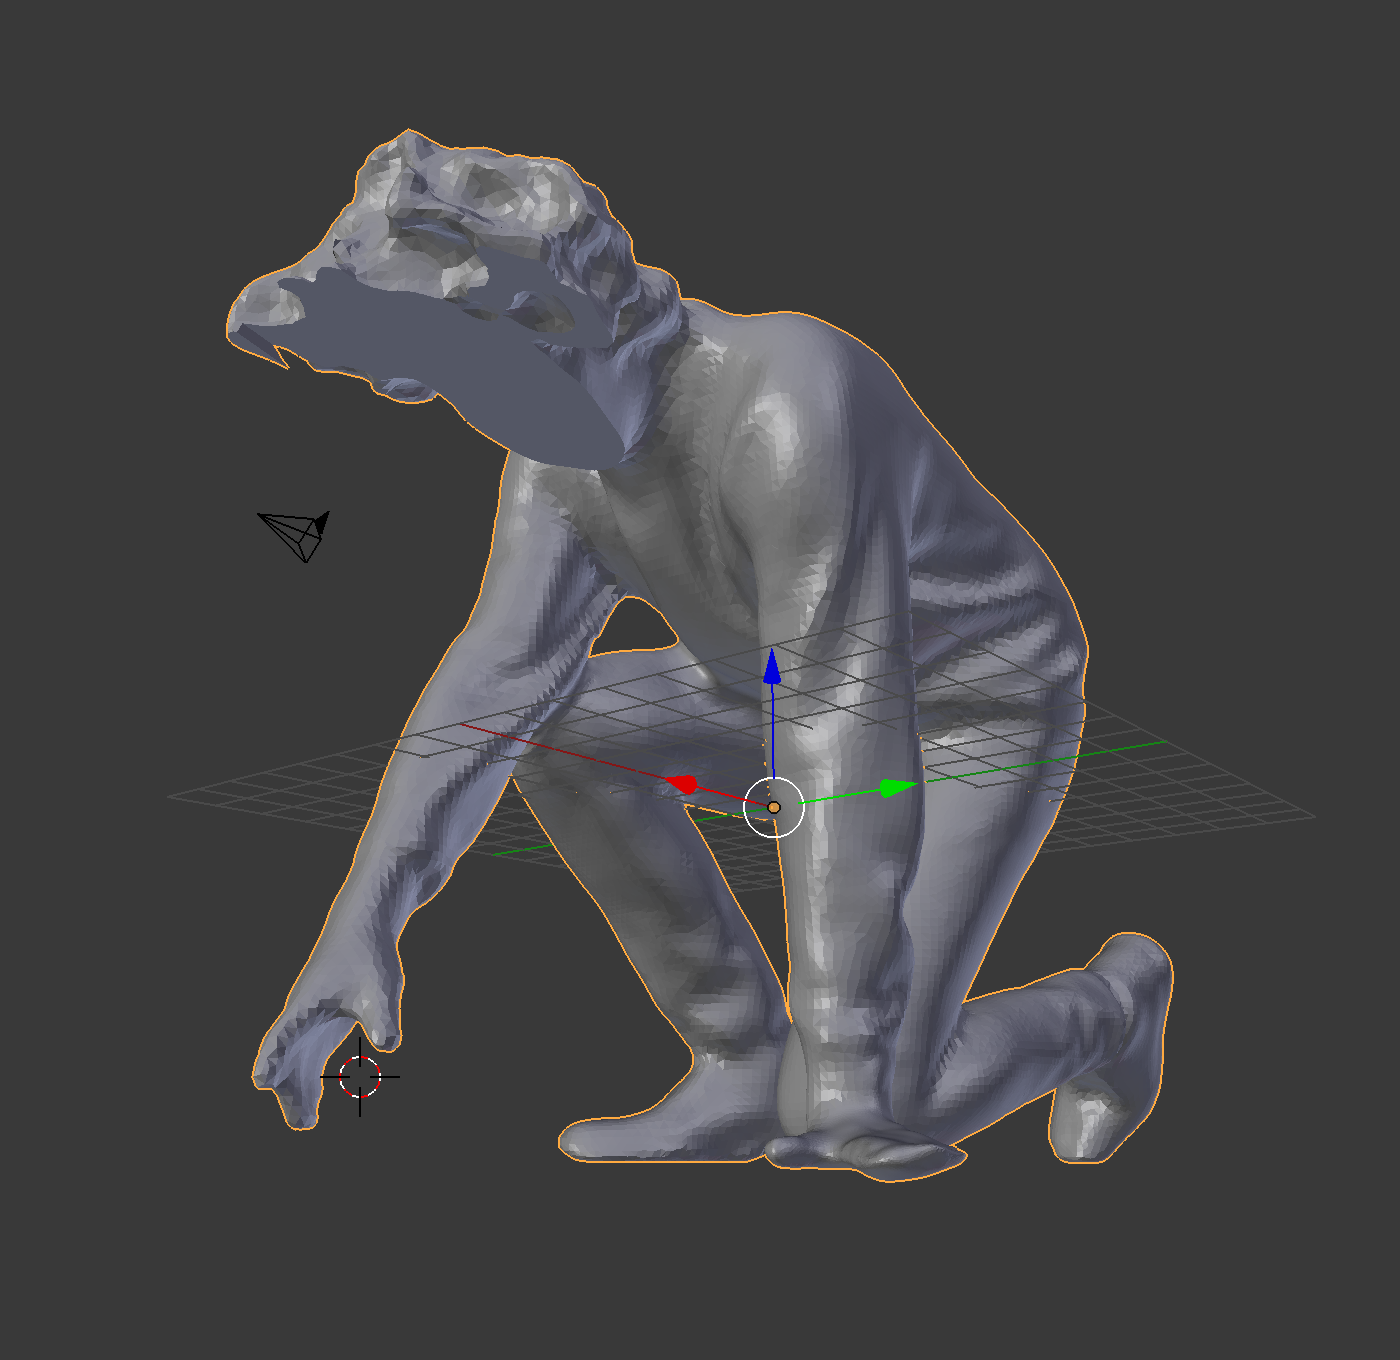
I'm now refining the final size and mounting brackets for the screen. Used the "tube" function in Meshmixer to create a channel for the screen's cabling, it now looks like it's going straight into my heart.

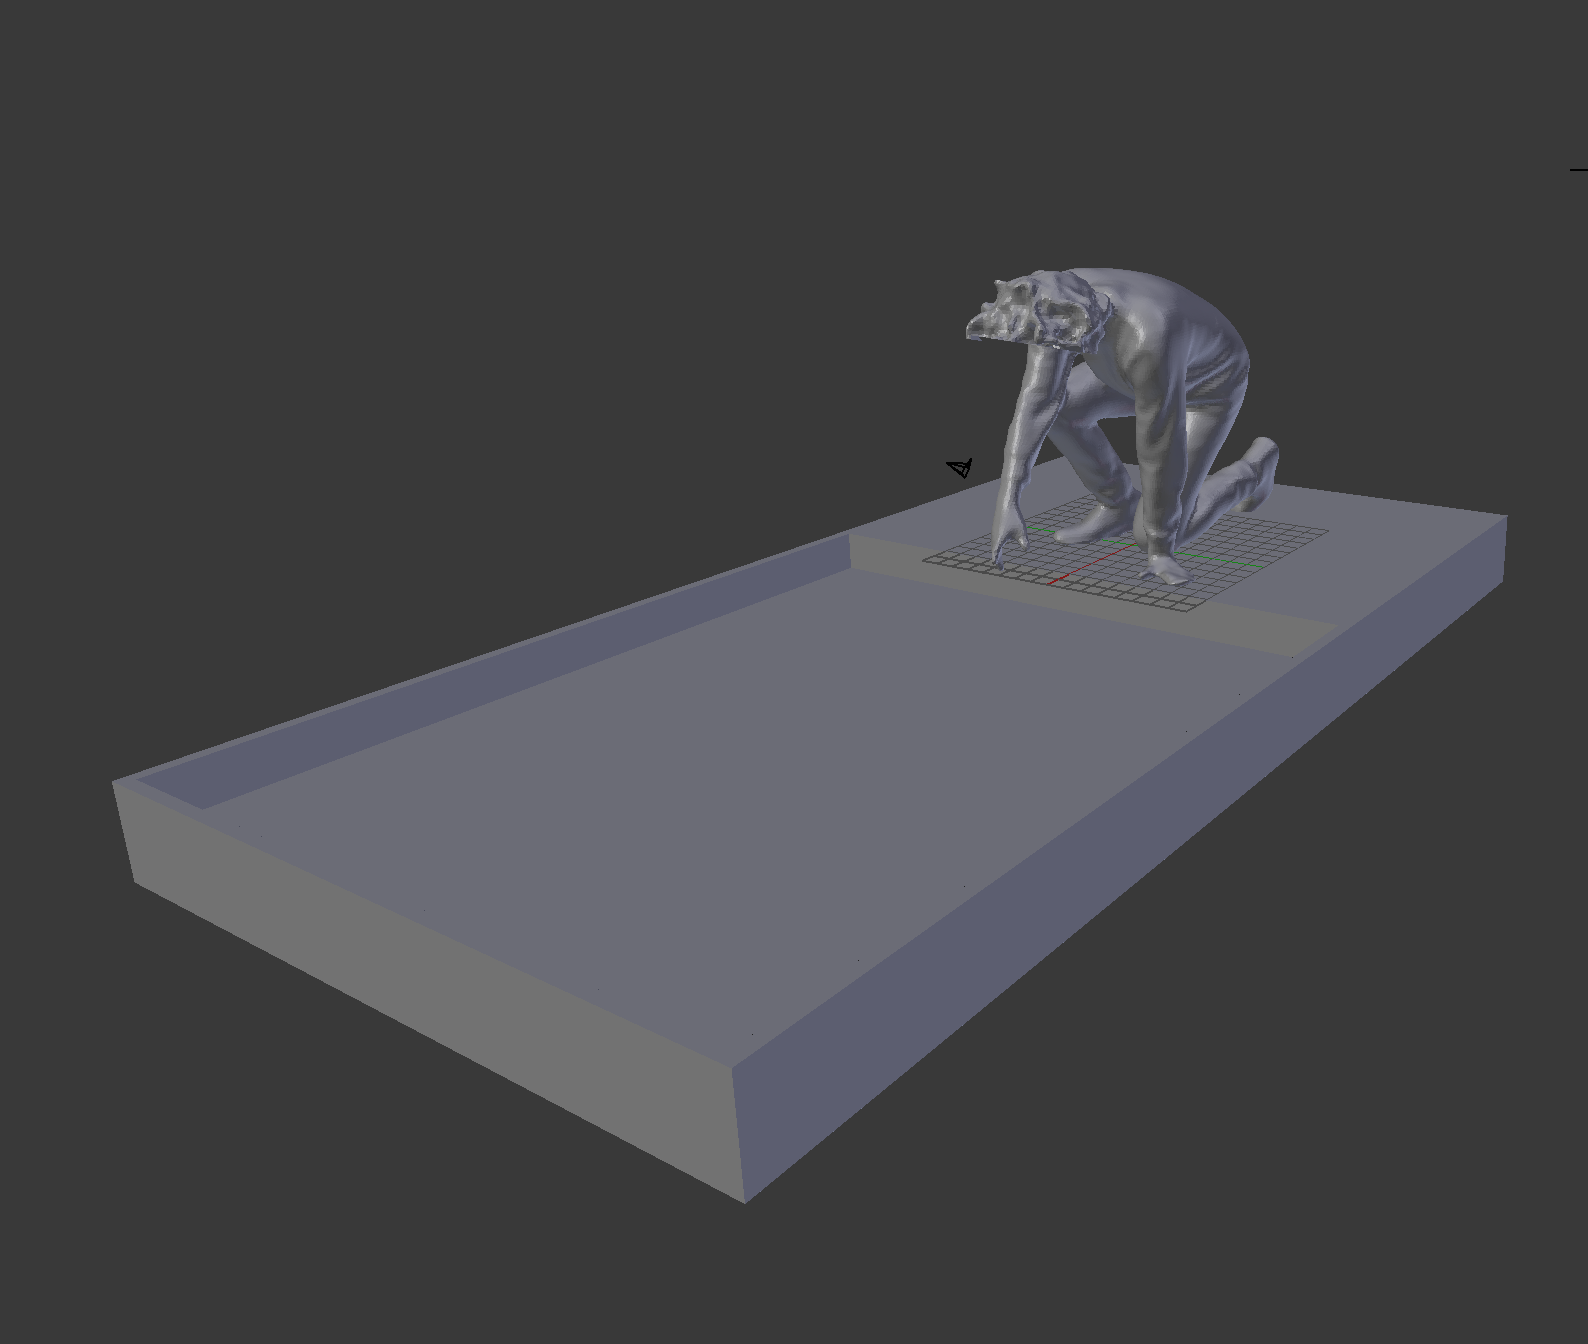
The print will be on a simple platform that will hold water/resin and reflect the light from the screen.
The 3D printing tests are going well and I'm on schedule. 🔥🔥🔥
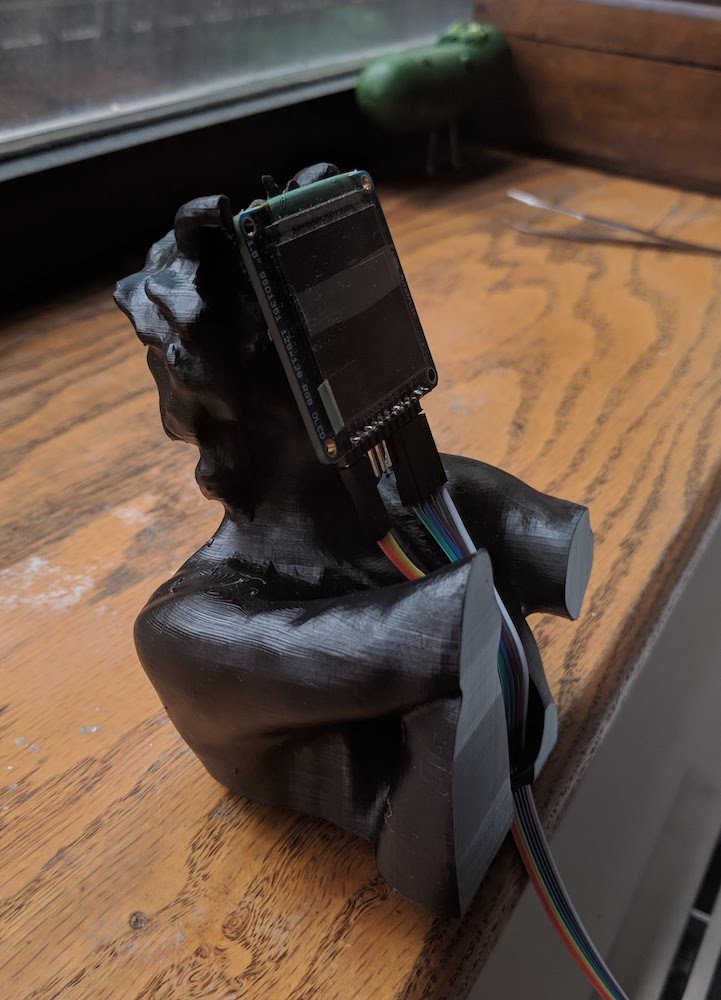
I'm using a Formlabs Form 2. I'm cropping the print to test specific parts of the sculpture (and to save resin).
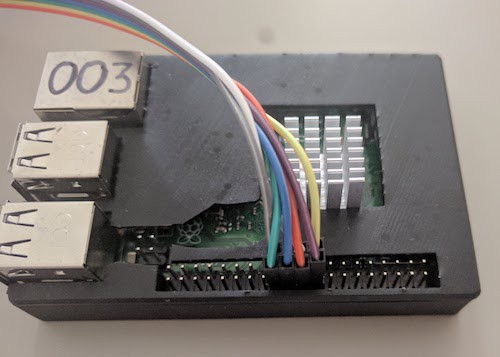
Oh, yeah, I also printed a case for my Pi 3 B+ (Note: a slim case for a Pi 3 will not fit on a Pi 3 B+ thanks to the new jumpers behind the USB ports. I tried drilling the case to add the hole... that didn't work so well)
Learnings from 3D printing test:
- Save resin by hollowing out the print! (DUH! Why didn't I know about this before... who knows, here's a good tutorial from maker's muse)
- Blender and Meshmixer are tough to start using, but they quickly open up and become good friends.
- I need a 3-button mouse... 🐁
Next steps
- Finalize size of body.
- Iterate screen mount.
- Final Print
- Define platform size
- Start platform production
- Finish and assemble.
Discussions
Become a Hackaday.io Member
Create an account to leave a comment. Already have an account? Log In.