Not much, not amazing, but prints nonetheless.
I have made all modifications to 3D print in the last few weeks. Now all I need is to try out more, and make the improvements to make it better. Currently I am printing in original Zcorp powder with HP45 ink. I got this powder (and binder) from a friend a few years ago. I have yet to experiment with my own powders and have only tested with this so far. I printed a 12mm diameter by 3mm disk as a proof of concept. The part was strong enough for removal and cleaning.
There are a few limitations at this moment. I have not yet had the time to modify printheads. This means I am printing in pure ink. This means that 1. my print is extremely black and 2. the green strength (untreated part strength) is poor. The powder has a lot of chunks, hairs and other contaminants in it. I still need to filter it through a mesh some time. I have to use the depowdering tools I made for Plan B (http://ytec3d.com/depowdering-station/). I have no good superglue anymore to infiltrate the parts, so I have no pictures of finished parts. The part broke while infiltrating with bad superglue.
Those are all the tiny problems left. I can easily fix them with some time though, so it is all right.
Pistons and new layer

The pistons now have seals in them. I have used sponge for a while because it is low friction and flexible. I have a little leak on the feed piston to fix, but other than that it is powdertight.
While preparing to print, I made some final tweaks to the new layer function. I have made it so the last motion is always up. Even on movements down it will now move down too far, and back up again. This is to ensure accuracy. By always moving in the same direction you prevent the backlash in the leadscrew causing problems. I cannot move both pistons at the same time due to GRBL 4th axis issues, so moving pistons is not terribly fast.
The current sequence is:
- Move to the back of the feed piston*;
- raise the feed, lower the build;
- starts spreader and move to overshoot position;
- stop spreader, move pistons down by clearance distance*.
(*all piston movements will go down first so they always move up)
Cover
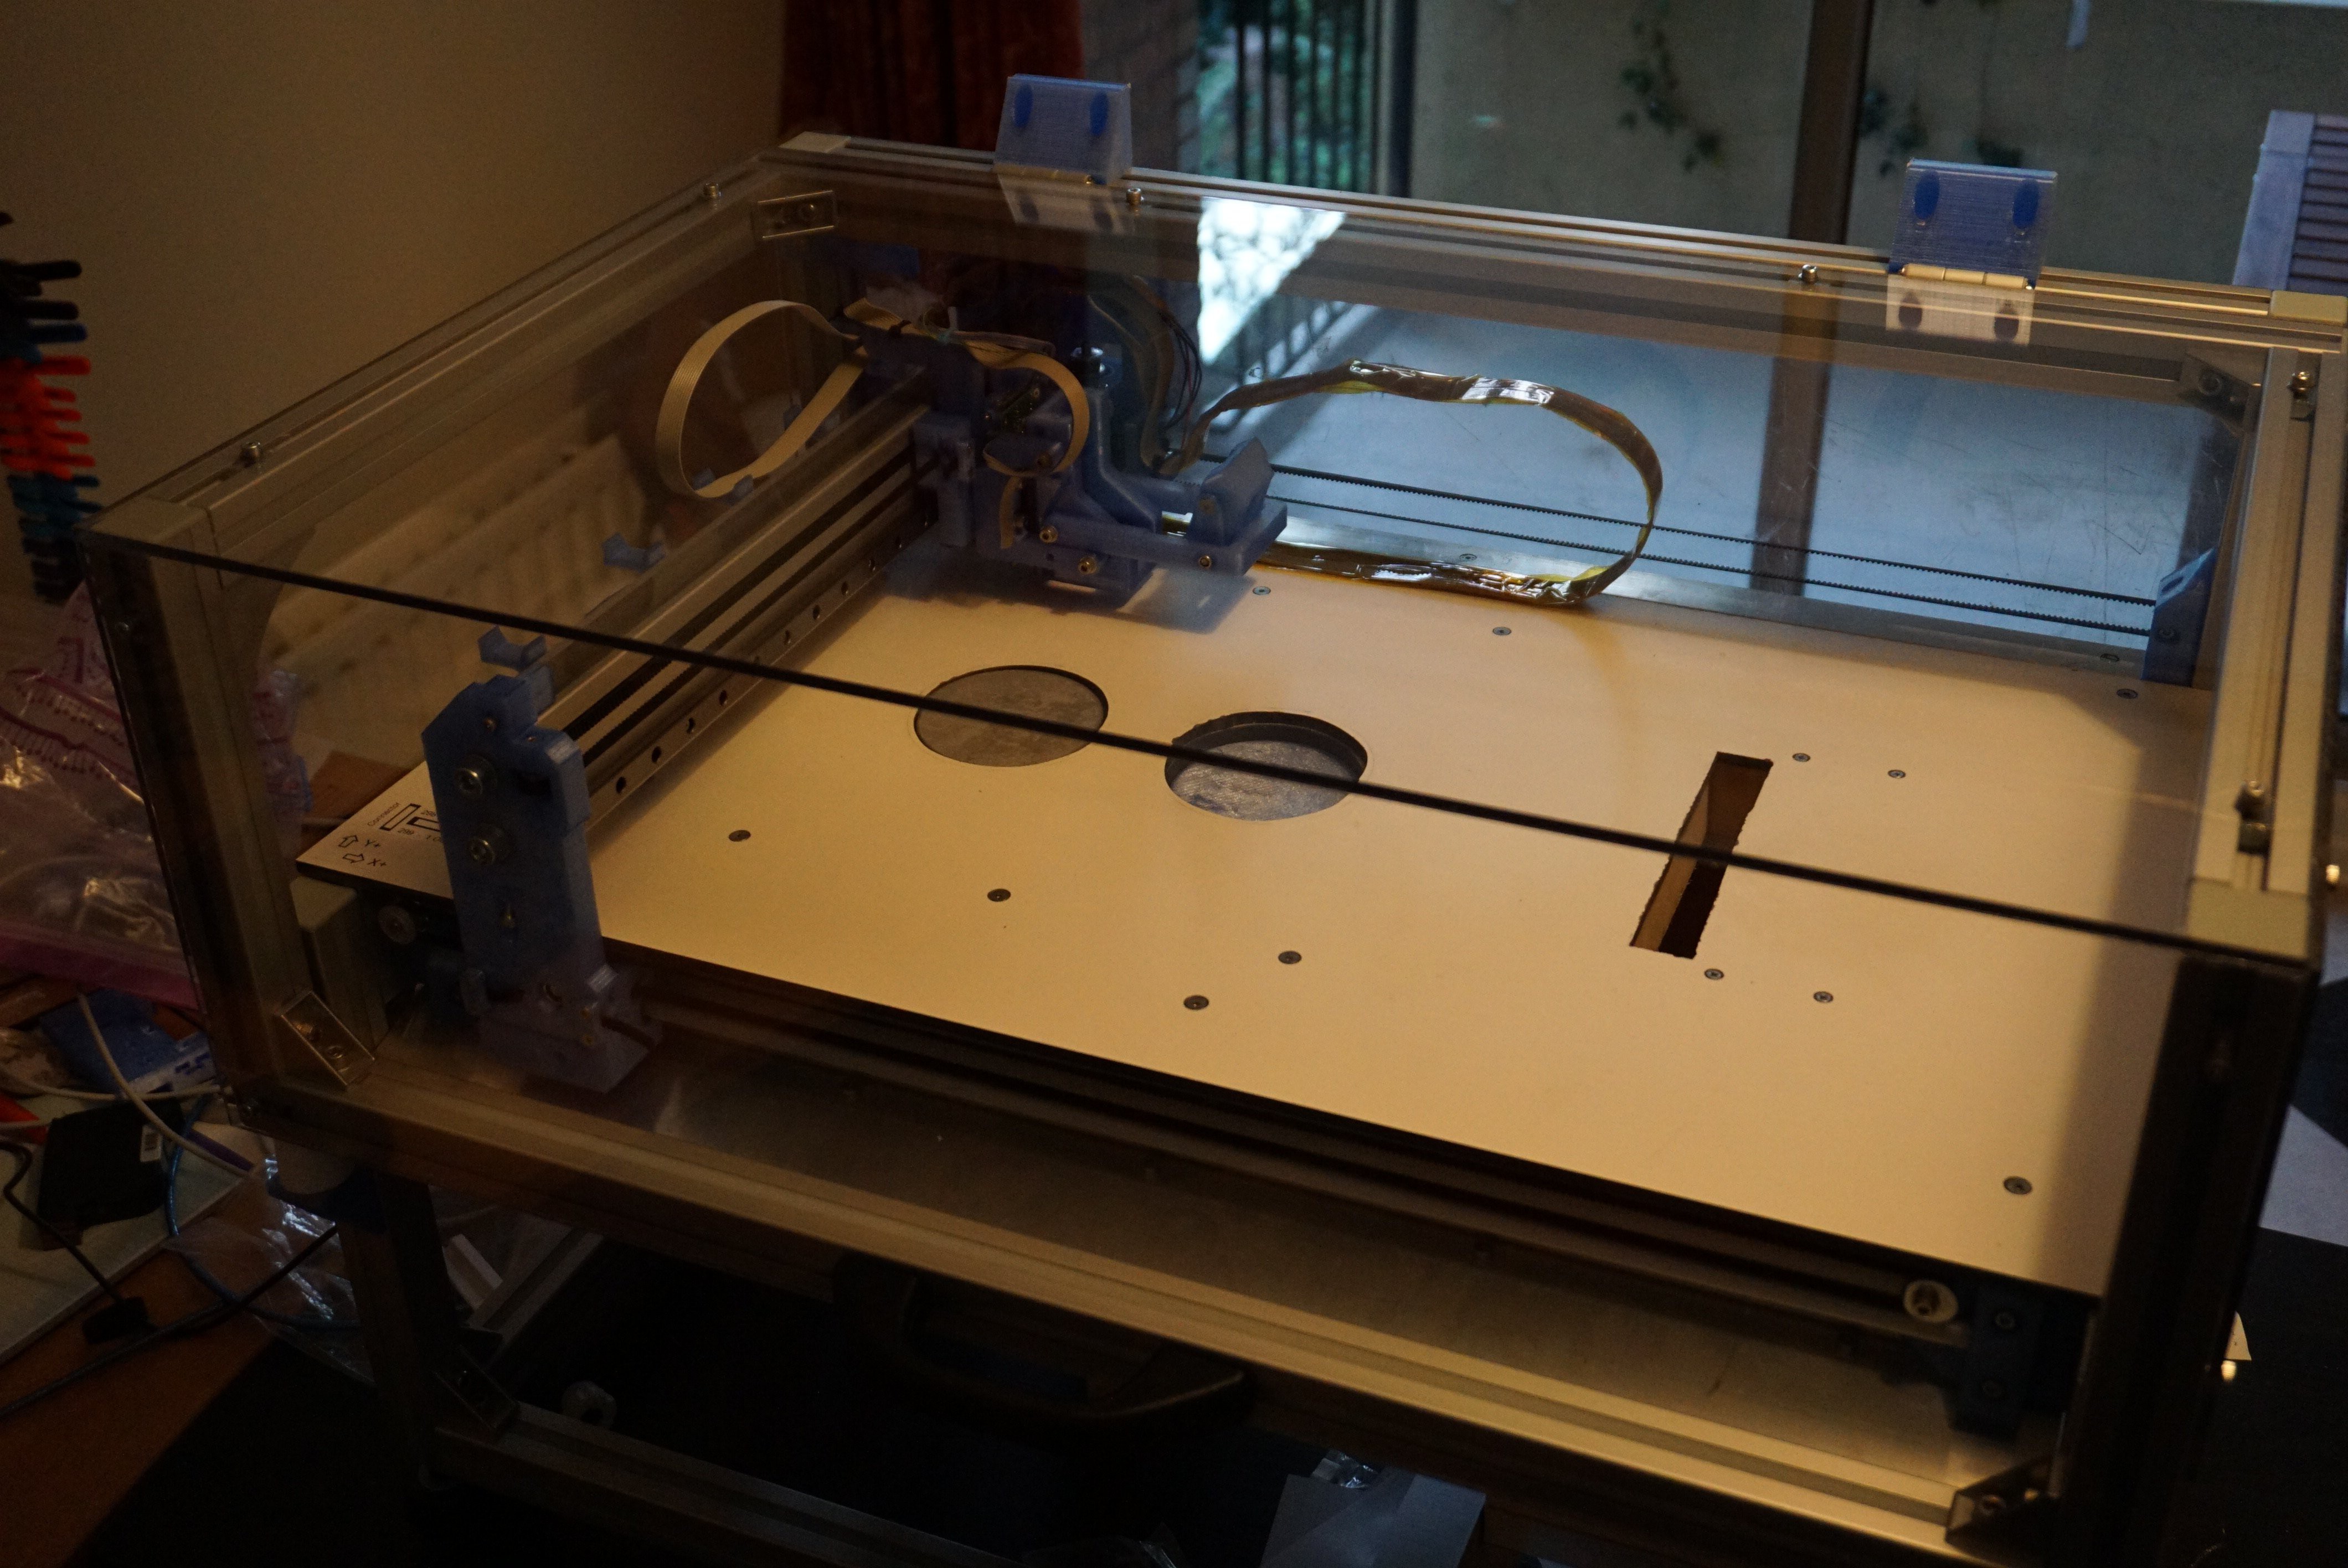
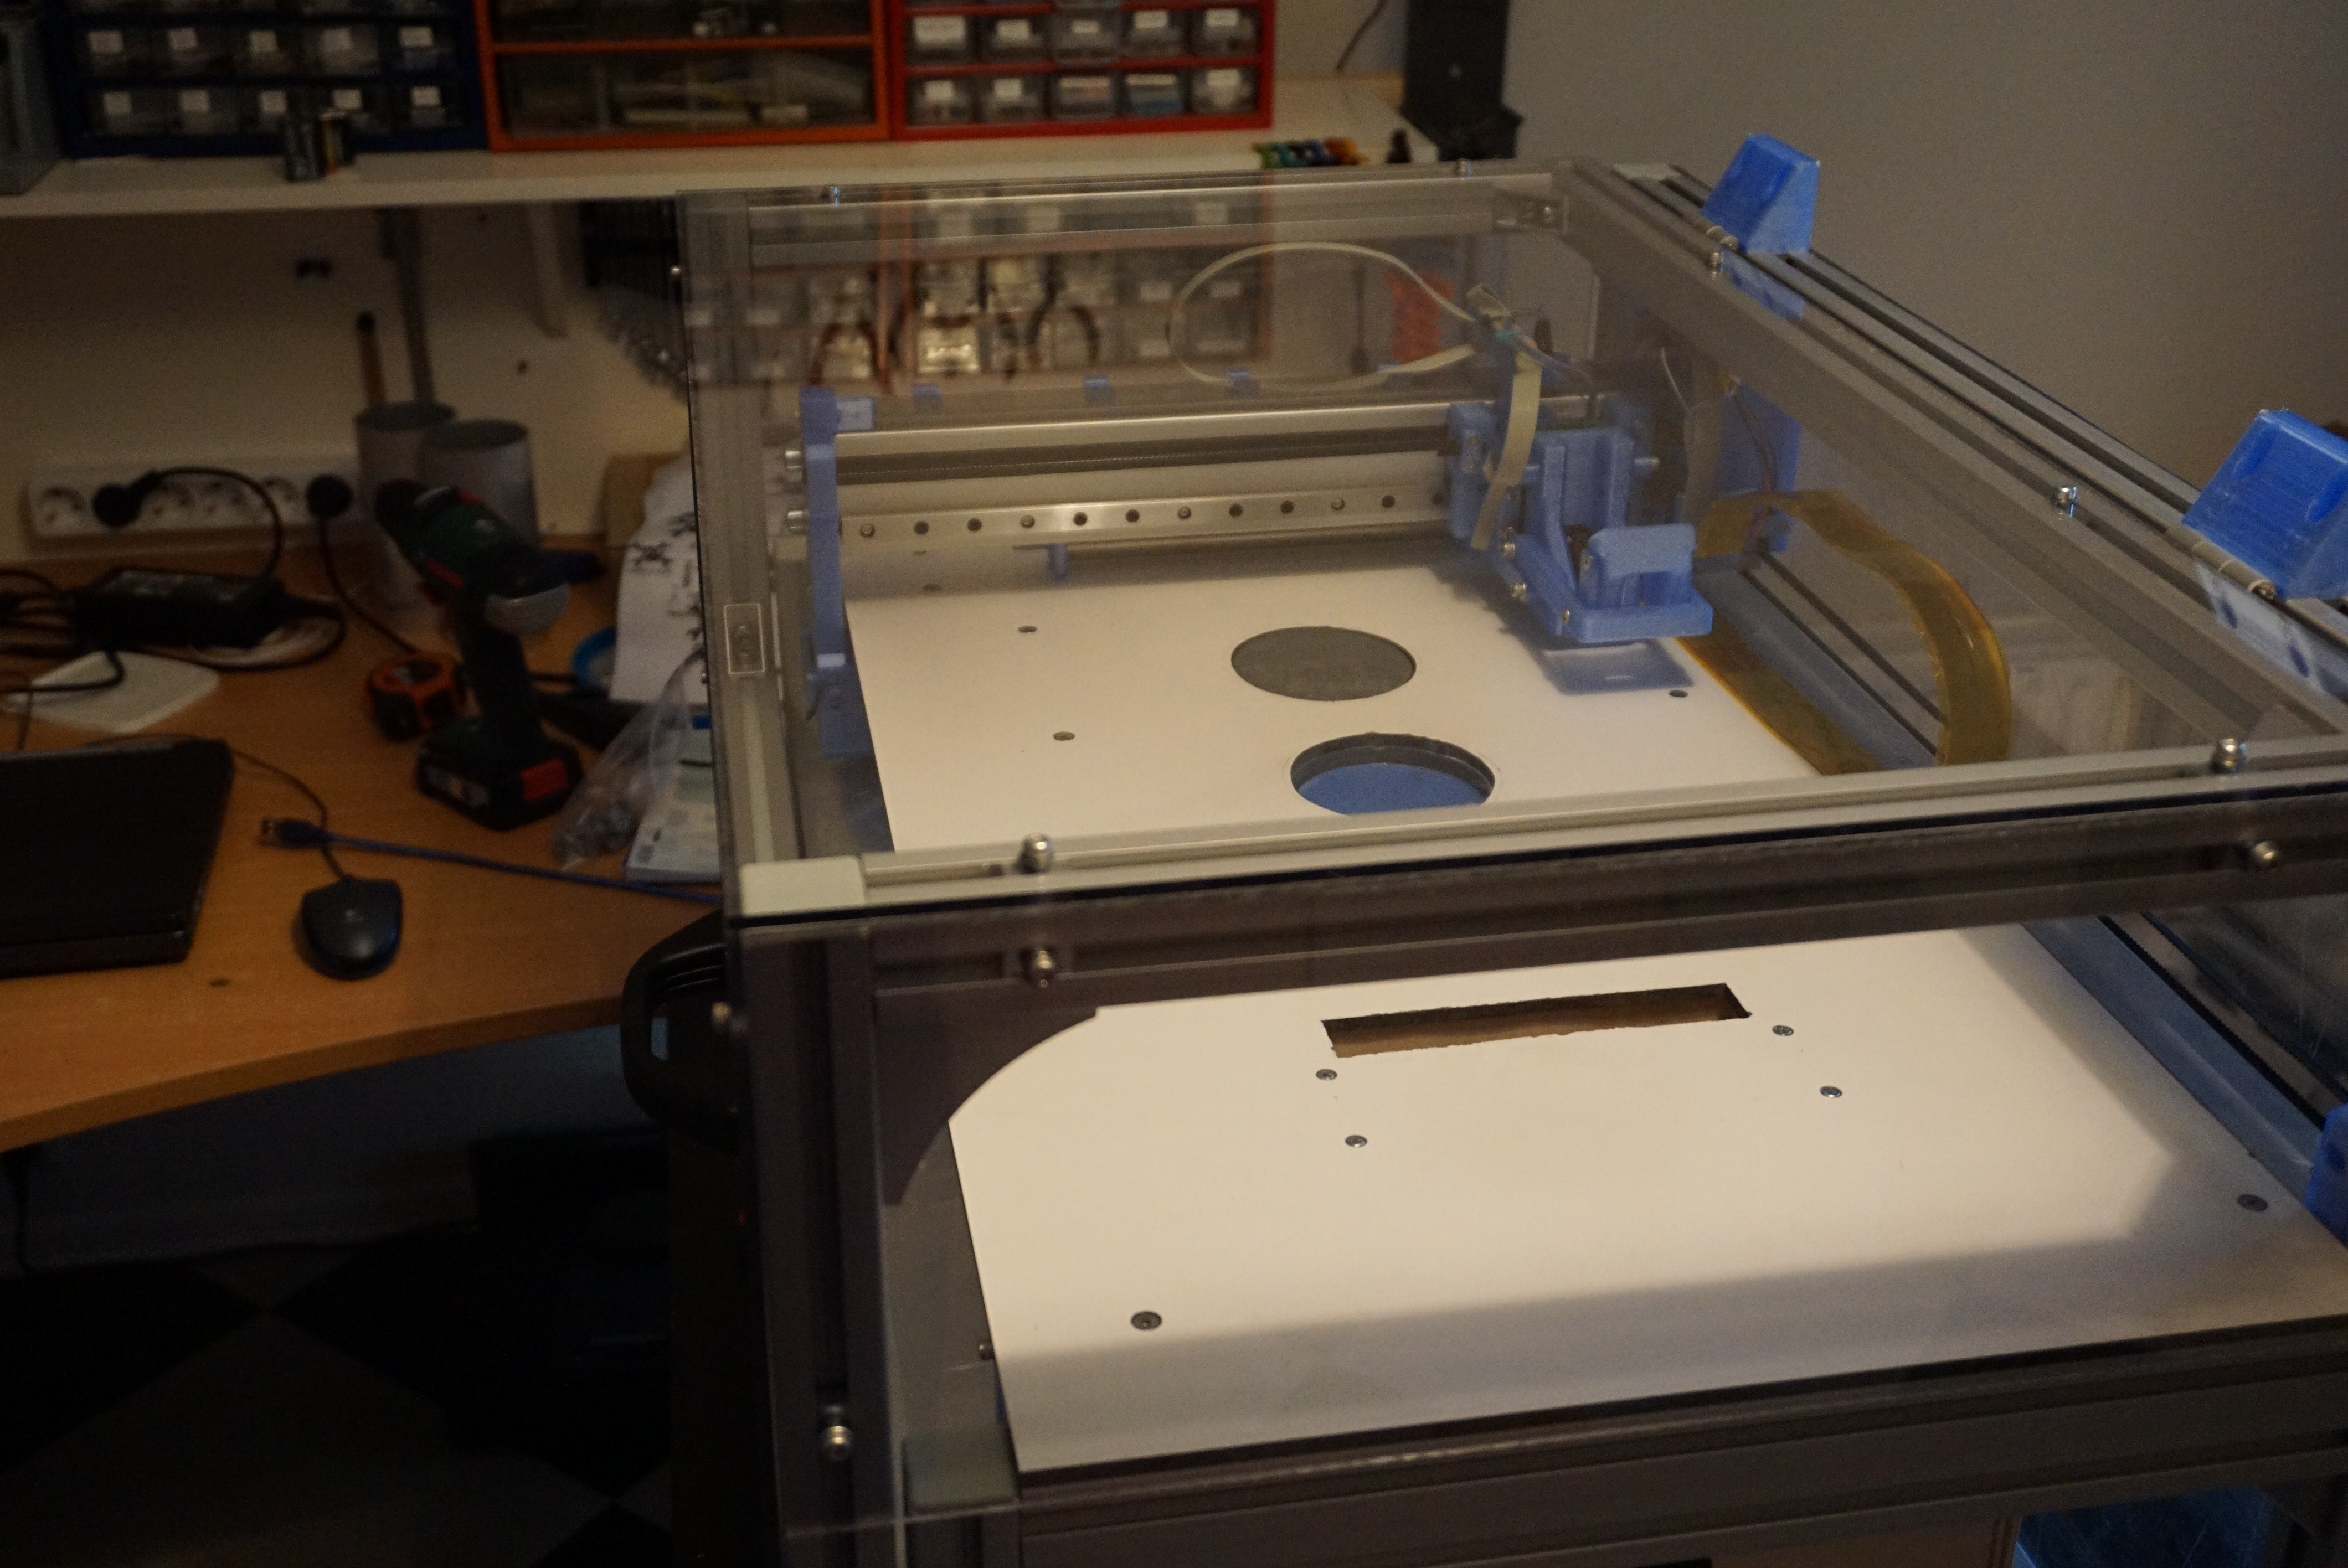
I finally added the polycarbonate to the frame of Oasis and it looks amazing. This cover serves to keep the dust from printing in, and the dust and junk from me being there out. I wanted to have it on before the powder would sit for longer times in the open.
USB cable
I finally wired the USB cable through the ribbon cable (no good photo's :( ) This was the plan all along, but now with the cover in place I needed to do it. Else I have no way of connecting a USB to the printhead with the cover closed. I will try and finish up the wiring diagram of Oasis now that I am finished.
(near) future updates
I realized that I need to give some more information on the actual HP45 connector side of things. I will do this soon'ish, as well as actually making the HP45 connector (and some of the boards) available for sale. The connectors are hard to come by in small quantities, so I had to buy a lot of them.
I will fix the printing and post processing issues I have right now, and maybe print a few more challenging parts. I will also attempt to refill a head with actual binder in the near future.
Hackaday prize video in a few weeks.
I will also start on making some of the assembly instructions, and file packages available. I do not think many people would want to start on this yet (while it is still a working prototype) but I won't let missing files be the limitation.
Discussions
Become a Hackaday.io Member
Create an account to leave a comment. Already have an account? Log In.