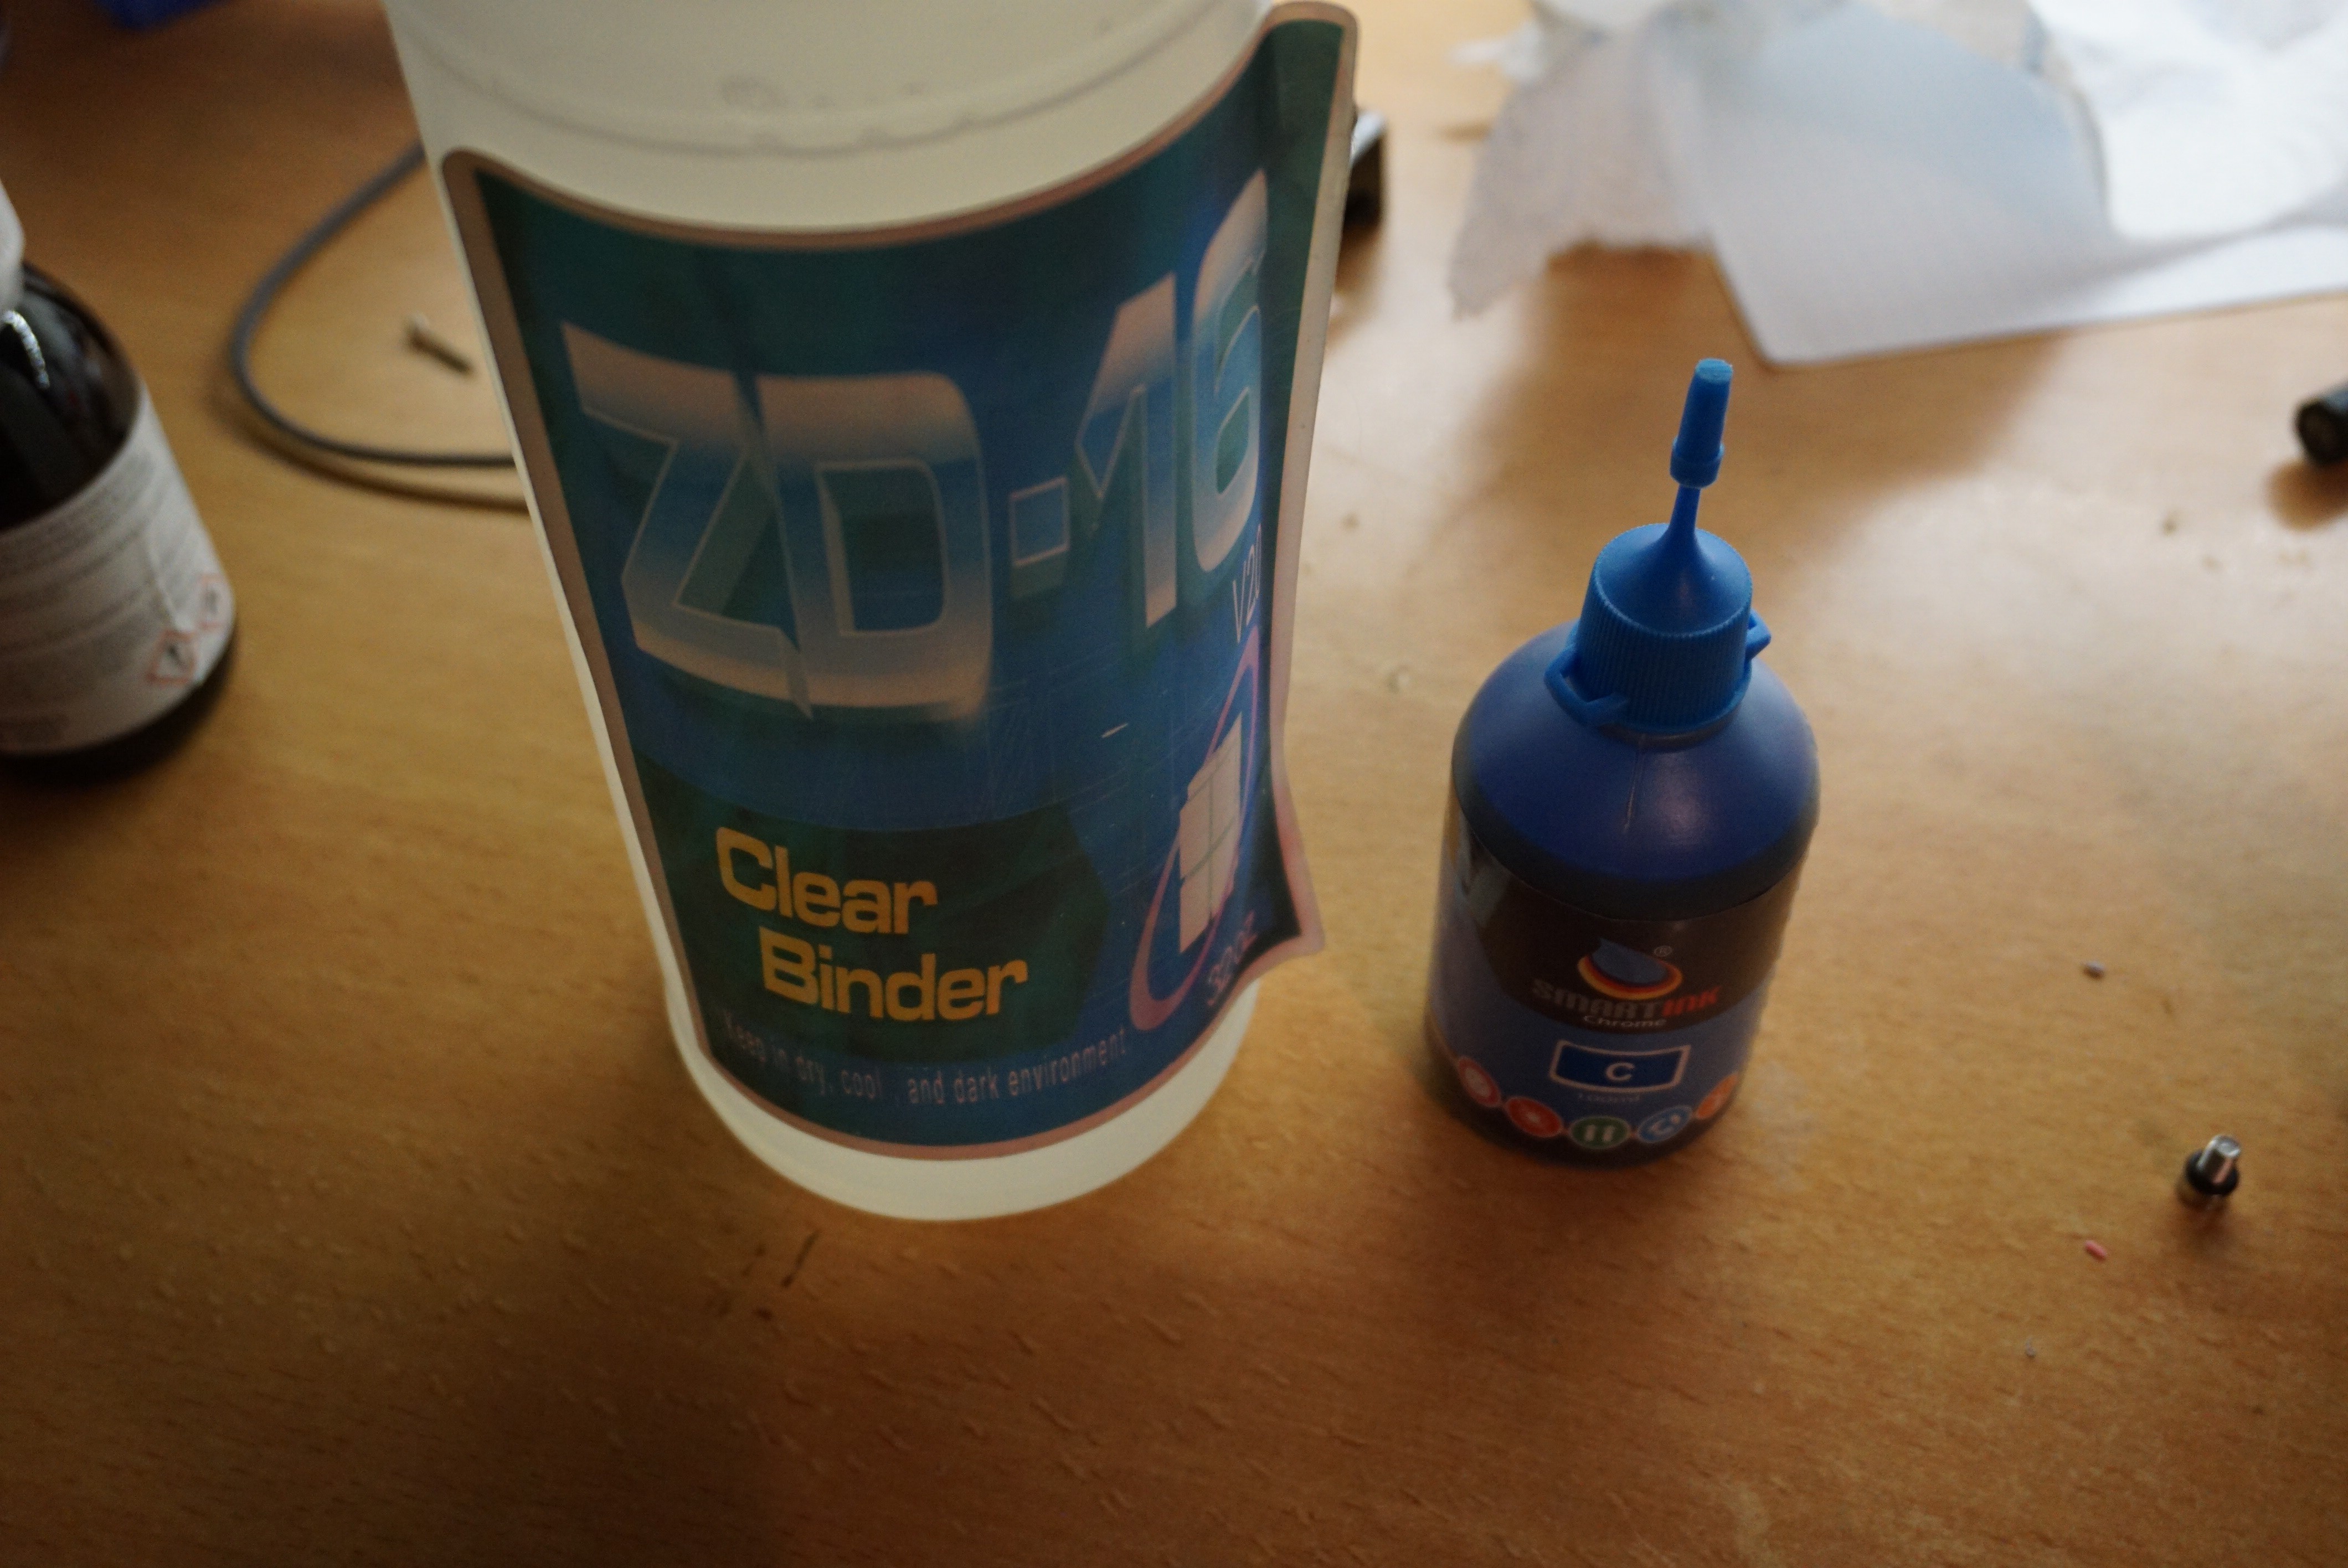
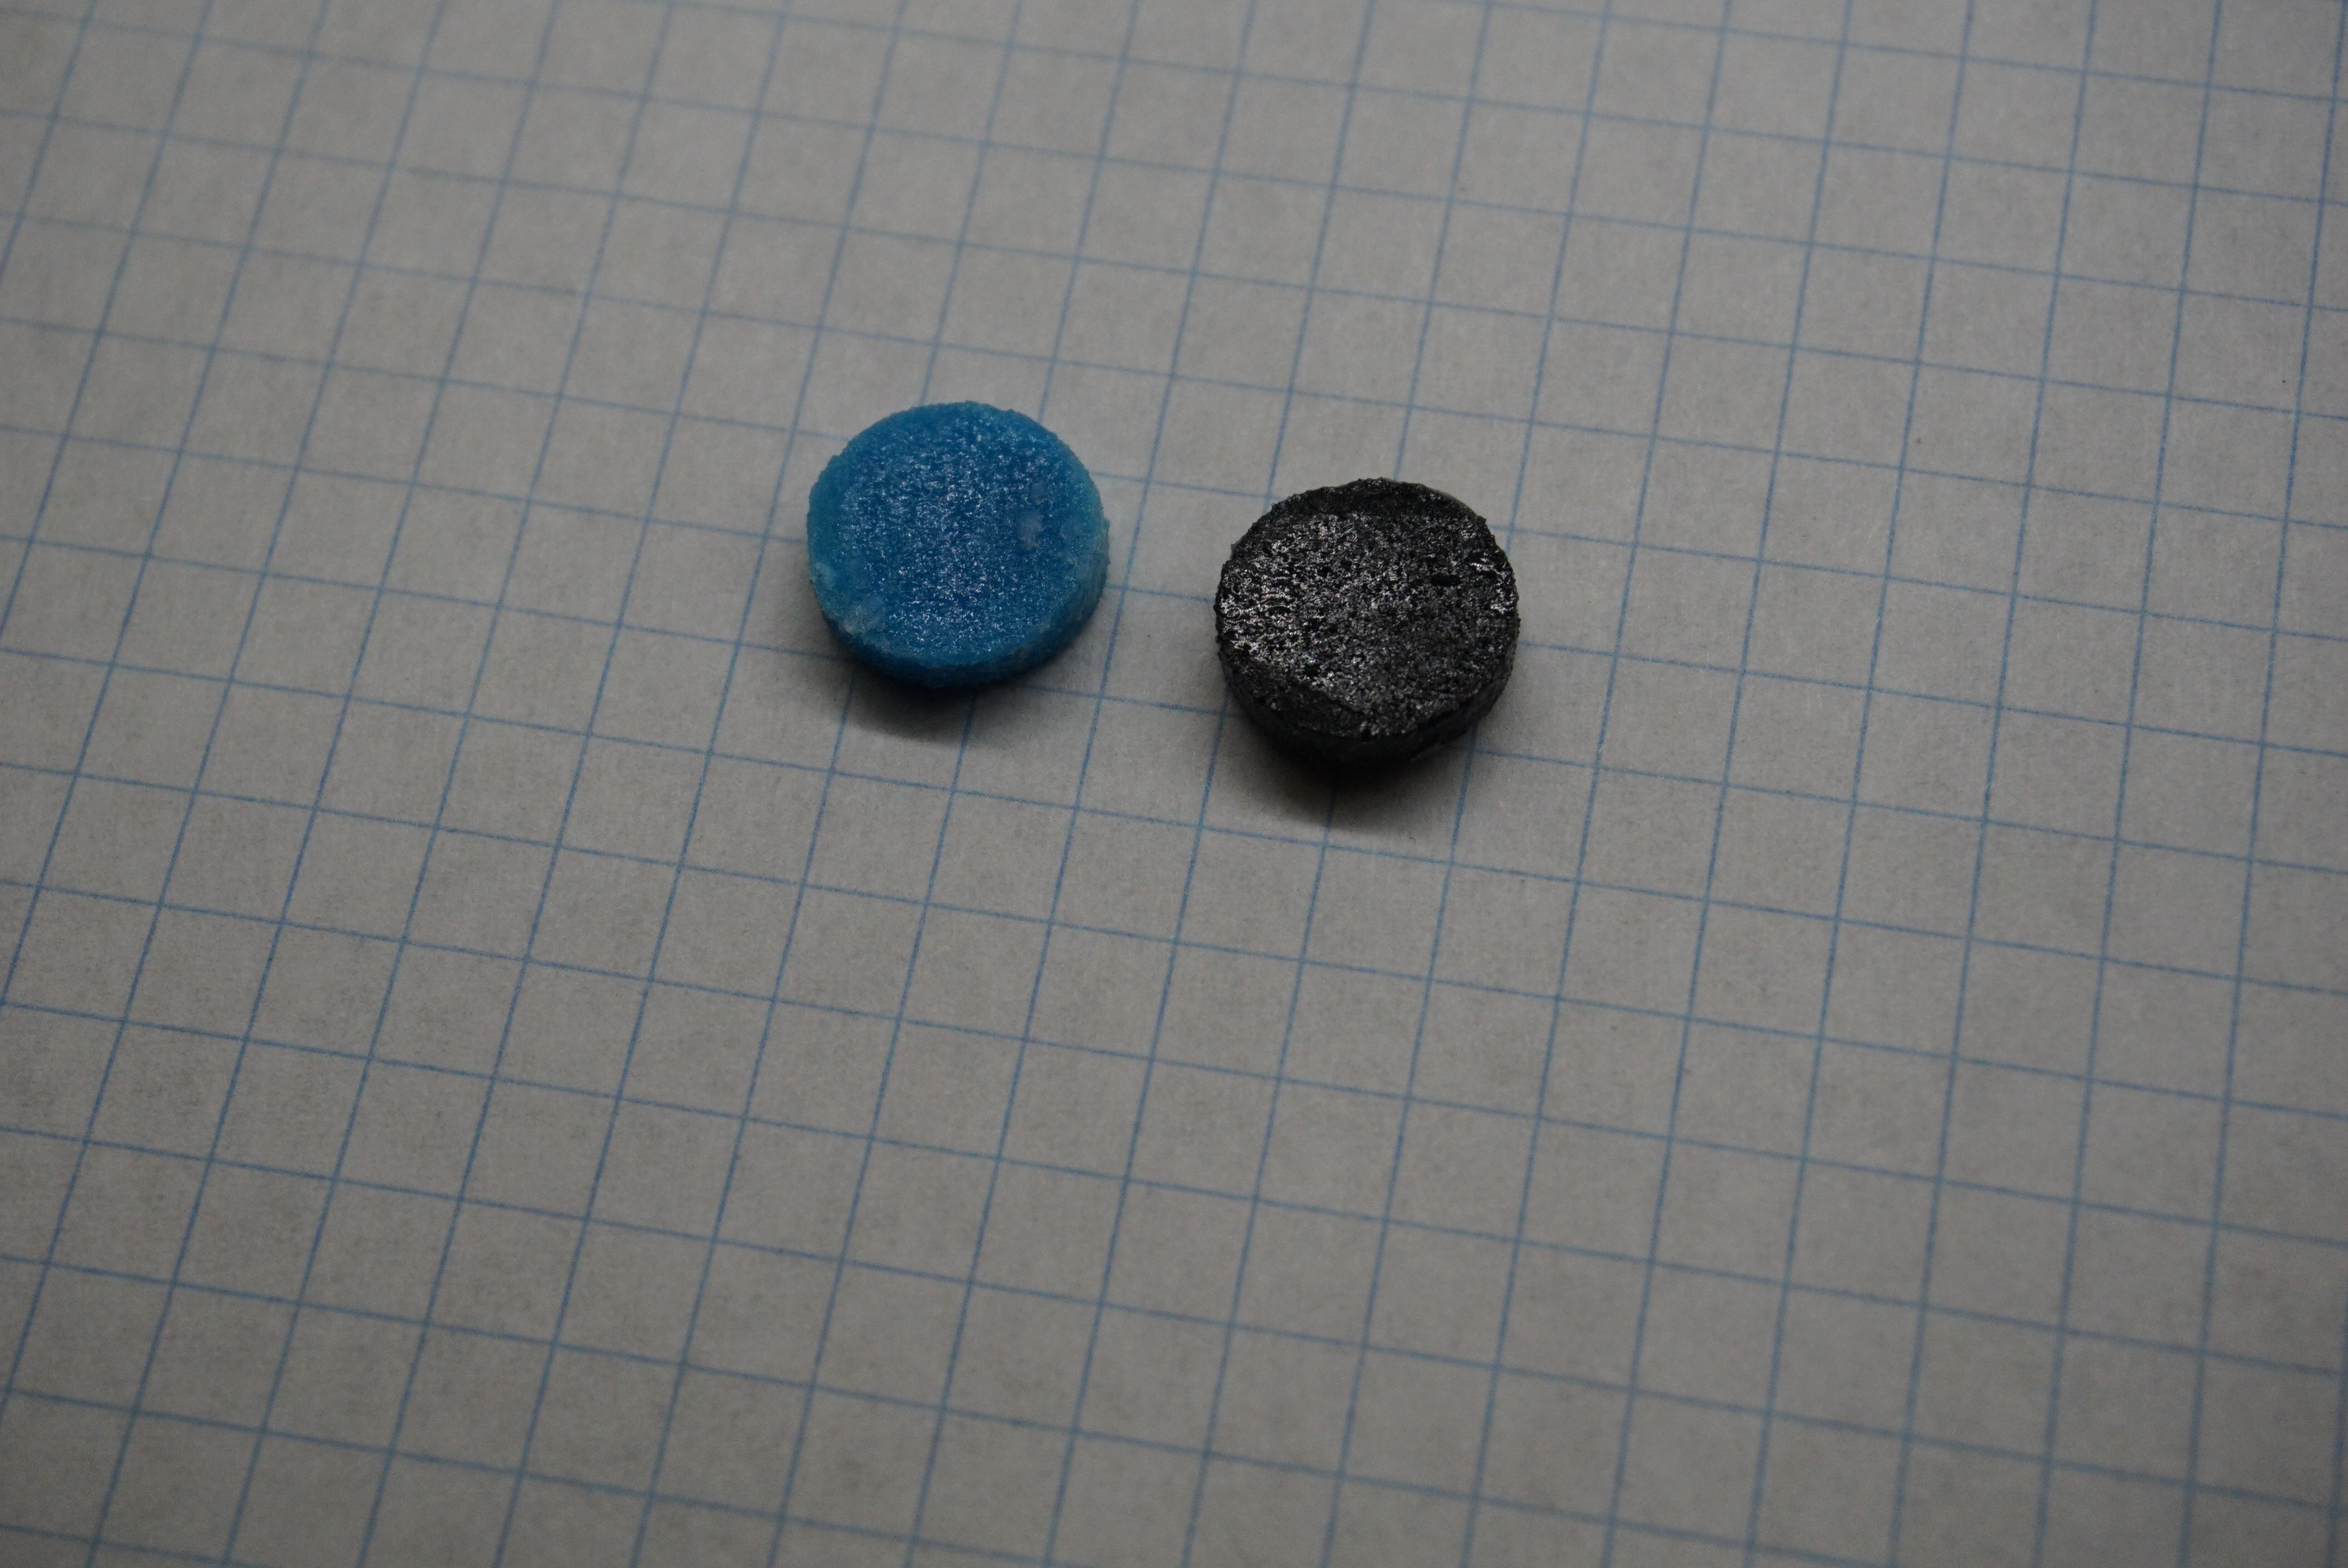
I refilled my printhead with actual Zcorp binder. I got this stuff from a friend of mine a while ago, and it will allow me to get a bit of a baseline before I start messing with my own binders and powders.
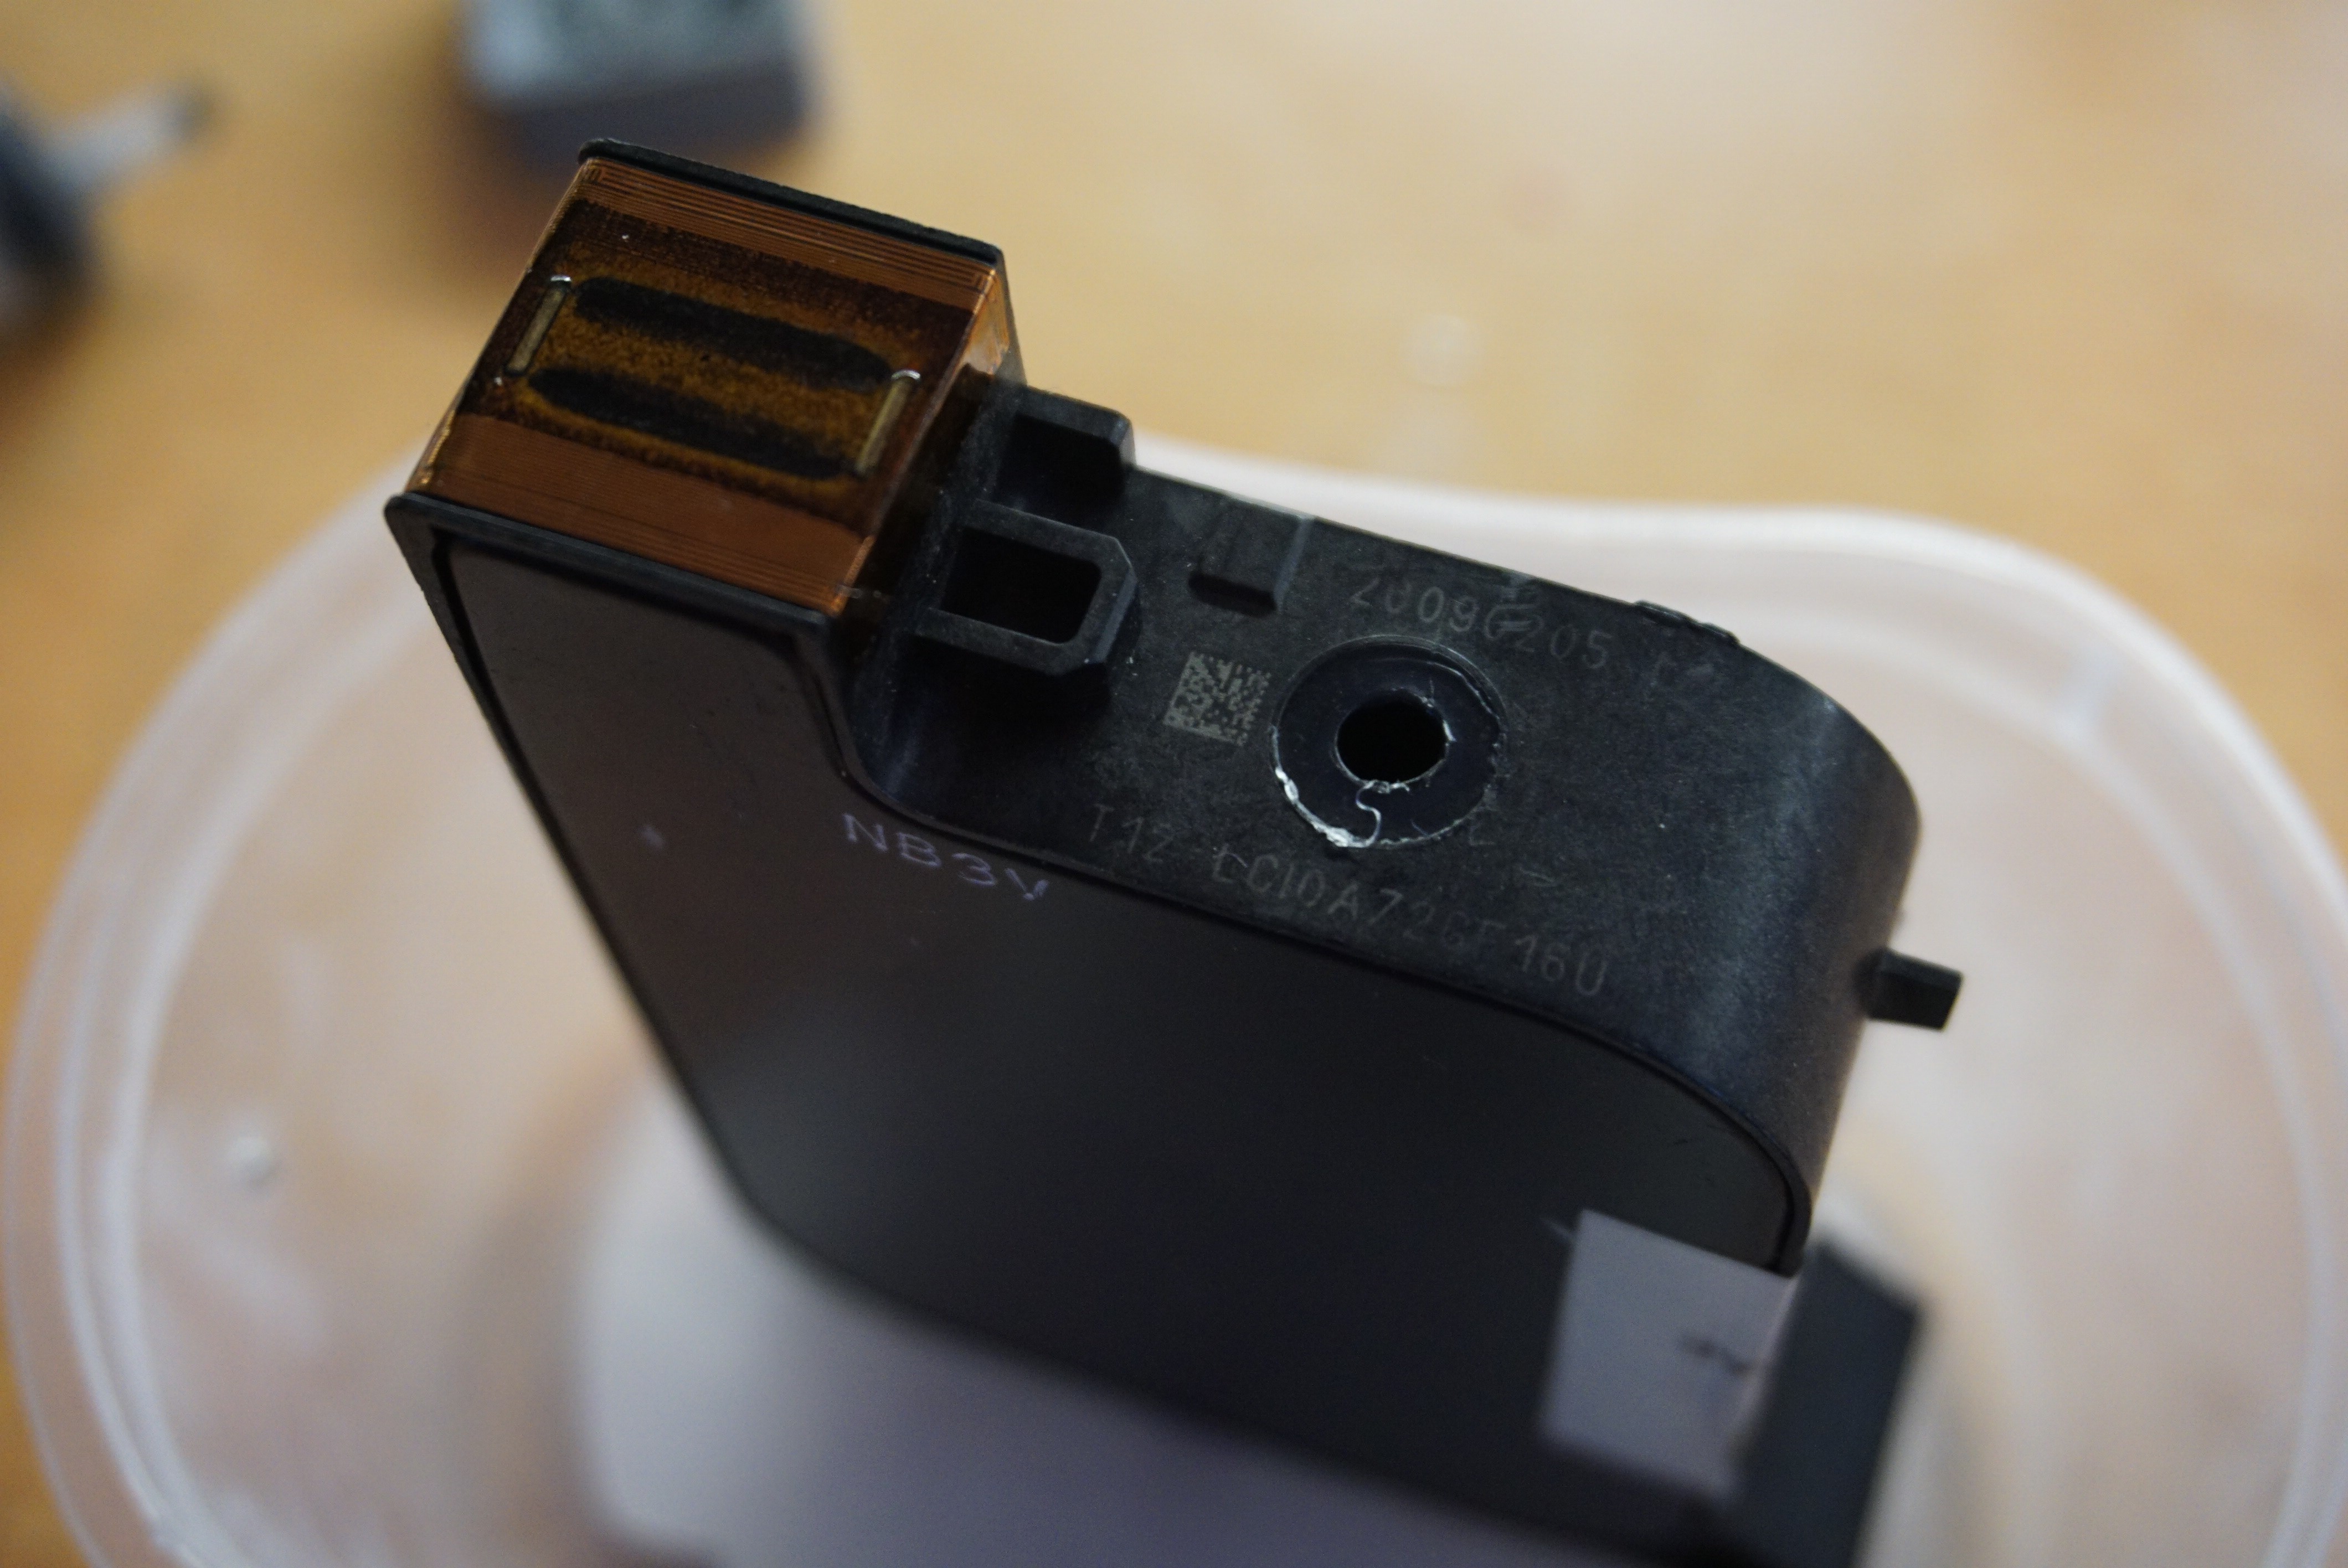
The first important step is to print a new carriage. I thought the refill port was on the front, I though wrong. It is on the bottom. I want to plug the printhead with a screw and o-ring, so I need a hole there. I ran out of the faint blue, so I will be using the much nicer dark blue.

To get a good idea of what the HP45 is, go here: http://wandel.ca/hp45_anatomy/. It has some great pictures of the HP45 itself and some explanations that will become important. Summary, a spring loaded tank that holds the ink under a vacuum.
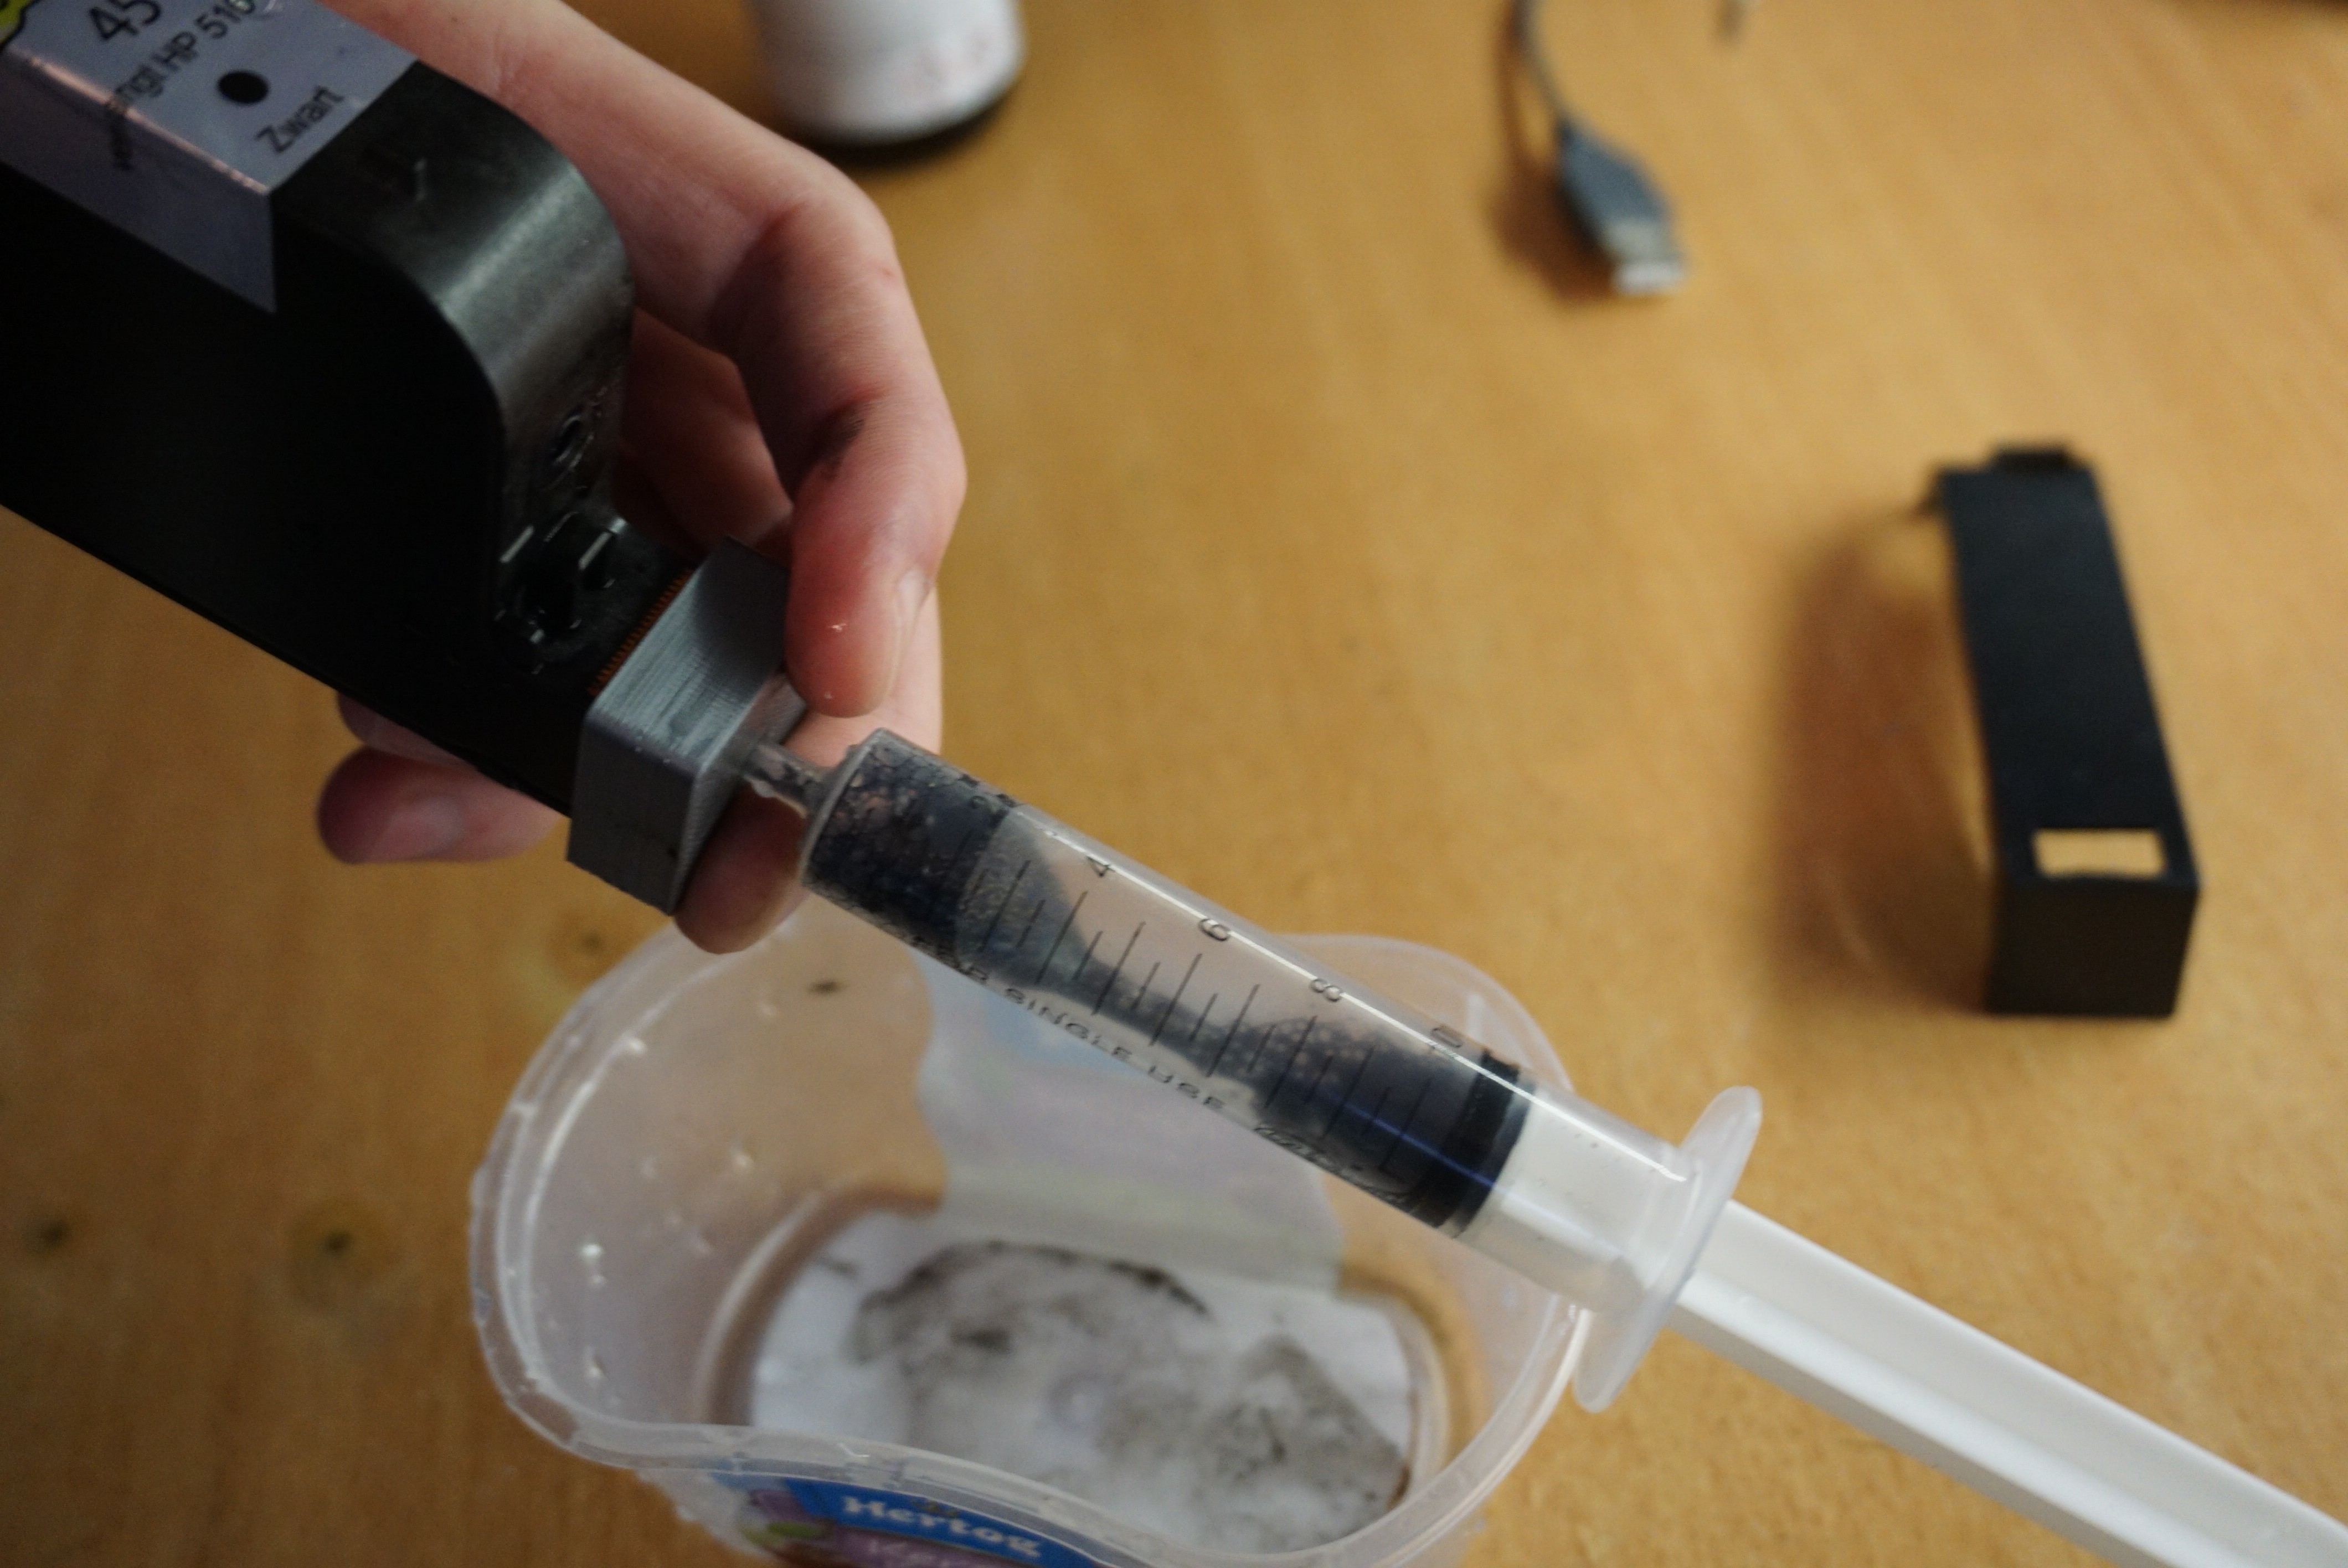
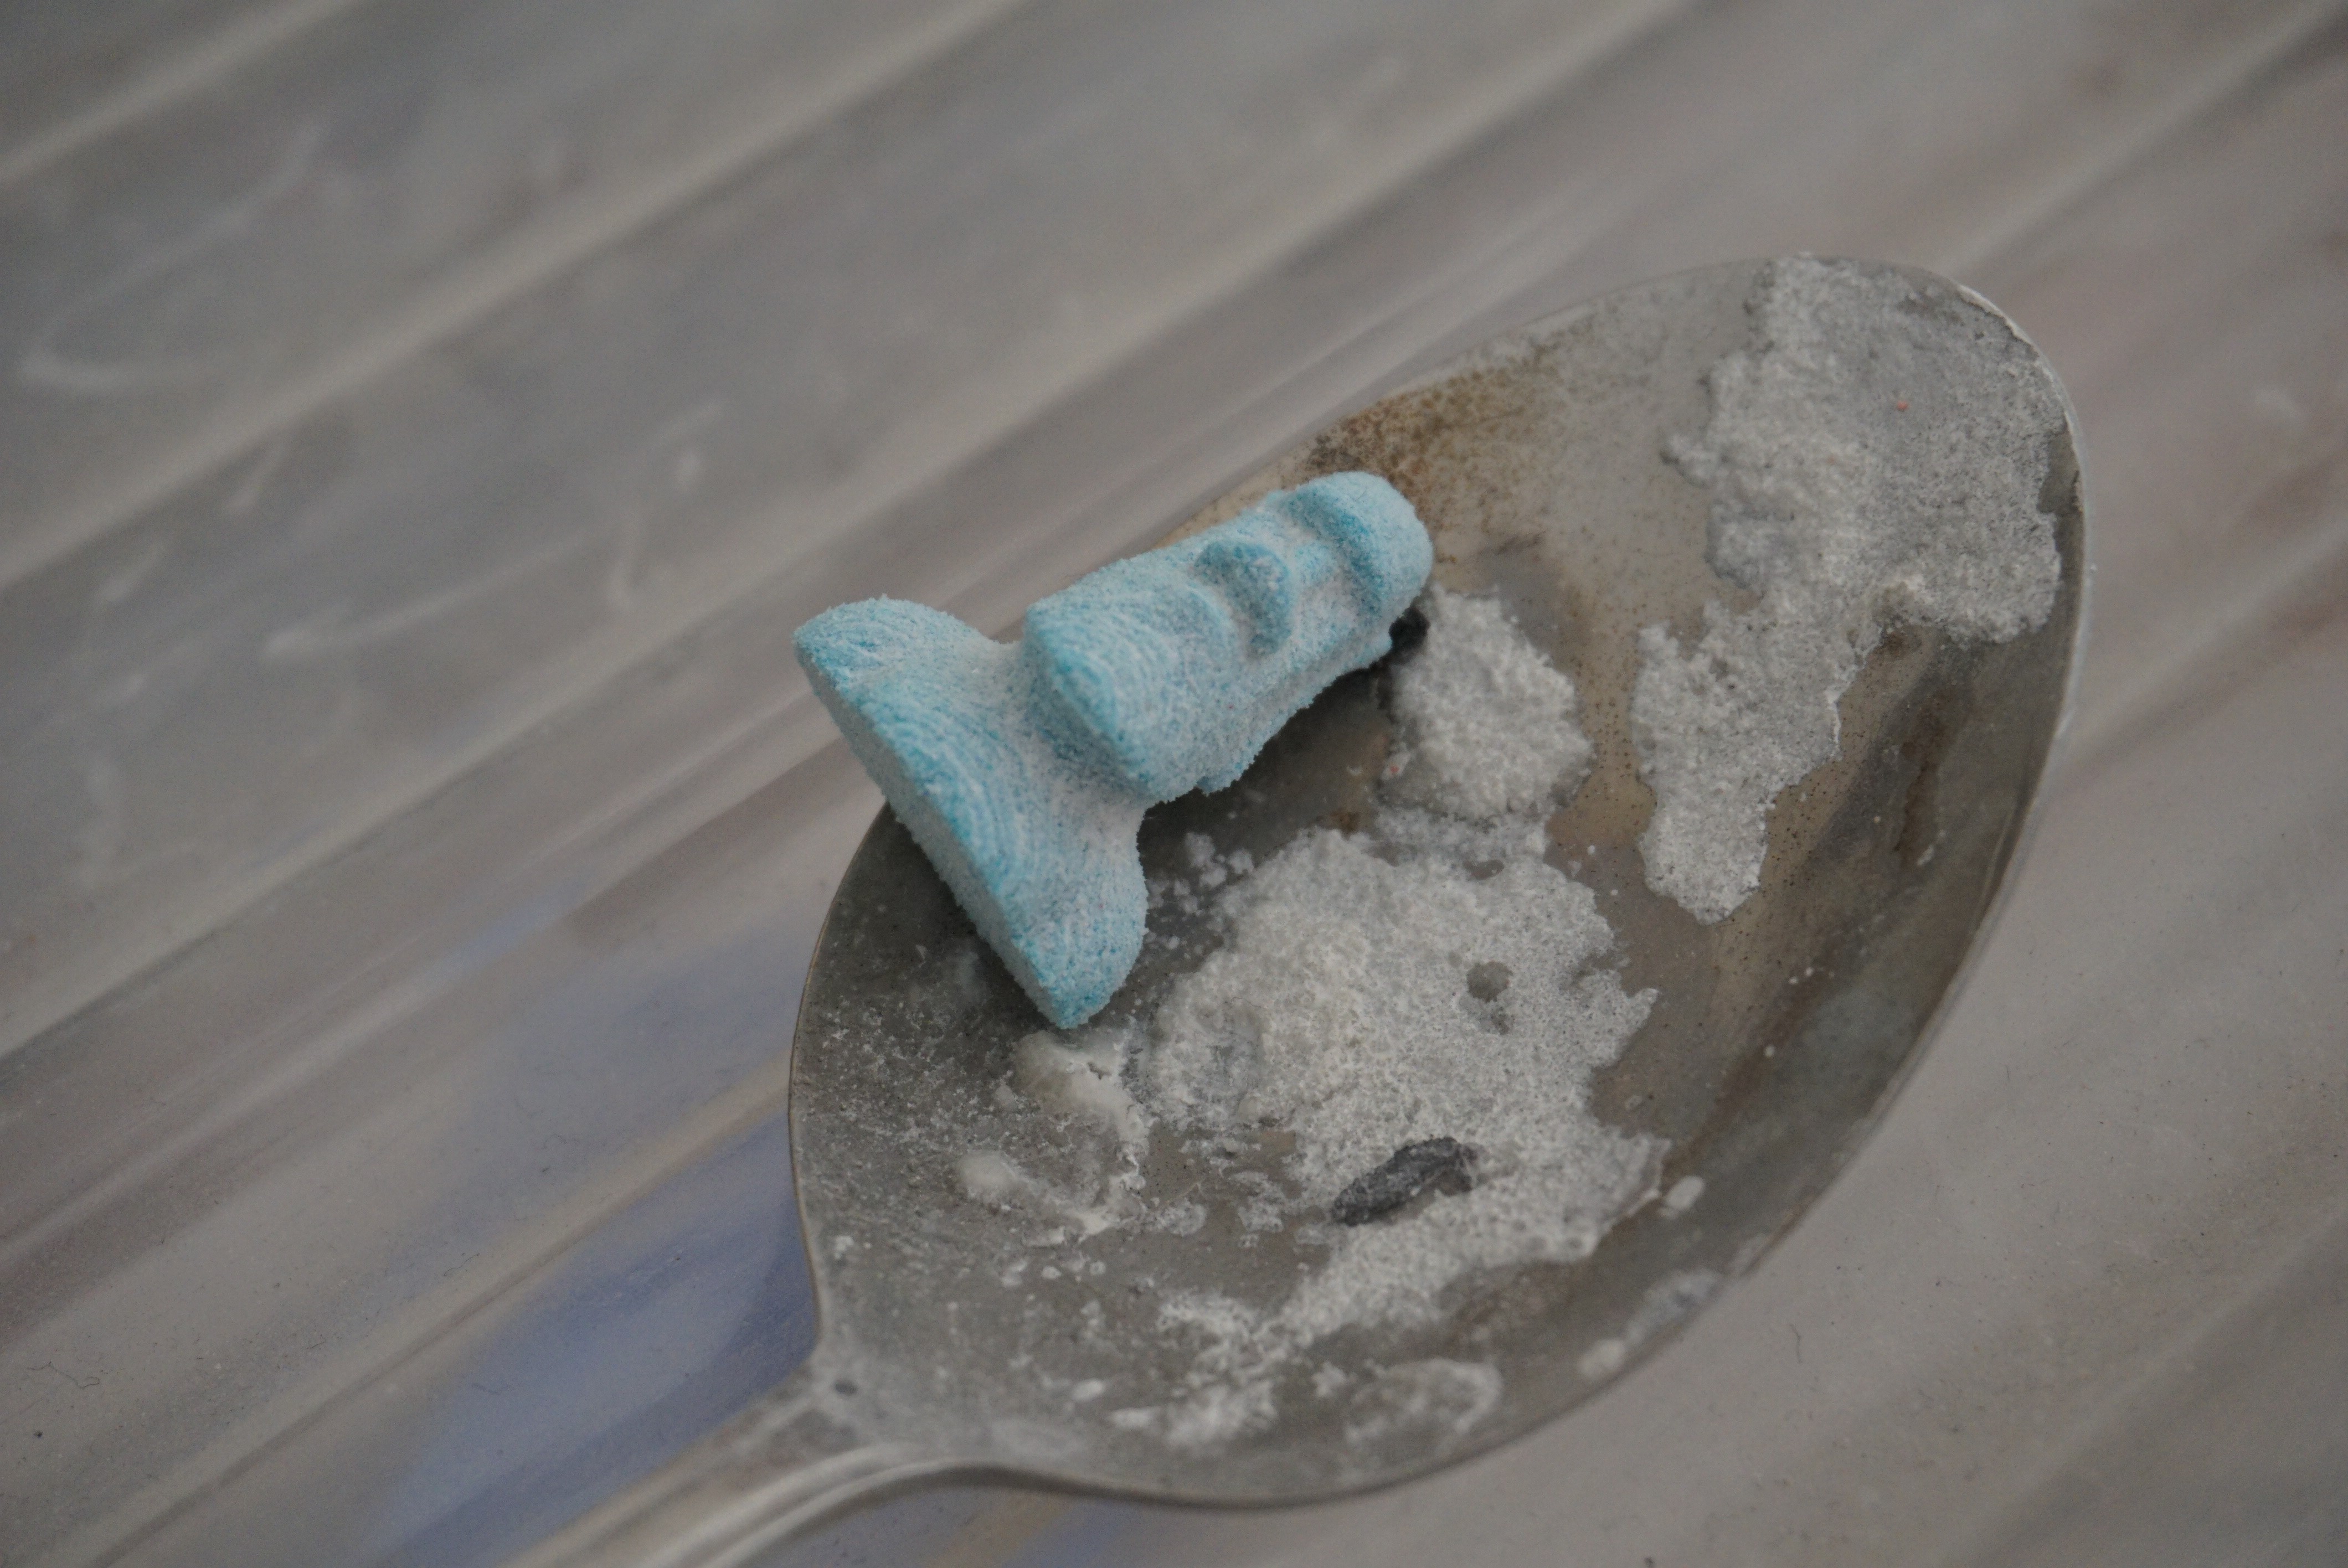
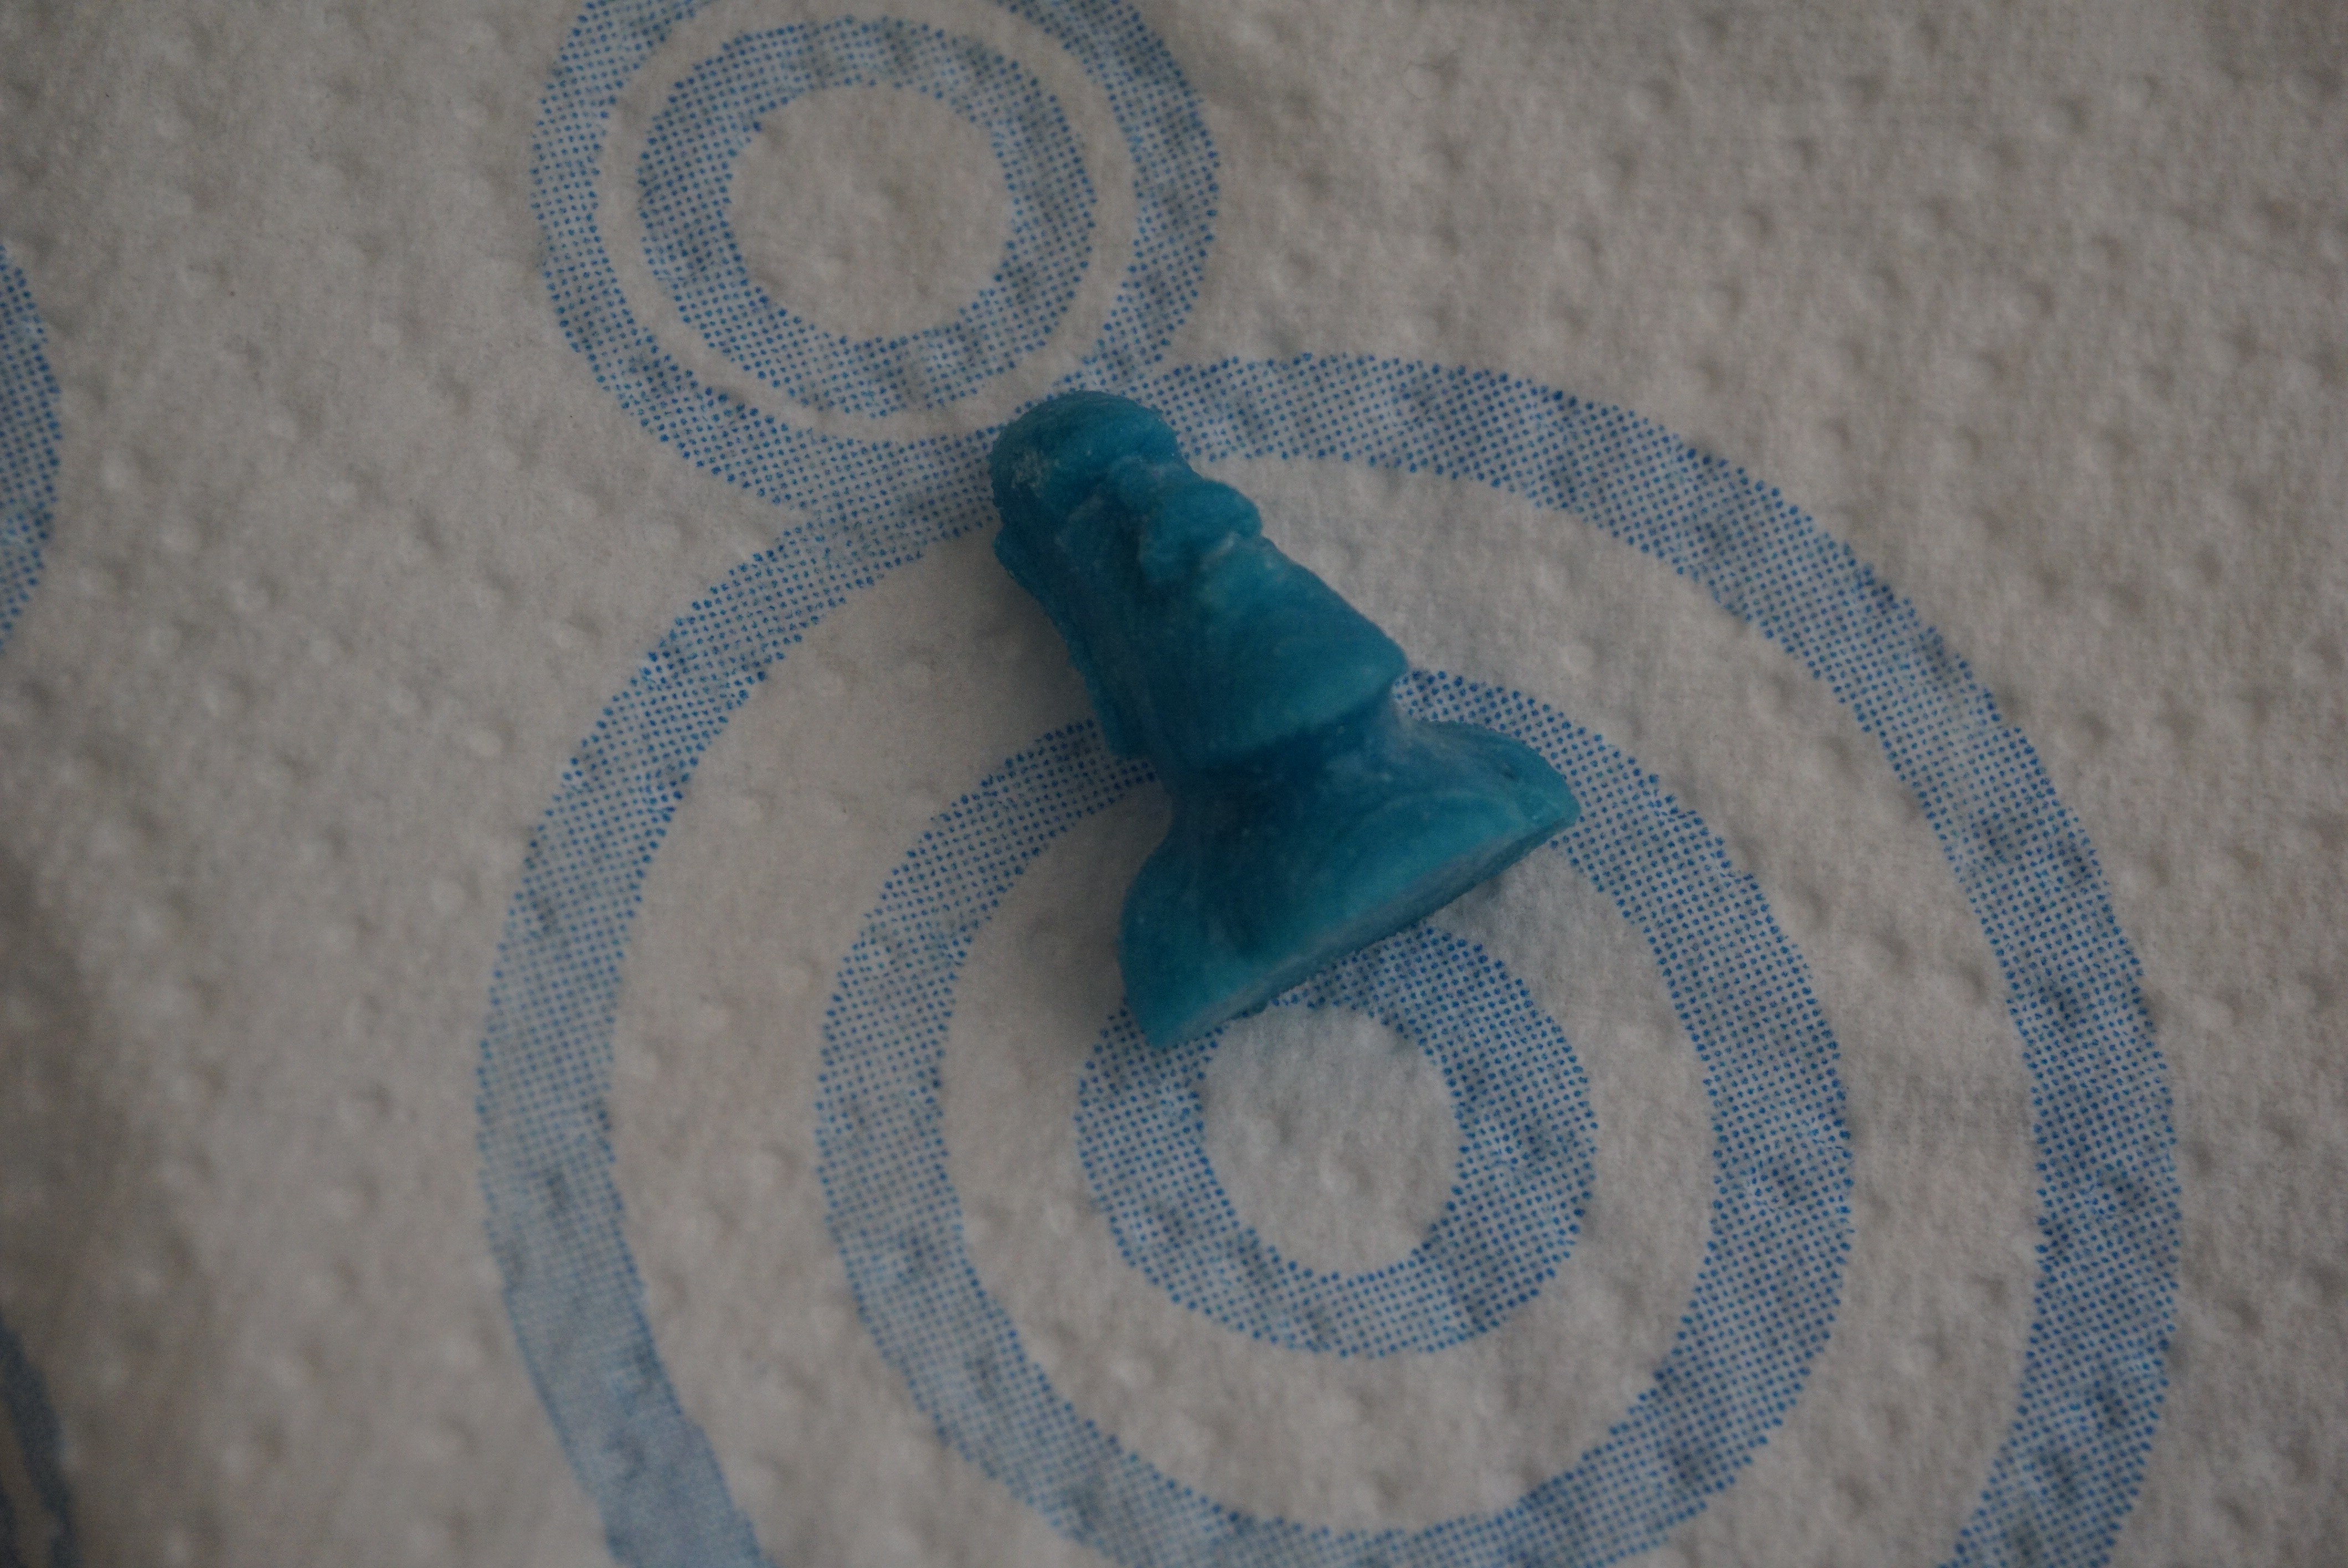
I needed a few things to refill the printhead. The first is the binder. I also added some ink so I can see what I am printing. I chose blue because I like it. I also needed a syringe with needle, a lot of paper towels and running water. Refilling printheads is messy. You cannot believe how much ink can be diluted and still be completely black. Last I needed a suction head so I can draw the ink through the nozzles. This is a tool I 3D printed and added a o-ring to. It works shockingly well considering I spent 5 minuted designing it.
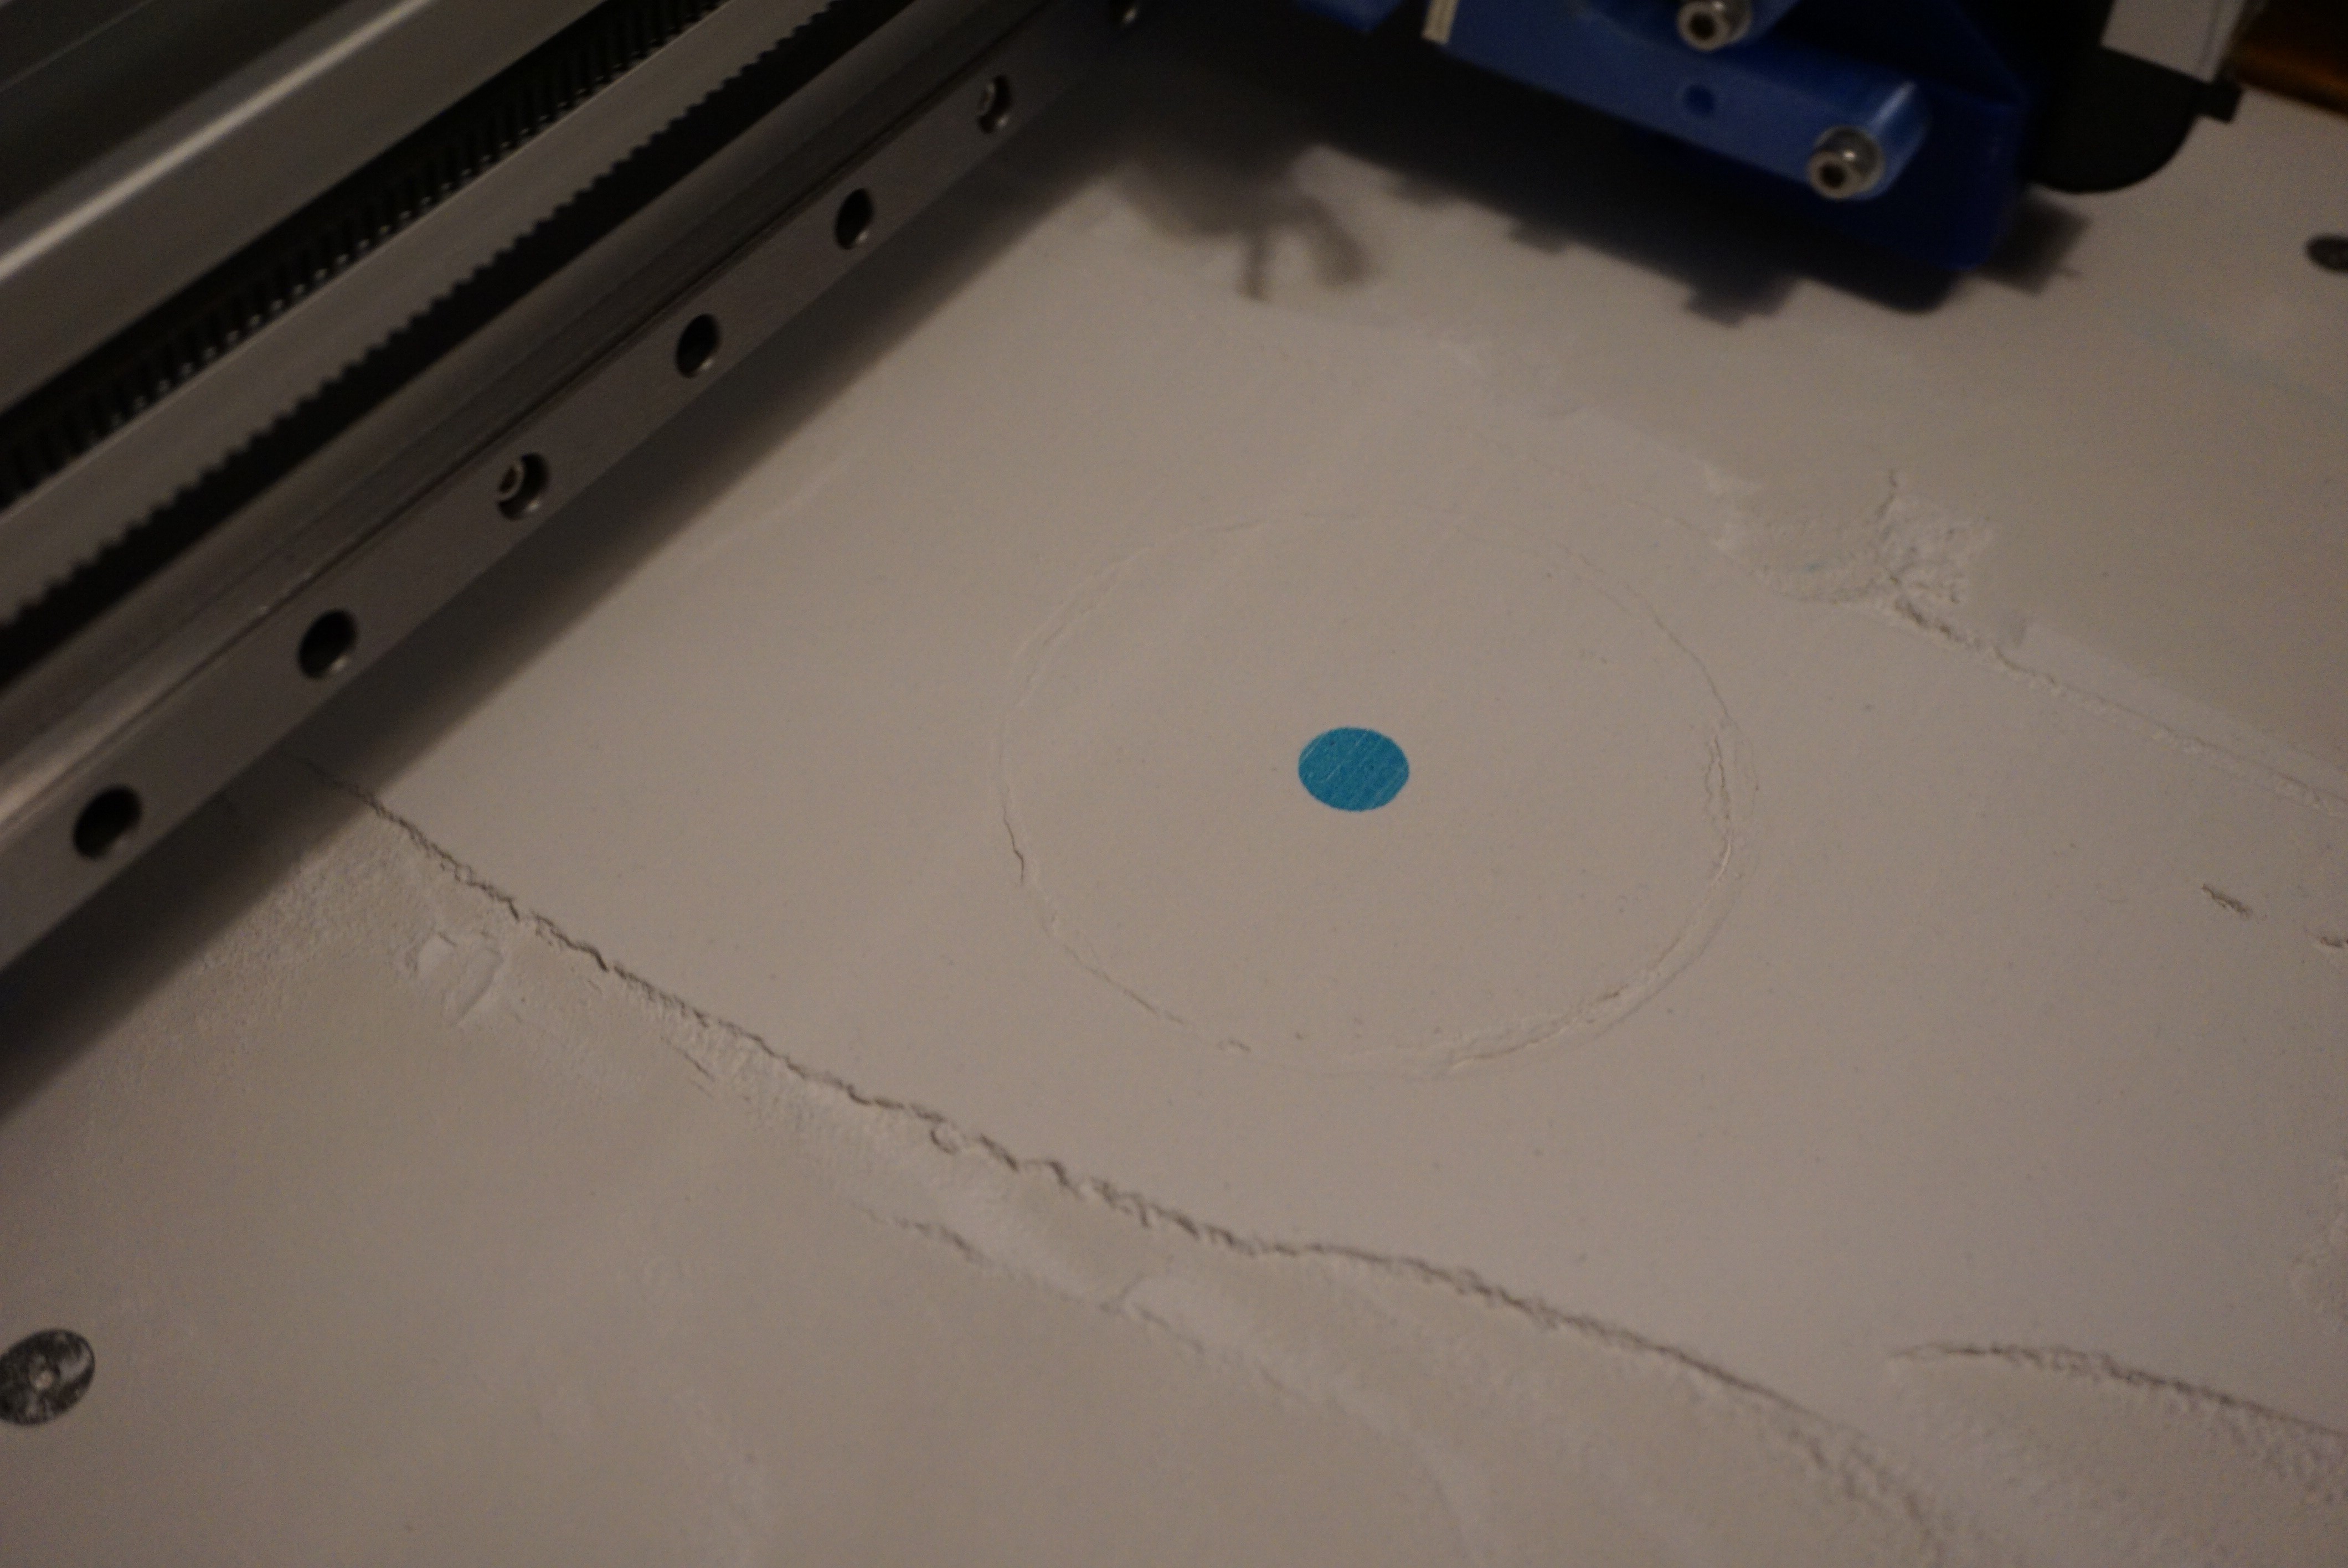
Interesting note, the blue color of the prints now comes from the binder, not the powder. This is how you can add full color. CMYK and binder and you have a full color printer. I will investigate this after this first part of the project is done, but it is not part of the scope of this project itself.

The rough list of steps needed to clean and refill a HP45 printhead:
- Take the sticker of the bottom;
- Push the ball sealing the printhead into the printhead;
- Squeeze (milk) the ink out of the printhead (it does not simply drain);
- Suction last ink through the nozzles using the tool;
- Fill with water/alcohol mix (or plain water for some of the repeats);
- Combination of milking the printhead and sucking ink through the nozzles;
- Repeat step 5 and 6 till water comes out clean;
- Refill printhead with binder (and optional ink, I did 1/20 cyan ink);
- Clamp the printhead with a strong clamp. The head should not have any air in it;
- Cap the hole. I used an M4 screw with a 3.5mm ID o-ring;
- Release the clamp;
- Suck the binder through the nozzles using the suction tool;
- The printhead now ready for use;


I will post a proper guide later, mainly because I cannot save drafts in guides and like to write over a few days. I have plenty more pictures and detailed steps available, but I also have 100 other tasks that need doing right now.
A thing I discovered very quickly is that the vacuum on the printhead is really necessary. Previously I just filled the head without the clamp. After a single burst of ink there was ink leaking from the printhead. I then opened the head, clamped the body with a clamp, and closed it again. This time it printed perfectly.
Another thing you will find out (I did at least) is that refilling a printhead is messy. Once the ink touches your hand, it stays there. My hands are various nice shades of black and blue. Next time I will be wearing gloves.
I have heard (but not confirmed) that you can replace the milking and sucking with a centrifuge. I have no centrifuge here, so for me it will stay a mystery, but it is a nice thought.
I will be printing with this binder for the coming few days, trying to dial in the ink percentage and trying to print some nice objects.
More coming soon, this project is now really moving.
Discussions
Become a Hackaday.io Member
Create an account to leave a comment. Already have an account? Log In.