I sell HP45 connectors on Tindie. In order to prevent the misery that is the connector falling apart, I am writing this guide.
The kit of the HP45 connector contains several parts:
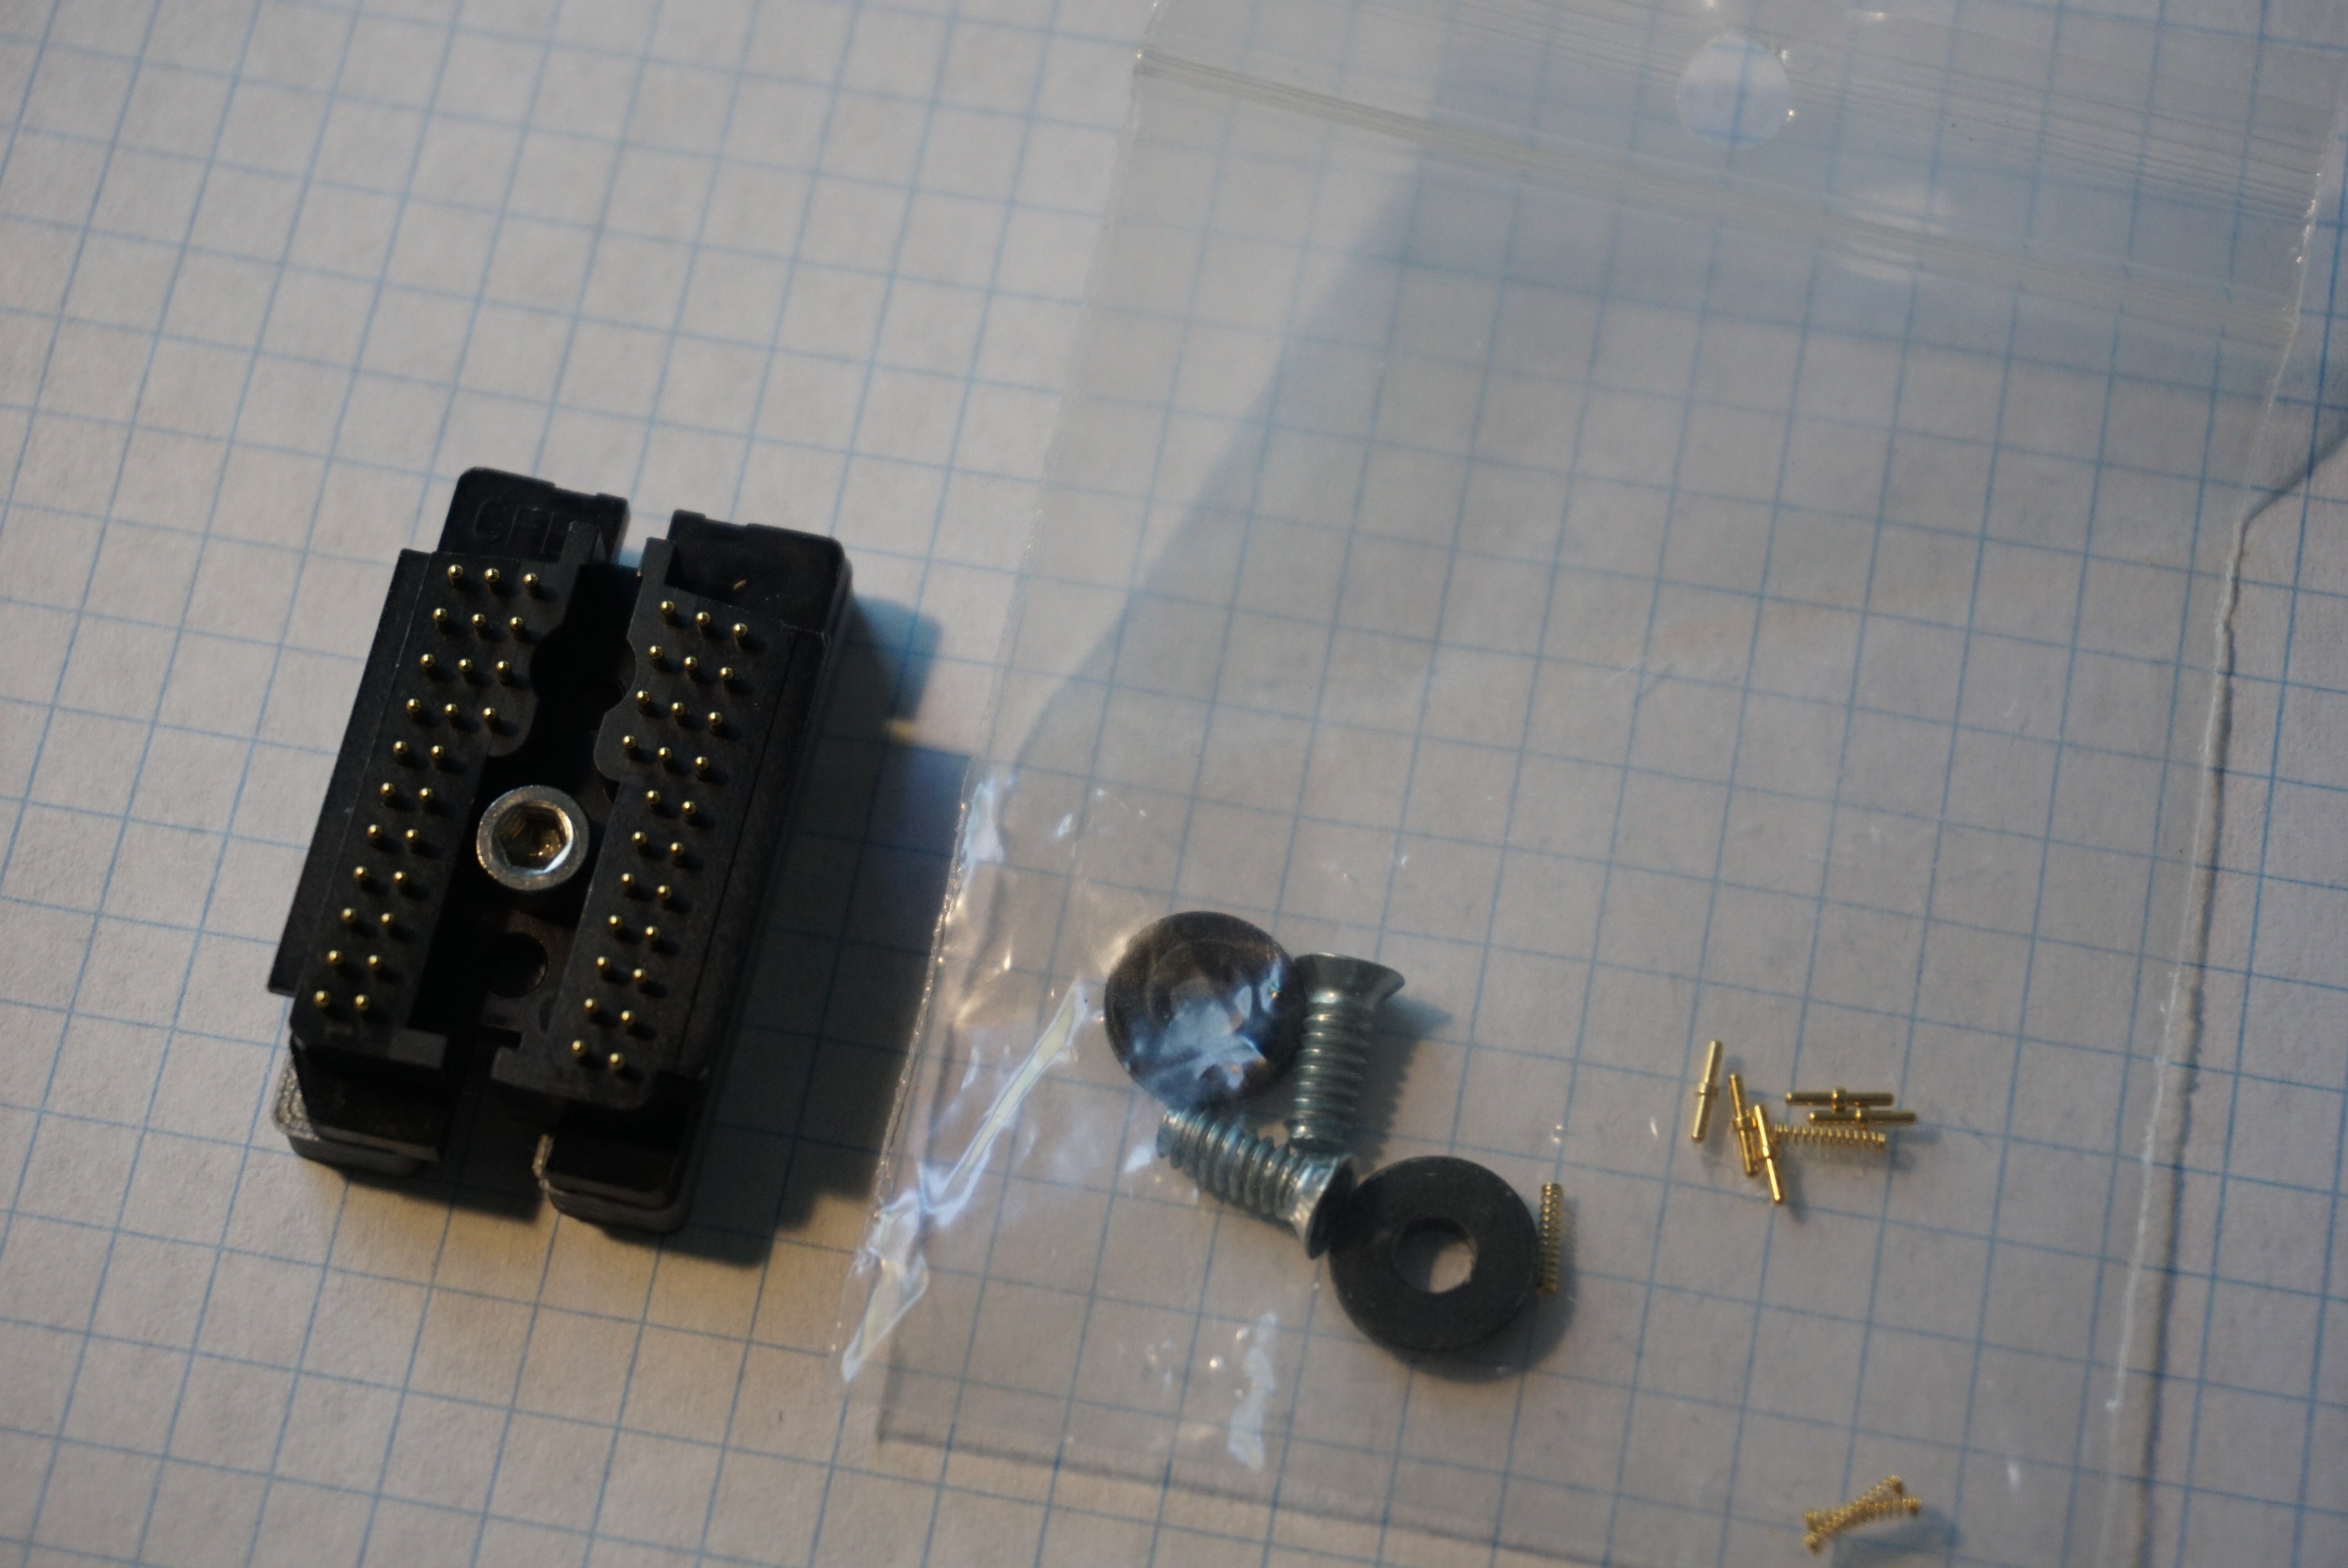
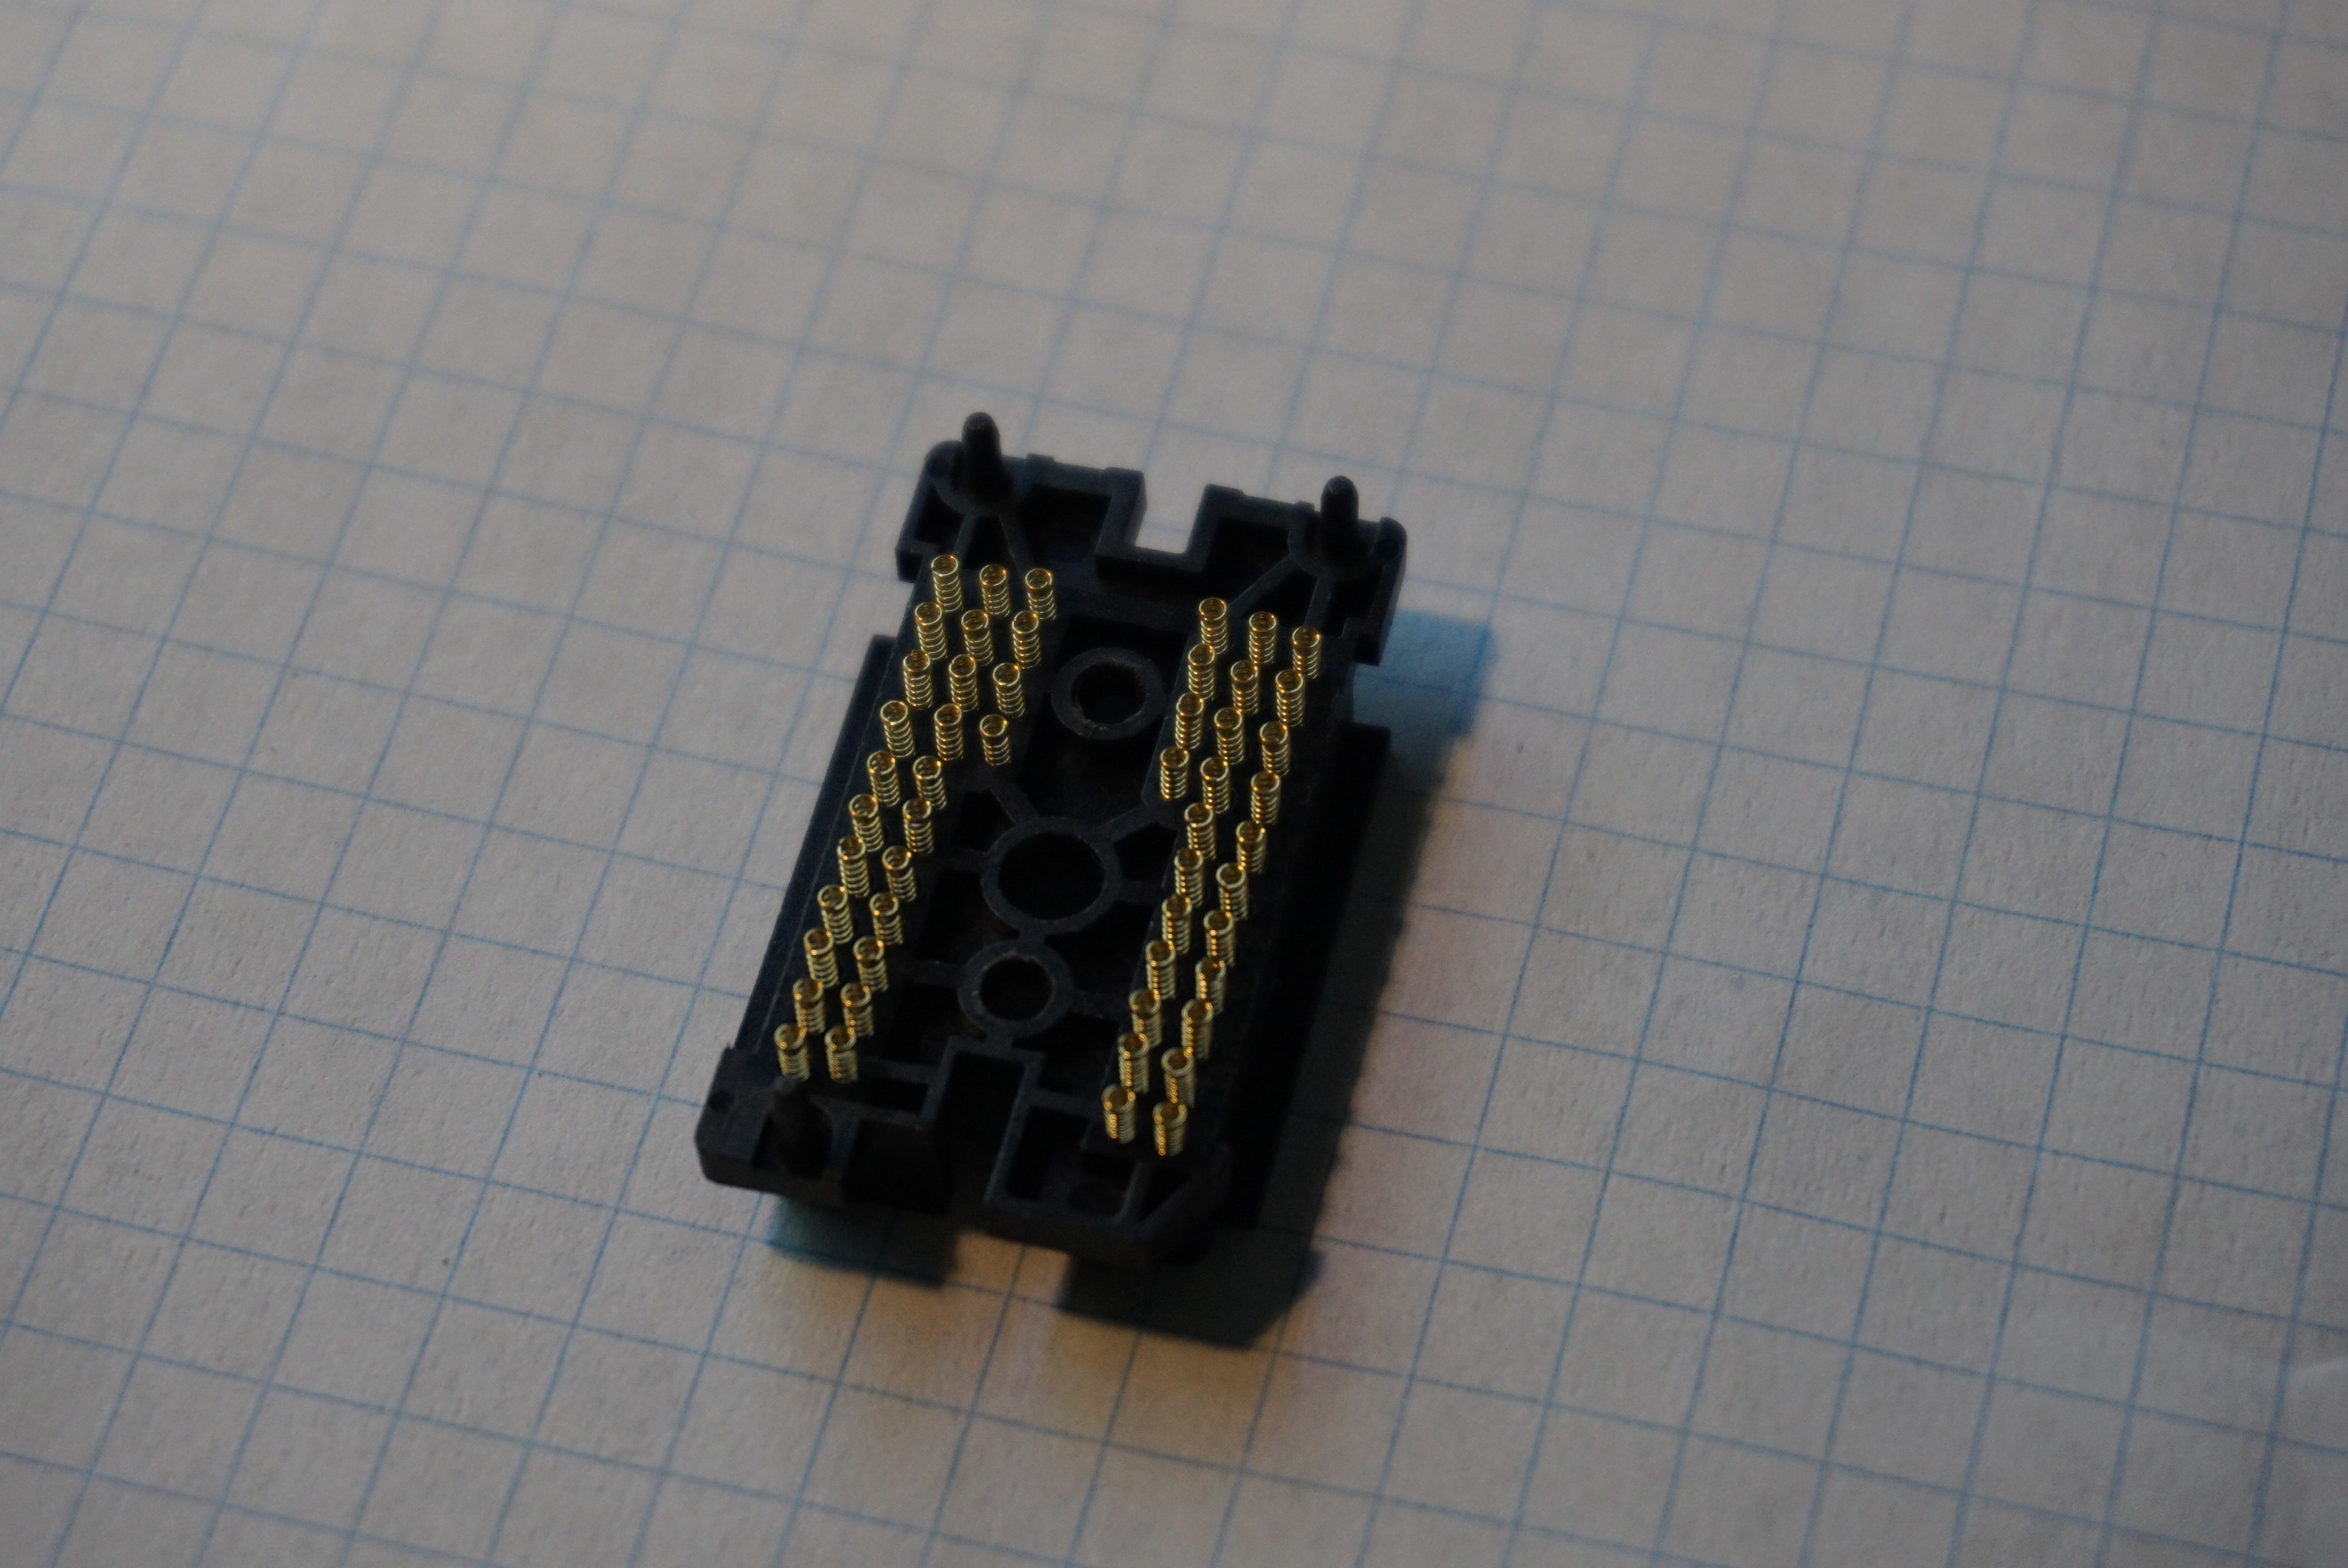
- 1 Fully assembled, capped HP45 connector;
- 2 #6x3/8 screws to mount the connector
- 2 Resin washers to get the right depth for the screws
- 5 Spare pins and springs for if you lose one (or five)
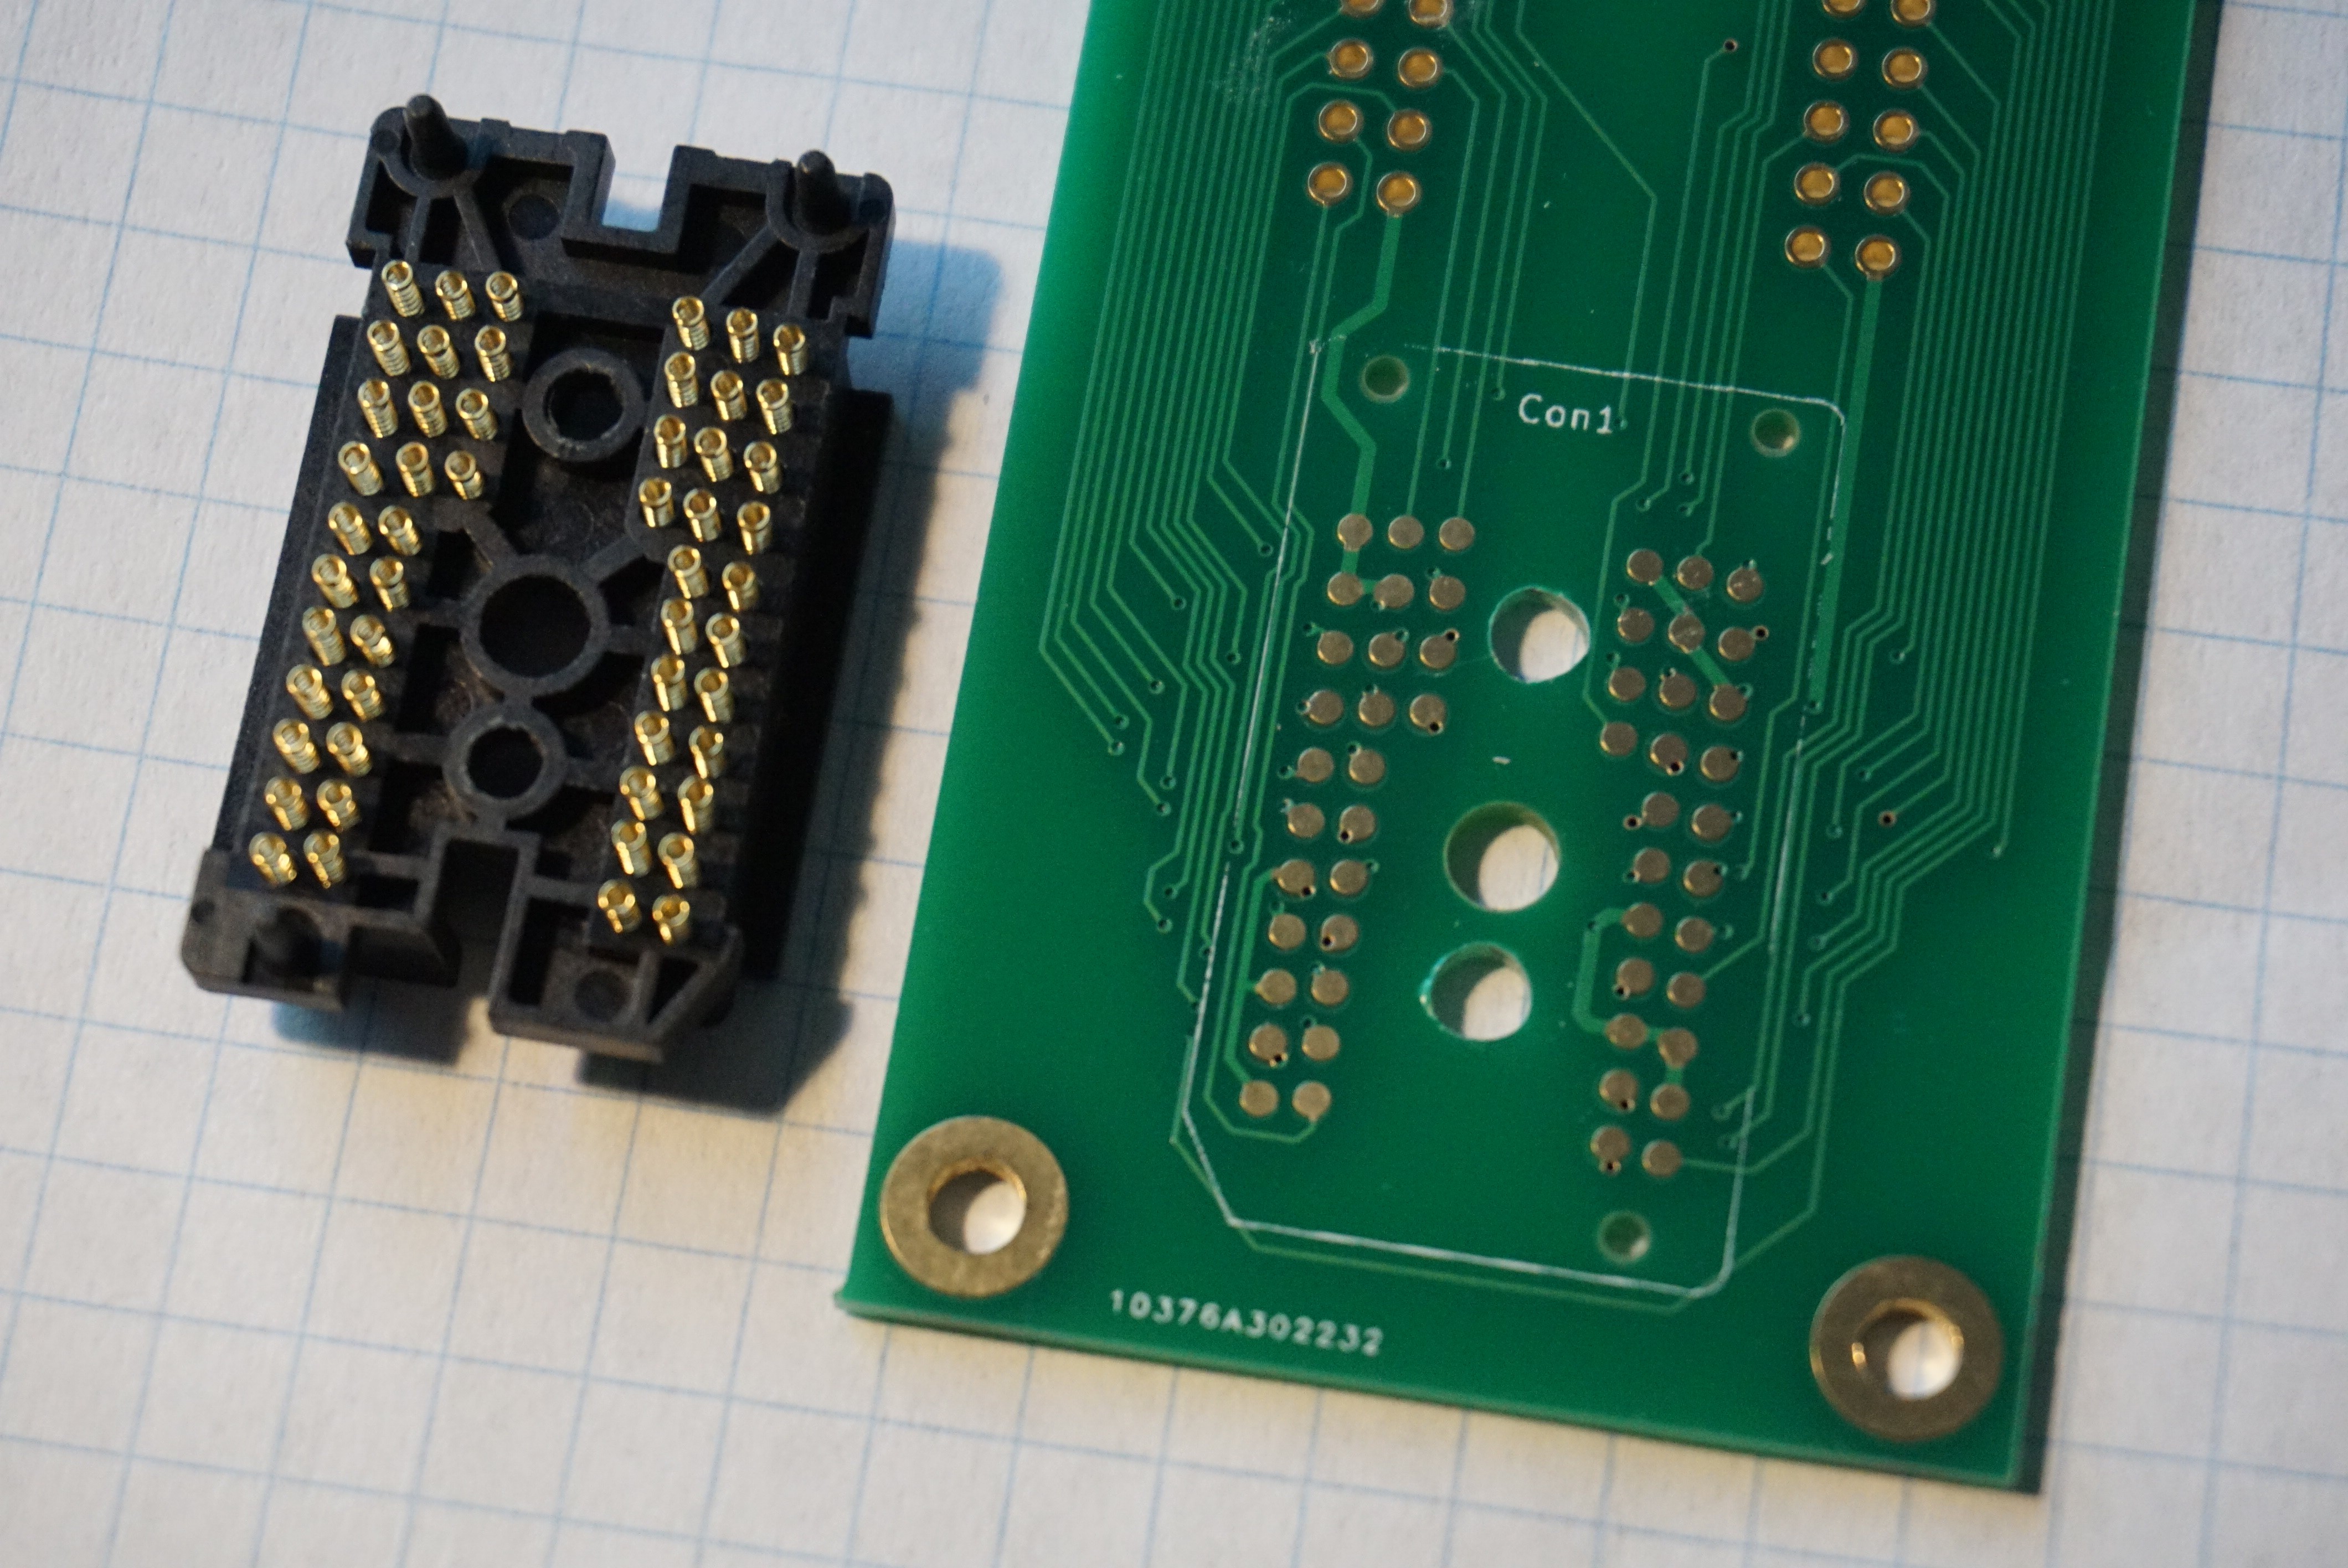
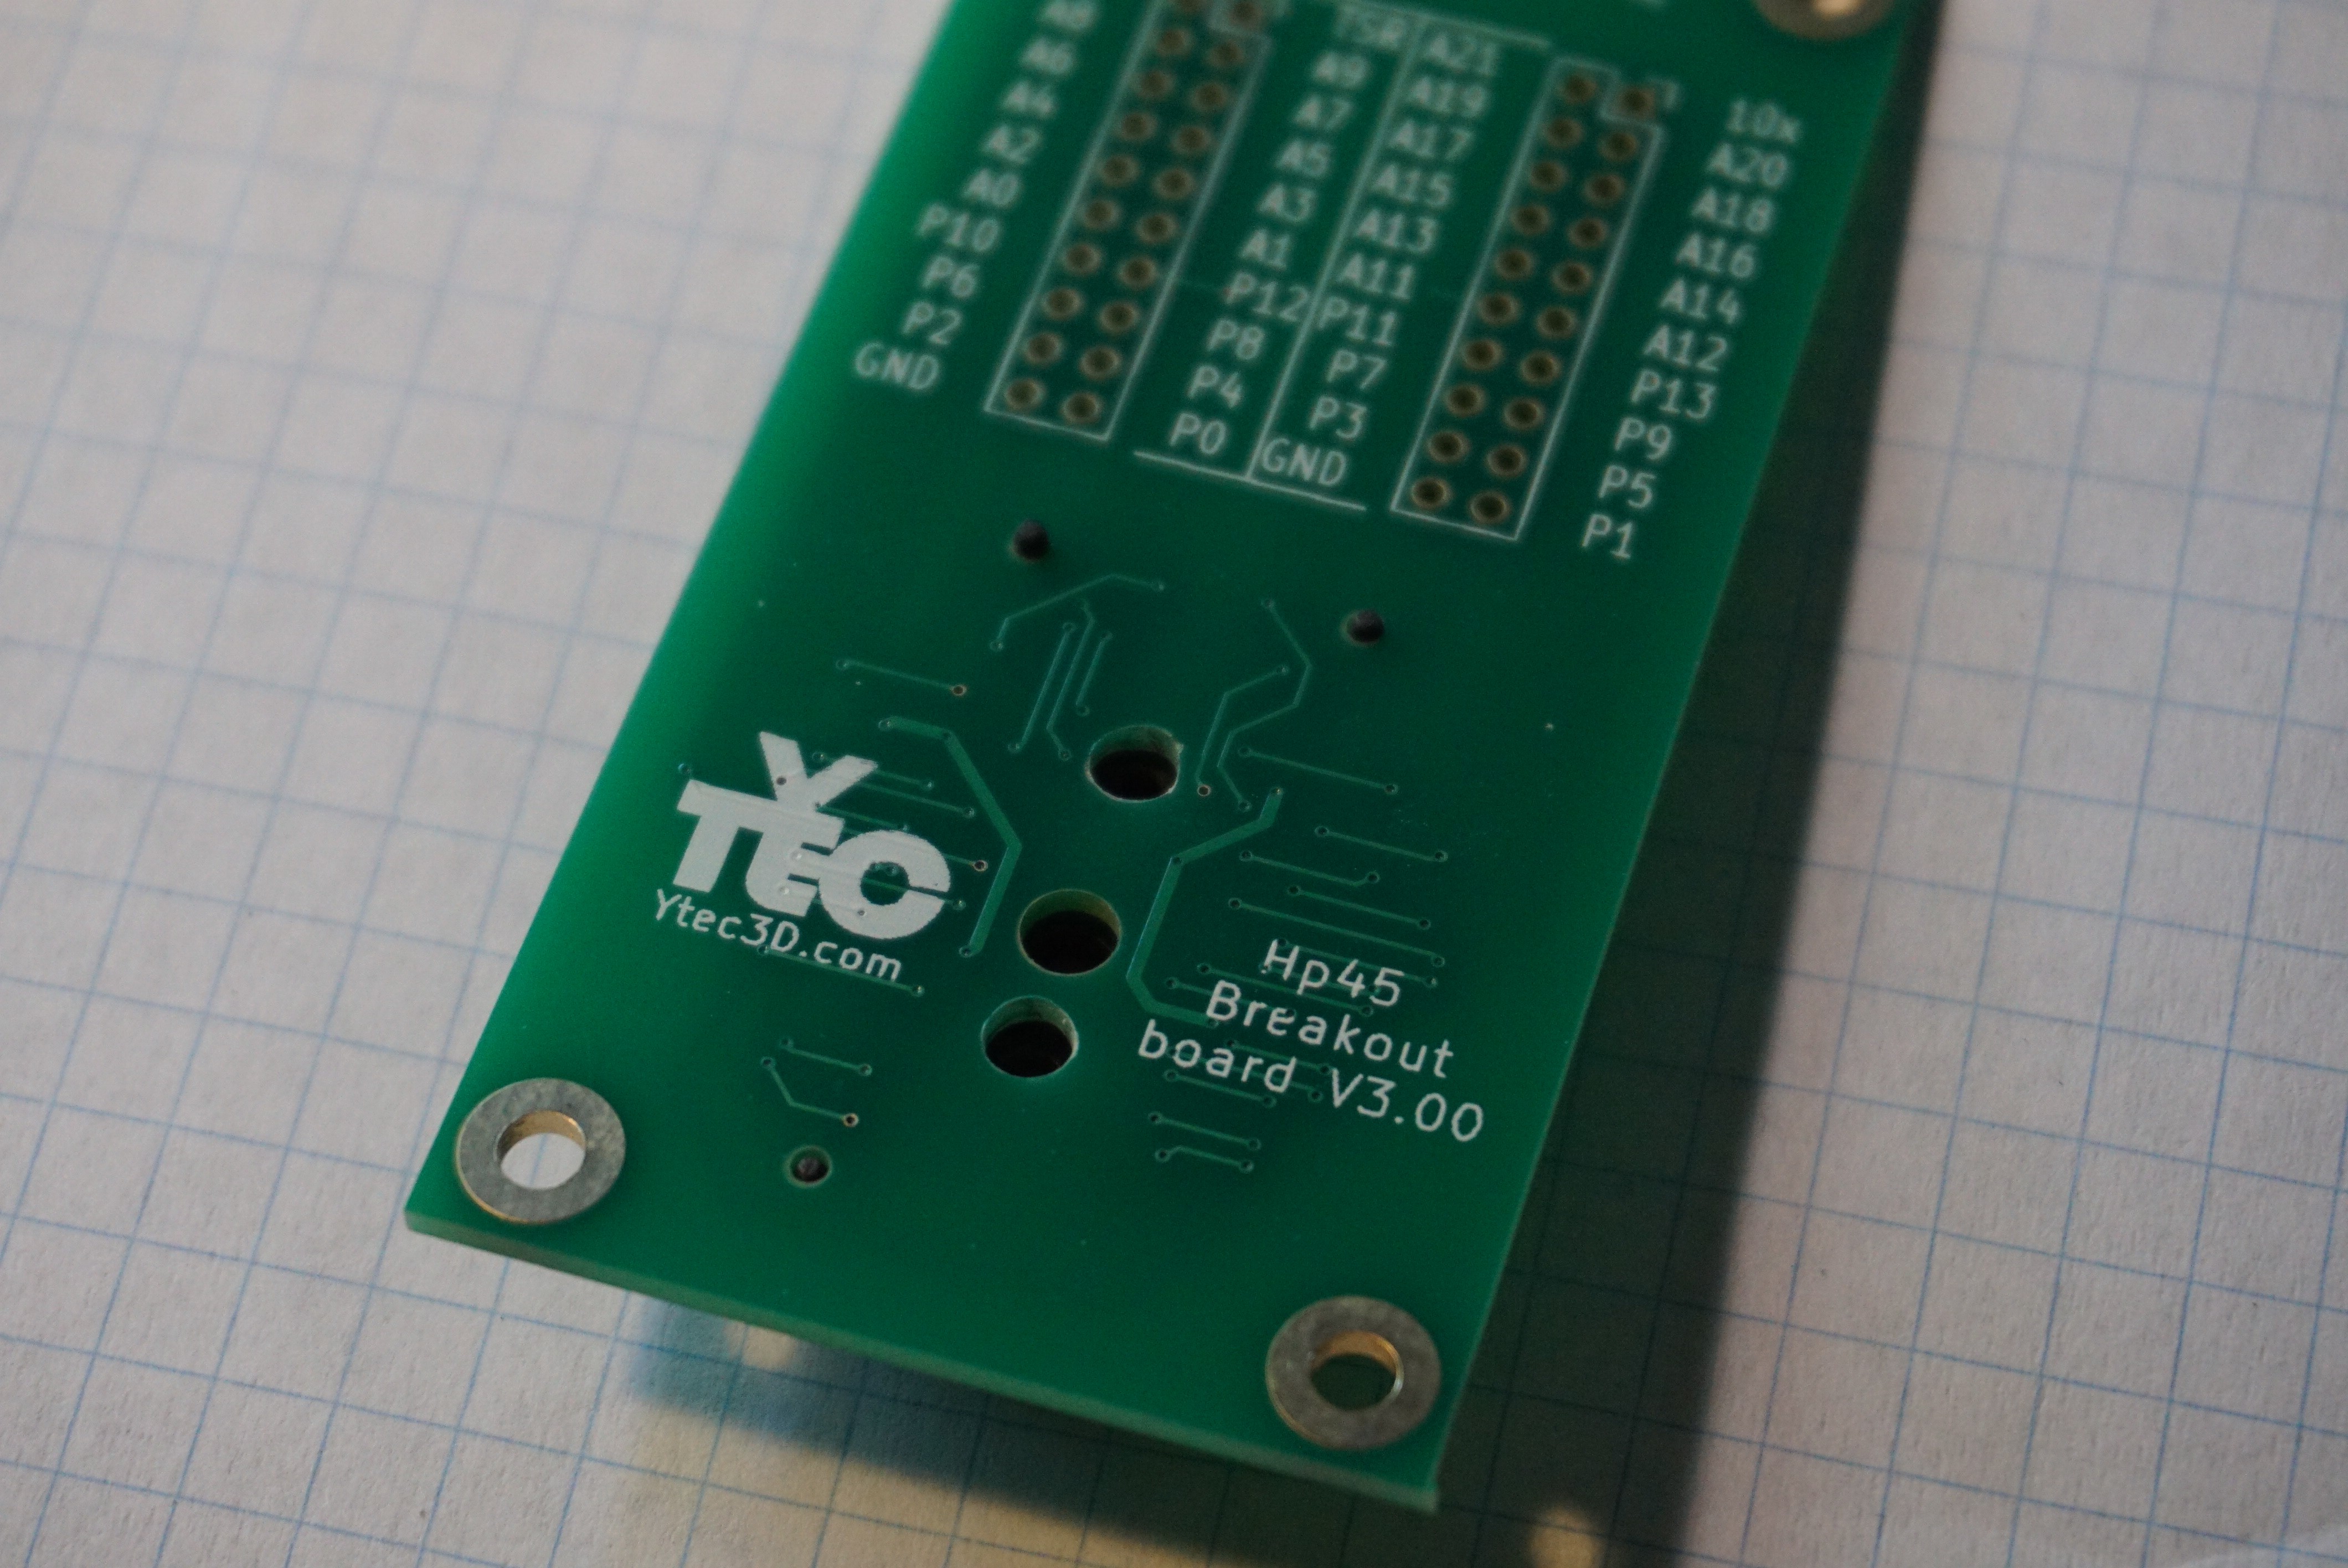
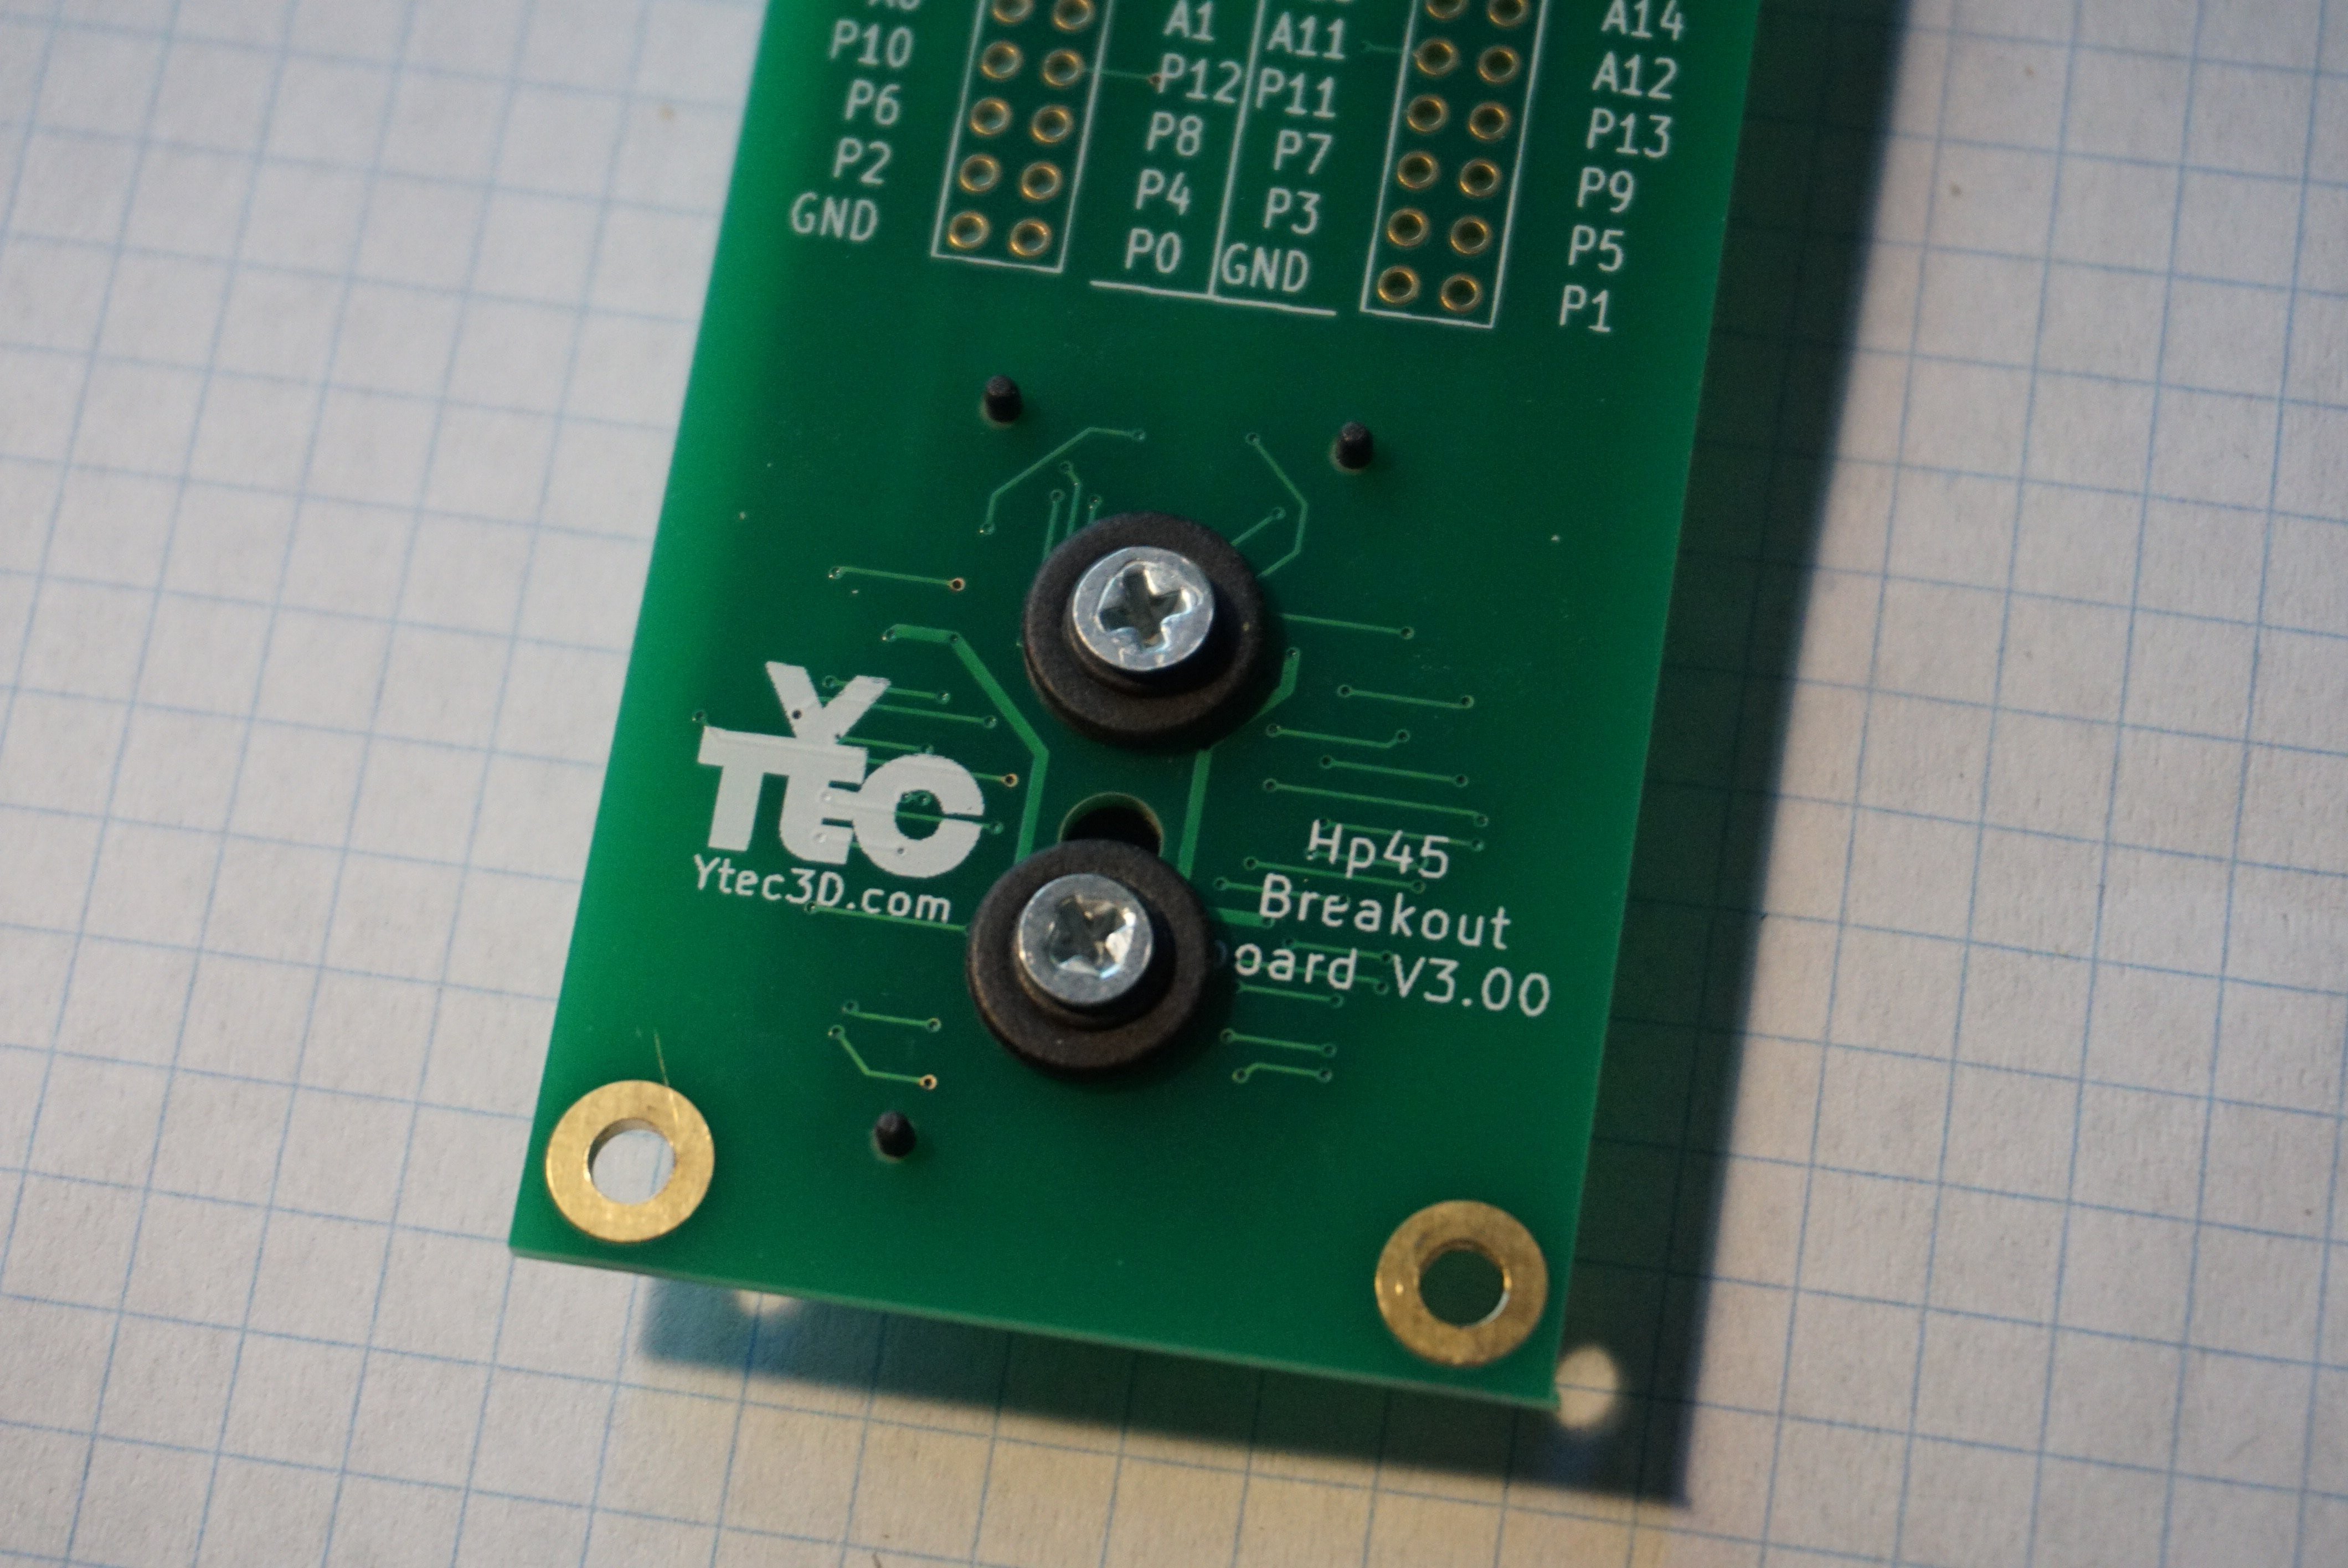
The footprint of the HP45 connector is in the design files, or as a separate download here. This footprint should be on a PCB of 1.6mm (or thicker) since the 52 springs will push against the PCB. The pads should also be gold plated, since the springs only make direct contact, and are not soldered in place.
Mounting the connector
To mount the HP45 connector you will need a Phillips 1 screwdriver and a 2.5mm Allen wrench.
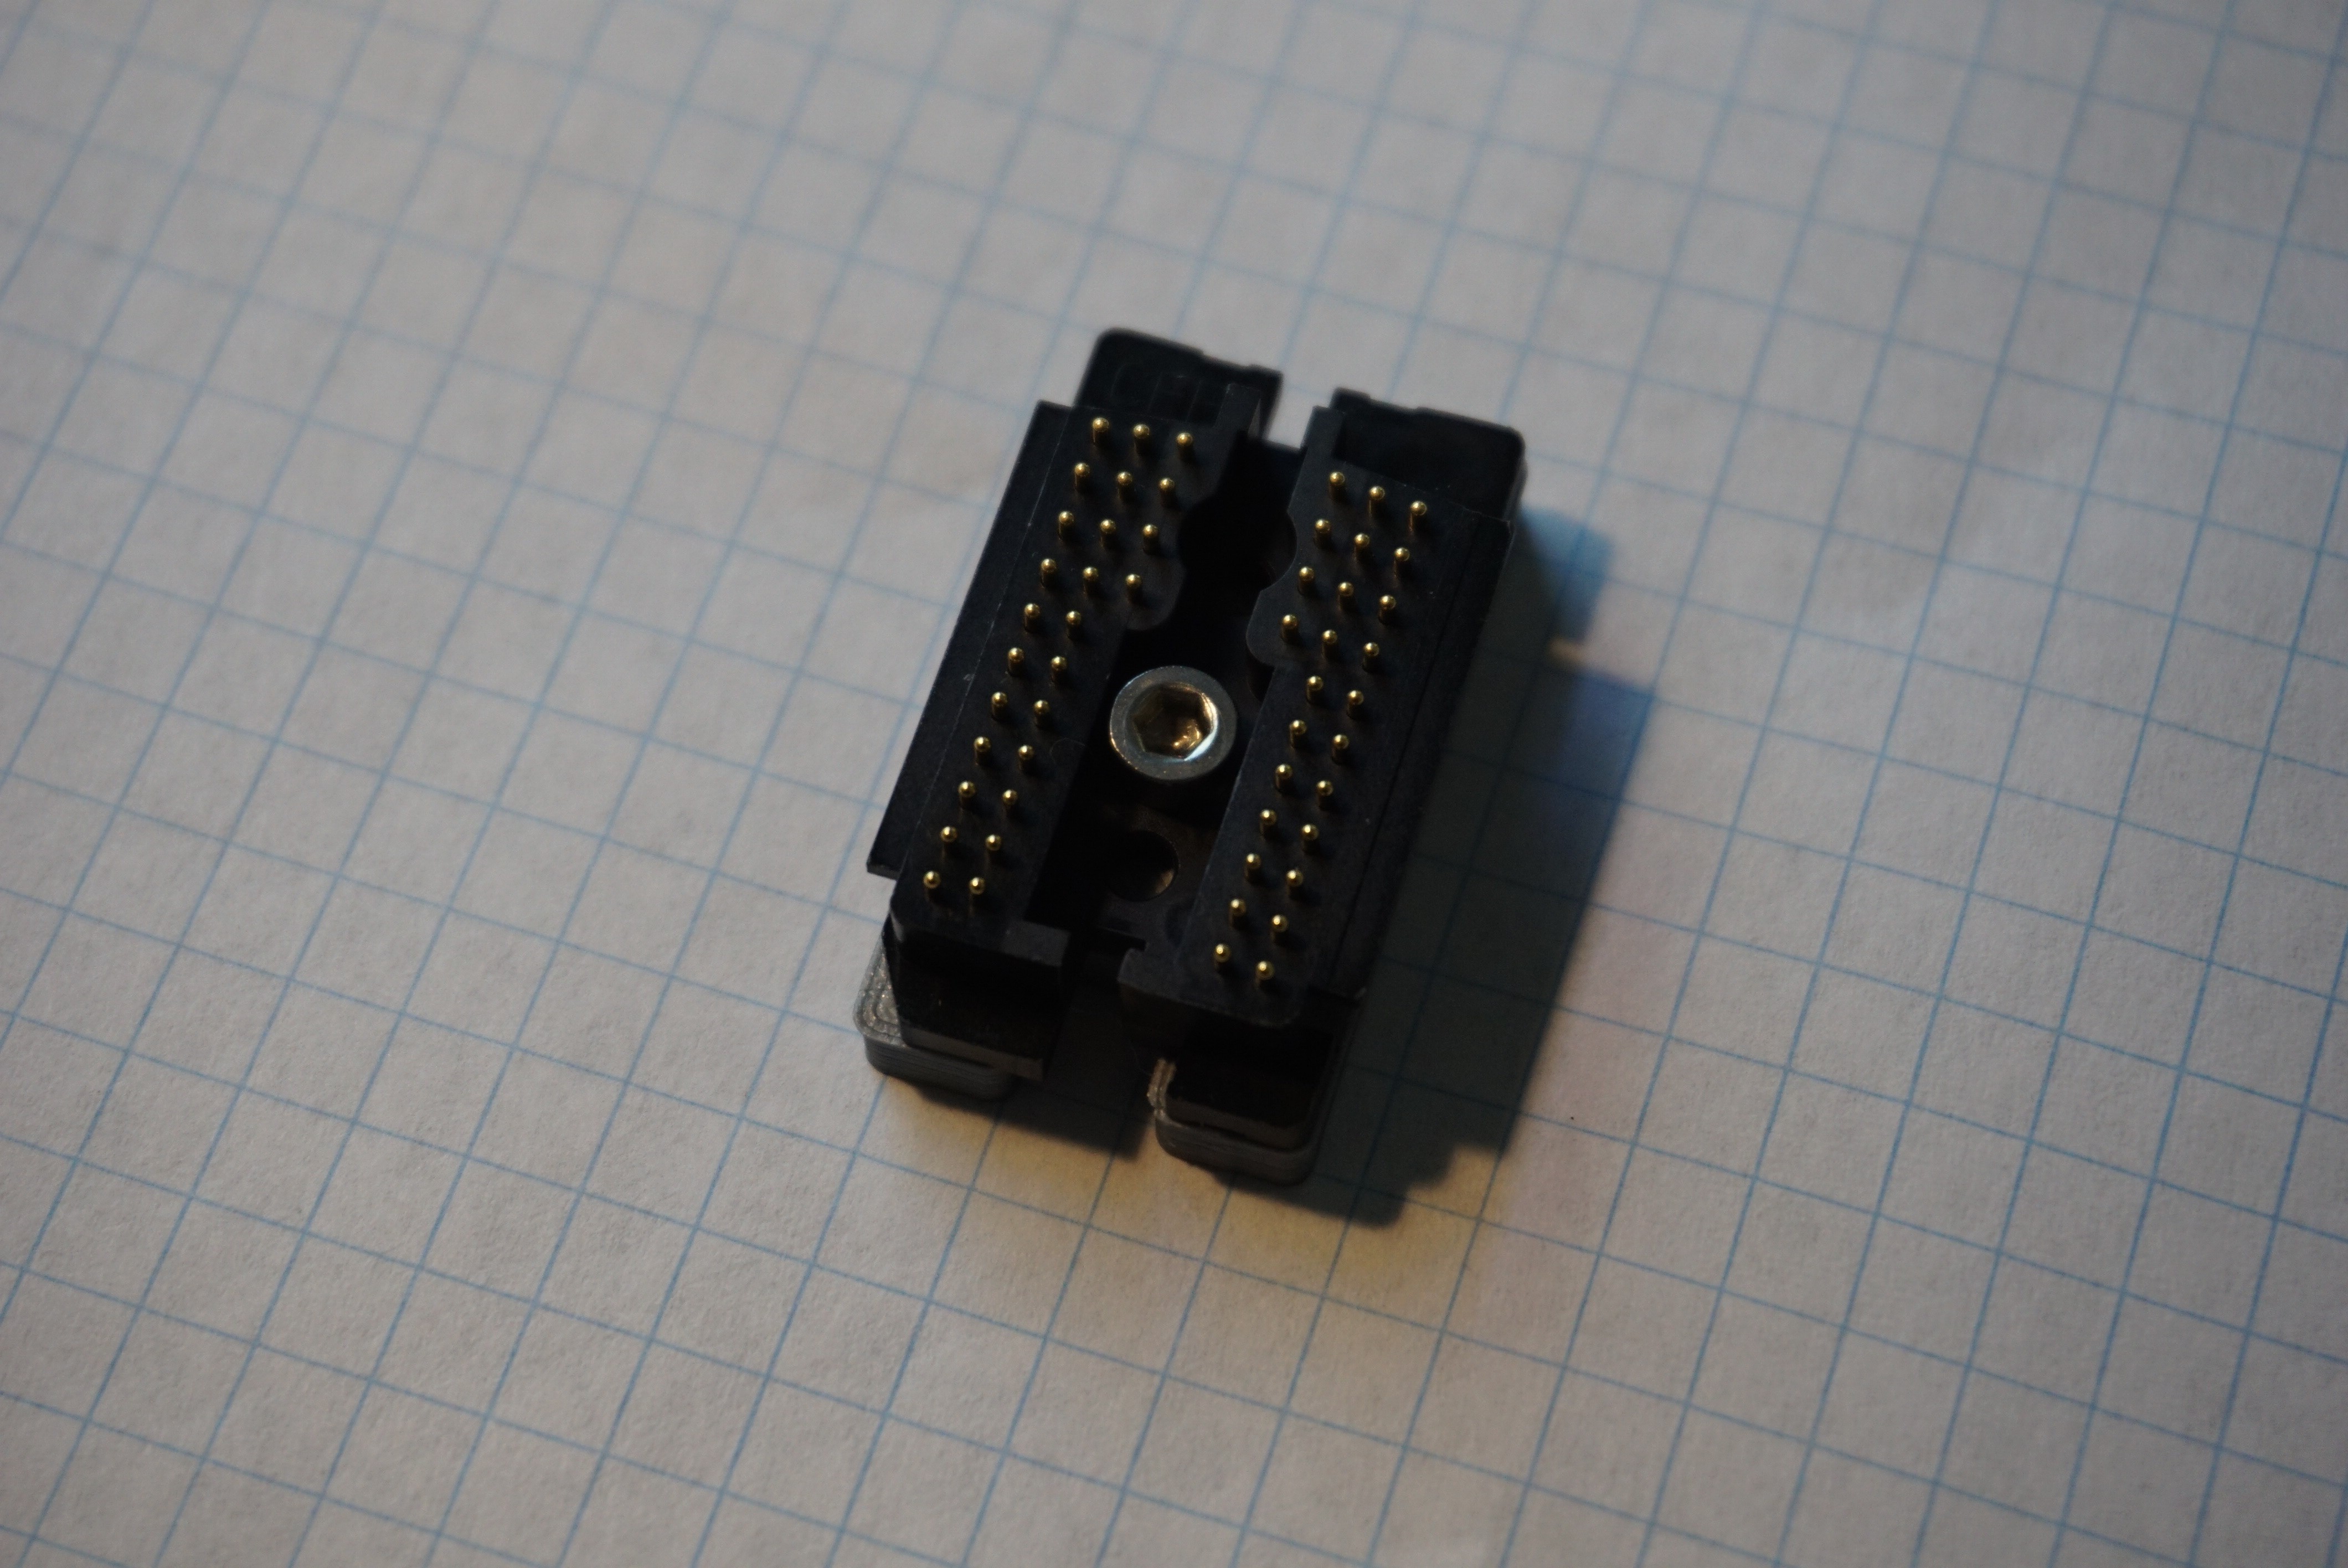
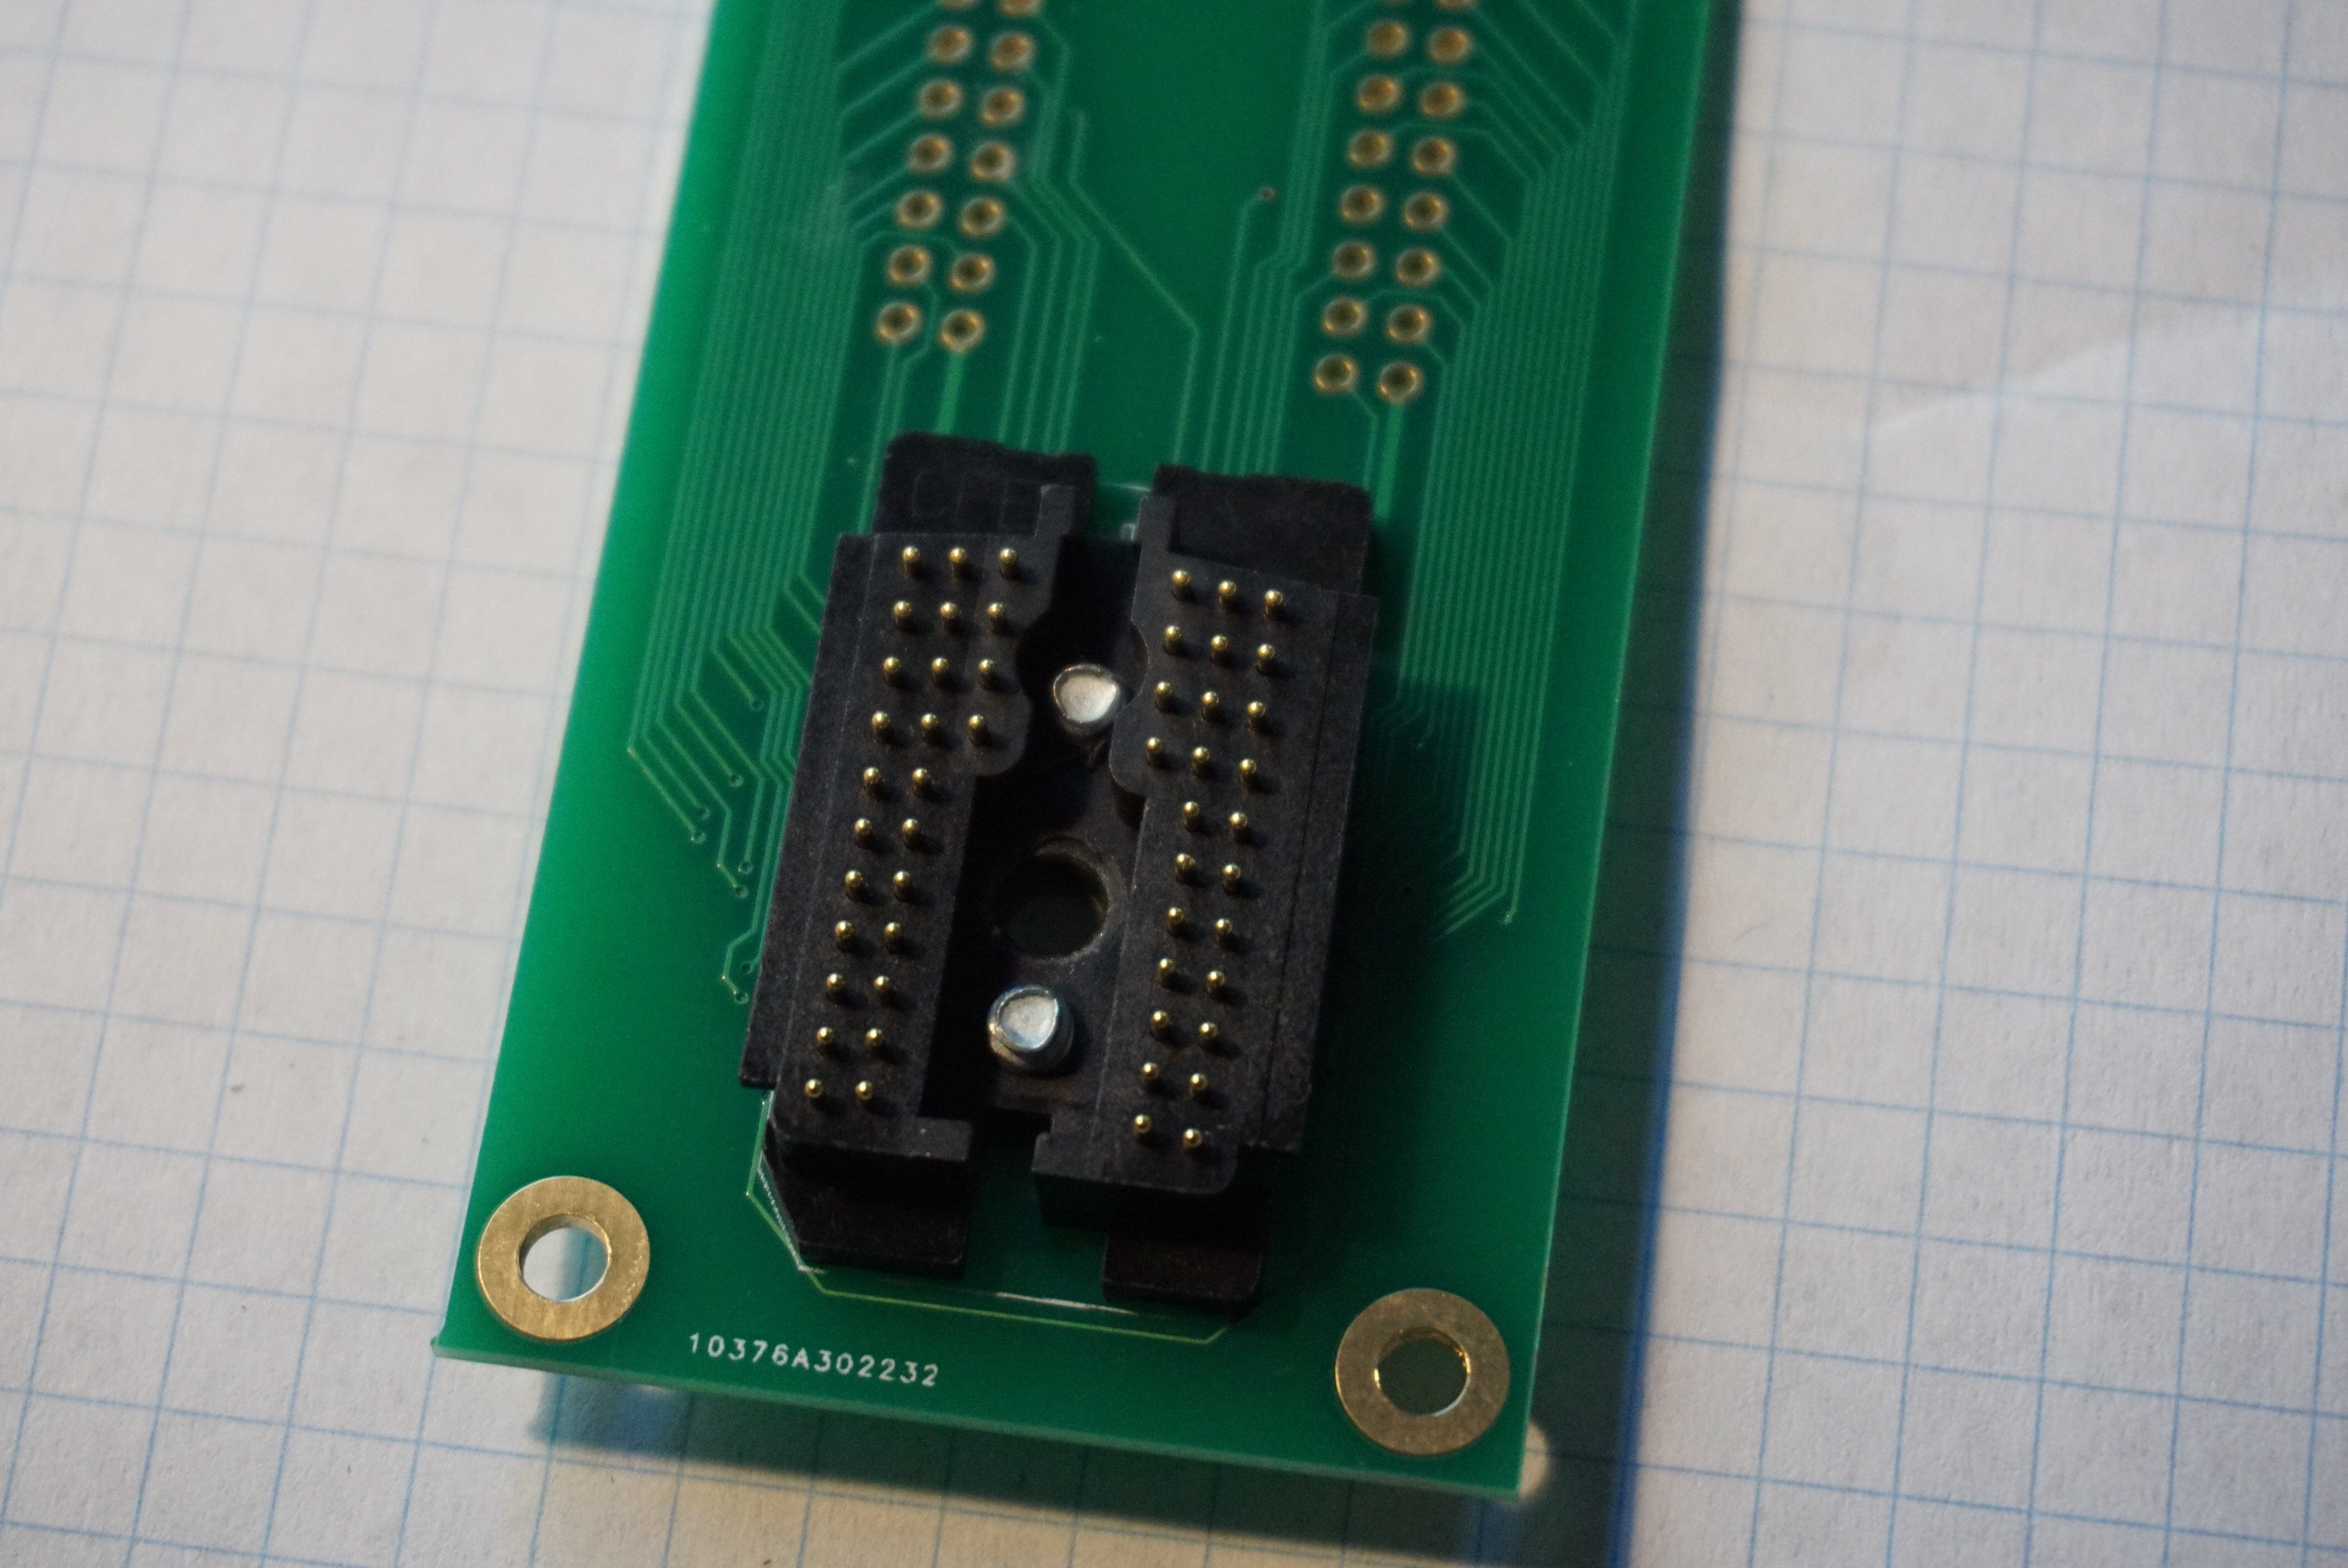
- Take the HP45 connector and place it pins facing up, so you see the screw head.
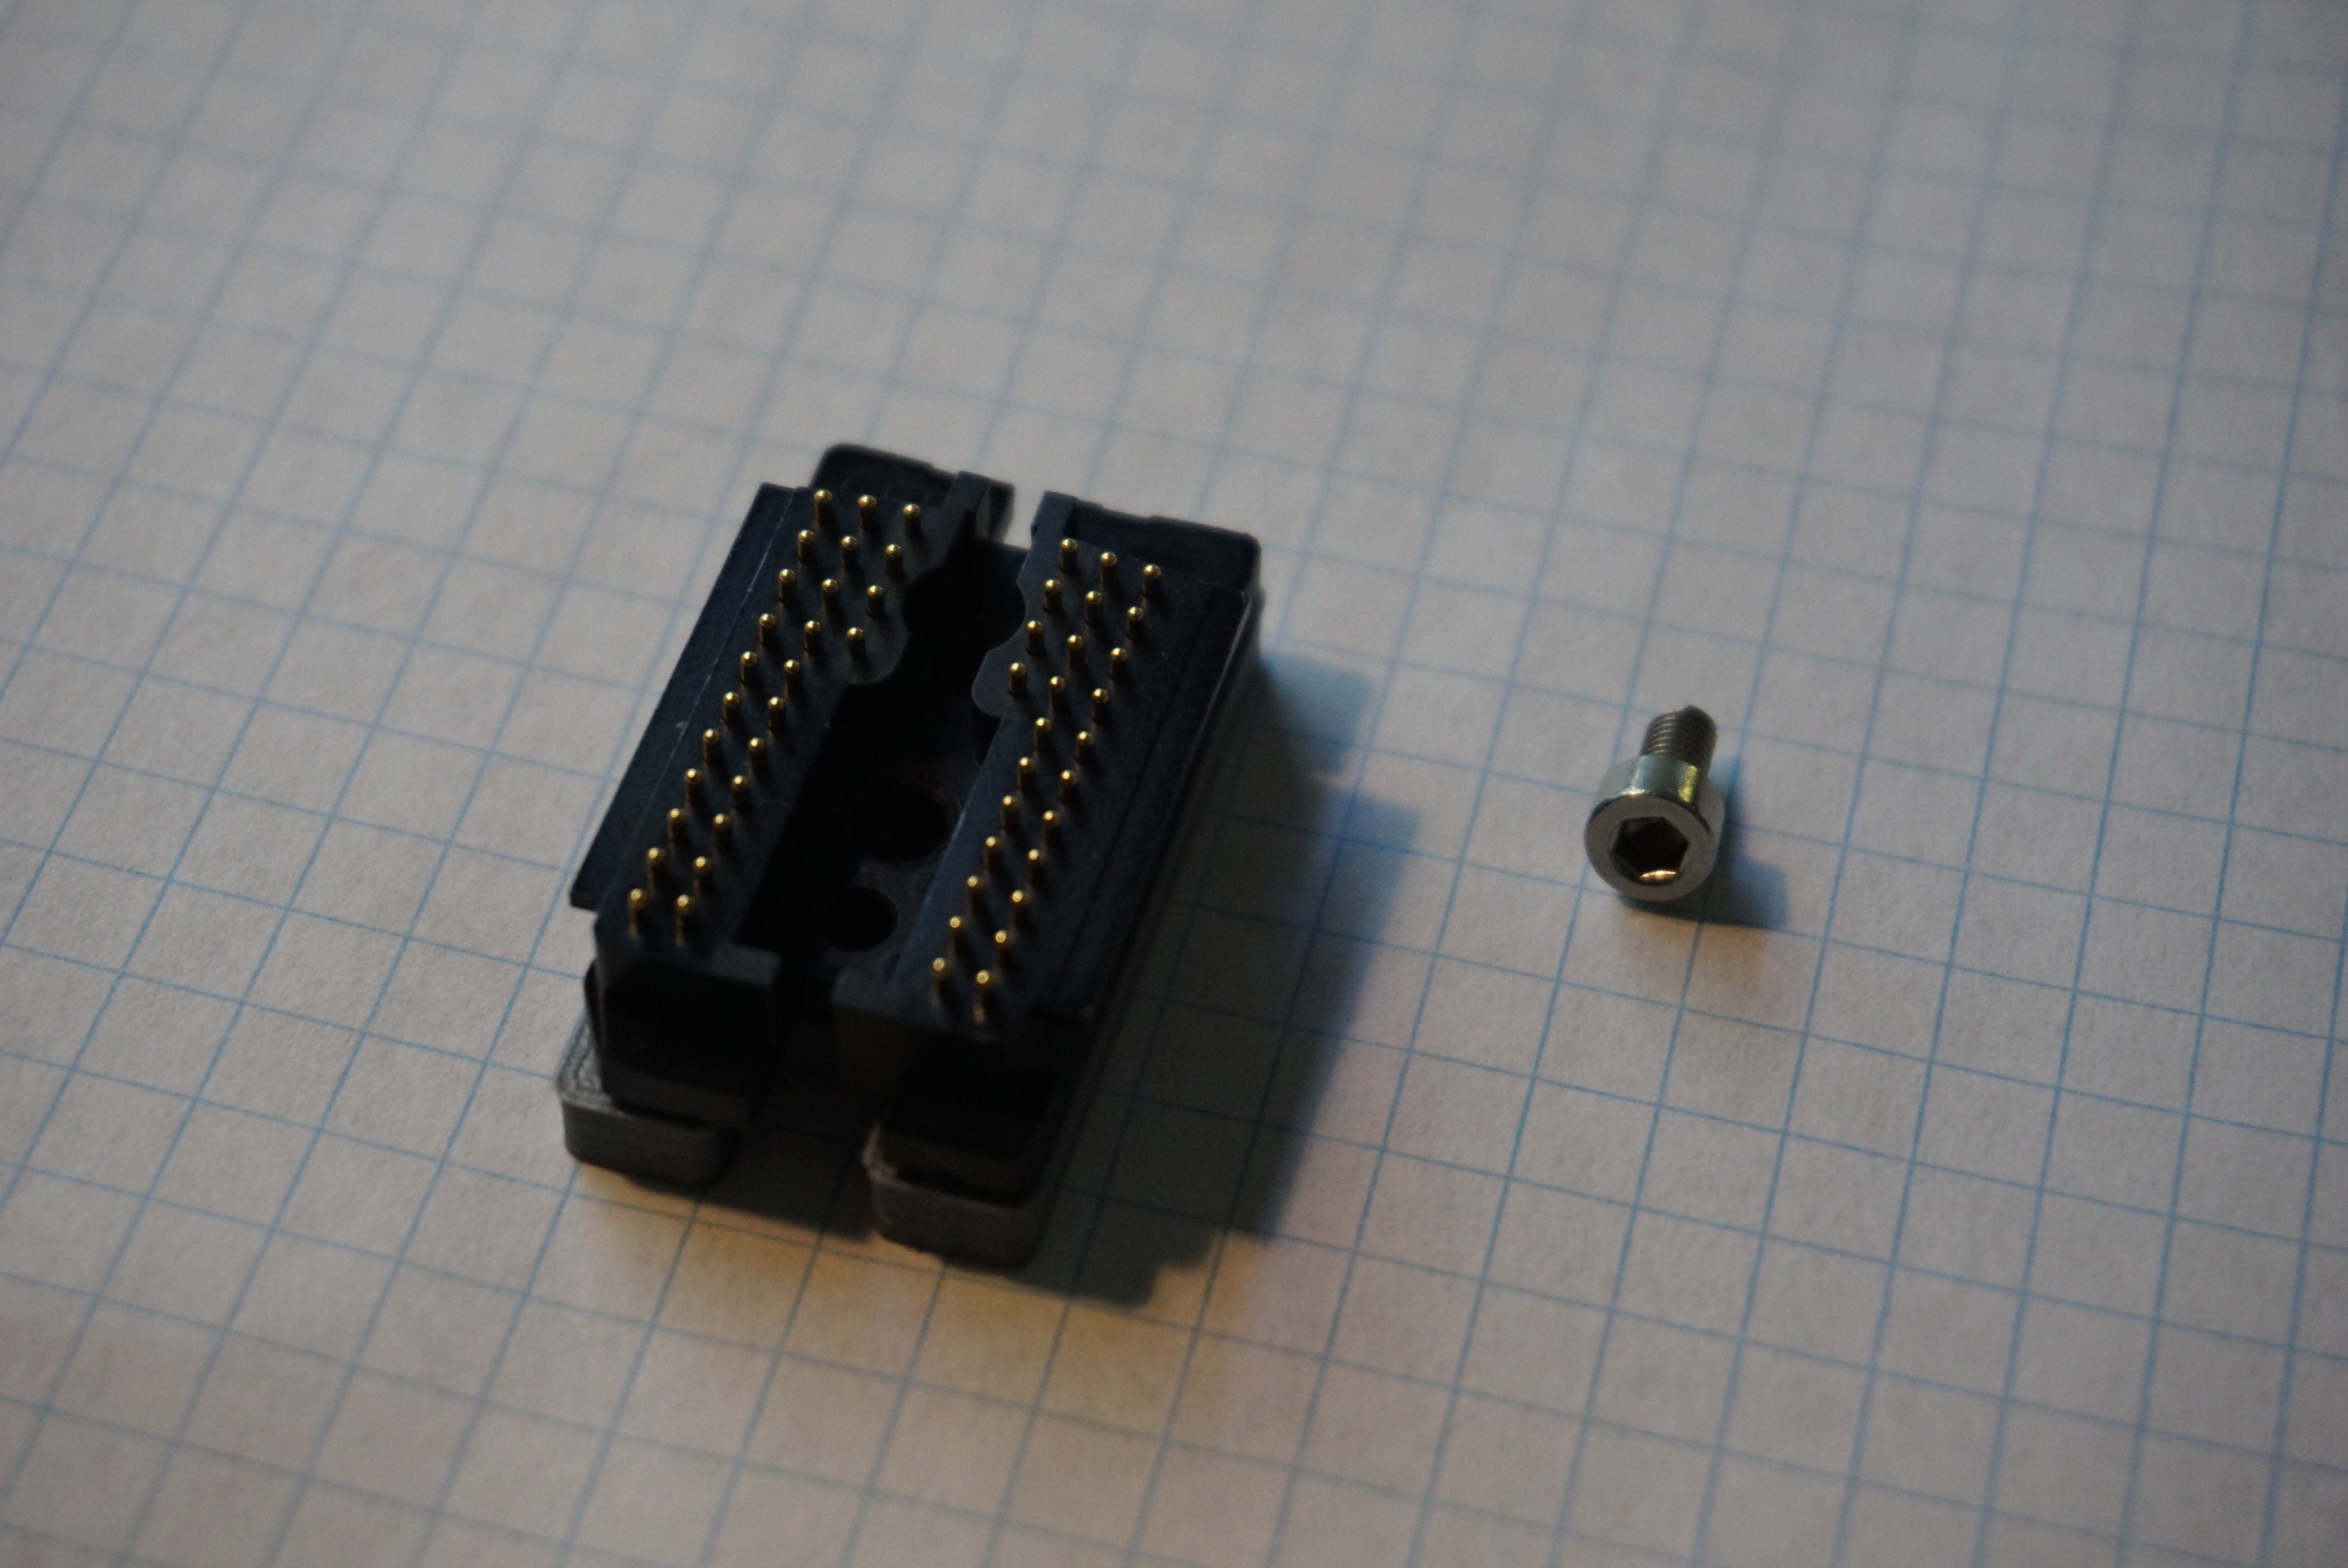
- Remove the screw using the 2.5mm Allen wrench (but do NOT lift the connector up).
- Flip the HP45 connector WHILE holding the back cover on the back.
- When the pins are facing down, you can remove the back cover to expose the springs.
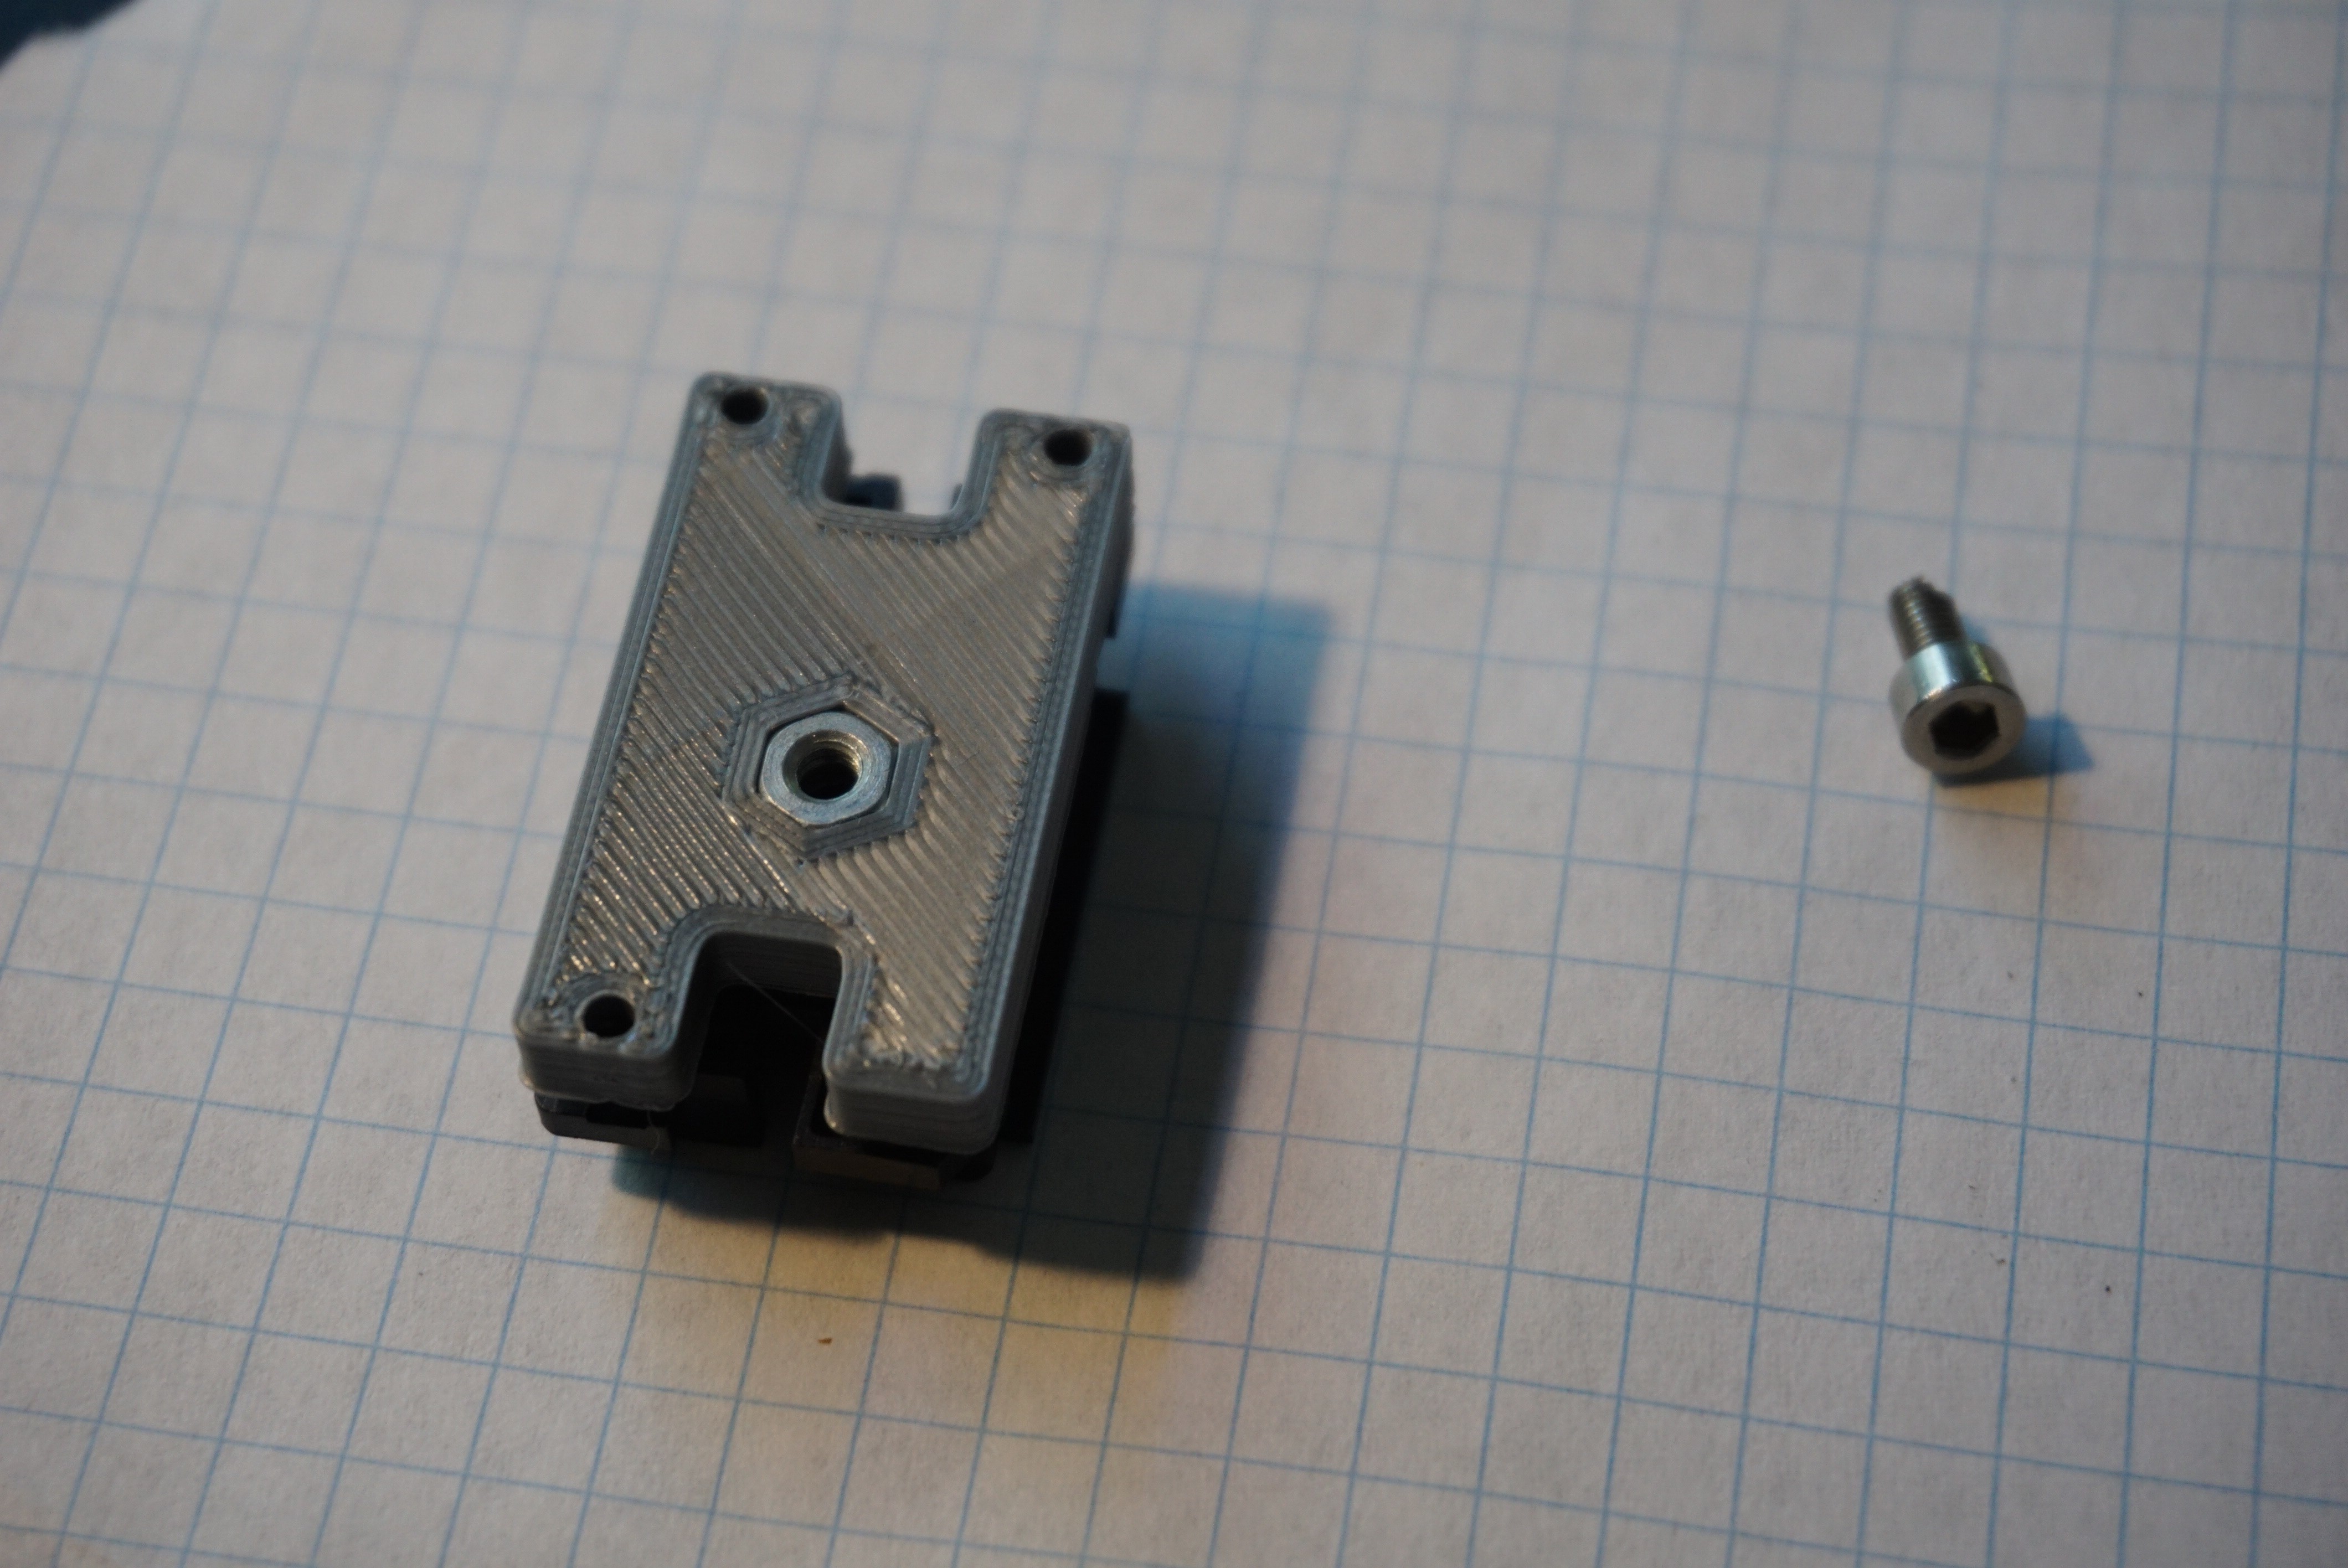
- Align the PCB with the 3 centering pins, and place the PCB over the connector.
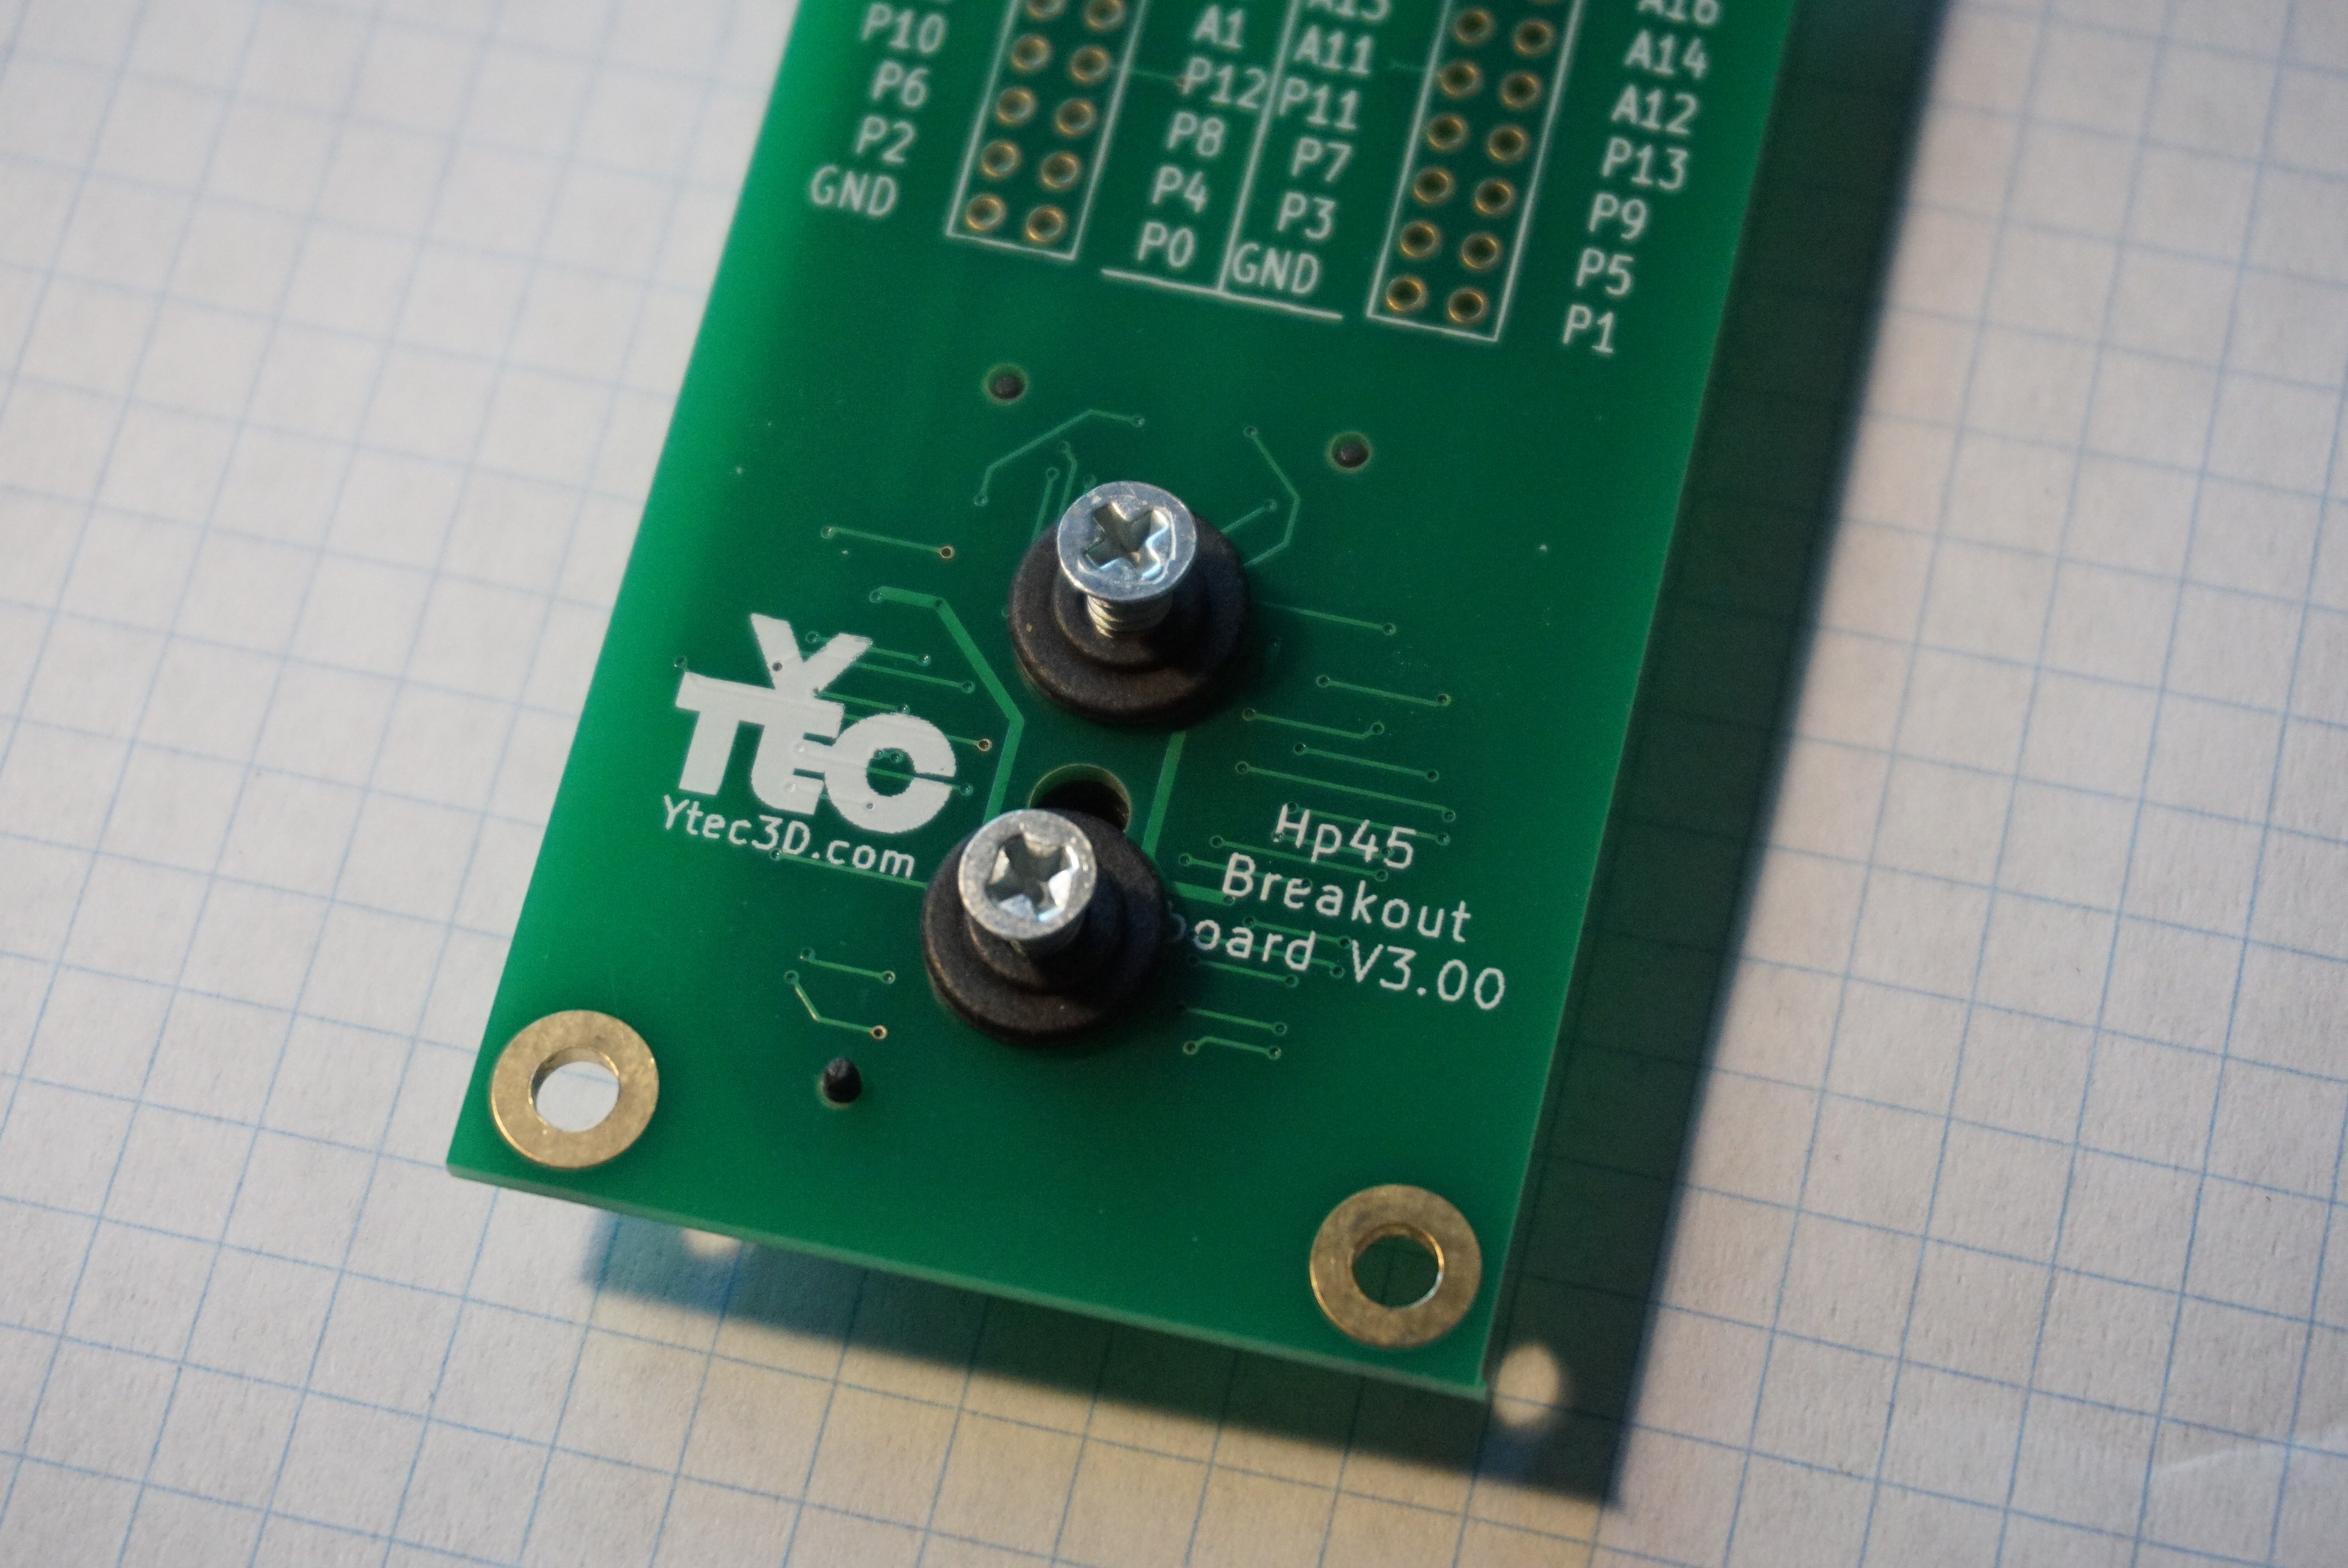
- Take the 2 washers and screws and place them in the 2 outer most holes (3.3ish millimeters).
- Push on the PCB to make all the springs compress so there is no gap between the PCB and the connector.
- Take the Phillips screwdriver and screw the screws into the connector. Do not over tighten, this will strip the threads you make out of the plastic.

The connector is now ready for use.
Discussions
Become a Hackaday.io Member
Create an account to leave a comment. Already have an account? Log In.