Close
0%
0%

Turning an old modem into a MIDI synth module

My friend Christian turned his old modem into a great sounding and looking stand-alone MIDI synthesizer

Similar projects worth following
Combining the case of his old and useless 56k Rockwell modem with a Yamaha DB50XG and interface PCB, my friend Christian created a good-sounding and good-looking MIDI module.

Important notes:
- This is a non-commercial, do-it-yourself project.
- YAMAHA® is a registered trademark of Yamaha Corporation.
- DB50XG™ is a trademark of Yamaha Corporation.

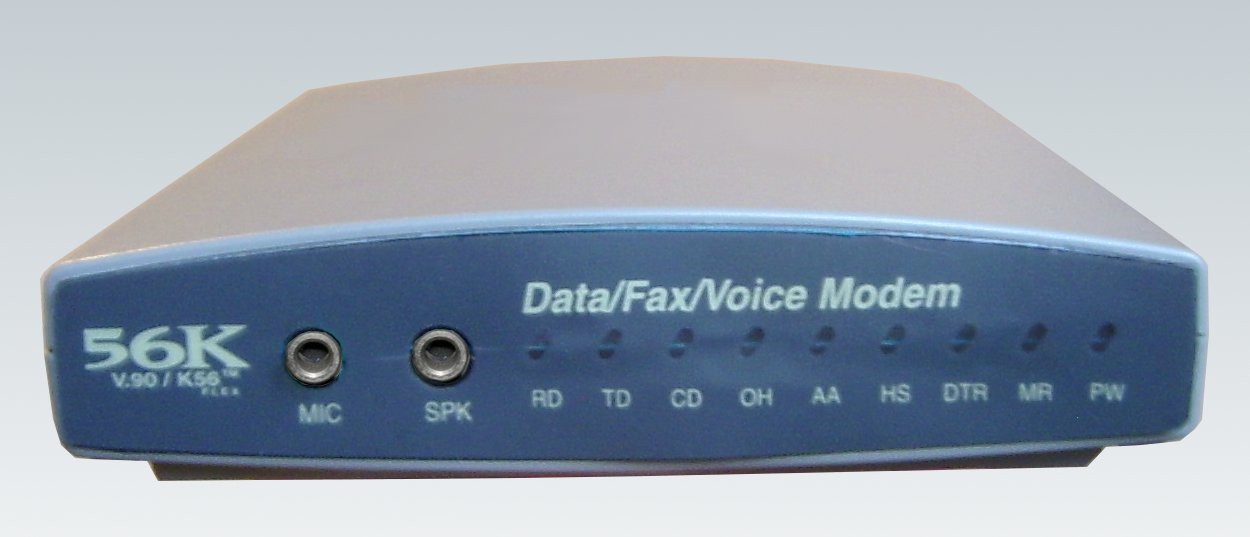
Christian did not want to throw the powerful DB50XG synthesizer away – just because there are no up-to-date soundcards with a Waveblaster connector any more. The DB50XG was plugged into his Soundblaster AWE32 sound card which hung at the wall for five long years as a decoration. And before that, he hadn't used it for another eight years. But he always remembered the capabilities of the very reliable DB50XG synthesizer. So one day, he was fed up with the sad sight on the wall and began to search the Internet for soundcards with a Waveblaster connector. The result was negative but he found the CHiLL interface board which is a good solution because a stand-alone DB50XG synthesizer will work with any computer. Combining this with the enclosure of his old and useless 56k Rockwell modem, he created a good-sounding and good-looking MIDI module.

See the build instructions for more information.

  • 1 × DB50XG Yamaha's great MIDI daughterboard
  • 1 × CHiLL MIDI interface pcb MIDI interfacing PCB from serdashop.com
  • 1 × Old Rockwell modem Only the case is used for this project
  • 1 × Magazine file As you can see, the big black magazine file is broken. You can cut out some material to create the DB50XG rear panel using a fret saw. Then smoothen the edges using a rasp.
  • 1 × Stick-on felt Sometimes, you need to compensate unwanted distances between the case and the electronics.

View all 10 components

  • 1
    Step 1

    Materials used : see the component list, with Christian's description of each part used. This is a photo of the materials :

  • 2
    Step 2

    Carefully open the case of your modem and remove the PCB.


  • 3
    Step 3

    Glue four nuts into the case using epoxy glue.

    Detailed view :

    Note: You may have to use a milling cutter (multifunction rotary tool) to remove some plastic material from the case.

View all 9 instructions

Enjoy this project?

Share

Discussions

Similar Projects

Does this project spark your interest?

Become a member to follow this project and never miss any updates