 Richard Hogben
The Y6 motor configuration has small advantages in wind, and during the loss of a motor has a better chance of a less drastic landing.
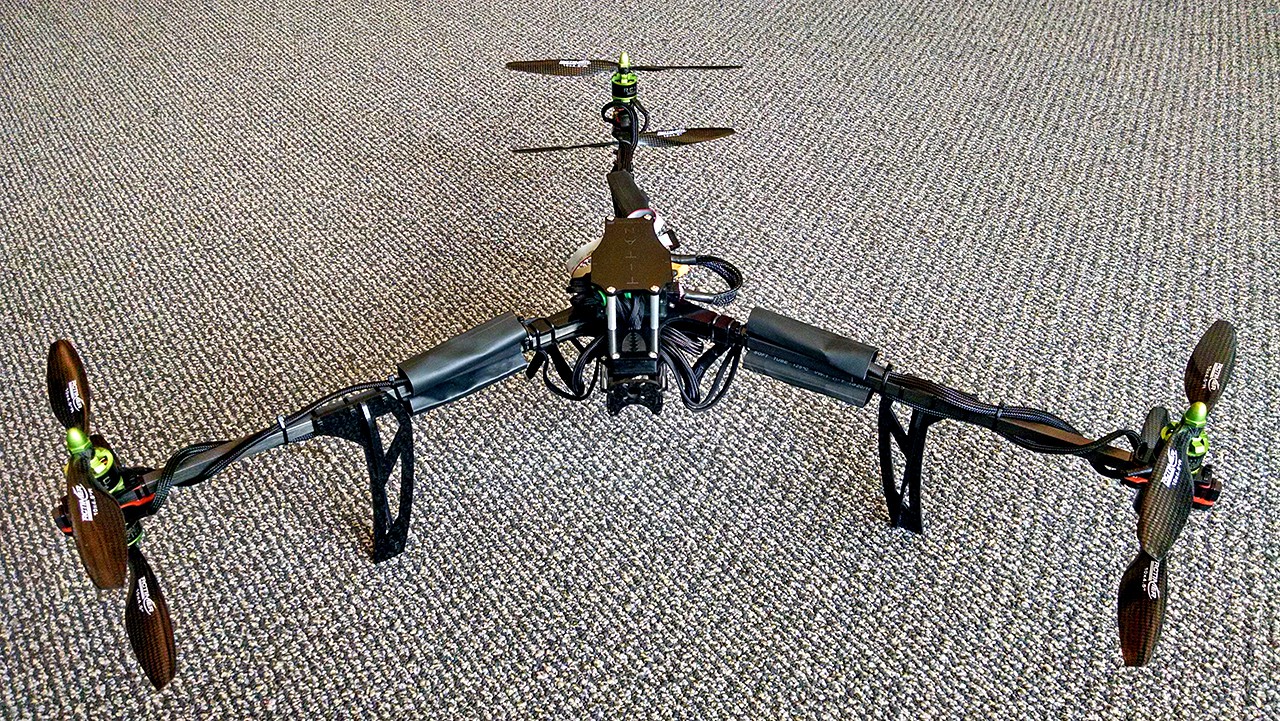
Large multirotor drone Y6 frame for a two axis gimbal and small camera.
Already have an account? Log in.
To make the experience fit your profile, pick a username and tell us what interests you.
The Y6 motor configuration has small advantages in wind, and during the loss of a motor has a better chance of a less drastic landing.
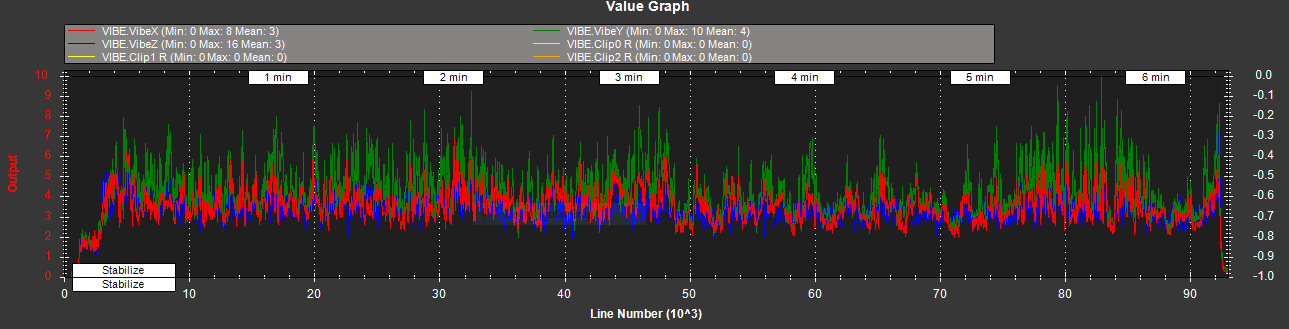
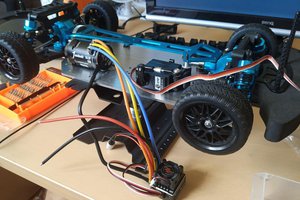
The pixhawk clone flight controller is installed and working.
Initial vibration tests on the flight controller are ok values.
To turn this into a better camera platform the KK board has to be replaced. The reason being, it only has a few basic flight modes including self level, but does not include altitude or position hold.
The flight controller should include the flight modes mentioned and support advanced modes like return to home, waypoints, and follow me.
I've been looking at either the DJI Naza, or the open source PX4 controllers like the 3DR Pixhawk. I ultimately decided to go with the HobbyKing HKPilot32 which includes GPS and Telemetry. This gives me a lot of options at a good price.
Firmware: http://copter.ardupilot.com/
Software: http://planner.ardupilot.com/
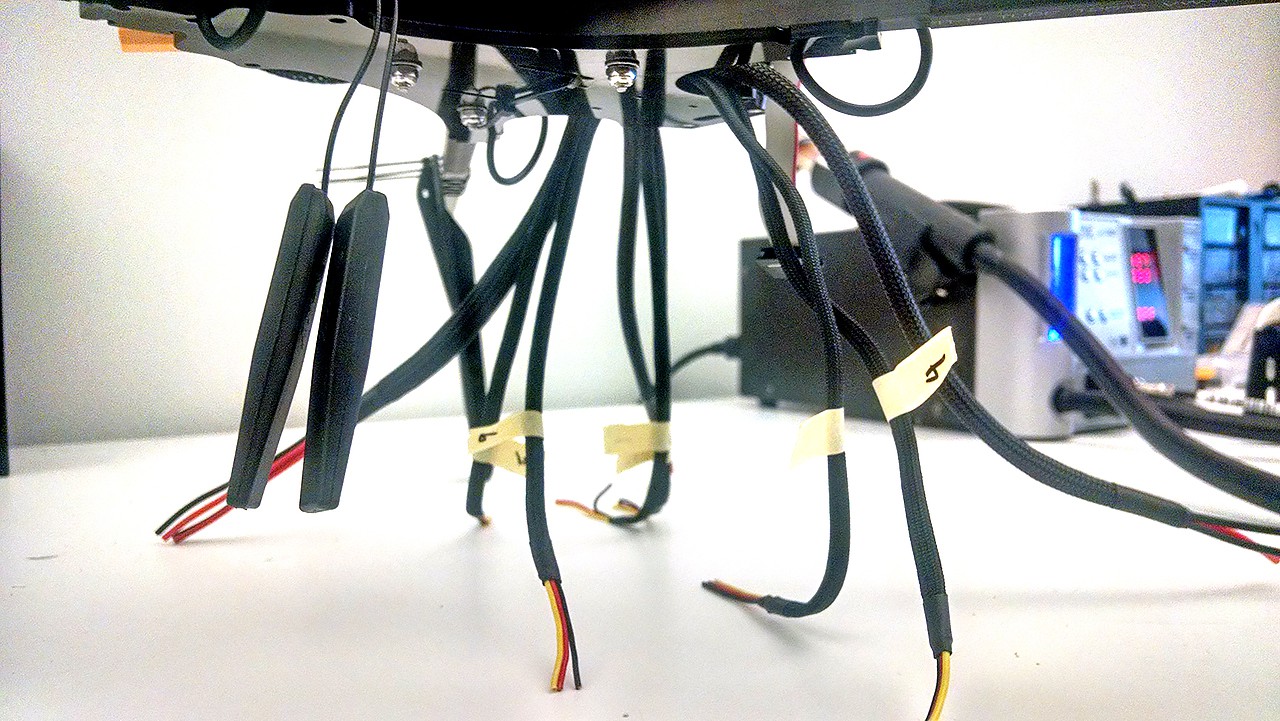
I ran a more flexible wire to the internal measurement unit for the gimbal controller. I still think the wire is too stiff but its much better. Before the change, the gimbal was freaking out on pitch but its behaving better and I'm left with some tuning to do on roll.
Good news is I don't see any terrible bad vibration issues, There is no jello on the video. The multicopter has some oscillations on roll that need tuned out.
My plan for PID values are gentle smooth flight:
Then I want to setup the controller so I can execute smooth slow movements on the sticks.
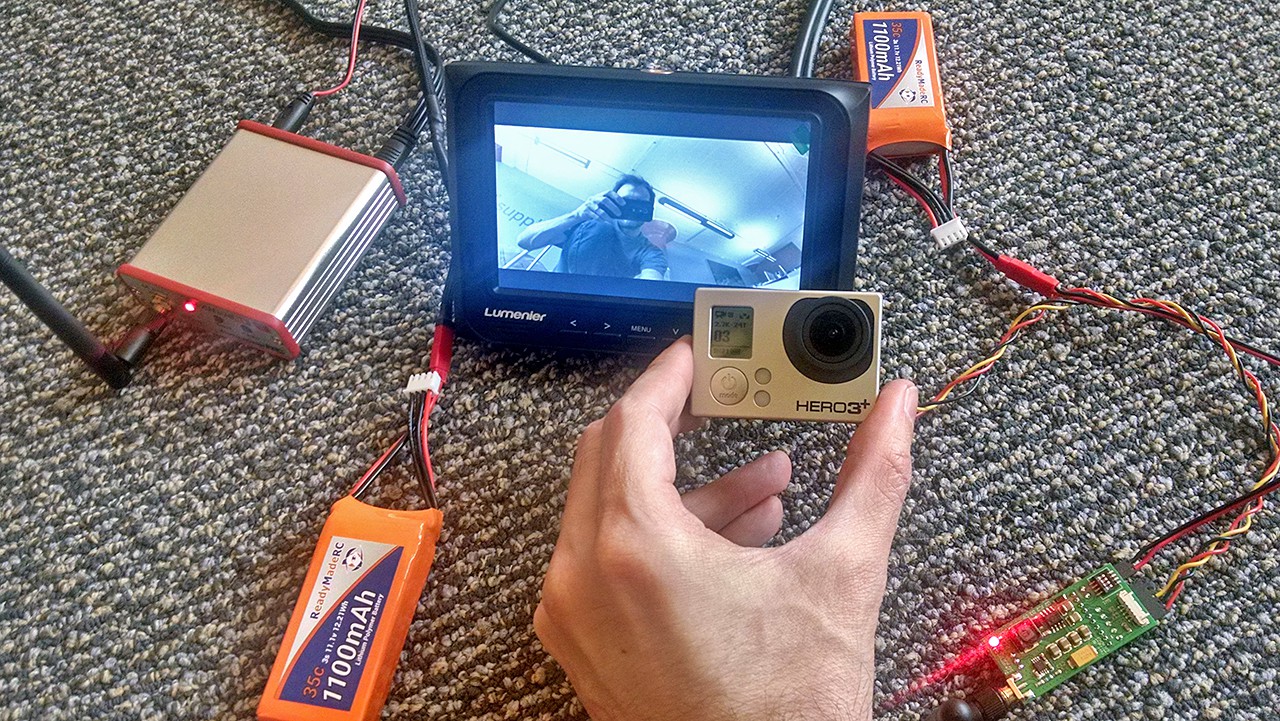
Gimbal still needs to be tuned but video is running on the controller monitor. This is with default flight controller PID values.
Gimbal went on ok.

Added pins and connected the IMU to the gimbal controller. This will mount below the body and have its own battery.
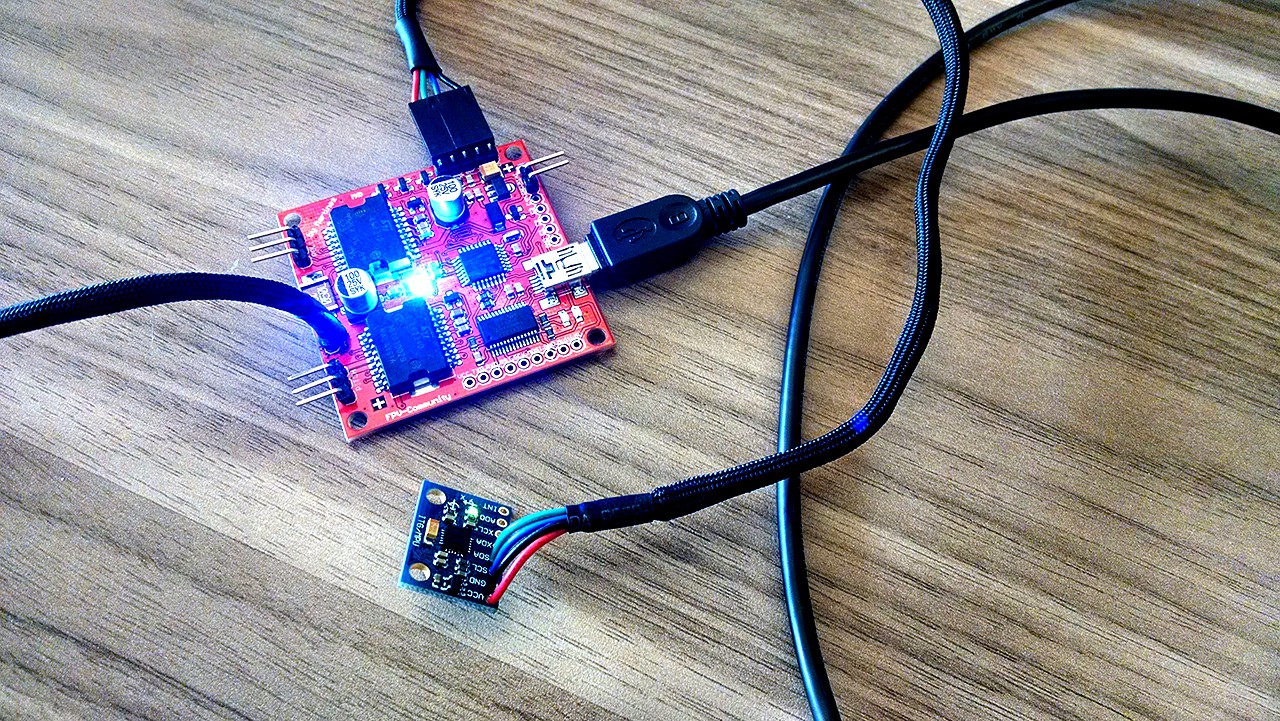
I flashed the controller with http://sourceforge.net/projects/brushless-gimbal-brugi/ I had to drop to Arduino version 1.0.5 for the sketch to compile correctly.
Signal cables marked for motors.
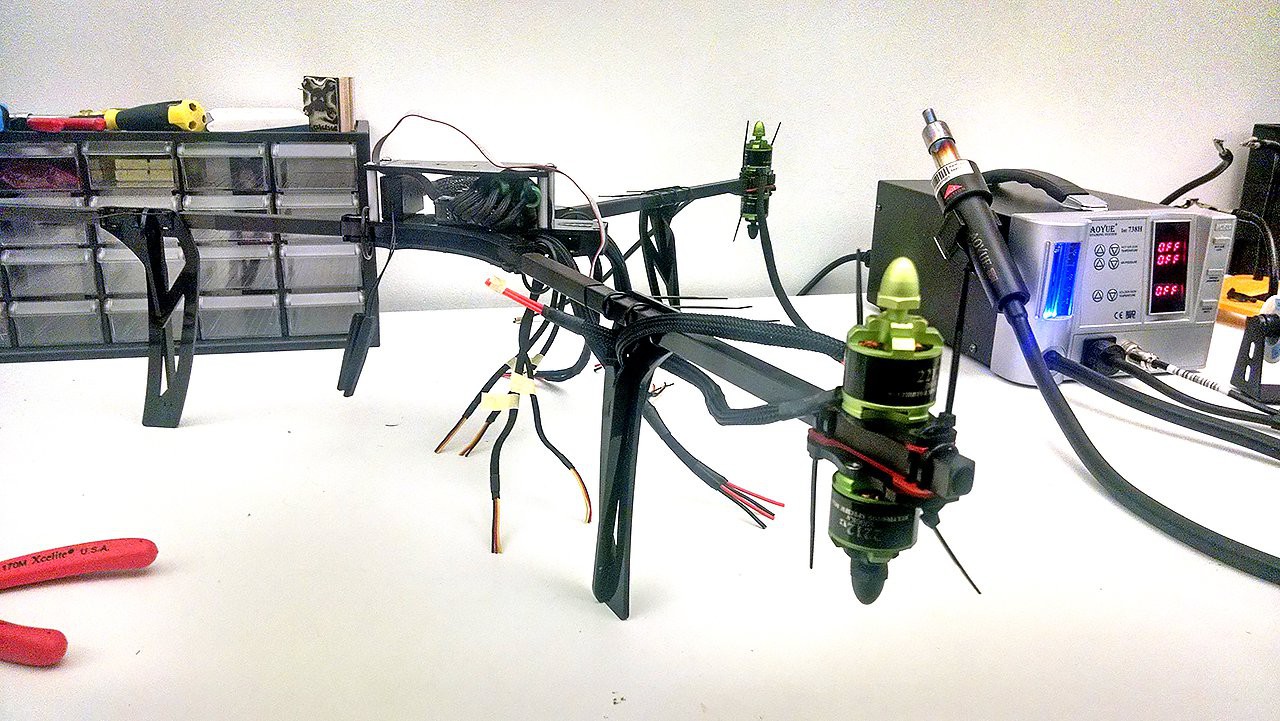
Motors ready for install.

Motors test fit.
Niiiiiiiice... also I hate putting these together and I had to make six.
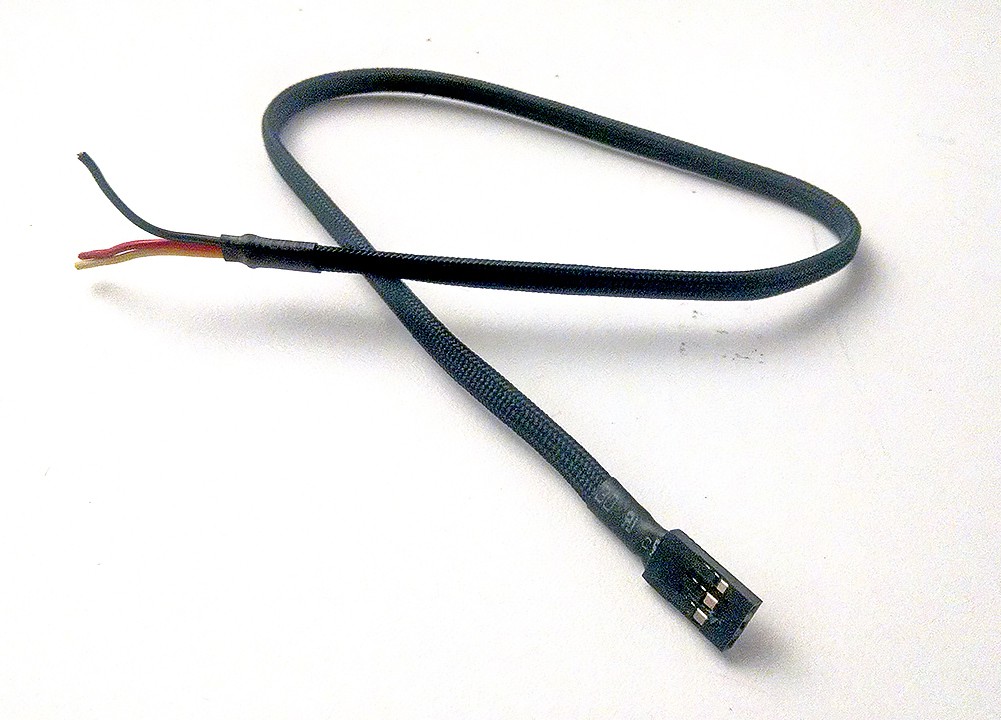
Paracord sleeve.

I left all three wires, on my small quad I only run the signal which saves some weight. Not to concerned here.
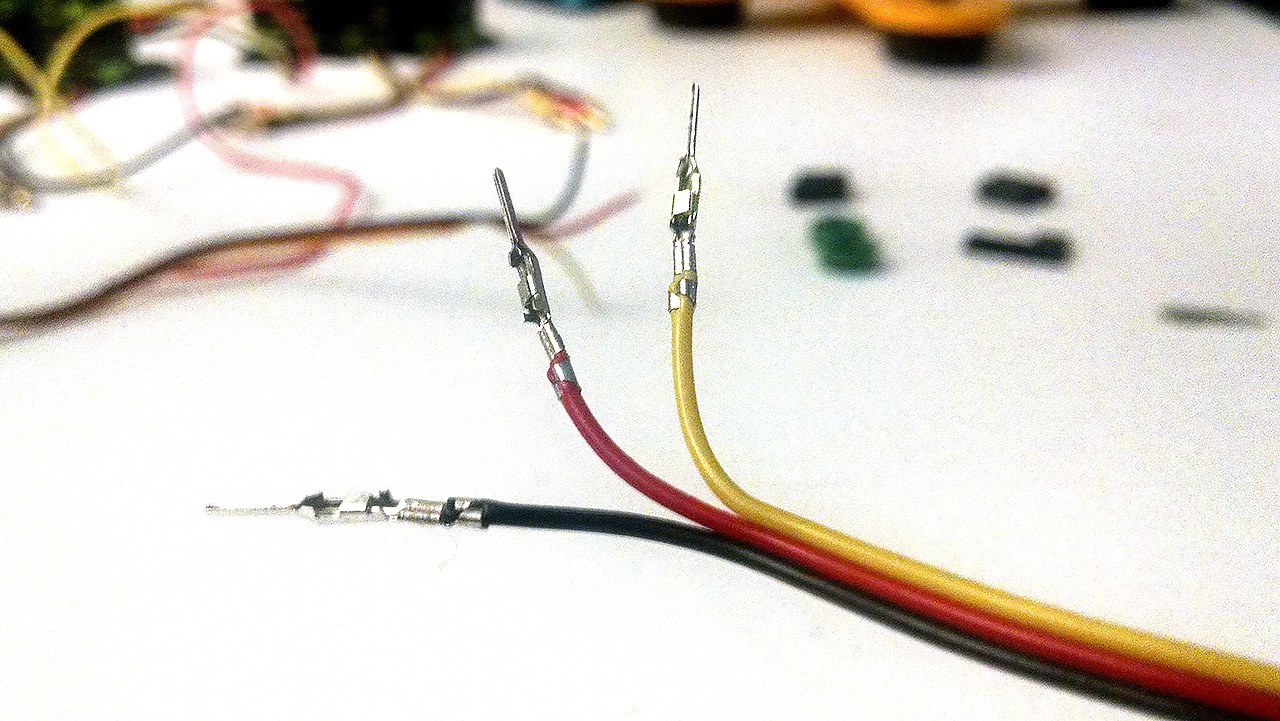
Power wire splits from 14 to 18 gauge, one red and black for each of the six motors.
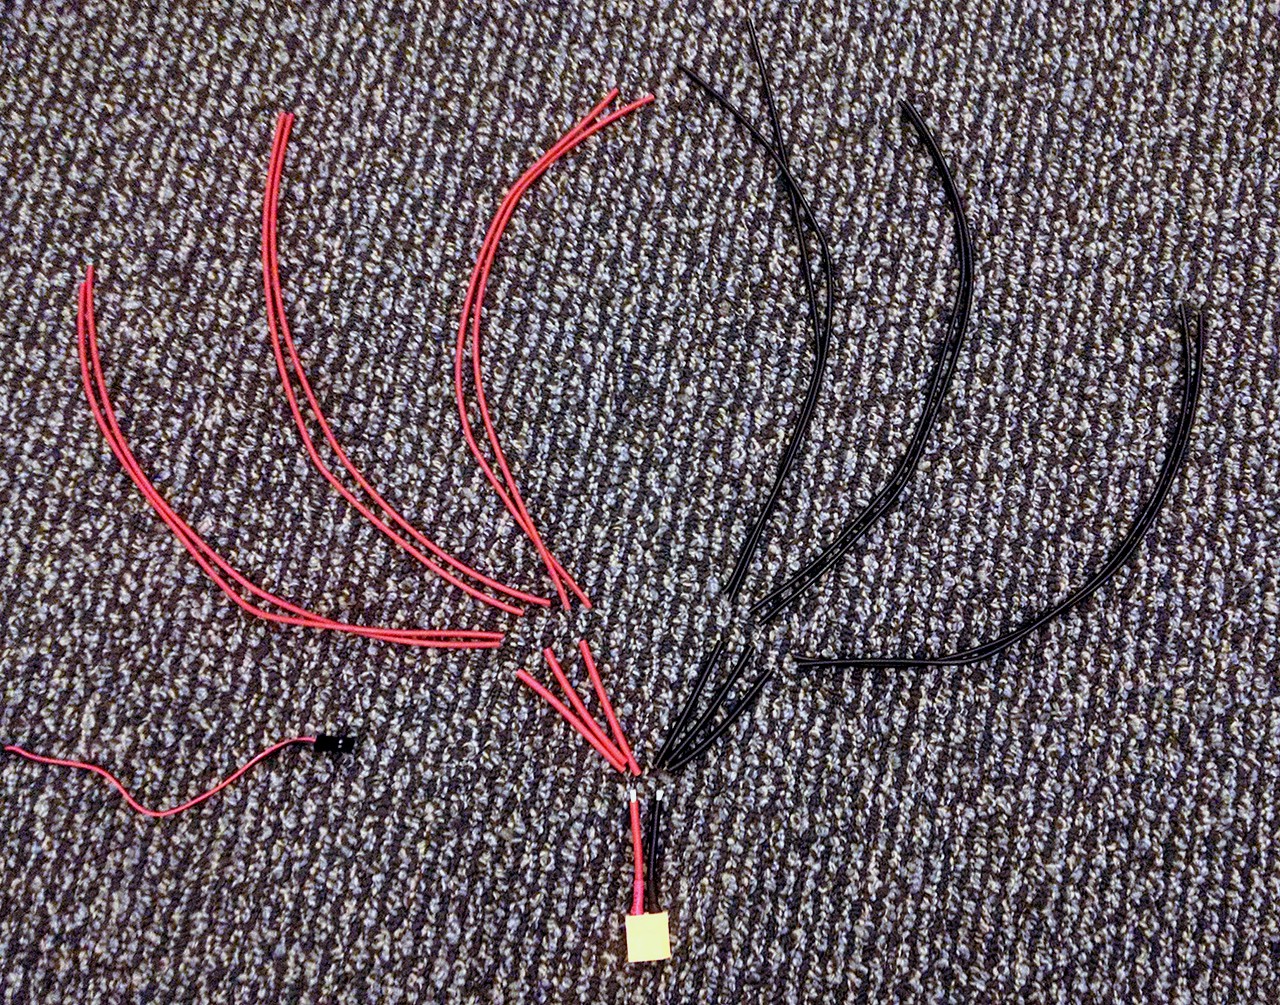
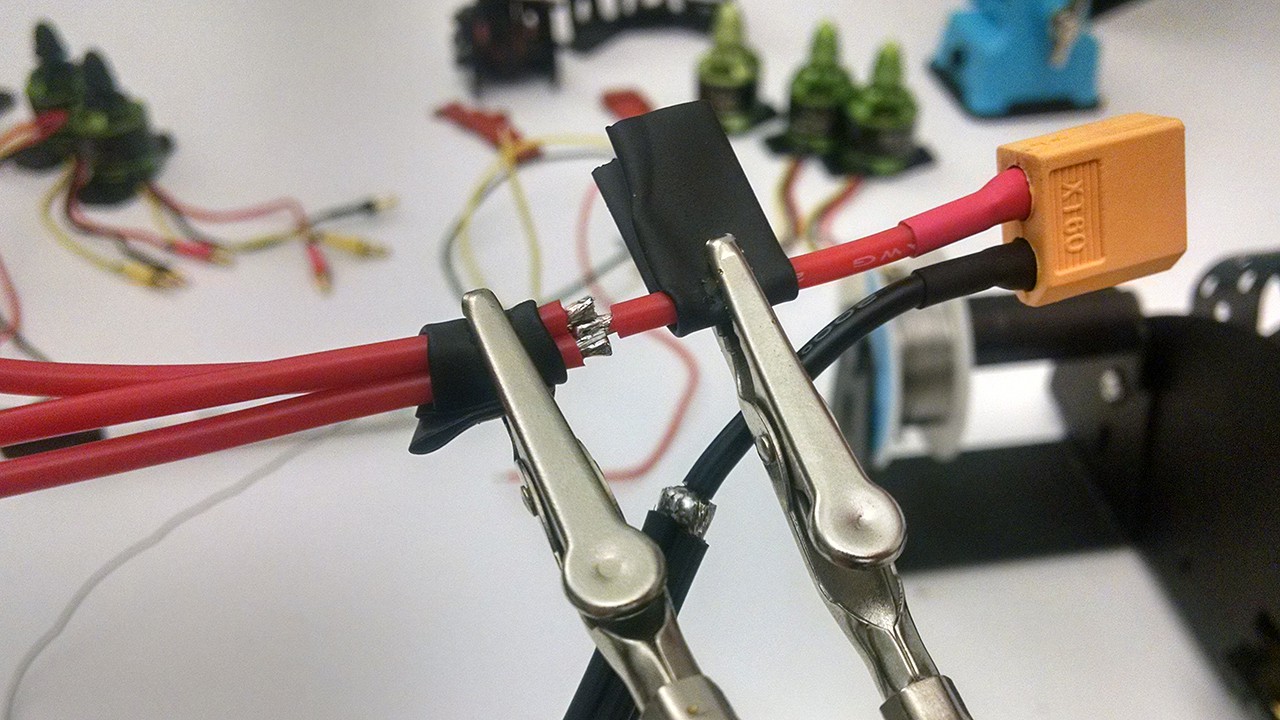
I tin the wires and then arrange them ready for soldering together. This is how I turn one wire into three.
Heat shrink wrapped.
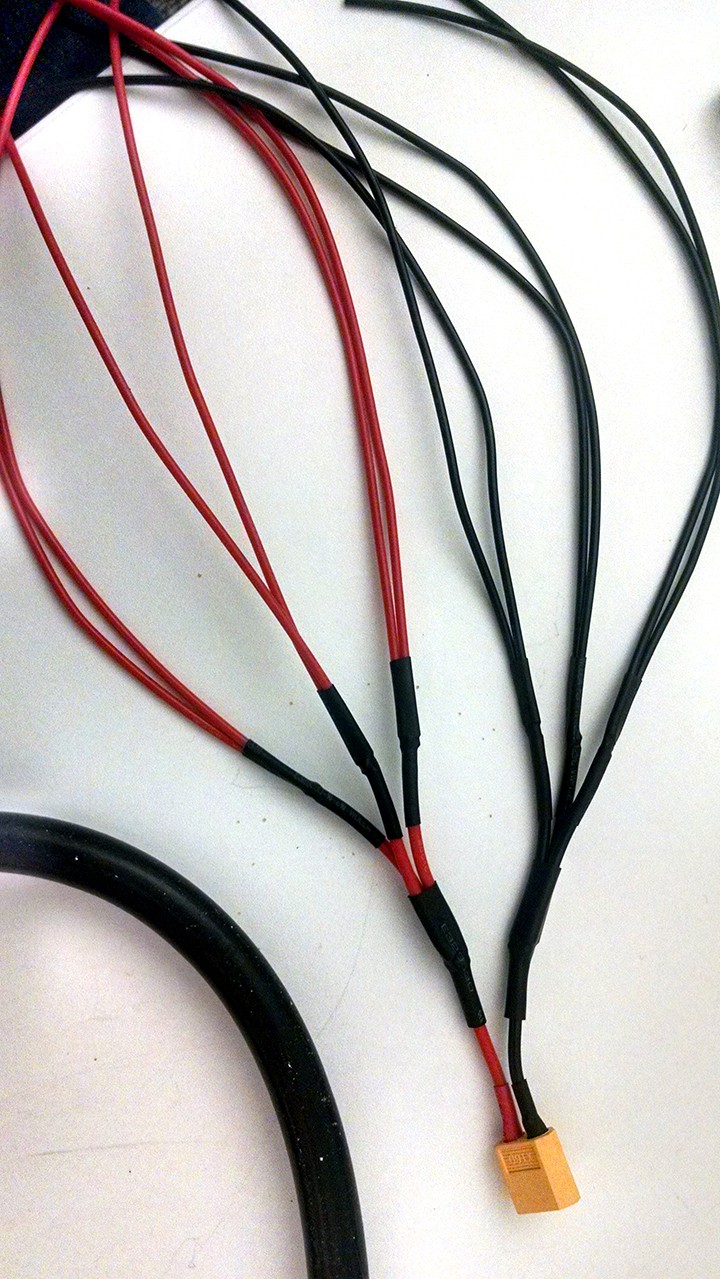
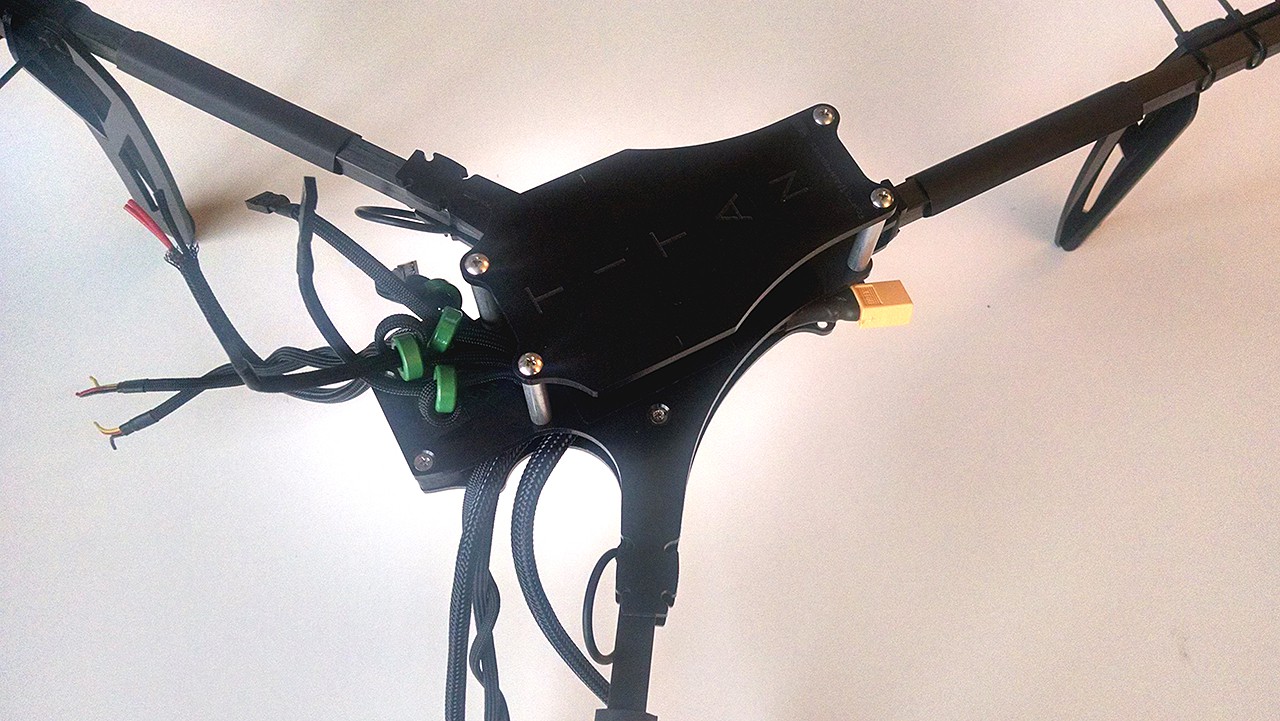
Added cable sleeving and installed.
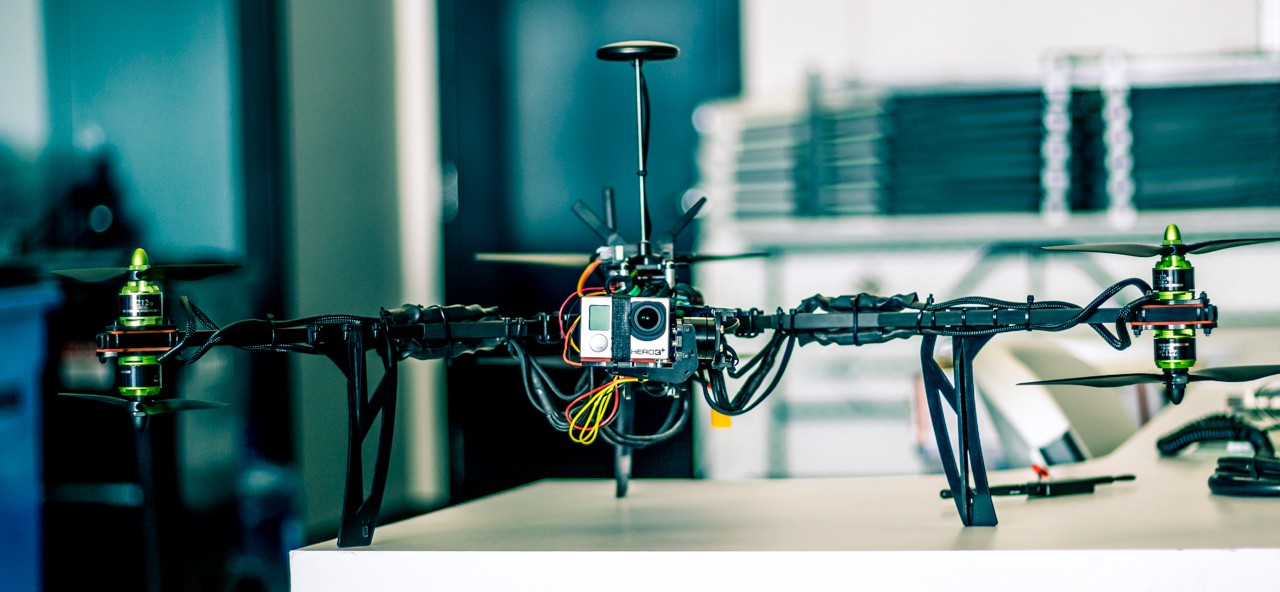
Picked up a used Hero 3+ Black to record in 2.7K and monitor the video from the remote.
It works!
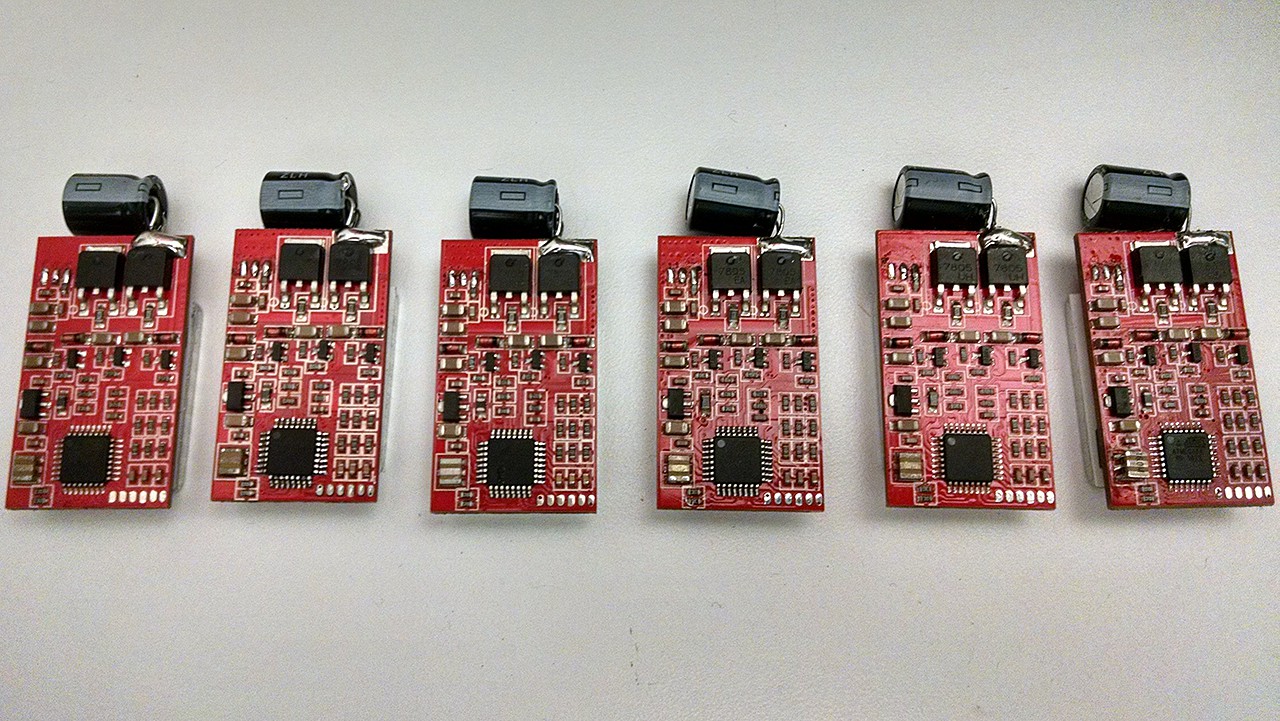
I stayed up late last night reworking these ESCs. The electronic speed controllers came with huge balls or solder. I want to have as many direct connections as possible so I removed the wires and solder for new connections.
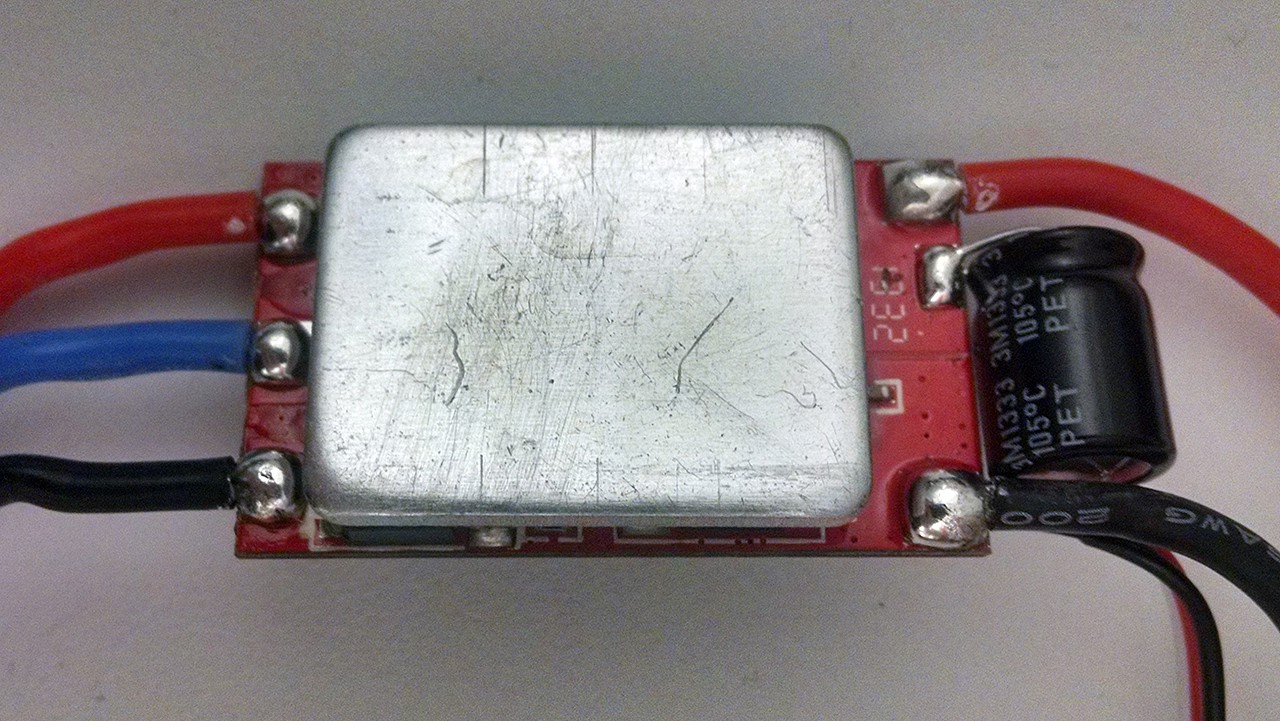
Wires removed.
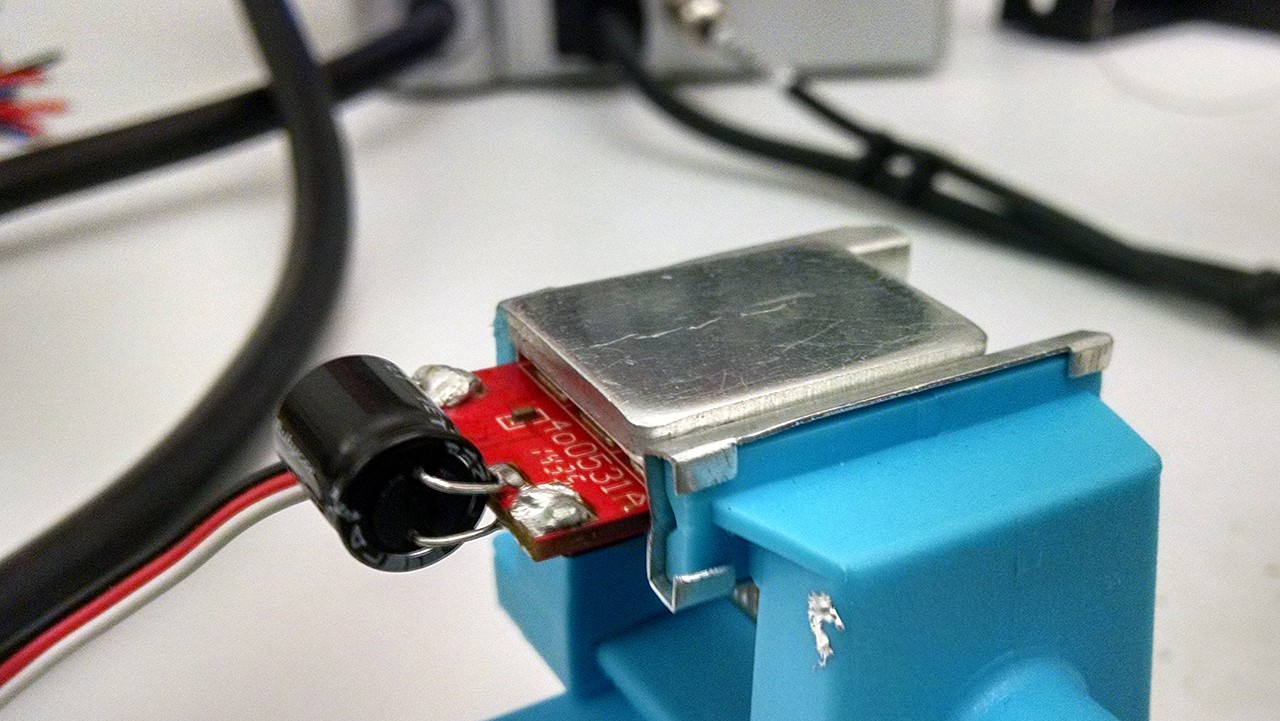
Most of the solder cleaned up. I used a suction and wick to remove as much as I could.
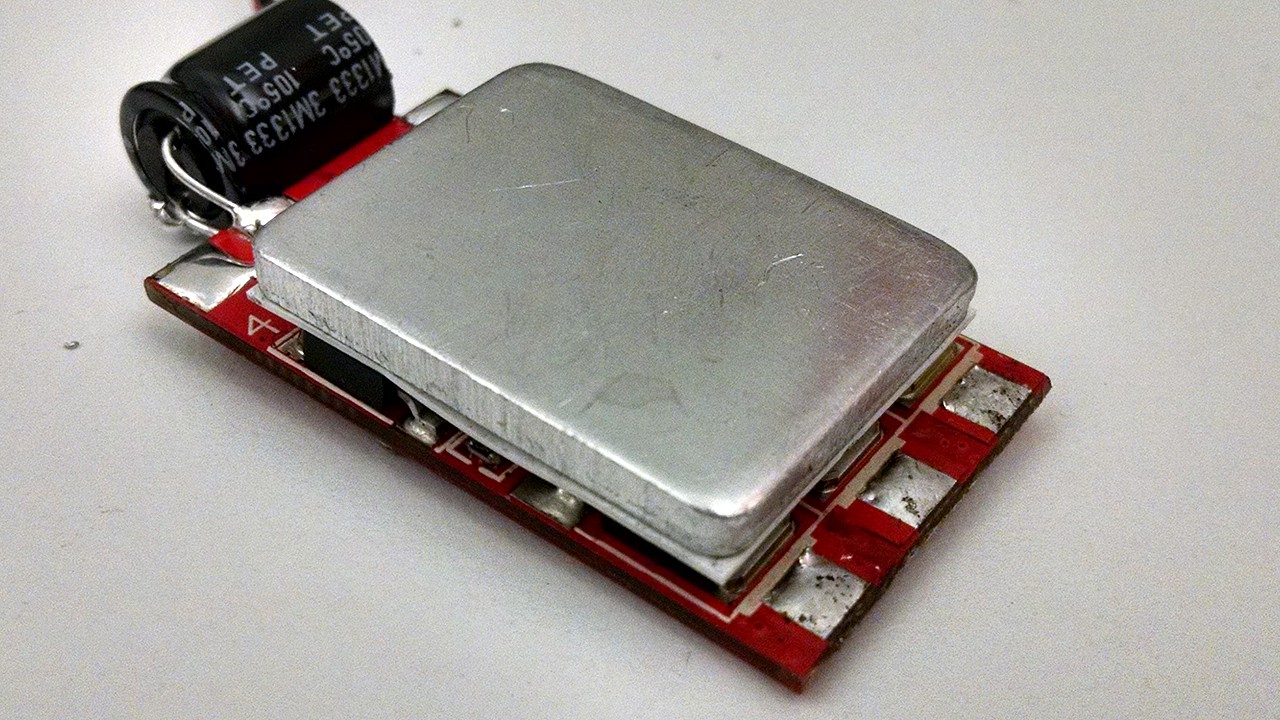
All ready for new wires. Hopefully they still work!


Thanks! I should have some flight footage soon once I get the flight controller tuned.

 Alexandr Kovalyonok
 Jorj Bauer
 David Macklom
 RudyAramayo
First flight, congrats Rich! I can't await to see video from the onboard camera.