 John Spencer
First, I used Sketchup to design a tilted box with all the buttons and dials I wanted (dxf available on github).
This dxf was loaded into CamBam to make some gcode for the lasercutter to use. The engraving was set to a high movement speed with a low power setting.
With the pieces of the box cut, I sloppily painted acrylic paint into the engravings. After it was dry, I cleaned the excess off with isopropyl alchohol and a cloth.
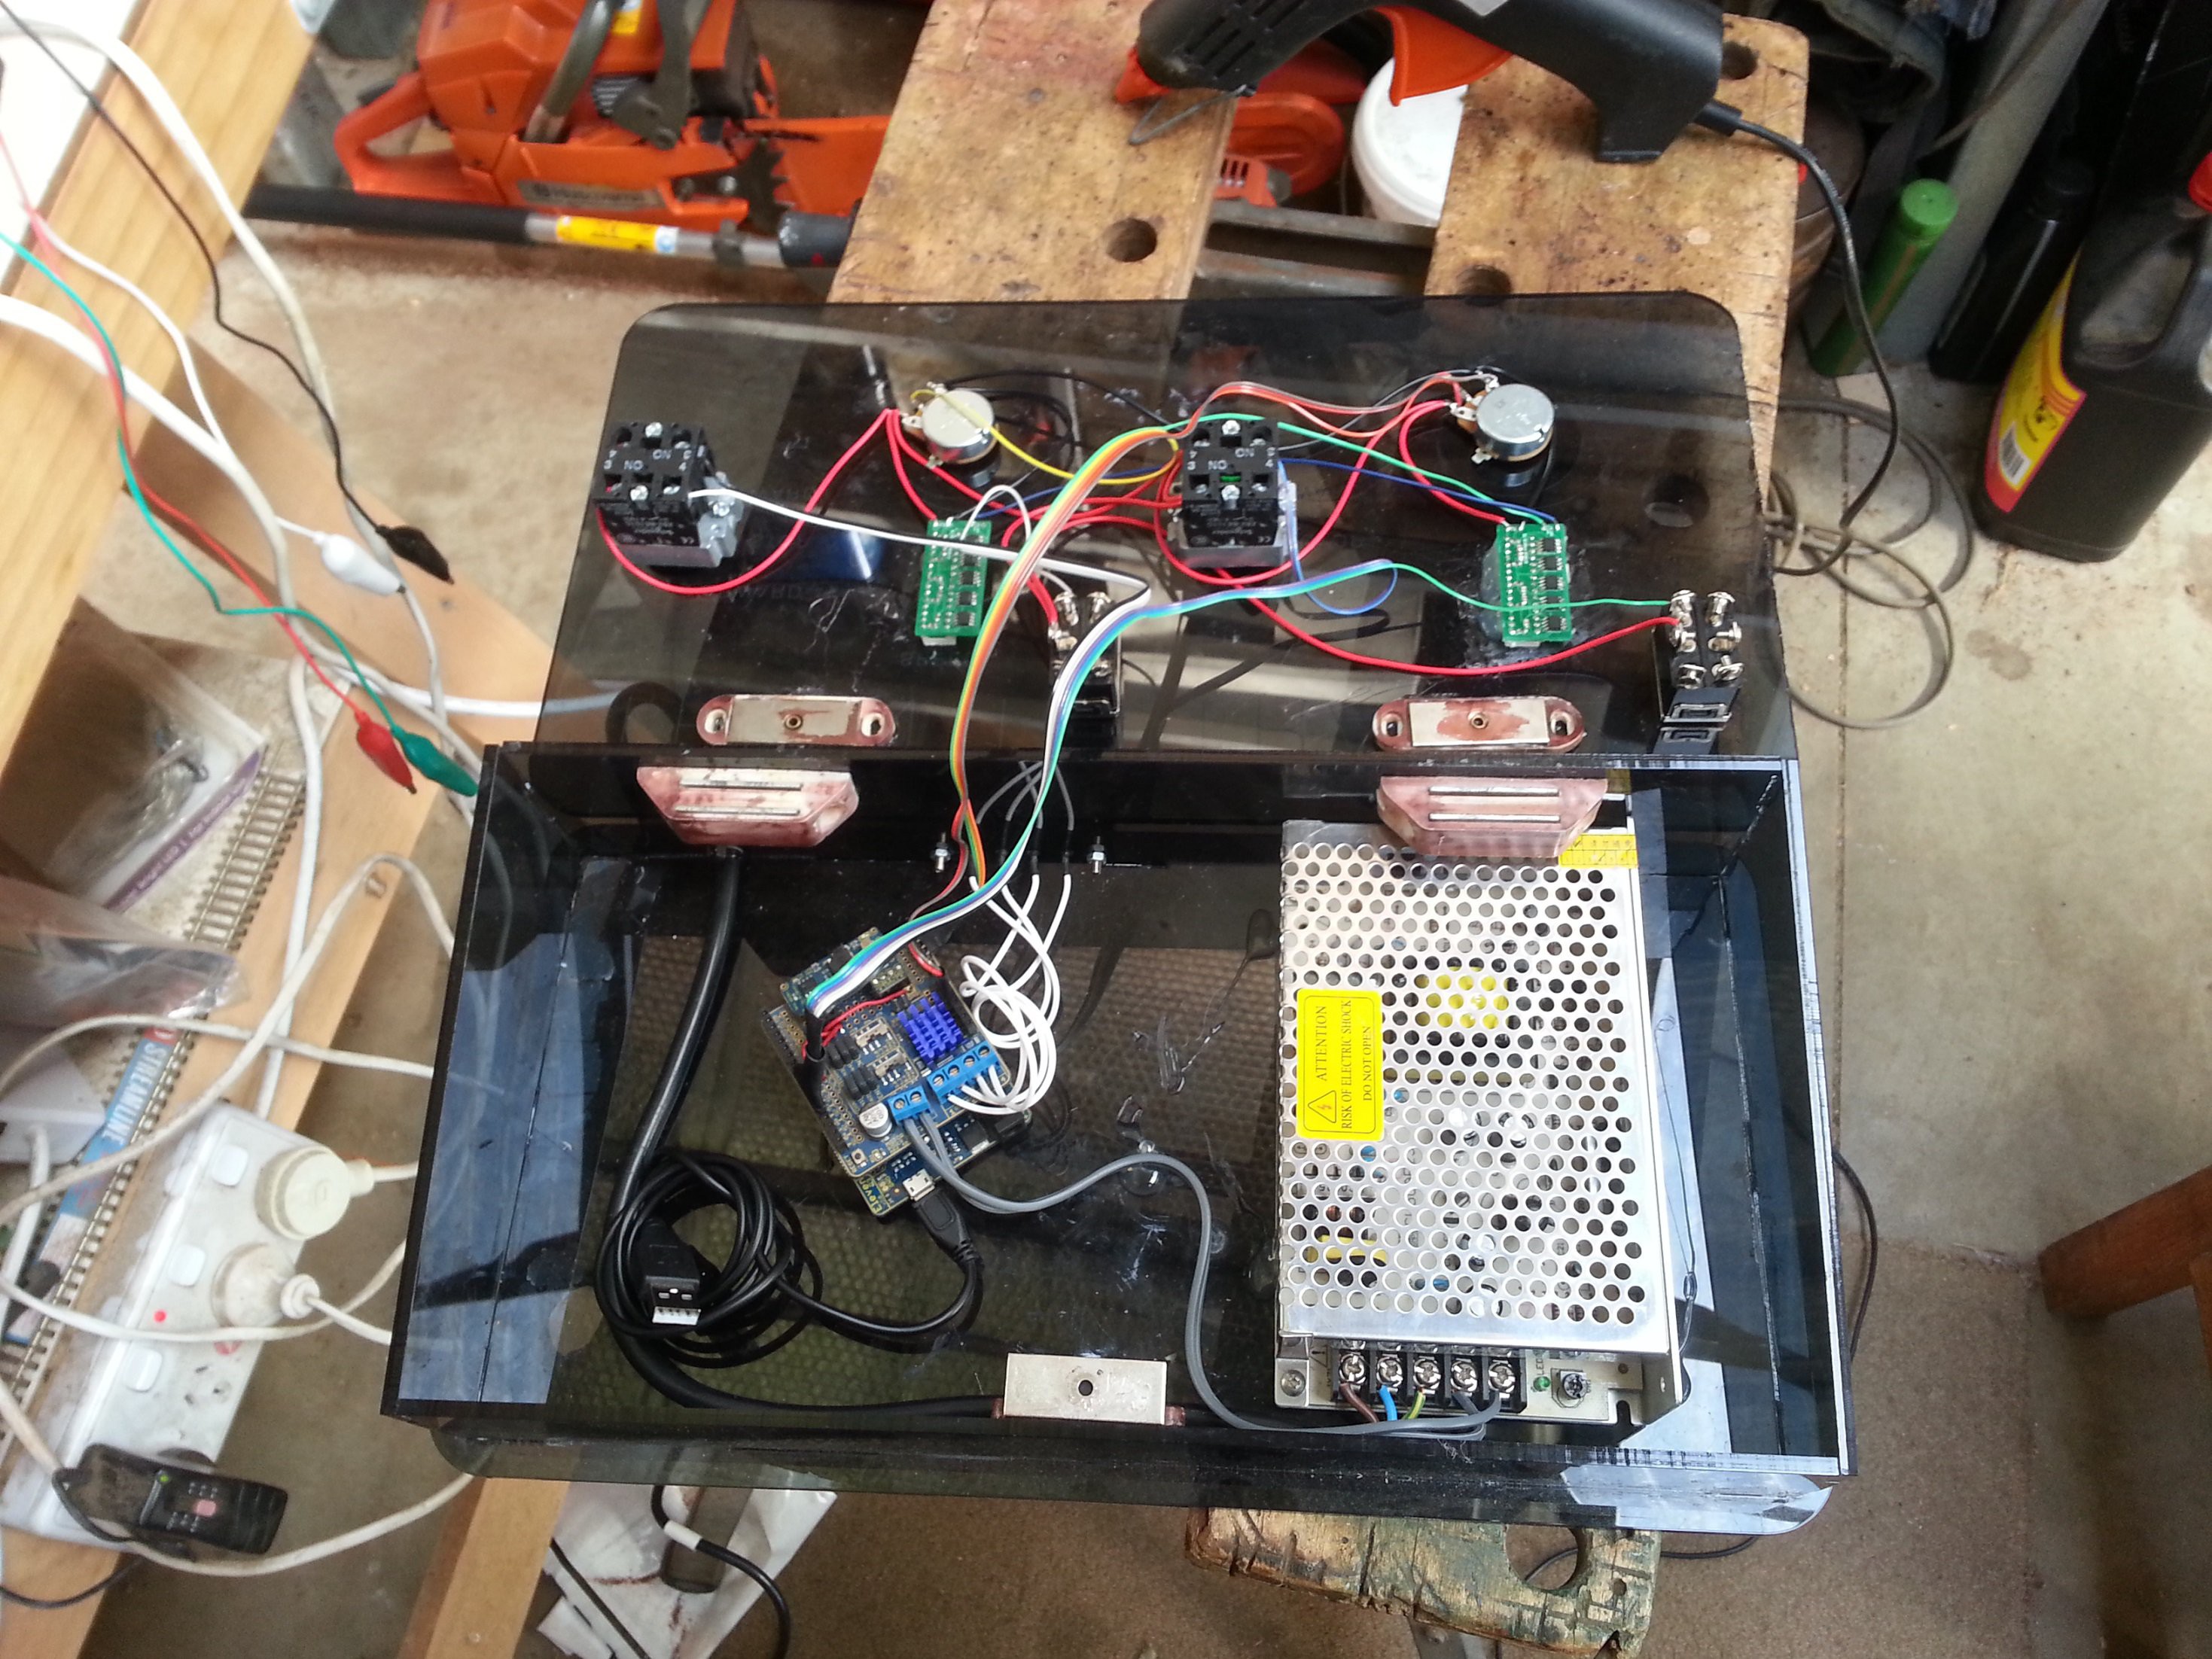
The box was assembled, clamped and glued with superglue. The top is "floating" and held in place with magnets for easy removal.
The brain is a freetronics Eleven (an Uno equivalent) driving a dual-channel H-Bridge driver capable of outputting 2A to each channel. This is all powered by a 12v, 5A laptop power supply I rescued from somewhere. I've used a switchmode power regulator module to use the same source to drive the arduino.
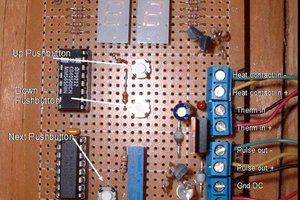
The arduino sketch is pretty hacky, but it does allow for some acceleration effects. The hbridge takes a value from 0-255 to indicate power output. There is a timer that increases the power output by a maximum of 20 every 500ms until the desired power level is reached. When that level is reached the bar graph outputs a solid bar, while it's trying to match the speed it flashes the difference (confused? Me too, watch the youtube link below :)

 Markus Loeffler
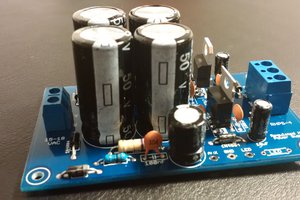
 Filip Mulier
 Urs Schmidt