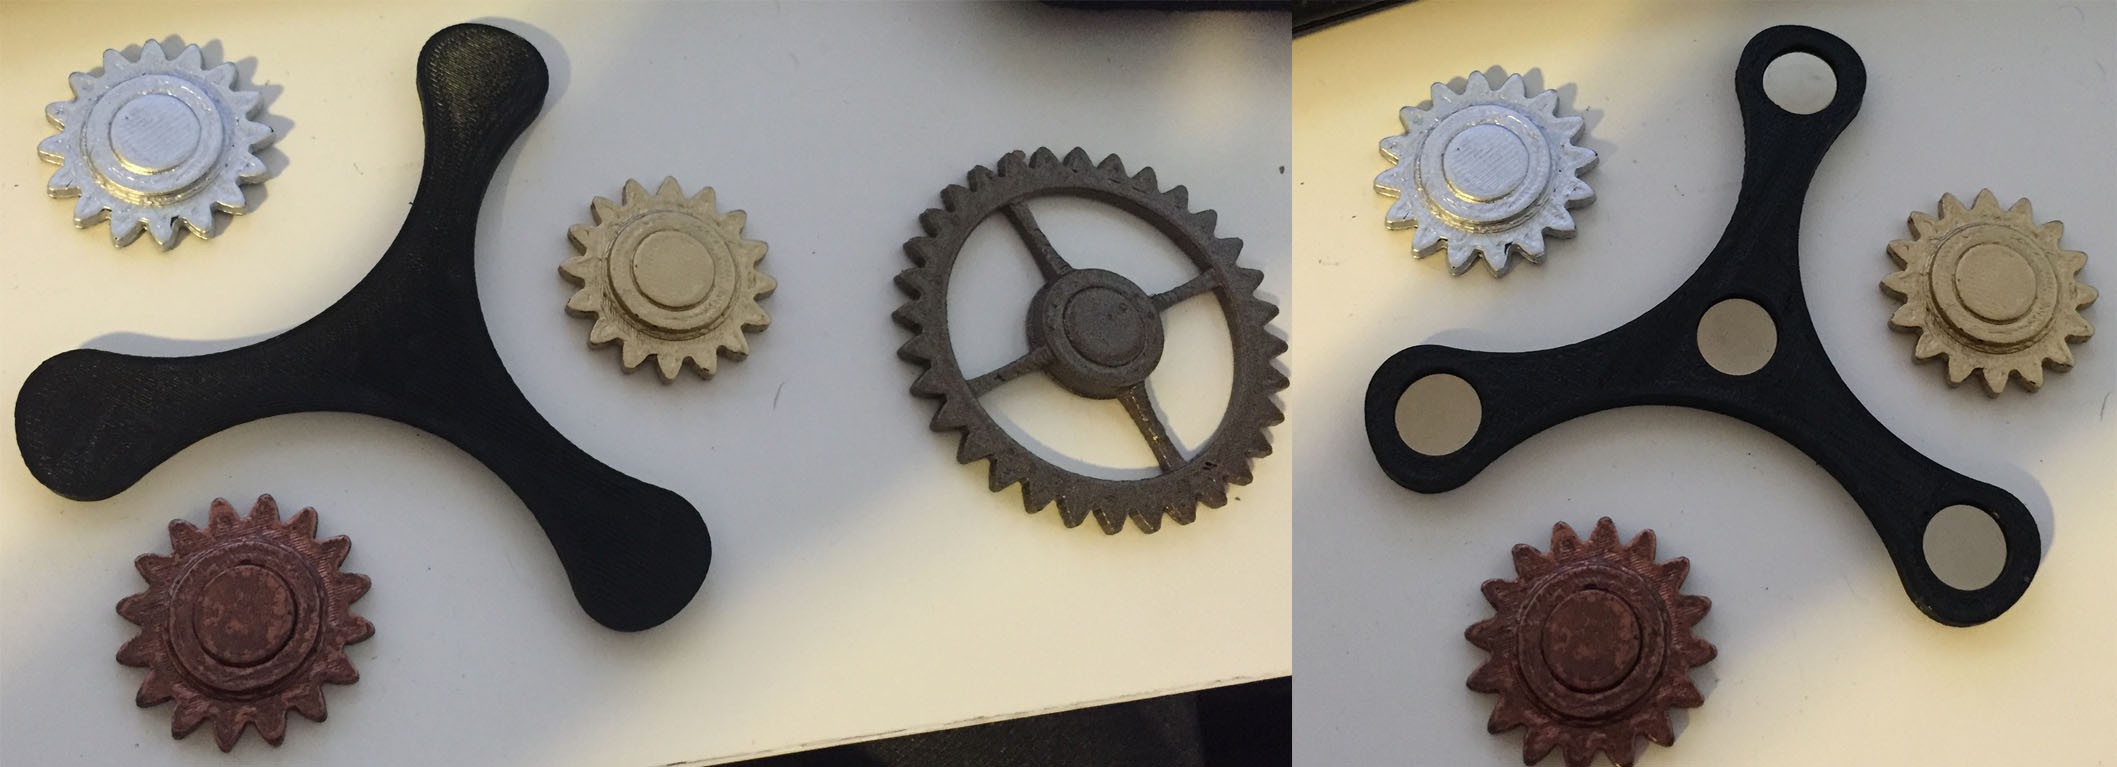
So the wife and I got invited to a masquarade ball... a first for us, but we love to dress up, so we were all over this one. We wanted to do something fun so we decided a sudo steampunk/victorian theme would be fun to try. We don't really do Cosplay, but I dig the idea of Cosplay and though this would be a fun project. This part of the project came about when I stumbled on a lapel gear project that was inspired by another lapel gear project. I have taken the ideas from both, tweaked the files and added my own files and printing and deign elements to make it my own, it is in process, but almost done as it is not super complex.
0%
0%
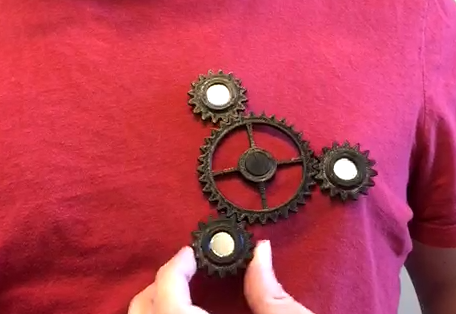
Lapel Gears
Decorative gears for your lapel, or anywhere else
Become a Hackaday.io member
Already have an account? Log in.
Just one more thing
To make the experience fit your profile, pick a username and tell us what interests you.
Pick an awesome username
hackaday.io/
Your profile's URL: hackaday.io/username. Max 25 alphanumeric characters.
Pick a few interests
Projects that share your interests
People that share your interests


 ben.brochtrup
 Josh Cole
 Martijn
 Mattia Dal Ben