Close
0%
0%

Laser-cut, Mail-able Christmas Tree

A flat-pack, desk-top Christmas tree. Costs the same as a lame card, but is way cooler.

Similar projects worth following
First up, sorry if this "crafty" kind of project is off-topic for hackaday.io, it's just a really nice, easy to use platform and I disagree with some of Instructables' commercial choices.

This year, I've built an awful lot of flat-pack furniture - so what better way to celebrate it than a flat-packed Christmas tree to send instead of boring old cards?

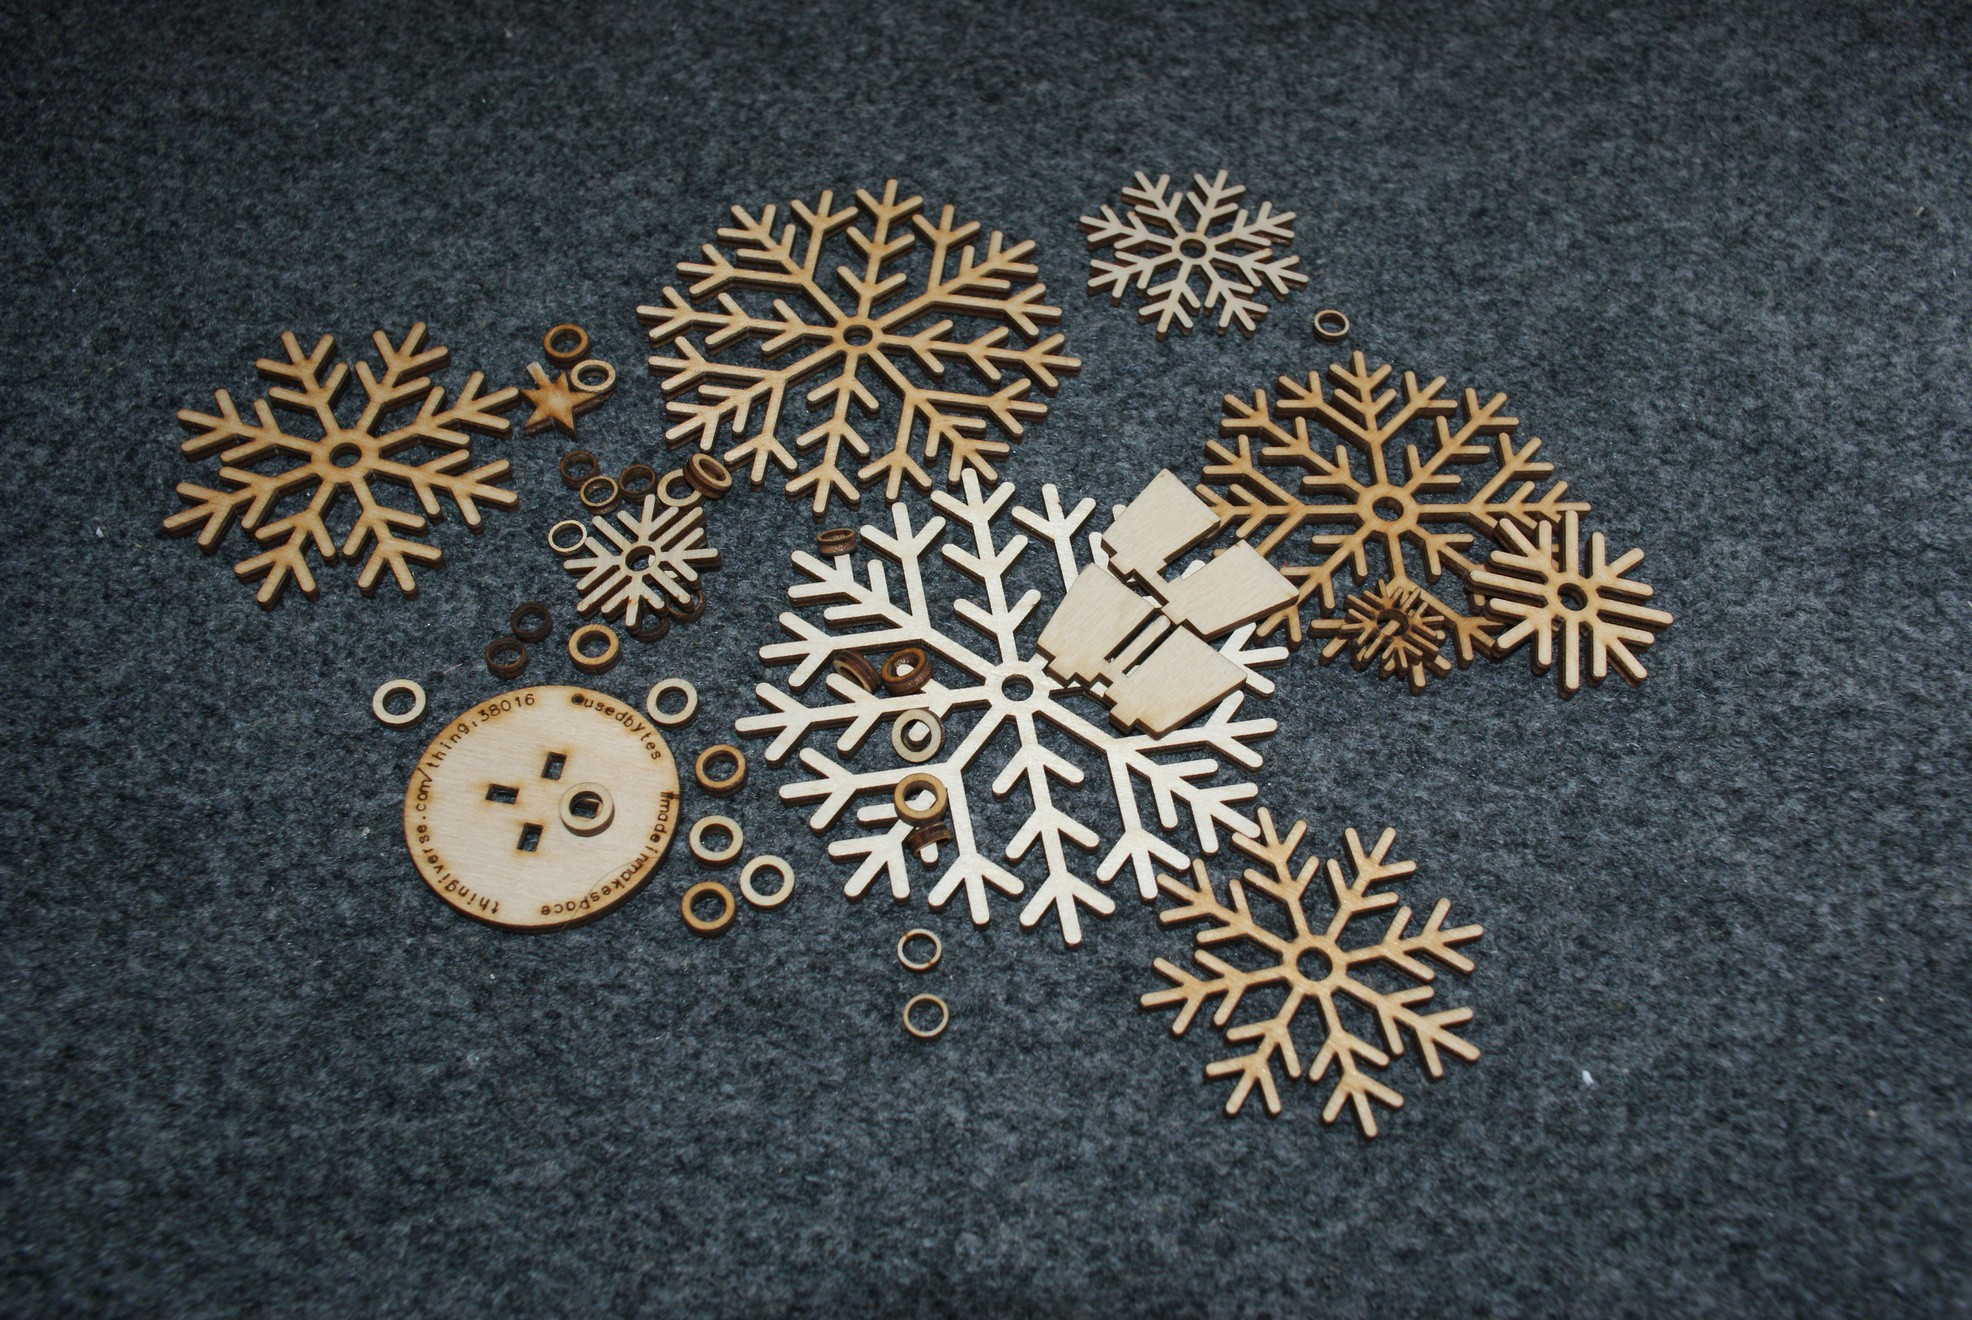
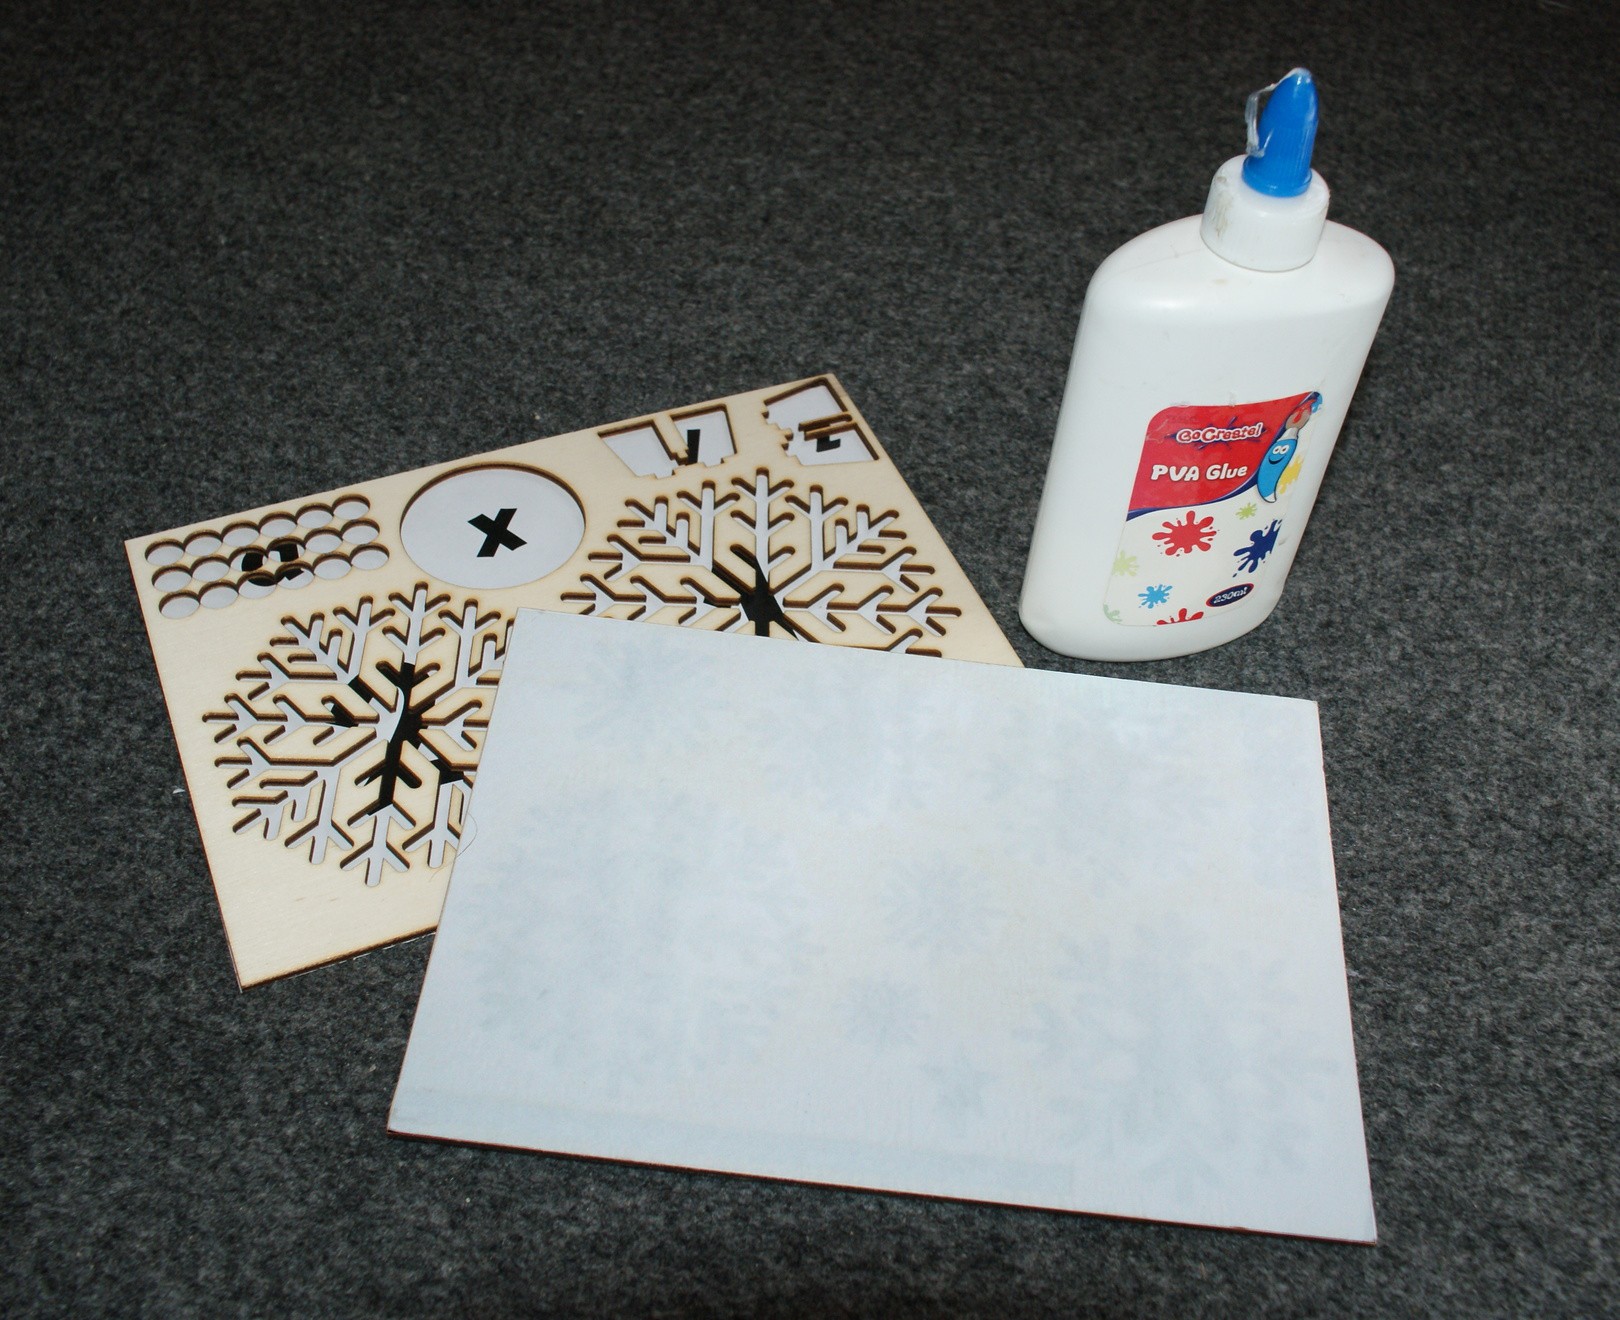
The tree is made with 3 mm lasered plywood and a length of aluminium tubing. All the parts fit into an A4-sheet of wood, and the whole thing is designed to be packed up into an A5 envelope for posting.

The plywood cost of each tree was around £1, and 1 m of tubing is around £2.50 (from B&Q).

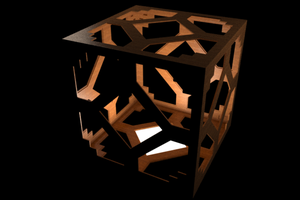
The design is derived from [tc_fea]'s 3D printed Christmas tree, which the ever wonderful [@Jen_3107] found on thingiverse: http://www.thingiverse.com/thing:38016.

I took the STL files and used OpenSCAD to project each branch into a 2D DXF. Then I drew up a base, some spacers and a star for the top in QCAD.

I laid all the parts out in Inkscape so they'd all fit nicely into 2 A5 sheets, along with a slot for the central tube.

Consider everything here licensed as CC-BY

parts_to_laser.dxf

Laser all this. You might want to change the text to some form of engrave/score

AutoCAD DXF - 1.62 MB - 01/17/2016 at 16:18

Download

part_identifier.pdf

Print this on the back of the instructions. and another copy to stick to the back of the "sprues" Beware, the margins are very narrow. Your printer might cut off a little at the edges

Adobe Portable Document Format - 111.19 kB - 01/17/2016 at 16:16

Preview
Download

instructions.pdf

Assembly instructions

Adobe Portable Document Format - 353.68 kB - 01/17/2016 at 16:15

Preview
Download

  • 1
    Step 1

    The first thing to to is to laser all the pieces out of a sheet of 3mm ply and collect them up. We also need the two rectangles the pieces came out of, so hold on to them too.

    There's 9 branches, 3 pieces for the base, 1 star, 18 "large" spacers and 14 "small" spacers.

  • 2
    Step 2

    Next print out the "part identifier" file, cut the page along the middle line, and shave a tiny amount (<1mm) from each side to account for the laser kerf

  • 3
    Step 3

    Use some diluted PVA glue to stick the two halves of the "part identifier" to the back of their matching "sprue". Put something heavy on top of the pieces to ensure the paper is well-stuck, and leave them to one side to dry.

View all 14 instructions

Enjoy this project?

Share

Discussions

Similar Projects

Does this project spark your interest?

Become a member to follow this project and never miss any updates