 Scott
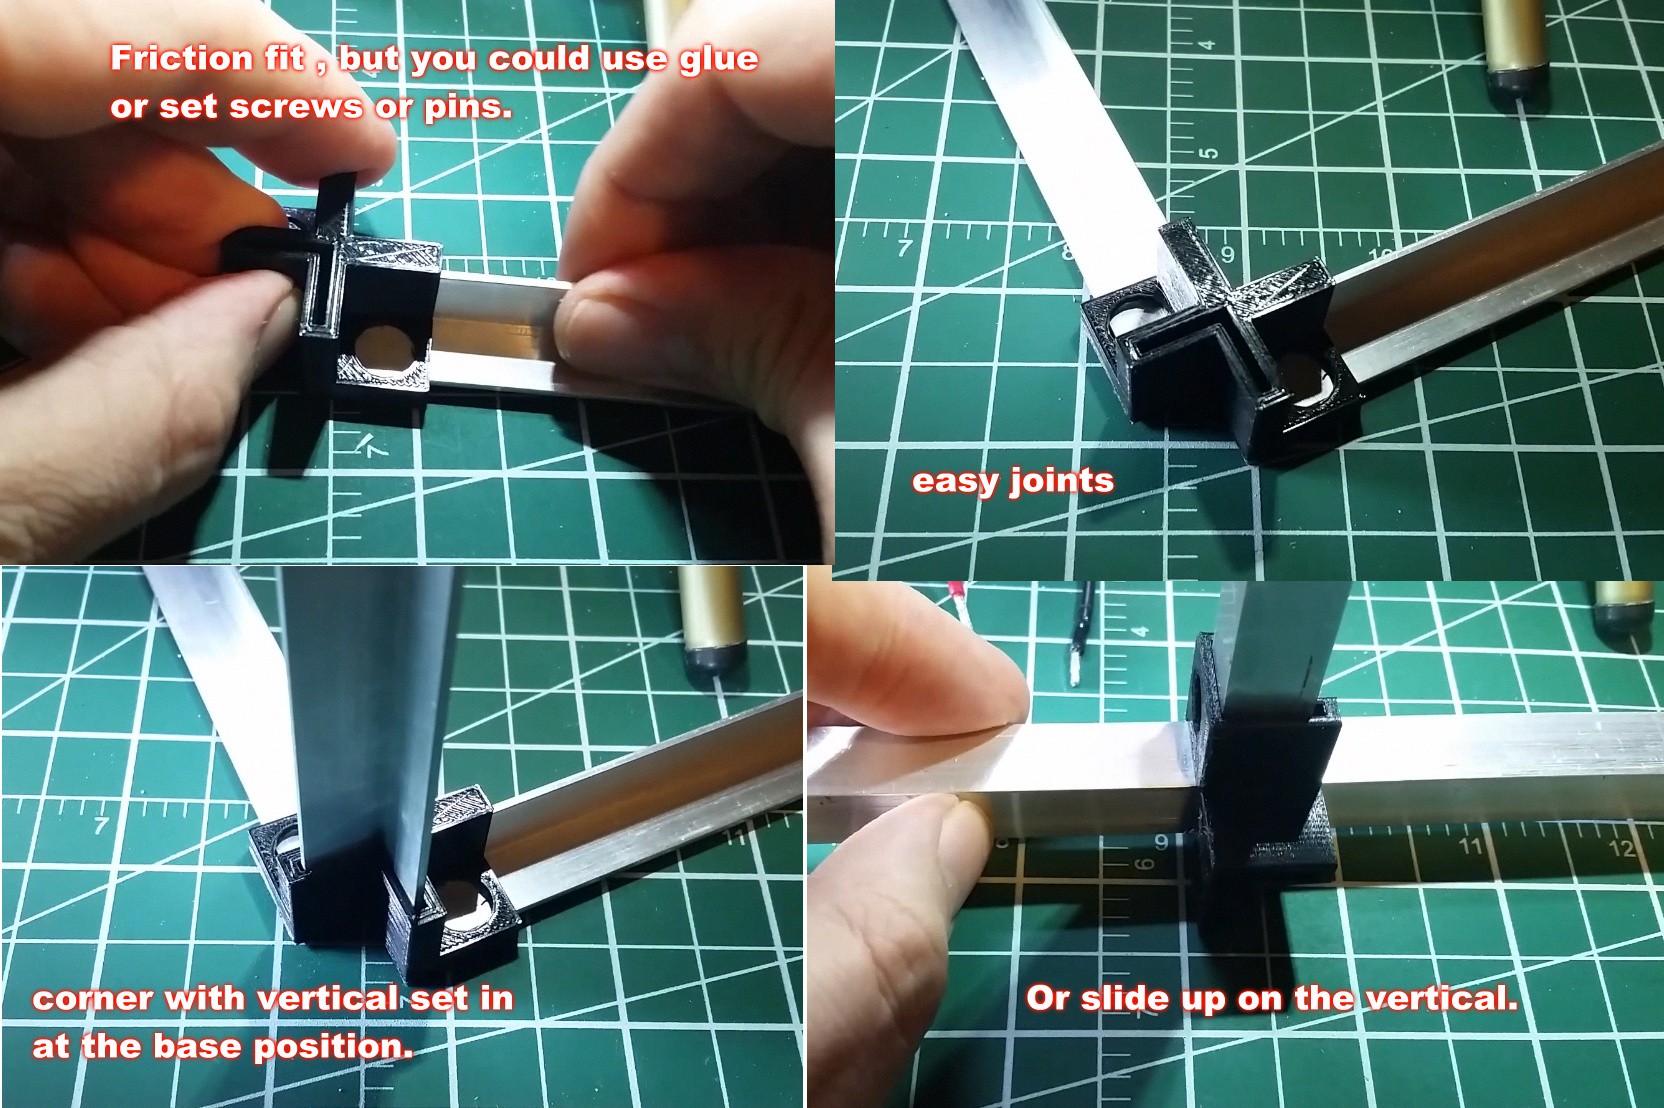
ScottThe part was designed off an Idea i had to make use of the L channel aluminium extrusions i had been drilling and bolting and JB welding for years to make stands and frames.
The problem with drilling and especially using epoxies is that it can be next to impossible to make adjustments or have areas that can come apart for repair or adjustments.
Drilling and gluing also make reusing the same frame later impossible or very hard and messy job , if your need is just for a temporary rig / frame.


 Mark Gaffney
 Daren Schwenke
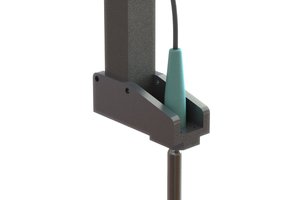
 Alex Rich
 Andy Lee
I came to this page via the new Randomizer and this is really cool :-)