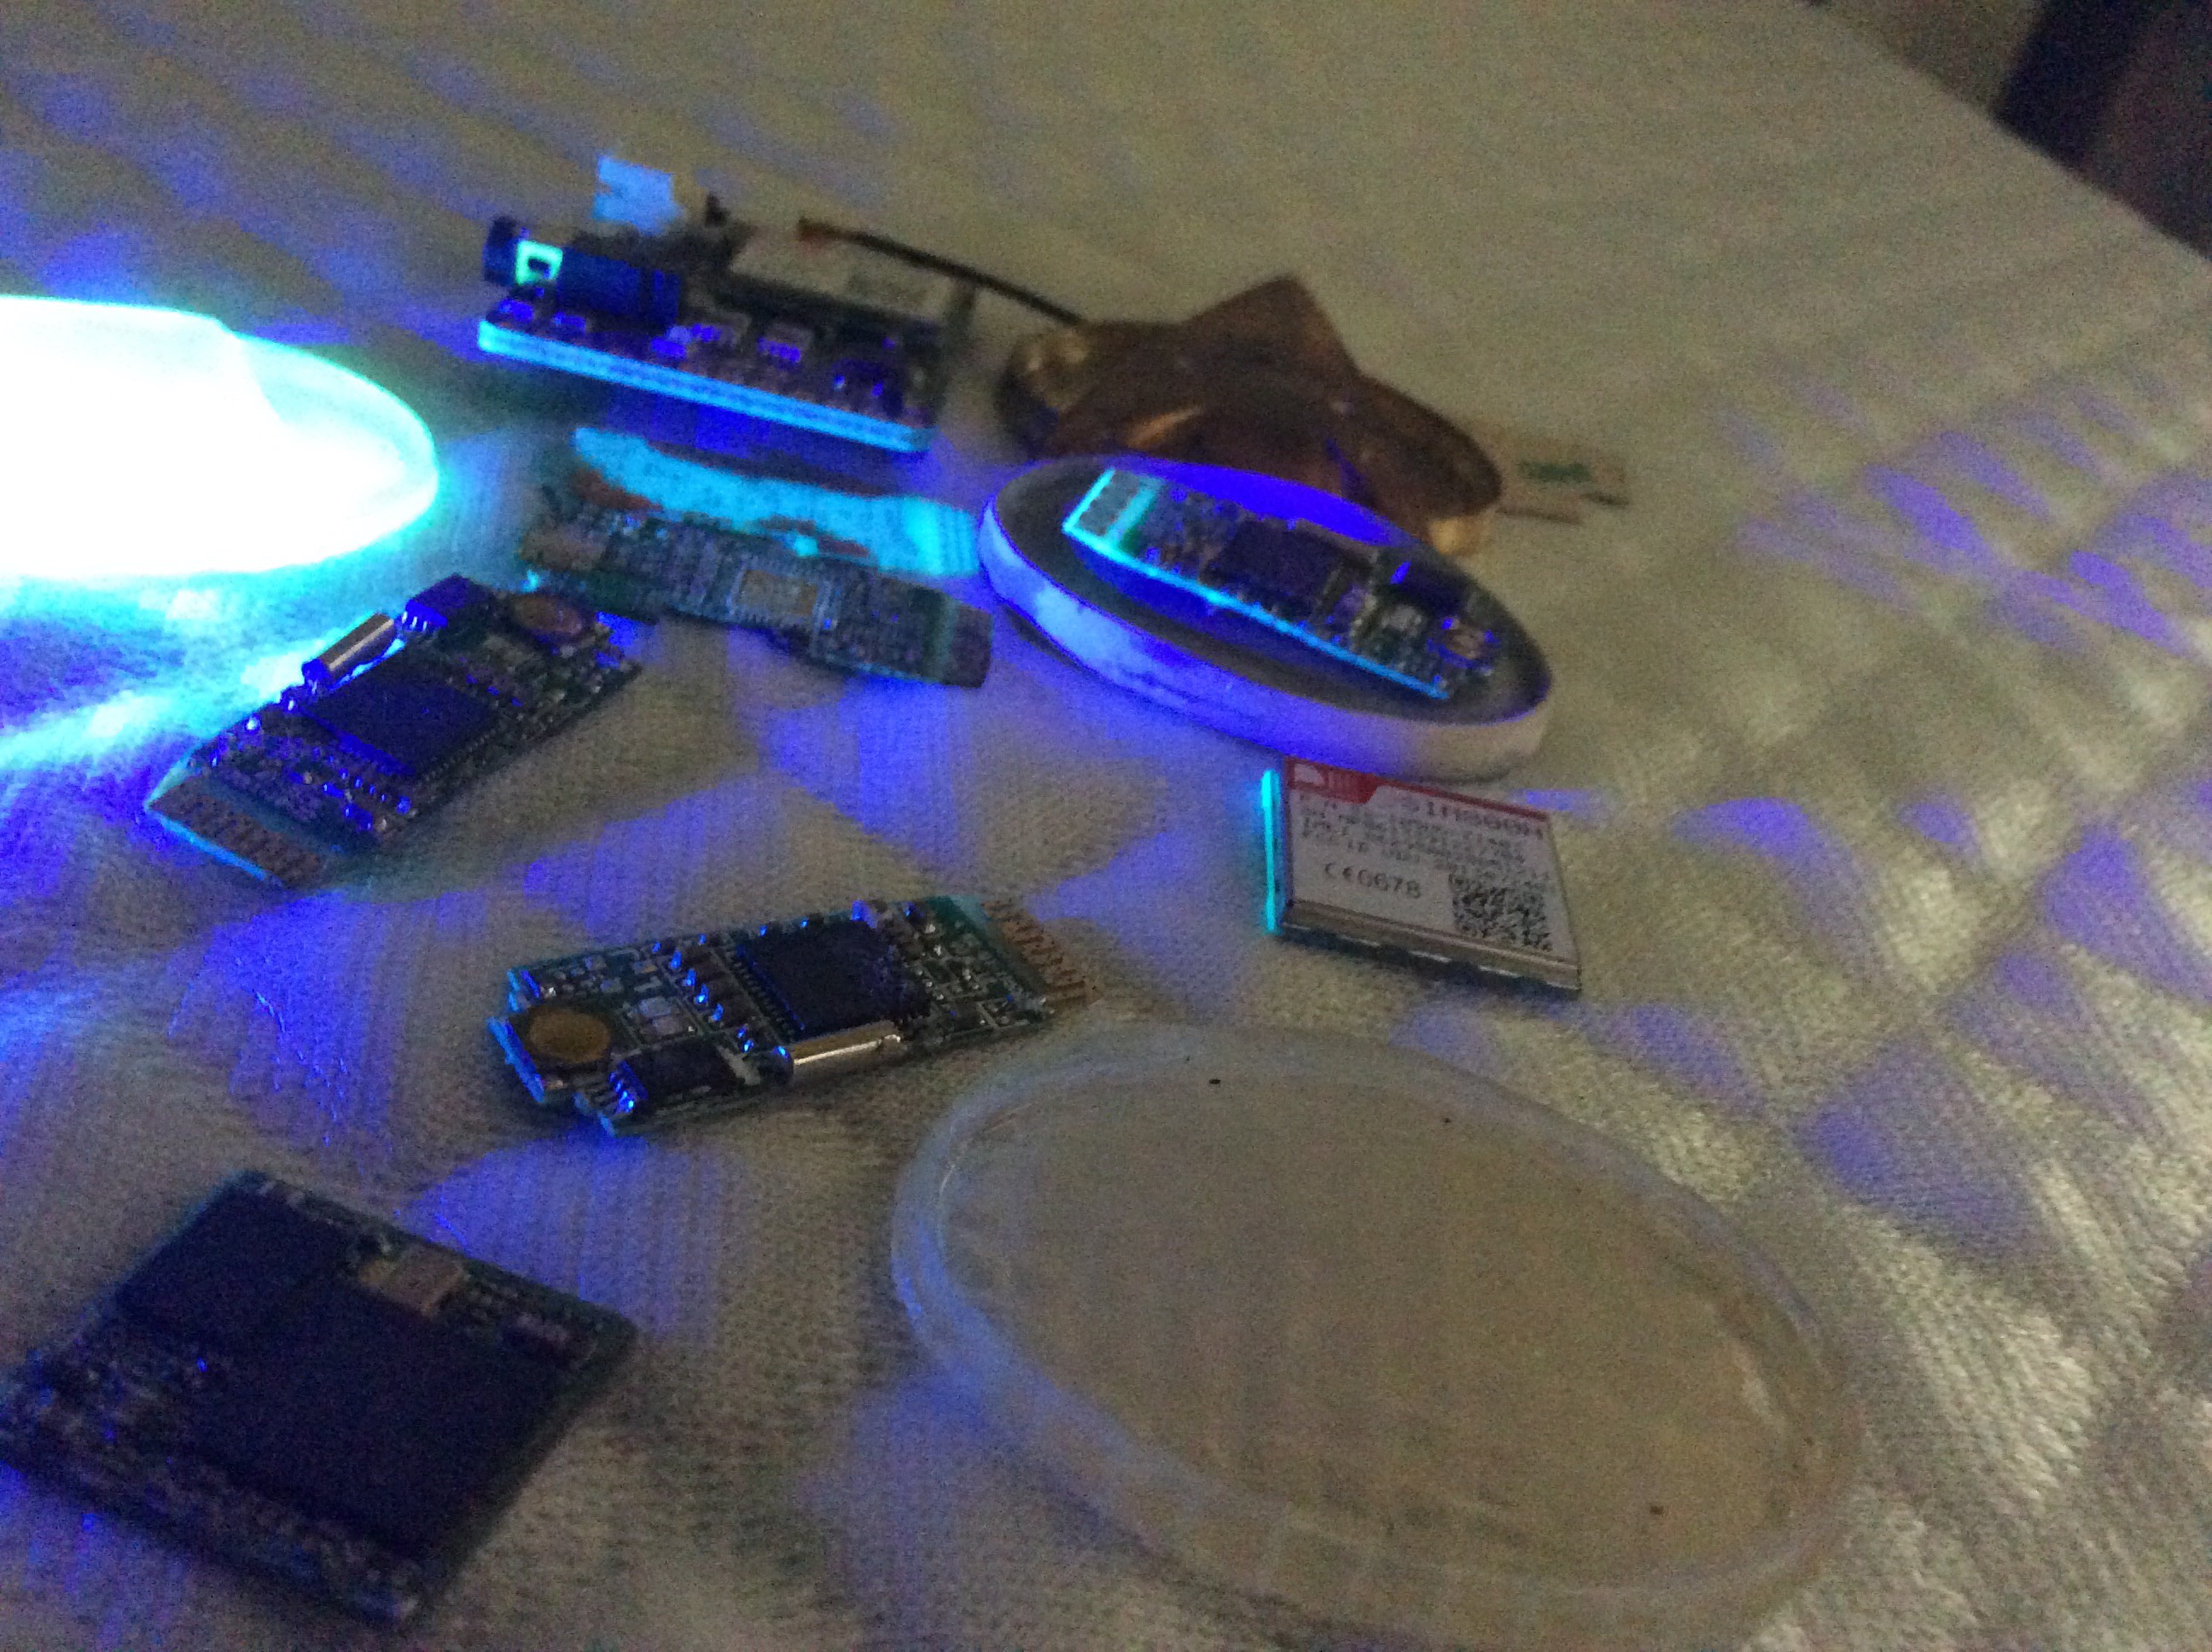
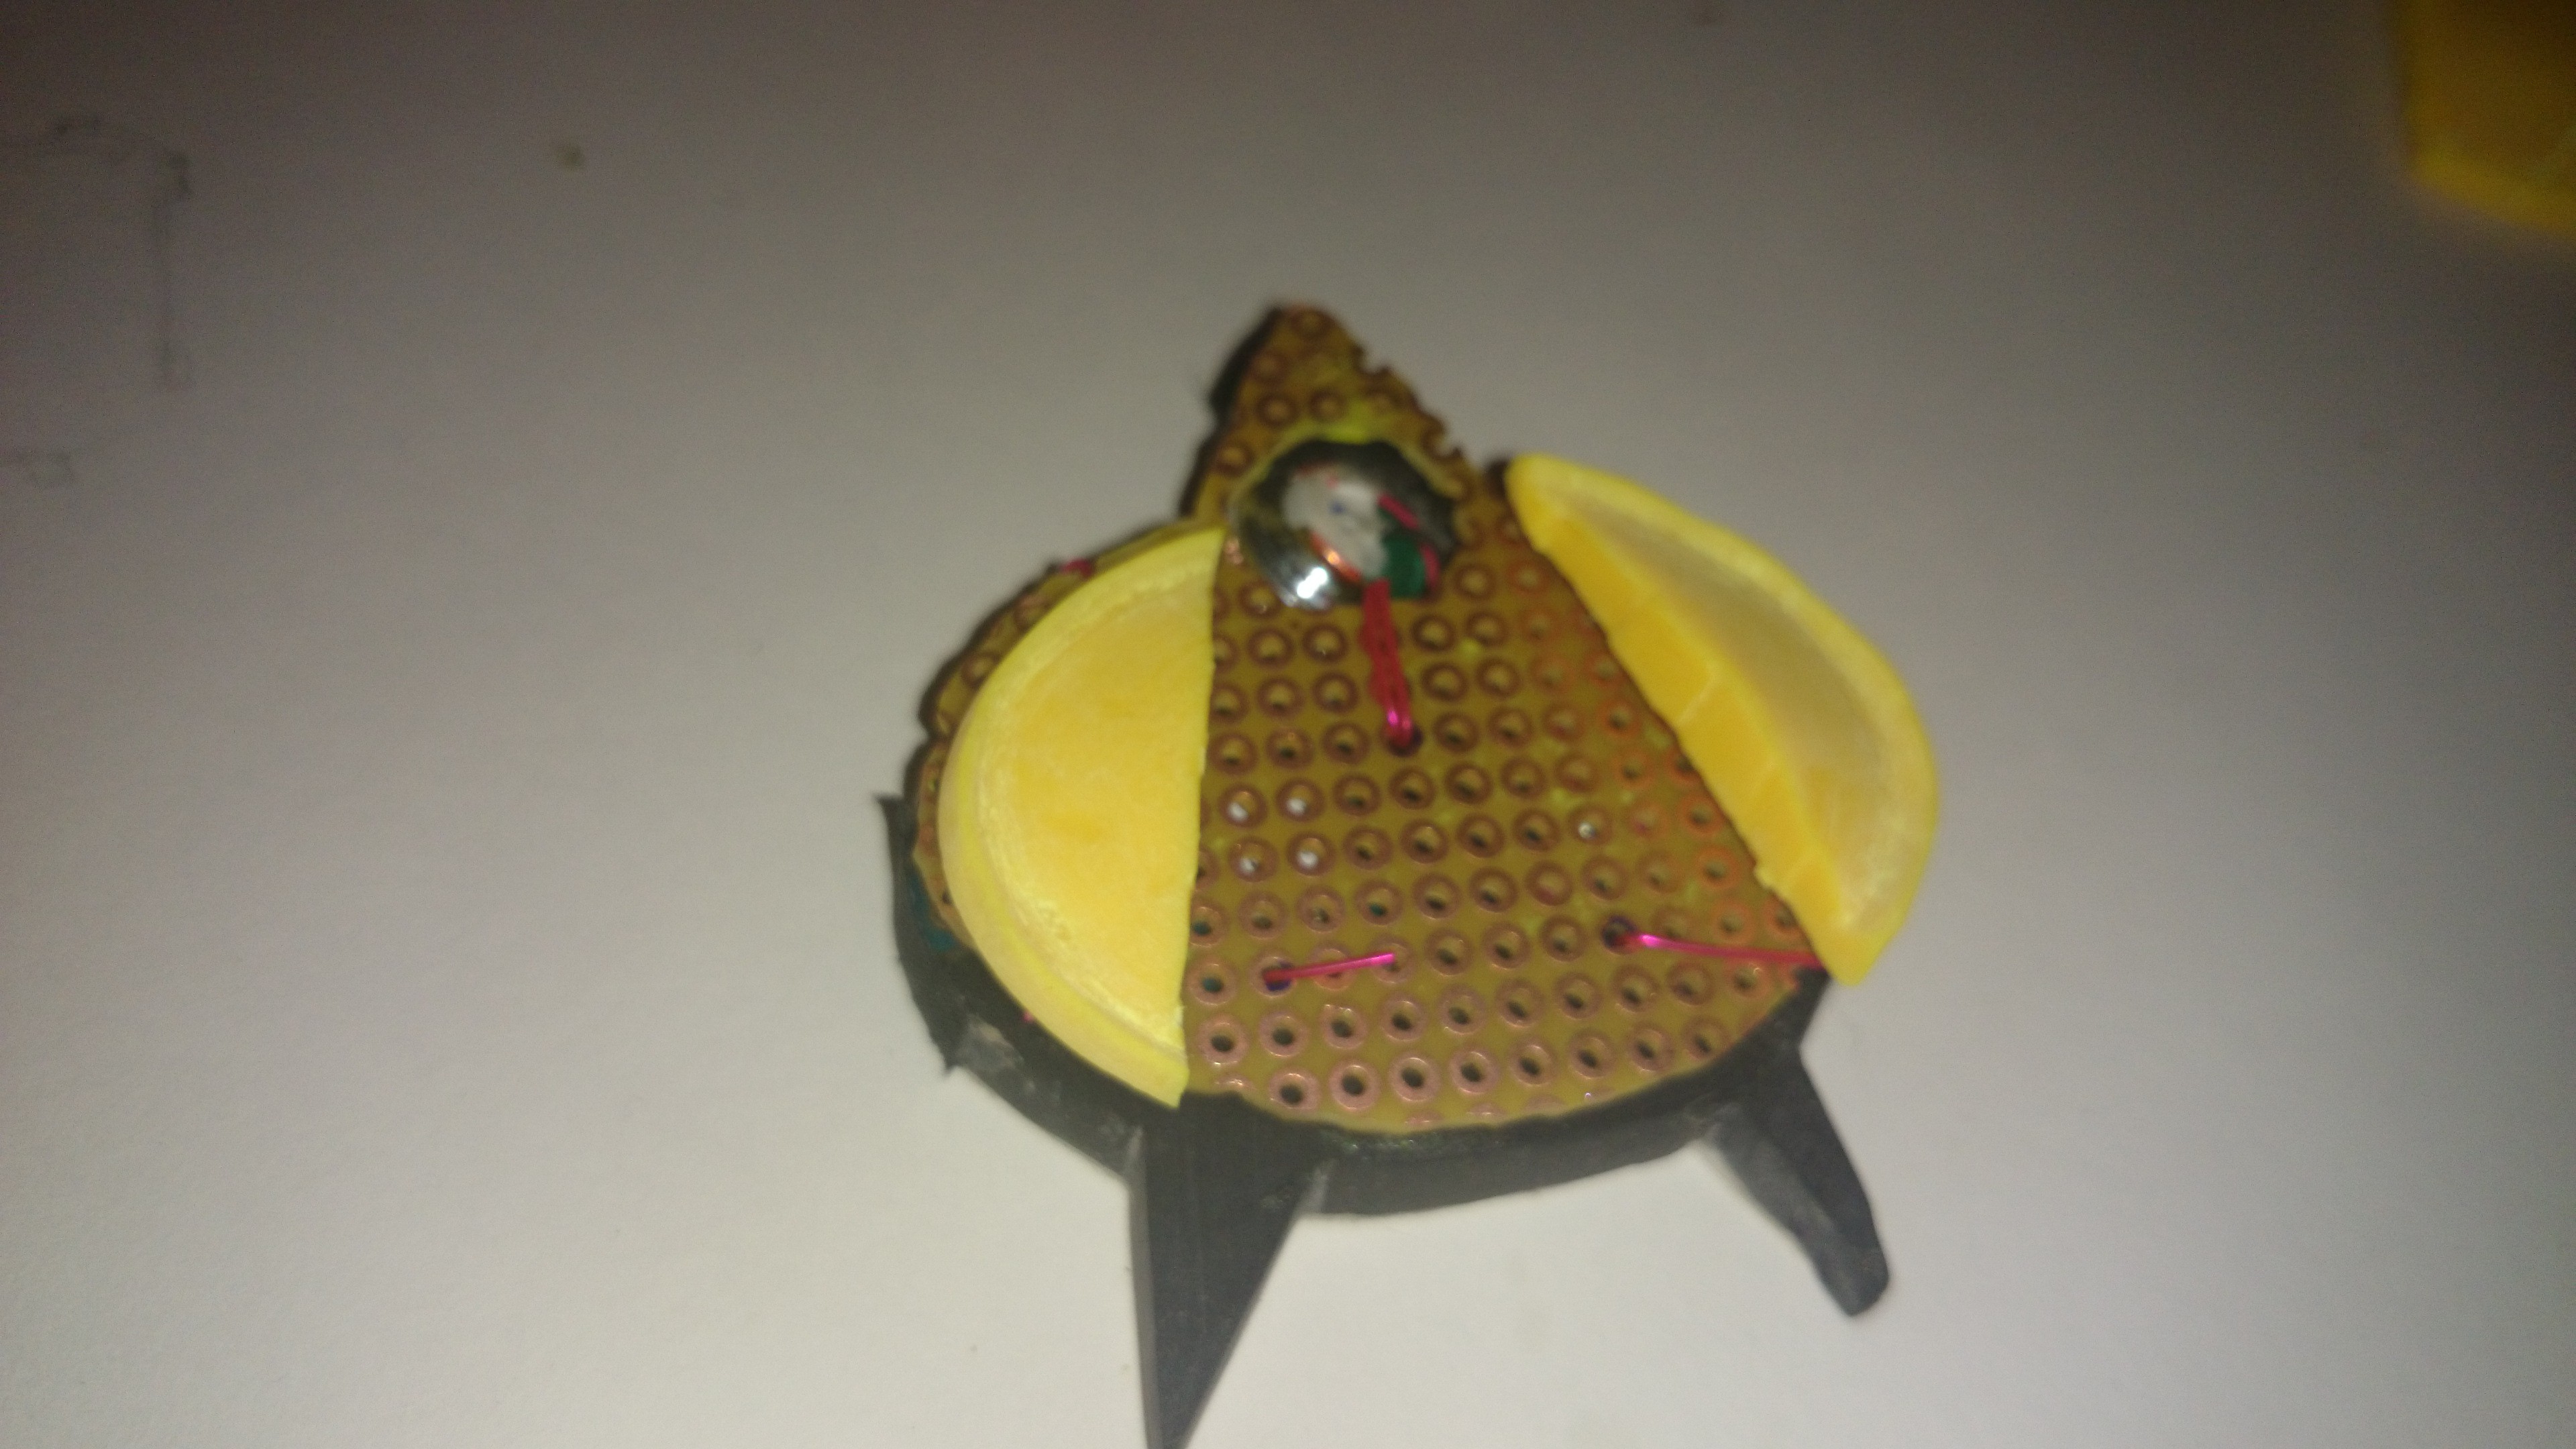
Close
0%
0%

Star Trek TNG Bluetooth Communicator

Turning a BT headset into a real communicator

Similar projects worth following
We are using a galaxy HM3300 BT headset with NFC as donor device. Re-casing I guess you would call it. We are actually working on a real one from scratch, but thought this would be a fun contest to get in, and see how people felt about getting hold of the real deal. ;-)

So I don't know about you, but my son, friends and myself have wanted a Star Trek communicator since the first time I/we saw Riker touch it and talk to the enterprise. This is the predecessor to an currently developing project. More or less it was our proof of concept. ;)

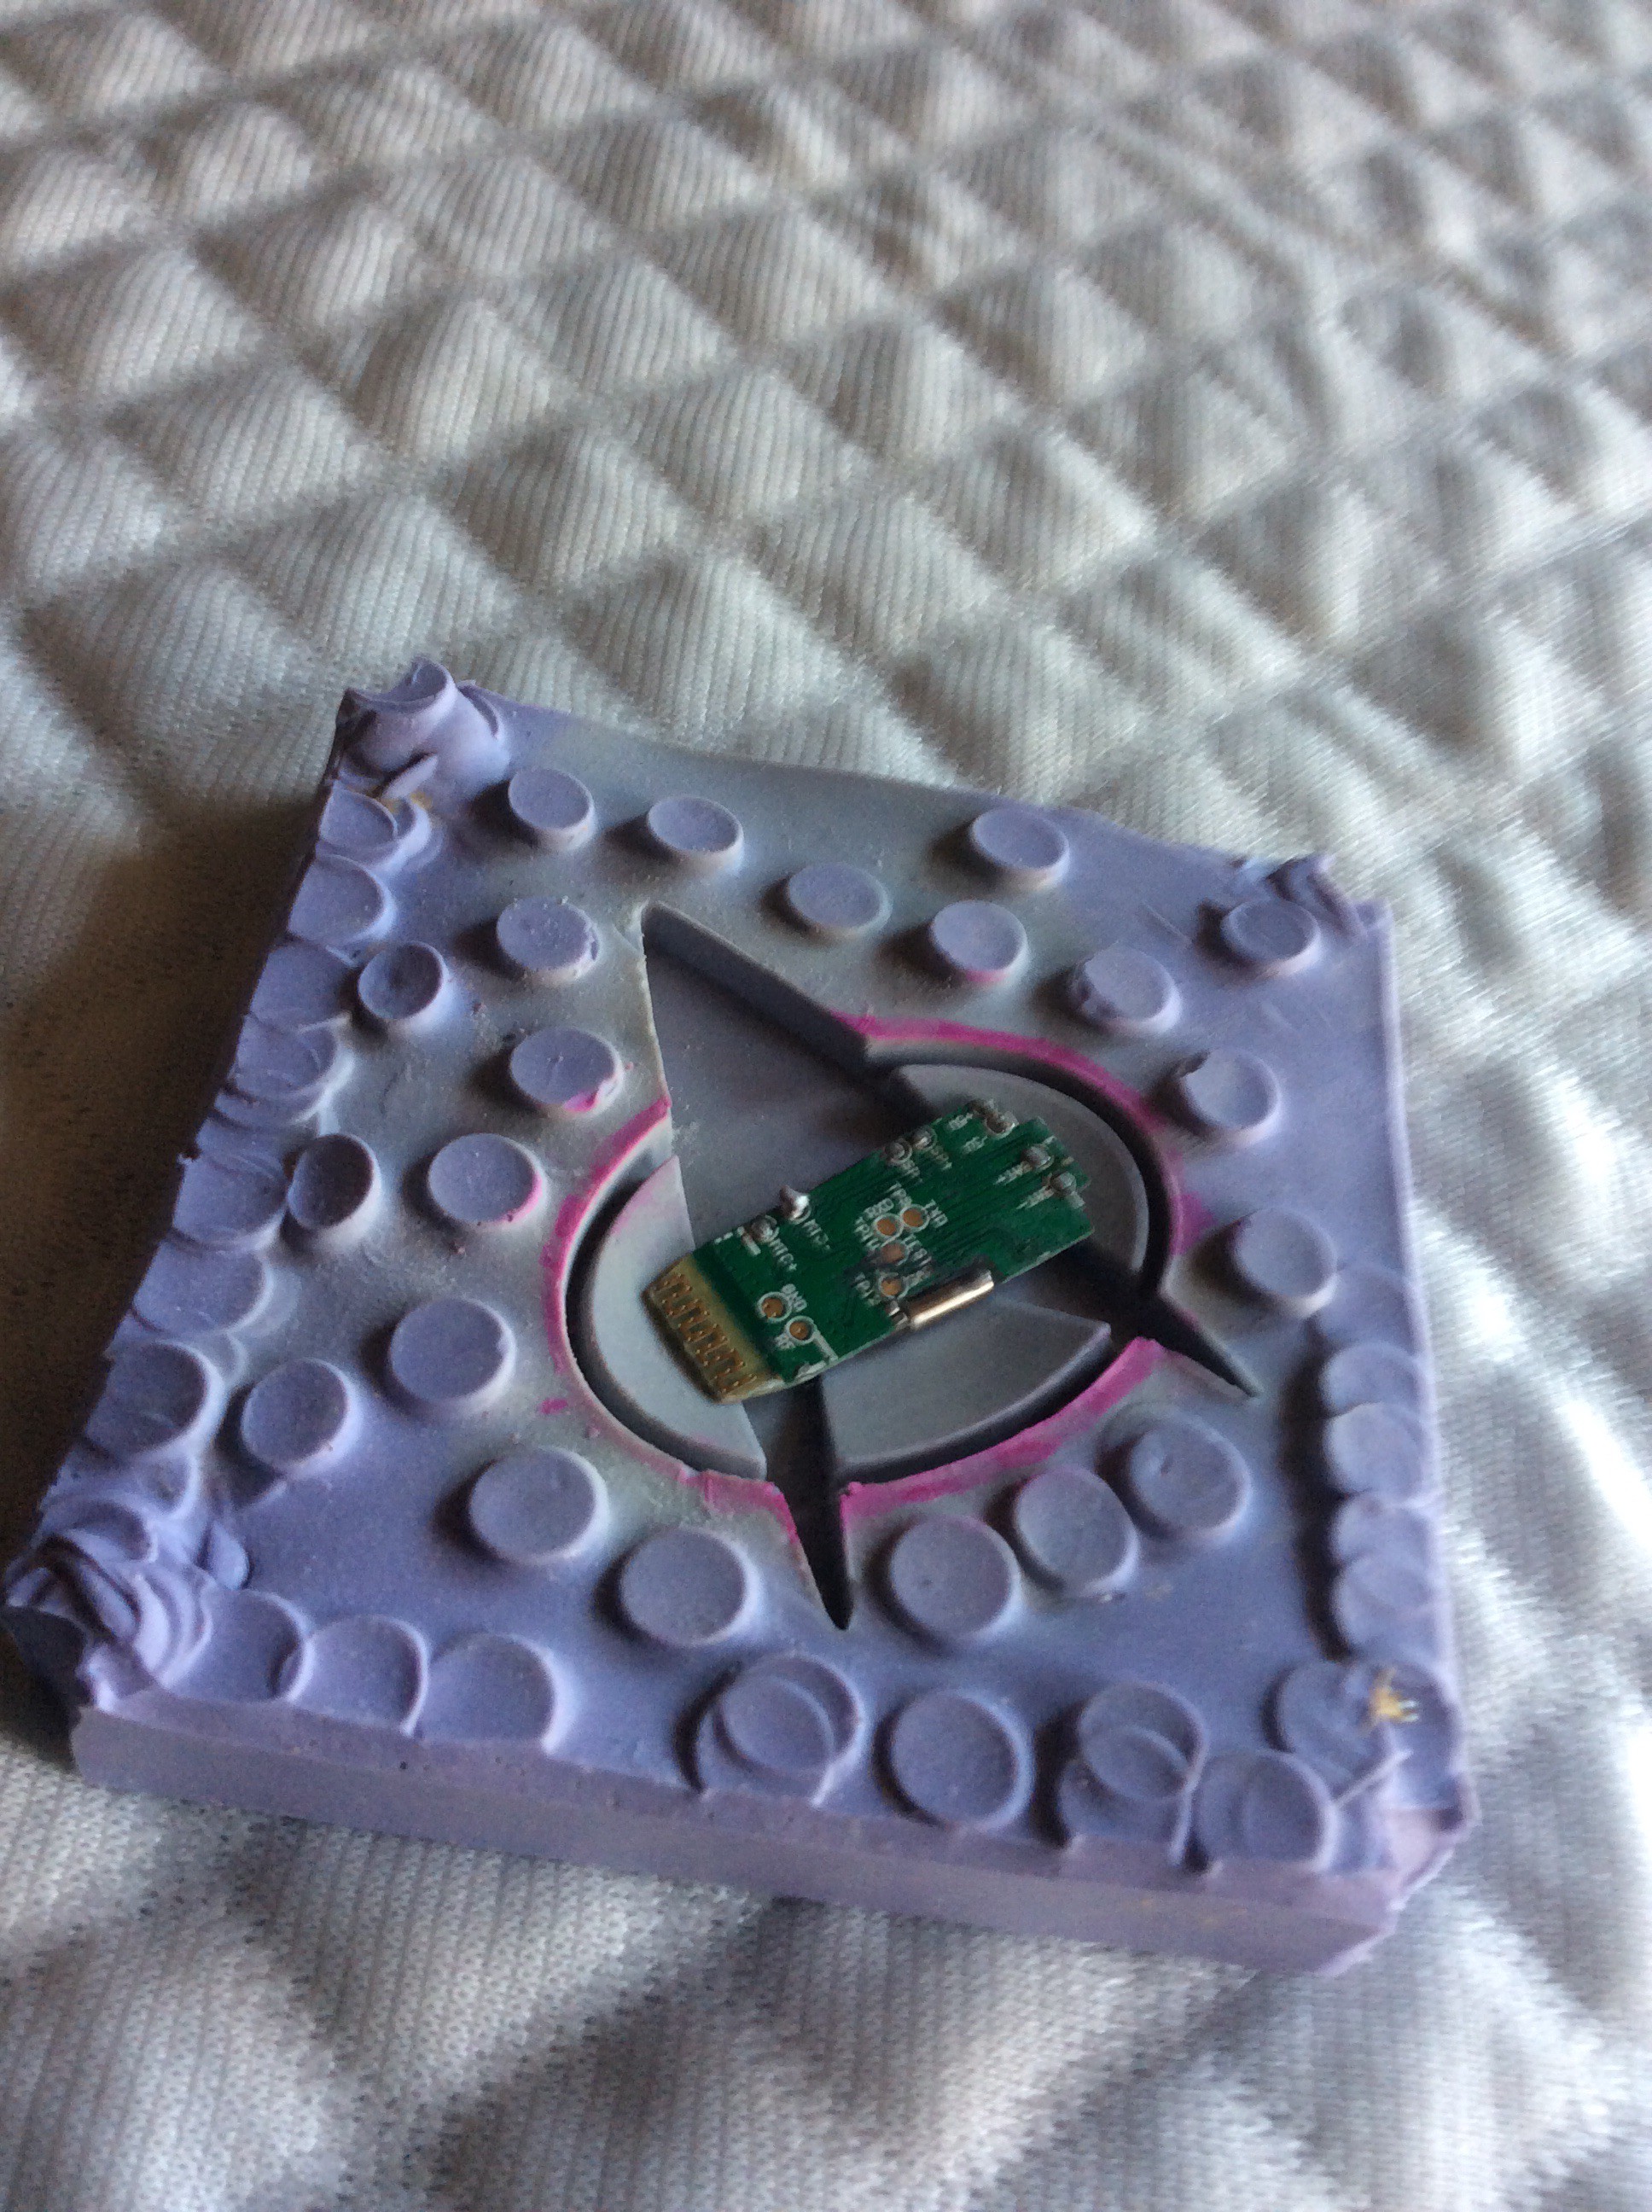
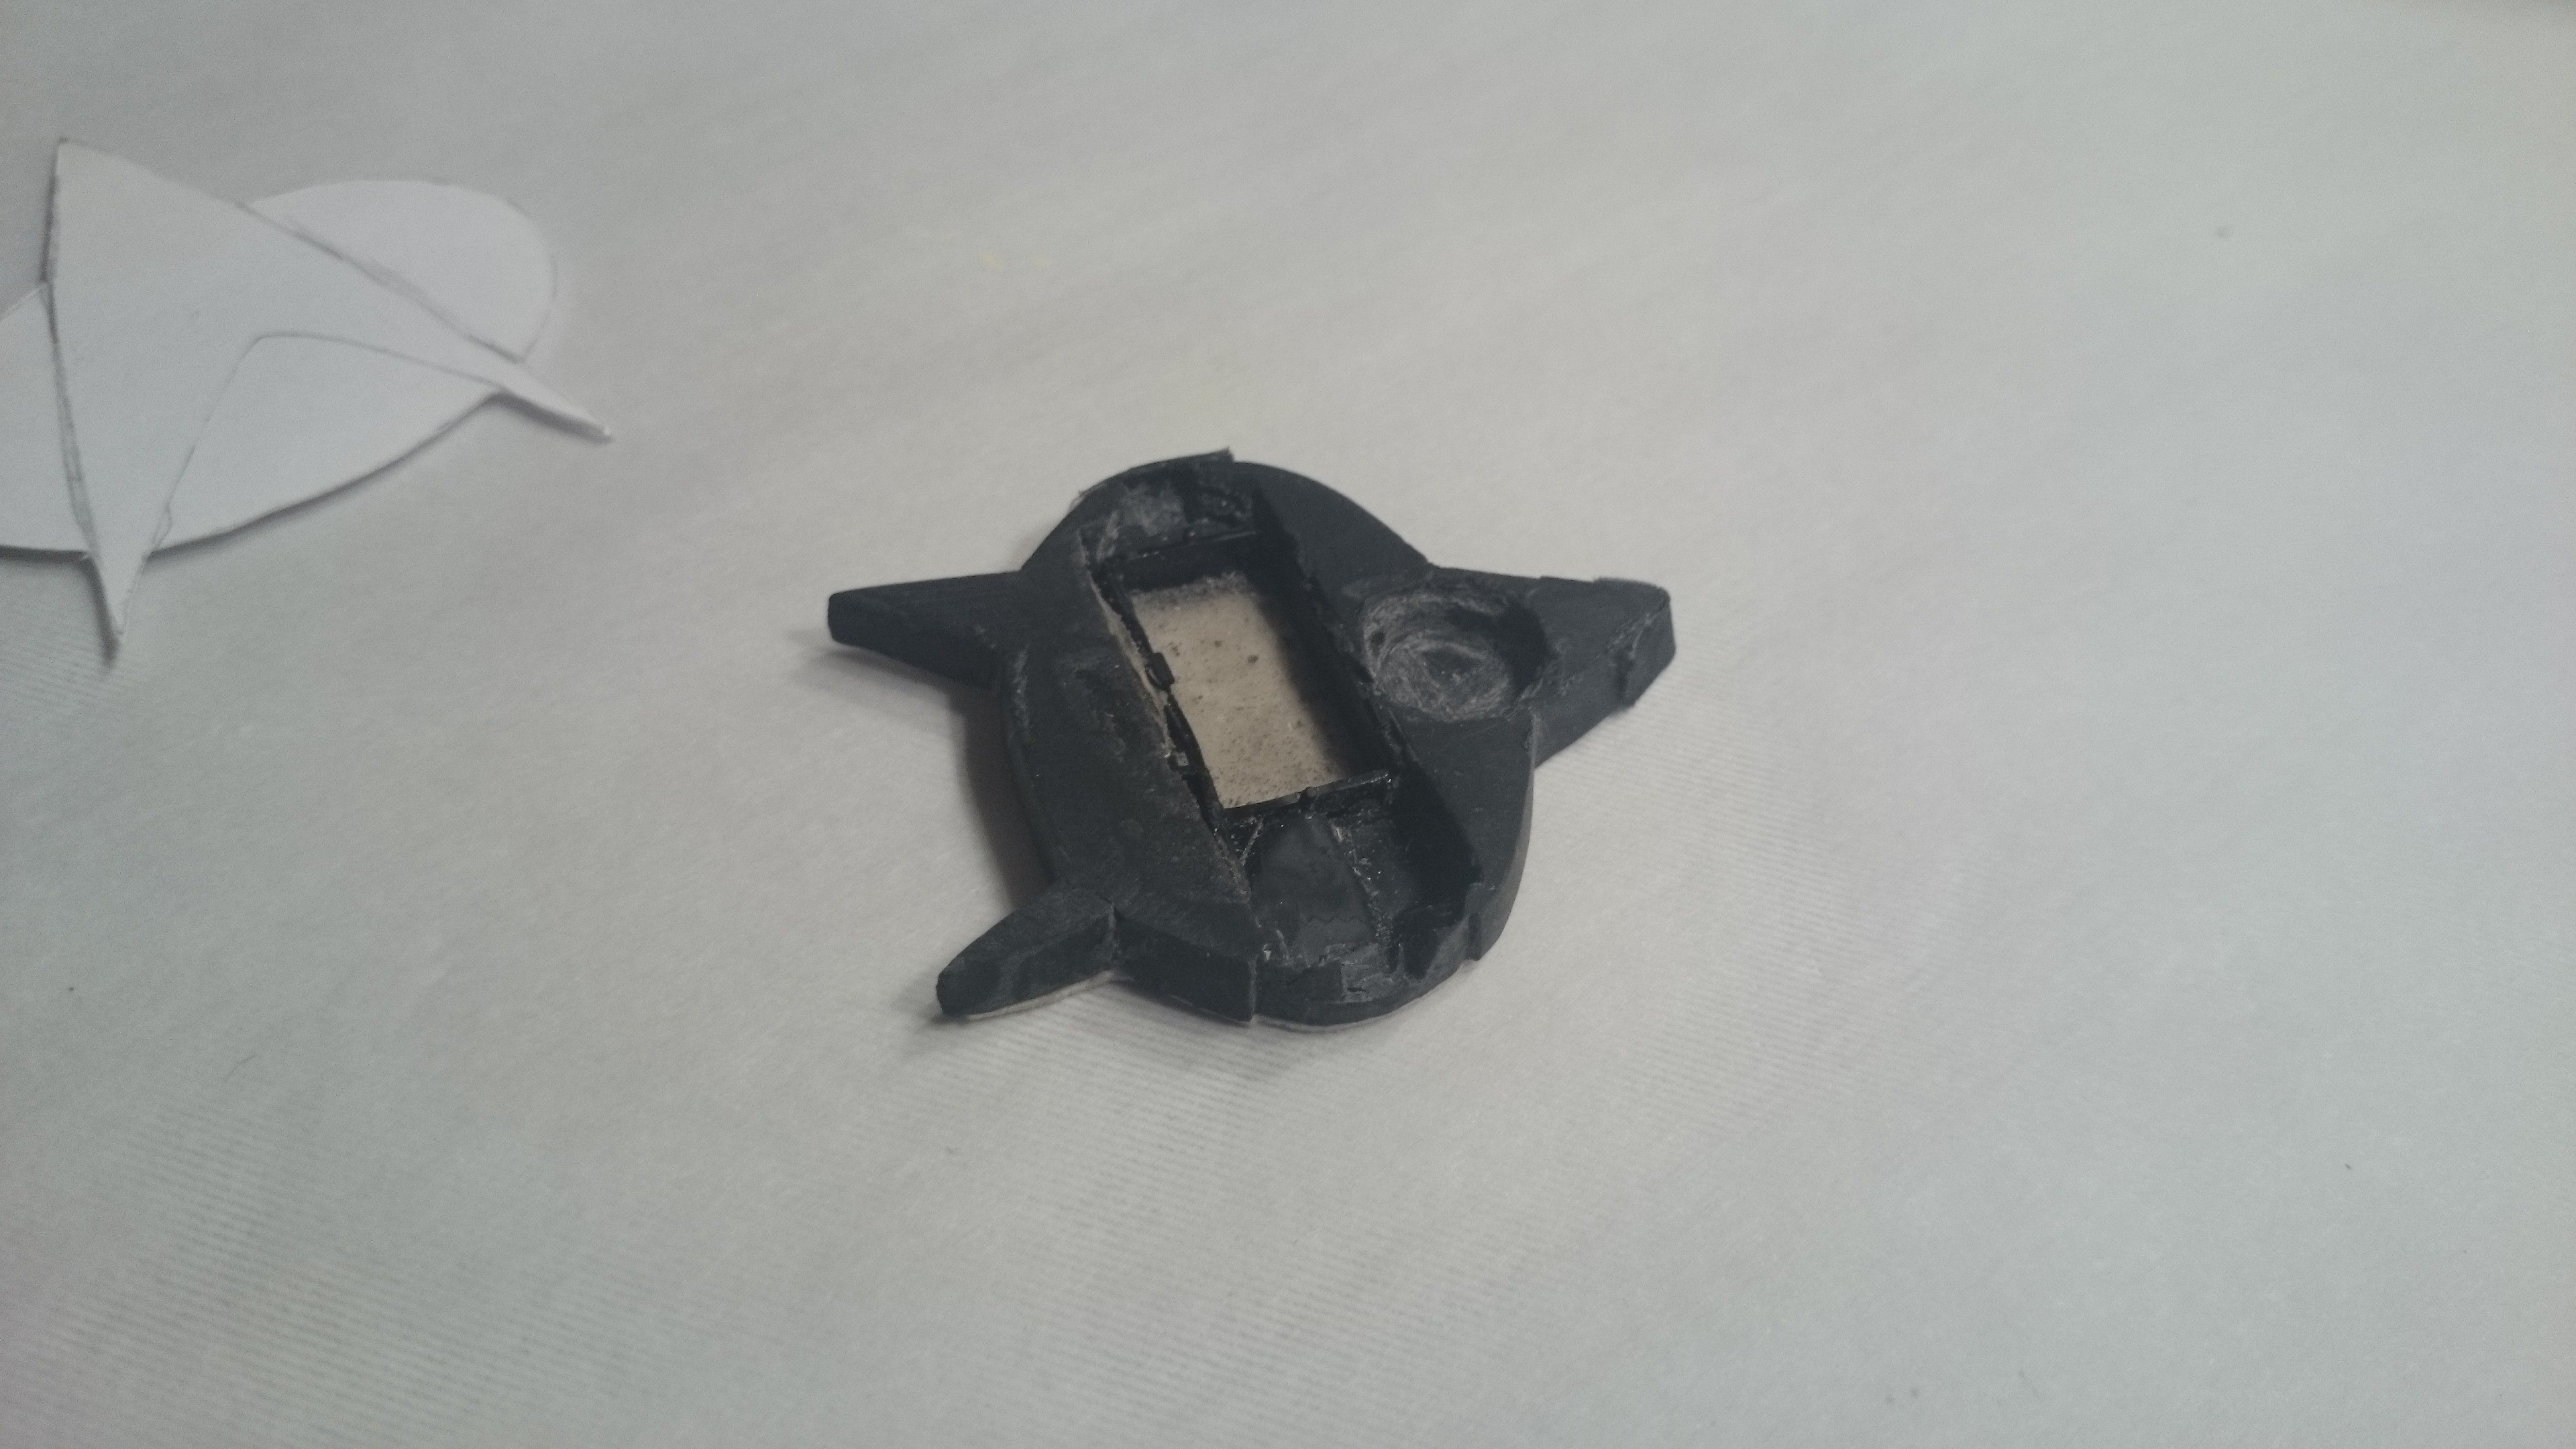
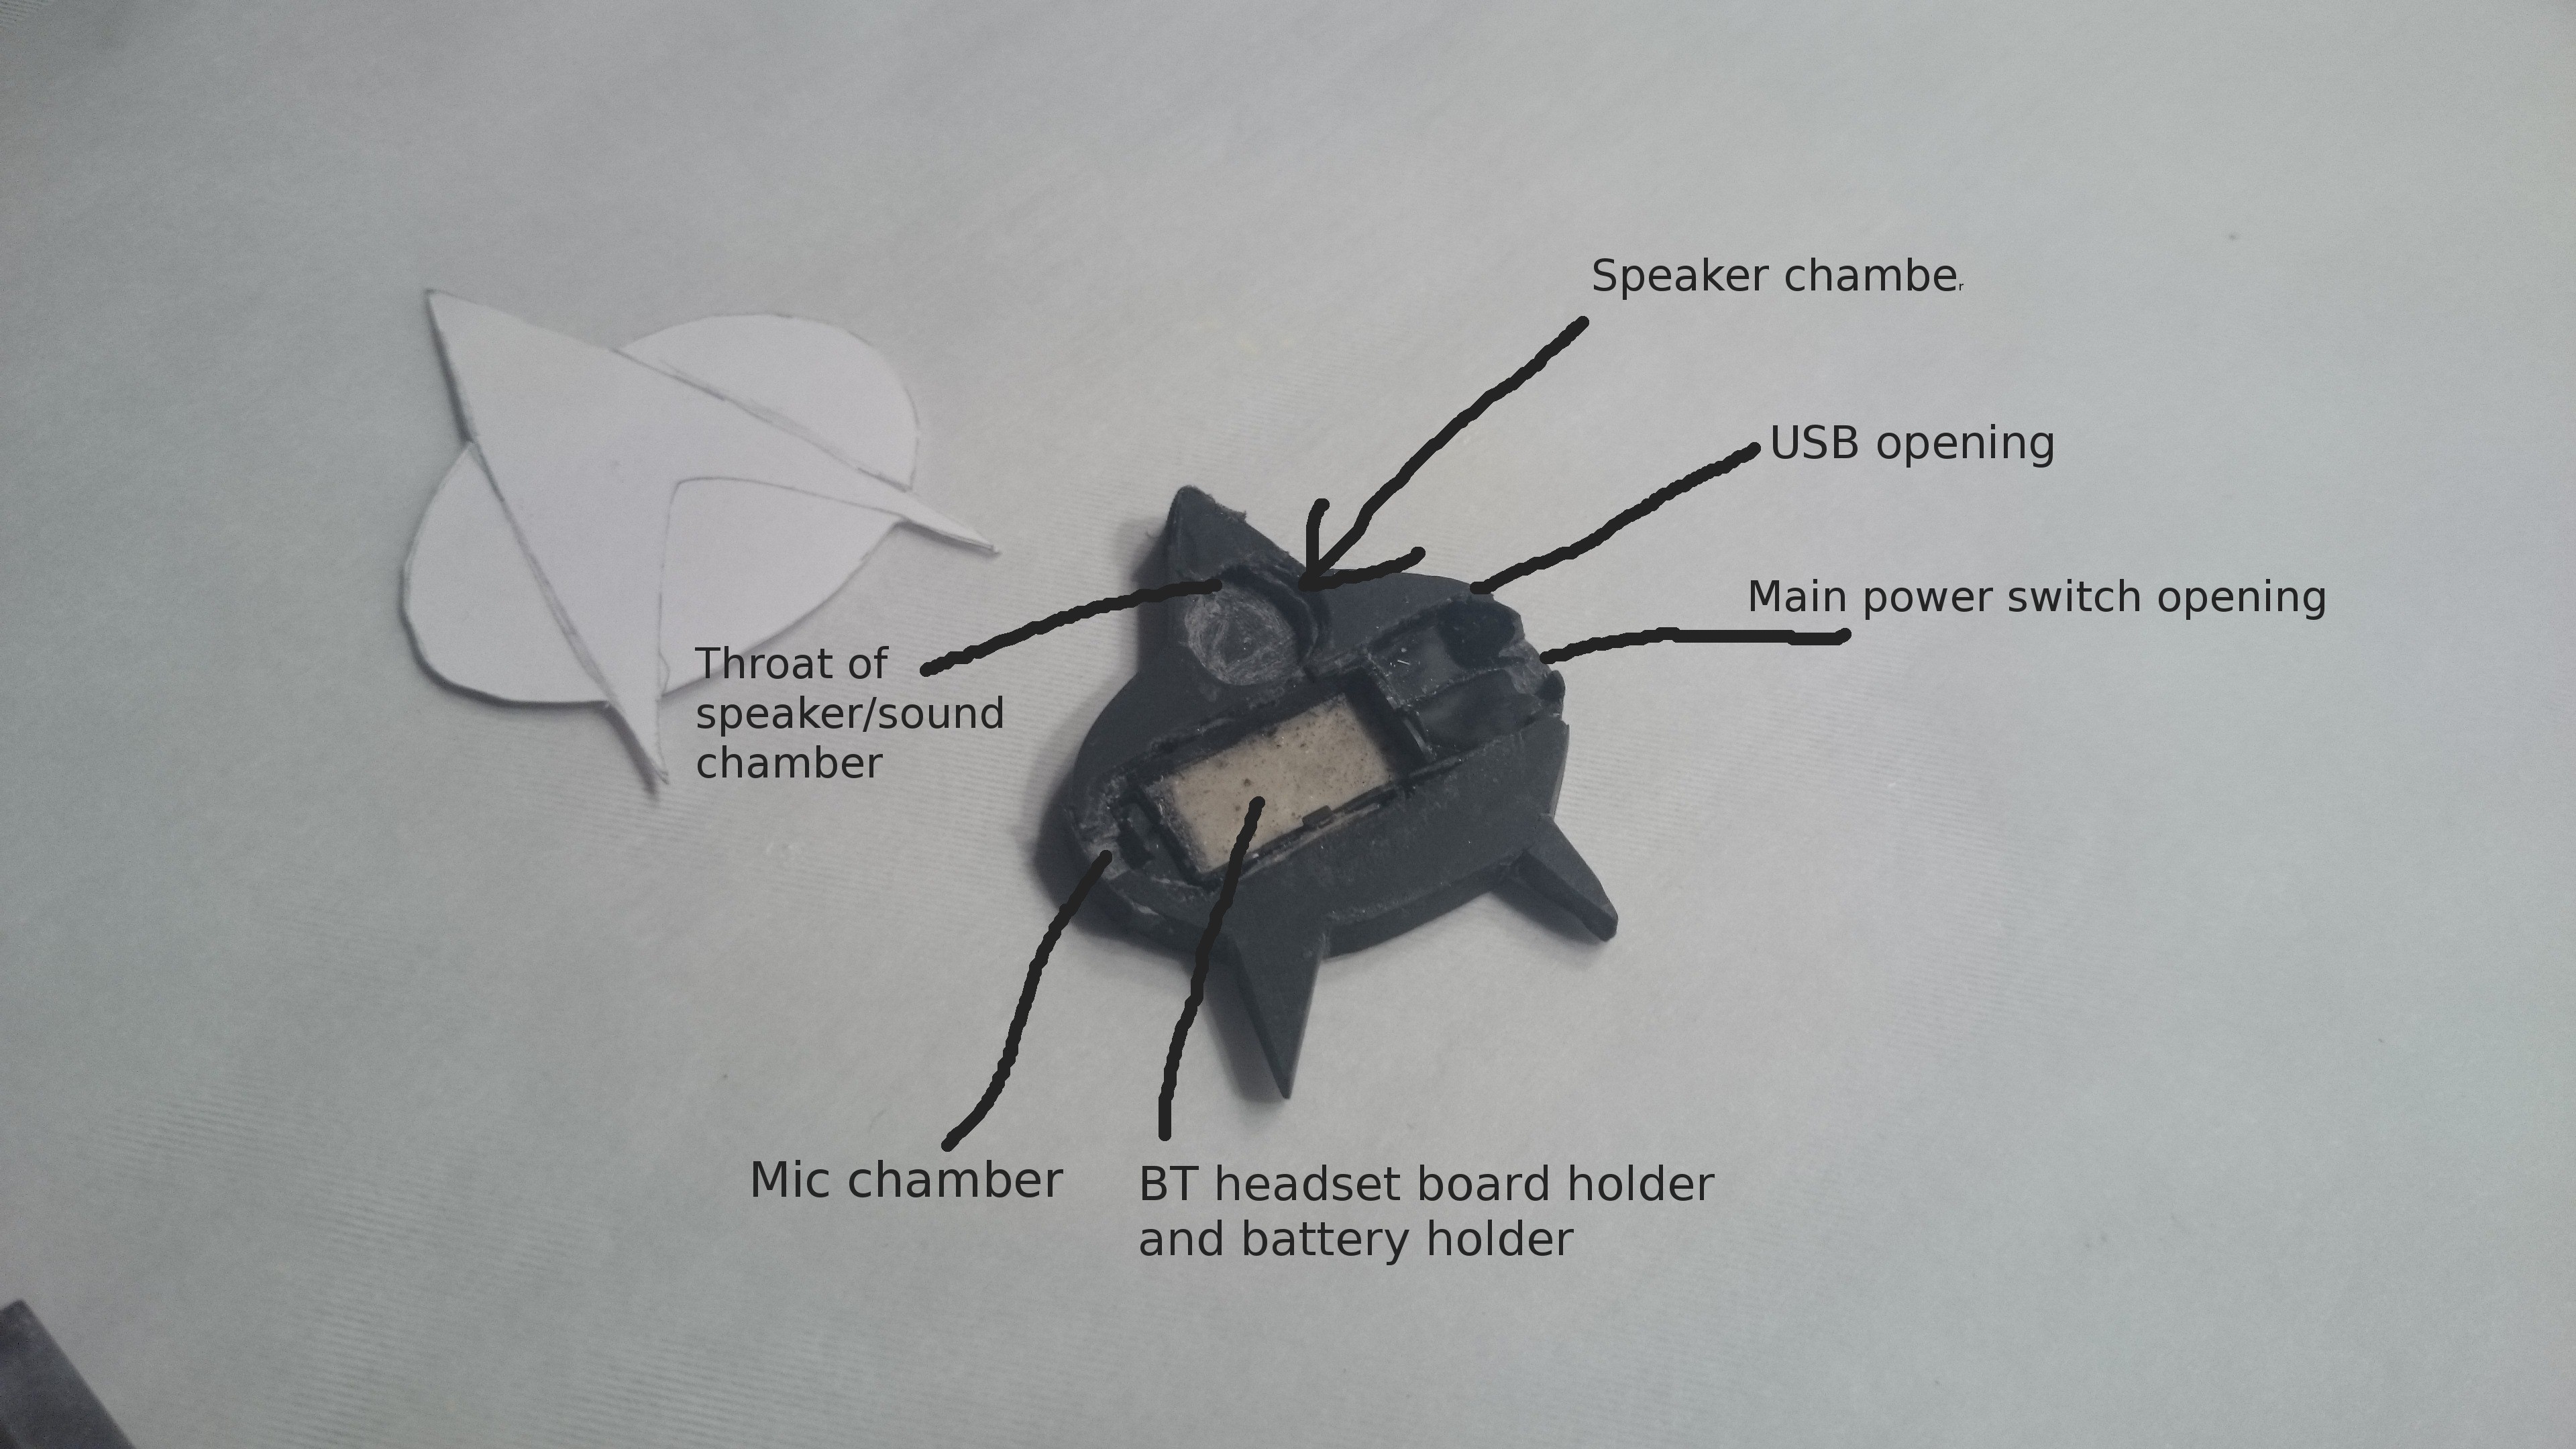
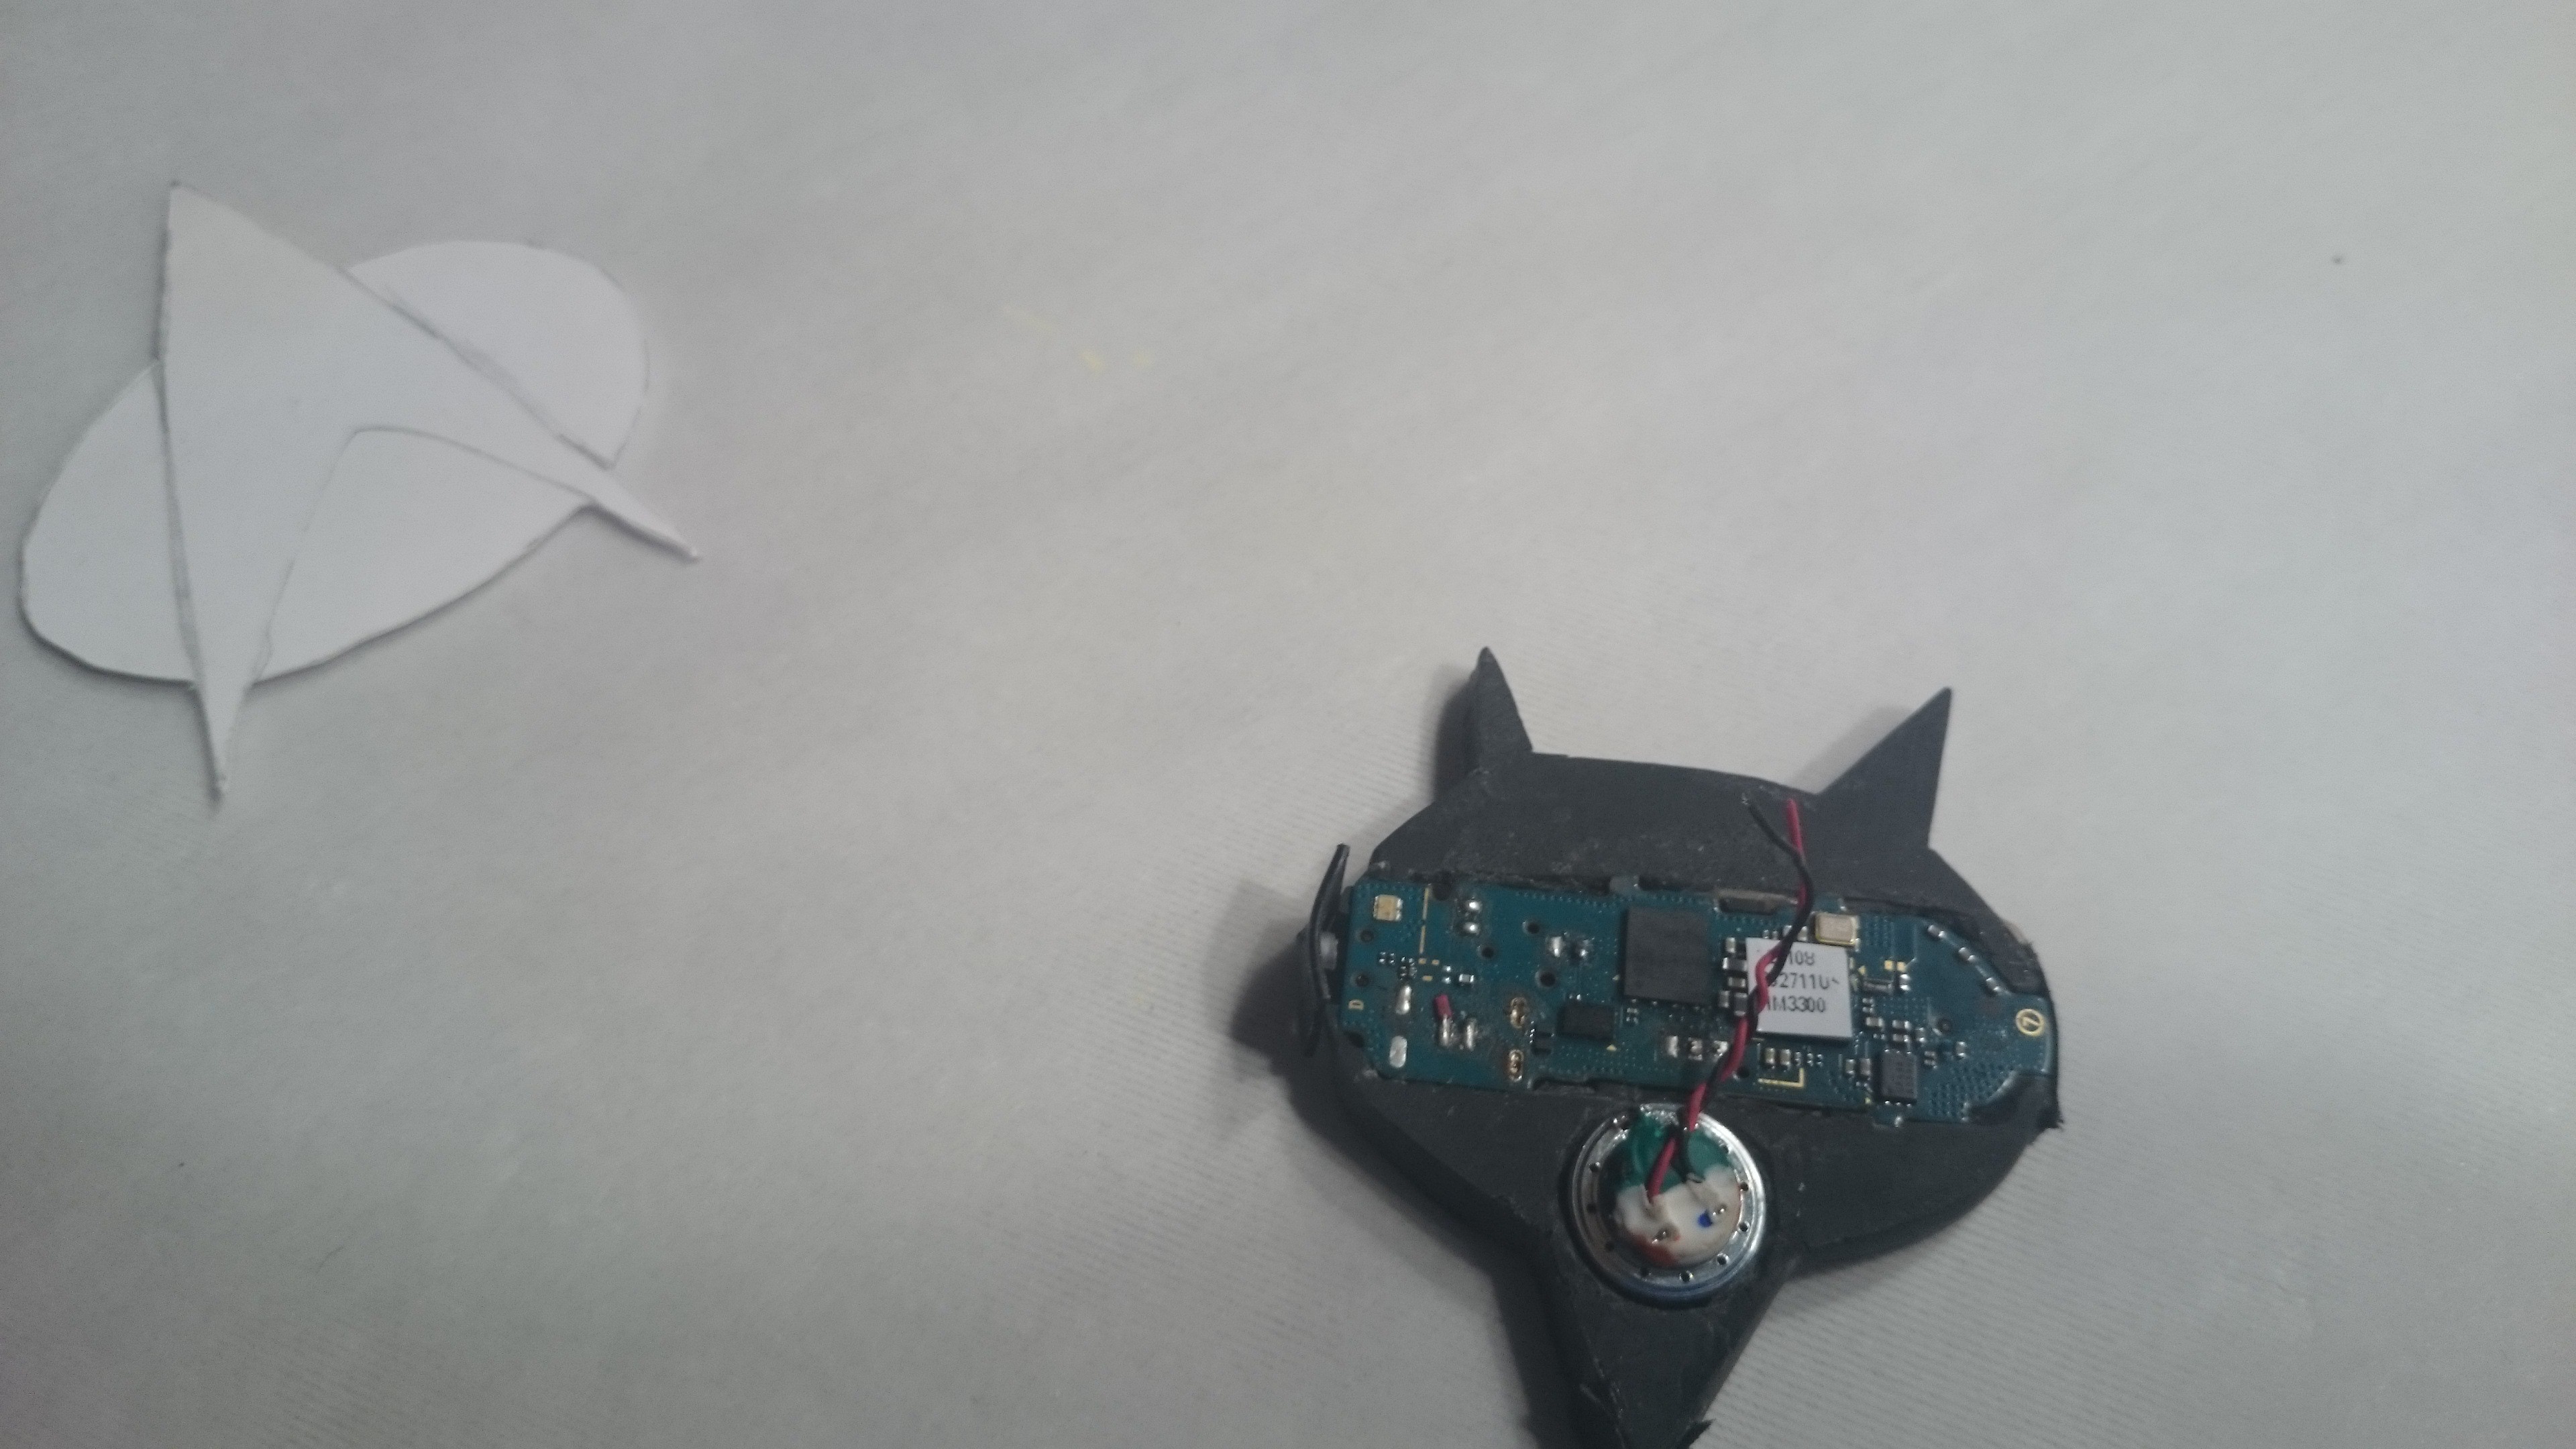
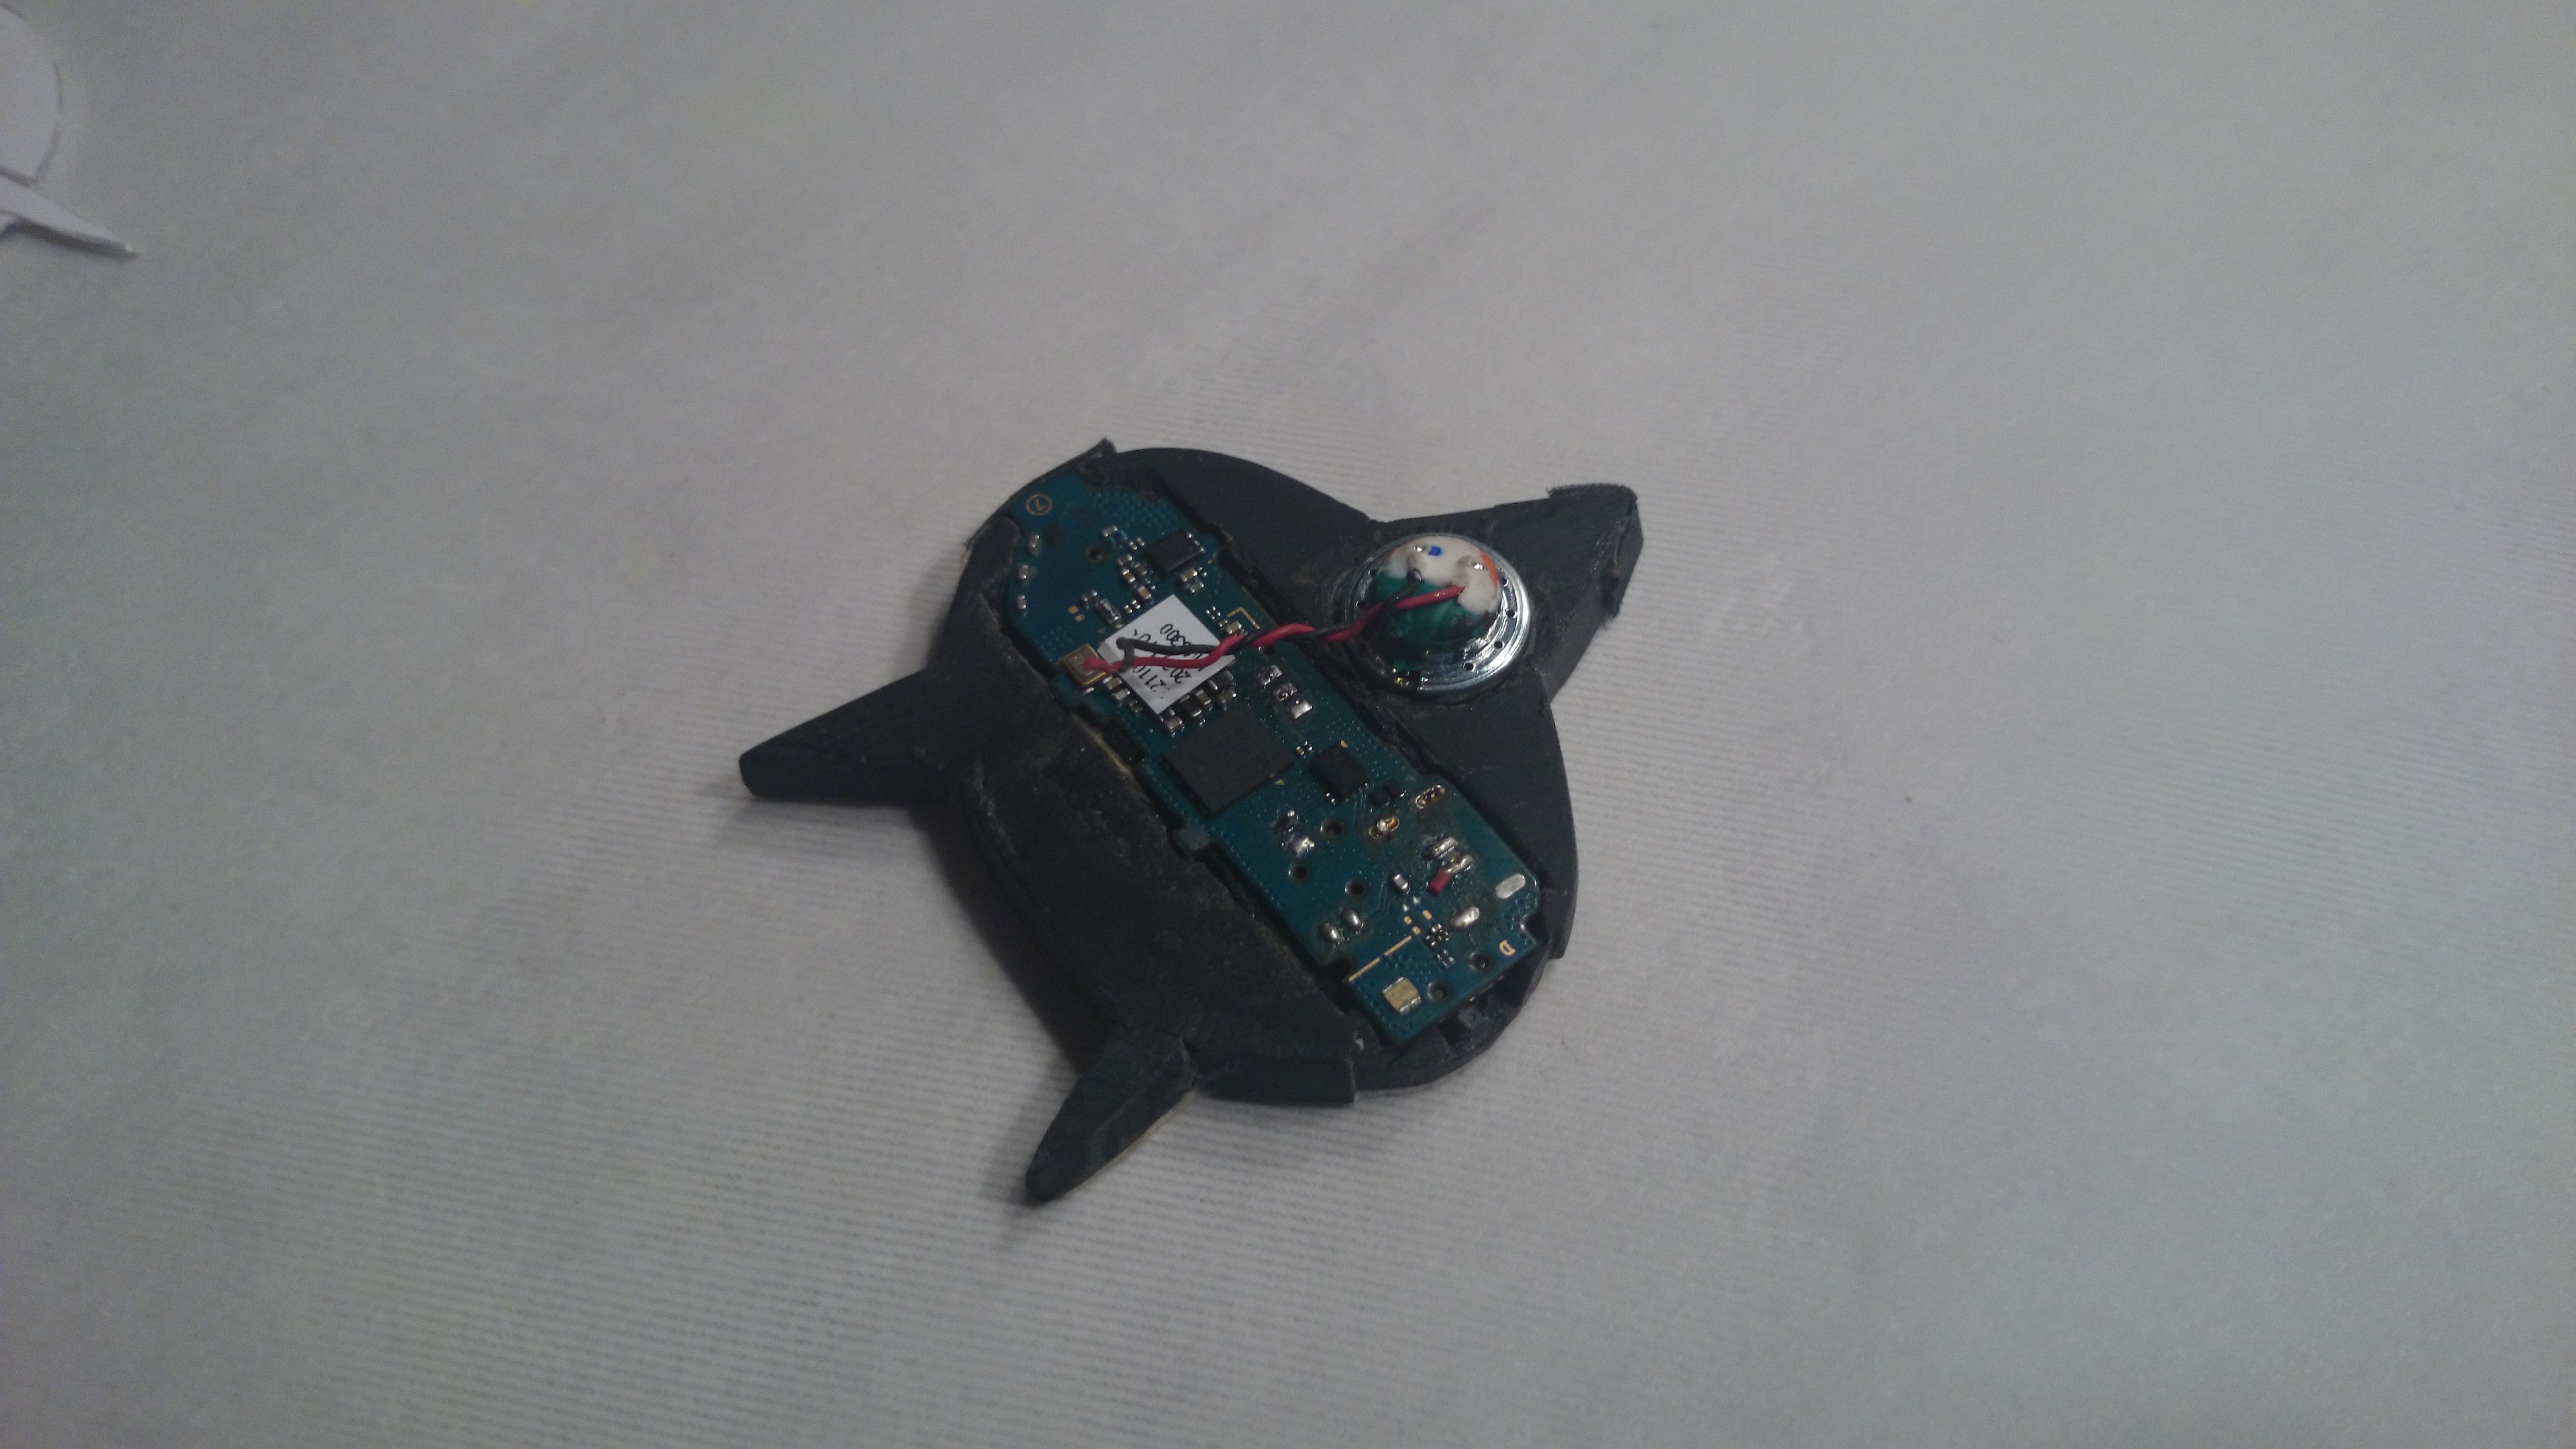
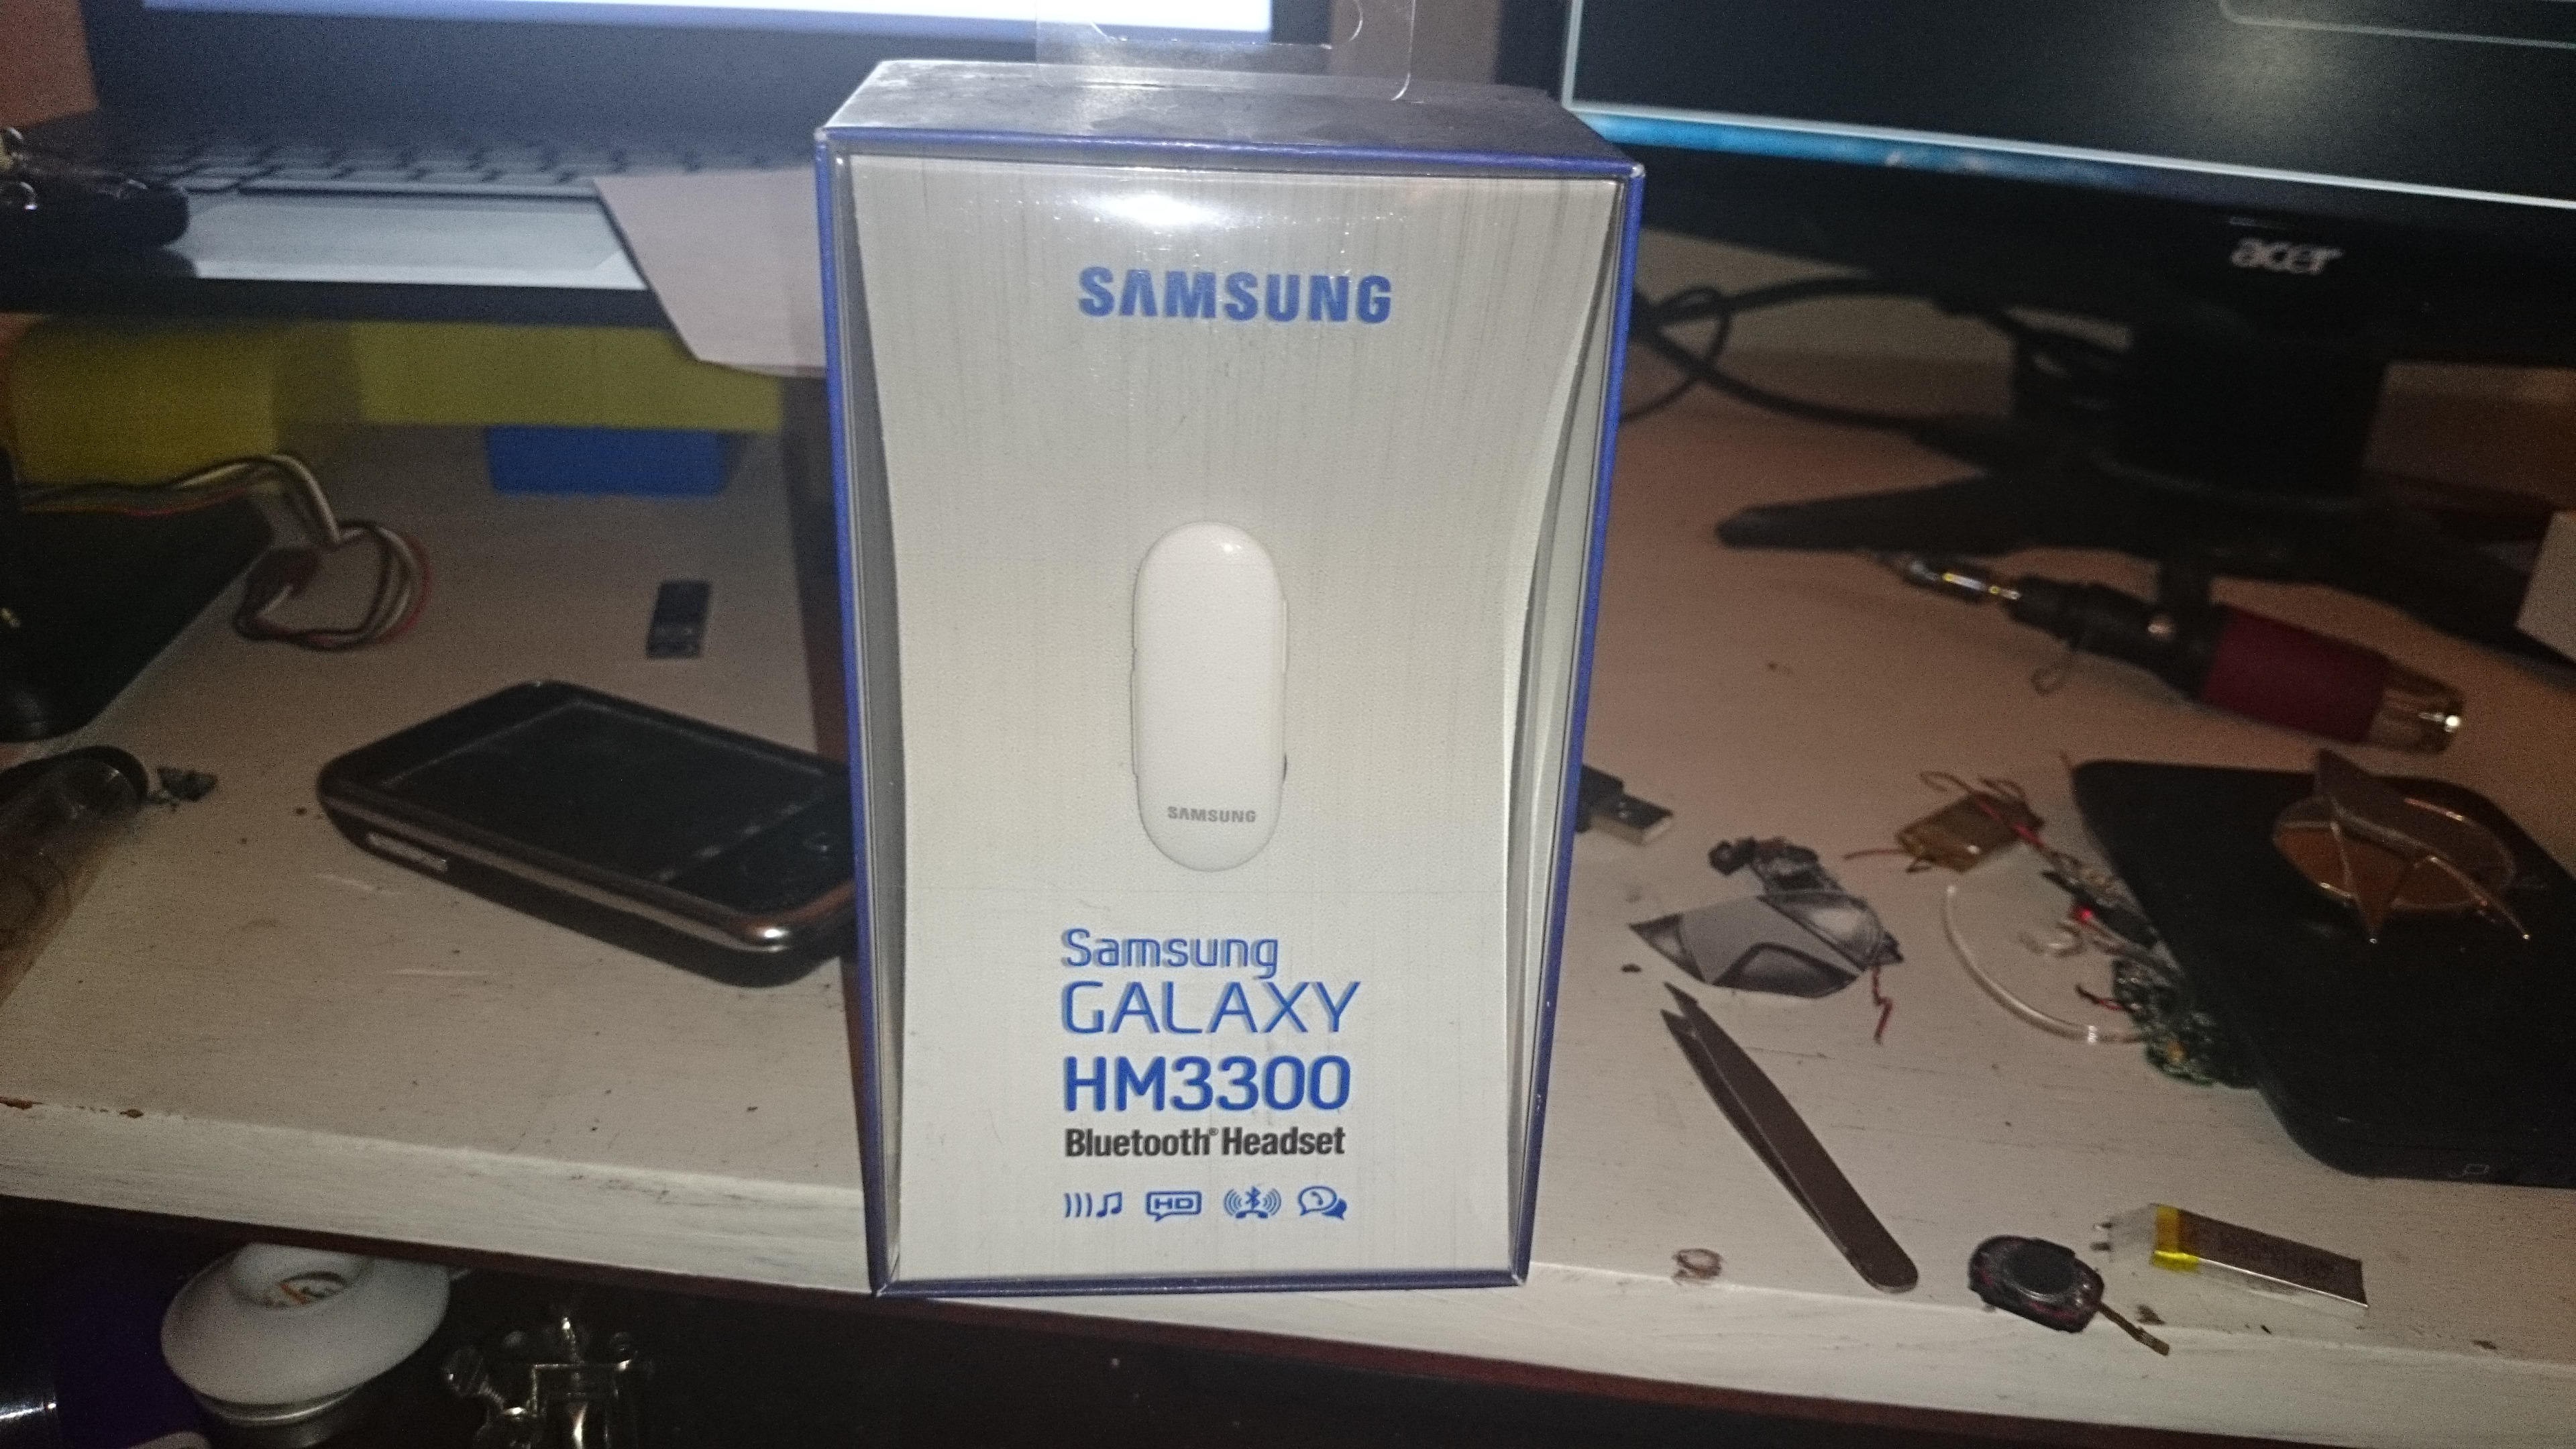
We are re-purposing a current bluetooth headset with NFC to look and function like the communicator that all of us fell in love with. 

The project is close to complete, and nobody read the rules until a few minutes ago. We have kept some form of logs, usually some pics of what we were working on, but we'll fill in the blanks for everyone.

  • 1 × bolt 3.0 ISSC 1632 mono Bluetooth headset Samsung Galaxy HM3300 bluetooth headset with NFC
  • 1 × contact switch domes salvaged from an old cell
  • 1 × 18-20ga aluminum sheet

  • Molds and Cavities

    BART08/24/2015 at 17:46 0 comments

    Don't have a 3D printer and scanner, so I have to do things the old fashioned way. Which in some ways is really therapeutic and fun.

    Now for those of you who know and those who don't , QMx makes a beautiful prop replica of the TNG comm badge. As lore would have it. These cast and plated prop replicas are made from molds obtained from the TNG production. Can't get more accurate than that. so I bought a few. Gave them to friends and took mine apart. Lol. Sometimes just can't help myself. If a Bluetooth headset/any device is around and less than $5 bucks, it's mine and broken.

    I digress. :-d

    For perspective a 90s era TNG comm badge toy against a the prop replica without the fa

    Which I'd like to make the point. I don't thin we want toys. Wouldn't you like to have the real deal? I mean I don't want a communicator that just beeps or is so disproportionately sized that it's become clunky and obtrusive. How about something that you'd want to use even if you weren't a Trekkie all garbed out for the con in cos play. Something that would be a valuable extension of your phone. So simple and easy to use you could personify it with intuition. That's the goal! No more toys, real deal trek and tech baby.

    Refining the shape :)

    We're not building this for a contest.

    Lol we're building it because we believe the only way out is up. We don't want one person in space, we want all people in space. Our children and grandchildren should be taking field trips to the lunar surface not to the lunar observatory or planetarium.

    That's why we keep on, until we have made something truly worthy of starfleet!

    Humbly,

    Bart

    StarfleetFoundation.or

  • Never give up, Never surrender!!!

    BART08/10/2015 at 17:26 0 comments

    we have been continuing to work on this project and have some post and logs forthcoming. Hopefully we are not to late for the 2015 contest, but if we are. Oh well, not really making this for the contest, but would be nice.

    At this time I'd like to extend this entry into something more than just a piece of hardware, but a concept. That's "Make Star Trek Real" not a bunch of cosplay but the true essence of living in the 24th century. I know there are many others who crave, desire...need it. To move forward and up not laterally. In that spirit I've registered Starfleetfoundation Foundation, and that is the true entry into the hackaday2015 prize or the human ethos prize.

    Who's part of the foundation, you are! Anyone wanting to participate can, you just have to believe and act

    Thank you for your time and efforts.

    Sincerely,

    Cog

  • Still Chugging...

    BART05/10/2014 at 05:53 0 comments

    So almost have the layout completed in blender. I'm posting some pics.

    Modeled the donor headset board in blender, trying to reuse as many of the original parts as possible, both with and with out some additions like an amplifier.

    It would be nice if this were a build others could replicate too. ;) The parts need to be readily sourceable and one of the big considerations is that normal parts are huge when you're working at this scale. I mean a regular radioshack microswitch is gigantic. lol. 

    I'll post more in the next day or 2.

  • Will it blend???

    BART05/08/2014 at 16:14 0 comments

    Finishing up the Blender files for 3d print. Simplifying(MS?) the parts list. We'll post some pics, with the blender files by sat.

  • Polymer clay is a good idea but...

    BART04/30/2014 at 19:43 0 comments

    It's not so good in practice. I wish we had a 3d printer. BTW shout out to Tampa Bay on their communicator. Way to go guys!

    Our current problem is that we keep breaking the polymer clay components of the build. It'll work great, you start fiddling with it and it breaks. Currently the game plan is to re-inforce the clay with drywall weave, and the aluminum sheeting.

    As a result our design has changed almost completely. We are borrowing more from my personal development that I was going to release, but that'll be released after this. 

    We have a total of 3 major parts now. The base that attaches to the article of clothing. In this base we have included the battery, speaker and amplifier circuit, which to be fair was ripped out of a walgreens hearing aide. Second we have the logic stage which sits on top and connects to the base. This stage has the BT headset board, microphone and activation buttons. 

    ...

    Unfortunately, getting pulled away. I'll post the new design, and pics later. I think this disqualifies us from the contest though.

  • Sometimes you have to kill your babys

    BART04/29/2014 at 07:02 0 comments

    Well as with almost every project I can remember it's been a long last few days. We have successfu;l connection, good sound and decent clarity.(I have not heard it on receiving a call yet)

    The case design had to be retooled. We've tested with an amplifier and with out. I personally thought it was loud enough, but ya know. ;) JIC

    We'll post some pics tomorrow.

  • Switches...We don't need no stinkin' switches

    BART04/28/2014 at 05:48 0 comments

    Well actually we do...However, given the height already 5 mm in just the base and sound channel. Another 5mm micro switch, to make it look asthetic would be imposible without increasing the size. Defeats the coolness if you've got a big ol cd case riding on your chest.

    After a lil creative recon, we happened upon some micro switch domes that were salvaged from some old cell phones.

    Simple, long life, Up-cycle = hackerific! :)  They're the lil black dots on the tape.

    Did'nt really have time or extra money to do a custom pcb, so we opted for the always elegant Radio Shack Proto-Board. That and a dremel, you could almost be McGyver. lol.

    So anyways...The initial testing was a bust. The micro switches worked great if you pressed them with your finger, and terible with the flat buttons we had crafted to press them down. 

    One of us finally had the idea of making the buttons directly on the protoboard. That way we could force the putty through the wholes, and we'd have a bunch of pegs to press on the buttons. As it turns out this worked, and worked great. We were able to cut the number of disk needed down to 2 for each button, putting an extra one on the delta shield to be on the safe side.

    Height is still a lil bit of a concern, but I think it'll be fine once we get it wrapped with the aluminum brace.

  • Got the base built

    BART04/28/2014 at 04:33 0 comments

    We got the base of the unit. We don't have a 3d printer, so it was sculpy to the rescue. Designing the throat for the speaker cavity was a bit of a challenge. Namely James wanted to add an amplifier to the project, but given that we started with literally a week until the deadline. We ultimately decided against. 

    Have'nt tested the board since we made the base unit. I un-wittinly baked it with the sculpy.(Dangers of watching a young child and trying to complete projects) But that's ok, cuz radio shack had just one more unit, and yes it was still on clearence. ;) Told ya the first one always gets fried for some reason.

    Here it is with the board, speaker and switch adapter in.

  • Getting Started

    BART04/28/2014 at 03:56 0 comments

    Picked up the headset, it's choice was in that it had the most features and was on clearence. I always love it when they offer the warranty though. This guy was particularly insistent on the warranty, and that it would cover anything. When I informed him that I'd be taking it apart, and would probably fry the first one, his reply was a stoic "It might not cover that." lol

    So the first day we were able to get the headset apart, analyze the buttons and connections.

    After taking several measurements and calculating the height with battery, we decided(Much hagling, lol) on a base layout and plan of attack.

    This headsets case actually lends itself to a hack. I'm not sure how to post pics in this post, but we have pics of the disassembly, and template making process.

    We've also toyed with the idea of doing a "Diresta" esque video and posting it to one of our youtube accounts showing a build. We do have to build 3 of them in total, one for each of us.

    Edit* Figured it out, duh, late

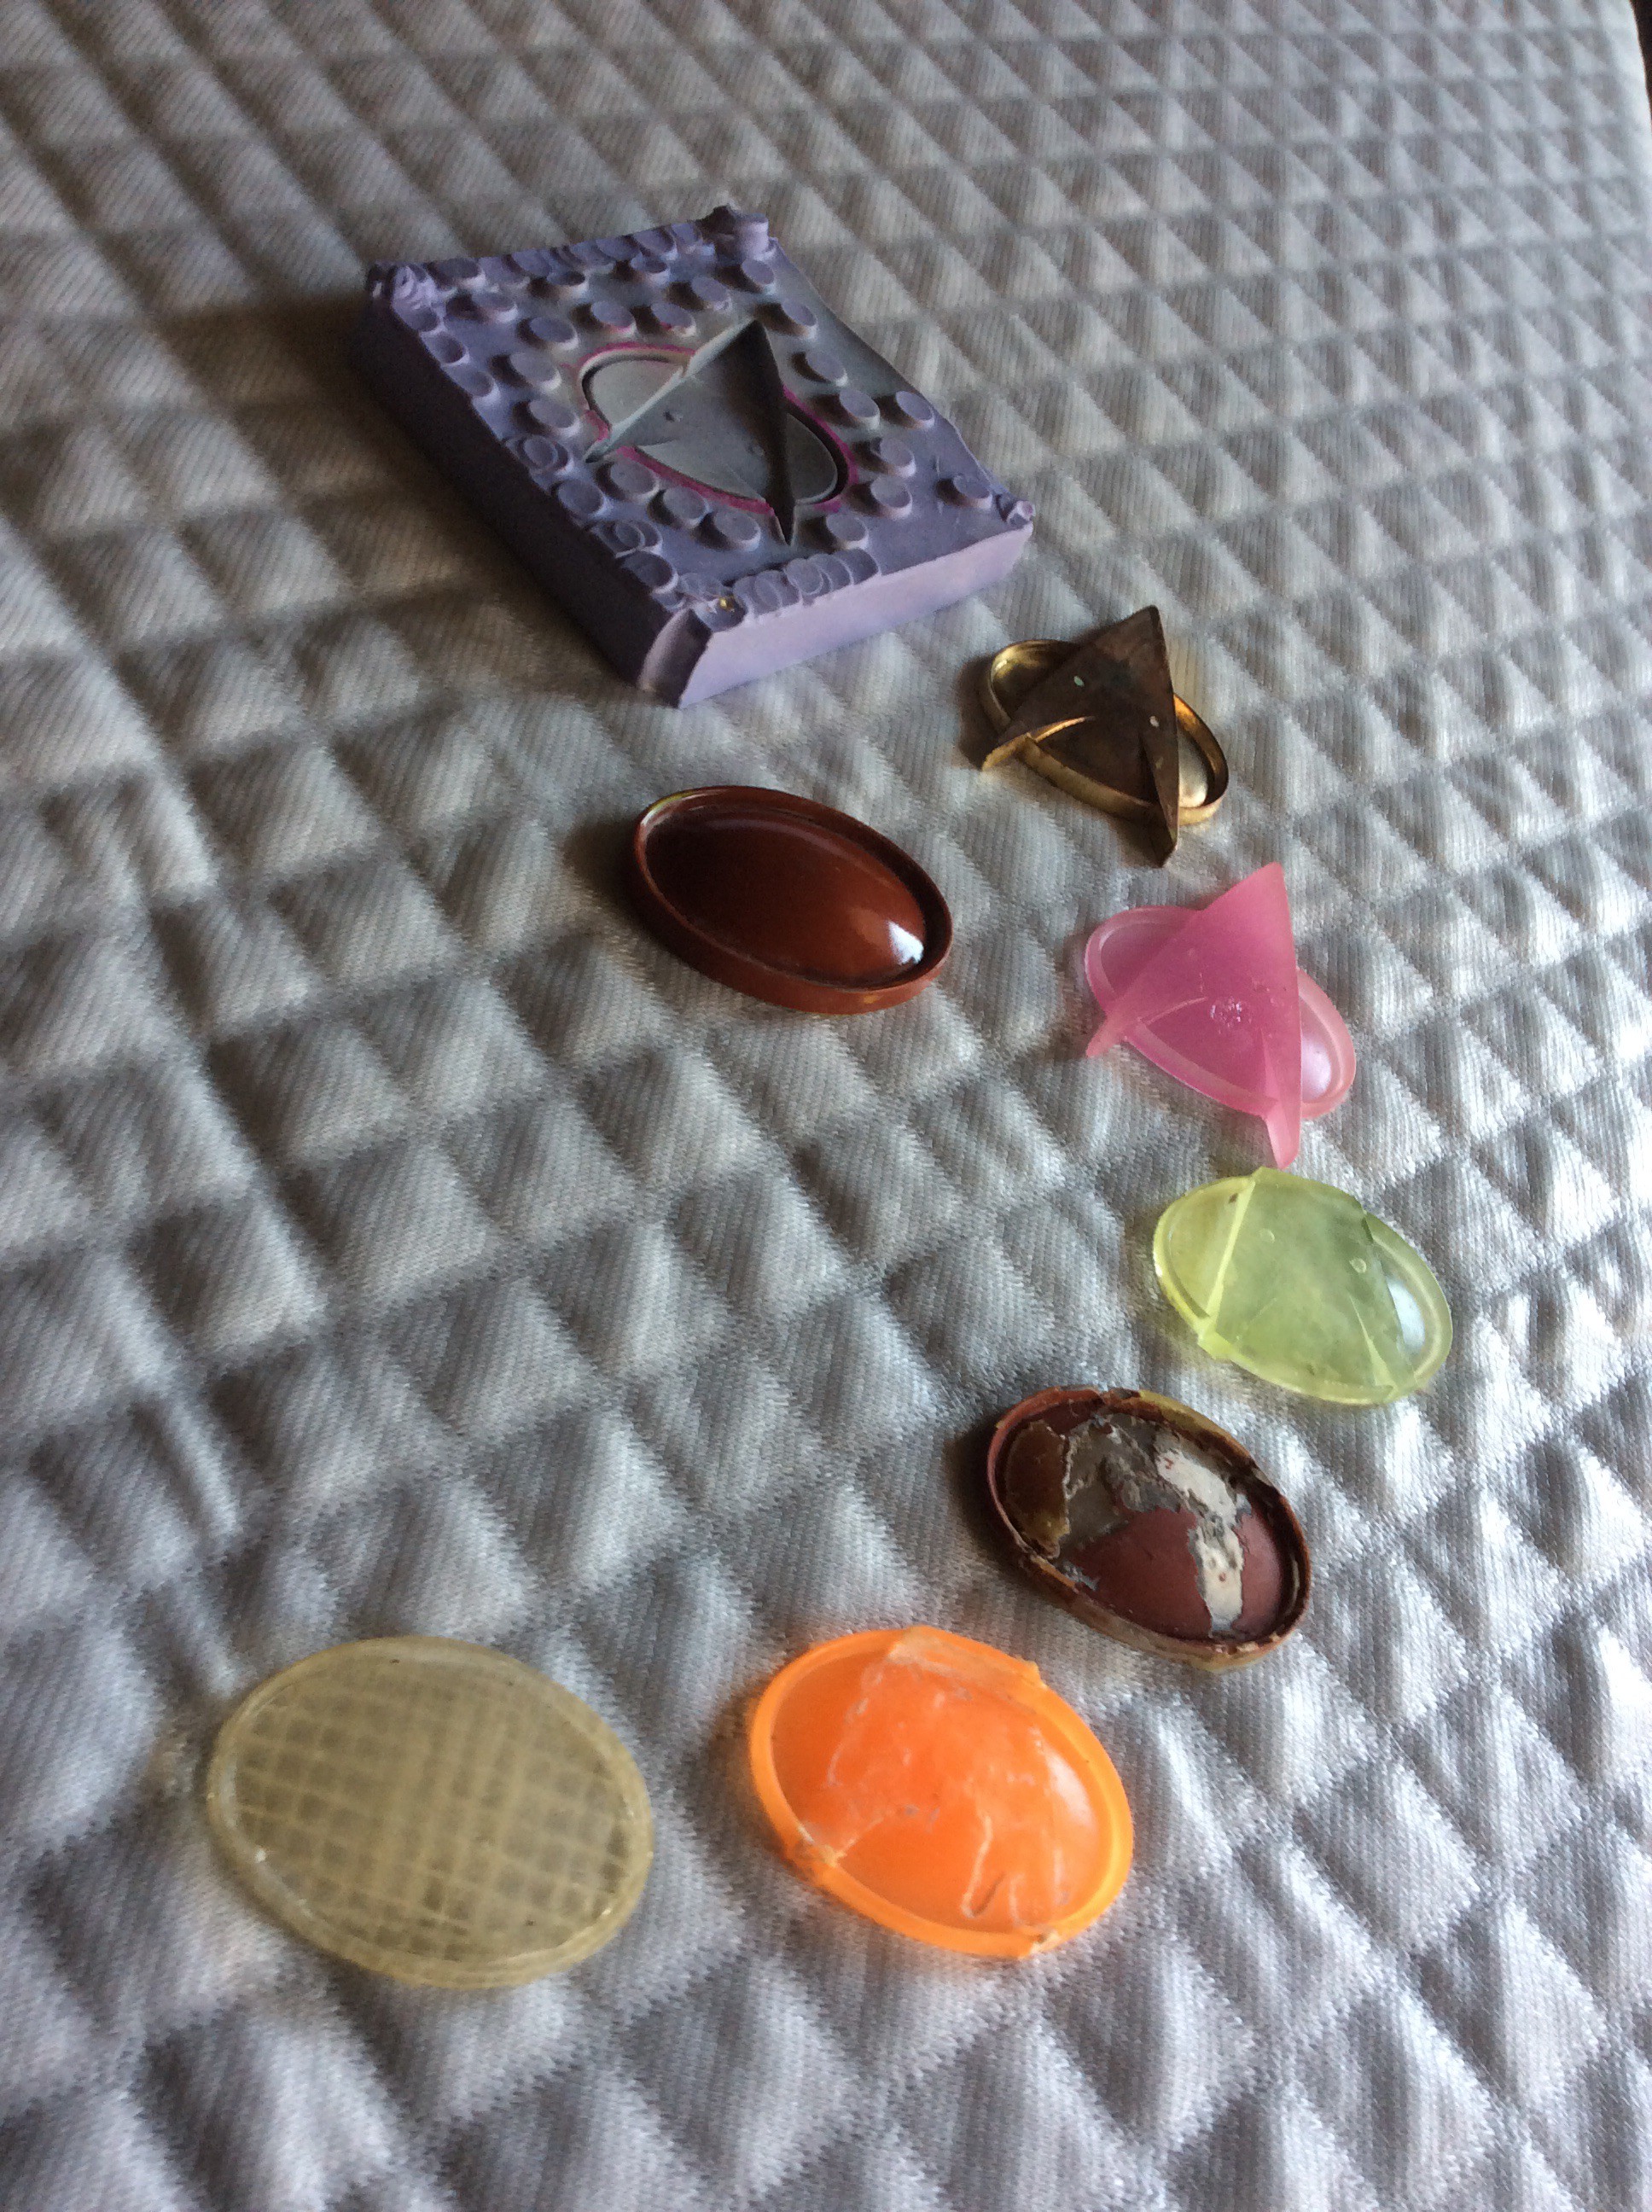
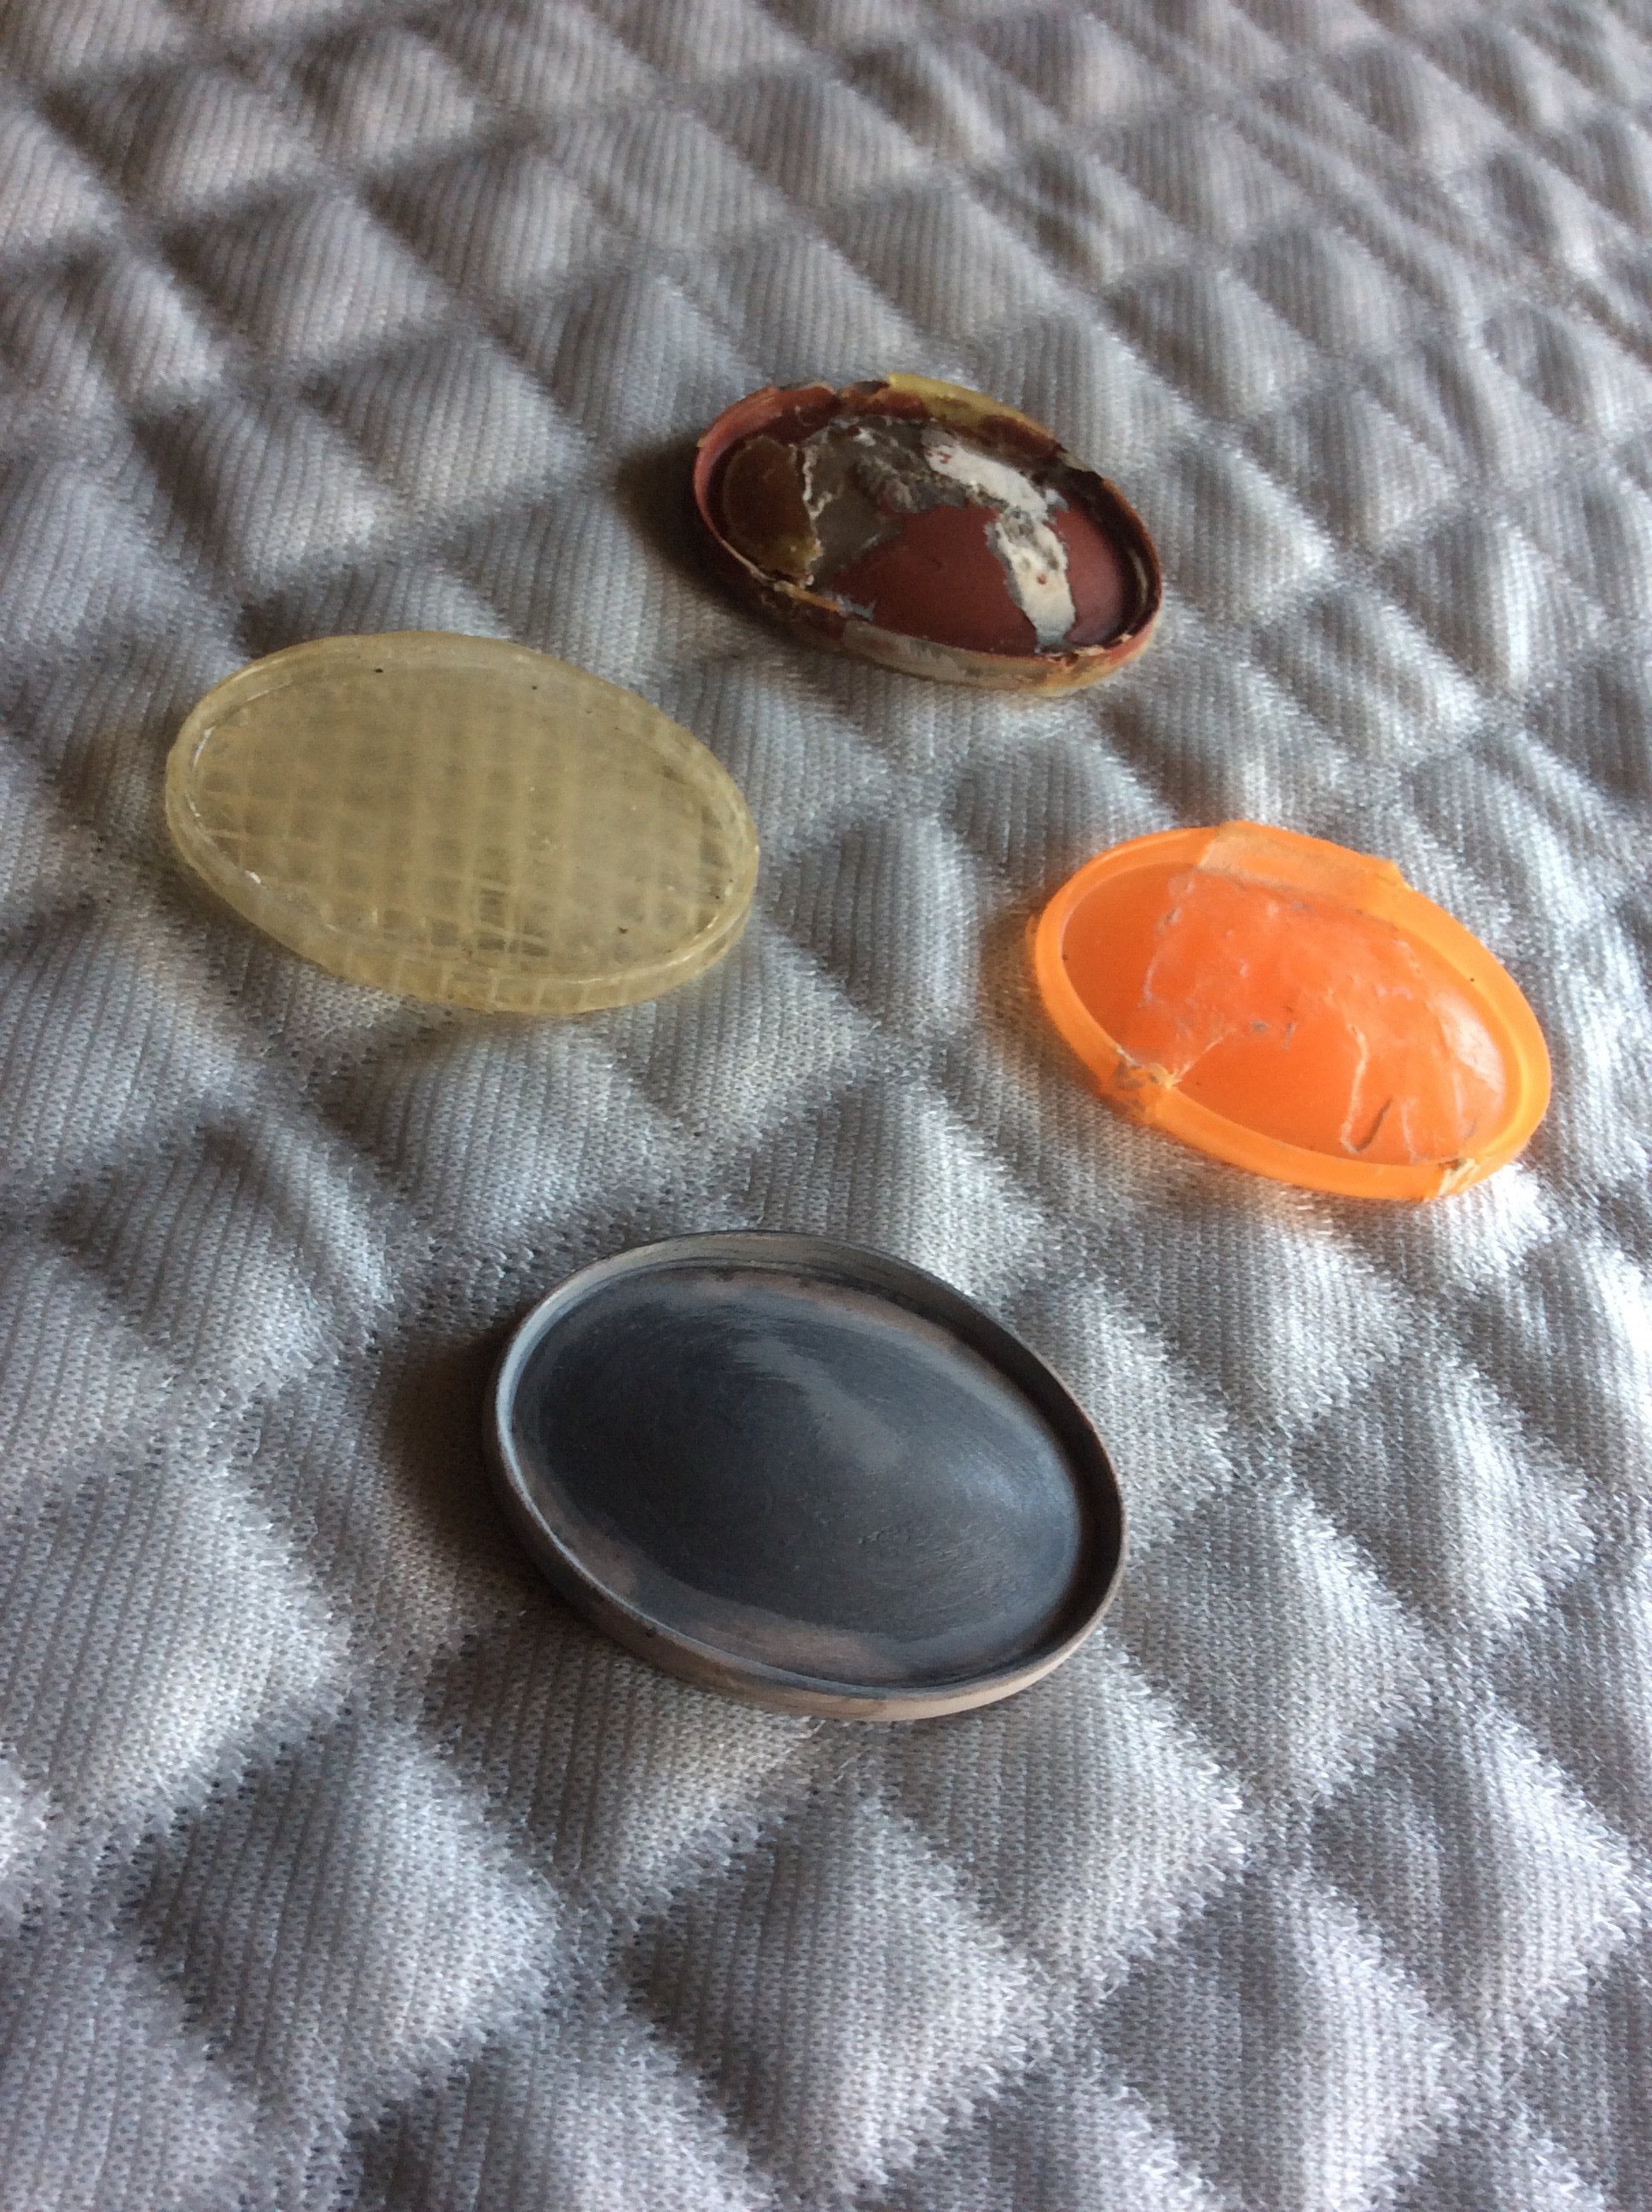
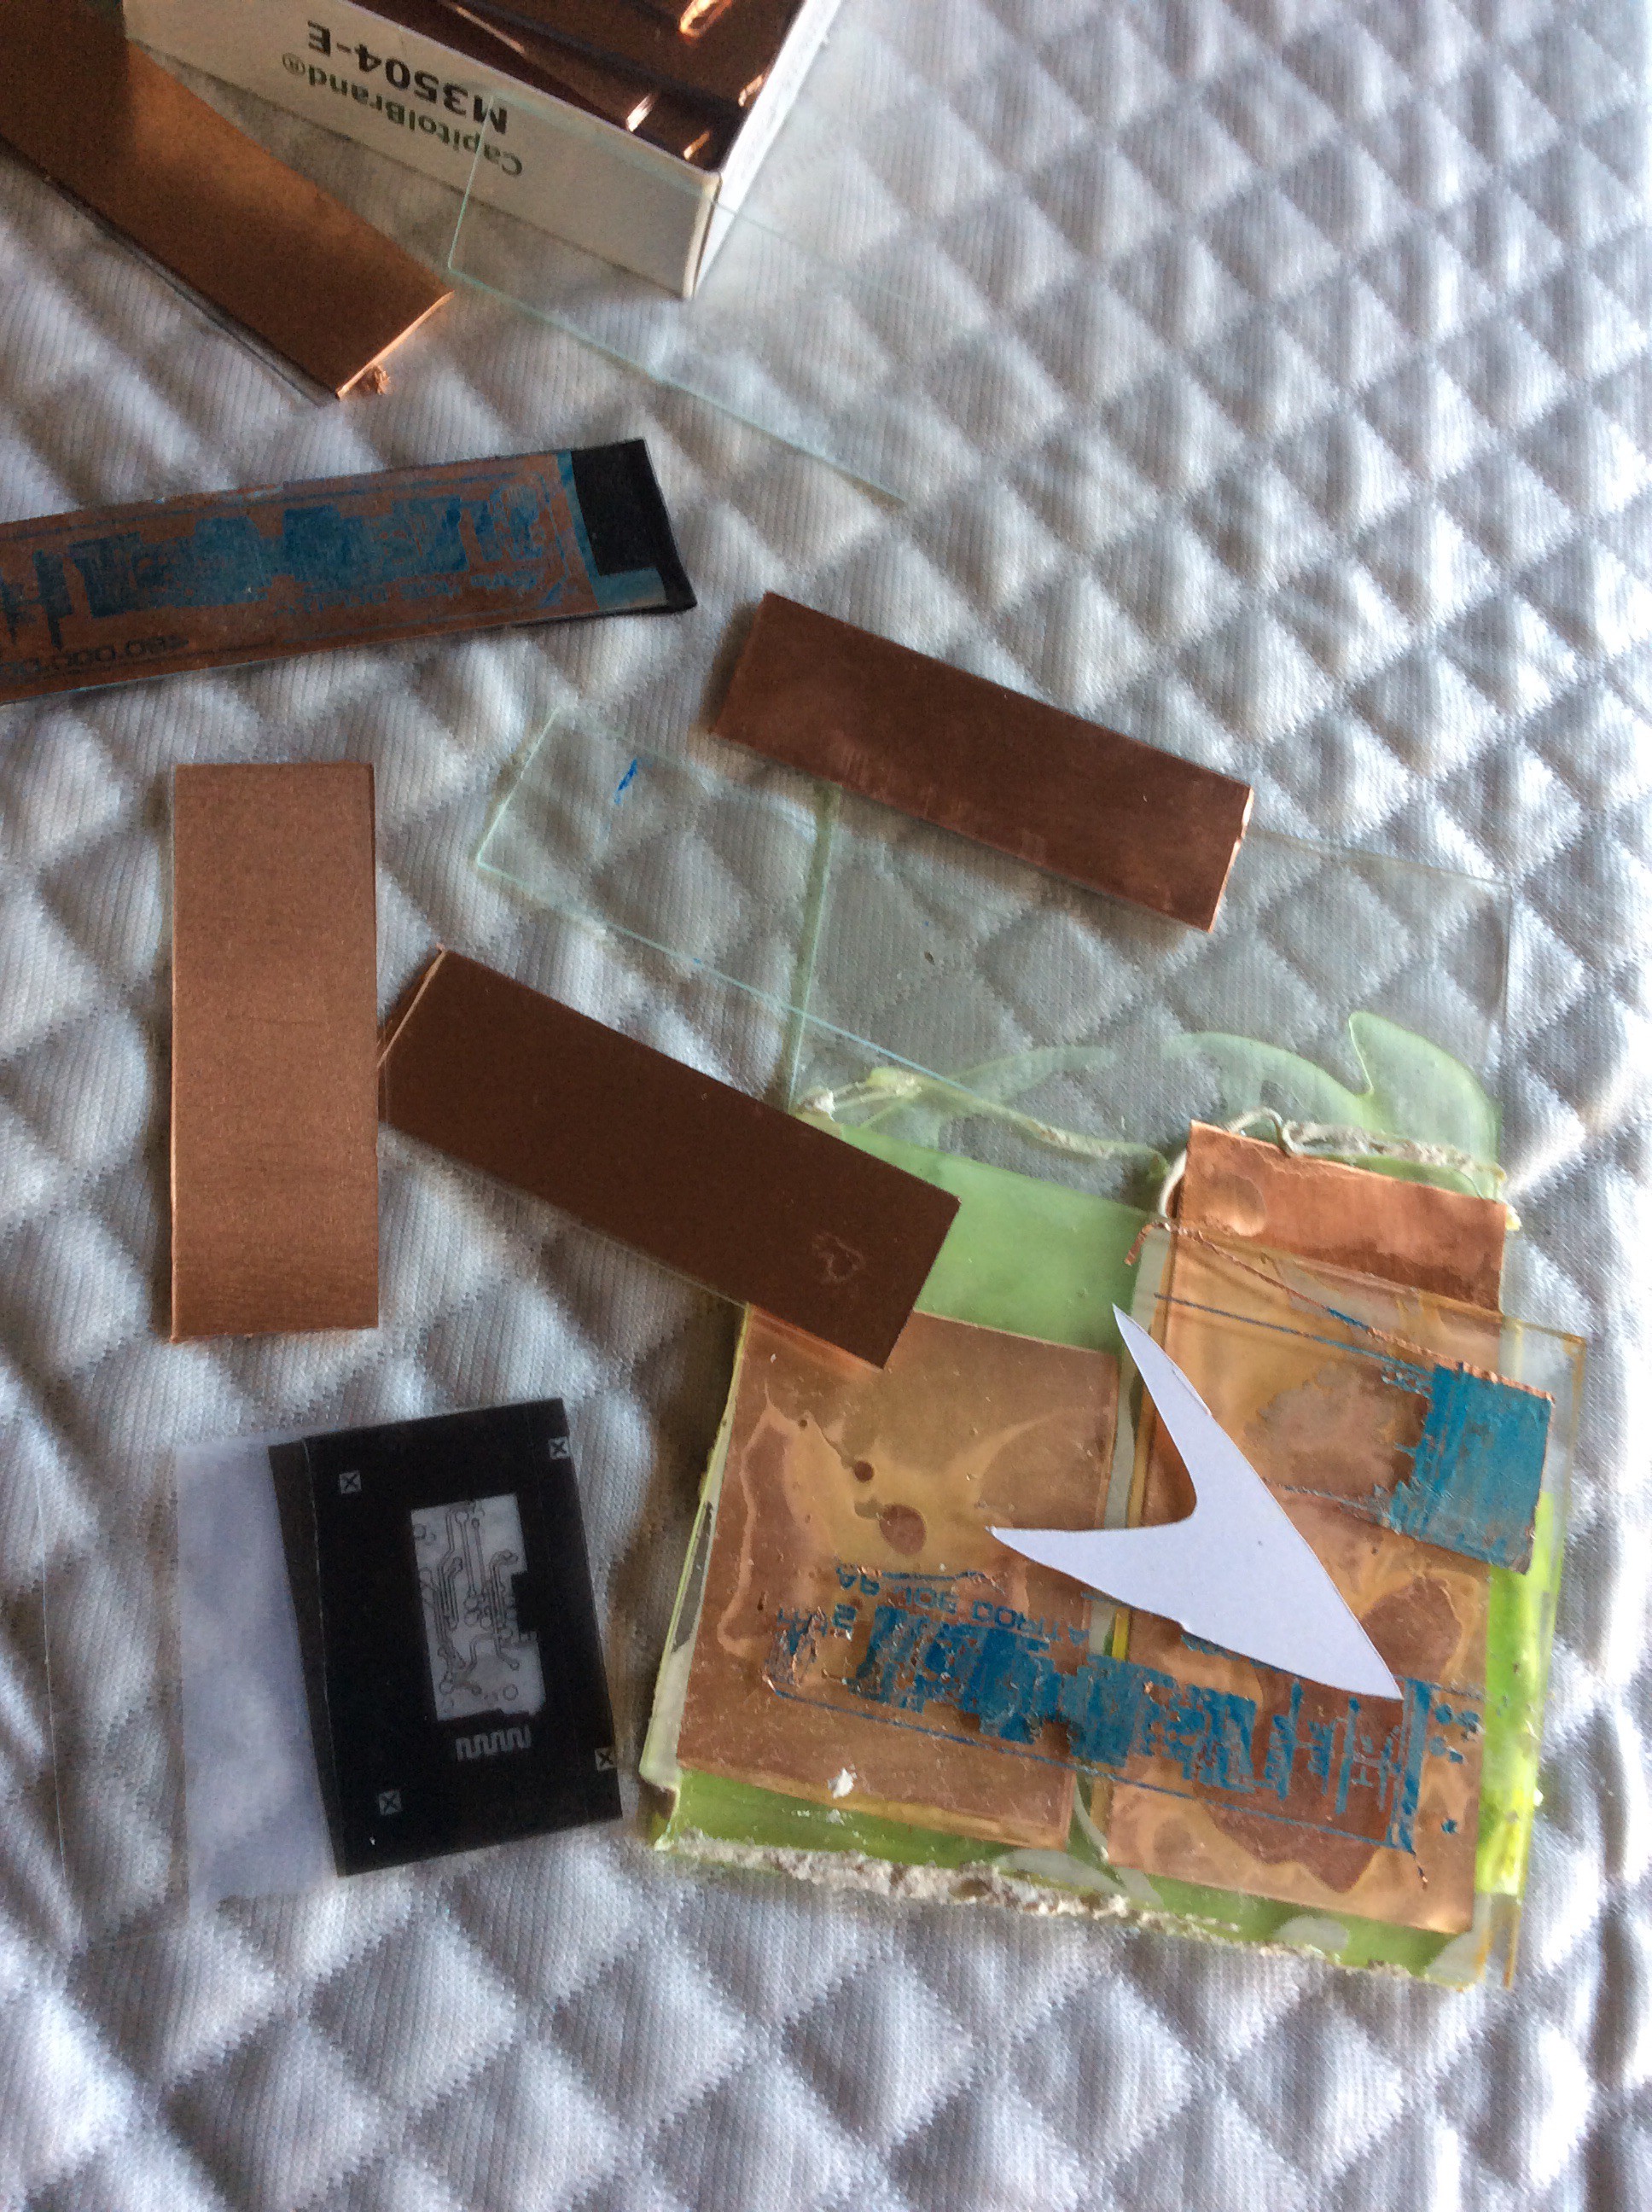
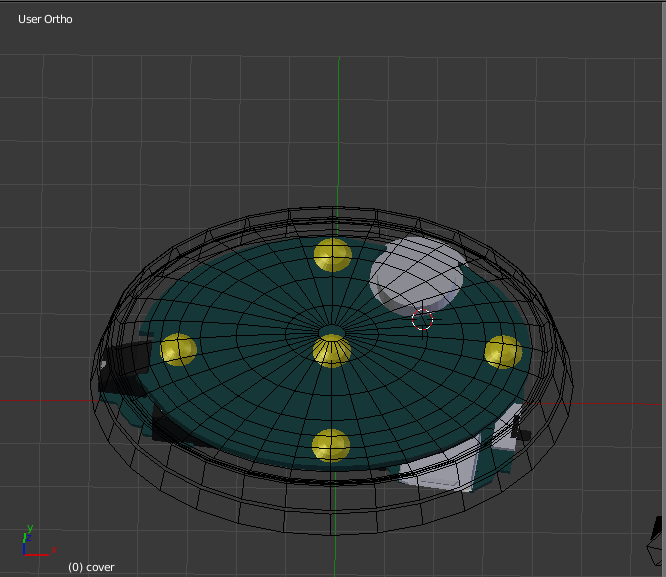
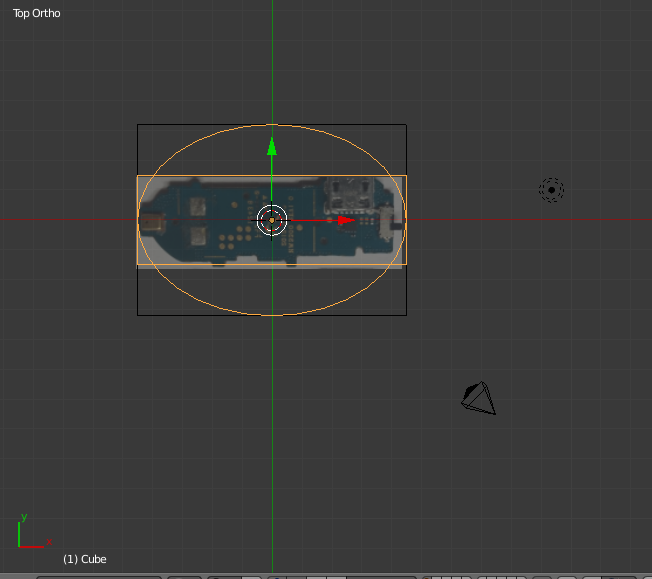
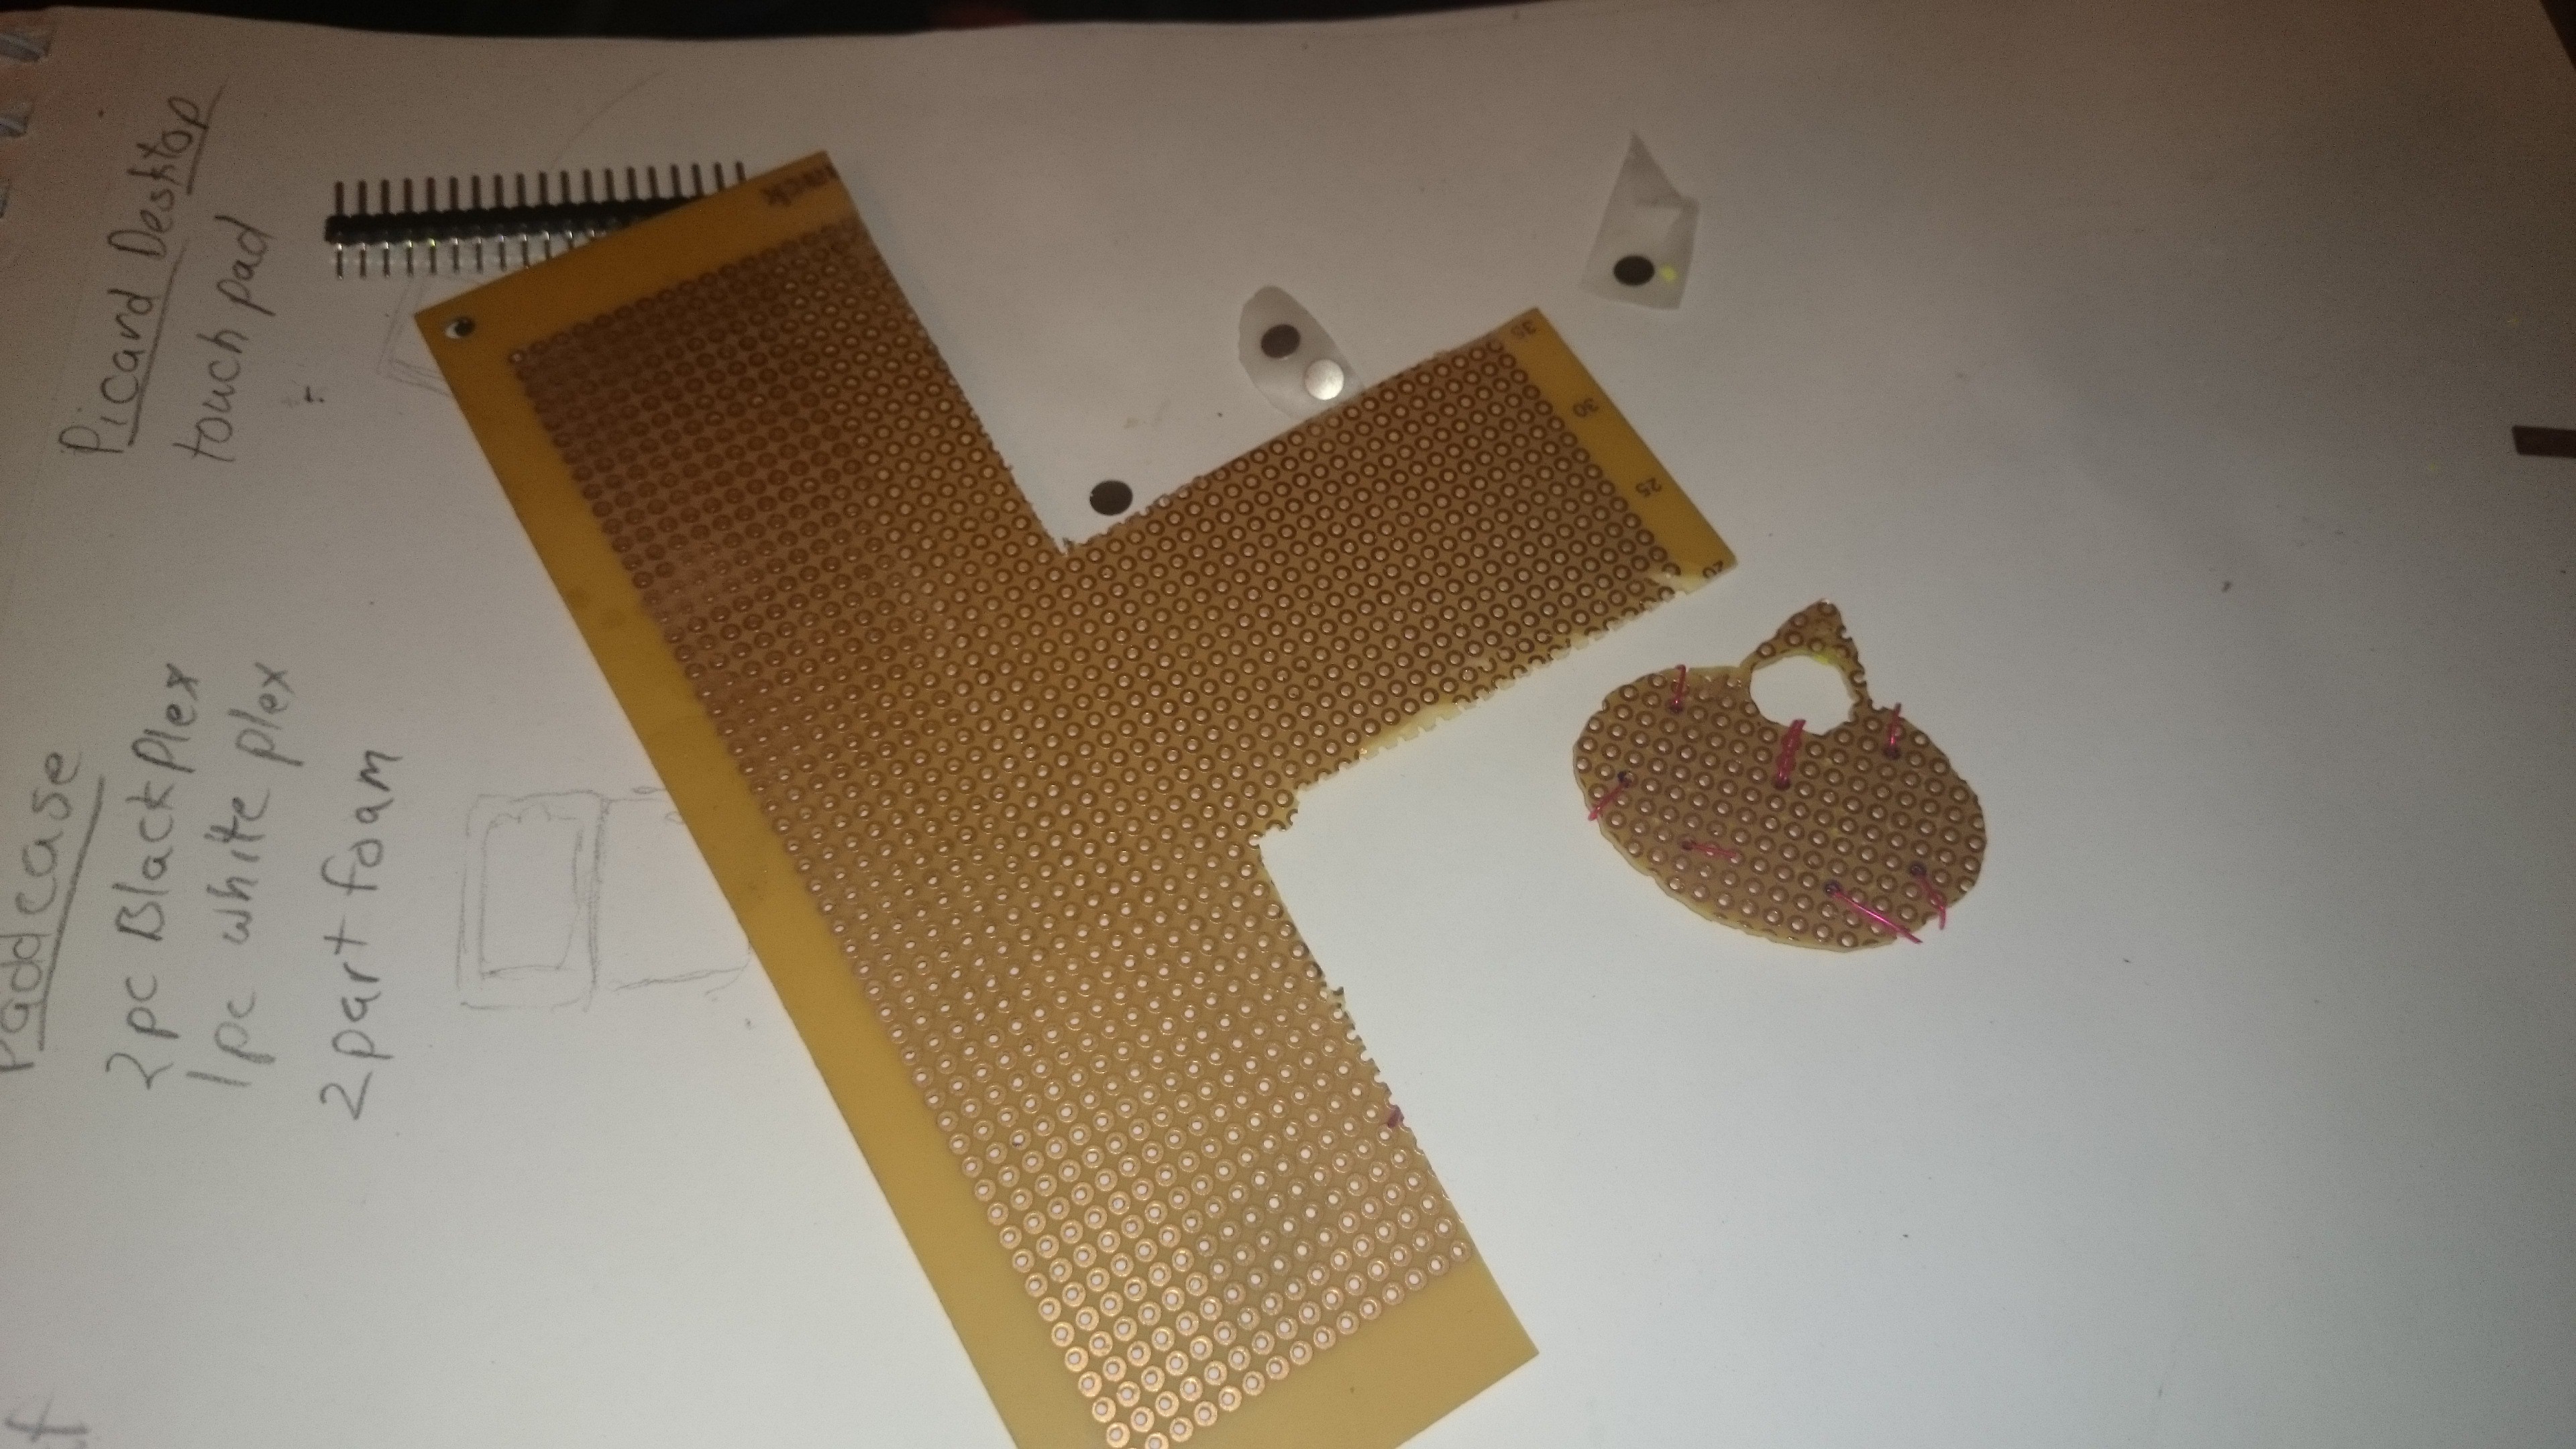
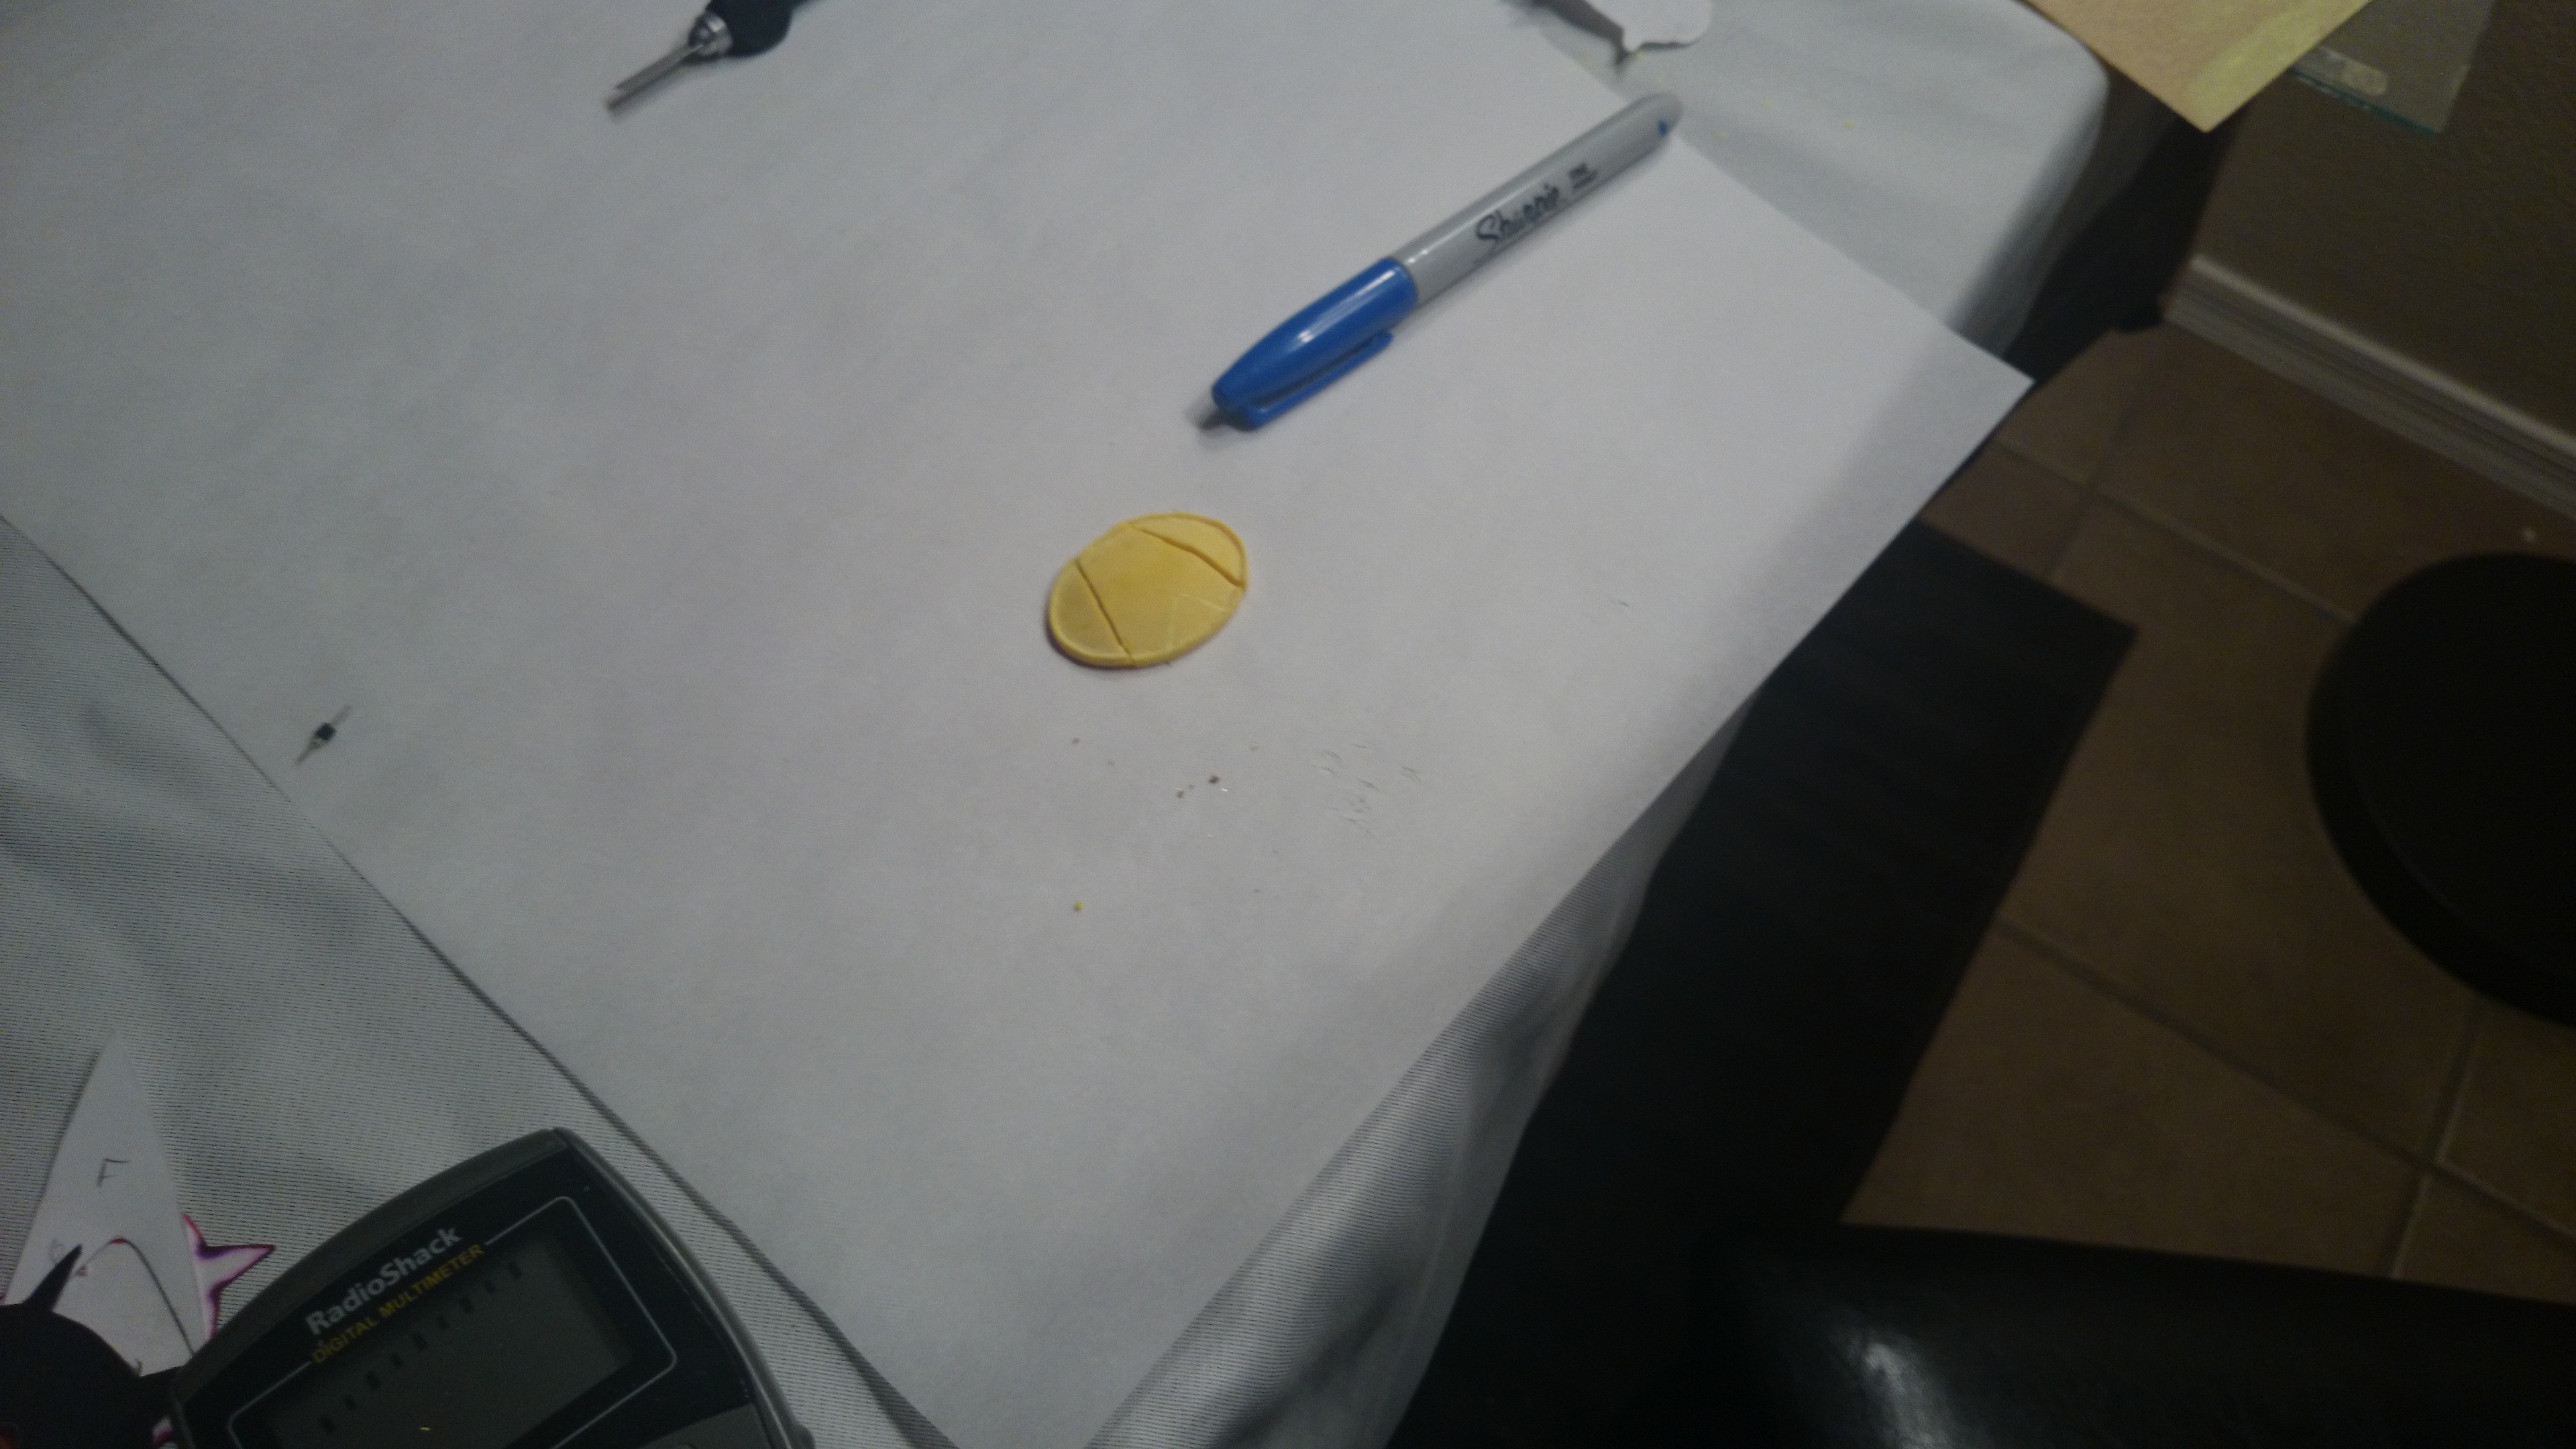
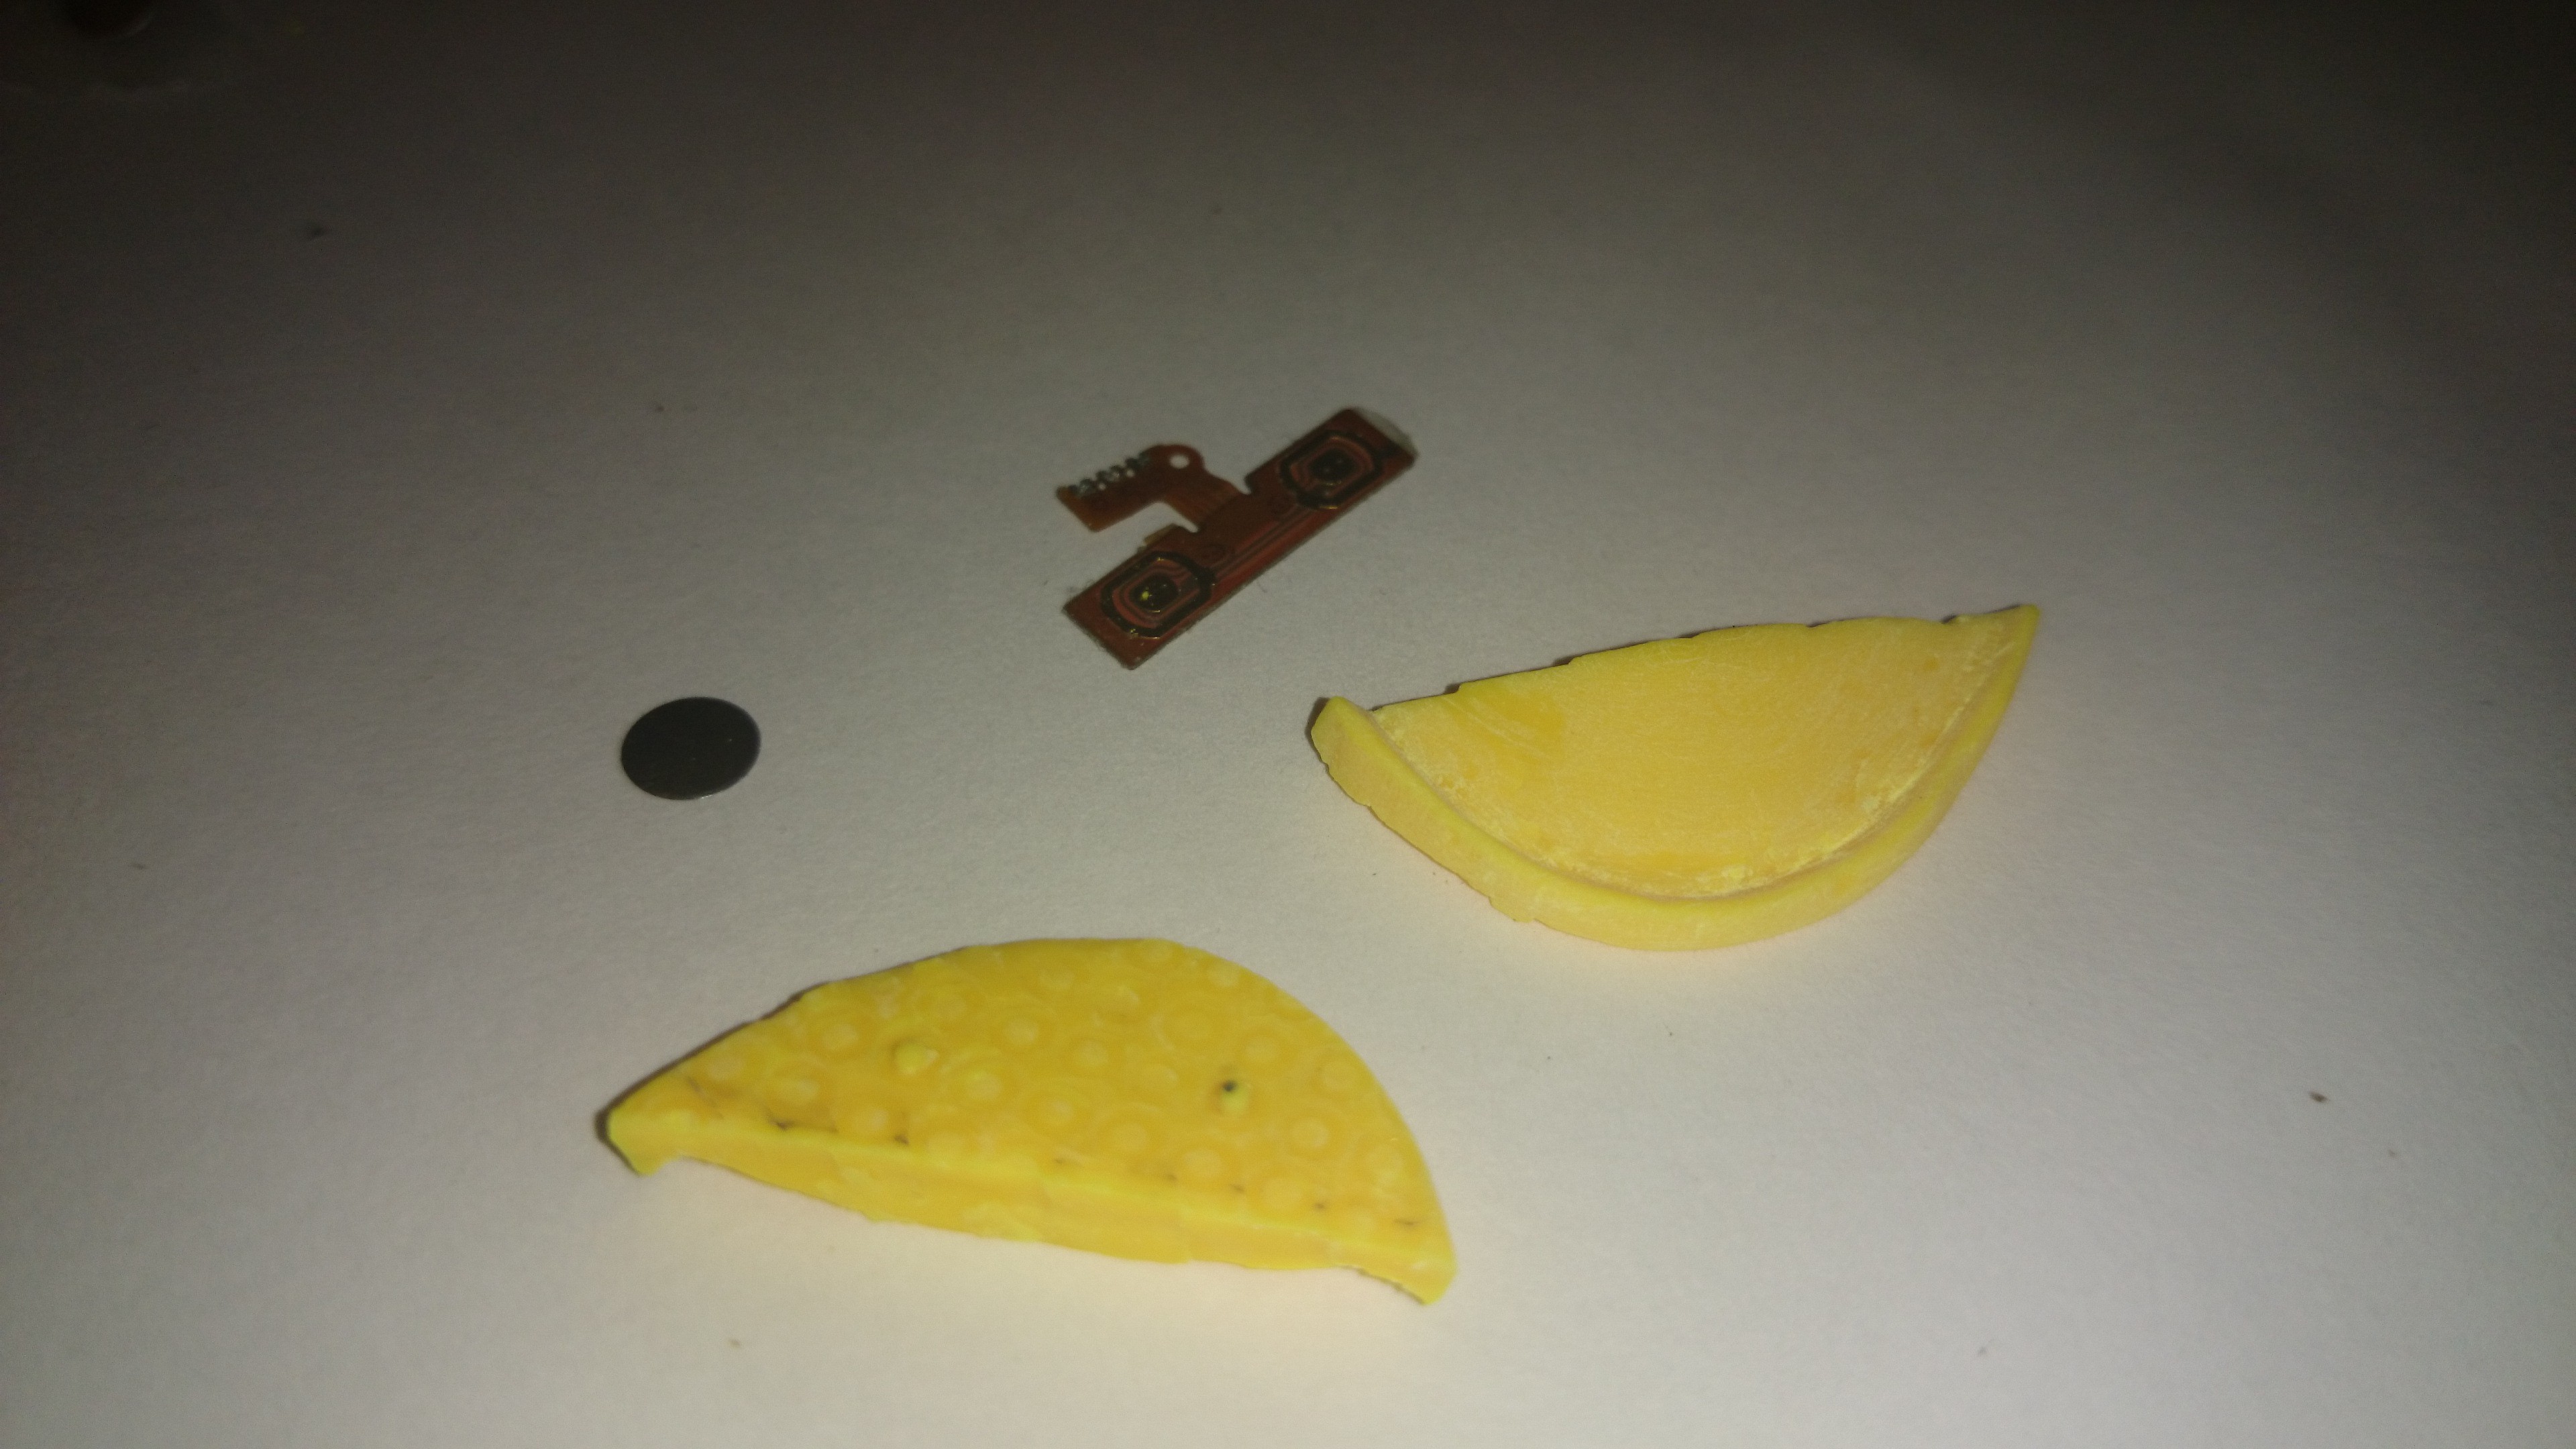
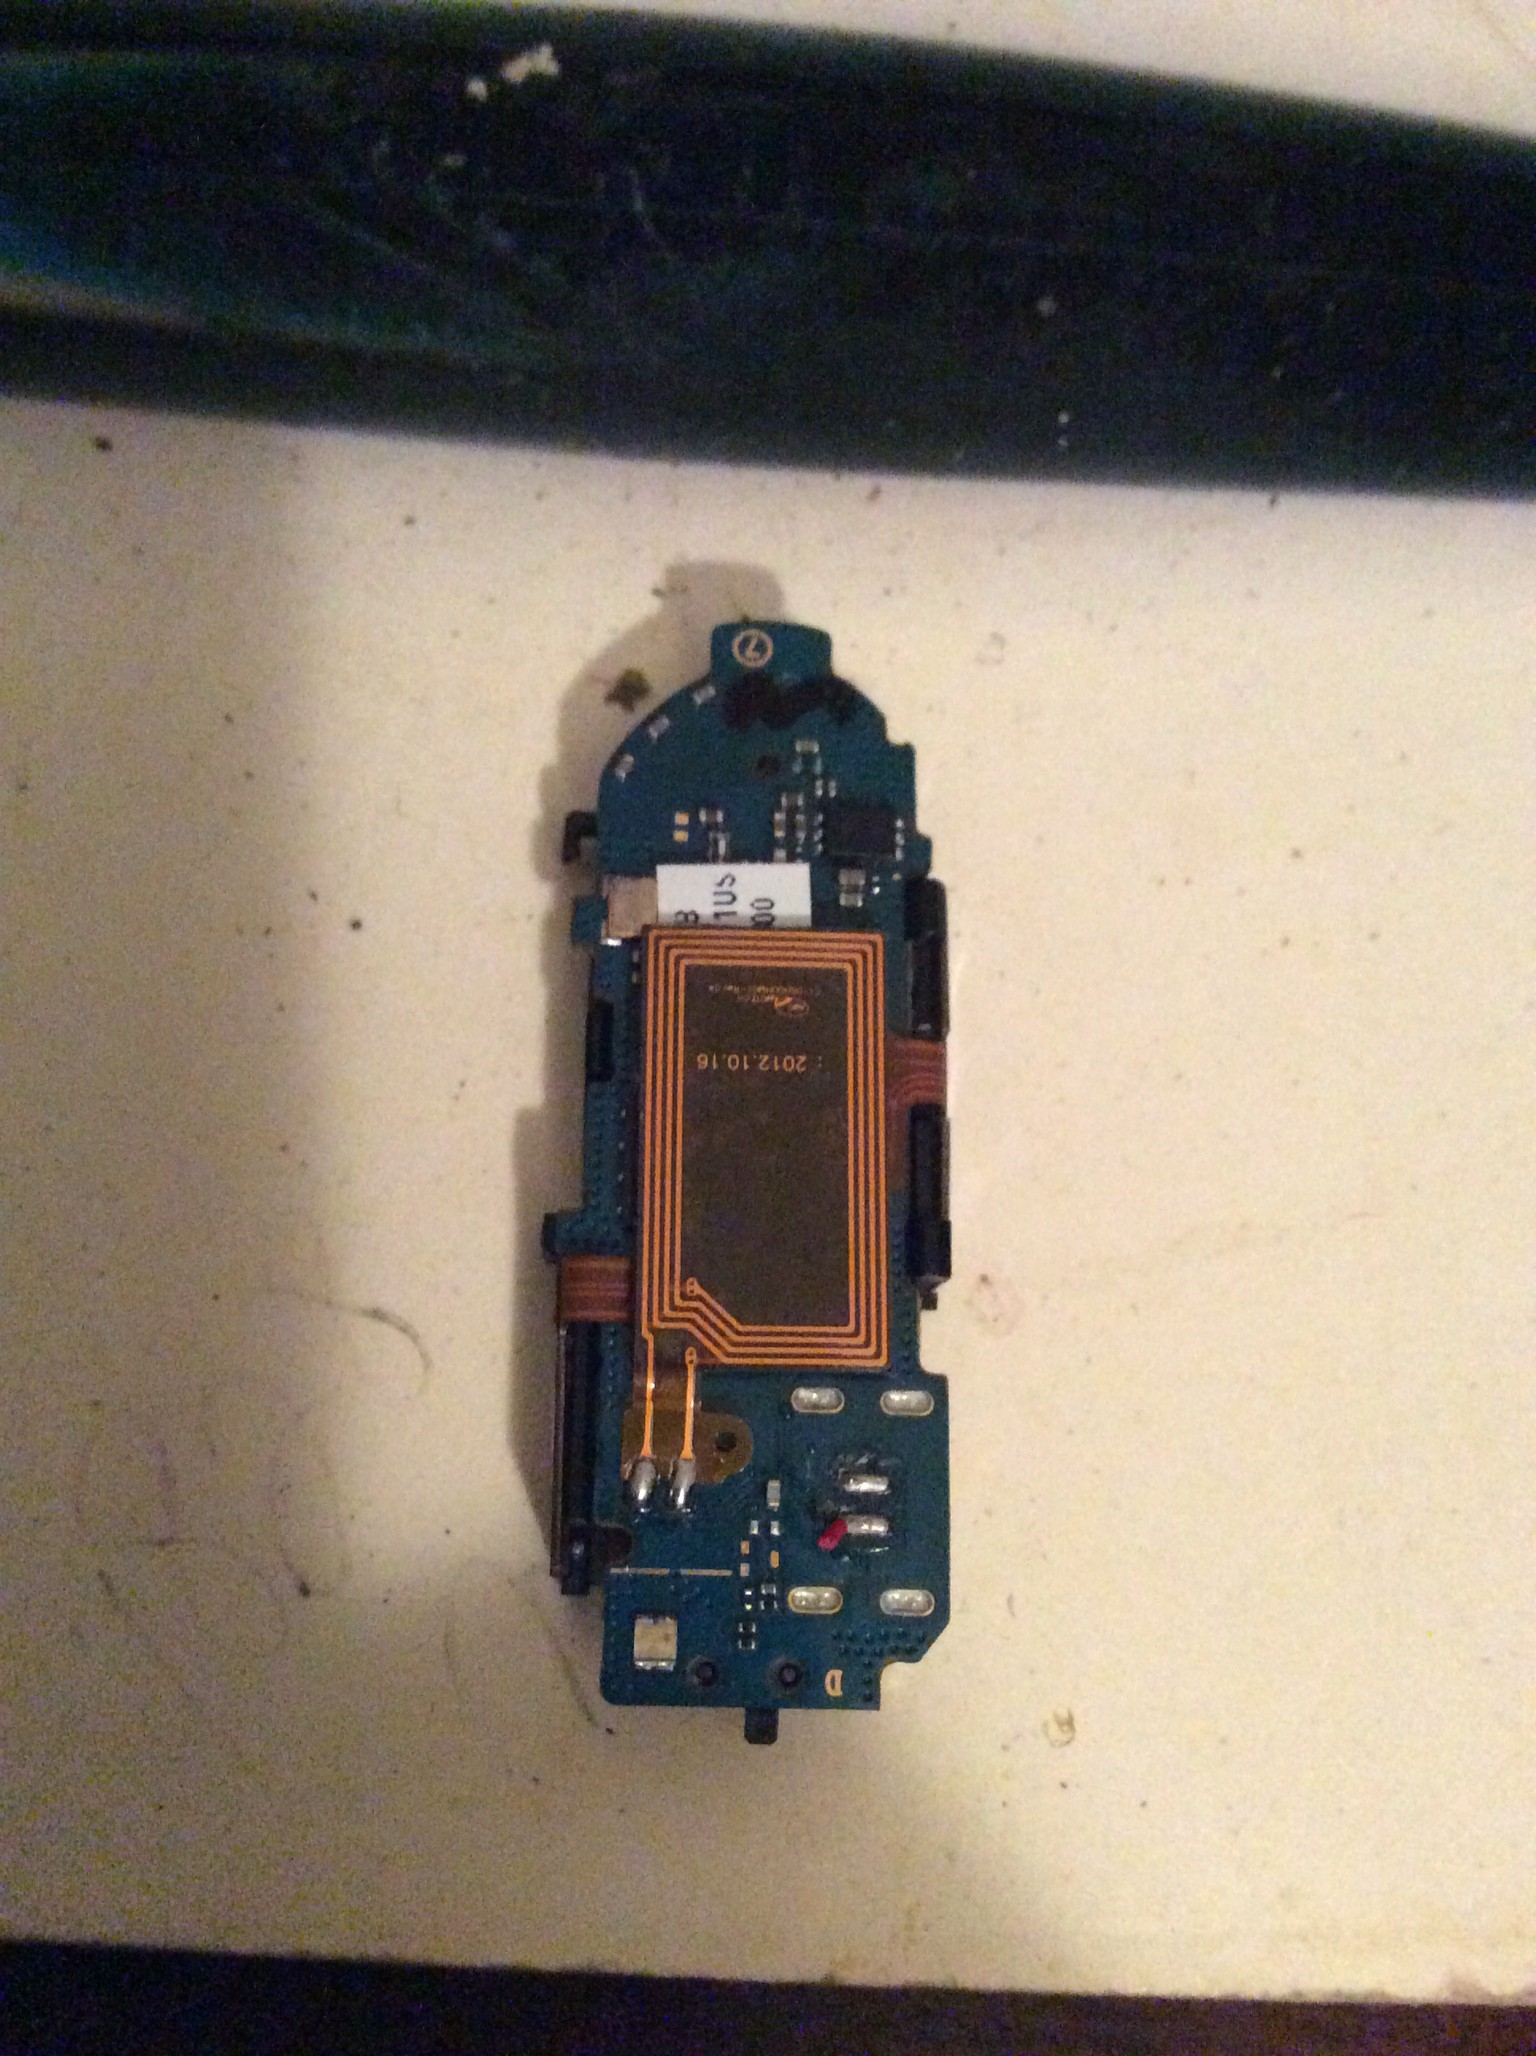
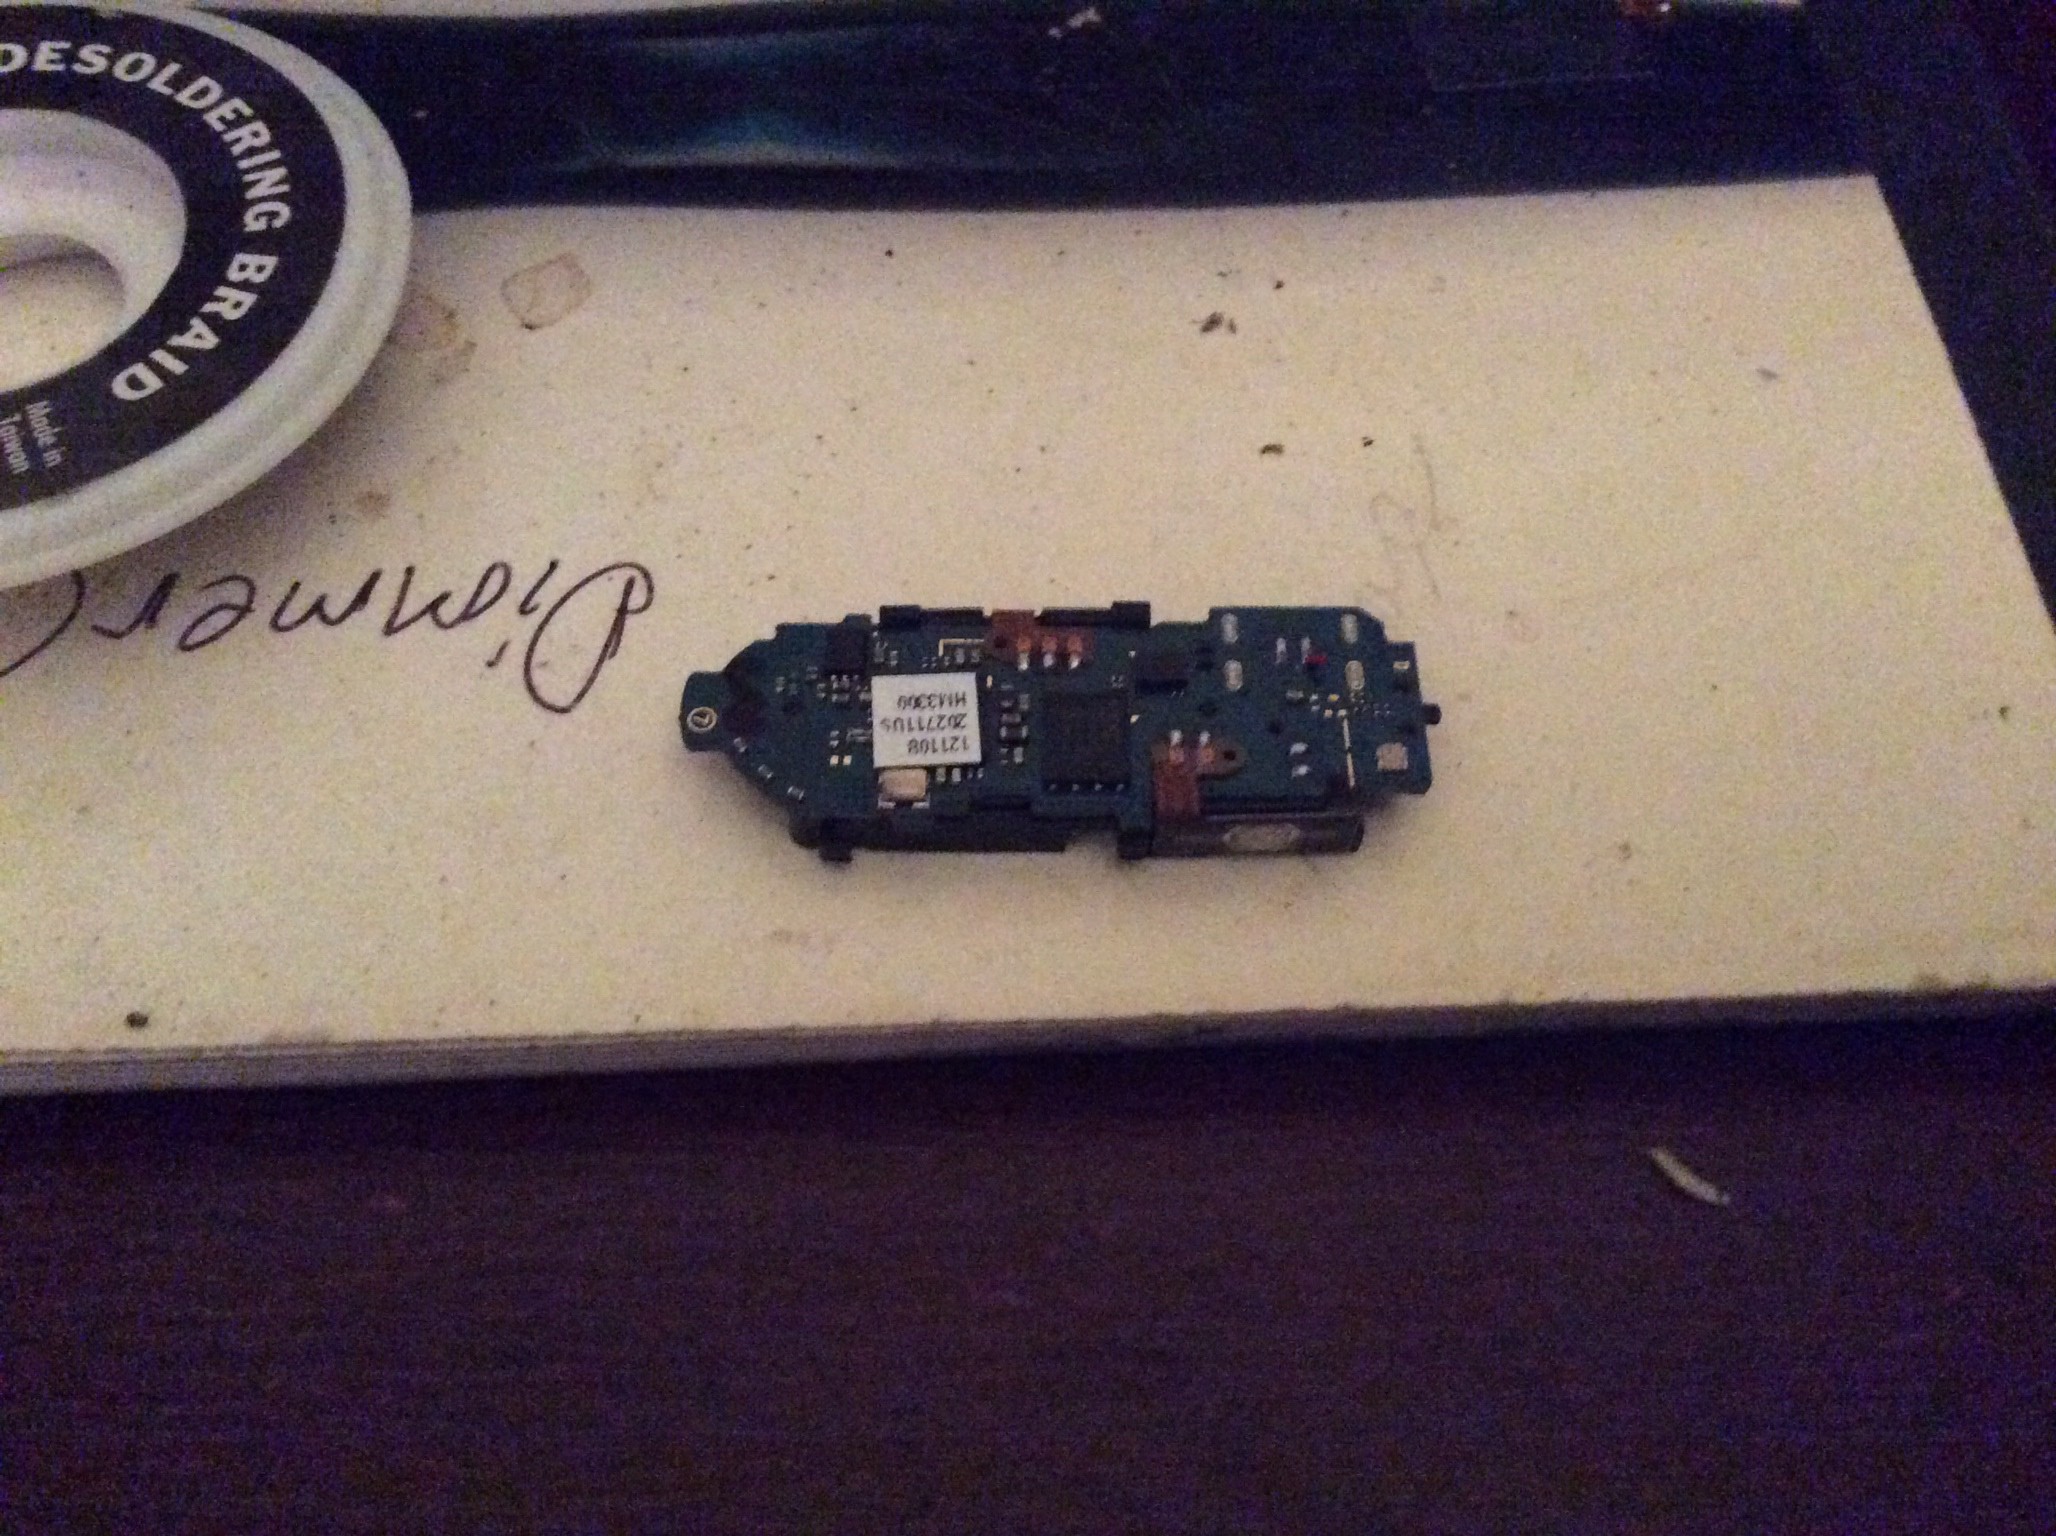
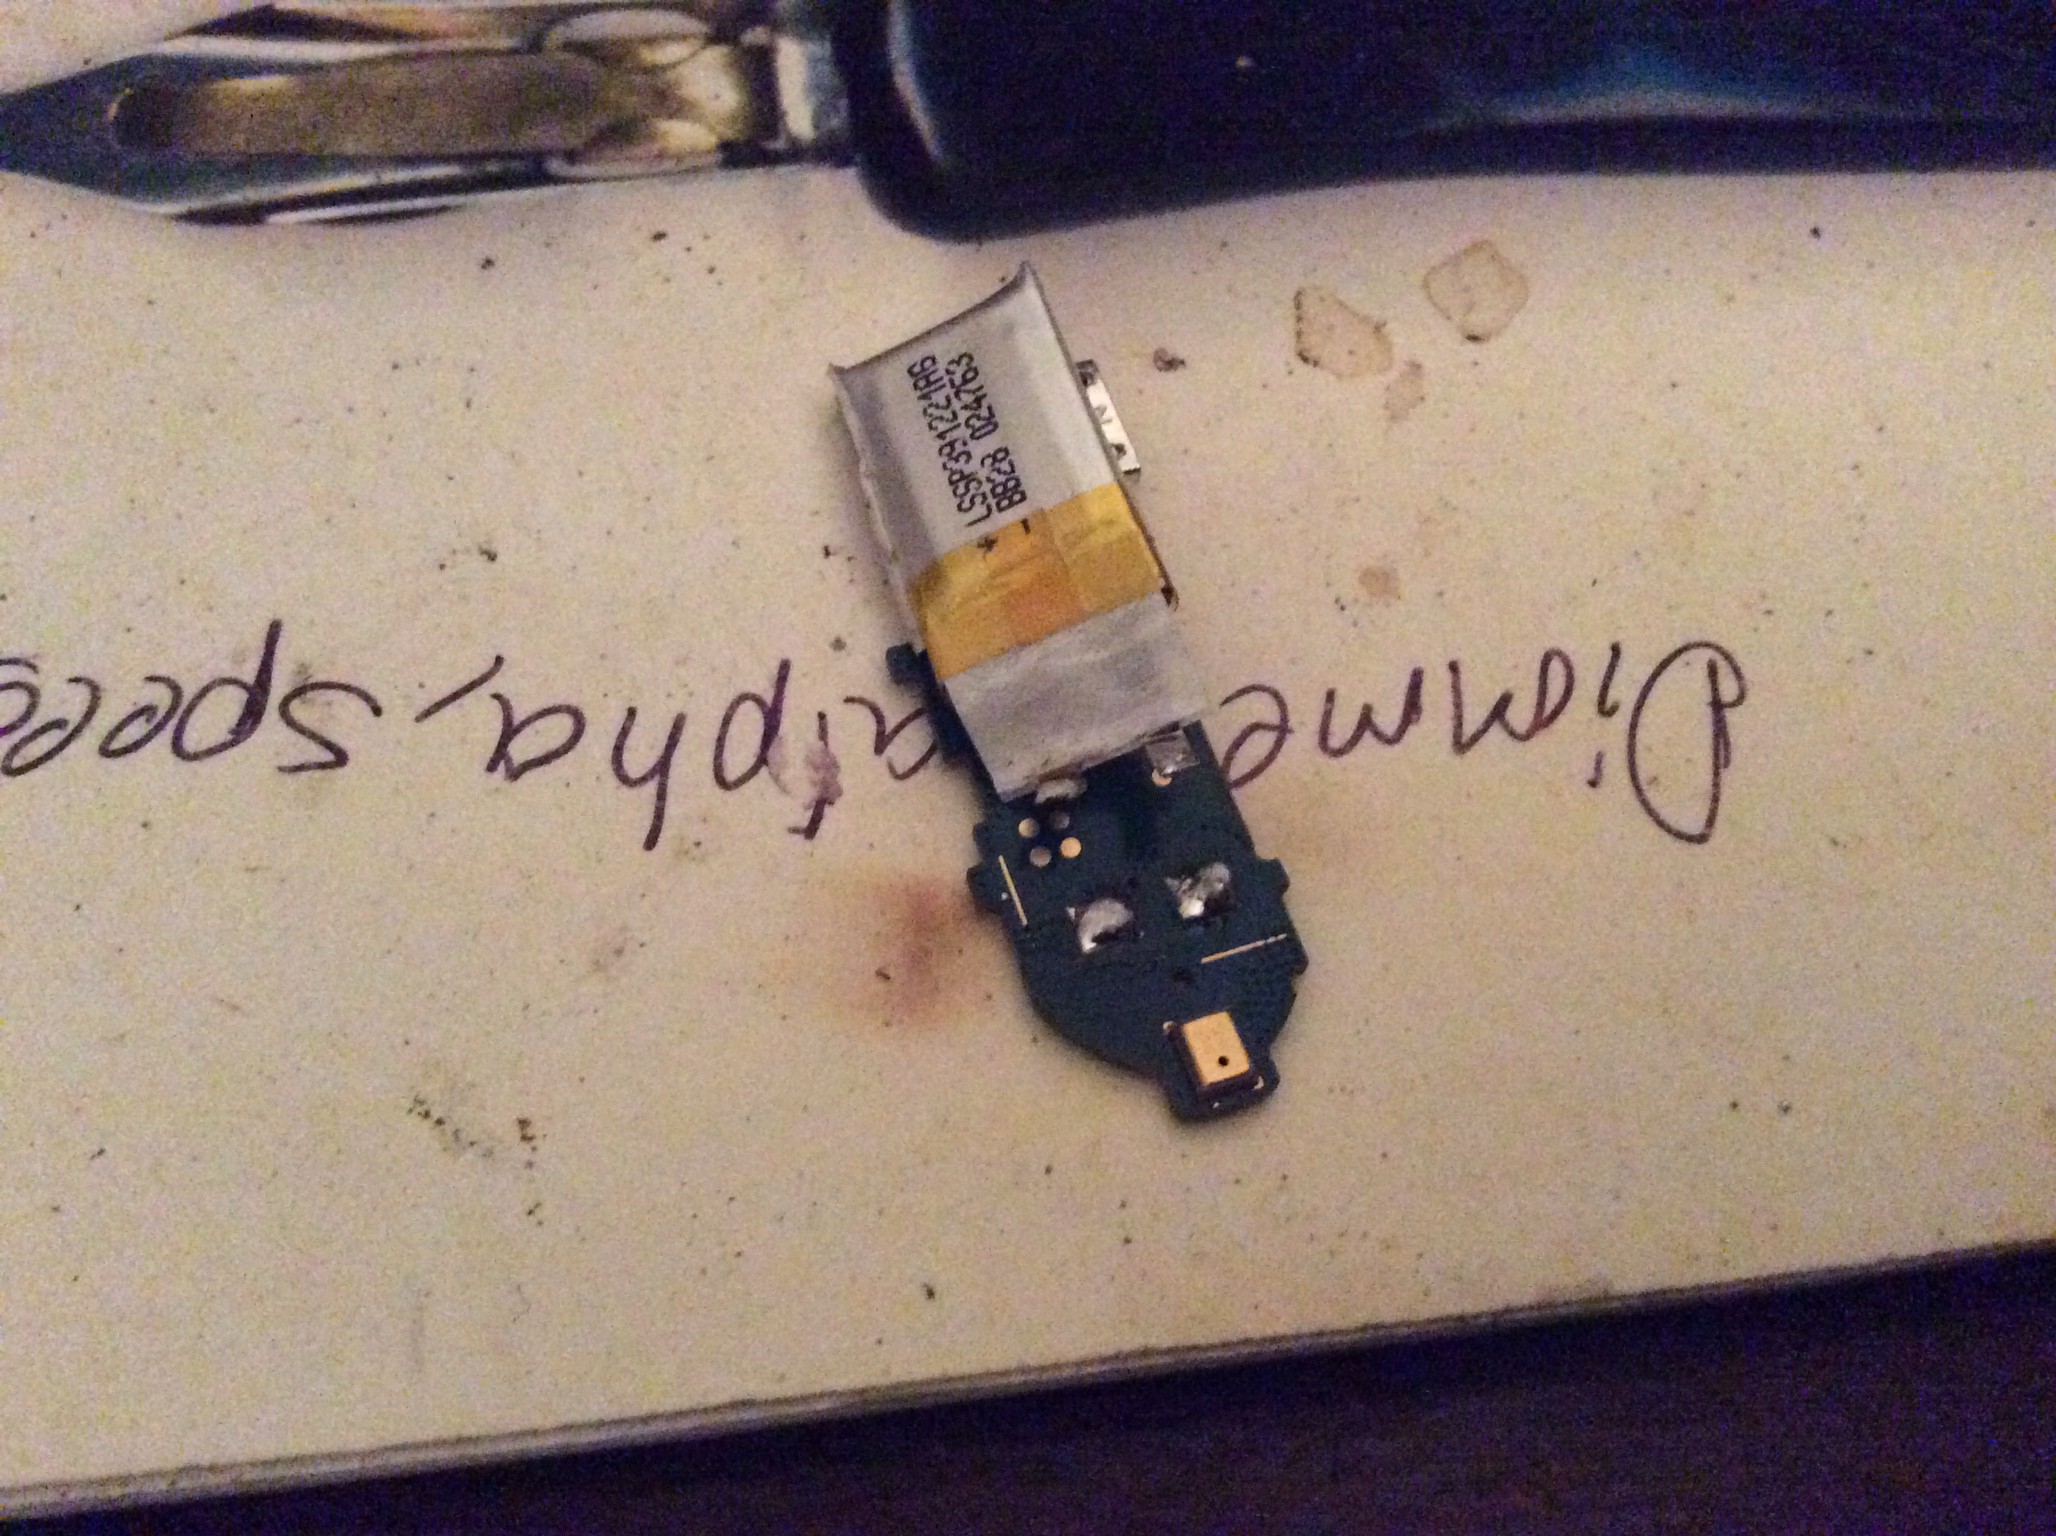
    We'll post more pics in the how to build

View all 9 project logs

Enjoy this project?

Share

Discussions

Mike Szczys wrote 05/07/2014 at 20:49 point
The first kludge at the thing looks promising. Keep going and make this one work!

  Are you sure? yes | no

Similar Projects

Does this project spark your interest?

Become a member to follow this project and never miss any updates