Close
0%
0%

Mr. Robot Badge Mk. 2

We're back.

Similar projects worth following
Version 2 of the popular Mr. Robot Badge, to be distributed at Defcon 26, August 9th or thereabouts.

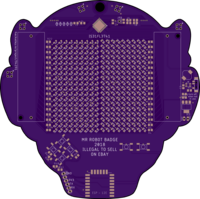
This is what you've all been waiting for. The next iteration of the MrRobotBadge. It's a hardware demoscene with chips you couldn't get a few months ago, the latest in circuit board art, and a massive amount of blinky.

What is the MrRobotBadge? Last year, it was my experiment in gonzo trade journalism. The first iteration of the MrRobotBadge was a project to document the hardware demoscene of #badgelife. This is a community dedicated to creating amazing custom hardware in the form of electronic conference badges. Think of it as a group of people writing software demos for an Amiga, only instead we're using solder, custom ICs, and an incredible amount of manufacturing know-how. 

There are dozens of badges being produced by the #badgelife community this year, but I think this one is special. Why?

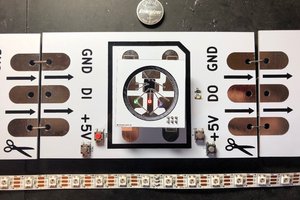
  • We're using a chip you couldn't get in April. The LED driver for the MrRobotBadge Mk2 is a custom implementation of a LED driver designed for RGB backlit mechanical keyboards. We're not doing RGB, but we are bringing a massive amount of blinky to the community
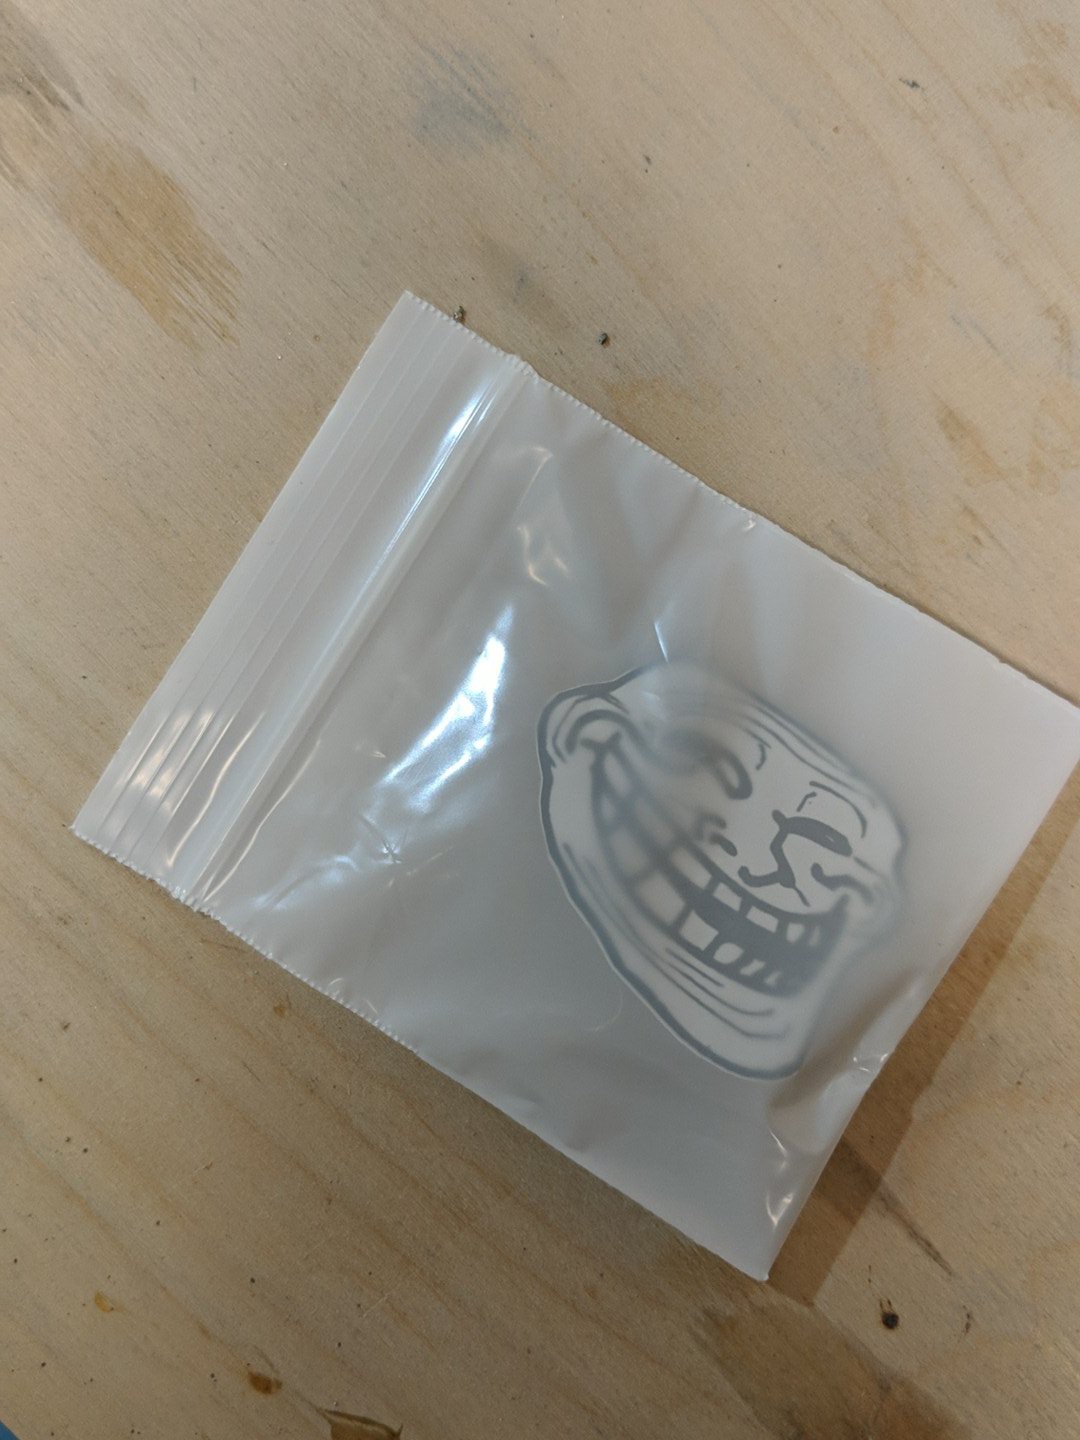
  • The greatest in PCB art. The art for the first version of the MrRobotBadge featured multi-color silkscreen, but this year we're kicking it up several notches. We're making tide pods.
  • The software! With a gigantic LED matrix, we have a lot of options on what we can do for user interaction. The top of the list: we're going to make blinky fun.
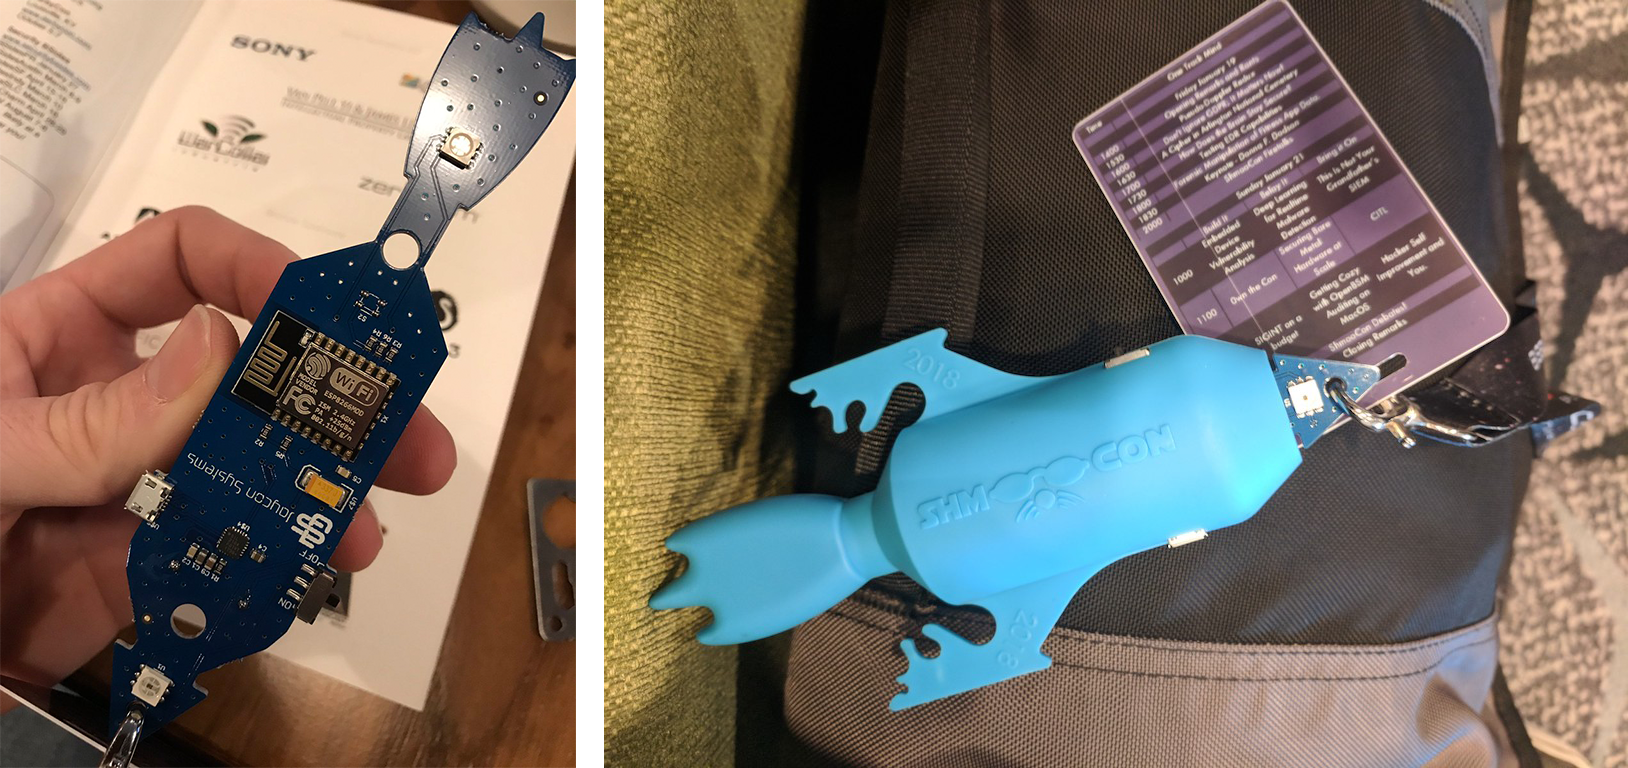
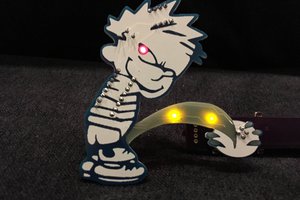
  • Shitty add-ons! This year, the #badgelife community has come up with an open standard for add-on PCBs. These blinky baubles work across all badges supporting the shitty add-on standard.
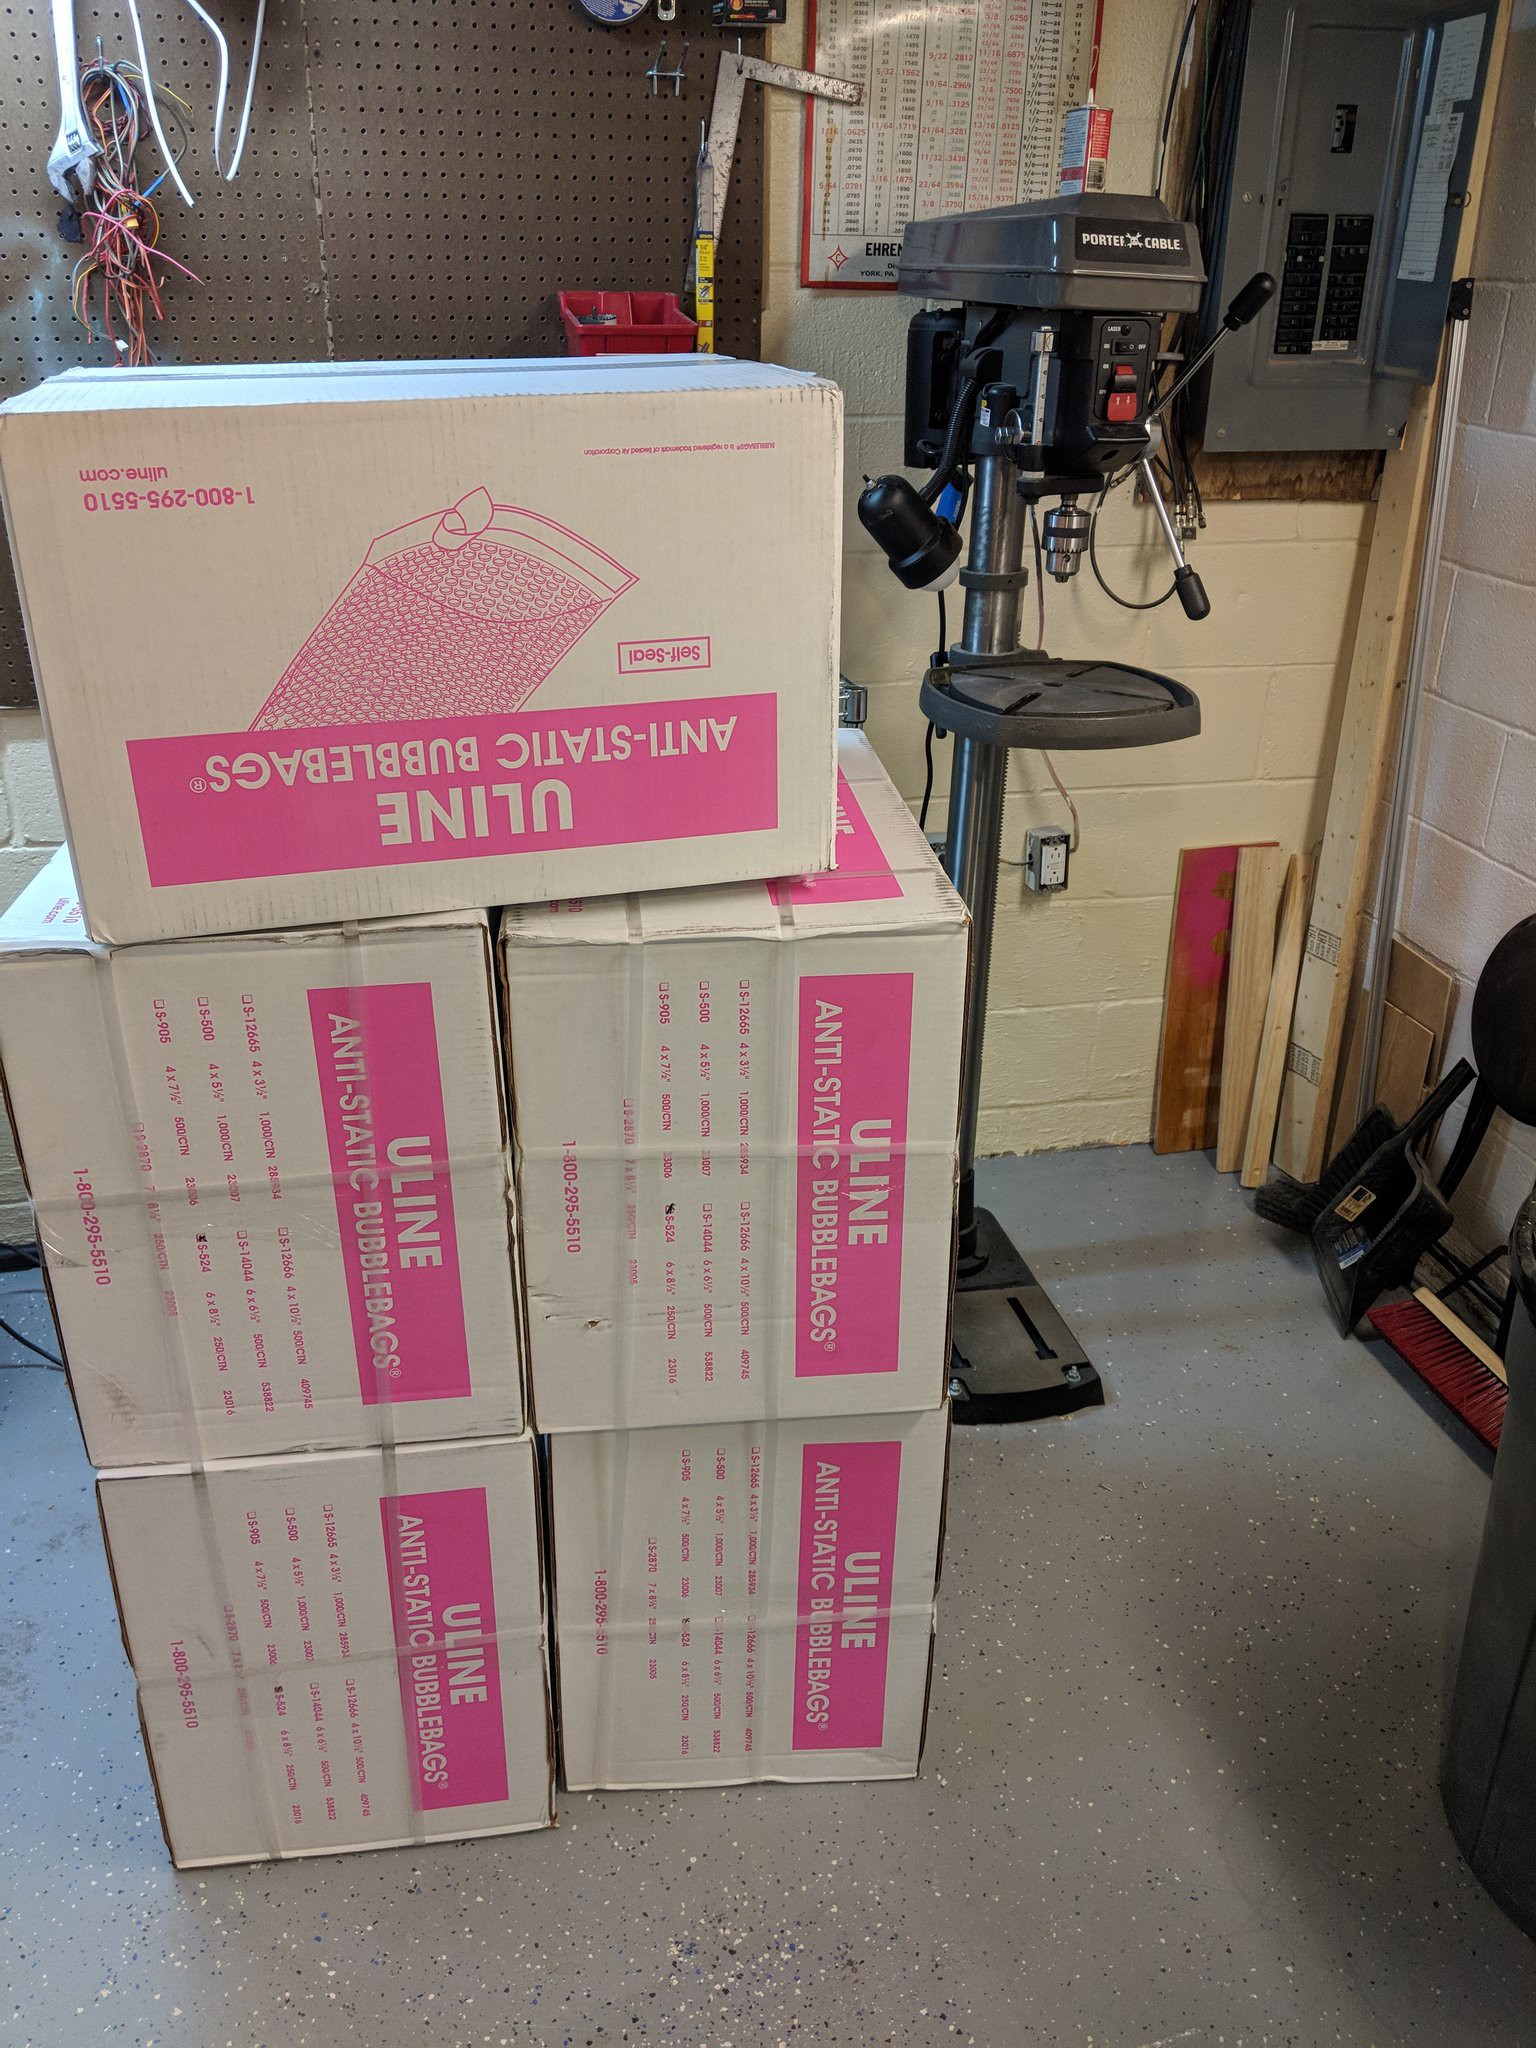
  • Better QC, better process control, and a better assembly line. This really isn't going to show in the final badge, but we learned a lot last year and we're putting that knowledge to good use.

So, do you want a MrRobotBadge? Good! We're going to be distributing these at Defcon in August (and possibly HOPE a few weeks before). Check out the project logs below to read about how we created this badge.

  • How I built one MrRobotBadge

    Benchoff05/09/2018 at 06:53 2 comments

    This is it. I have verified hardware, and somewhat working firmware. Everything is ready to move into production. I'm going to be spending thousands of dollars at Mouser very very soon, and thousands more are going to a board house in China. MrRobotBadge Mk 2 is happening, whether I like it or not.


    My initial plans for this badge were quite grandiose. I would have more LEDs, more blinky, and -- because I could -- an injection molded plastic enclosure. Yes, I wanted to do an injection molded plastic enclosure for this year's MrRobotBadge. This meant getting molds made, injecting hot plastic, contracting things, and spending tens of thousands of dollars for an indie Defcon badge. This plan fell apart when I attended Shmoocon in January. Someone had beaten me to the first injection molded conference badge.

    The Shmoocon badge this year was basically an ESP8266, a few serially addressable LEDs, and an extraordinarily fancy injection molded rocket enclosure. All of this was done by Jaycon Systems, which to me feels like cheating, but if you want the latest in badgelife, there you go. Go with Jaycon. They were the first badge that I'm aware of that did injection molding.

    Injection molding was right out, but around the same time as Shmoocon, I came across an interesting LED driver. The ISSI IS31FL3741 is a LED driver that takes I2C in, and spits out a 39x9 LED matrix. It's the same family of chips as the IS31FL3731, the chip I used on last year's MrRobotBadge, but the new chip is significantly more blinky. If you do the routing right on the PCB, you can do an 18x18 LED matrix.

    There's one problem with this chip: it was scheduled to ship in Q2 of 2018. That's early April or so. Not a problem. This gives me about four months to come up with a design, do some art, and procrastinate until the chip ships.

    And that's exactly what I do. I sit on my ass for two or three months. Around the end of March, I start the design in earnest. I come up with this:

    Basically, it's a rehash of last year's badge, only with more LEDs. There are a few changes:

    • Instead of the Microchip MCP1640 switching regulator, I'm using the Skyworks AAT1217 switching regulator. A lot of the badgelife crew have used this regulator, and compared to the Microchip one, it's about the same price. It also sucks batteries dry.
    • Instead of four AA batteries like last year, I'm only going with two. The design of the badge doesn't allow me to place batteries on the back, so everything here is a single-sided design. This cuts down on the area I can place components, and ultimately how large the display can be. I've learned a few things, though: I'm using keyed battery holders. Last year, I had a few misplaced battery holders that were soldered in the wrong polarity. The Keystone 1028 has a neat little plastic nub on the bottom of the positive terminal of the holder. If you put a hole in your board, this means the battery holder can only be placed in one way. That's going to be great for when I recruit friends and family to help with the assembly
    • Changed around the pin mapping of the buttons. I really fucked that up last year.
    • Added five shitty add-on connectors. The Shitty Add-On standard is going on a ton of indie badges this year. It's just power, ground and I2C. Enough to have fun with, at least.
    • The software will be infinitely better.


    With the design in place, I sent that board off to OSH Park, hit up ISSI, asked for a sample of chips, and they actually got back to me. They immediately sent me the dev board for this chip, but no chips. I needed the chips to prototype this board. I needed them to assemble this board. Without samples of chips, I couldn't do anything.

    I checked Mouser every day for a month. At one point, Mouser was getting one reel -- just 2500 chips -- on May 28th. While I was waiting for these chips, I started to get a little nervous. I actually made a 'safety' version...

    Read more »

  • Let's Talk About Packaging

    Benchoff04/05/2018 at 19:14 2 comments

    This is putting several carts before the horse, but this update is going to talk about packaging for these badges. This is surprisingly hard, and there are a few special considerations I need to take care of.

    Last year, the packaging for the MrRobotBadge was simple. It was just an antistatic bag, with each bag loaded up with a badge, lanyard, and sometimes a fidget spinner. It was small, sufficient, but didn't really have the glitz and glam I would like.

    This year, I'd like to do something different. The And!XOR guys did a great job with their packaging last year -- it was custom-printed boxes -- and the Crypto and Privacy village can tell you a whole lot about ordering custom printed boxes. This is the gold standard for distributing badges. It's secure, it looks great, and it's actually not that expensive. Packline.com will do custom printed boxes for about $1/piece. That's right on the money for where I want my packaging expenses to be.

    However, there's a problem with boxes. They're big. I'm going to ship 1000 units this year, and that means forty cubic feet of boxes. These need to be shipped out to Vegas somehow, and that's an entire pallet. While my car has a larger cargo capacity, it's just barely big enough. This is a huge, huge volume of stuff. Weight isn't a problem; it's volume.

    This brings me around to last year's plan. Anti-static bags. This year is a little different, though, and I have a few requirements:

    • There must be some sort of branding on the packaging. Anti-static bags are just... too chintzy.
    • Some part of the packaging solution must be opaque. I'm doing shitty add-ons this year, about 100 each of 10 varieties, distributed randomly throughout my inventory. I don't want to know which shitty addon is in one package. This is part of the game.
    • It needs to be anti-static
    • It needs to be small. Again, I'm shipping a massive volume of stuff here, and I have to carry it around the vegas strip.

    The obvious solution is bags. Here's what I've come up with:

    Uline has some anti-static bubble mailers that would be perfect for the job of holding a badge. This is actually cheaper than the plain silver anti-static bags I can find on AliBaba. This is what I'm using for the MrRobotBadges.

    These bags have a problem: they're not opaque. I need a solution to hide a shitty addon, and possibly add some branding. I've come up with a few solutions.

    The first is poly mailers from StickerMule. They're opaque, padded, and I can do some custom branding (on only one side, but whatever. I can throw the anti-static bubble mailer in there, a shitty addon, batteries and a lanyard, and call it good.

    The second solution is a two-part deal. Uline also has some mostly-opaque bags I can use for the shitty addons. These can be thrown into the padded anti-static bags. For branding, I can get a roll of printed labels for the outside of the anti-static bags. It's not ideal, but it is a good solution that meets all the criteria.

    There are a number of things I need to consider, but the most important are cost and size of the packaged product. Between the two, I'm just going to go with the Uline anti-static bubble mailers. That means buying thirty five pounds of bubble wrap. Do you have any idea what thirty five pounds of bubble wrap looks like?

    That is what thirty five pounds of bubble wrap looks like.

    My solution to hide the shitty add-ons was to buy... dime bags. From Uline. They're ziplock poly bags that are just too translucent.

    It's not good. I wanted to hide the shitty addons. I guess I'll just cover it with creatively packing the badges.

    That's packaging sorted, now it's time to make a badge.

View all 2 project logs

Enjoy this project?

Share

Discussions

Similar Projects

Does this project spark your interest?

Become a member to follow this project and never miss any updates