 JackRC
So, in case you are bored and want to do something different in the weekend, this is the exact step by step to help you burn 20 hours.
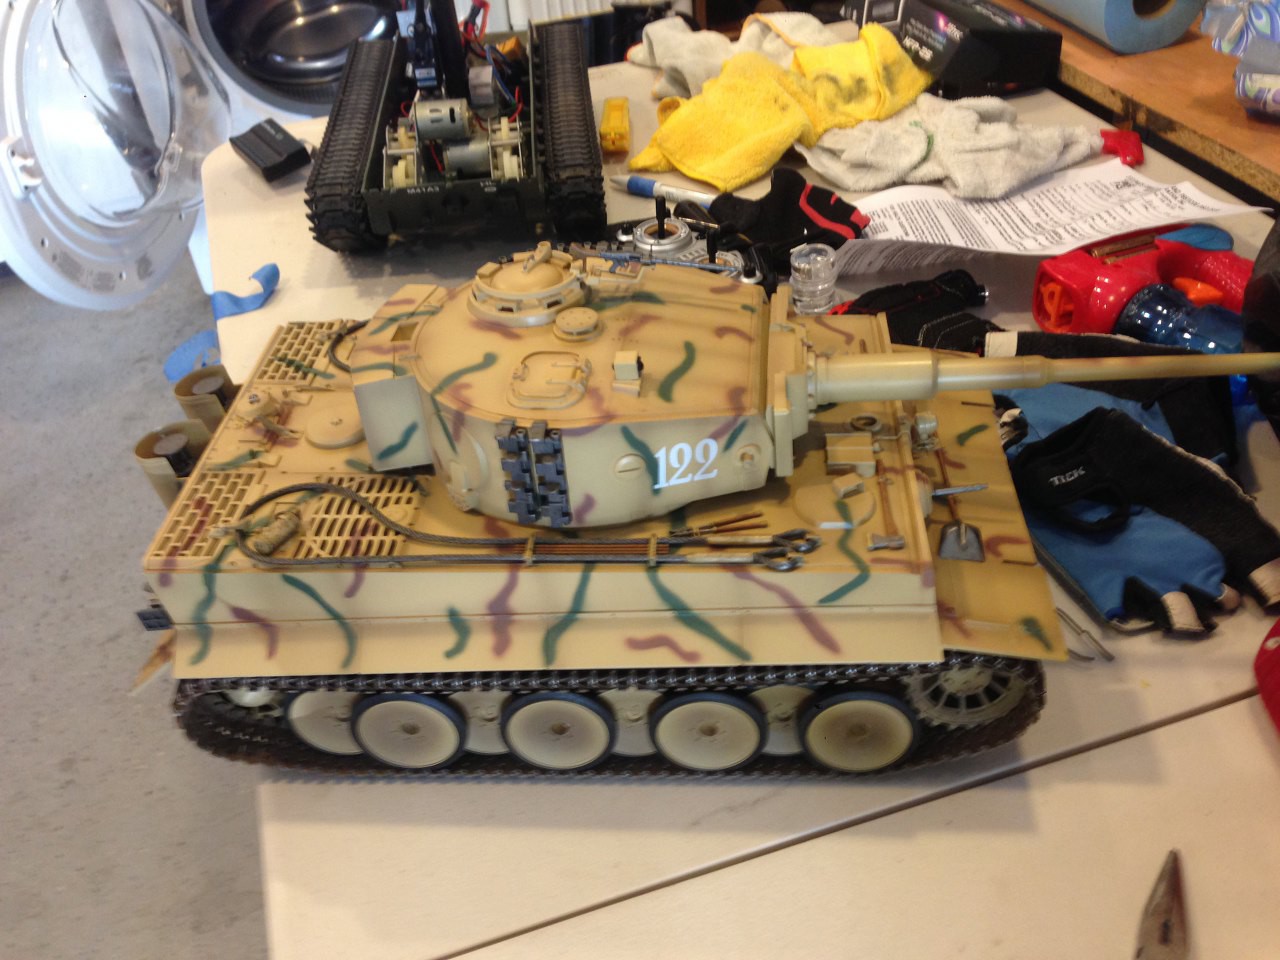
1. Buy a perfectly good 1:16 or bigger RC tank from RC store or Amazon for 99 bucks, mine is a Tiger 1 tank.
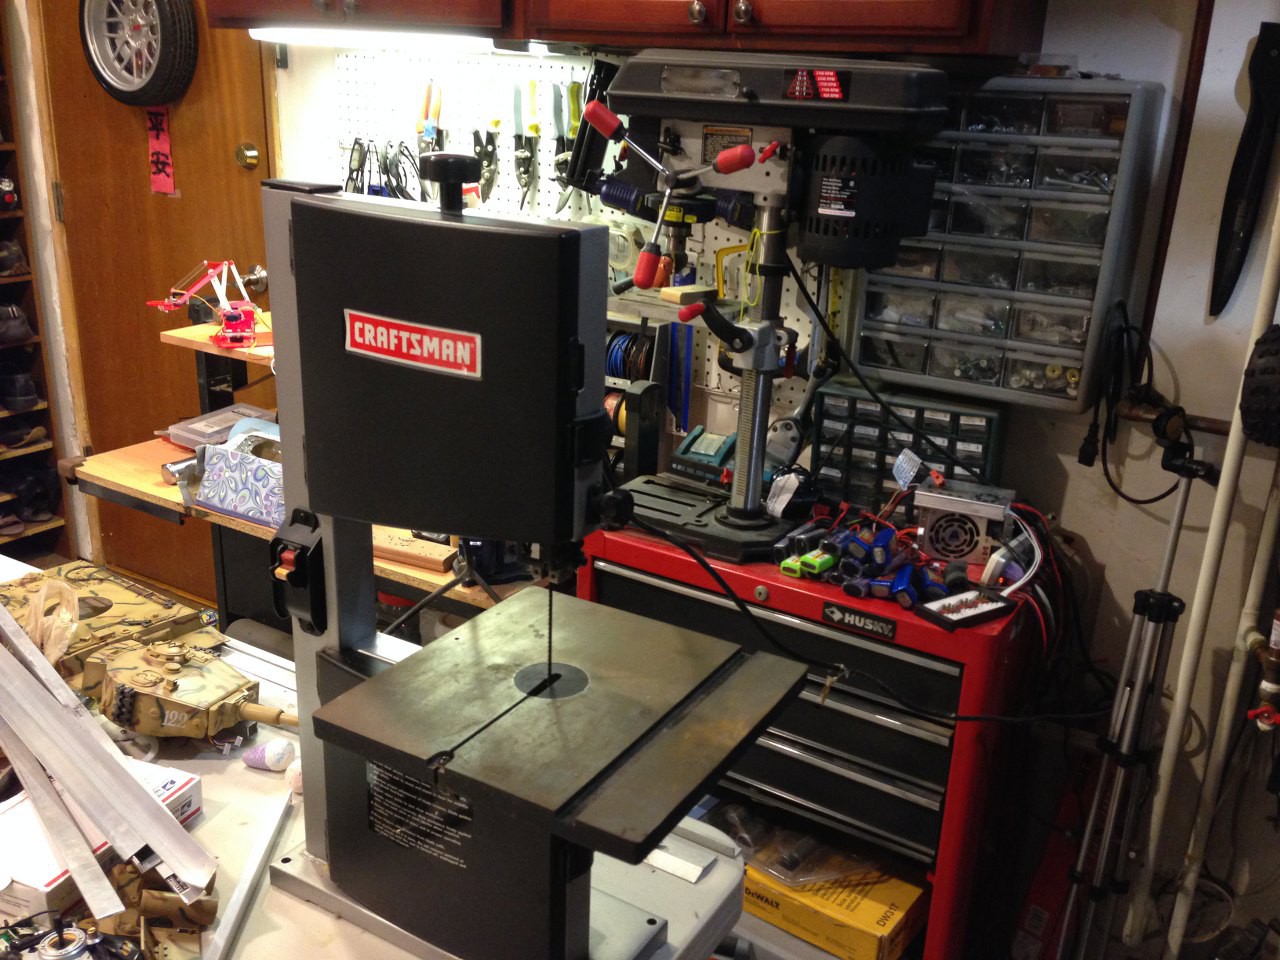
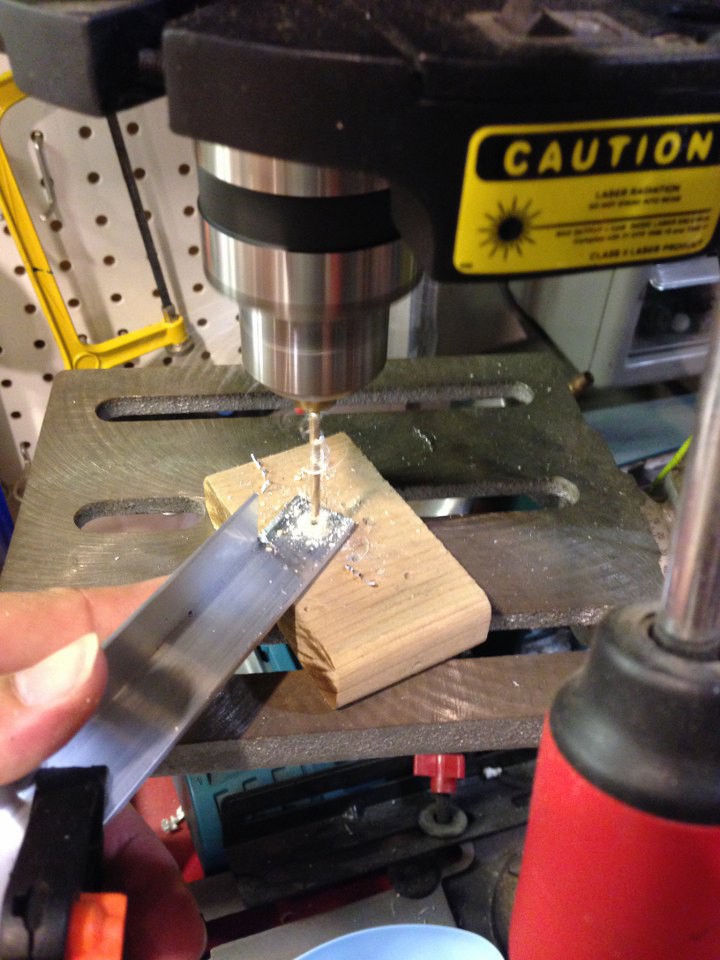
2. Prime your band saw and table drill for some aluminum action!
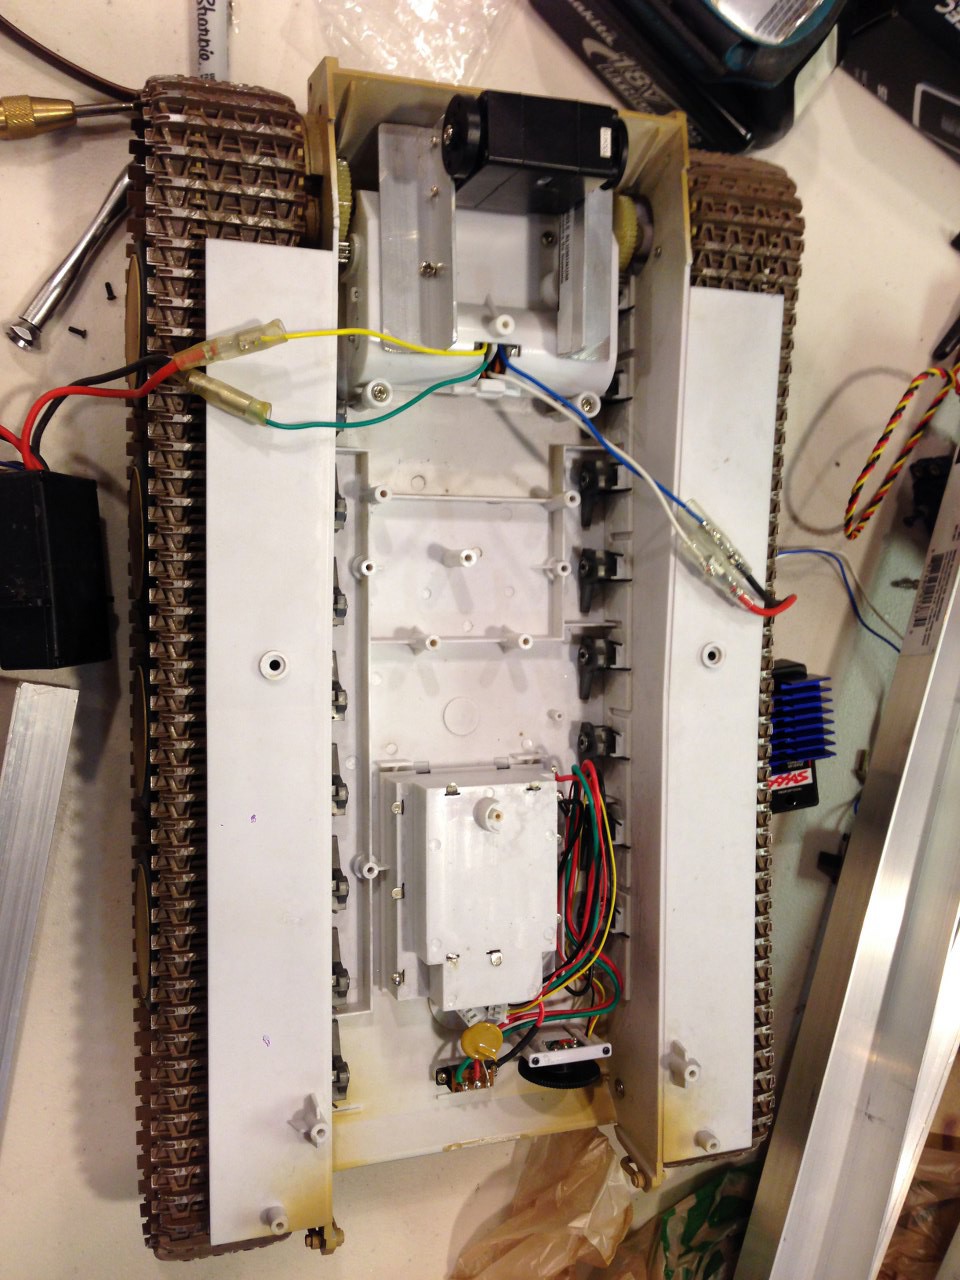
3. Play with your brand new RC tank and once you are bored...cut it open!!
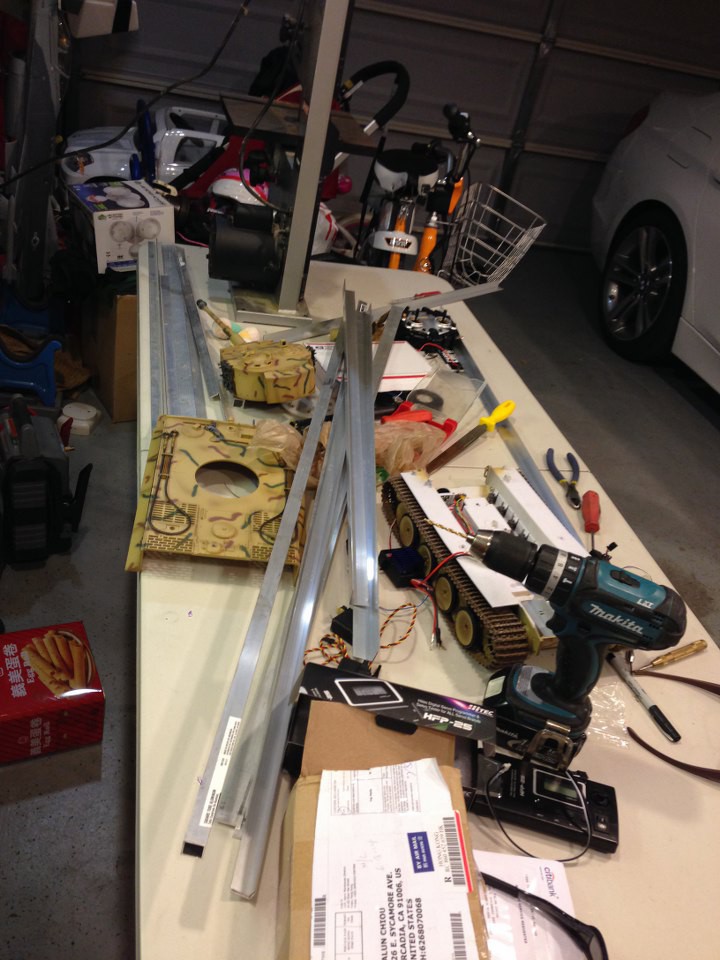
4. Buy aluminum angle bar and square tube from Home Depot, parts number
#887480013870, #887480013771, #887480013177, #887480017373, one for each.
5. Admire at the robotic specific servos from HobbyKing.com Model #TGY-S403P , and thanks god how much time this servo can save you to create a robotic arm! (It has a matching spines coming out of the case from opposite side)

6. Start the fabrication to mount the servo, game on guys!!
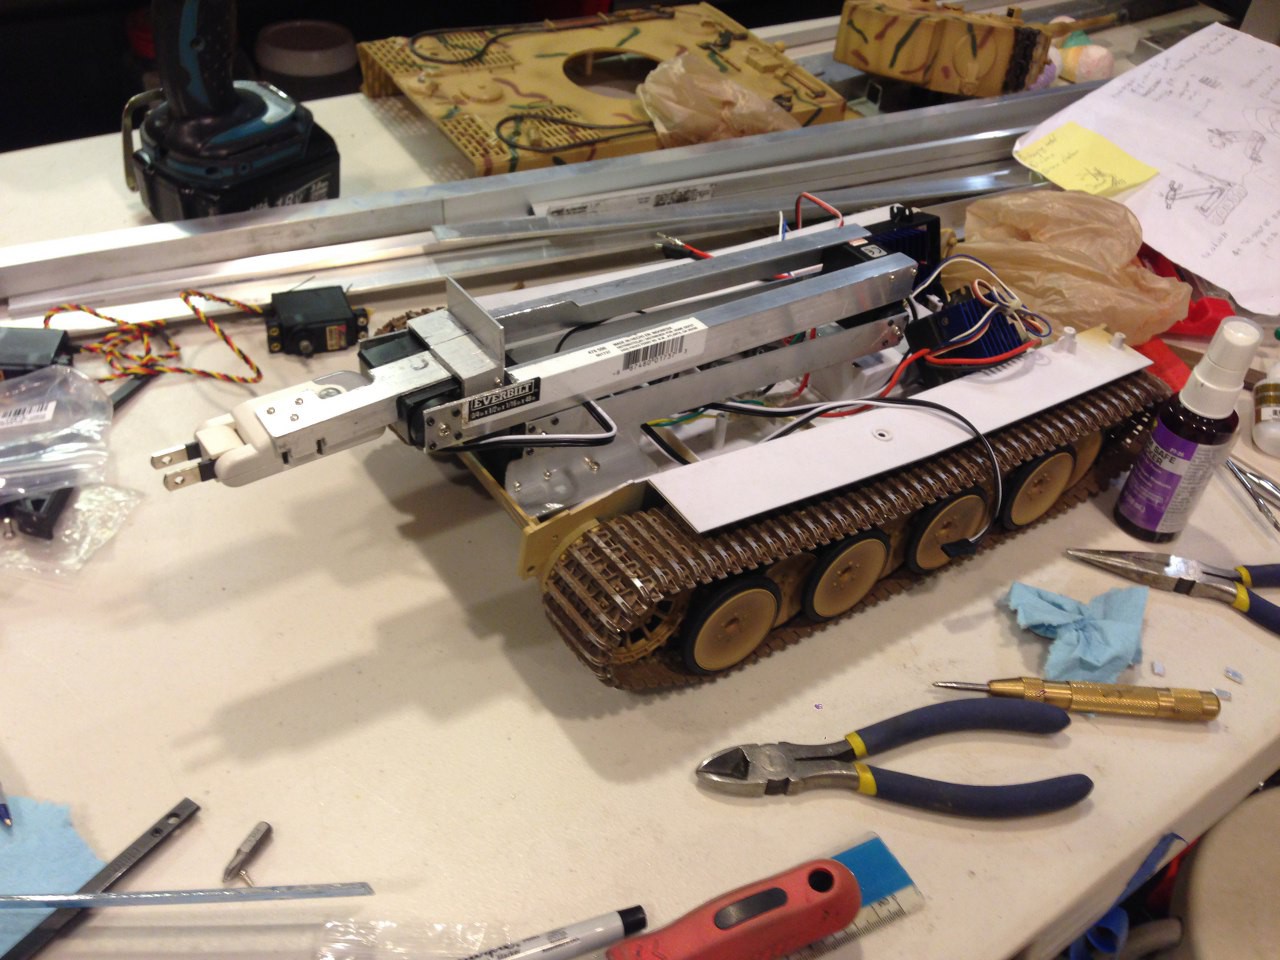
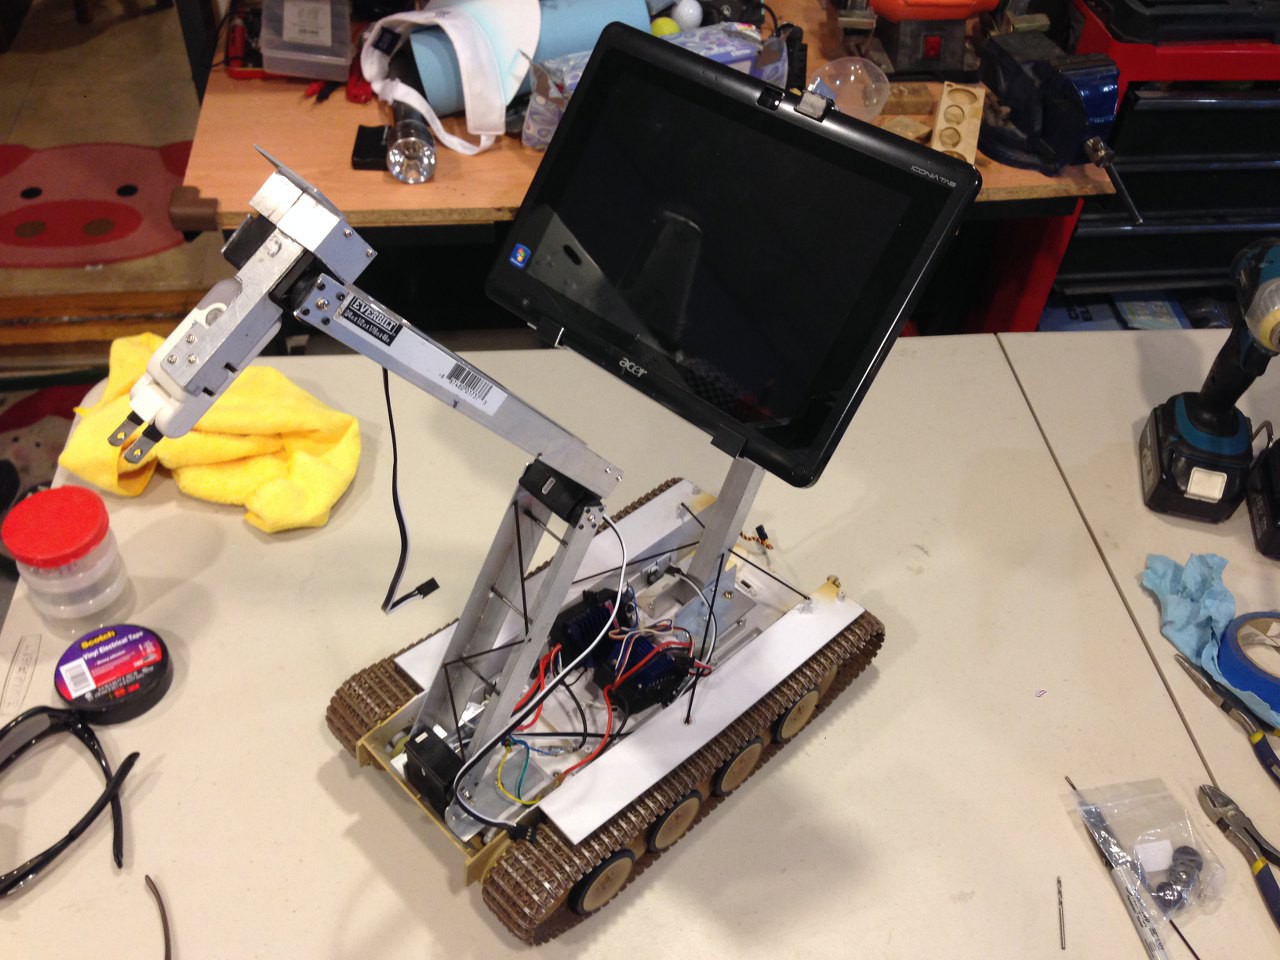
7. Mount the first servo onto the platform.
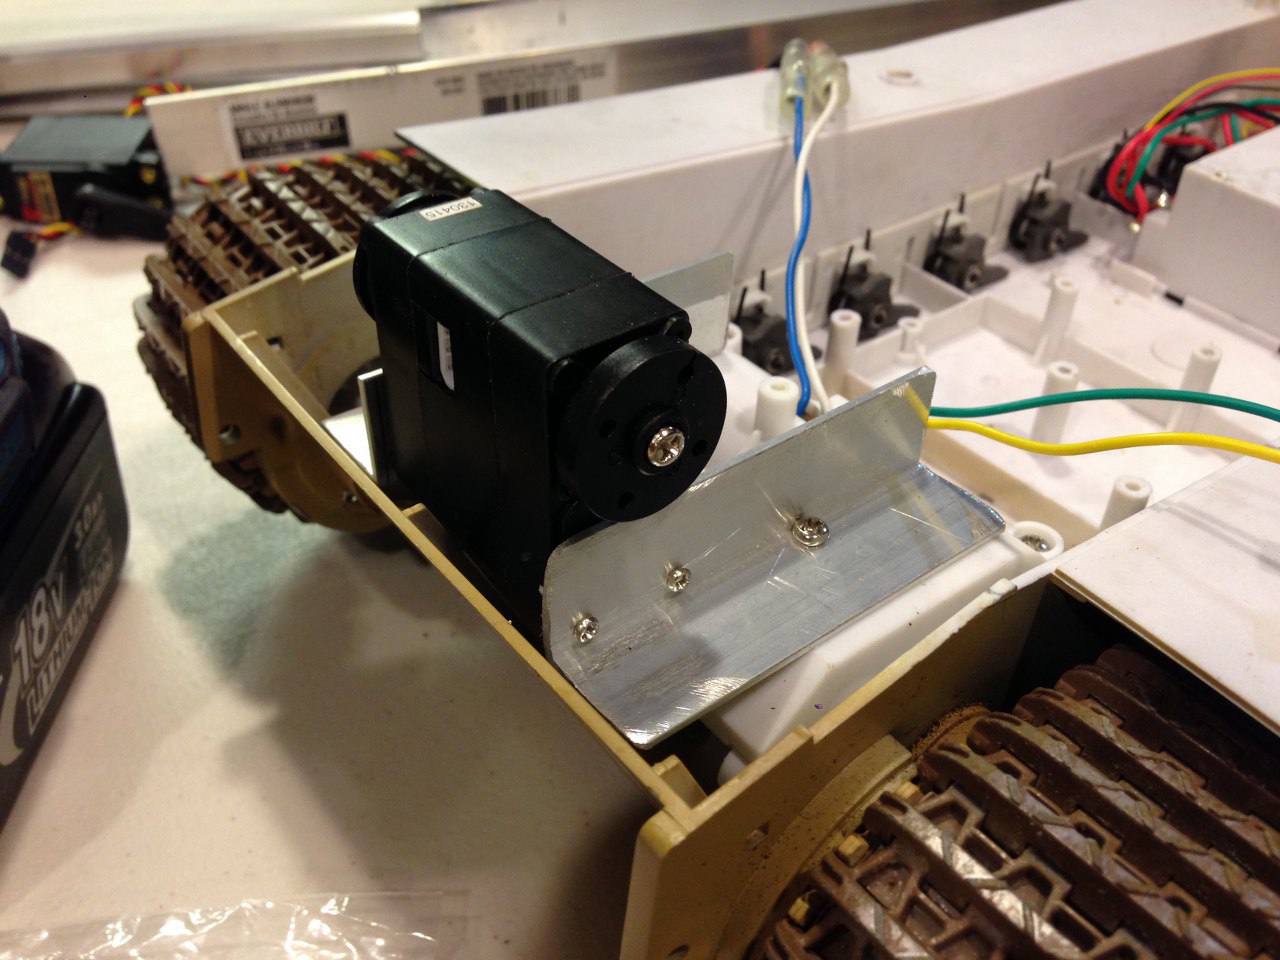
8. Fabricate the arms and mount the second servo, Take a closer look, now you really glad you bought the robotic specific servo. It make the job so much fun and easier!
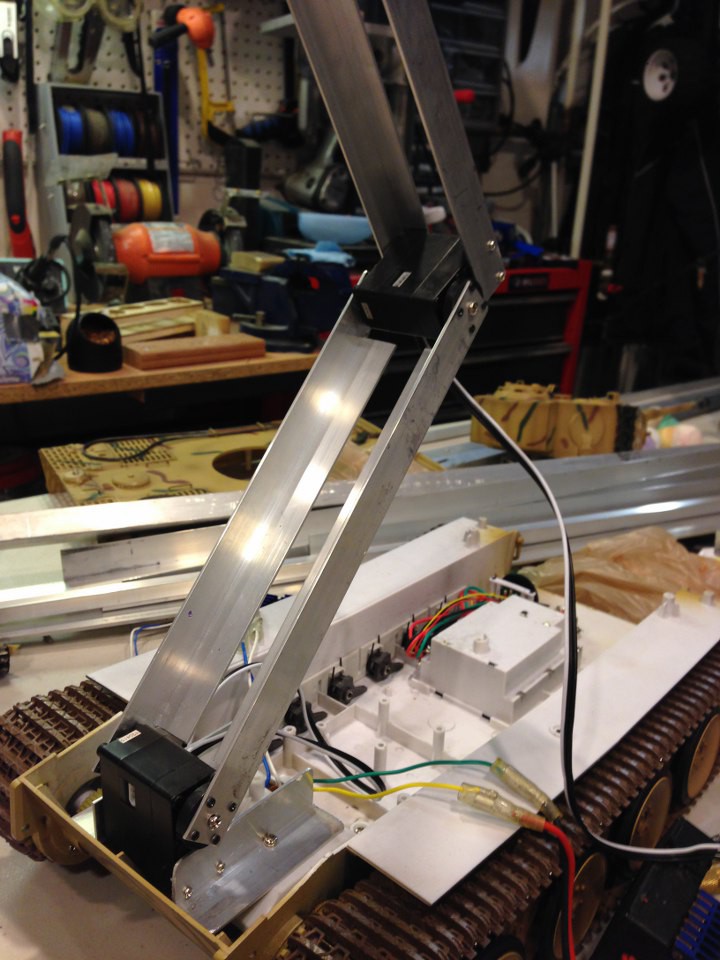
9. Finish up the third servo and attach your robotic hand or weapon at the end. In this case a 110v plug so that I can stick it into household outlet to recharge the robot while I'm away.
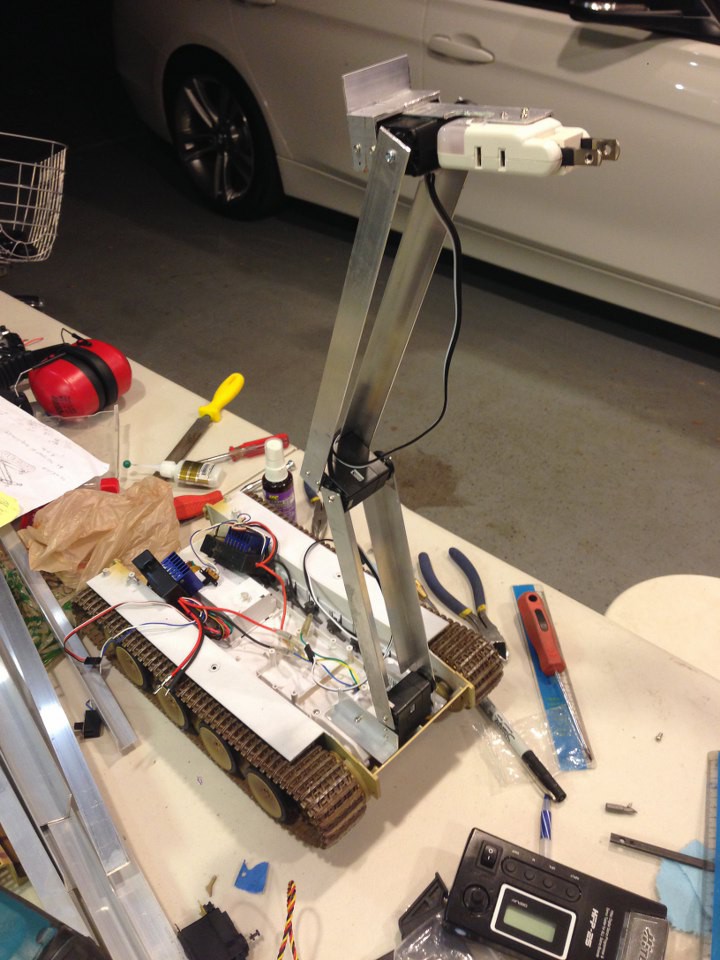
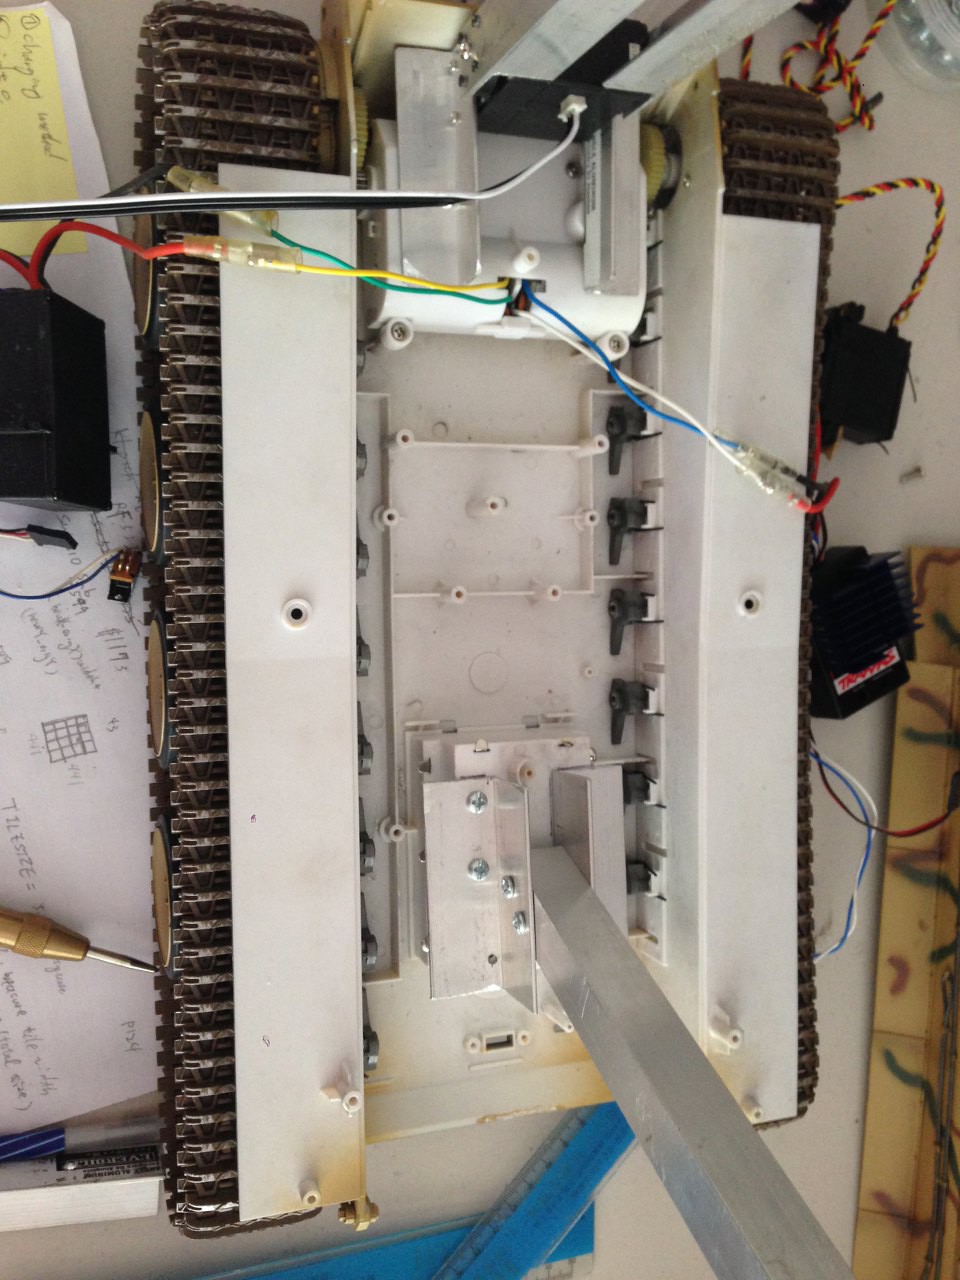
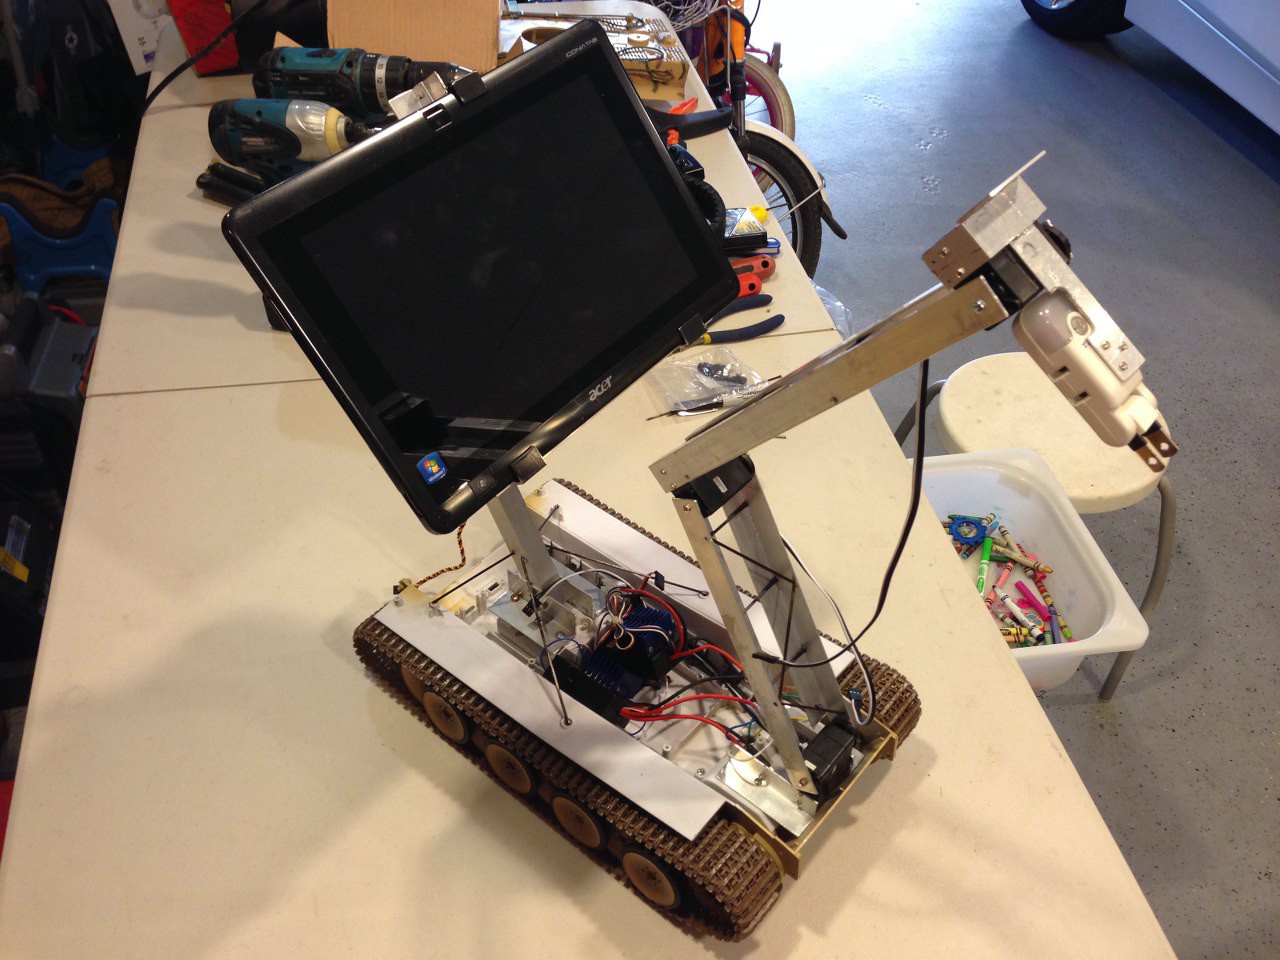
10. This is how it looks like when it fold down, oh yeah, looks sick !!
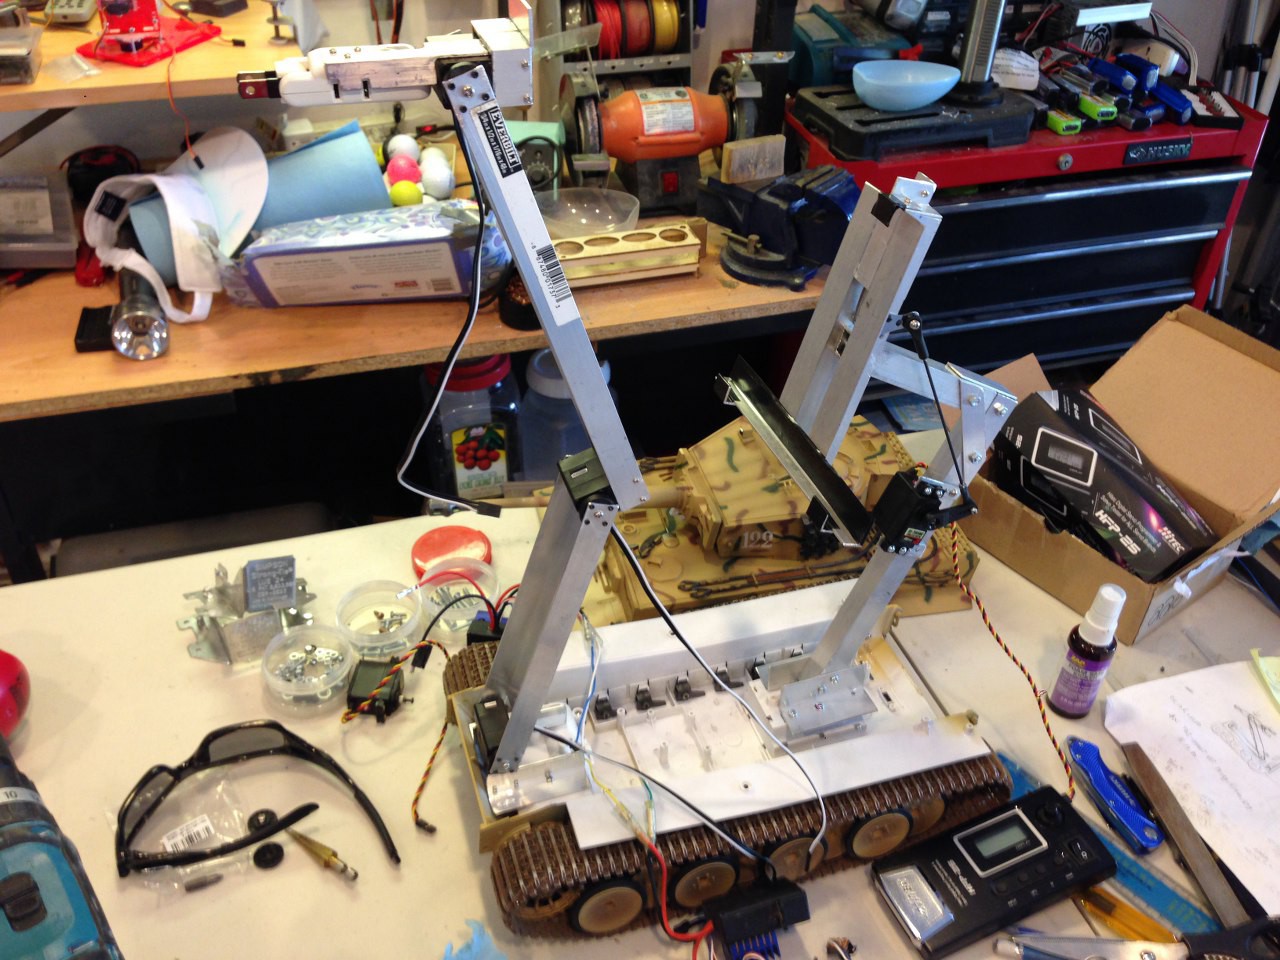
11. Start working on the structure to support the tablet, same fabrication but using the more sturdy aluminum square tube!
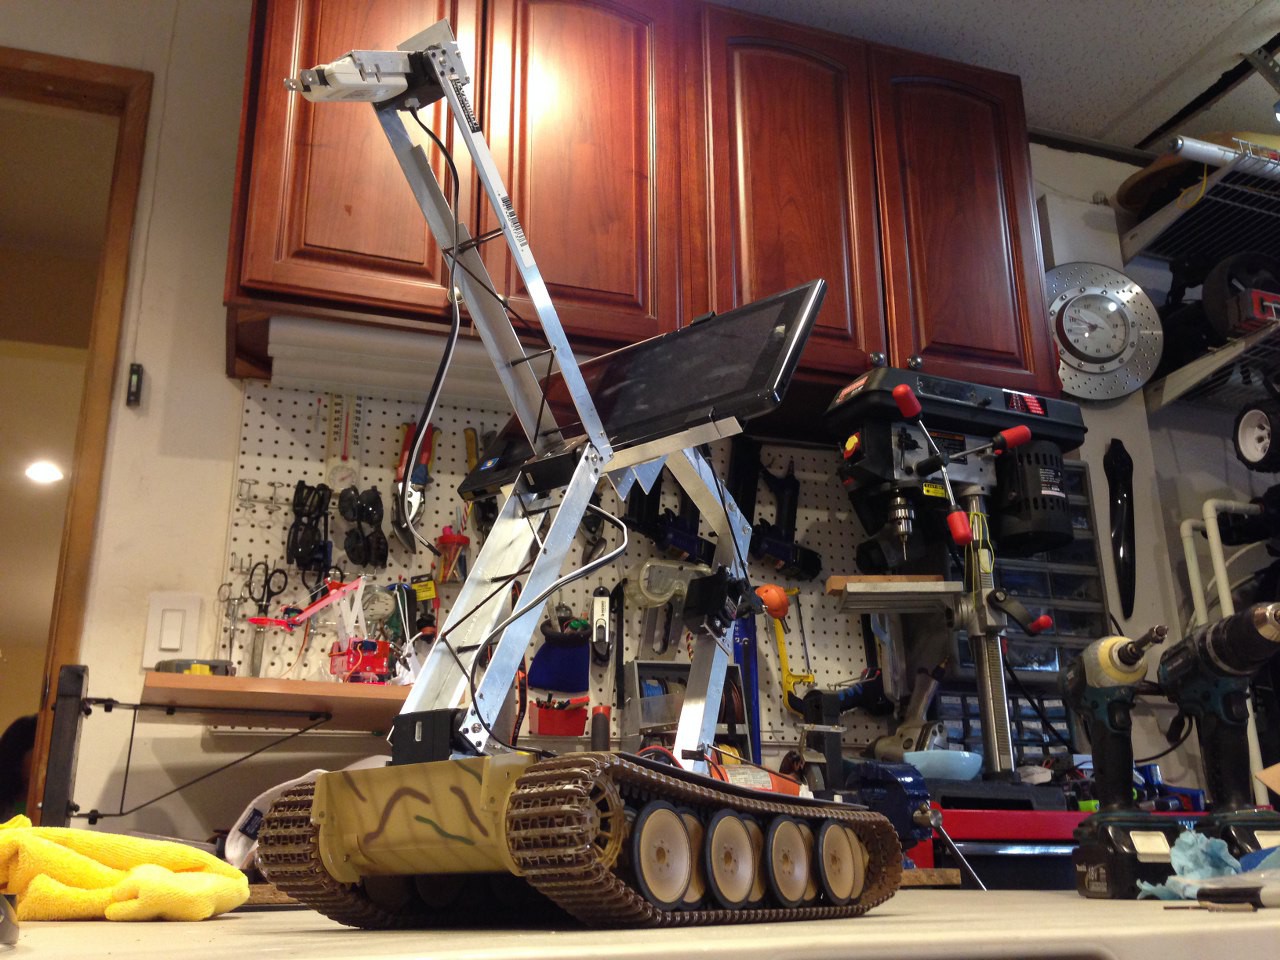
12. After 2 hours cutting and drilling this is how it looks like with the servo mounted on the stand, I am using regular servo on this one.
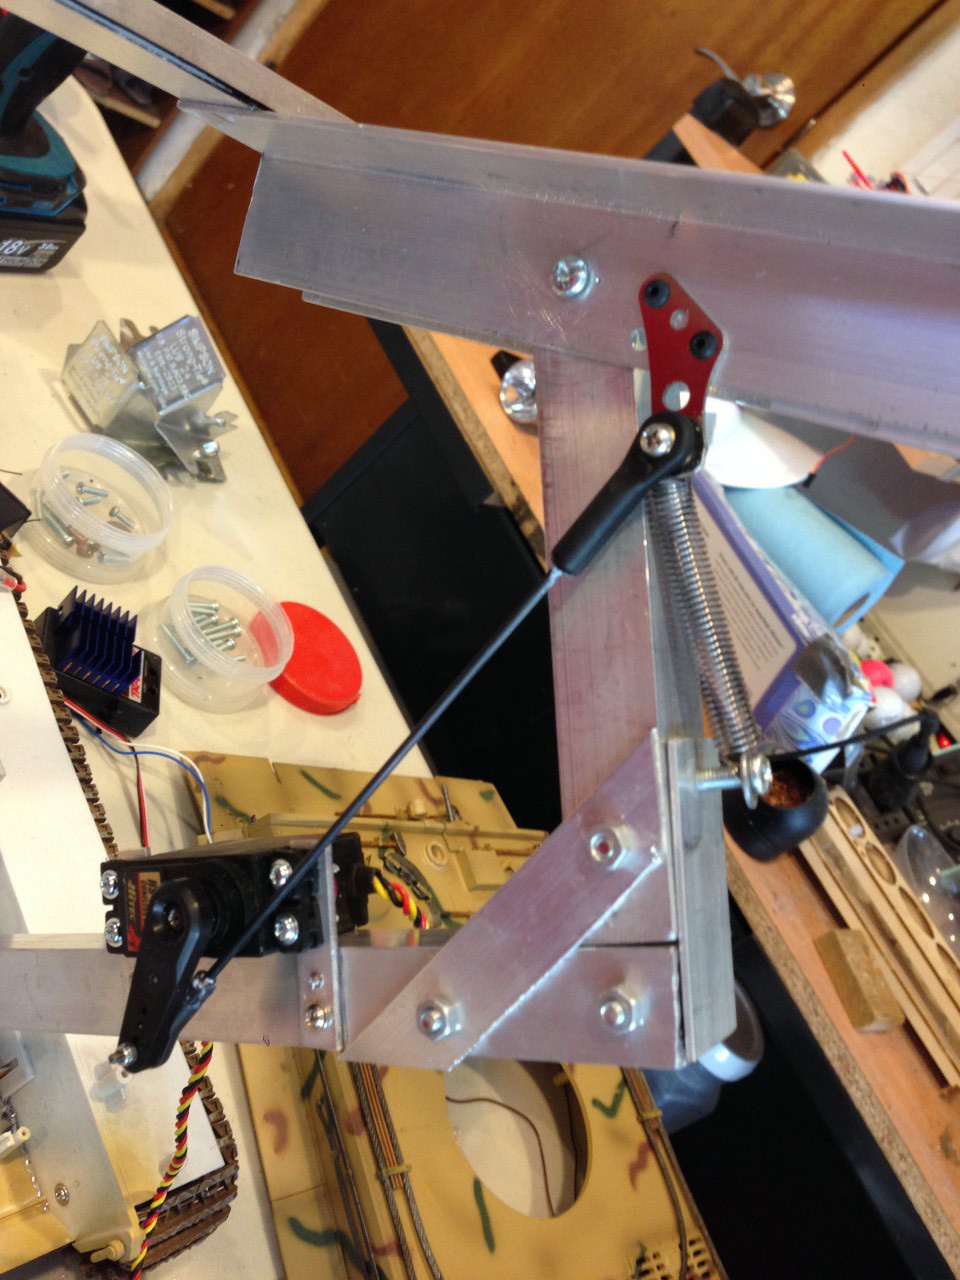
13. Test fit the tablet and fabricate a spring loaded clamp on top to clamp the tablet in place.
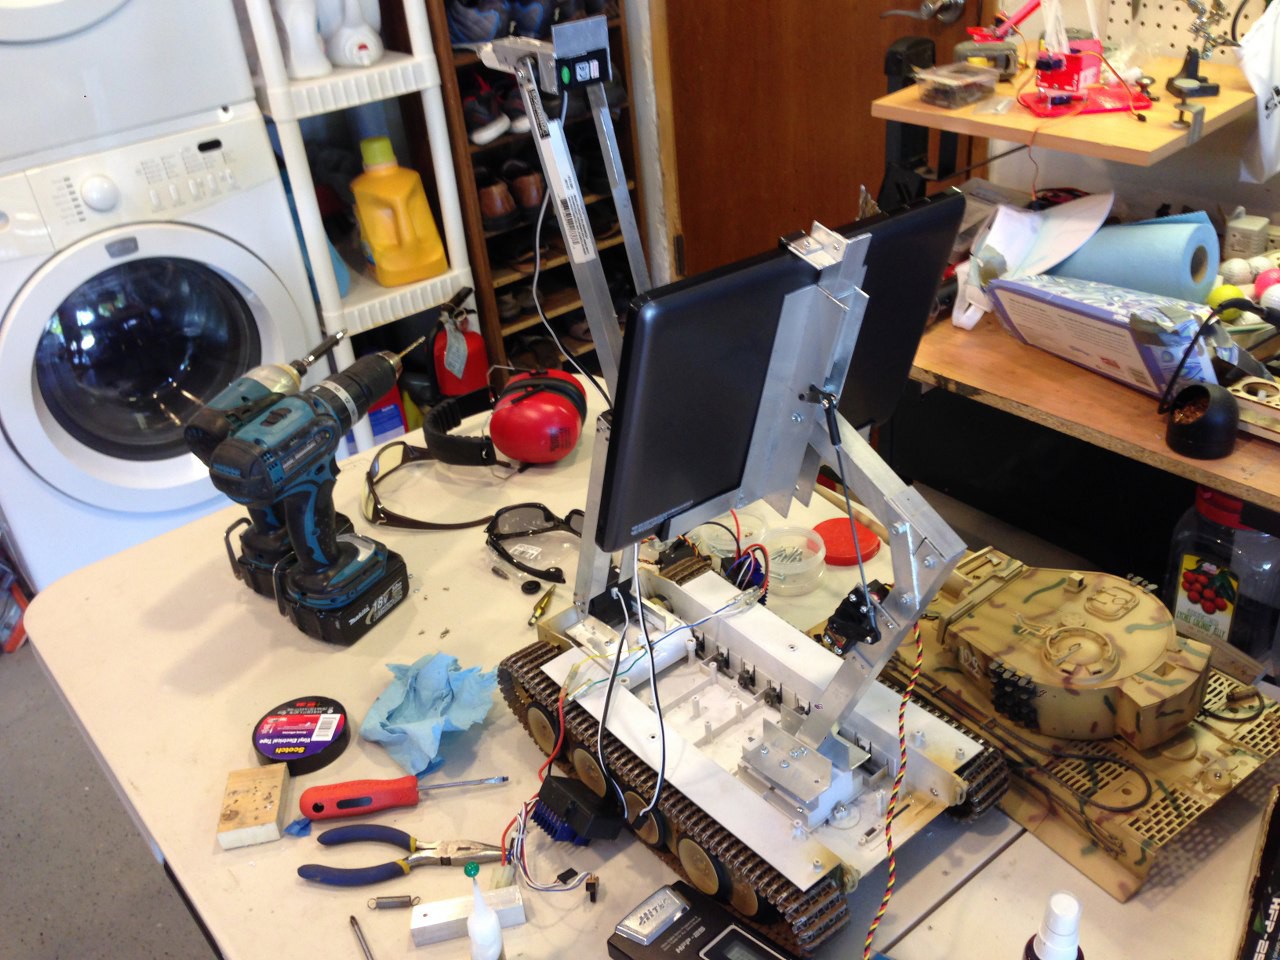
14. Install a spring to help with lifting the heavy tablet (my tablet is super heavy, it is heavier than two iPads in combine.)
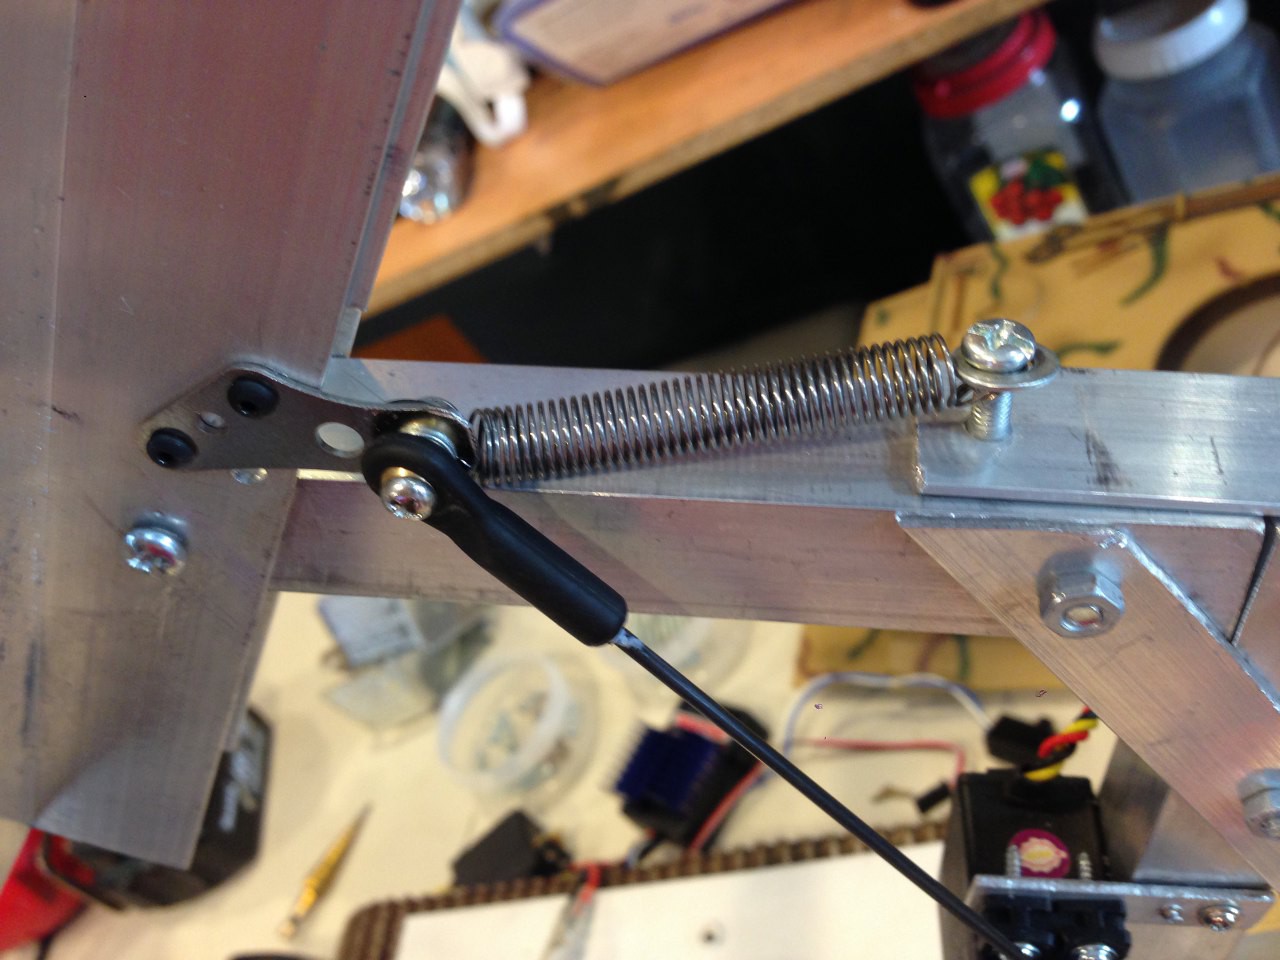
15. Closer look at the ball joint and spring loaded arm. This is where my RC gears really came in handy!!
16. Another closer look.
17. Call your good friend carbon fiber rod out to help you with the extra support, make sure they know where they belong and drill some holes and super glue the hack out of them.
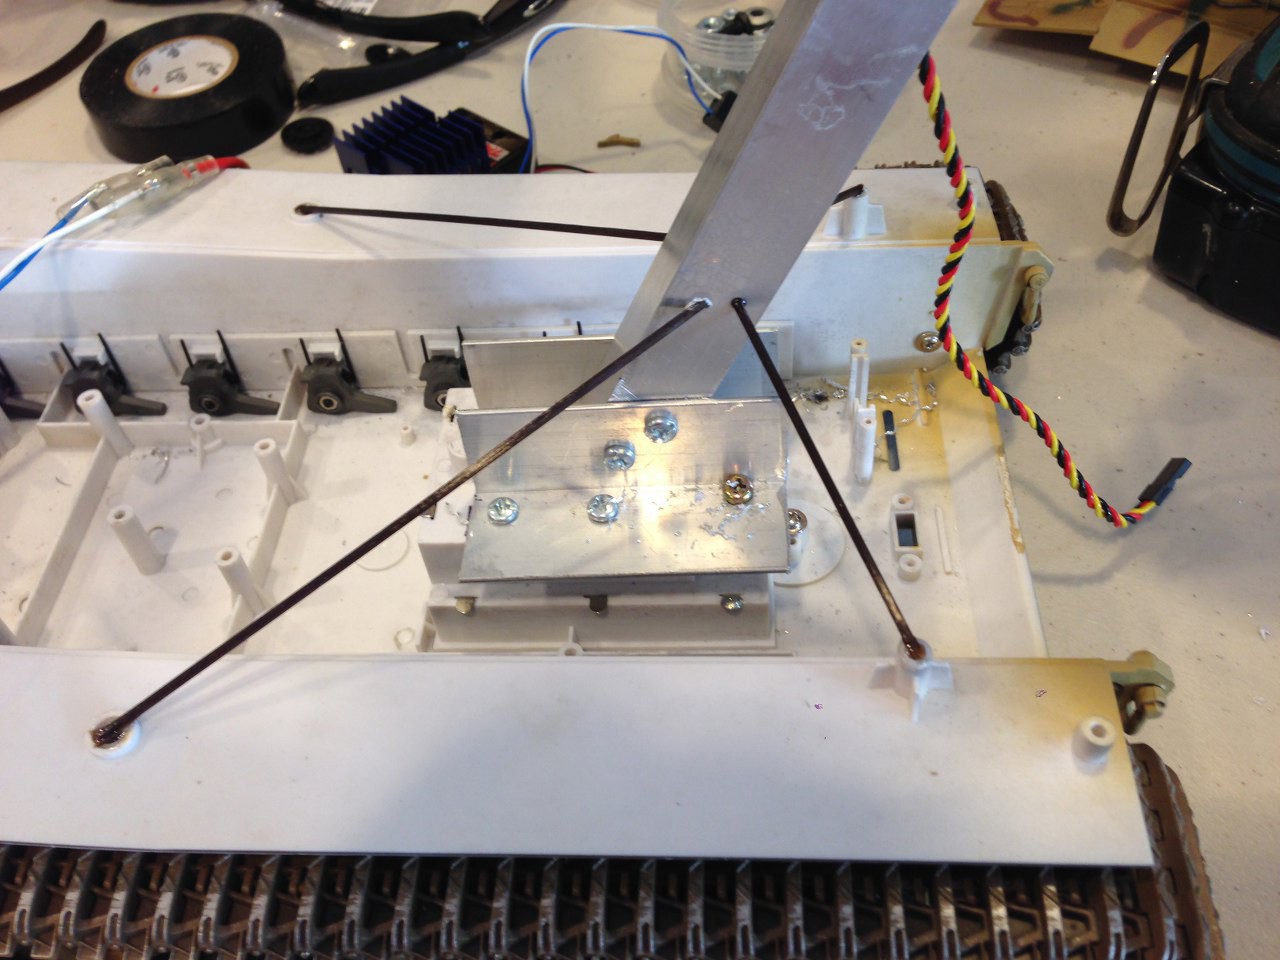
18. More carbon fiber rod!! come on, these carbon rods are cheap and easy to cut so why not more re-enforcement?
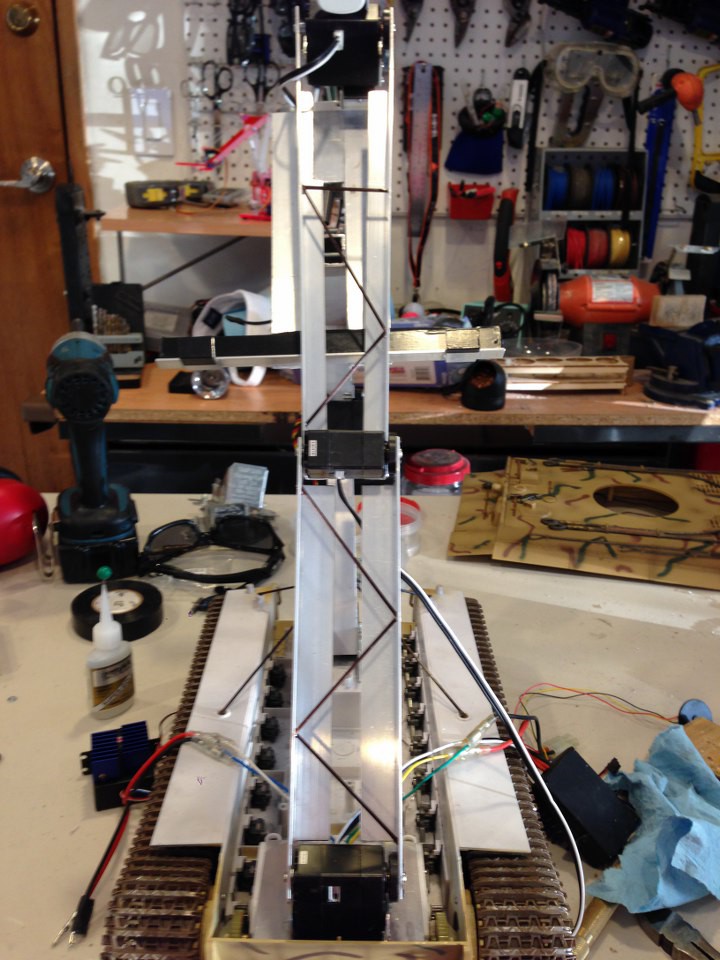
19. OMG... 20 hours later, I did it, say hello to Skype Robot Mark II
20. another angle
21. This is the money shot, look at that monster!
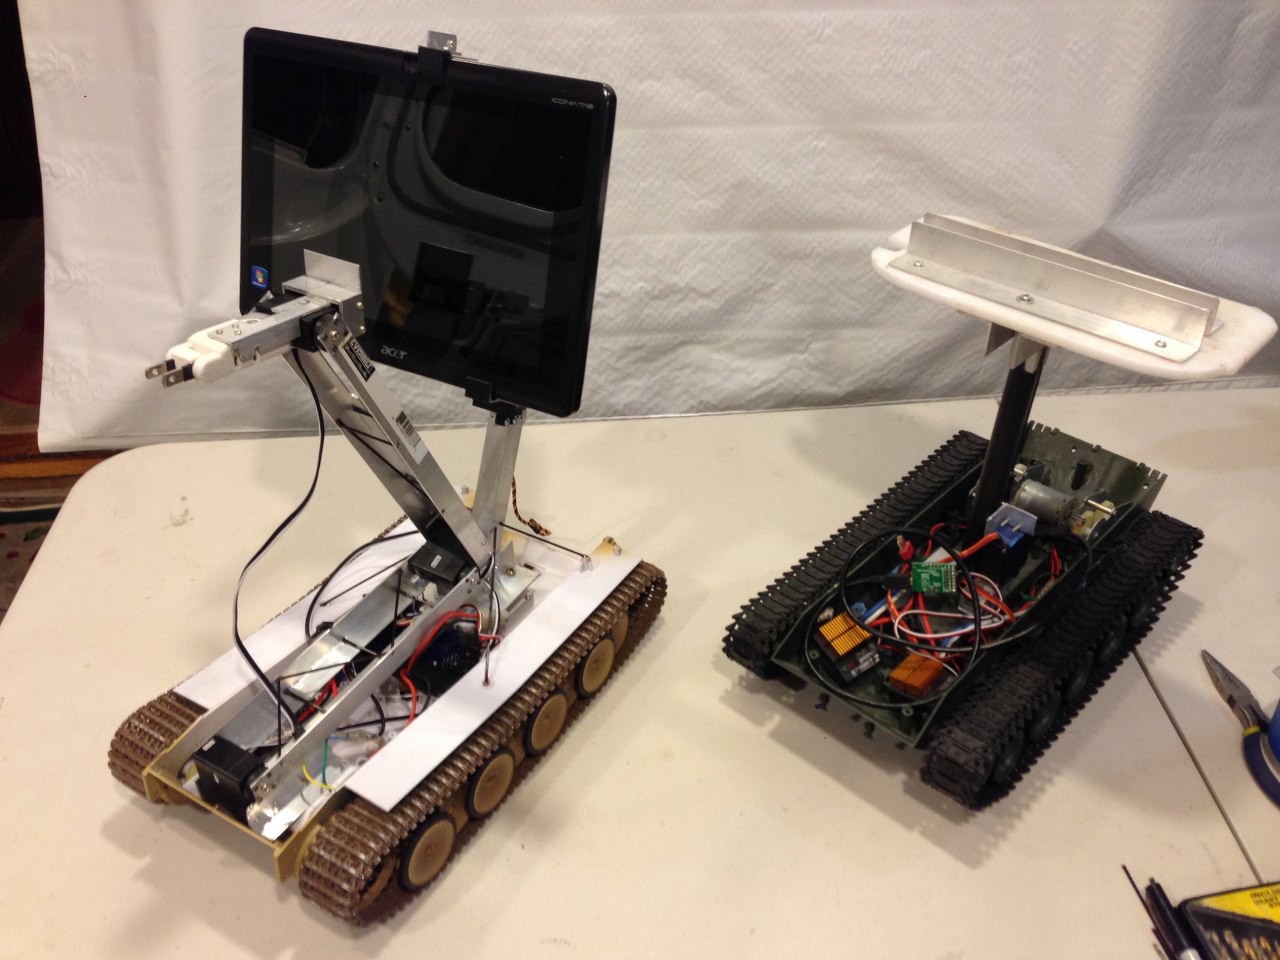
22. Mark I and Mark II side by side
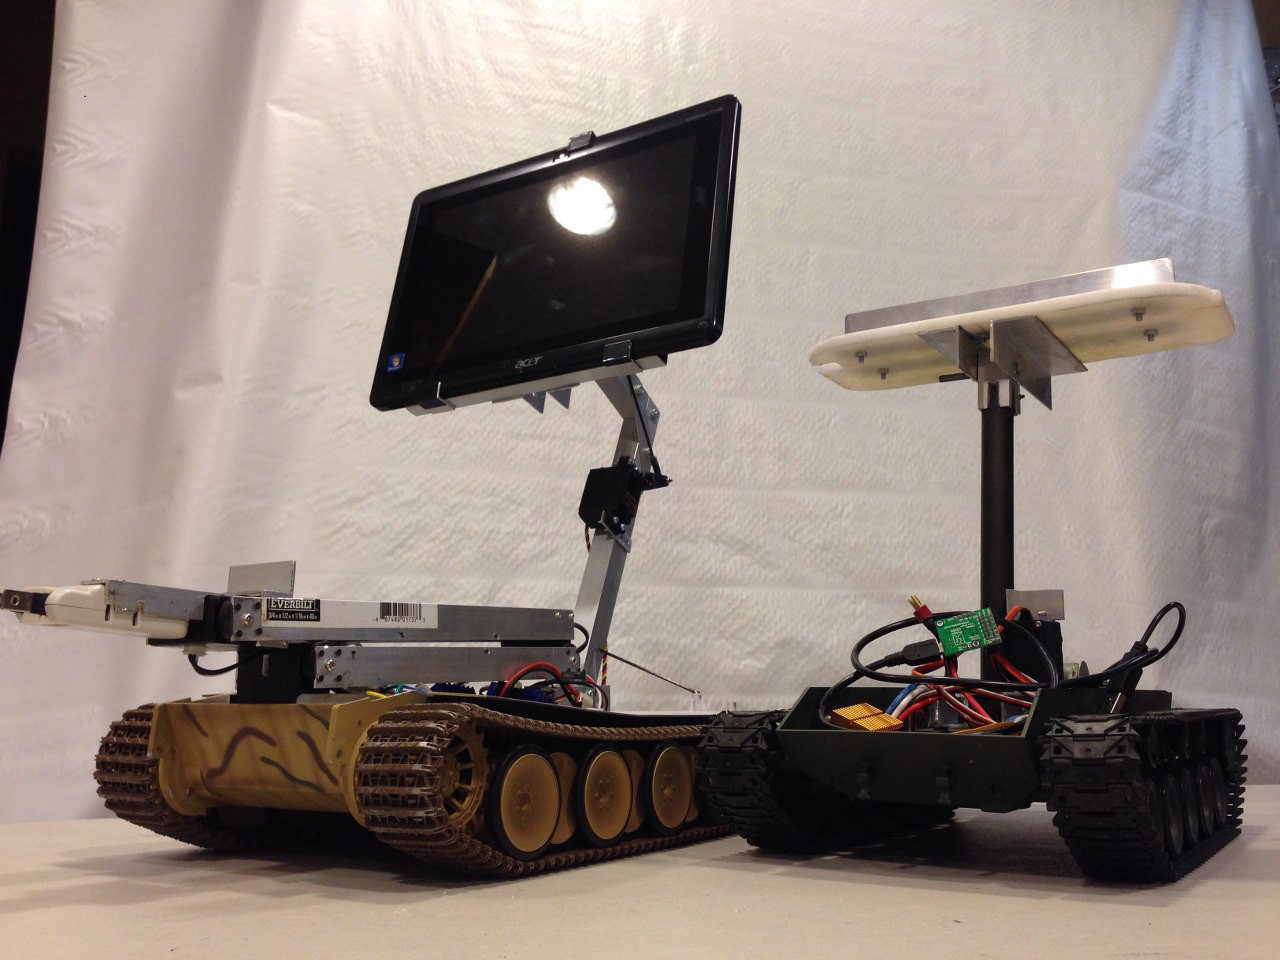
23. One more side by side and call it a weekend guys! OH NOooo...tomorrow is Monday ;(
To be continued....
Next week let's move on to the wiring and program the Mark II with much more sophisticated robotic control code. Looking forward! Jack out!
Discussions
Become a Hackaday.io Member
Create an account to leave a comment. Already have an account? Log In.