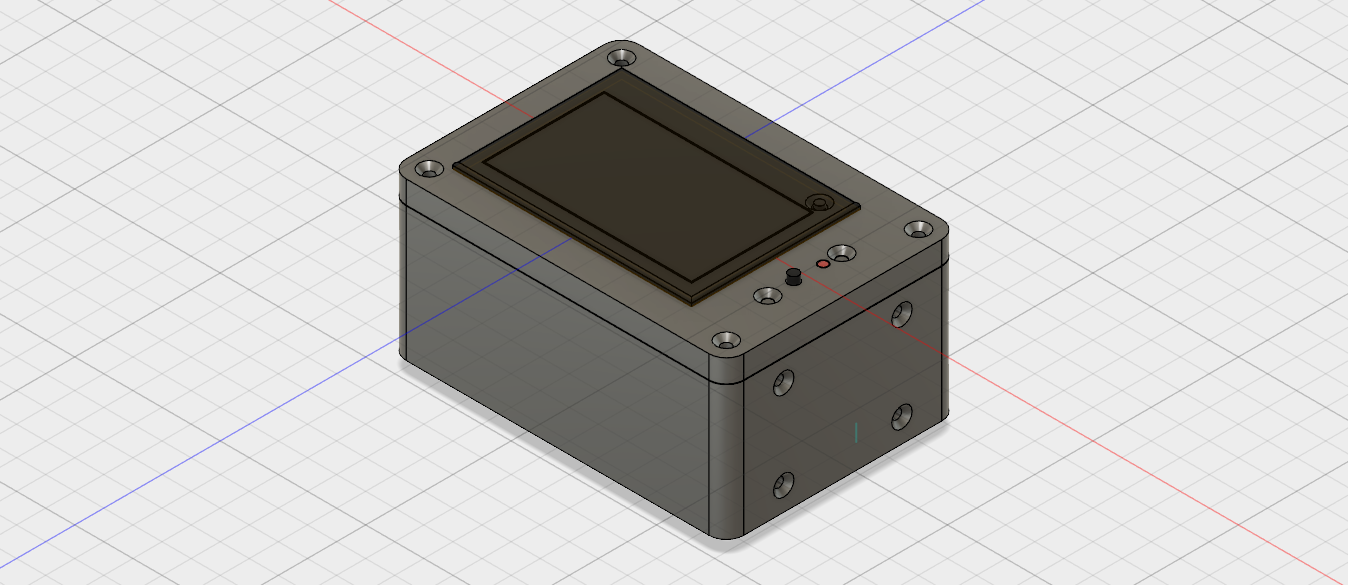
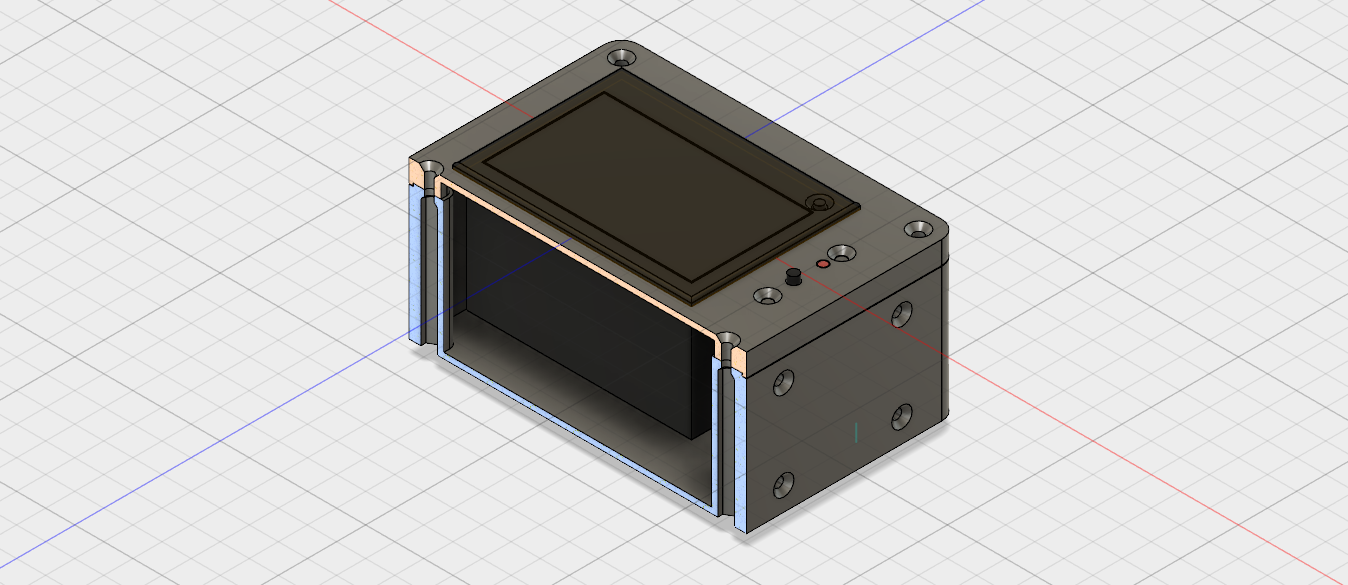
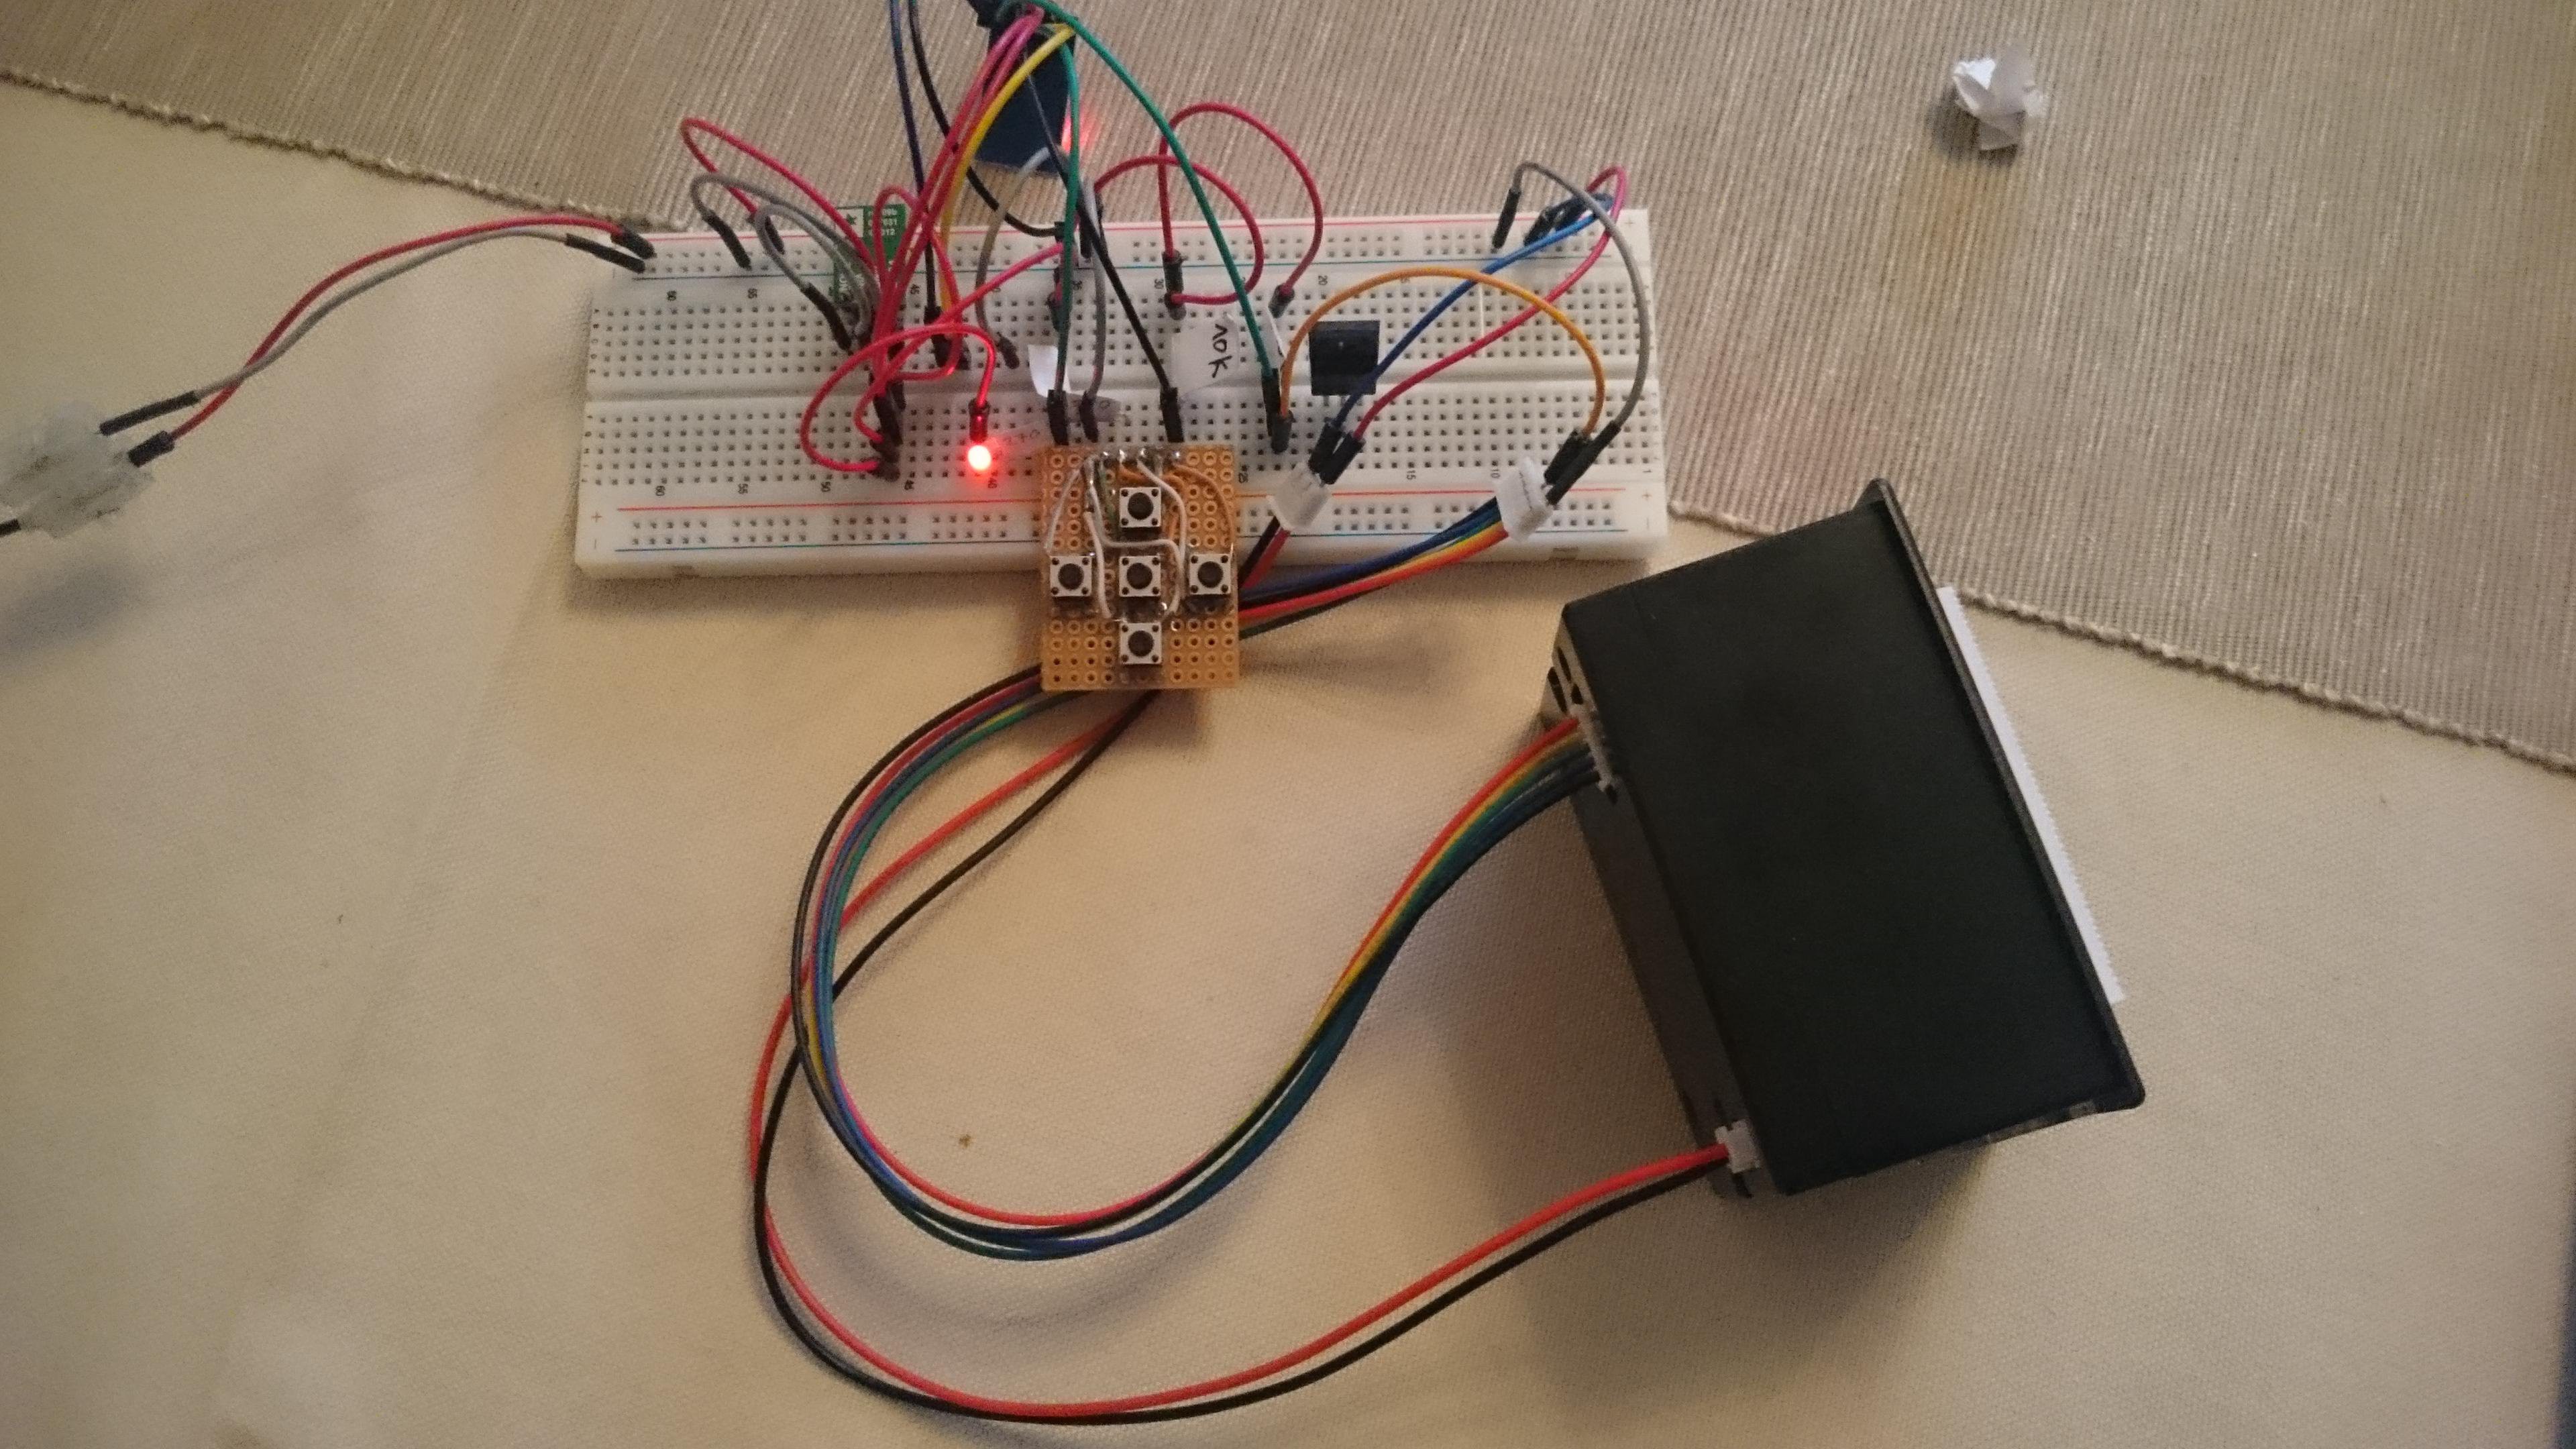
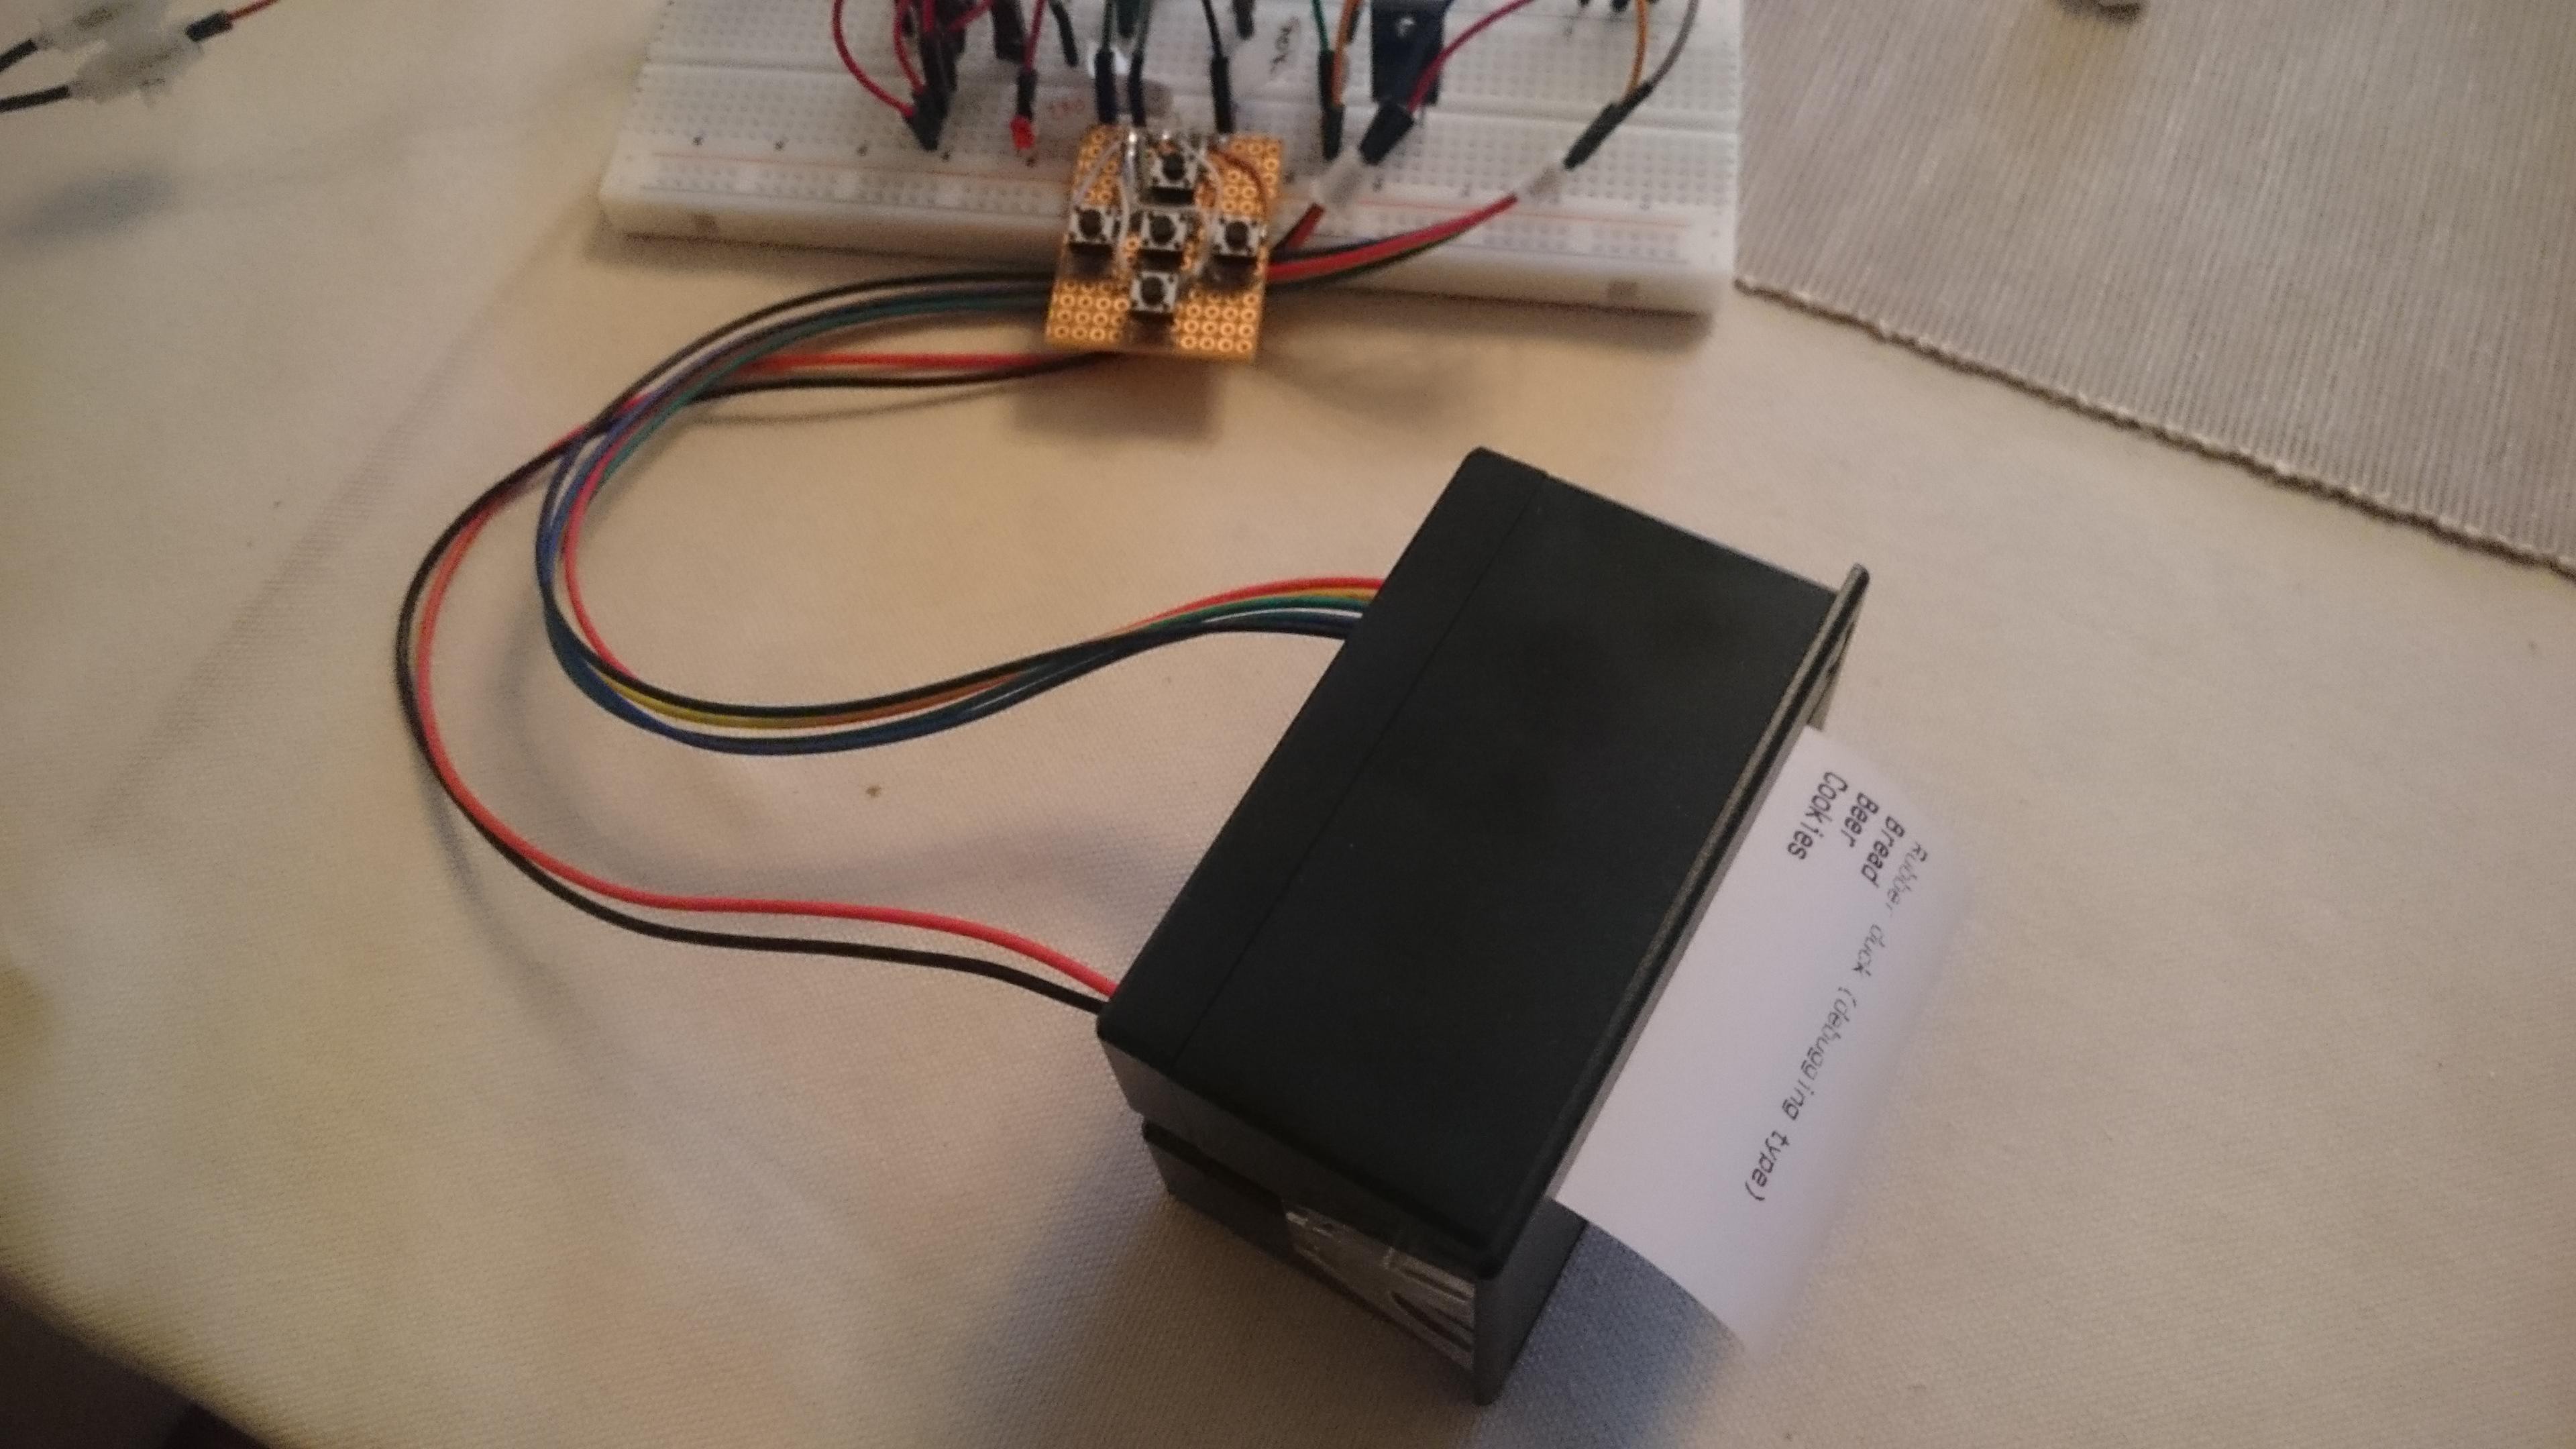
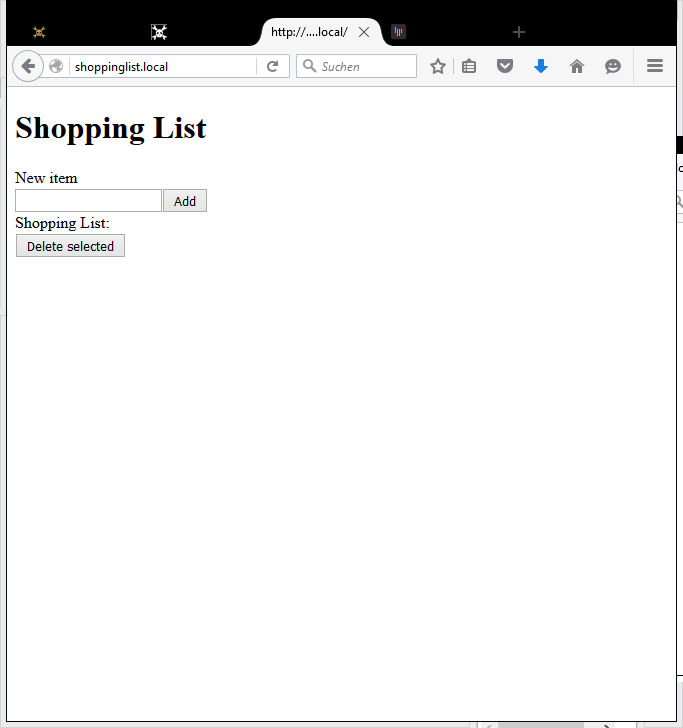
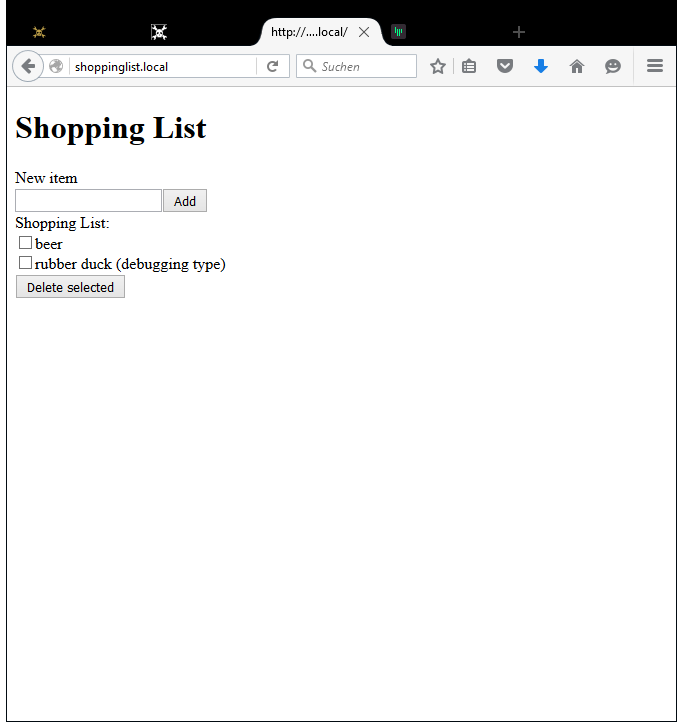
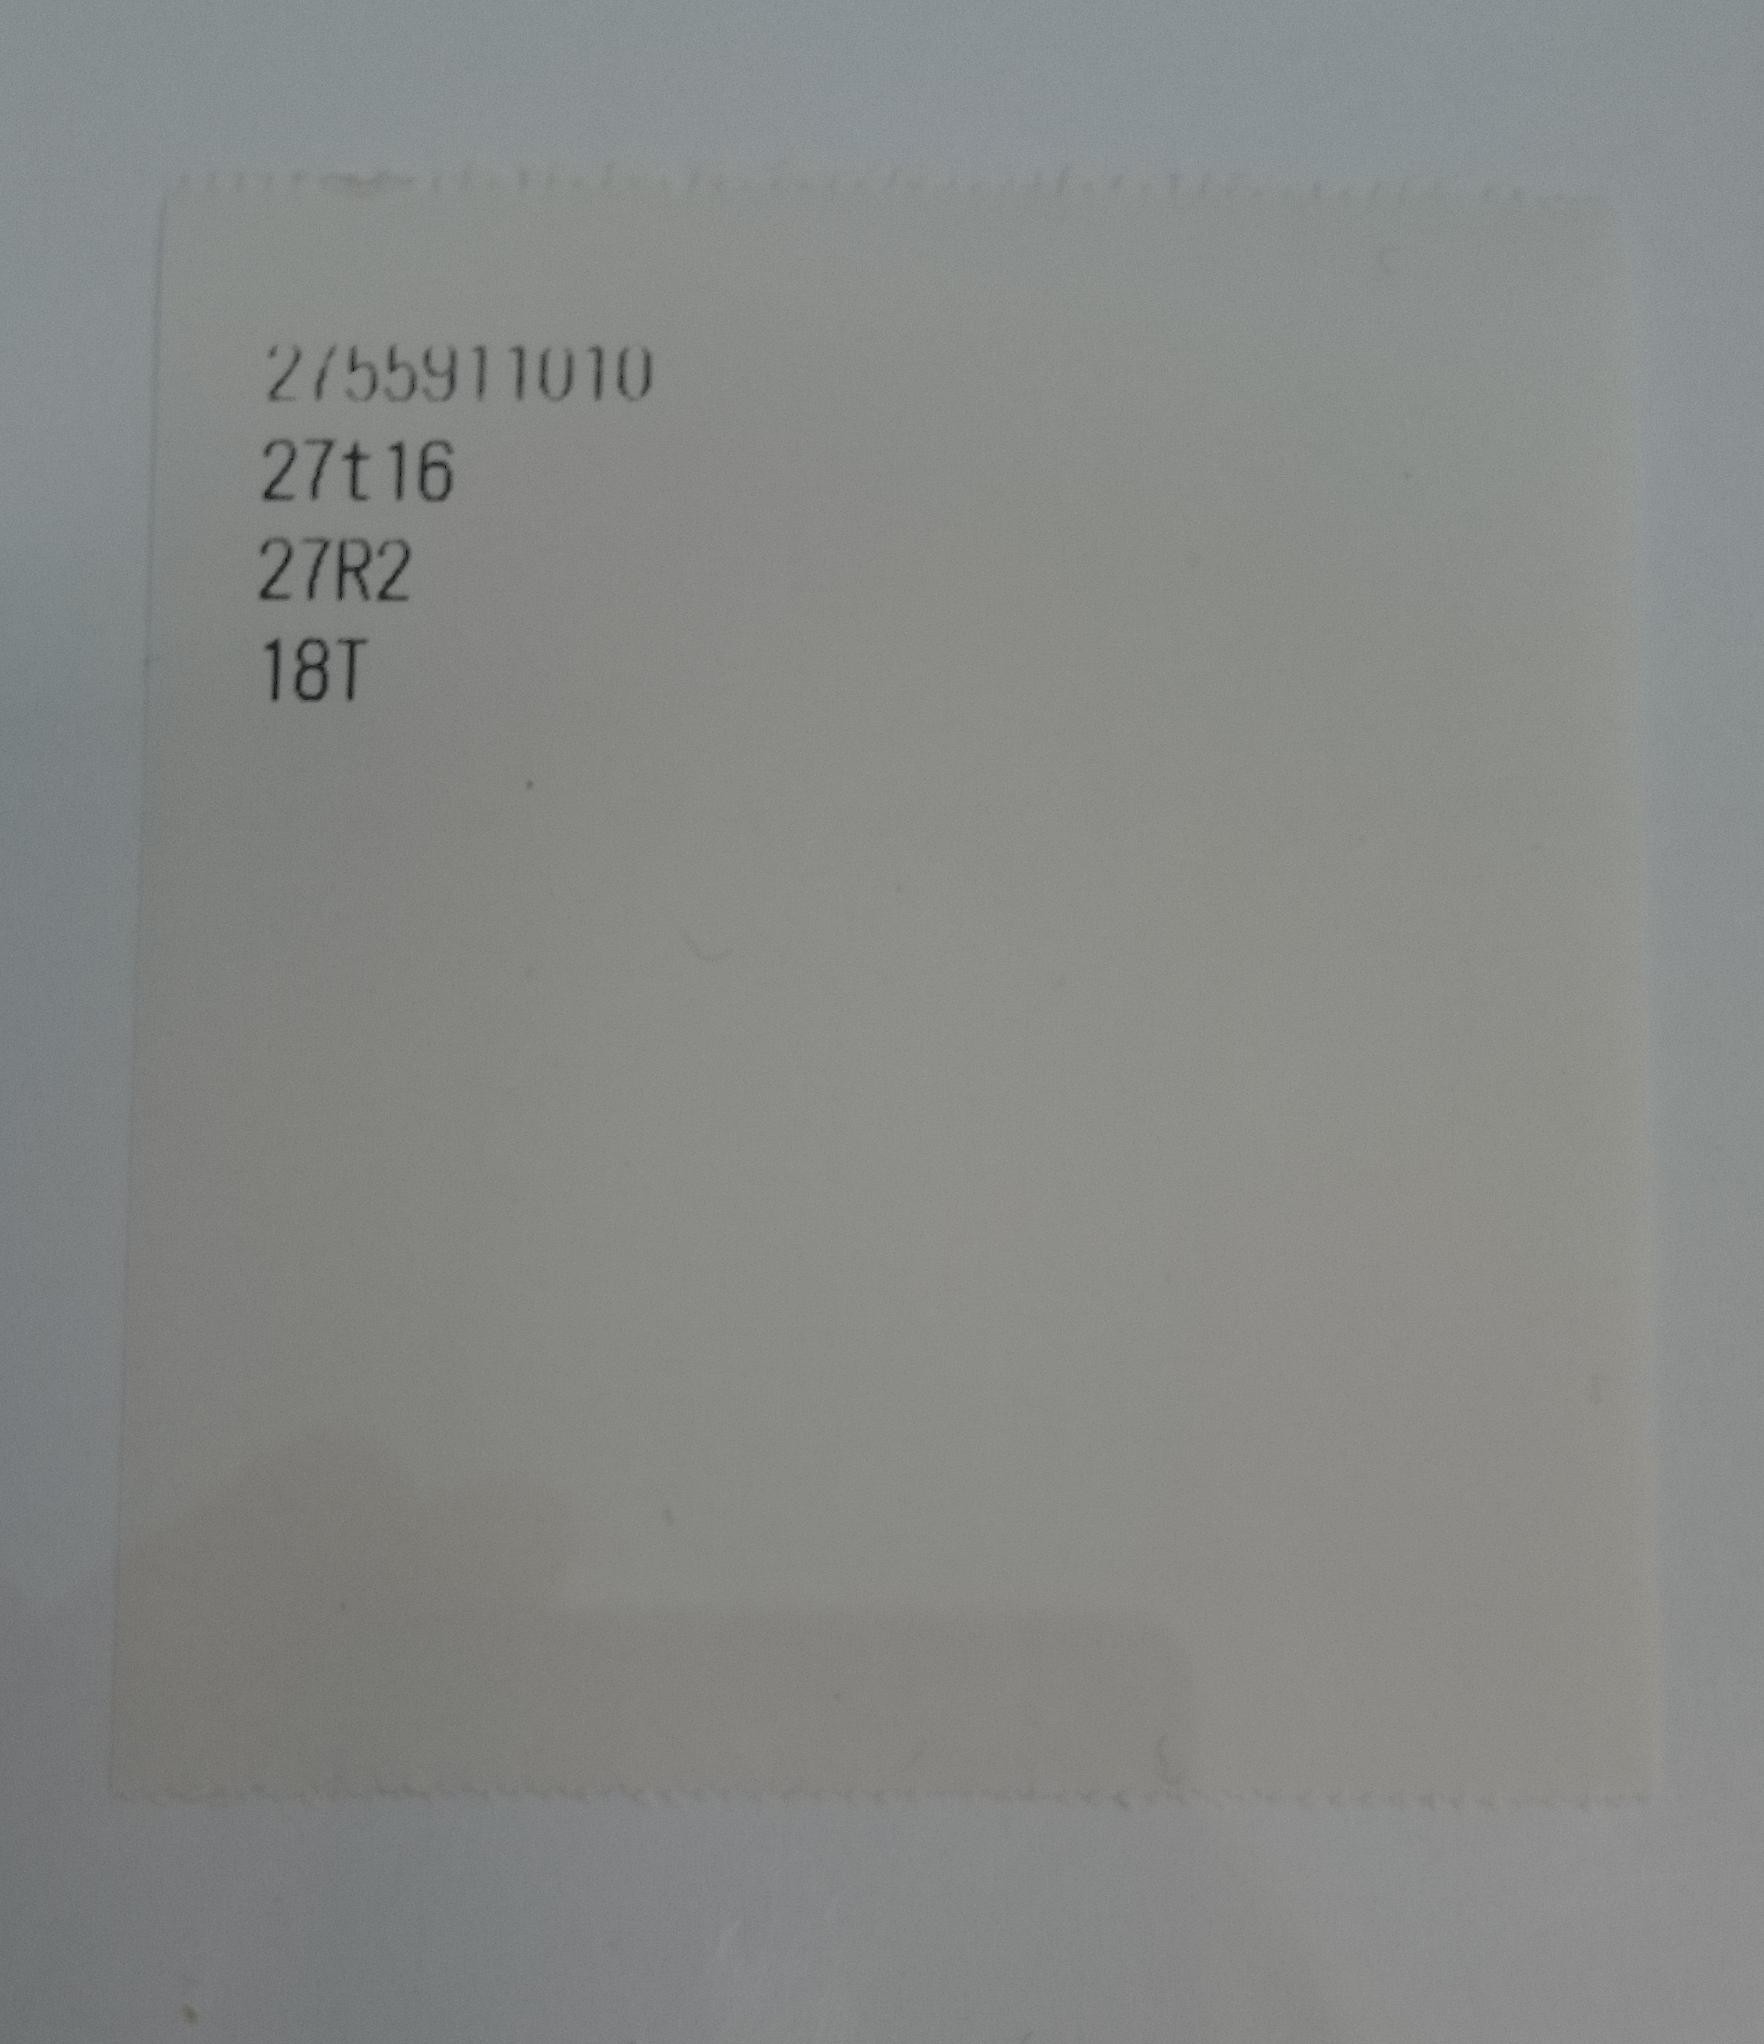
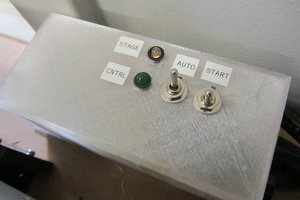
• Enclosure designed

    Christoph02/26/2016 at 09:18 0 comments

    This is actually my first 3D CAD project, so I had to look for CAD software first. I started with SketchUp, but that was a real pain. Next candidate was FreeCAD, but I couldn't really get that hang of it (although much better than SketchUp), and in the end I used Autodesk Fusion 360.

    After creating simple models of the printer, a board for the ESP-01 and a board for the indicator LED and print button, I designed an enclosure around those:

    The top is front is attached to the back with 4 screws and hex nuts. The hex nuts are inserted into hexagonal holes from the back:

    To make that printable I made the end of those holes countersunk, so I needed some kind of countersunk hex nut washer:

    This is inserted into the hex hole to create a flat surface for the nut:

    I've already sent the files to a friend for printing and will release them if I'm satisified with the results.

  • Pushed schematic to github

    Christoph02/20/2016 at 20:50 0 comments

    I pushed the schematic (or what I think it should be) to github.

  • Pushed sketch to github

    Christoph02/19/2016 at 21:09 0 comments

    Until now the repo just contained a license and a readme, which just changed. I've uploaded the sketch. It includes a settings.cpp file which you have to edit to your needs.

  • Now it does

    Christoph02/19/2016 at 12:00 2 comments

    First of all, after being pointed at the smartness of arduino's Serial.print(int) method, I'm now using write() to actually write out the escape sequences to configure the printer. It works now, so I can set the correct heating parameters and character code table.

    Hardware

    Here's a picture of the breadboard (including some unused components and inefficient wiring):

    The red LED next to the buttons indicates that there is something on the list, but not printed yet. Pressing the print button (in this case the center button of those five) makes the device print the list and clear it. The LED is off again:

    The printing quality seems to good. The first line is a bit fainter than the following ones, but well readable.

    I had to replace my power supply (USB wall wart) with a "real" 5V/1.6A wall wart to get this printing quality. The USB one I used earlier, although rated for 2A, didn't supply enough current. I was advised in chat to place a short or low value resistor between D+ and D-, but simply replacing it was easier. I'll now clean up the code and put it on github.

    Web interface

    The web interface is dead simple. When the list is empty, it shows a text edit and an add button:

    Items can be added by entering a name and clicking "Add". They appear on the list and the red LED is on (see above):

    Checking the boxes and hitting delete does the obvious thing. Printign the list clears it, and the LED is off again.

  • Printer setup

    Christoph02/17/2016 at 09:36 0 comments

    Edit: the below is bullshit because I didn't remember that arduino's Serial converts integers to a human readable string. I'll try the initialization again with explicit casts...


    My printer came with an already printed test page, which specified correct settings for heated points, heating time, and heating interval. I used those to initialize my printer after reset. Setting the code page and international character set didn't really do much, though. The printer will print configuration commands when they are sent, so this is what comes out after initialization:

    • First line: Set print parameters (ESC 7 n1 n2 n3) with n1=9, n2=110, n2=10, which sets the most heated points to (9+1)*8 = 80 points, heating time to 110*10us = 1100 us and heating time interval to 10*10us = 100 us.
    • Second line: Set character code table (ESC 't' n) with n=16 (Latin 1)
    • Third line: Set international character set (ESC 'R' n) with n=2 (german)
    • Fourth line: self testing page print (DC 'T') with apparently no real outcome.

    The only thing that apparently worked as desired was the printer parameter adjustment. The first line looks a bit faint, whereas the following lines are reasonably crisp.

    As special characters are not printed correctly even though I selected latin 1 I might have to create a conversion table from <what I think I want to print> to <what the printer thinks I want to print>.

    Before I got this to work I tried adafruit's thermal printer library, which apparently doesn't like the ESP's Tx-only Serial1. After I changed the code to initialize the printer directly things started to work