 shlonkin
Solder
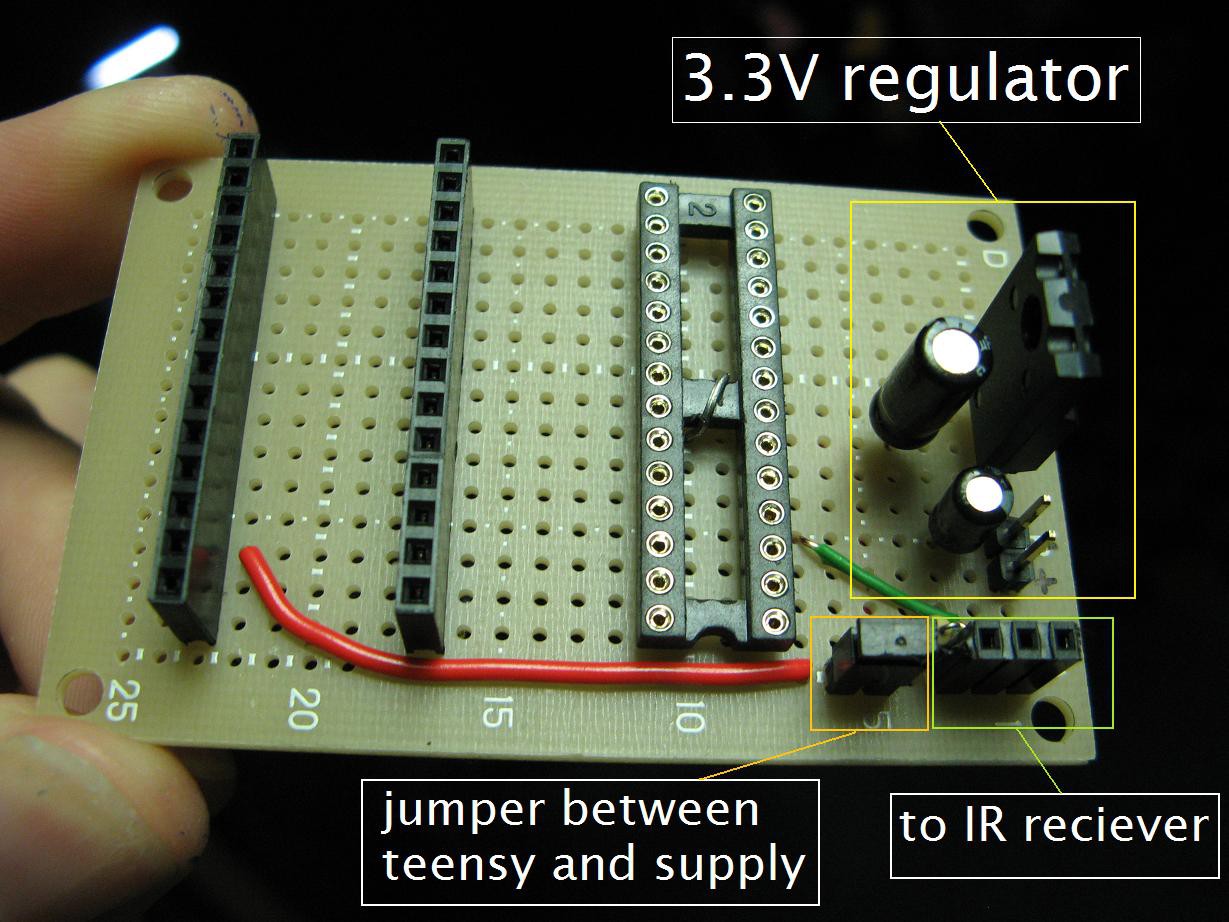
I know you'd rather hear about the solder, so I'll start there. The central part of the electronics is the Teensy3.2, Audio adapter, and LED driver(ATMega328) which all stack together in a small package. First take a look at the picture. The perfboard sandwiched between the Teensy and audio adapter holds the ATMega328, 3.3V regulator for powering everything, various connectors, and eventually will have a whole mess of wires(15) soldered to it for the LEDs. See the schematic for more details.

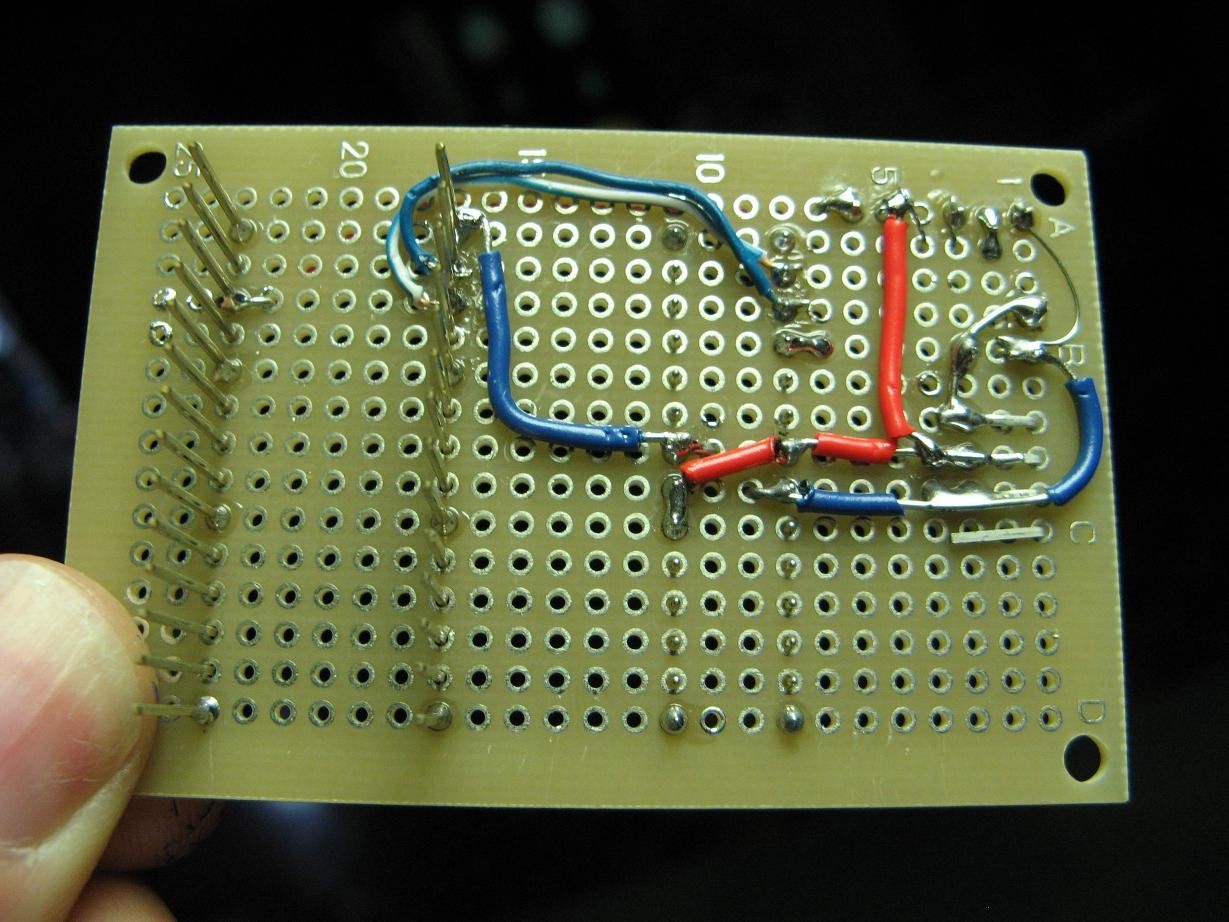
Here are a couple more shots of the middle board.
Glue, Paint, Glue
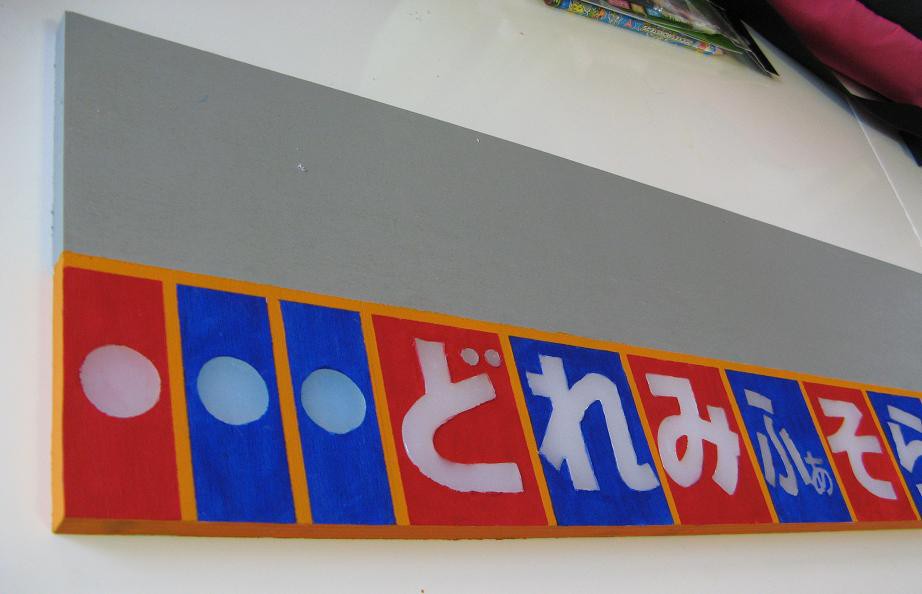
Remember all those wood pieces I made a couple weeks ago? I made another piece for the top portion where all the electronics will be mounted. It has a bunch of holes for speaker, mic, switches, etc. I glued them together, painted them and filled the characters with hot glue from the back while the front is sitting on baking sheet on a flat surface. I think the result looks awesome.
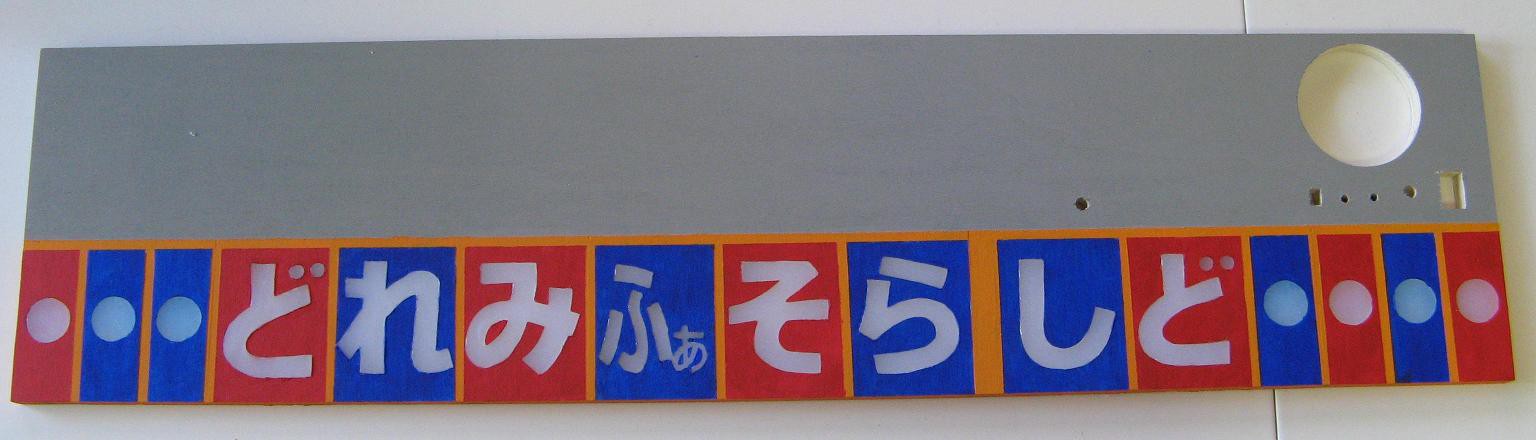
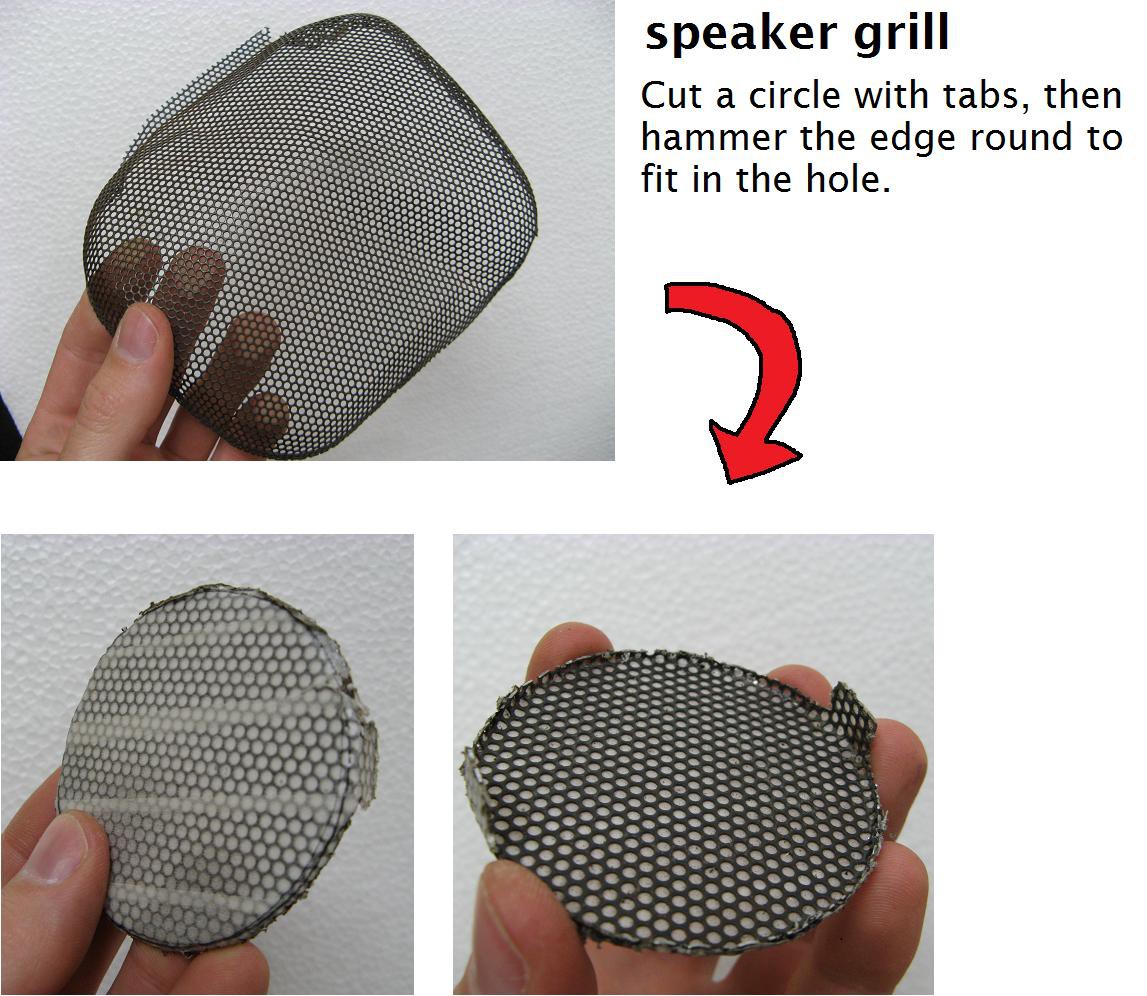
And for one more cosmetic touch, I made a speaker grill. The grill was torn out of a junk stereo, the one that I tore to pieces in a previous log, modified. I pounded it flat, cut a circle slightly larger than the hole, hammered the edge down till it fit just right, and painted it flat black. It came out better than I expected.
Discussions
Become a Hackaday.io Member
Create an account to leave a comment. Already have an account? Log In.