 Markus Dieterle
Before starting into the project properly, some preparations need to be done first.
Step 1: Getting the minimum development hardware
I already did this last week by purchasing a Raspberry Pi model A+, a USB webcam (I chose the Logitech C270 here), an additional micro SD card with adapter, a thin speaker with wires and a USB to TTY serial cable. I already had the optional power supply for the Pi as I got this earlier for my Pi 2.
As the project continues, I'll likely add some additional components like the powerboost breakout board from Adafruit, a rechargeable battery, a Pimoroni phatDAC expansion board and a few other components. But for the moment, this setup seems like a good start.
Step 2: Installing the operating system
As this application does not need a graphical interface (at least not in the initial version), I chose Raspbian Jessie Light as my Pi operating system of choice and downloaded it straight from the Raspberry Pi Org website: https://www.raspberrypi.org/downloads/raspbian/
Following the installation guide I went on to create an SD card with the operating system. So far so good.
Step 4: Installing the drivers for the USB to TTL cable
My current private development system is a nice Apple iMac. Following the Adafruit learning guide for connecting to the Raspberry Pi using the USB to TTL cable I went over to the Prolific website and downloaded the latest driver package for MacOS X 10.11.
After installation and reboot, I connected the USB to TTL cable to my USB hub and the Pi A+. Using the standard terminal application and the screen command, I checked out the Pi:
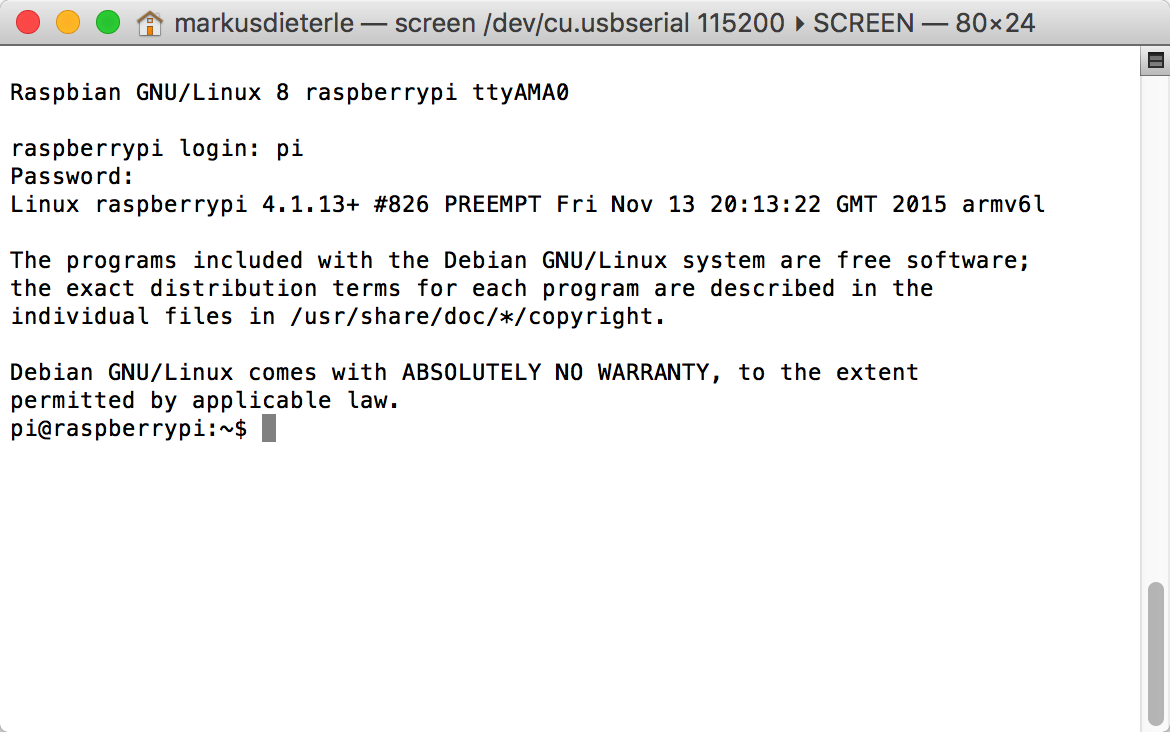
Raspi-config did not start automatically because I accidentally rebooted the Pi when I reconnected the USB-TTL cable. So I had to use "sudo raspi-config" in order to finish the initial setup.
Step 5: WiFi configuration
For the installation of the additional software components, I'm going to temporarily pop in a small wireless USB adapter into the USB connector of the Pi A+ and configure that to connect to my home network. There's a nice tutorial for the WiFi setup on the Raspberry Pi Org website: https://www.raspberrypi.org/documentation/configuration/wireless/wireless-cli.mdFollowing the instructions and testing after rebooting the Pi, I found that this was not yet enough. So I went back to the Adafruit learning system and looked up the guide for the WiFi network configuration using the command line: https://learn.adafruit.com/adafruits-raspberry-pi-lesson-3-network-setup/setting-up-wifi-with-occidentalis
As I'm using a network with hidden SSD, the configuration was a little trickier but with the added info here I finally was able to connect to the network. Using "sudo apt-get update" was the final test for the network connection:
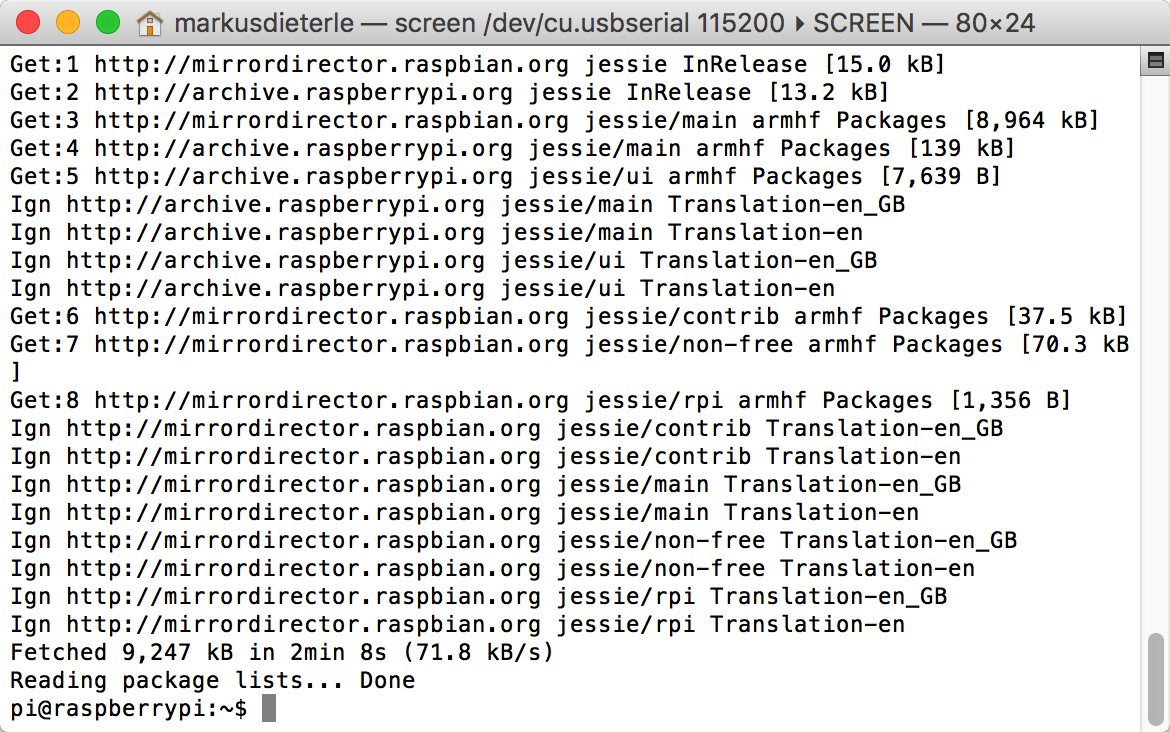 Now that the update works over the wireless network, everything is ready for the installation of the additional software for the camera, OCR and text to speech.
Discussions
Become a Hackaday.io Member
Create an account to leave a comment. Already have an account? Log In.