 Markus Dieterle
Software installation
In order to start this project properly I'm installing the additional needed software packages on the Pi that weren't already included in the Raspbian Light image:
- basic webcam software
- the Tesseract OCR packages (base package and additional language package)
- the Festival text-to-speech package
- development tools
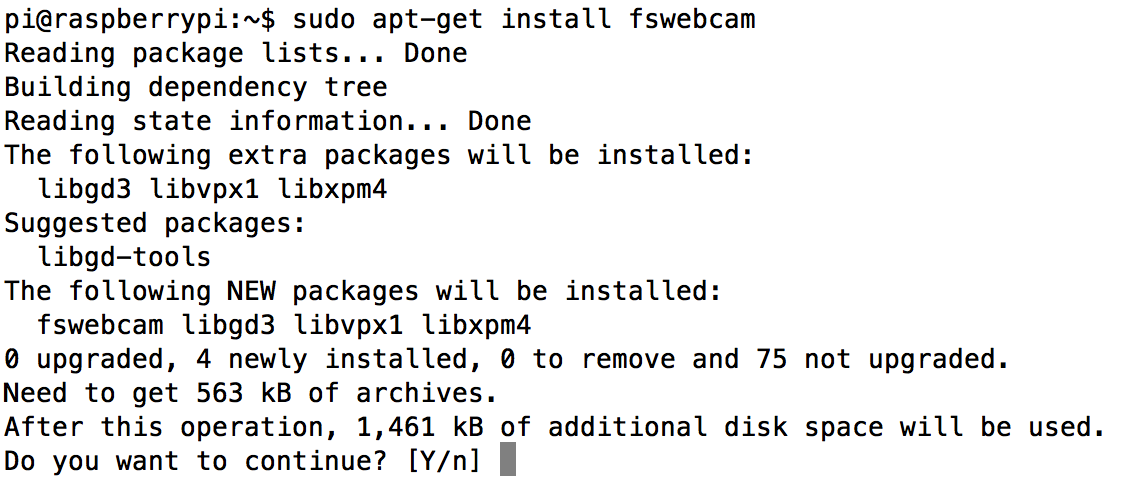
Installing USB webcam software
In order to be able to use the OCR software, we need additional software which can grab images from a USB-connected webcam. For this I followed the instructions from the raspberry.org website: https://www.raspberrypi.org/documentation/usage/webcams/
Using the command
sudo apt-get install fswebcam
installing the necessary software package is easy enough:
Installing the Tesseract OCR software
The repositories for the Tesseract OCR software can be accessed through the project page on GitHub: https://github.com/tesseract-ocr
Apart from the base software additional language-specific training data is needed. With the desktop versions you can get training tools which allow the software to improve character recognition by training it with different images, using different fonts etc. For the "headless" usage with the Pi in this project, I just use already available training data.
After another "sudo apt-get update" (just for safety), the Tesseract software for optical character recognition and the additional packages it depends on can be installed pretty easily with the commands I found on the raspberry.org website:
sudo apt-get install tesseract-ocr
sudo apt-get install tesseract-ocr-eng

Actually I didn't have to use the second command as it turned out because the language pack for English ("eng") was automatically installed with the "tesseract-oct" base package.
However, being from Germany and also thinking about support for further languages, I tried to add the language support for German (language code "deu" for "Deutsch") using "sudo apt-get install tesseract-oct-deu":
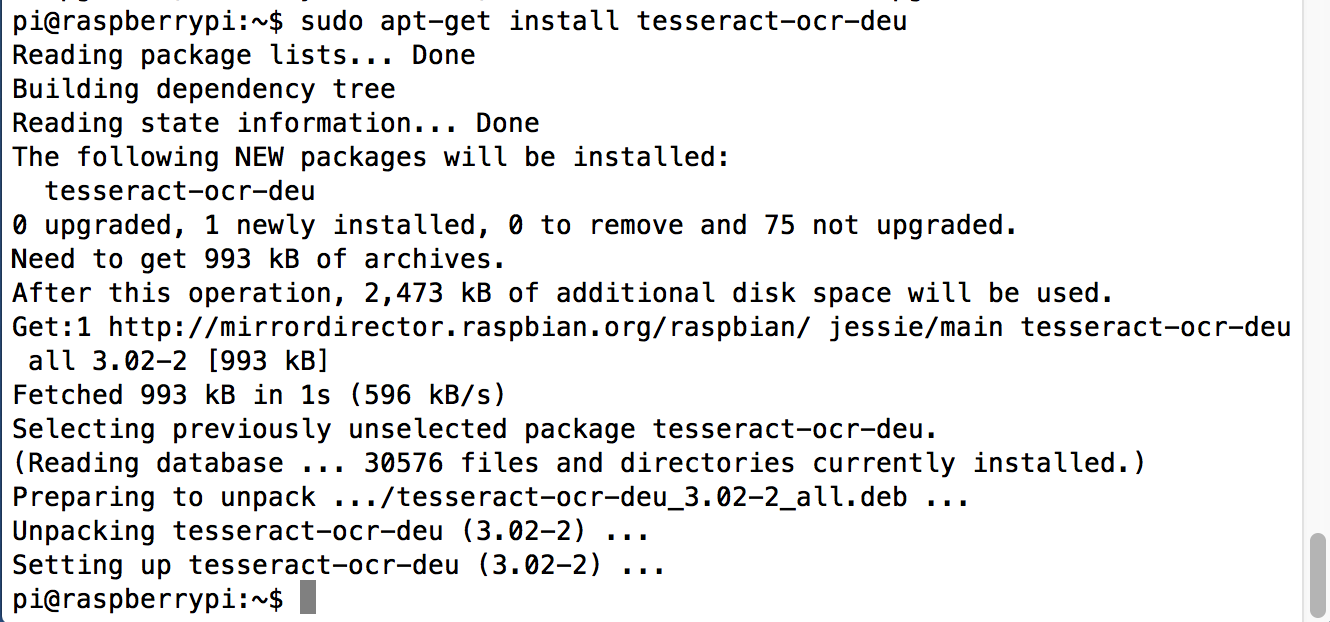
That should cover the OCR software part.
Installing the Festival text-to-speech software
Following the tutorial on the Adafruit learning system, the installation of the "Festival" text-to-speech software is equally easy:
sudo apt-get install festival
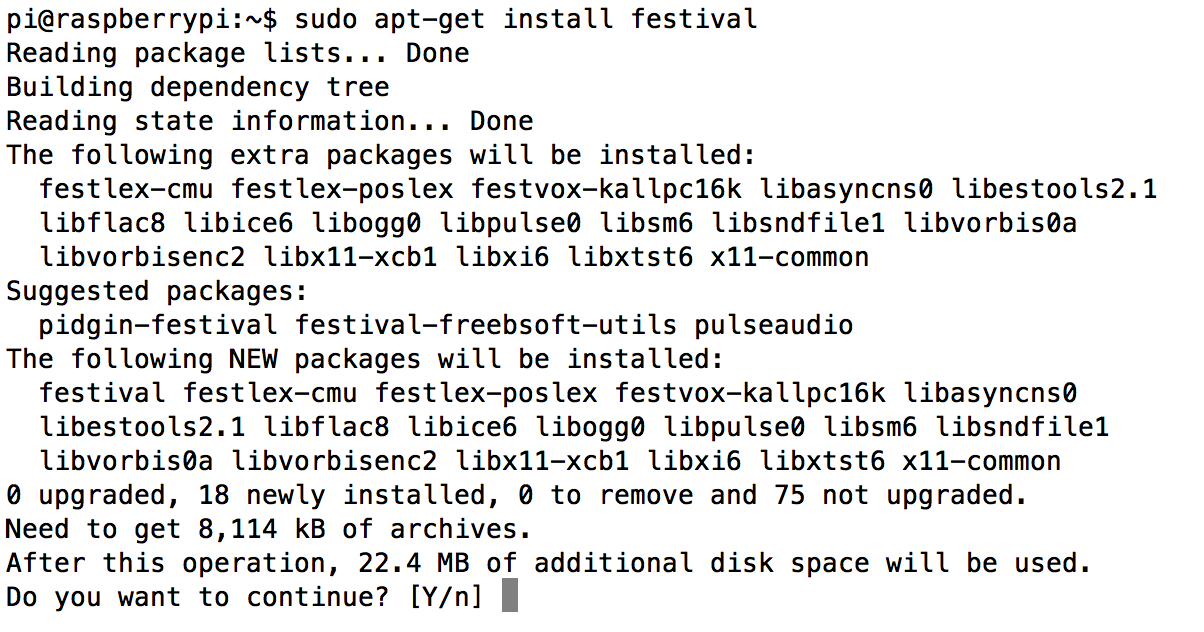
Just for fun, I also added the 16K-sampled British voice by entering "sudo apt-get install festvox-rablpc16k".
Checking the development software
As I'm planning to compile any new software that's going to be developed as part of this project, I checked the installation of gcc and gdb by simply entering appropriate installation commands:
sudo apt-get install gcc
sudo apt-get install gdb
Both packages were already installed as part of the basic Raspbian installation and did not need to be updated (thanks to the update I initially performed).
Right now I'm planning to use C/C++ for programming, so that should be everything I need. Depending on the progress Python maybe an additional option for later on.
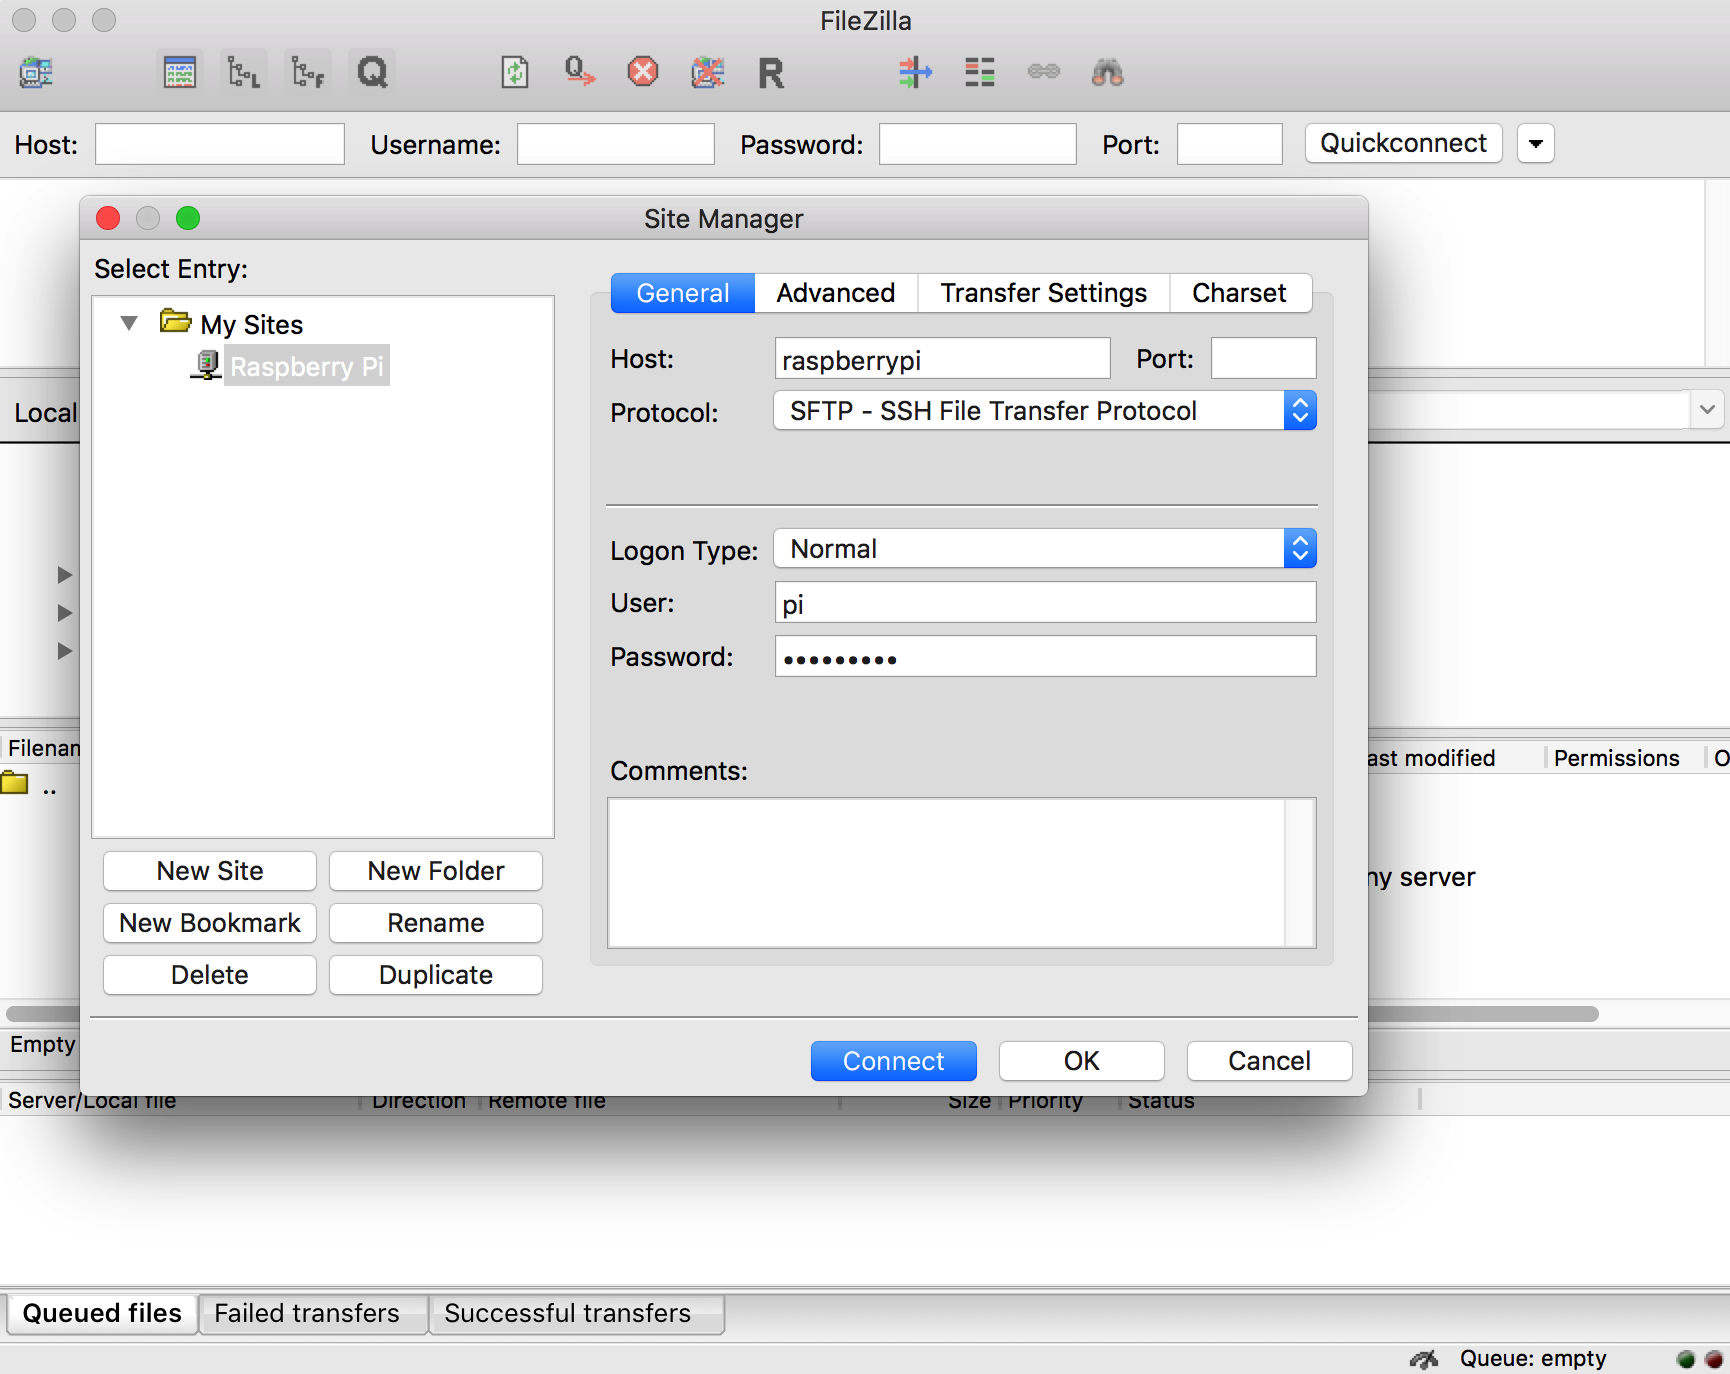
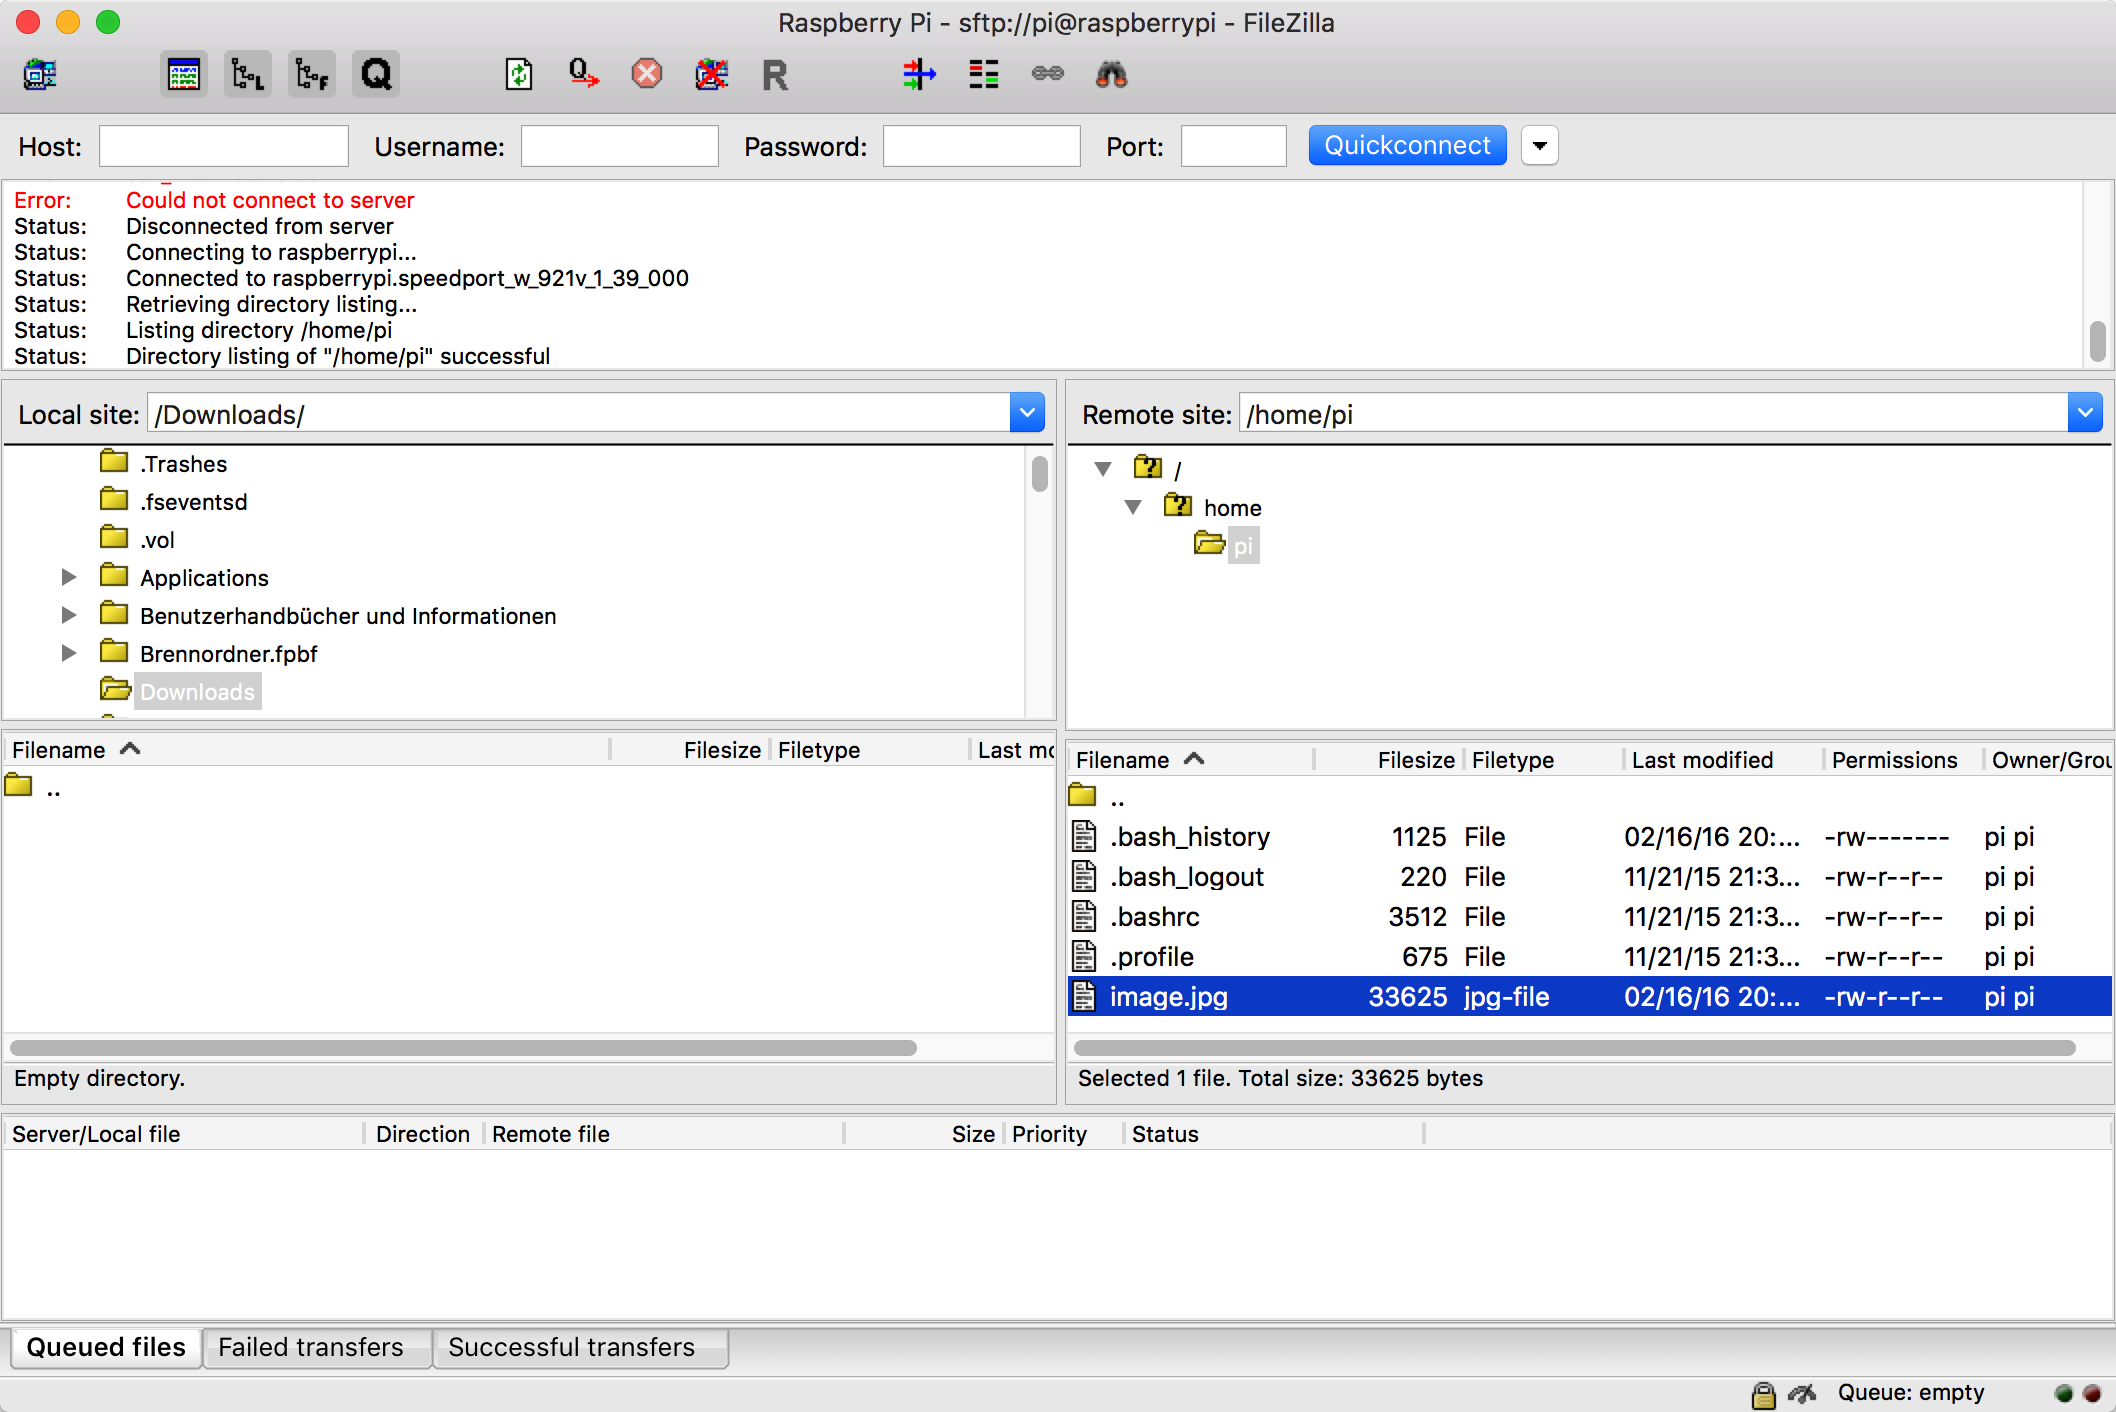
Setting up FileZilla for file transfer
For easier file editing during software development and file transfer of test images, I fired up FileZilla on my iMac (get it from the official FileZilla open source project page if you don't have it already) and set up an SSH file transfer connection to the Pi (which is still connected through the USB-TTL serial cable):
Initial tests
With the necessary software in place, it's time to do some initial testing.
Webcam and file transfer test
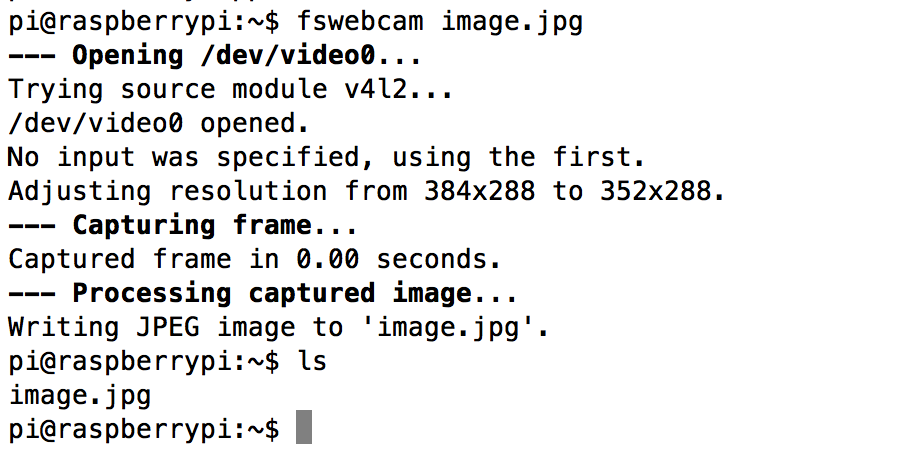
In order to test the webcam, I unplugged the WiFi USB dongle from the single USB port on the Raspberry Pi A+ and plugged in the USB webcam instead. Just to be on the safe side, I then rebooted the Pi. Using the "fswebcam" software, I took a quick picture with the command
fswebcam image.jpg
The connection does not work with the USB-TTL serial cable alone, so I needed to unplug the USB webcam and switch back to the WiFi dongle. After the connection was established, I could see the image file in the file browser:
fswebcam --resolution 1280x720 image2.jpg
The result looks like this:
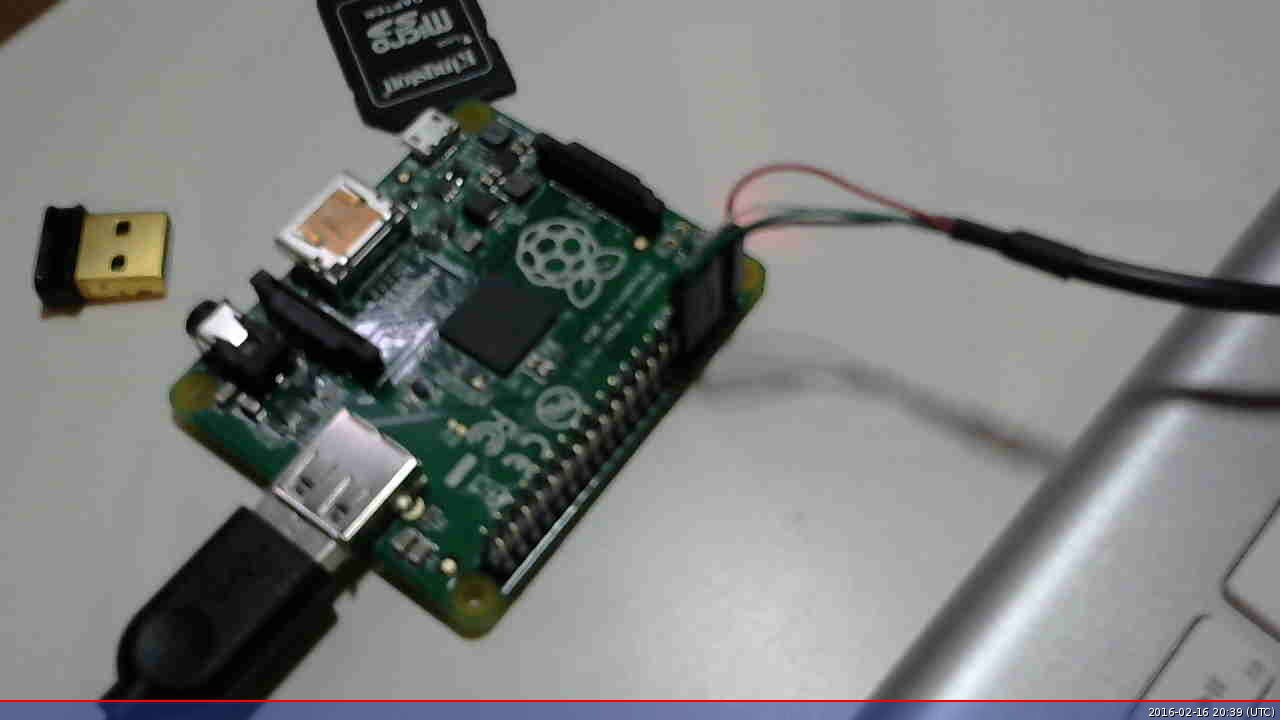 Obviously I need to test the webcam a little more and try to find out what the minimal distance to the target has to be and which parameters and values "fswebcam" needs in order to produce pictures with a higher quality. Also, the embedded information on the bottom has to be suppressed as we don't need the date and time here (and it would be confusing as additional speech output at the end).
As it's already getting a little late now, I won't test the speech output now. I will try to test this tomorrow.
Discussions
Become a Hackaday.io Member
Create an account to leave a comment. Already have an account? Log In.