 jacksonliam
I was disappointed by the price or poor design of other raspberry pi robots and wanted to make my own that can be a fun project or even used in education. All the parts are 'off the shelf' and can be assembled with no tools or even soldering required.
Some python code I've used is herehttps://github.com/topshed/ZeroBot
This project was designed in TinkerCAD to make it easy for others to modify. I really enjoyed using TinkerCAD, it's easy to use!
TinkerCAD objects
https://tinkercad.com/things/iVPAY49teSC
https://tinkercad.com/things/6rxfHhqCJAF
https://tinkercad.com/things/bv7aW5IY8QK
https://tinkercad.com/things/7KyaIKLiZ7u
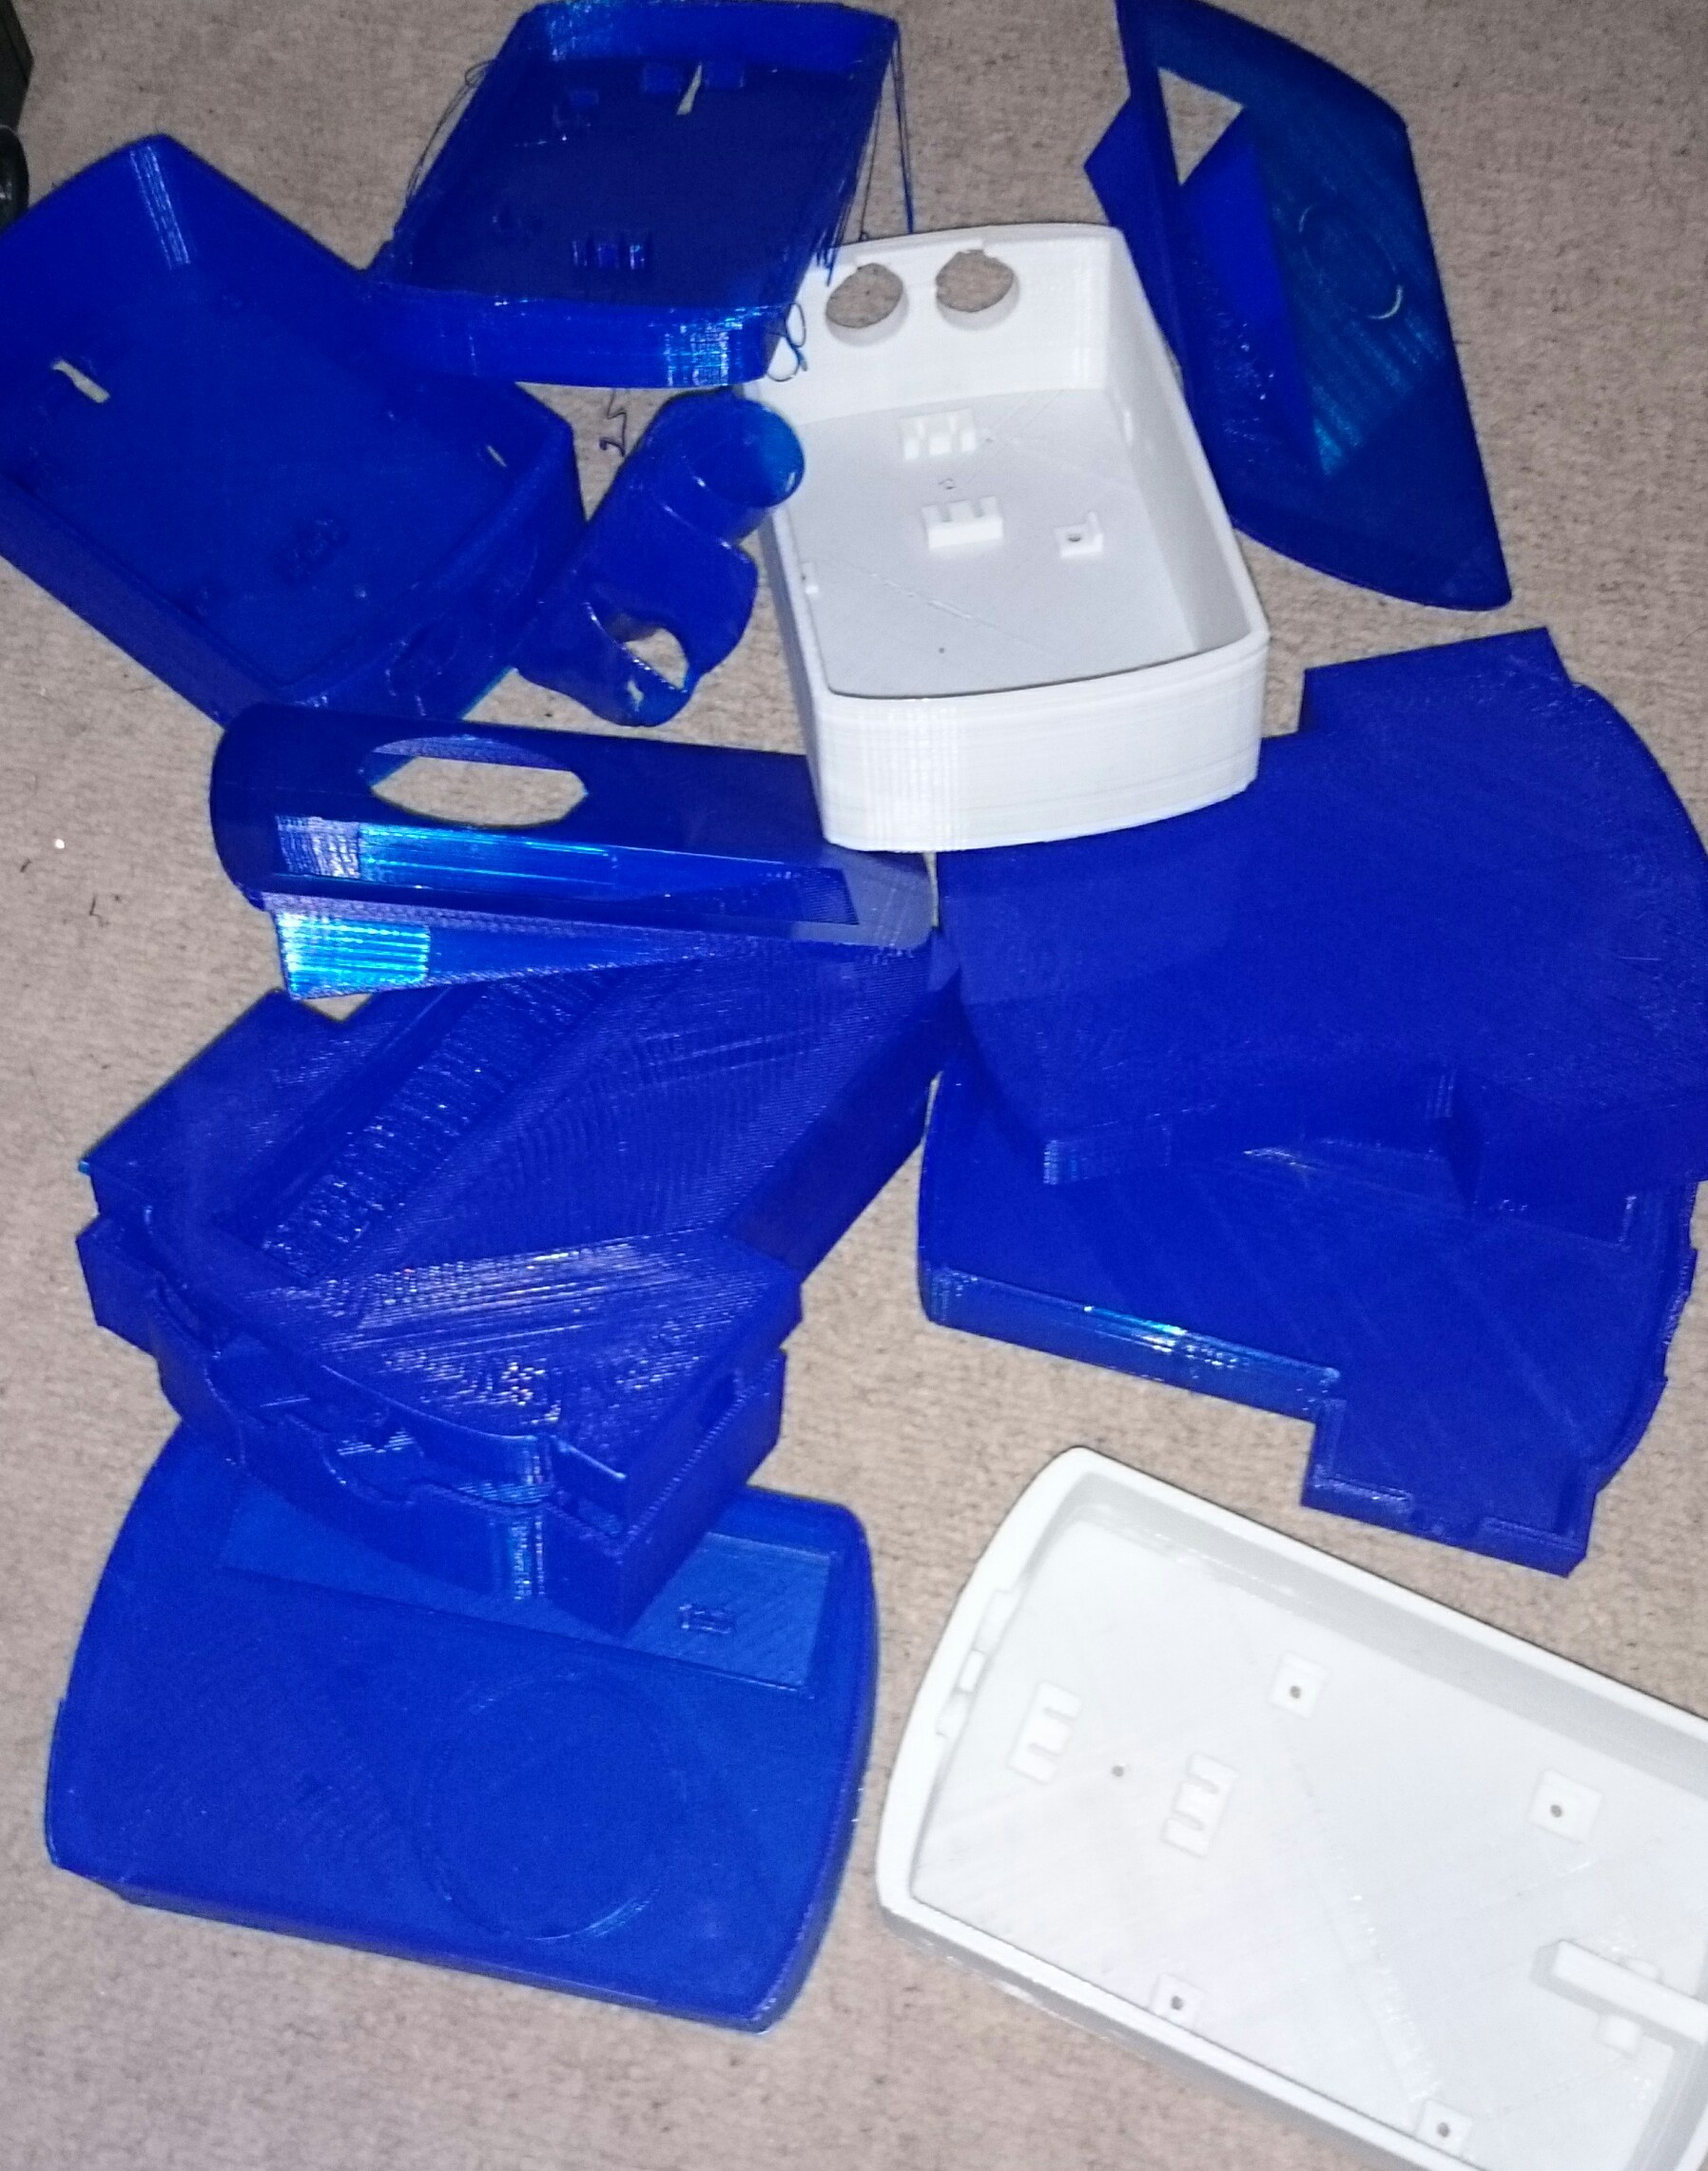
Please ignore the poor prints in the photos, I printed them at max speed as I went through a fair few prototypes!
This project and it's files are licensed under CC-BY-SA (http://creativecommons.org/licenses/) This license lets you modify and build upon my design even for commercial purposes, as long as you credit me and license/distribute your new creations under identical terms.
 Max.K
Max.K
 Wes Freeman
 Audrey Robinel
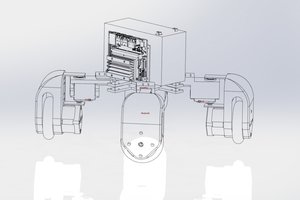
 Daniel Resio