 Andrew Bills
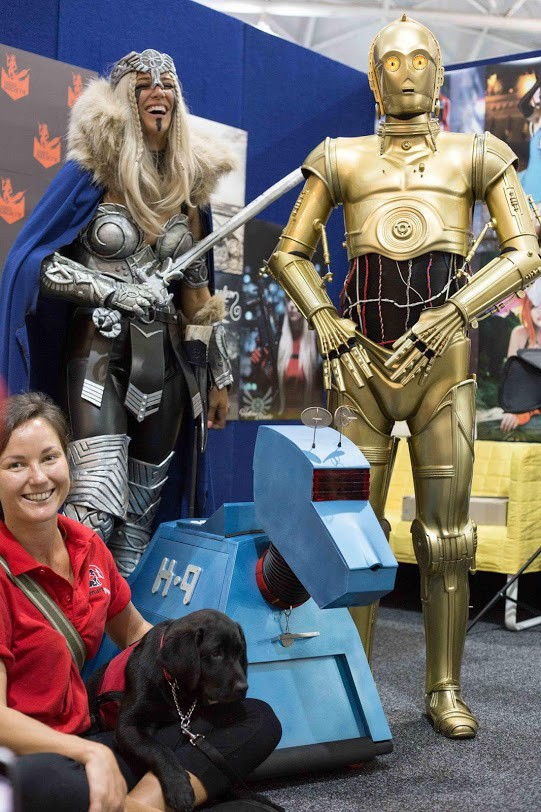
I've been pretty slow to update this as it's been a stressful few weeks. As mentioned I pretty much dropped a lot of things to get K9 together enough to take to a local con. Specifically Brisbane Supanova. The reason I wanted him there was I backed another booth and funded a cosplay calendar to raise money for this group who do service dogs for special needs kids (www.geeksociety.com.au if you want to check it out... if you are in AU it would be appreciated).
Anyway much like the last update I sped through putting the panels together and painting. I am not happy with all the painting as I didnt have a covered place to paint and wind ruined some of the finish to a degree that I didnt cover all parts with gloss when I was done so I could redo it later.
I did manage to get all the wiring in place except for a couple of things so my current to do list is:
- add the pwm control wires from the new 16 channel I2C PWM board to the main motor controllers
- run a pwm control wire to the head (where I might use it to control some servos)
- drill some holes to make reconnecting the main power to the 5v convertor possible without complete disassembly as the cables slipped again (I tried to move the cable to a better spot and clearly pulled too hard)
- Complete the bottom side door (battery access) with a door mech
- Add the back of head panel with velcro
- Mount the 2 side facing ultrasonics (may add more perspex for that)
- Mount the main power switch... somewhere... probably in the head
After those are done, that is pretty much all the wiring. There is stuff Im not happy with like the button pad on the back but it will do for a first attempt. Id like the button pad to be easier to remove to get to the touchscreen if needed, probably with a small motor but how I do that will probably be similar to how I do that for the side panels (shelf access panel and bottom battery door).
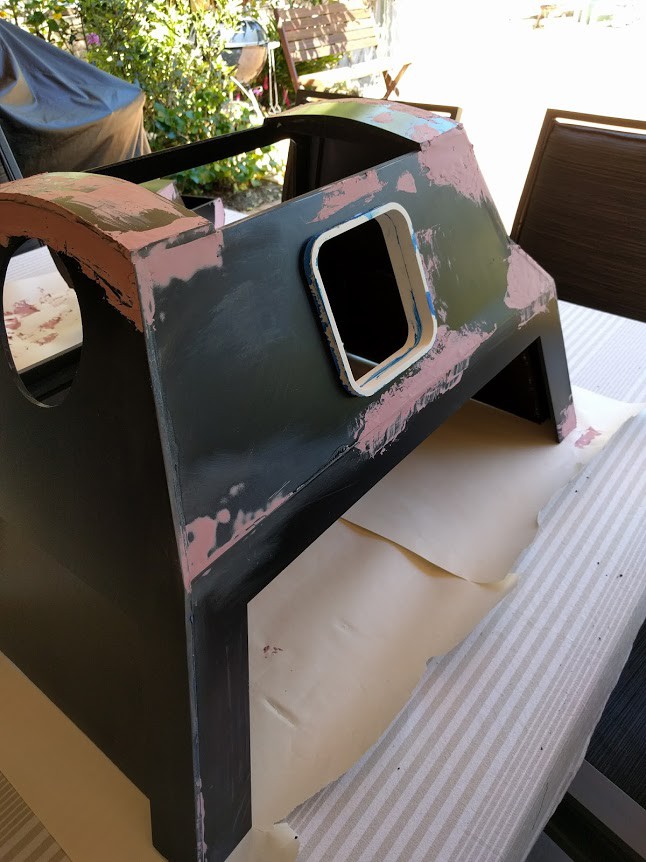
The body is pretty much together but there is gaps. If I had more time (and paint) I would of been a bit more careful about getting the joints clean but some are done well and some I just ran out of time. Sanding and painting time could of easily been it's own project. I can see how prop makers/cosplayers spend so much time on it.
You can see some of the worst gaps in the bottom but when it was at the con it wasnt at eye level so it may have helped hide. The side inclines arent exactly like the plans because the plans wanted them to come in A LOT. I did a number of mockups with carboard and picked what looked best from there. The end result was somewhere between the 'correct' 90 degree from the body and a 45 degree which I was tempted to have.

Once I decided on that I used cardboard stencils to cut the HDU (High Density Urethane)/High Density Foam that I have been using. Painting was a process of plastic primer followed by cans of car (spray) paint then gloss on the parts that I wasnt going to come back and paint again (the side door). There was also an element of running out of paint and time.
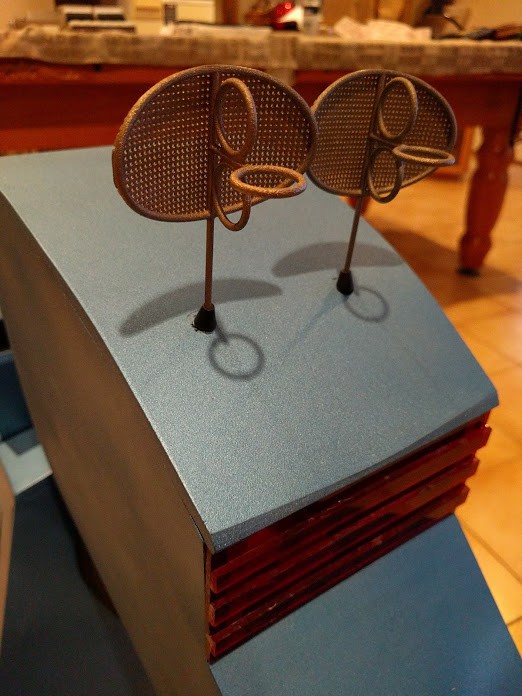
The nose bridge & 'eye' part of K9 interlocks and velcros to the body. That should let me change the eye part should it not be good for the 8mp RPi camera I mounted there as well as let me get to the John Leeson (voice of k9) signature without completely disassembling.
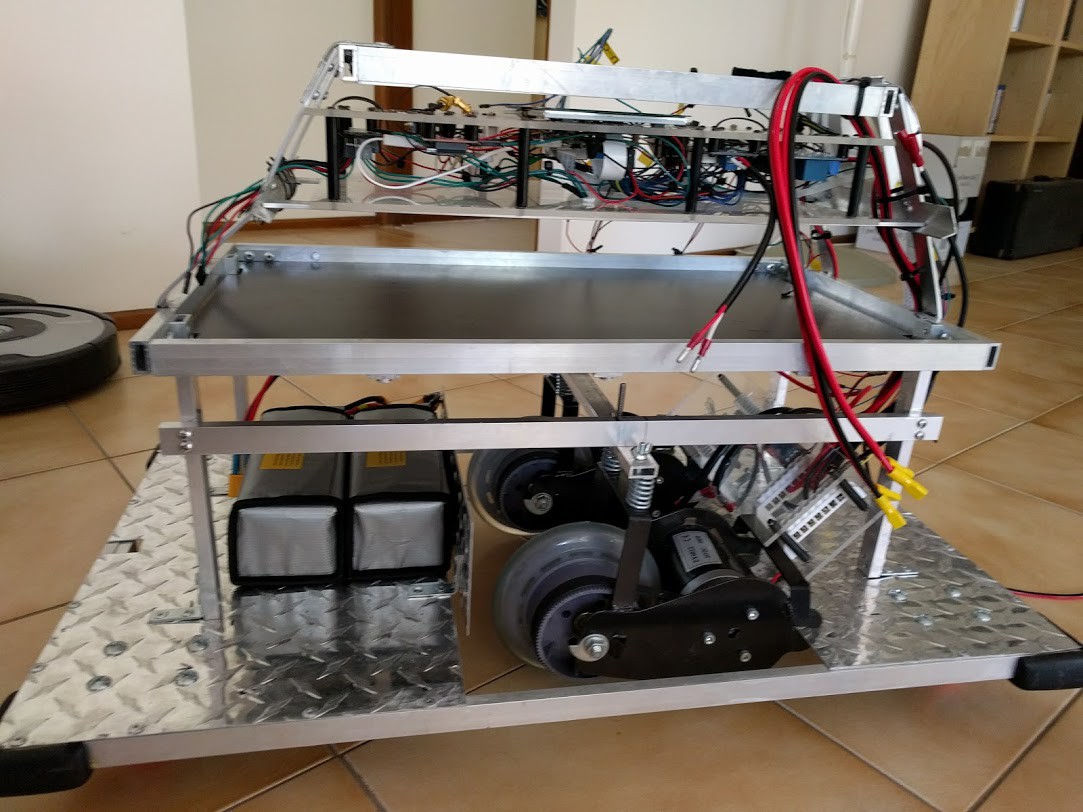
I left a couple of parts off but for the most part I wired everything up. I was concerned about leaving the batteries in when I wasnt going to have him 'working' considering they are twin 16Ah 6c batteries (so 32Ah @ 24v).
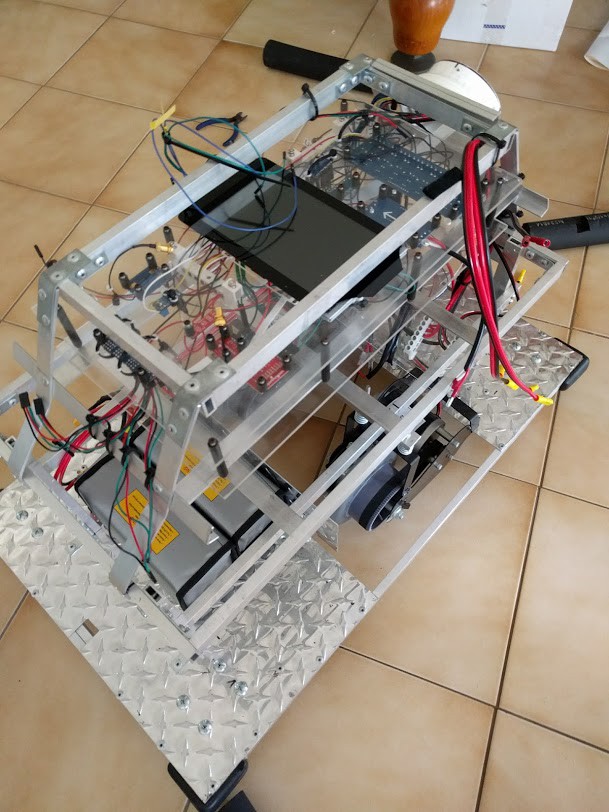
Last things I did was to ensure all the cables were ziptied to the frame, there are a couple I may move when I take the body back off to do my 'to do list' but hopefully I haven't yanked any cables and I can get to the important business of actually working through the software which I did do some before I got stuck into the mechanics + setup a virtual with the computer vision stuff.. but for the most part there is a huge amount to be done before I can use even half of what I've put in him.
Right now he is more a really cool robotics platform then a working tin dog (well high density foam with a aluminium skeleton, but close enough).
Discussions
Become a Hackaday.io Member
Create an account to leave a comment. Already have an account? Log In.