 Hiram Villarreal
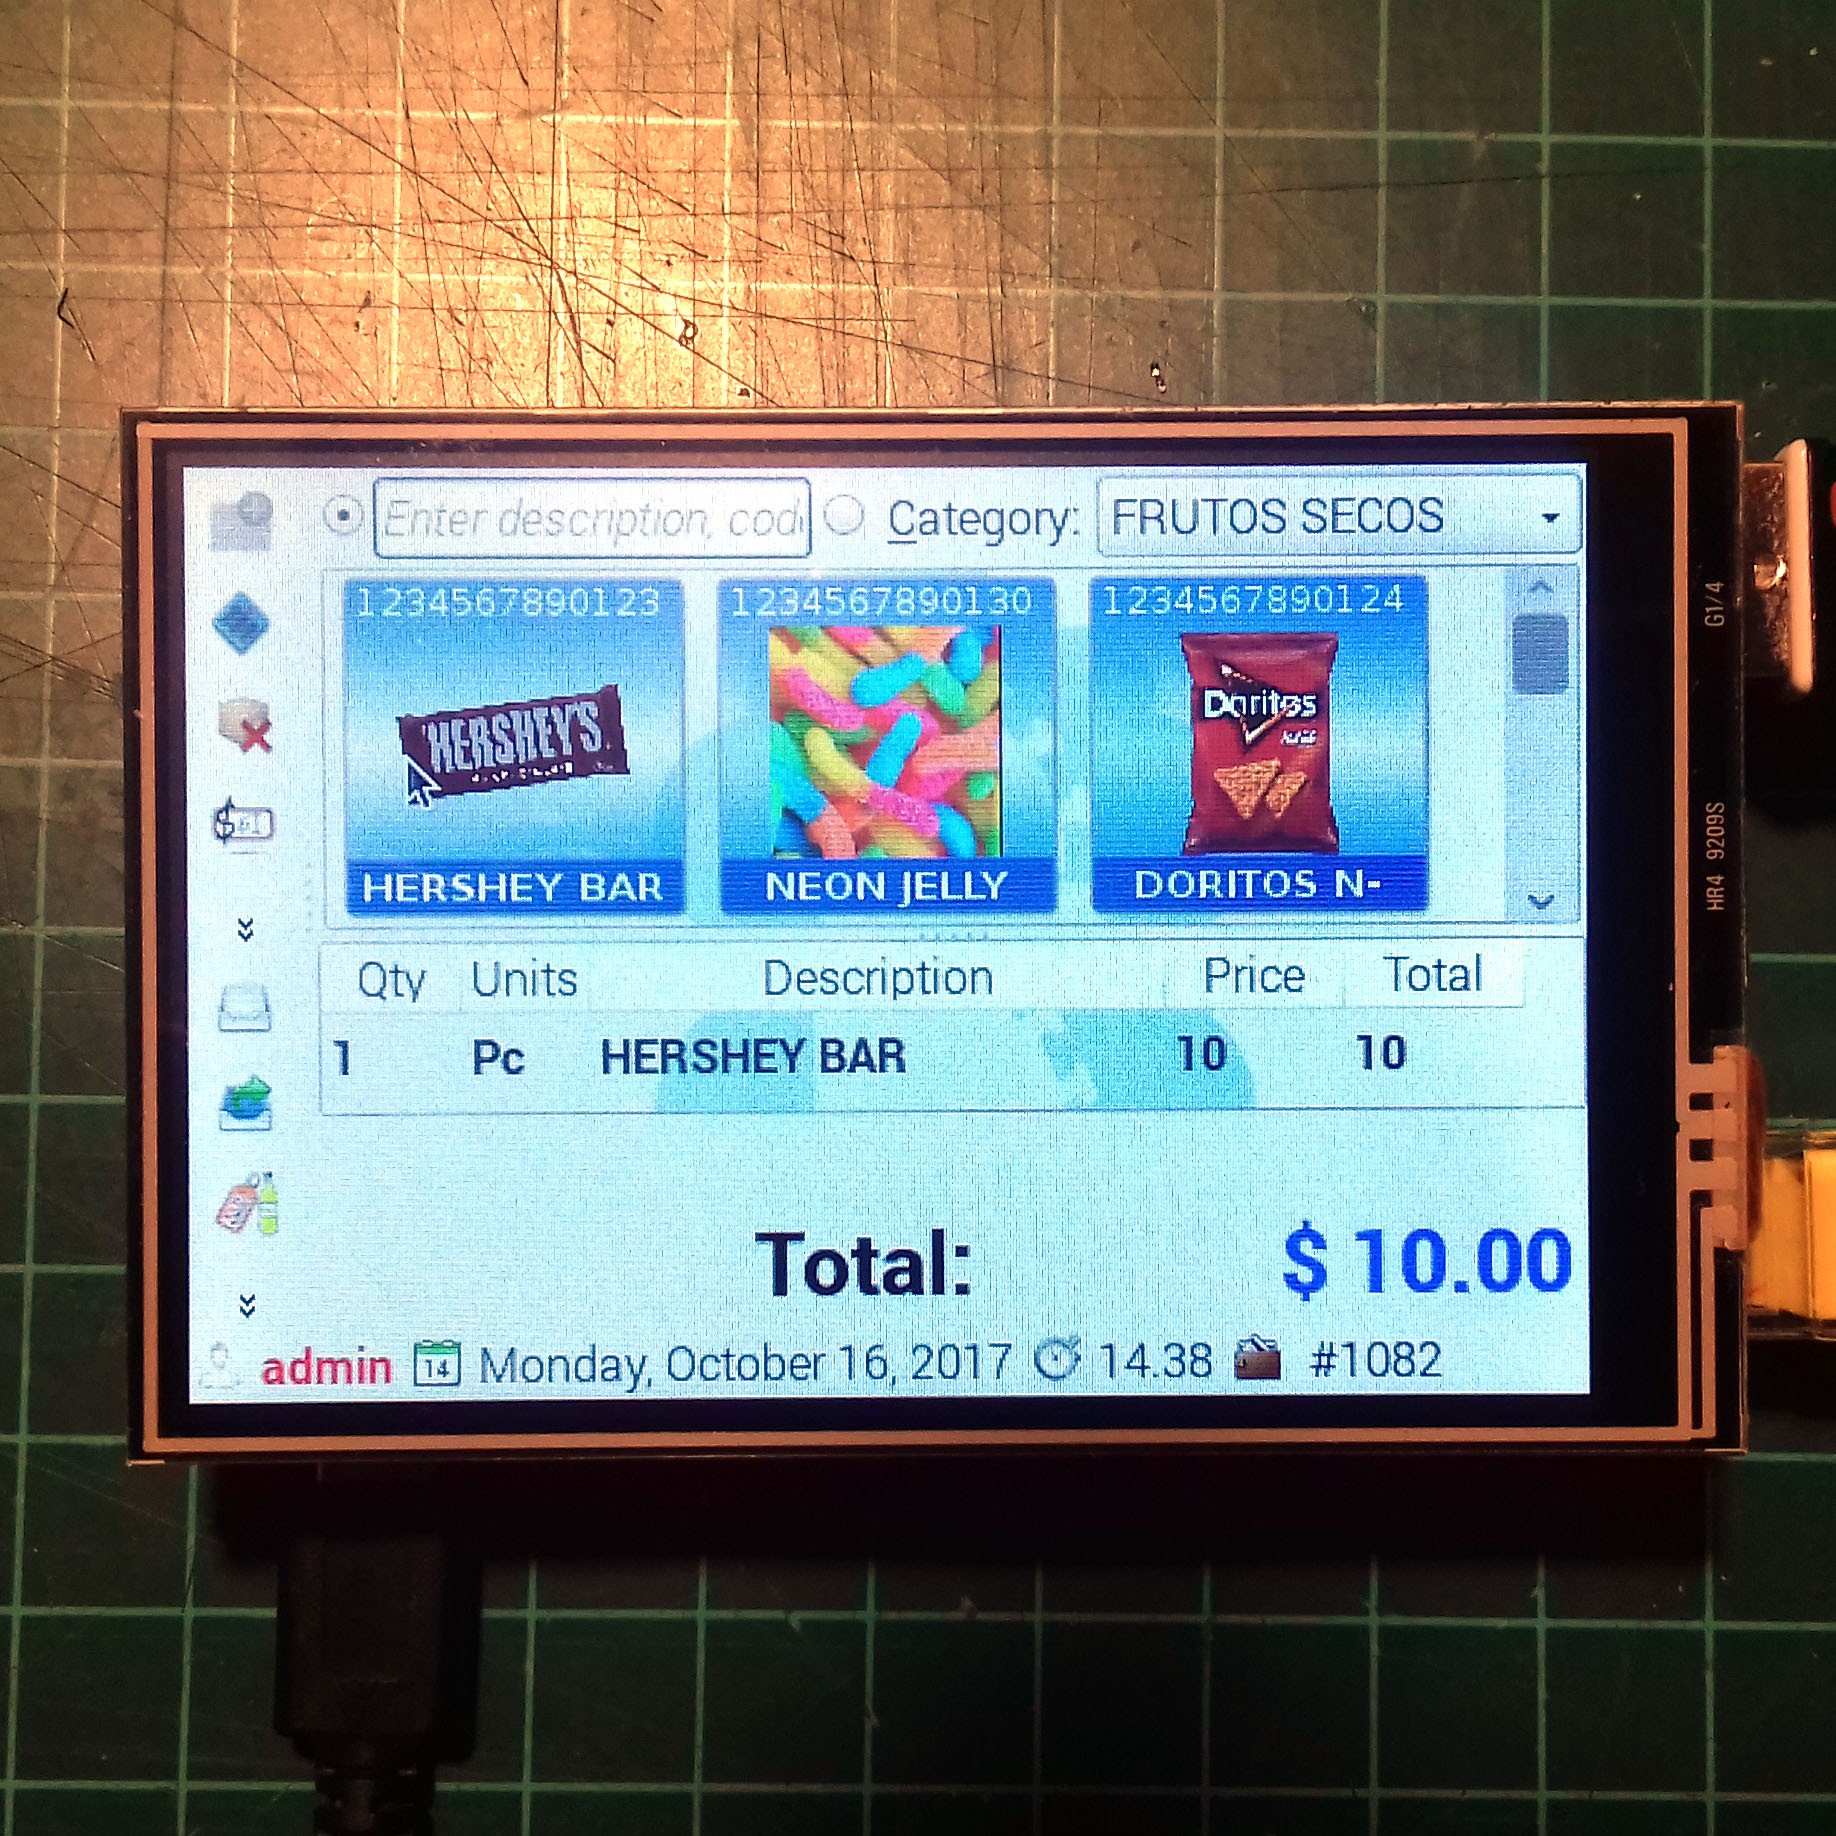
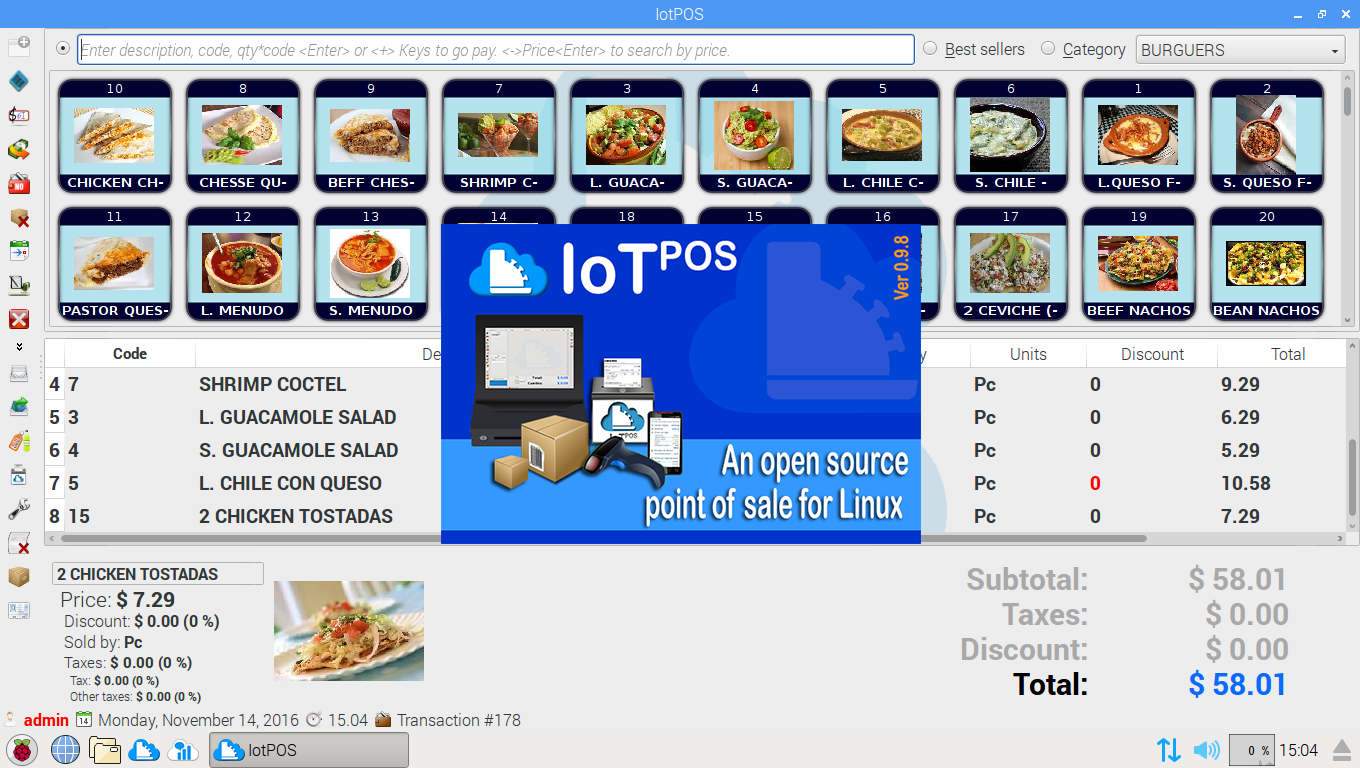
"For those that don't have the budget to afford a proprietary system, for those who need a simpler inventory/POS system, and want a system to run on the Linux operating system, over lower energy consumption, fully open source support and lightweight enough to run into a ARM based SBC as the Raspberry pi ZERO. Your choice is IotPOS".
Assembly
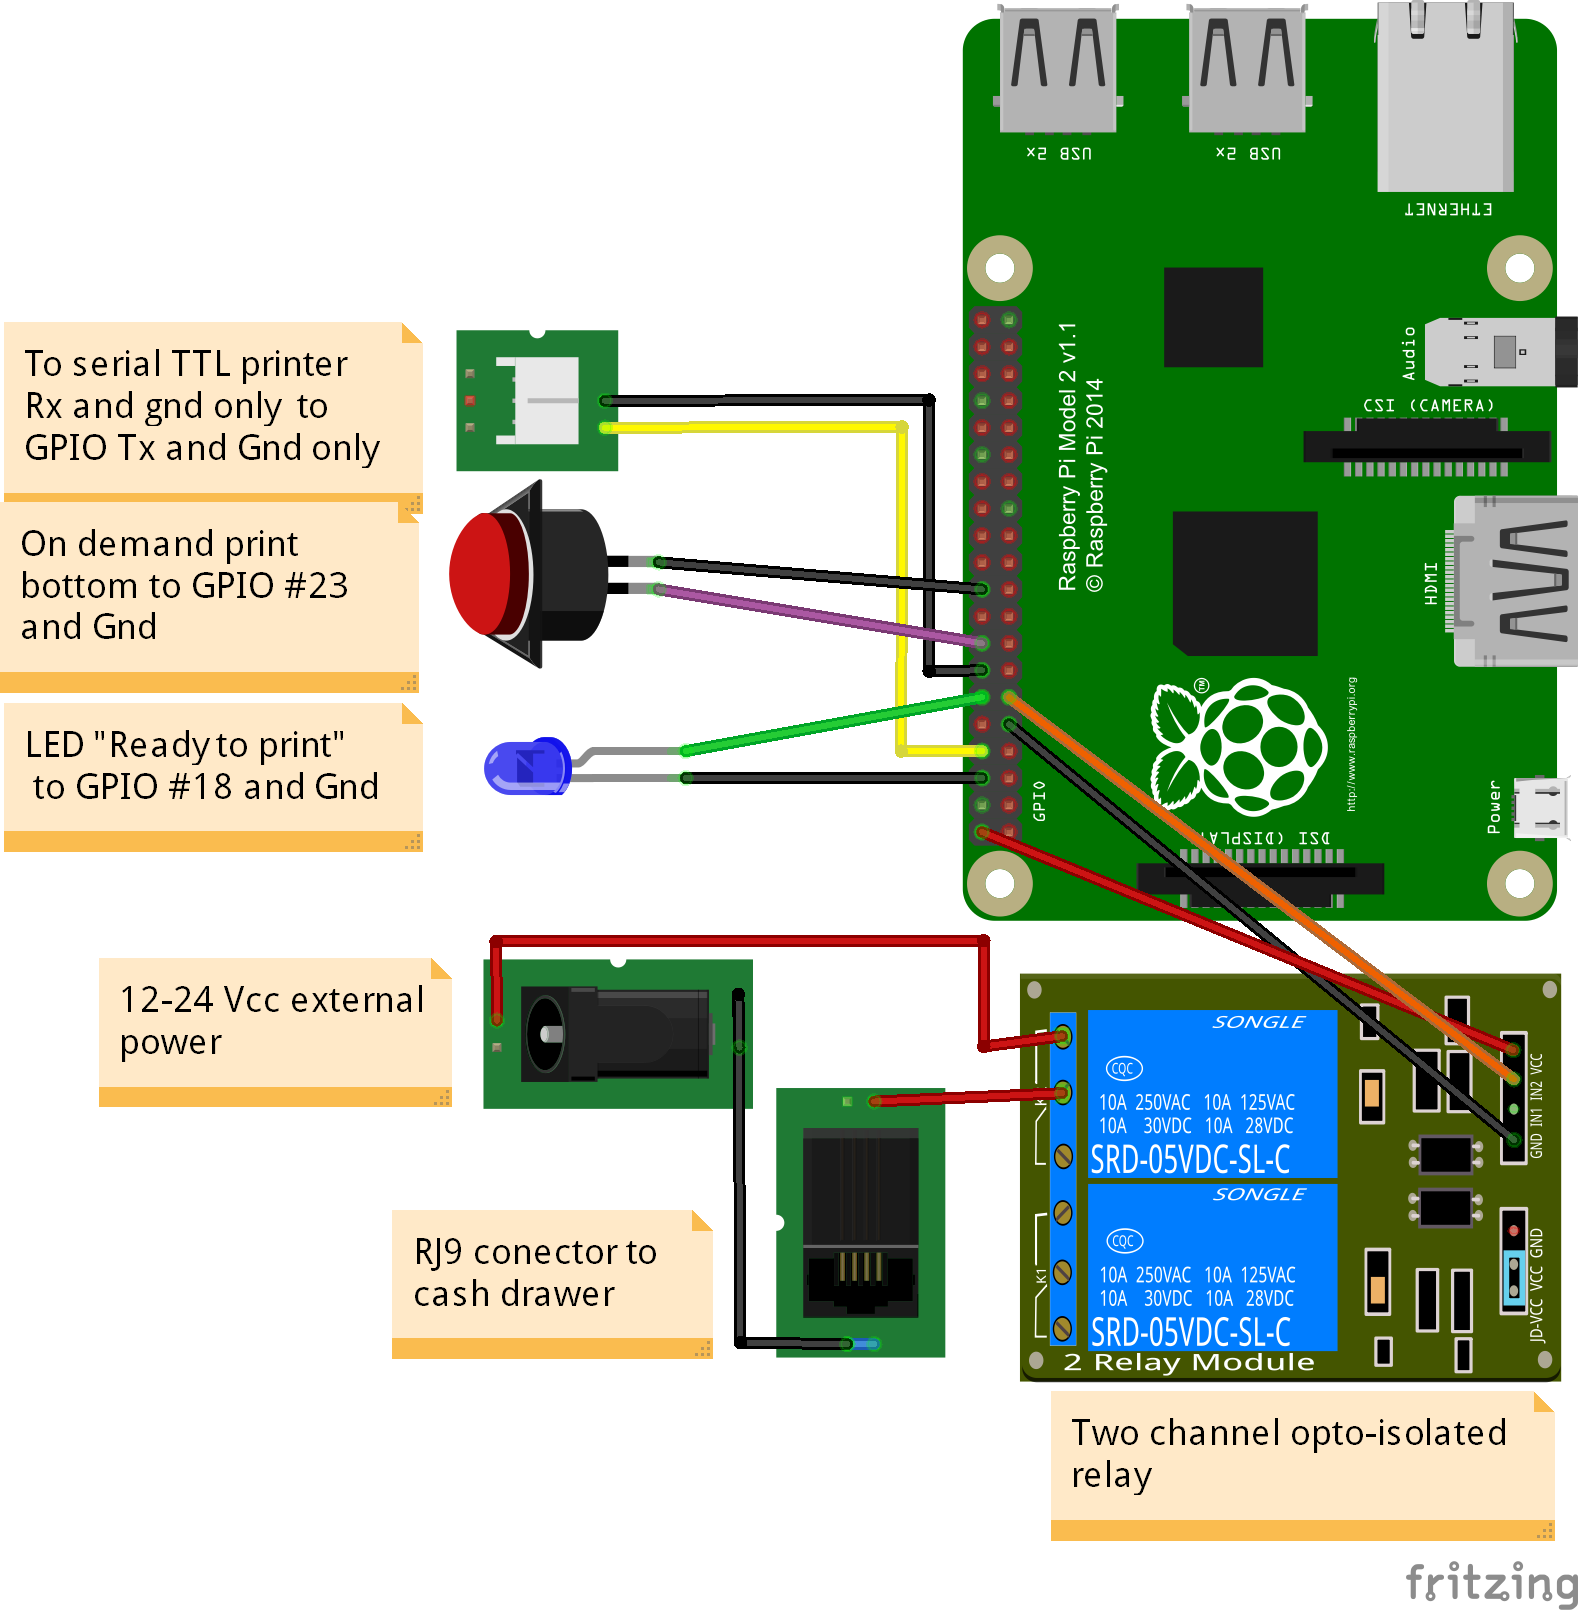
and connections are almost the same as the “Internet of Things Printer for
Raspberry Pi” tutorial from adafruit, but with an extra opening to reach reach the USB & HDMI
ports and you can use all the Raspberry pi models instead only the classic B.
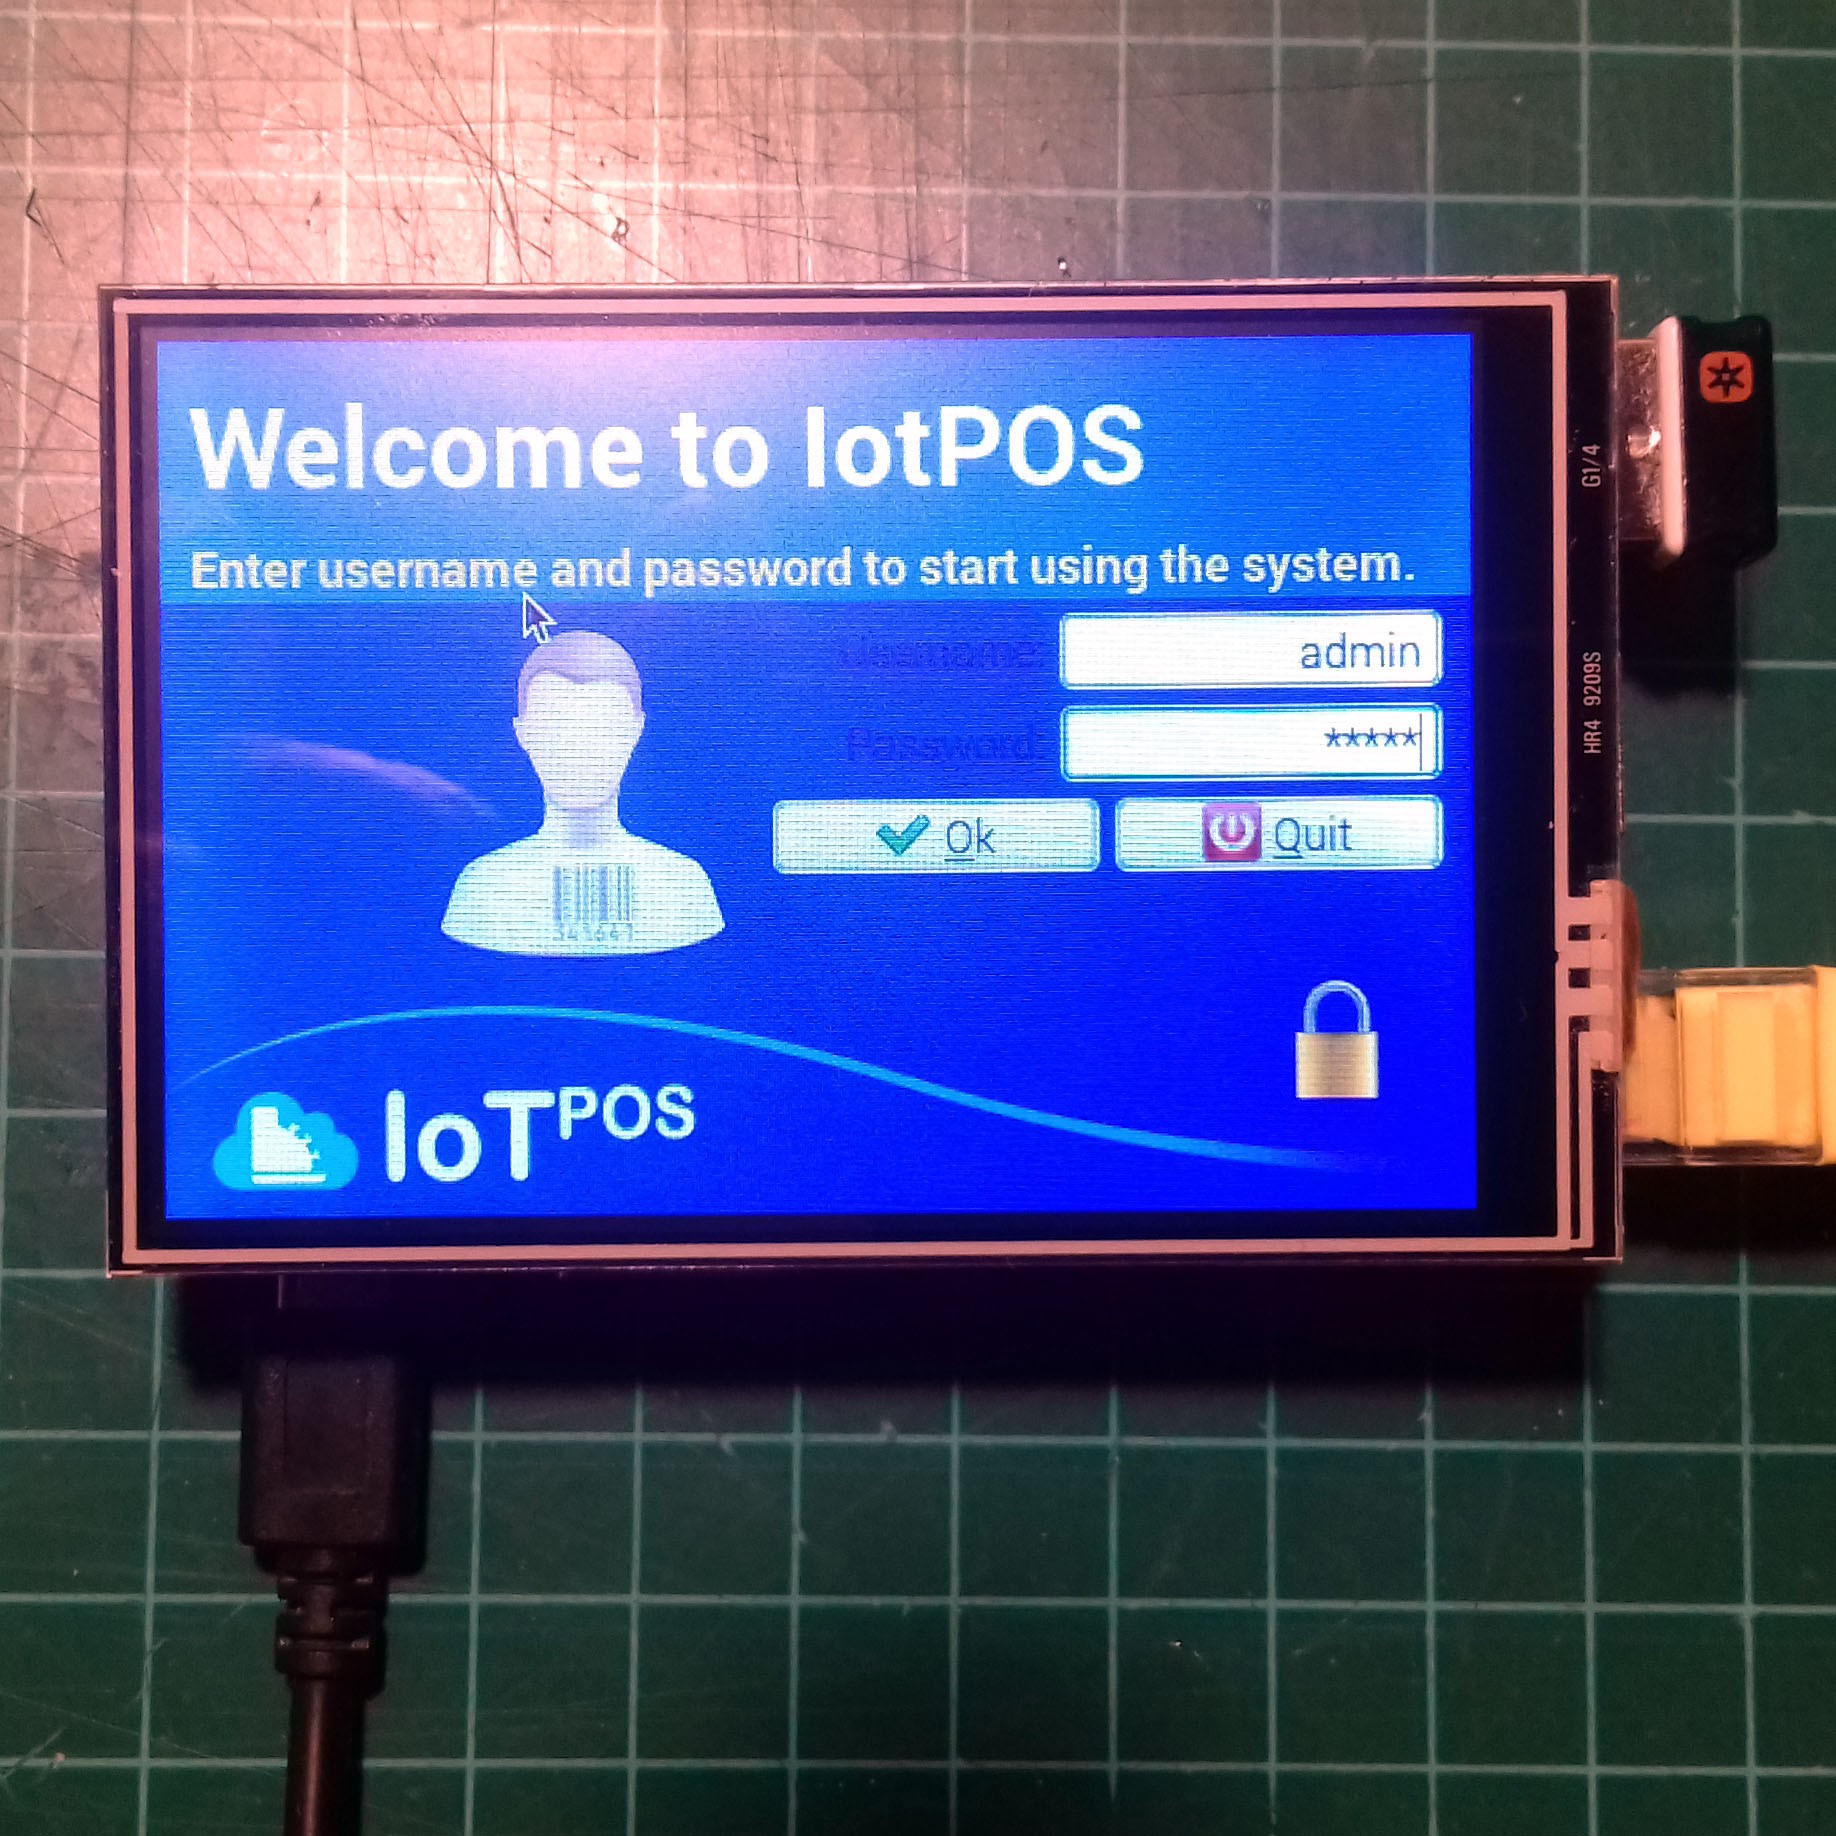
A serial thermal printer it used connected to the serial GPIO output. (not support for the Raspberry pi 3 model at this moment.) The software supports touch screens and most barcode readers. The cash drawer opens using a pulse through the GPIO (relay needed).
Supports many POS terminals with a single database on a network. And with VNC Remote Desktop you won’t need to connect to the box to make changes, update stock, make purchases, transfer files, and so on.
Includes iotStock, the administration tool for managing your store, printed reports, and more. Includes a useful function to print your own barcode labels with name and price, a great money saver!
Automatic SQL backups to external USB storage, just name any USB drive as "iotpos" to execute daily database backups in case of SD corruption or other failures.
I hope you enjoy this project, if you want to try IotPOS go ahead and follow the instructions.


 Dmitry
 Jarosław Mazurkiewicz
if i don't want to use your given pos but want to use our php pos is that possible to do? using xampp or wamp tools?