 Audrey Robinel
In order to make the robot as hassle free as possible, i want it to be charged without removing the battery.
I used pololu zumo robots for teaching computer science, and those have 4 NIMH batteries. Not only the single lipo battery i used provides roughly the same energy for half the mass and a a lower price, but LiPo is simple to charge, hence the vast amounts of cheap LiPo charging boards. I selected not the cheapest, but still a cheap board, at less than 1.5$ a piece, with over discharge protection (and of course over charge protection!).
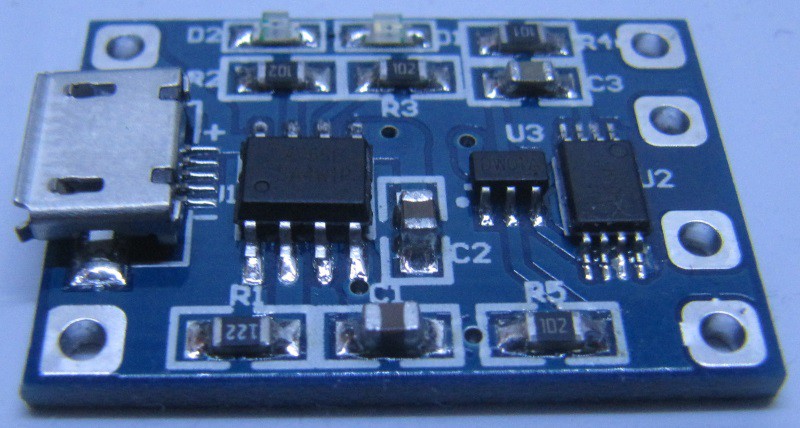
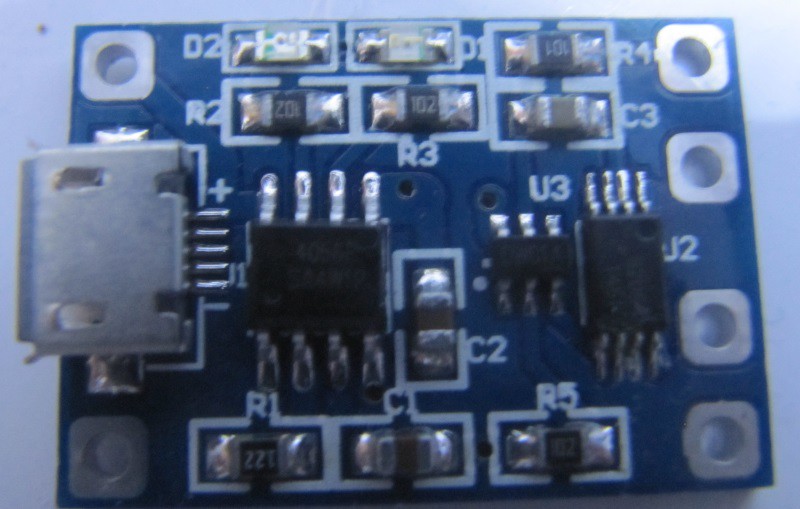
I bought a pack of 10 for 13$ with free shipping, from Aliexpress seller Shenzhen factory. This board is based on the very common TP4056 chip. You can see a high quality and detailed review of a more basic version of this board following this link.
Compared to the one tested above, mine adds tabs for load, thus you can have the battery and the load plugged at the same time. The charge maximum output current is given at 1.2A, and it is supposed to support simultaneous charge and discharge.
From the same seller, a single board is less than 2.5$, with free shipping.
The circuit changes in order to add this board are simple : battery wires goes on the charger, and the out + and - goes where the battery wires previously went.
So no modification of the circuit board (that was the plan). This circuit board goes under the electronics board, on the base of the chassis. Room was planed for it, and fixation holes are available. However, i'll have to design a small plate with claws to hold the charger, and with the corresponding screw holes to secure it to the chassis.
If one wants multiple batteries in a version of this robot, it is possible to do so without increasing charge time by adding multiple chargers and diodes on the output pins. More on that on R.Hasika project, which has 4 lipo batteries in parallel.
Anyway, it also has input pads, so it is easy to add a barrel jack, and why not a 5v regulator so that the robot can be charged with various power bricks with a wider voltage range. This is not something i'll include in the default robot (to keep costs down), but certainly an option or a mod that can be done.
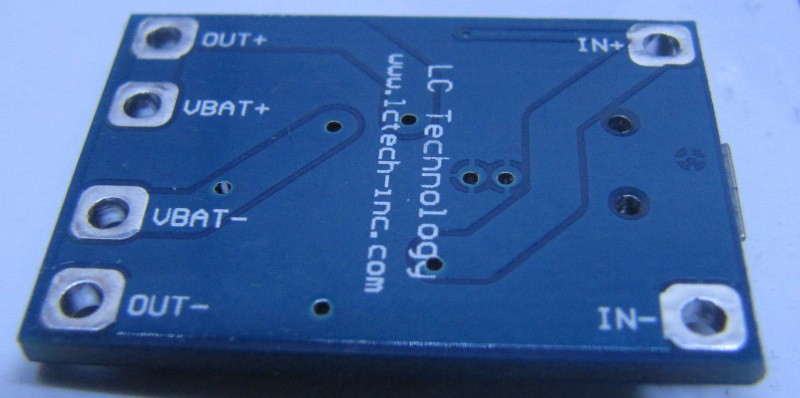
Here is the look of the underside of the board :
Another use of the input pads could be to have some kind of pads on the robot in order to enable it to go to a charging station on it's own. I'll design such a station and work on this later on.
Discussions
Become a Hackaday.io Member
Create an account to leave a comment. Already have an account? Log In.
Thanks for that info much appreciated.
These are the boards I've used that have proven a little unstable: https://www.aliexpress.com/item/Free-Shipping-5V-1A-Micro-USB-18650-Lithium-Battery-Charging-Board-Charger-Module-Protection-Dual/32453058256.html. As you can see they are the 4 pole battery / load type board similar to yours but mine don't have a TPower TP4056 chip onboard and they're also a fair bit cheaper than yours..which I suppose could mean cheap and nasty.
So I guess there are a few differences to observe in our setup:
1) You're using potentially higher quality TP4056 boards than mine
2) The fact you're using 2 18650 cells in parallel could be a significant factor in keeping the TP4056 board and it's output load supply stable. My use of a single cell could be the cause of my intermittent TP4056 board load cut out problem - the problem could be a side effect of a volt drop when the ESP8266 pulls a high current.
3) Your use of a stable USB supply could also be a significant factor in keeping the TP4056 board and it's output load supply stable. My solar panel supply is off and on and you'd expect with a solar panel in the UK :)
I have a few different things to try out so thanks.
Are you sure? yes | no
Hello,
i've been using the TP4056 boards with batt and load pads (so 4 pads), and it works like a charm.
As a load, i have a Raspberry pi 3, communicating in wifi, an RGB led for signaling stuff, and it works just fine. I have 2 18650 cells in parallel, and when plugged in USB, the board is able to power the Raspberry pi 3 AND charge both batteries.
I read that there was a revision of those boards, and you may have the previous boards (i have some too, but i don't use them). Check the number of pads.
The old board only had 2 pads for battery + and -, whereas the new boards have bat + and -, but also load + and -
Are you sure? yes | no
"it is supposed to support simultaneous charge and discharge". Have you had any success with doing this at all? I've attempted to use boards similar to these to charge a 18650 cell via a solar panel whilst at the same time supplying load to an ESP8266 and I've found this setup to be unstable where the supply load gets unexpectedly cut.
Admittedly my TP4056 boards are not from exactly the same supplier you mentioned but from some other aliexpress trader.
Are you sure? yes | no