 Audrey Robinel
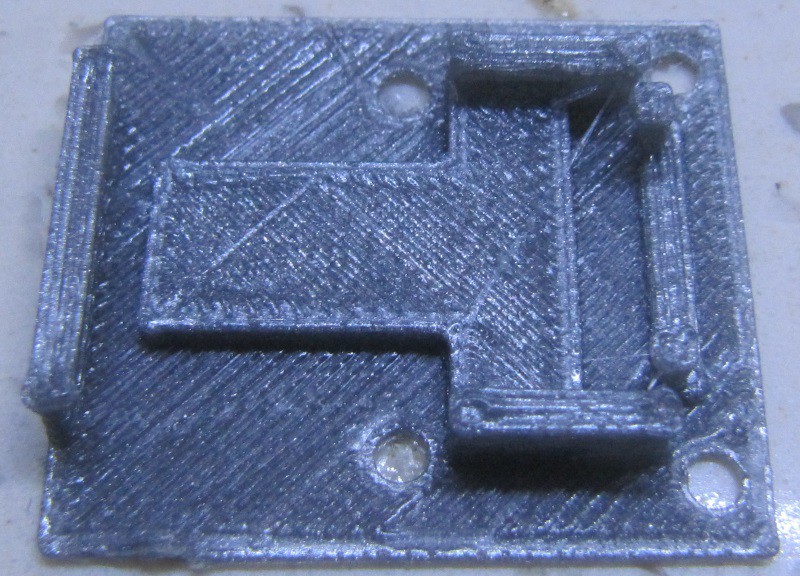
I made a new part for this robot in order to hold the lipo charger board presented in the previous log, the TP4056. It has claws to hold the board in place, unlike the previous version that was just a flat part with screw holes and used double face tape to secure it.
Here is what it looks like when printed on my meh quality gray PLA (good enough for structural stuff, but prints ugly) :
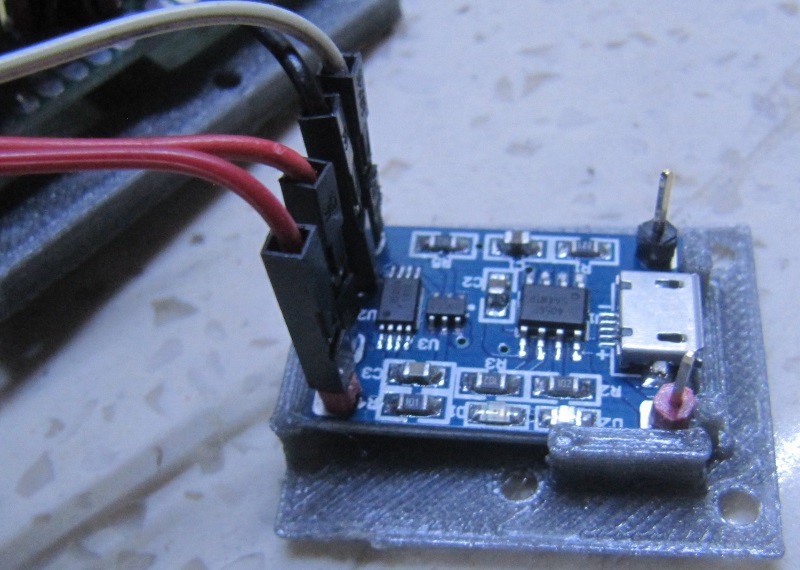
You slide the board in place using a little bit of force, being careful not to break the claws (i broke one, i'll have to improve the design) :
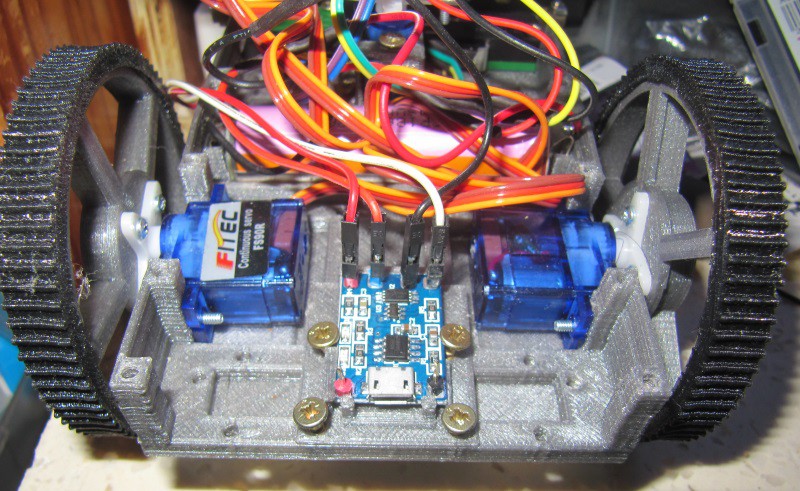
You can then secure it in place on the chassis using four 3mm screws, with the USB port facing the back of the robot :
Then you can secure the electronics board again :
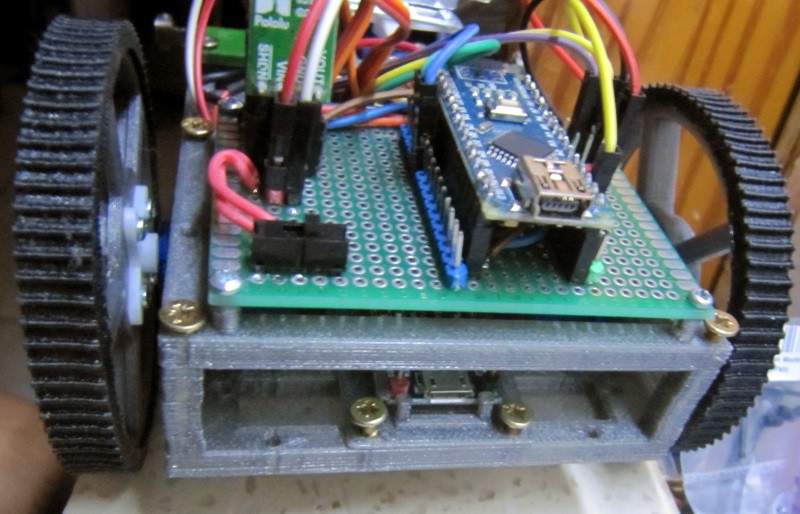
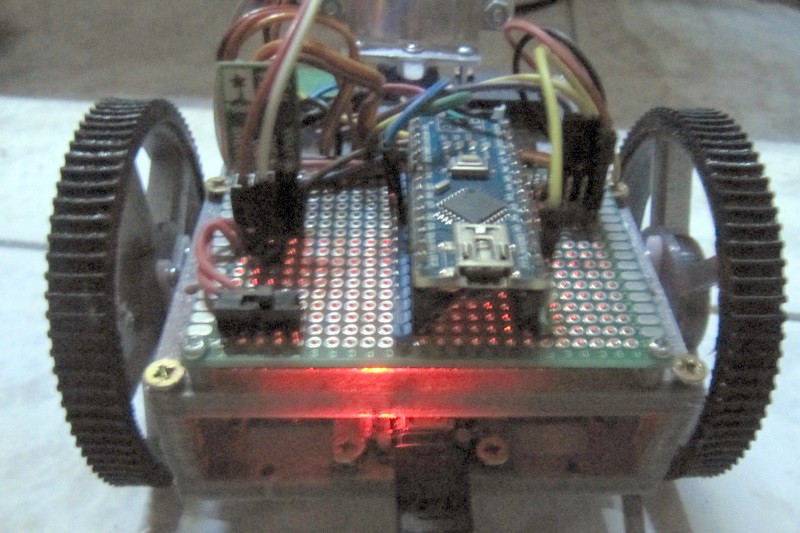
The USB port is accessible, and once plugged in, it begins charging the battery, with a red led on :
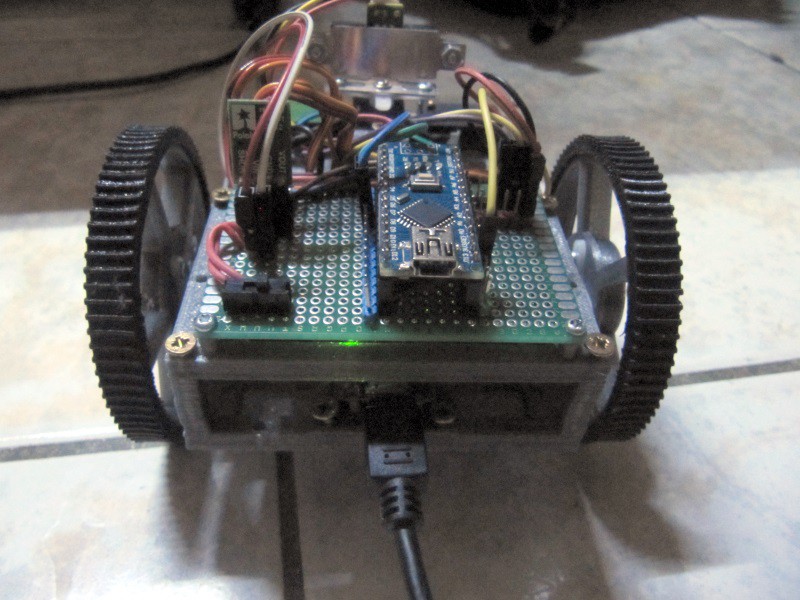
At the end of the charge, the led turns green :
It's also less visible. Anyway, there are input pins if it's necessary to provide 5V by another mean than the USB port (solar panel, charging station, etc).
Now the robot can be used easily without having anything to disassemble to charge it.
Discussions
Become a Hackaday.io Member
Create an account to leave a comment. Already have an account? Log In.