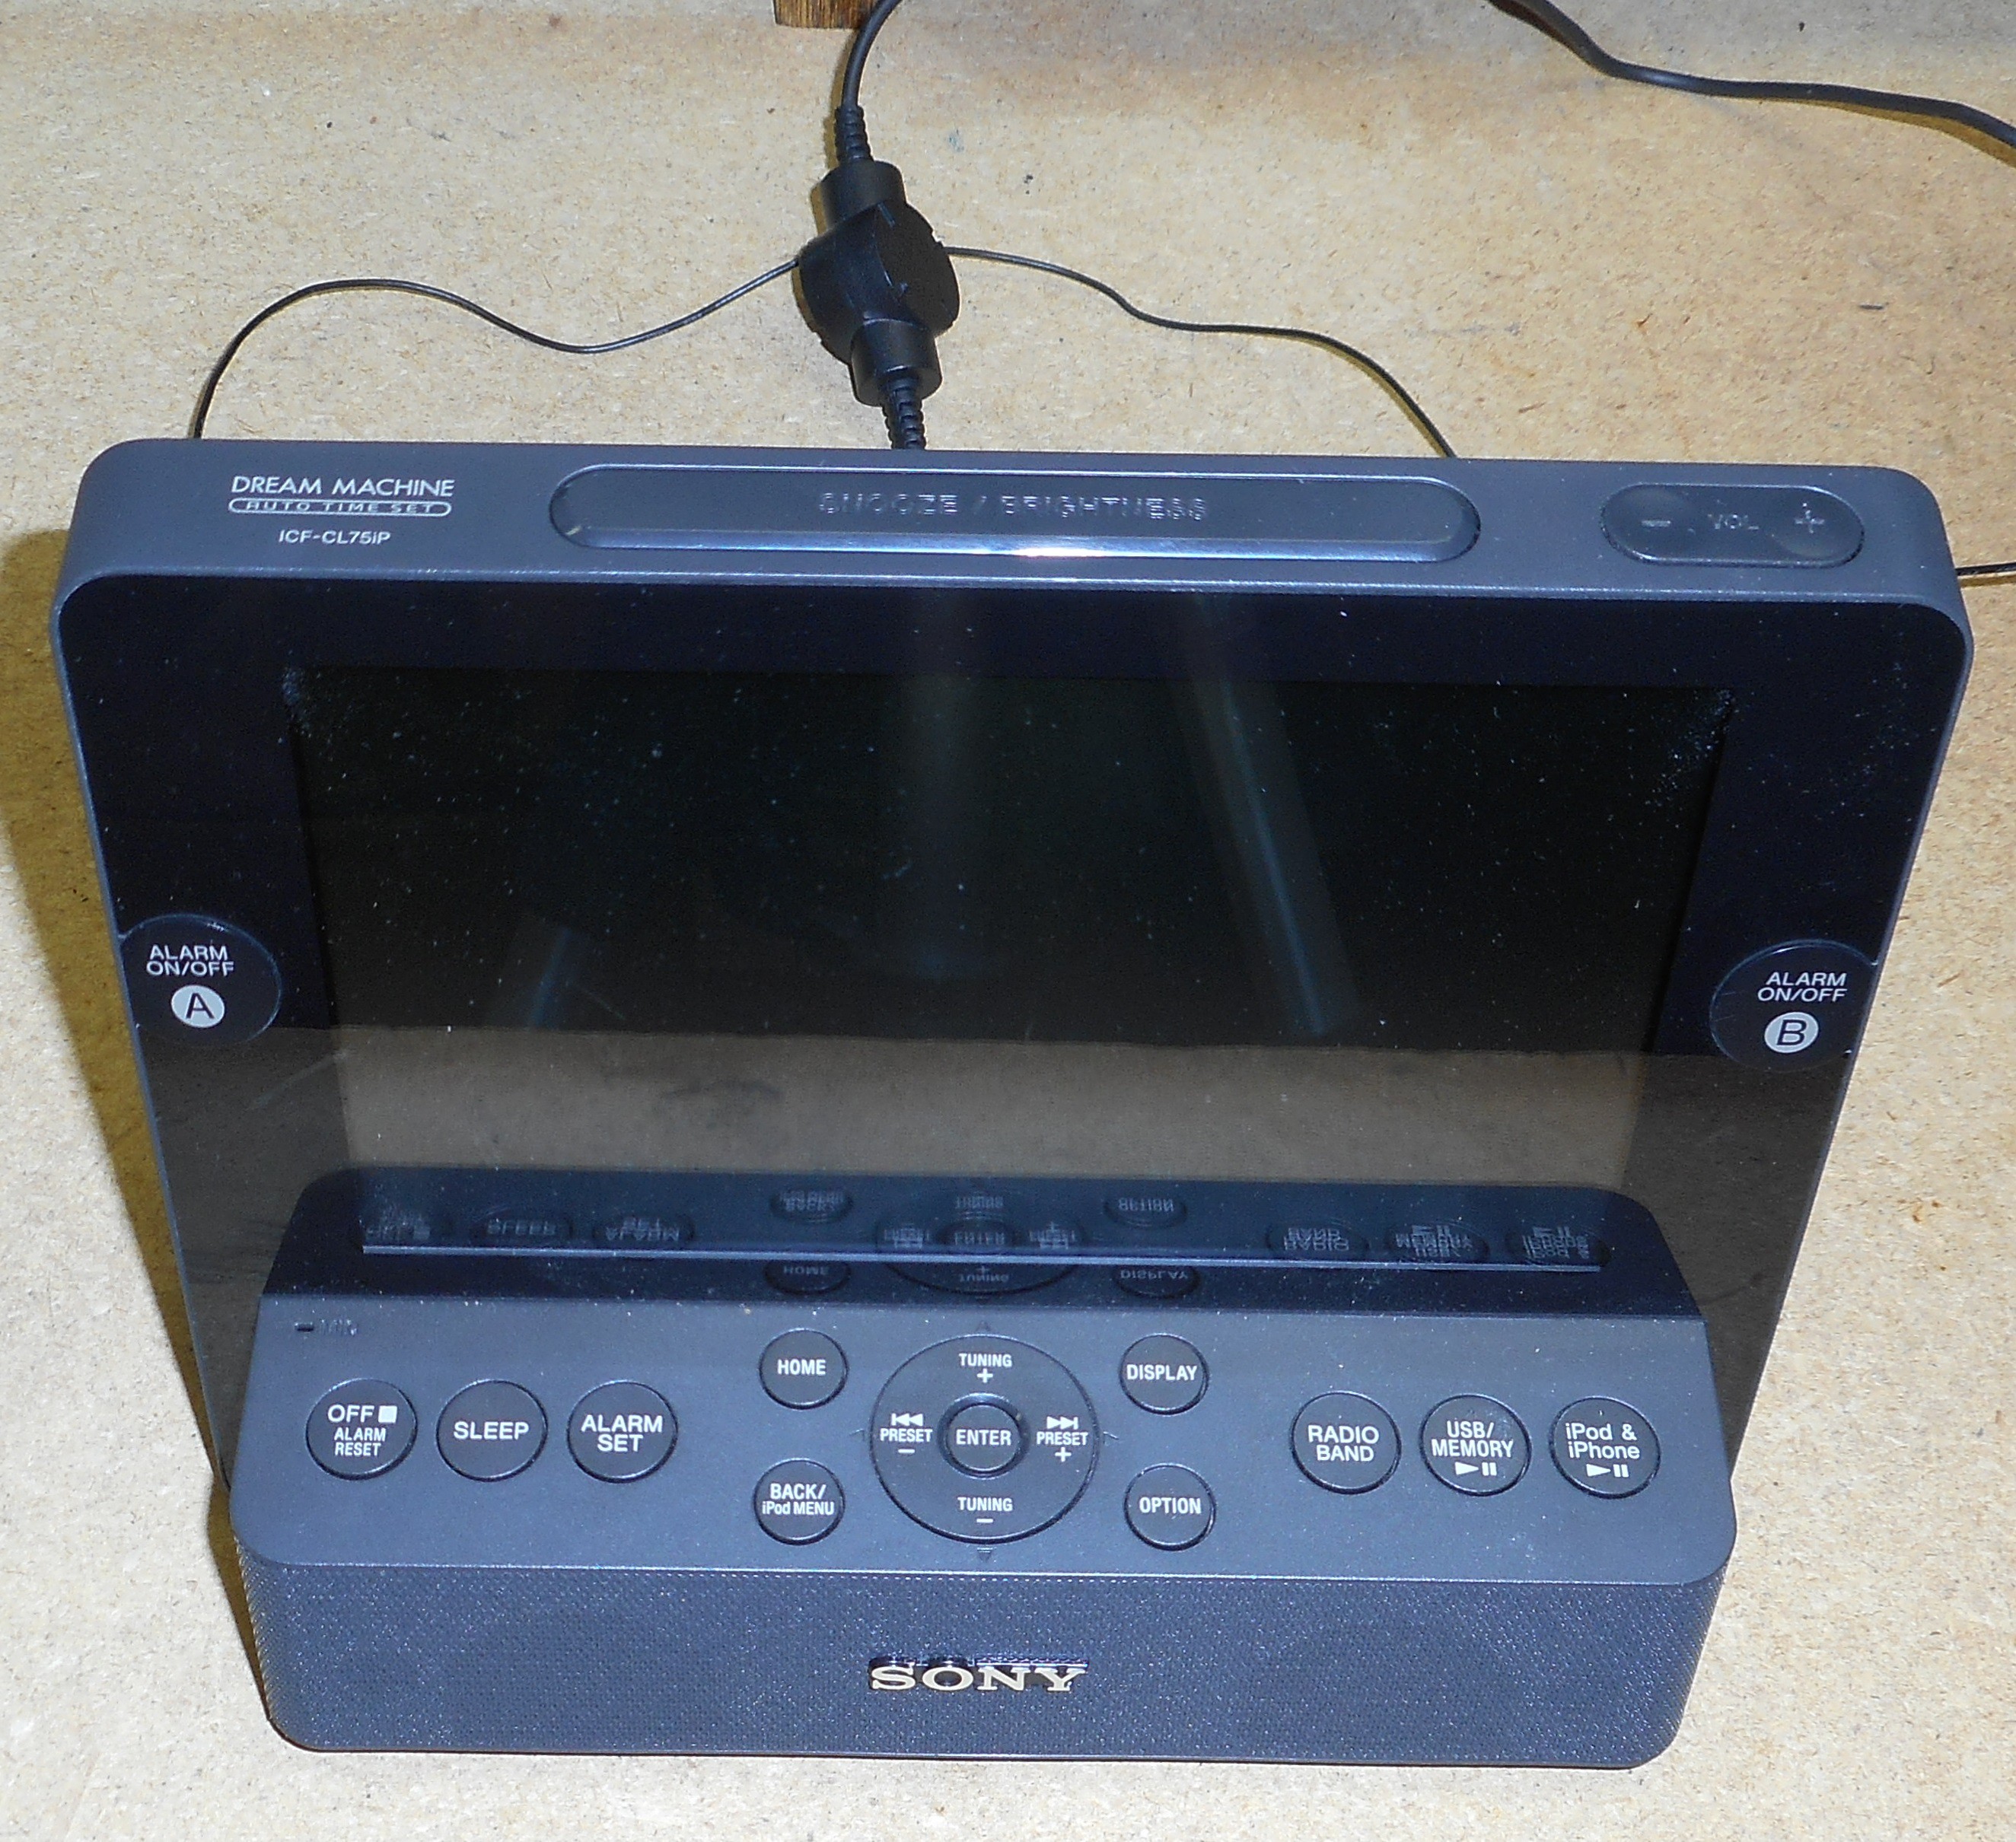
 leadacid44
Hopefully this page will help anyone else who wants to get their clock running again.
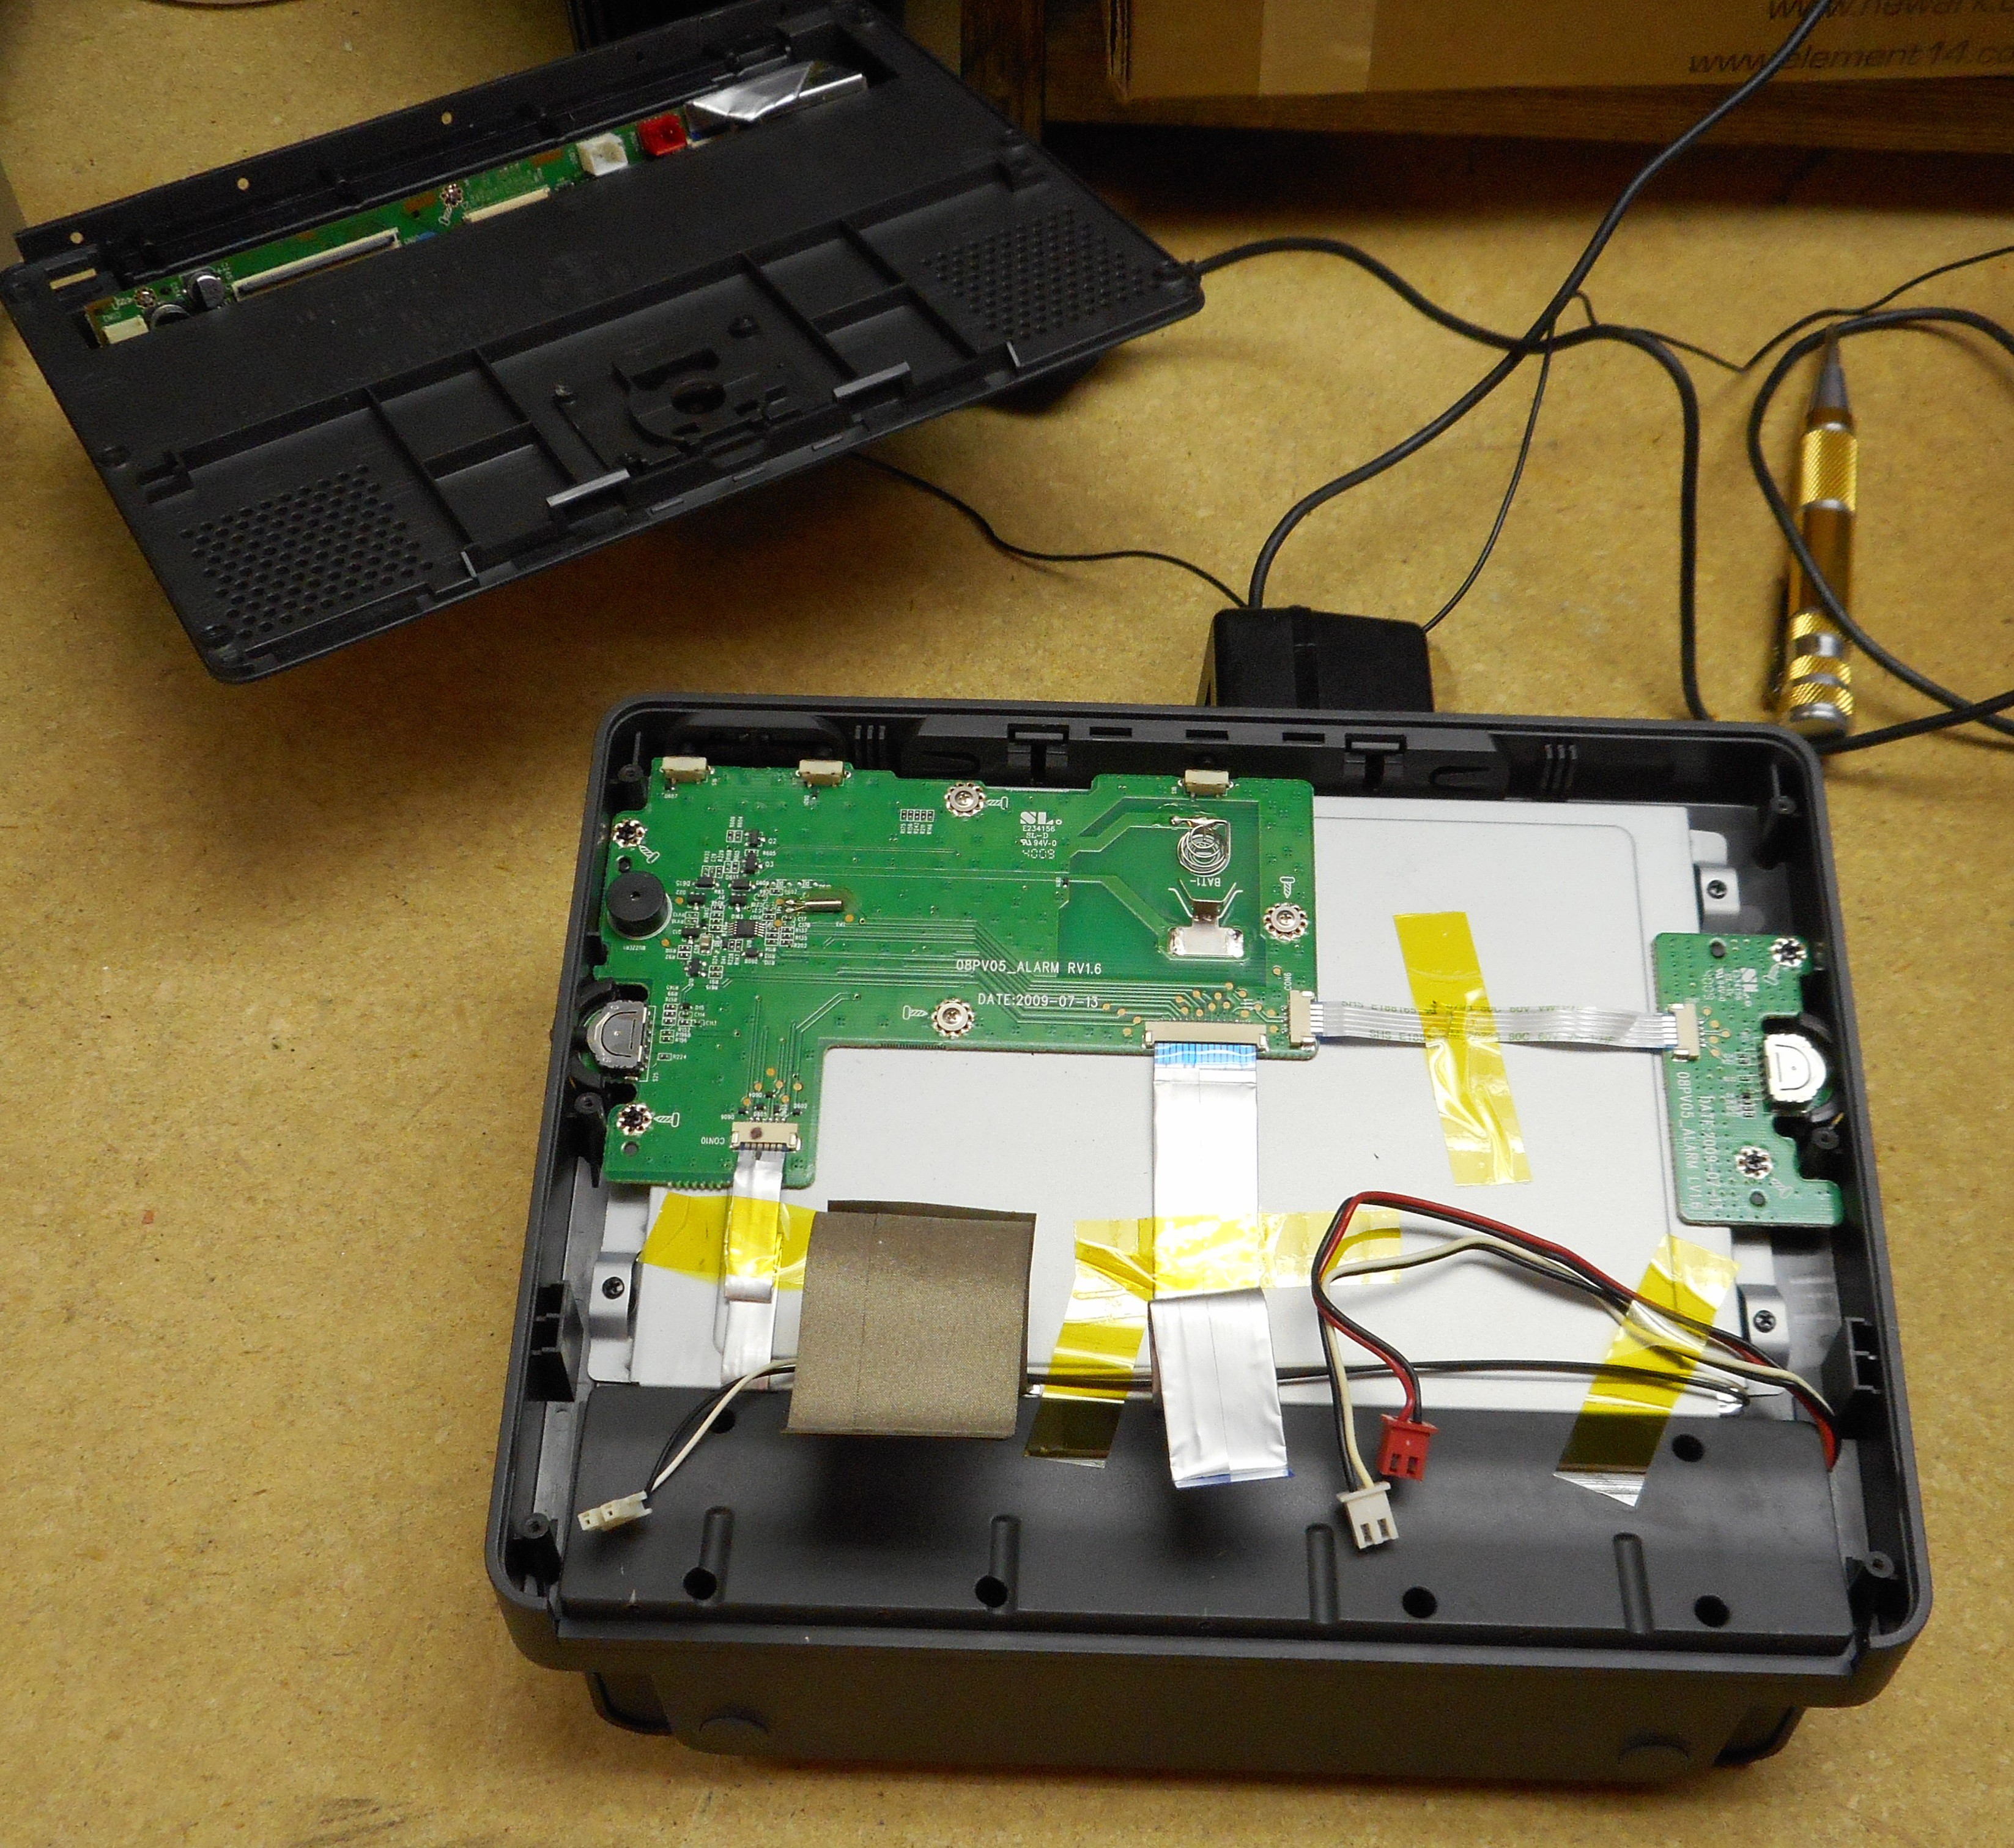
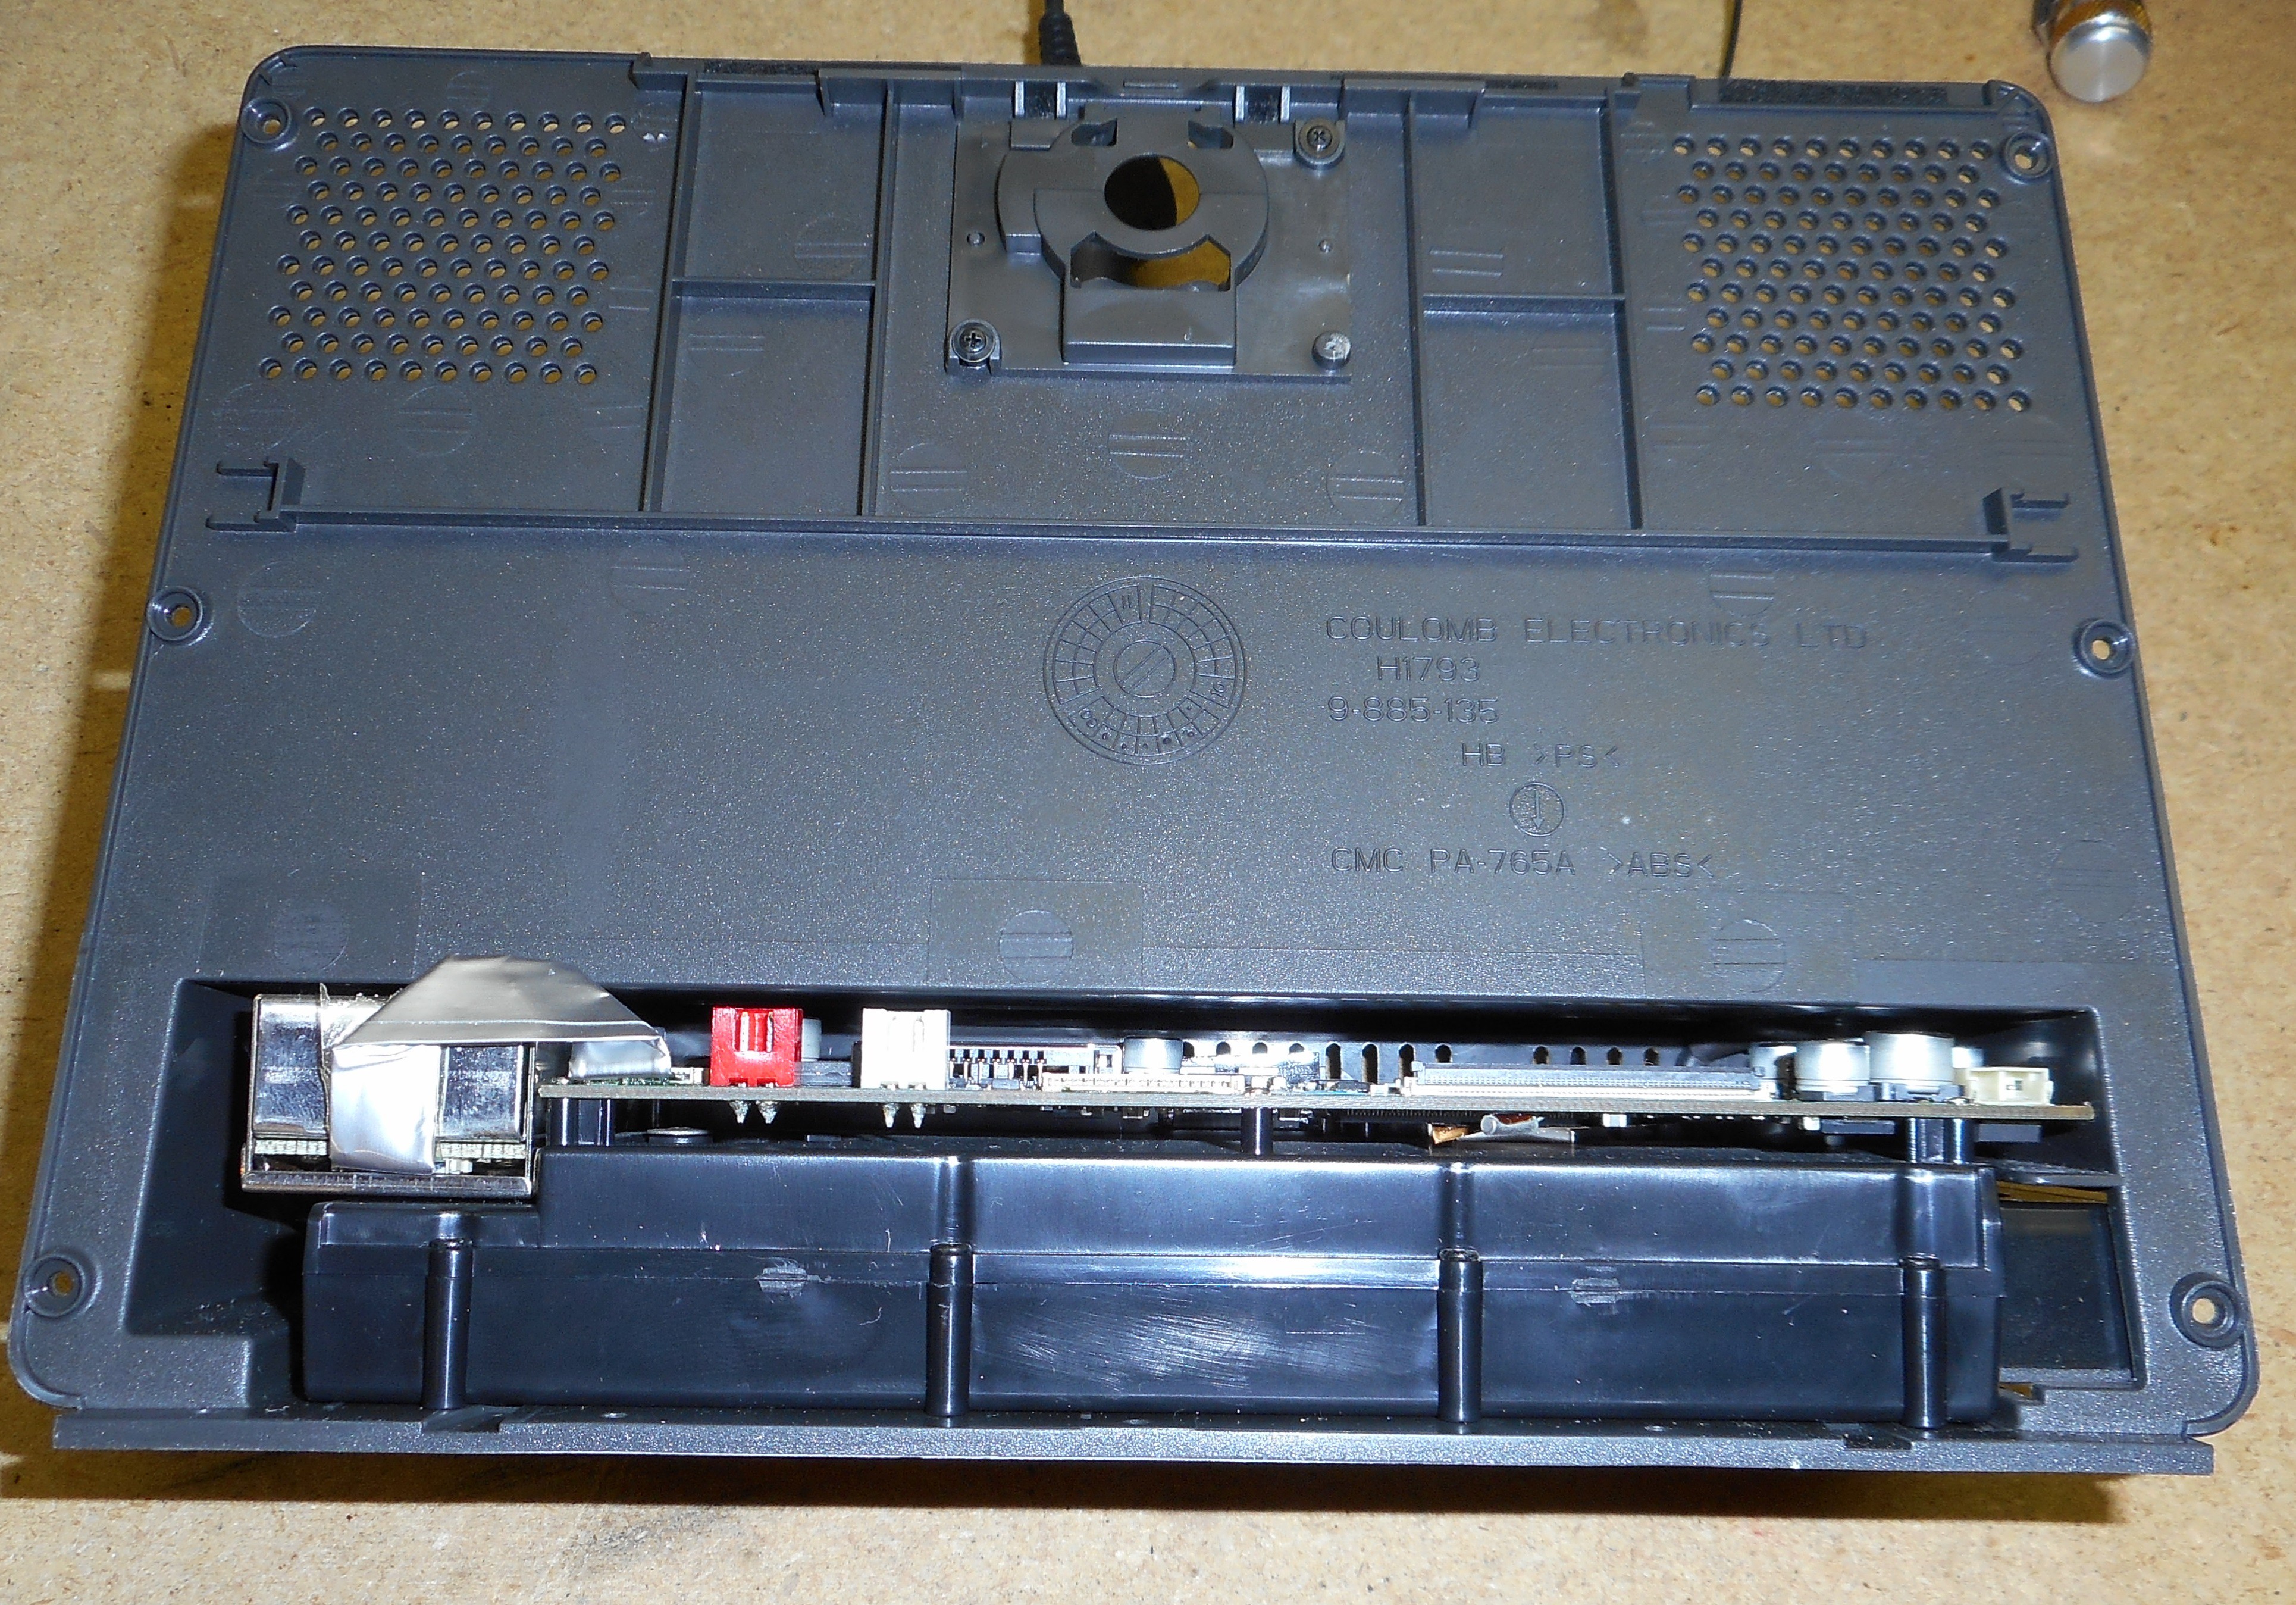
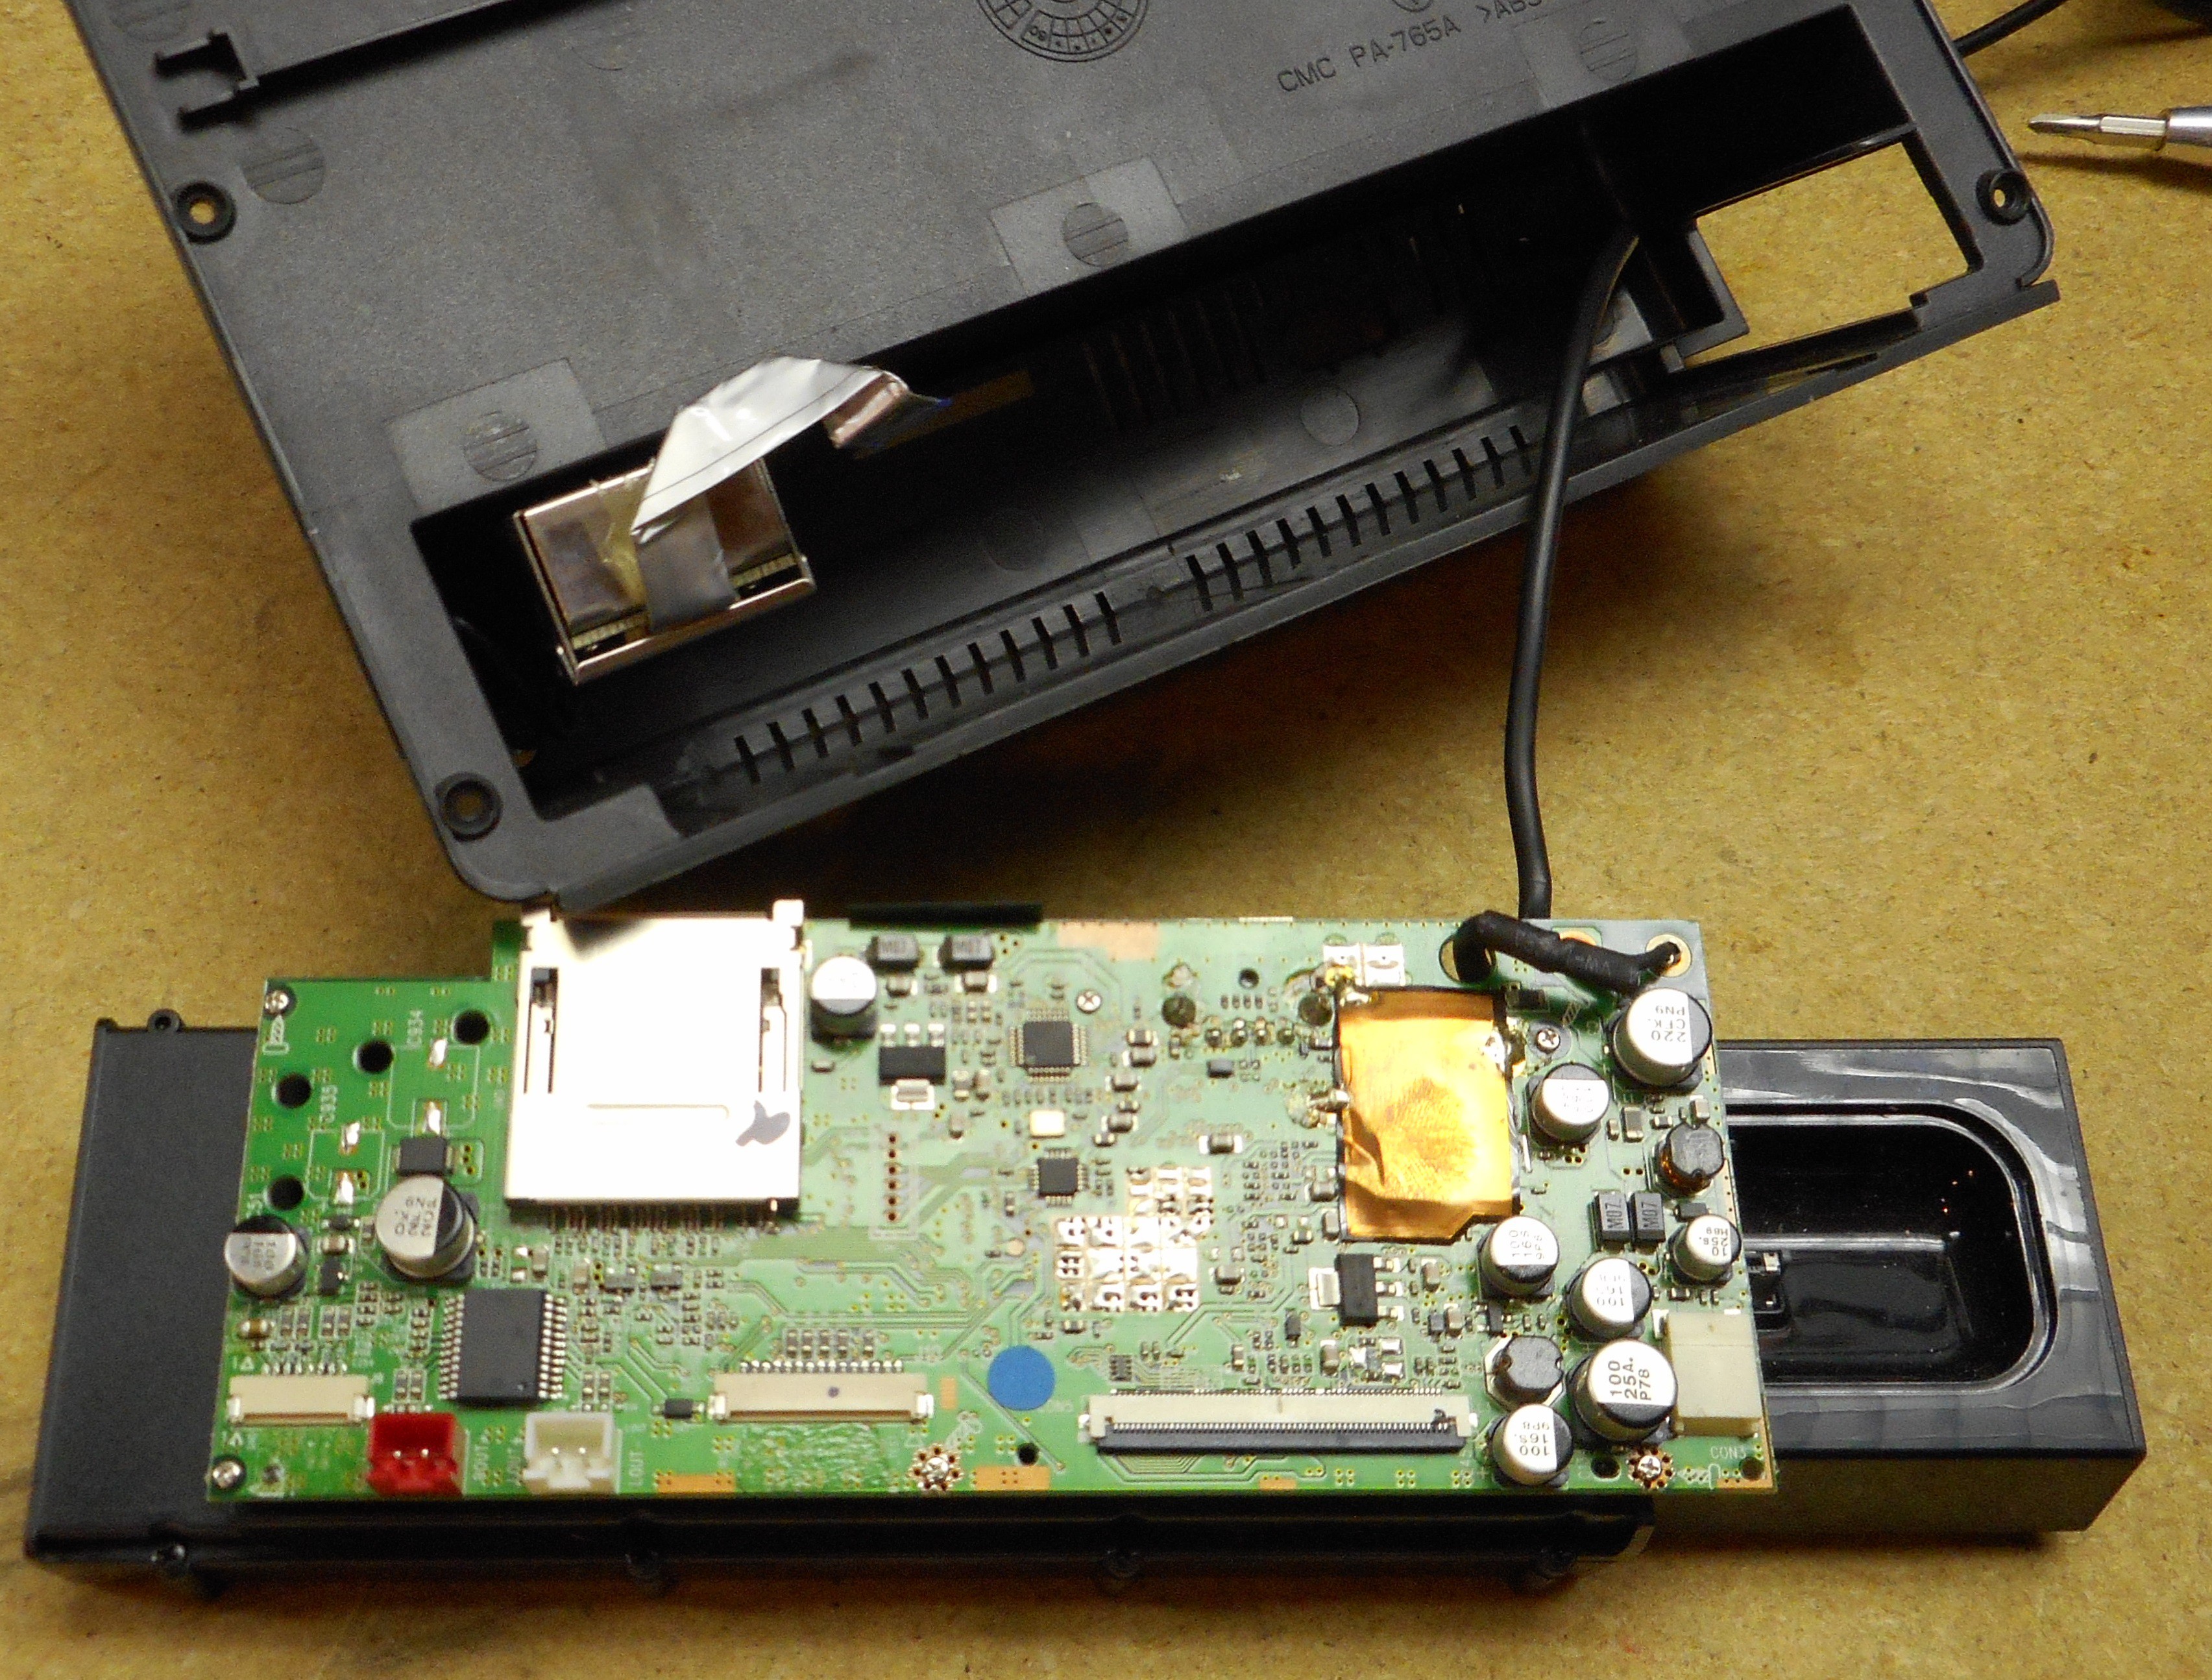
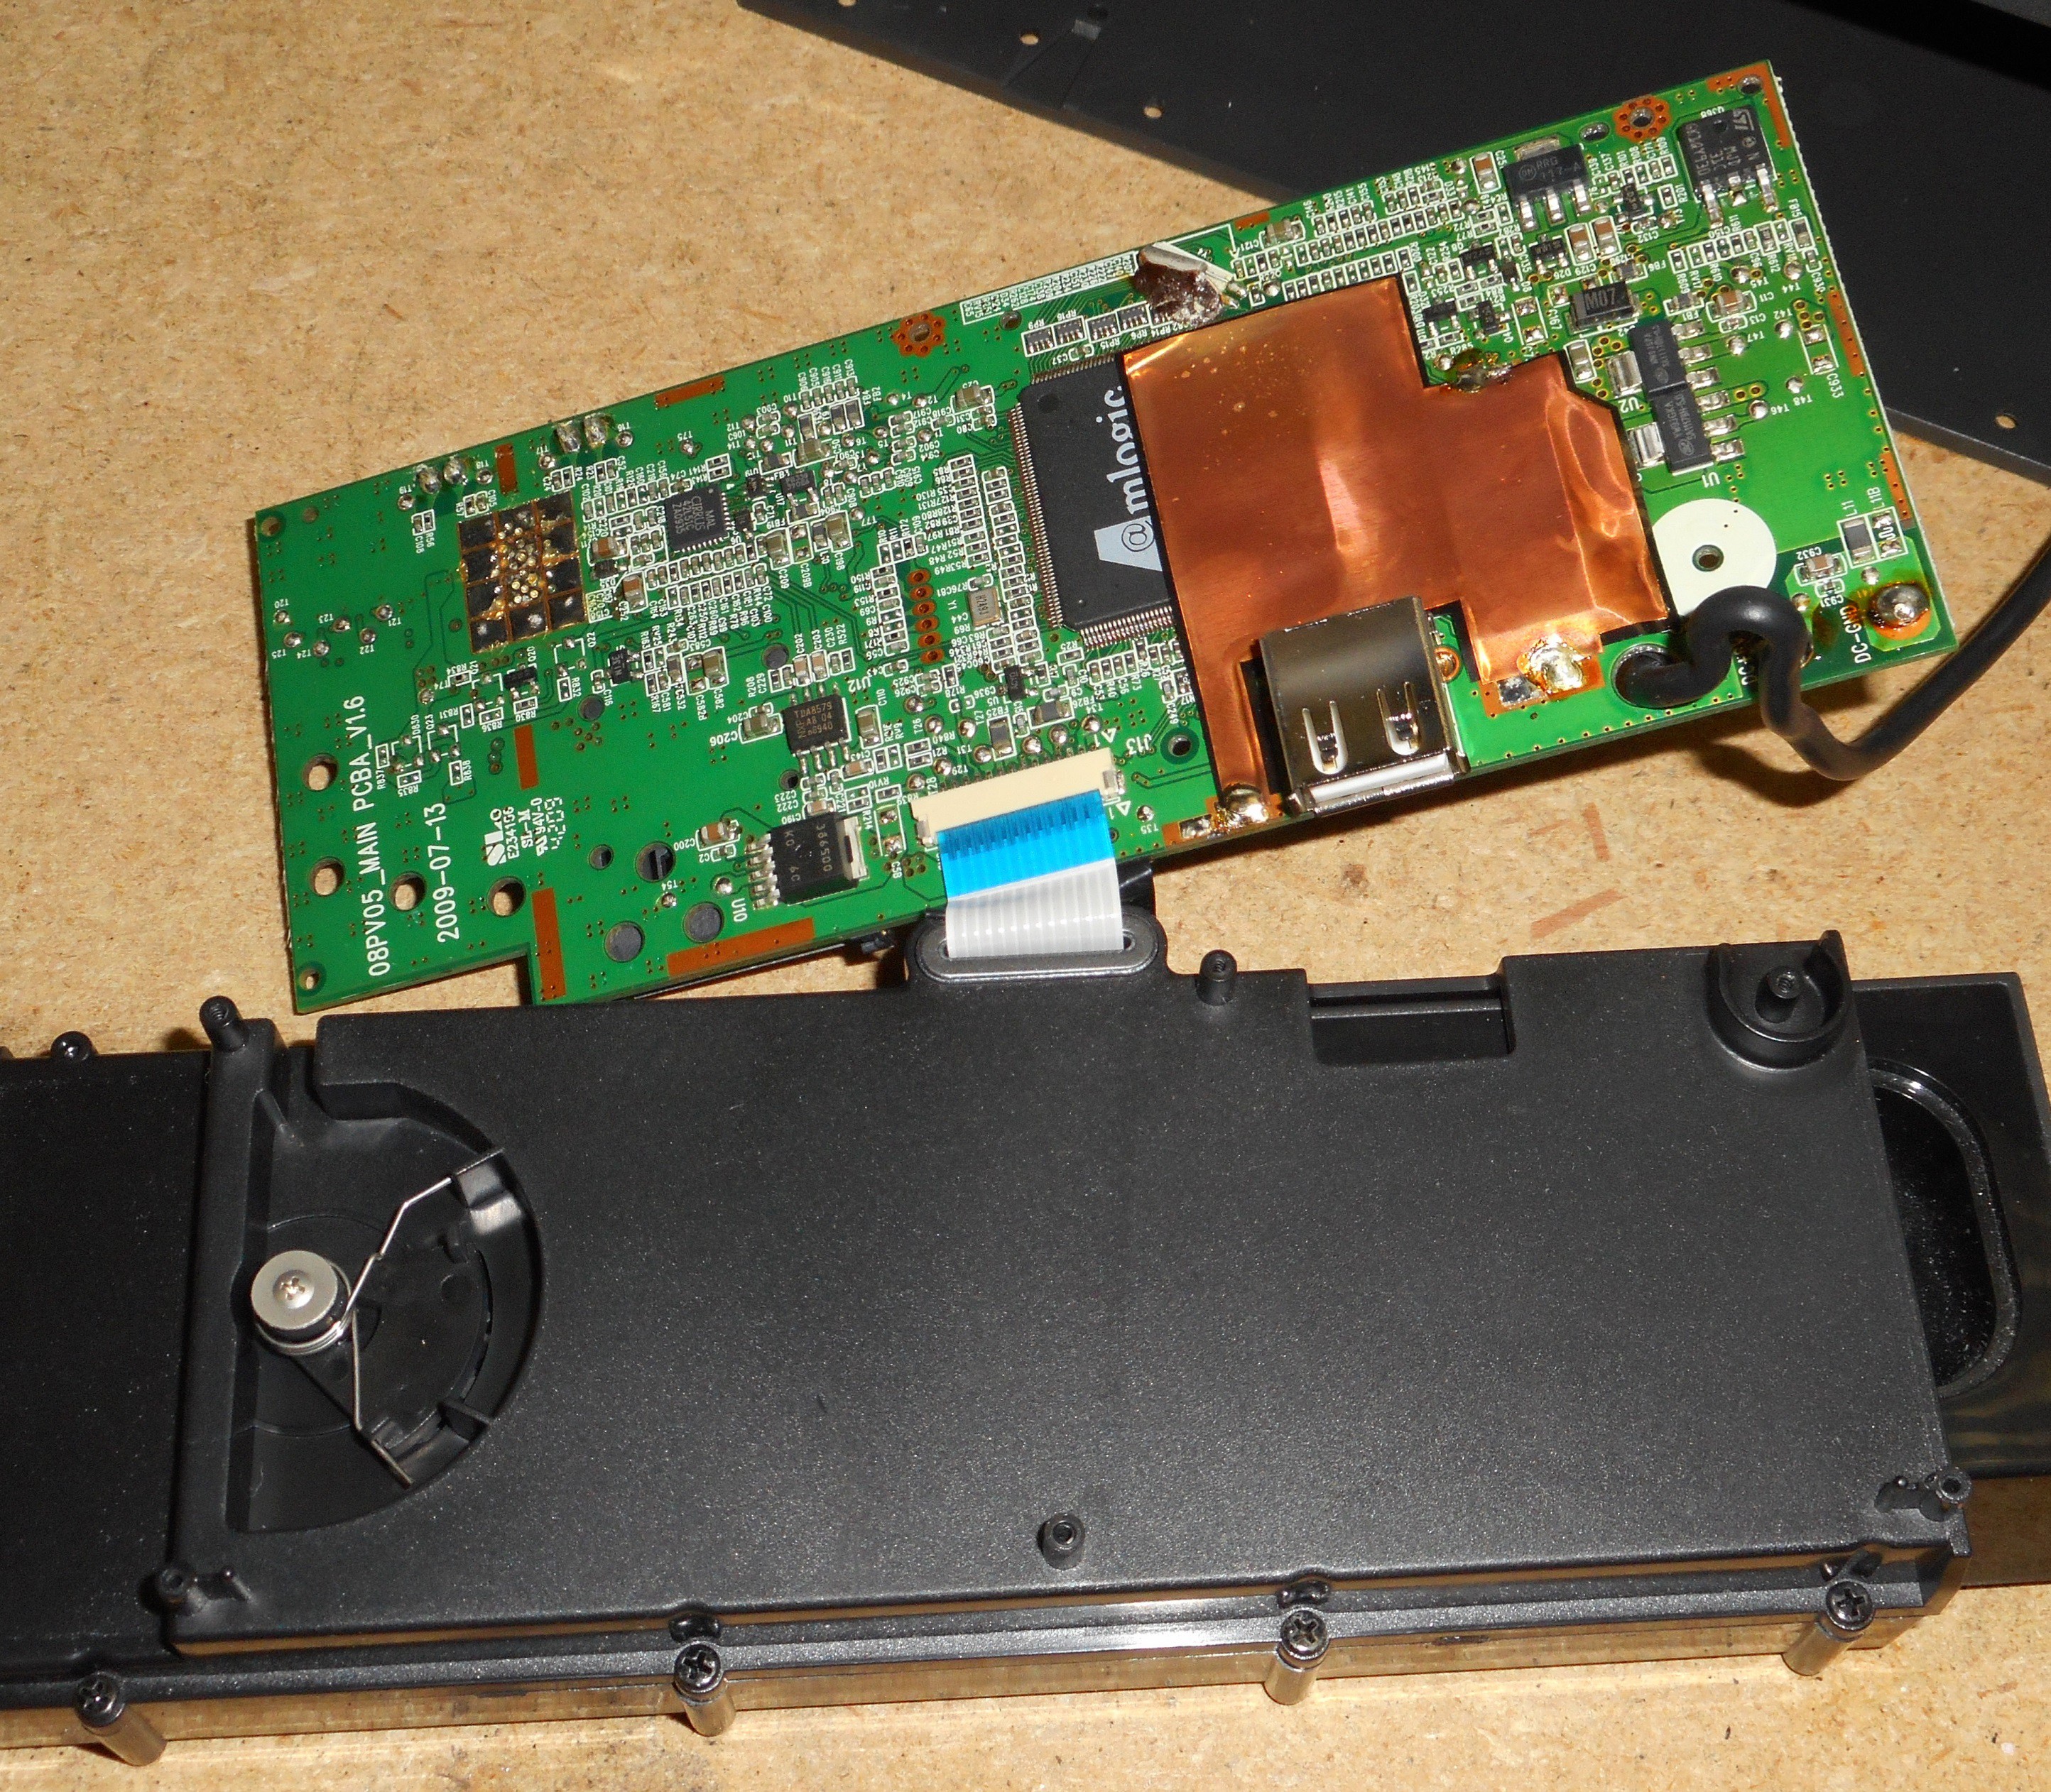
Once I knew the trick to fix the clock, it was actually a relatively trivial matter. Essentially, the potting compound (glue?) that Sony used to hold down the quartz oscillator used for time keeping purposes had become somewhat conductive due to age or heat or something. This then prevented the time keeping circuit from working.
To fix the problem, one simply has to remove as much of the old glue as possible, clean the board up, and at least in my case, re-flow the solder for the quartz oscillator, and you're done!
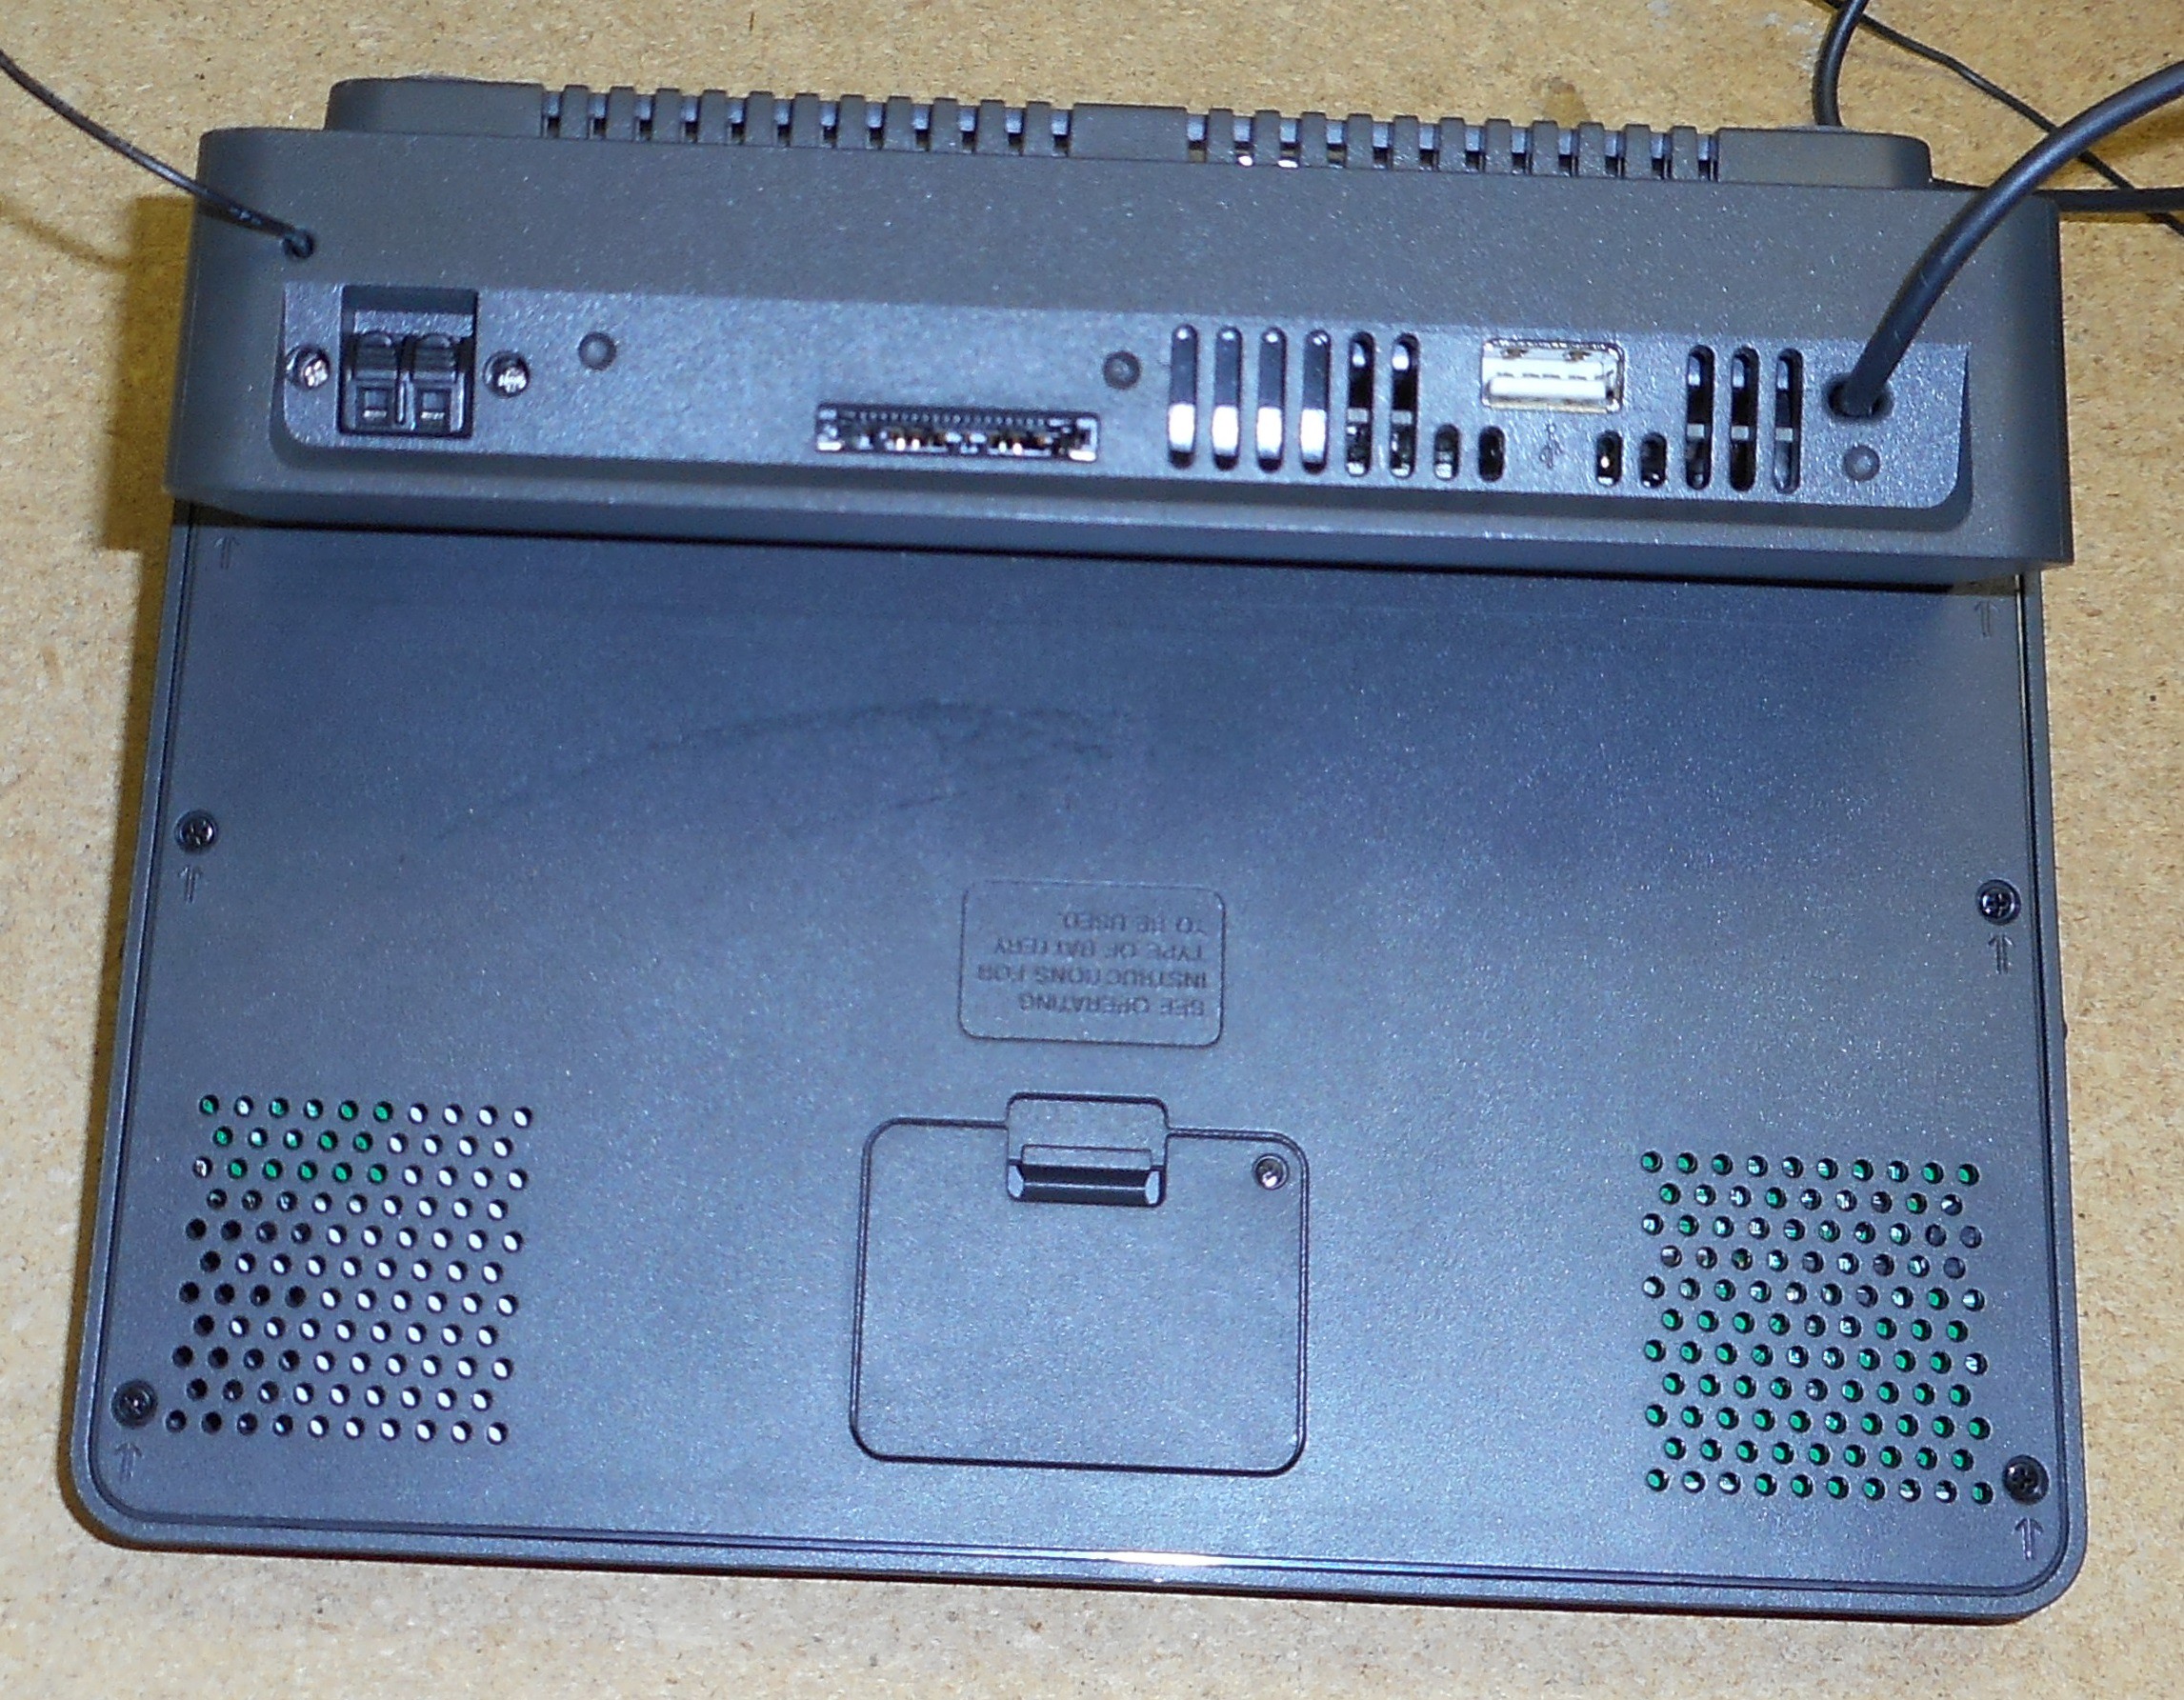
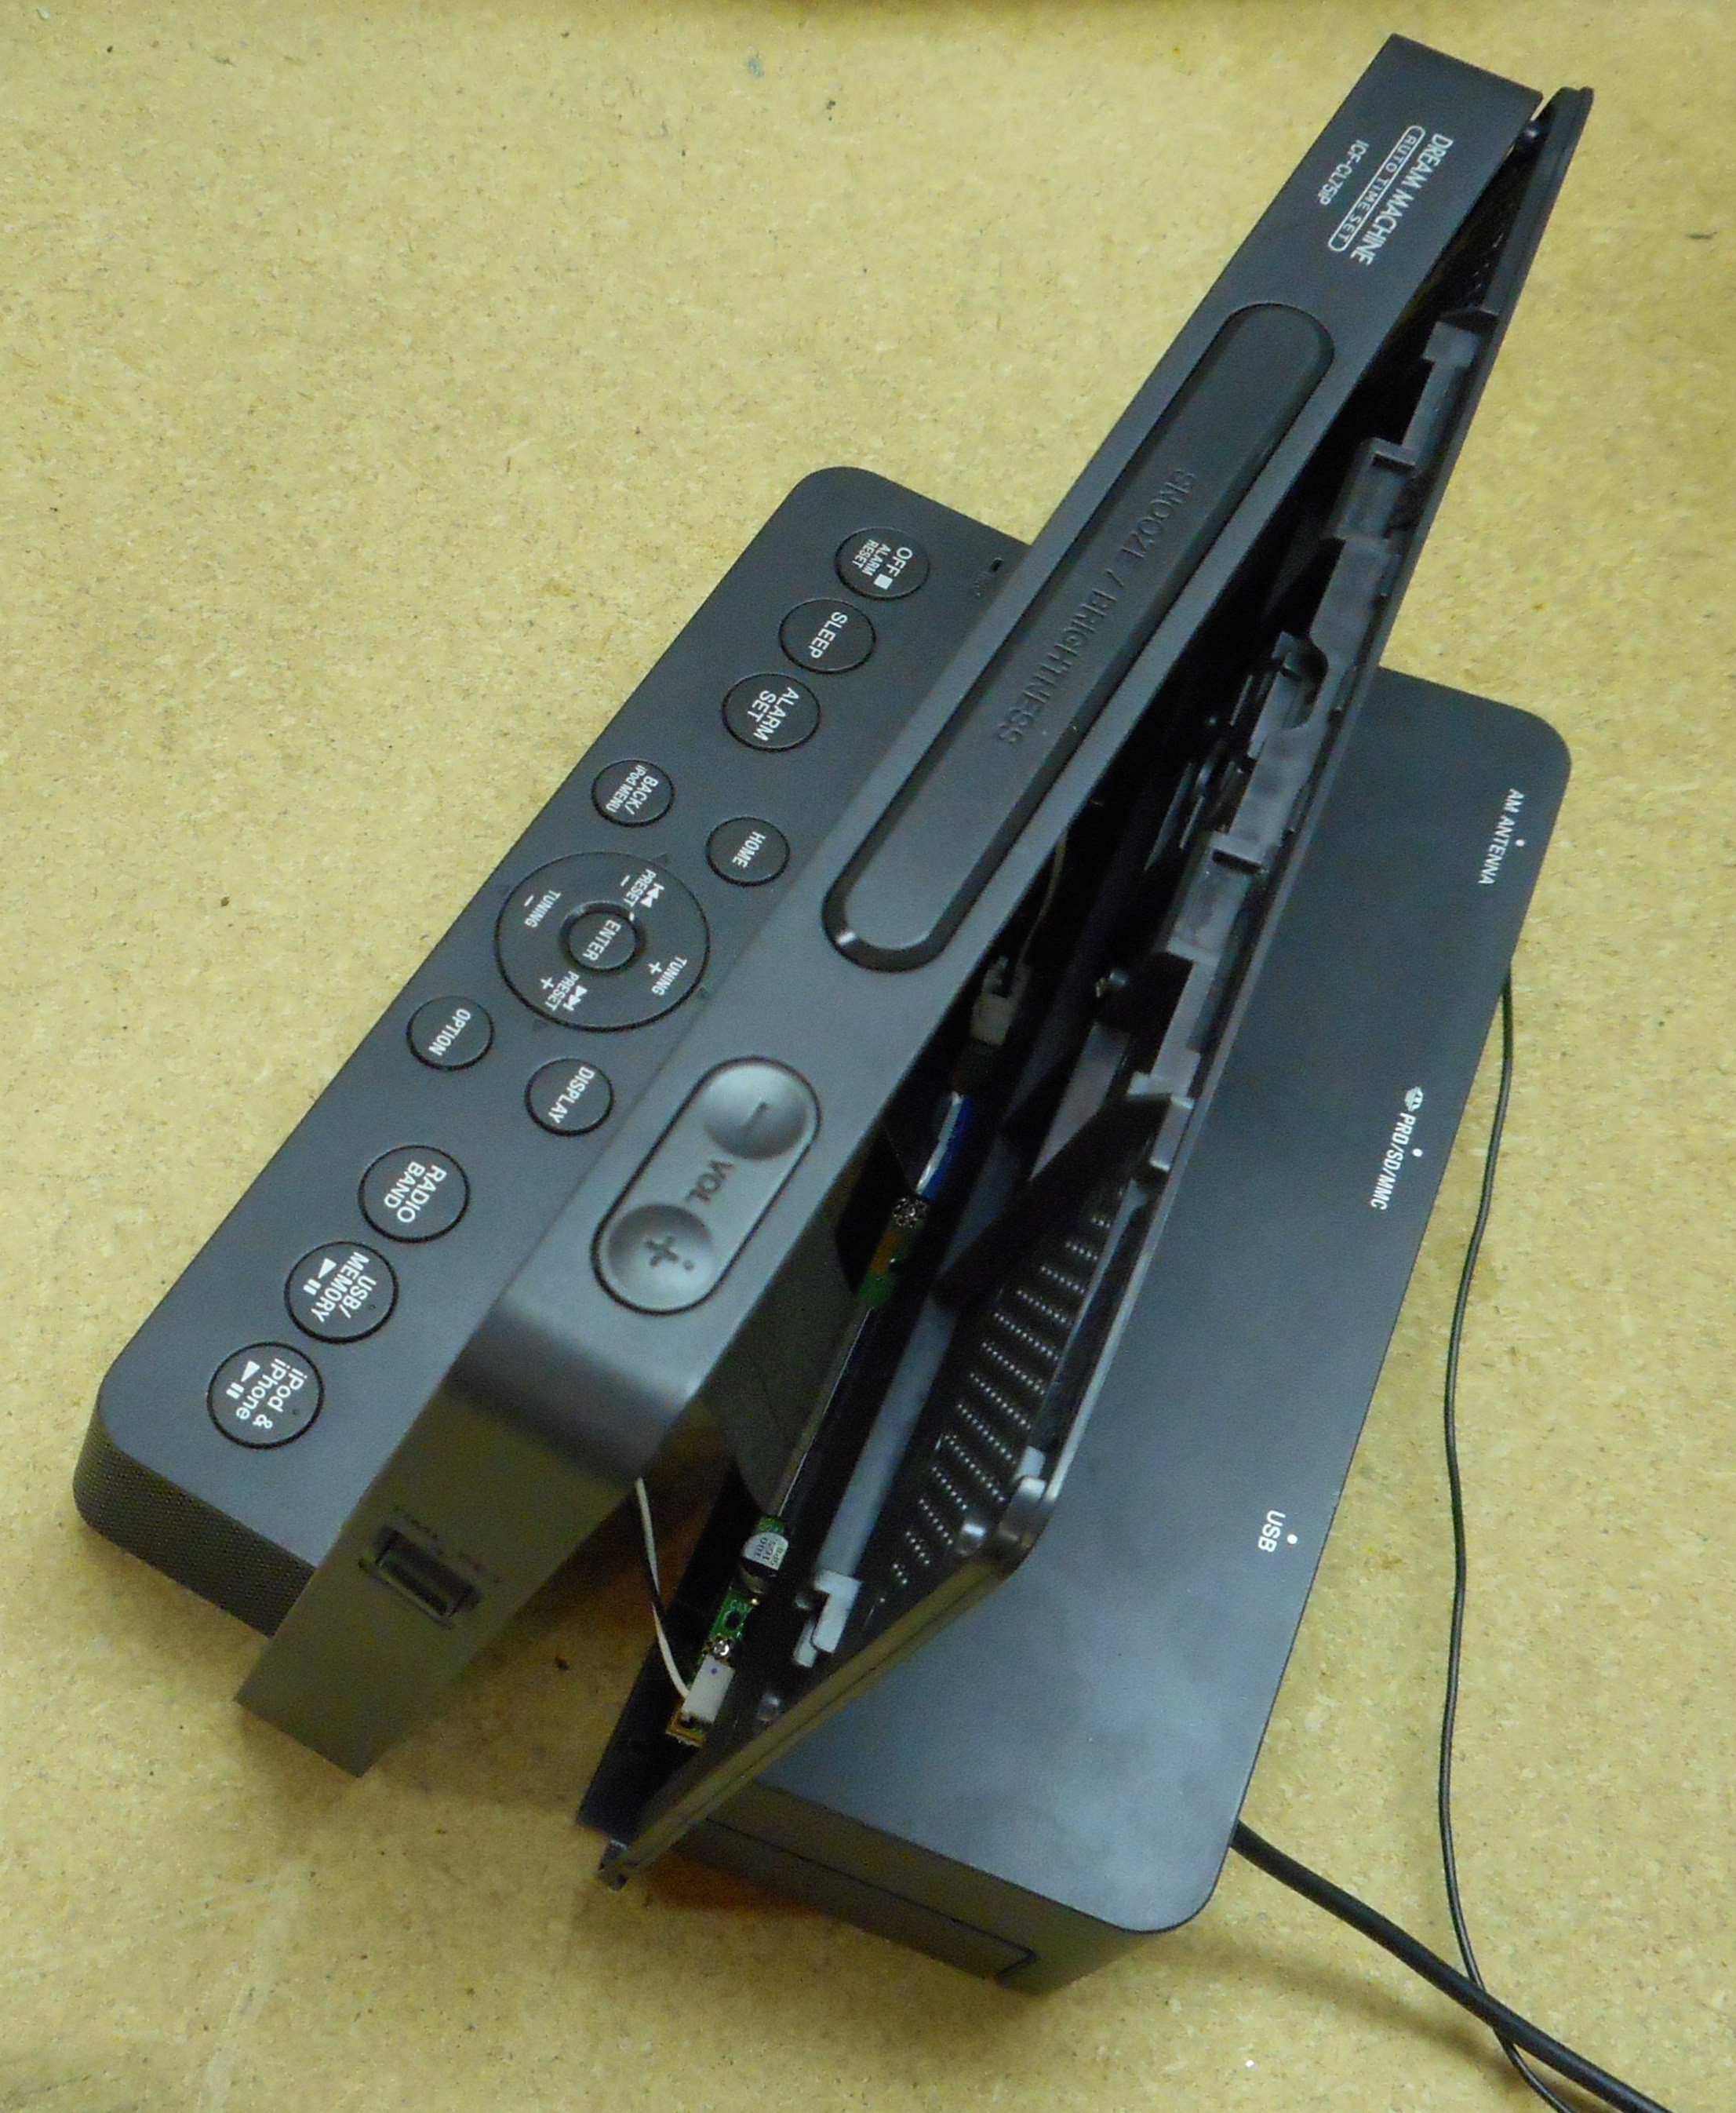
Honestly, the hardest part is getting the screen re-connected to reassemble the clock.
The fix for this was originally described by 'gunter.fritz' on the Sony UK site here:
https://community.sony.co.uk/t5/hi-fi-systems/dream-machine-icf-cl75ip-cant-change-date/td-p/652659
Check out my step-by-step instructions on how to fix this yourself.

 danjovic
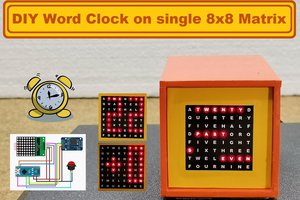
 mircemk
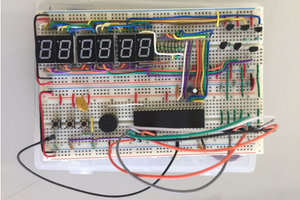
 Lilia Lobato
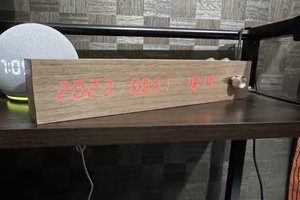
 HIGEDARUMA
Thanks leadacid44 for the nice tutorial and mentioning me regarding the initial fix for the ICFCL75iP. A few days ago the original power supply of my Dreammachine finally has died. In case anyone else will be in need of swapping it out just to find out neither the original one nor the unit itself or the manual actually do show any specs, here's the answer: 9V DC, 2 Amp :-)