 Moritz Walter
Sanding and color coating results
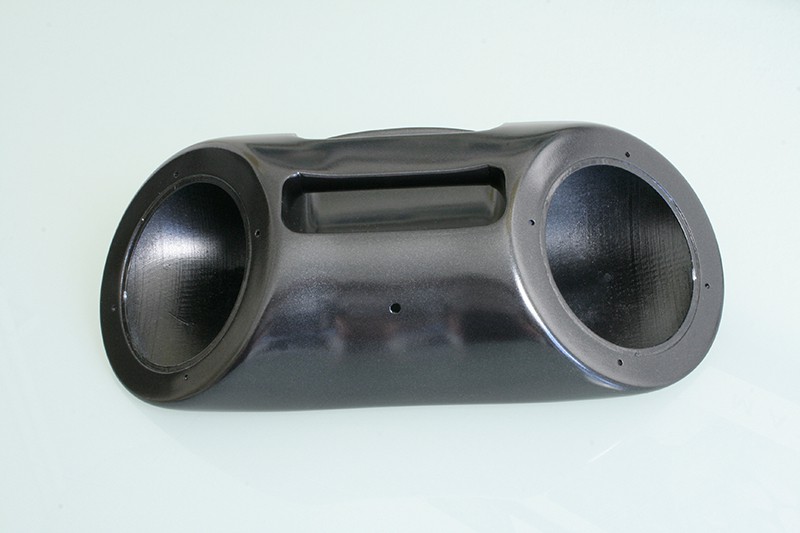
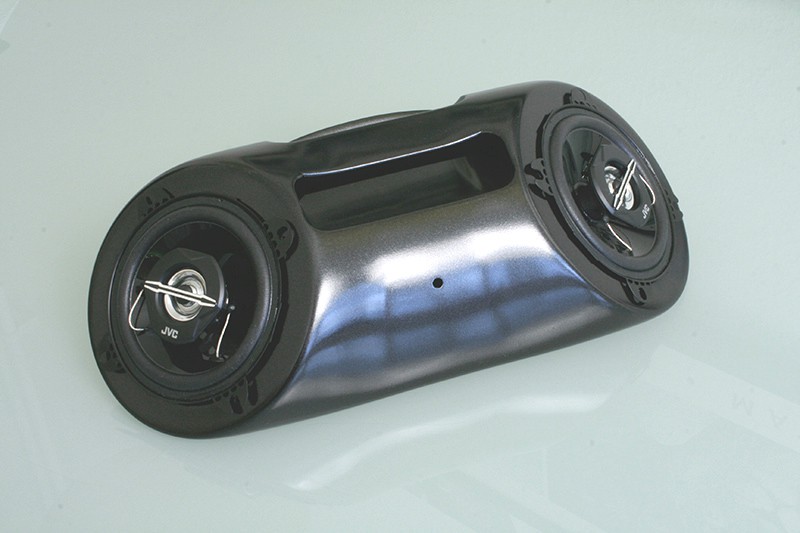
As you can see, the printed and assembled shell is now nice and shiny. Since I didn't want to expose my DSLR to the extremely dirty and dusty work of sanding, filling, sanding again and color spray painting, you may be content with looking at the following images of the finished results.
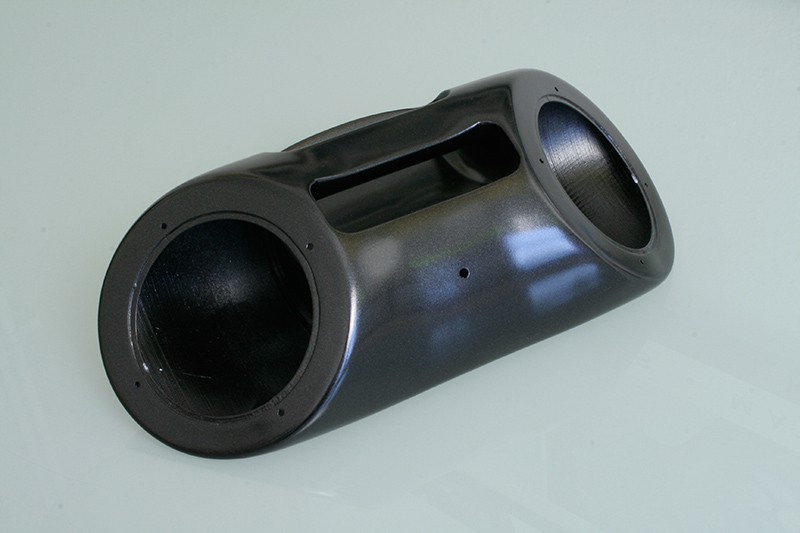
Actually, I'm quite happy with it. I used only what I had in the workshop, leftover racing filler, leftover sparkling black spraypaint, leftover clear varnish. The spay filler really did it's job in filling up the glueing marks and smaller imperfections of the print.
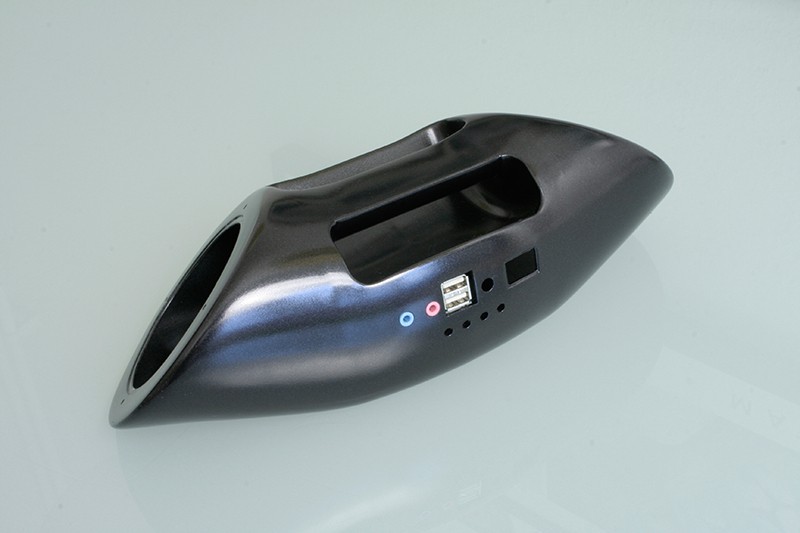
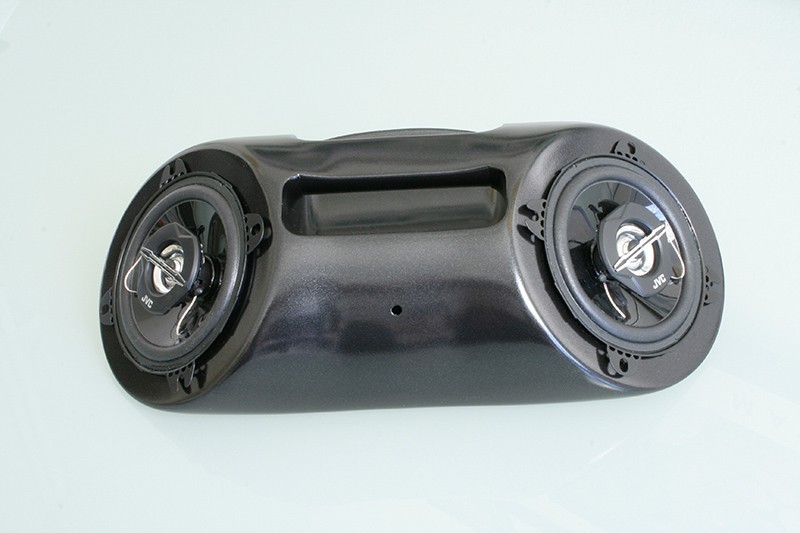
Checking the fitting
I test wise inserted the USB charging and audio connectors.. everything seems to fit.
How to get there
It's not as tedious as it reads, but patience is key. Those are the steps to get there:
- Assembling of printed parts by glueing them together using plain acetone
- Filling small gaps from not perfectly aligning parts using acetone-ABS-solution
- Drying 24 hours
- Hand-sanding (no sanding block) the whole housing with a 100 grit sandpaper
- Filling larger imperfections using acetone-ABS-solution
- Drying 24 hours
- Hand-sanding again, especially the filled areas, 100 grit
- First layer of spray filler
- Drying 24 hours
- Second layer of spray filler
- Drying 24 hours
- Sanding the whole housing with a 400 grit to a "class A"
- Dry-wiping and cleaning of debris from sanding
- First layer of sparkling black spray paint
- Drying 12 hours
- Second layer of sparkling black spray paint
- Drying 12 hours
- First layer of spray clear varnish
- Drying 12 hours
- Second layer of spray clear varnish
Discussions
Become a Hackaday.io Member
Create an account to leave a comment. Already have an account? Log In.
Awesome results. You're right, on a smooth part this really isn't that difficult, I have done it before by just brushing a thick layer of epoxy all over, it sands away like butter. Spray filler sounds even easier, good idea. What type did you use out of curiosity?
Are you sure? yes | no
Thanks! I used a can of bulk-ordered "Spraila *901", that's a very cheap one rather than a good one. Works well tough, sands super fine. It's nitro based, so bonding with ABS is insane.
Are you sure? yes | no
Actually hard to decide if render or real. No seams visible even... Amazing work!!!
Are you sure? yes | no
Thanks! Now that is the best compliment :)
Are you sure? yes | no