 Mishel George
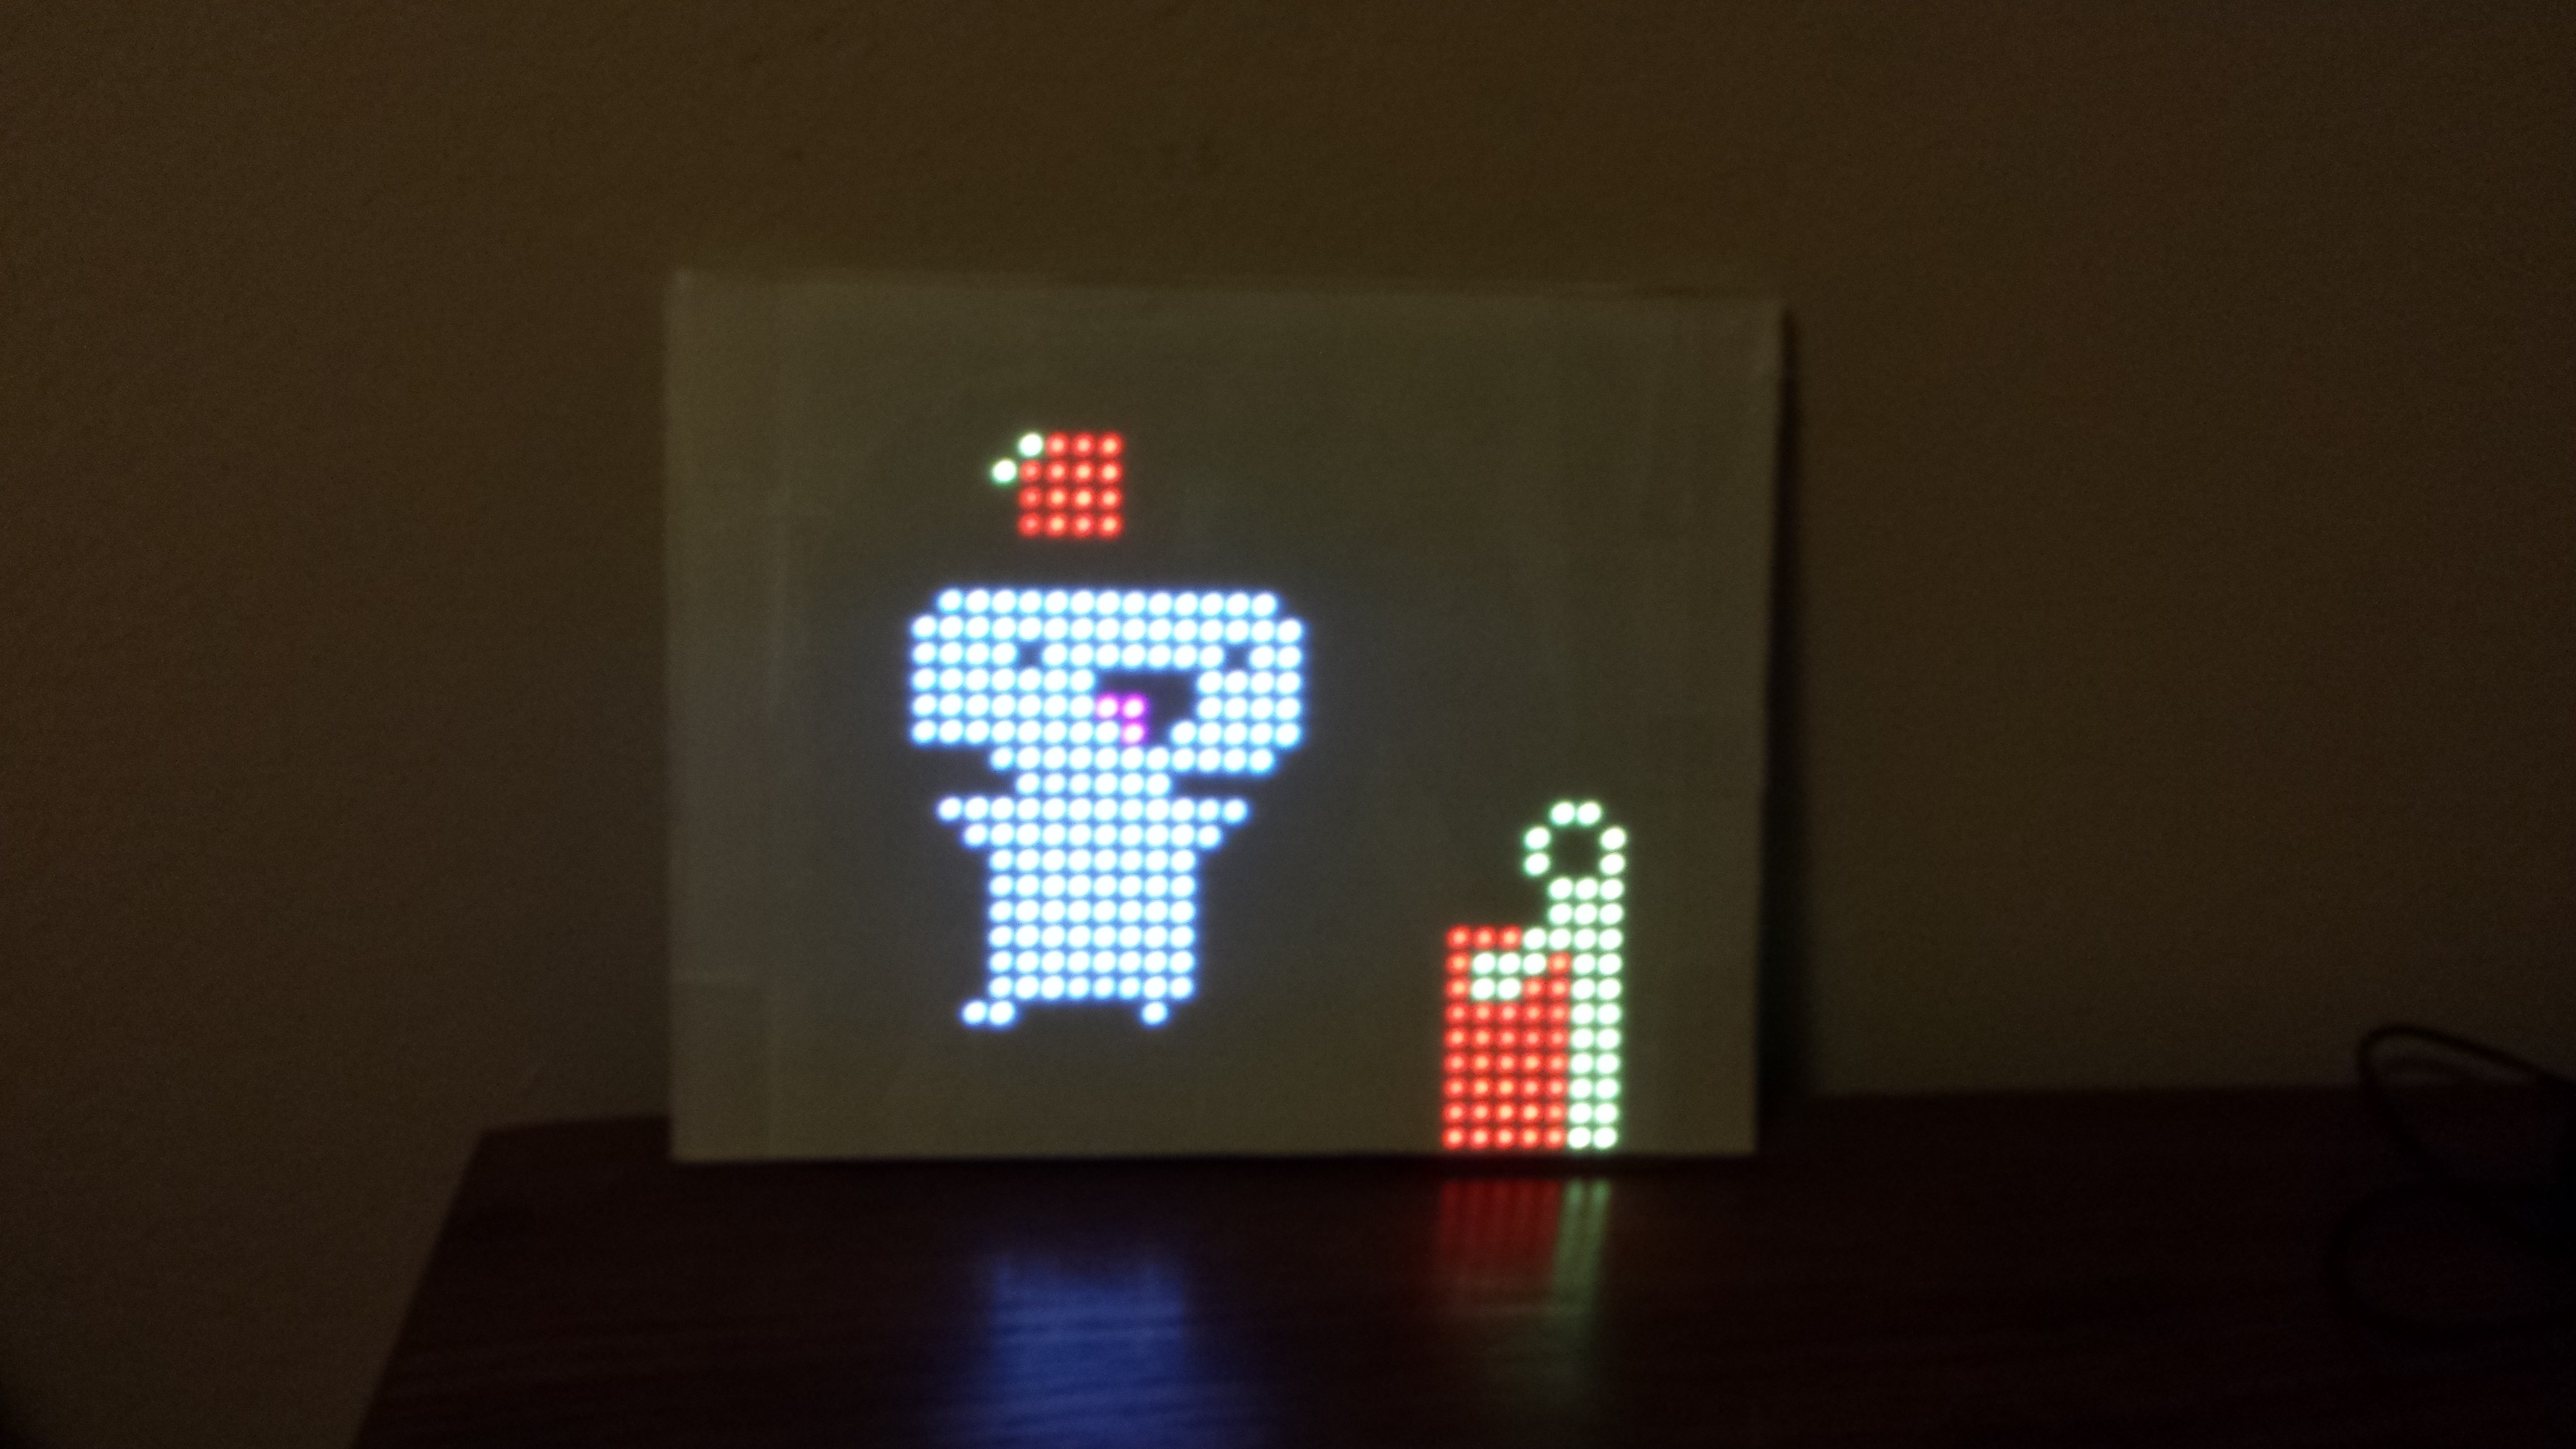
The ESP8266 has been around for a couple of years now. I got my hands on one recently and tried playing around with the SDK. The objective was to create a wireless uploader for my Arduino, which is hooked up to my 32x32 RGB LED display. I saw that a couple of projects (this and this) had pulled it off, but the process seemed a little round about. Thus I embarked on this adventure of making wireless uploading happen within the Arduino IDE. Before we start a word of caution: I got all of the following running on my Ubuntu 14.04 build. I suspect that a few things would have to be tweaked for the OSX. Windows might present a more serious challenge.
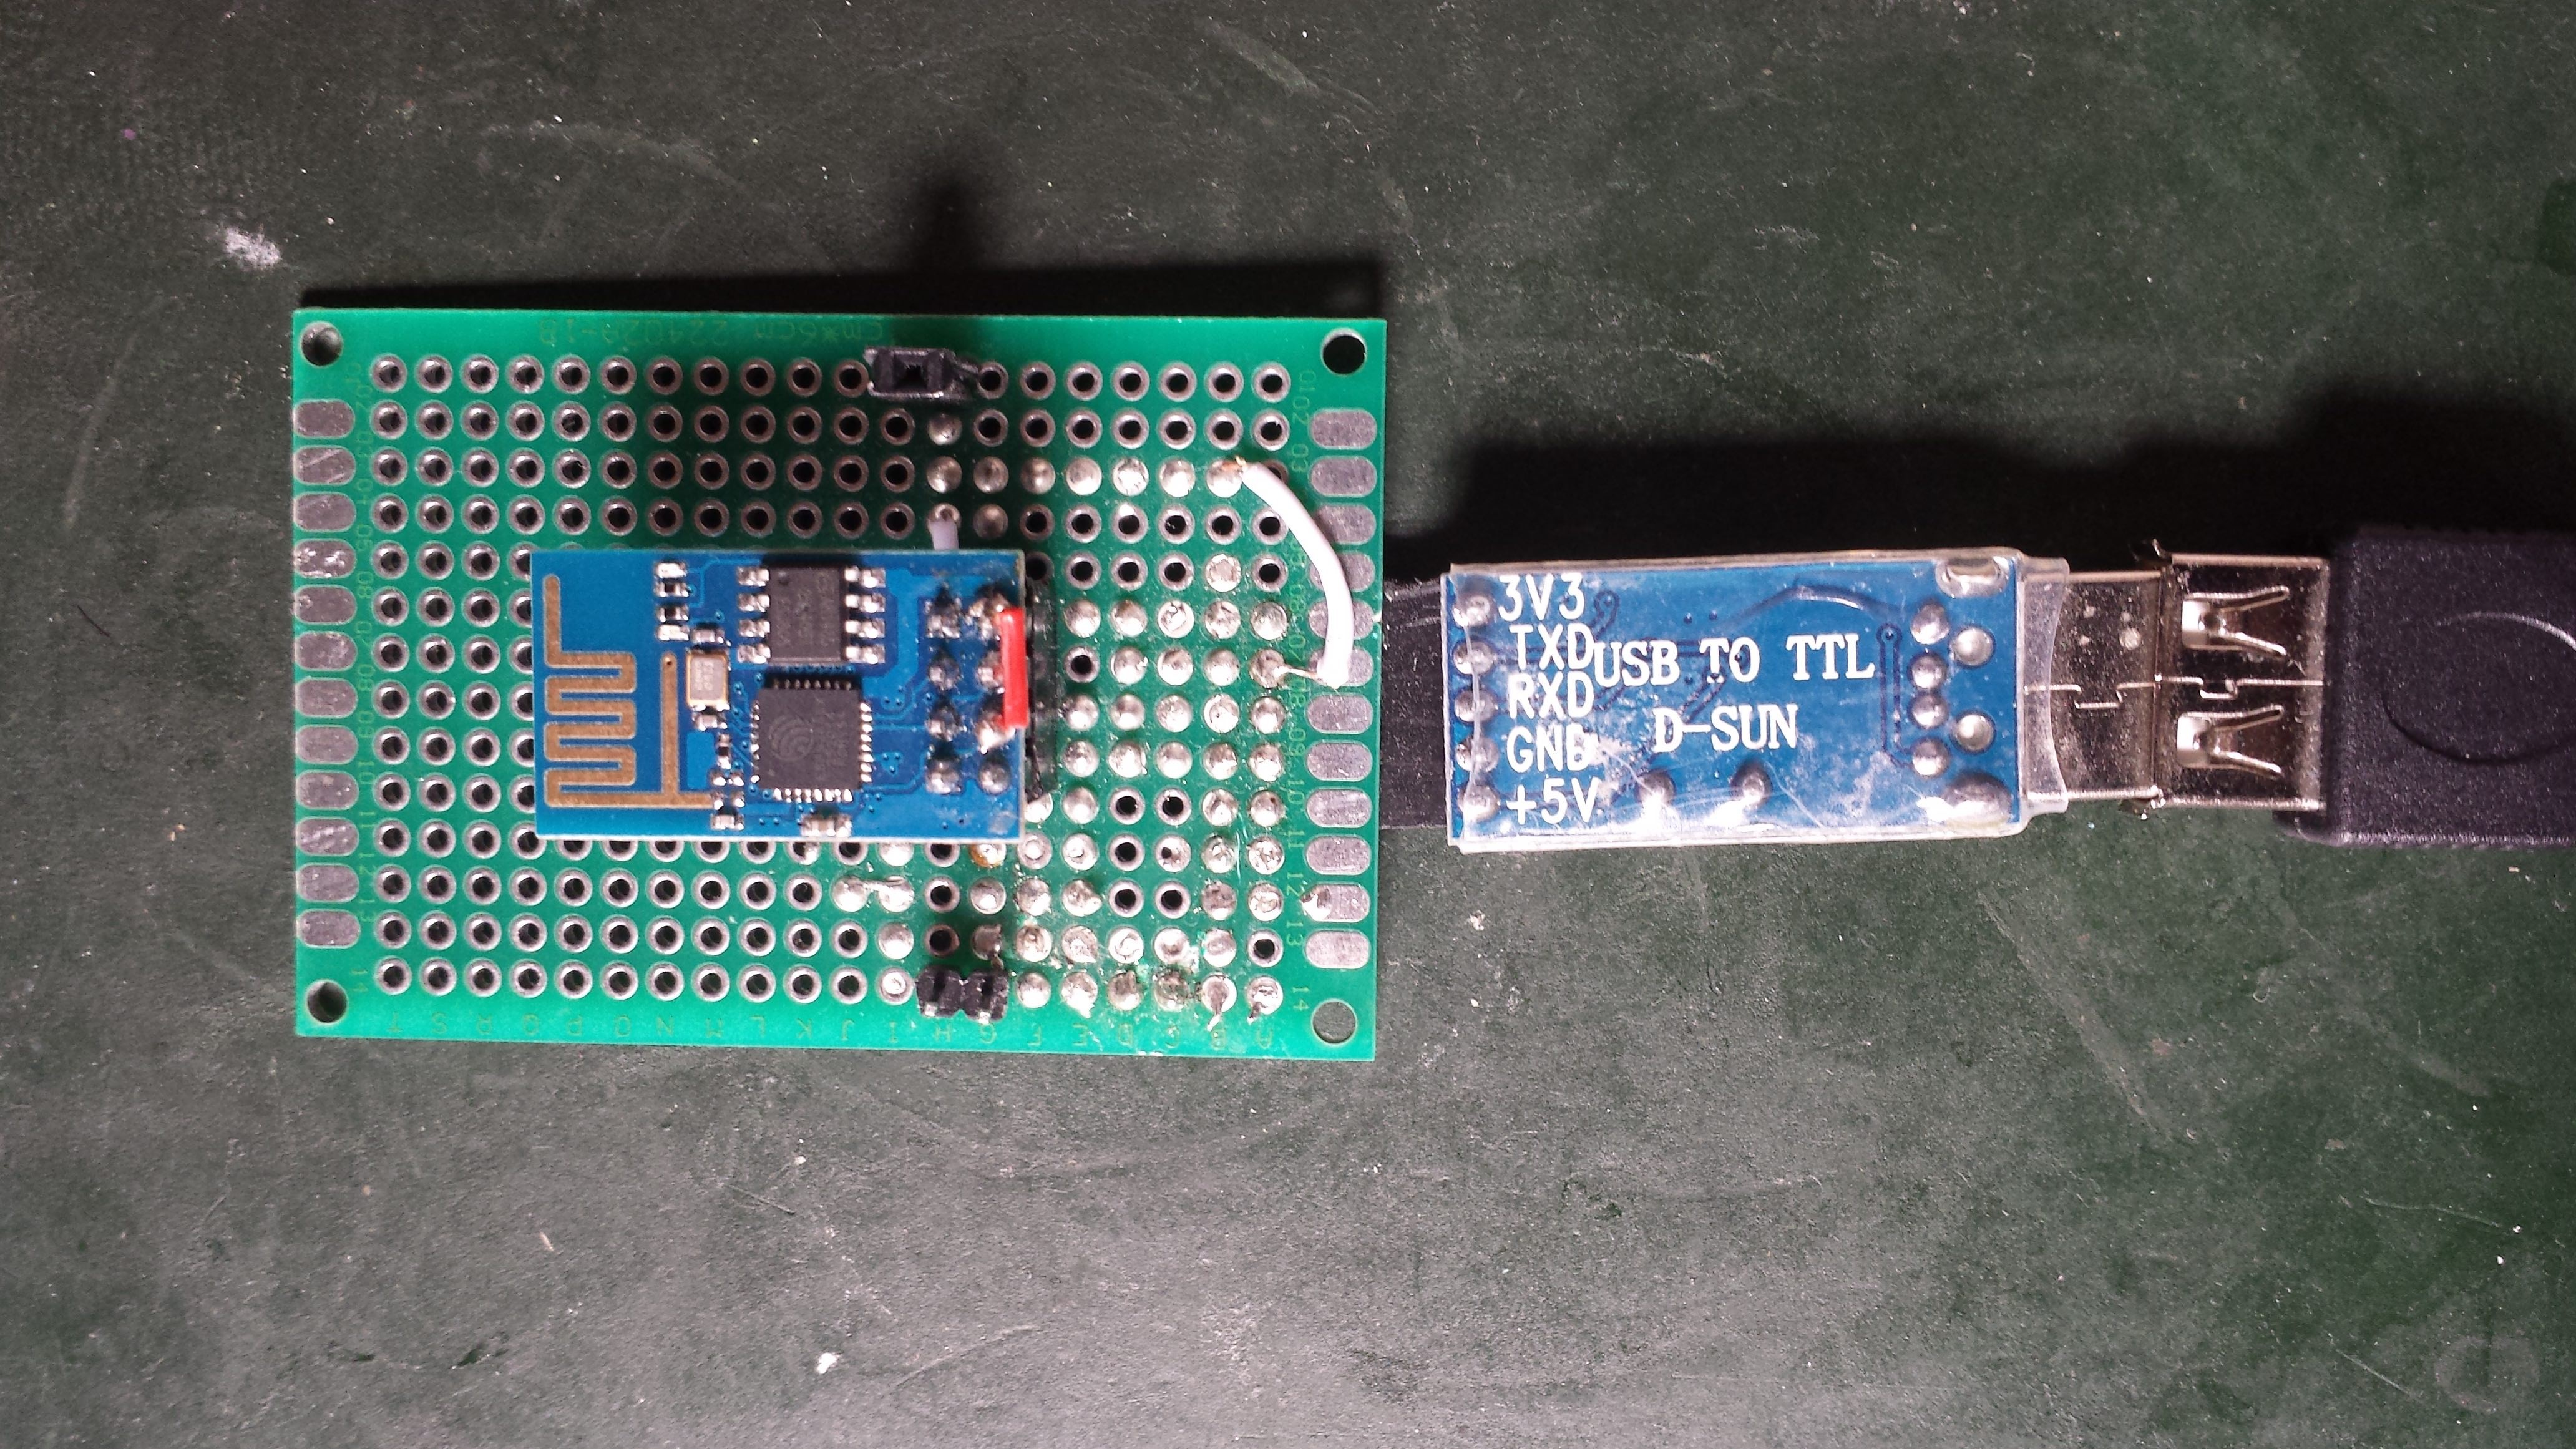
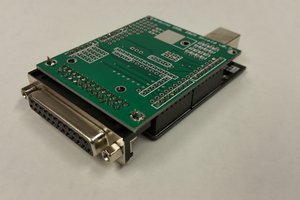
First, I figured out some custom firmware which enables use of the ESP8266 as a transparent serial communicator. Getting the ESP8266 toolchain up and running can be a bit of a nightmare, but once done it is typically smooth sailing. If you cross that hurdle or have already crossed it before, fetch the code for transparent serial communication. Modify the file user_config.h and enter your SSID, SSID password and the IP address of your computer. Flash the ESP8266 and step one is done.
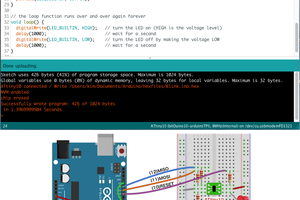
Second, I found this nifty software tool called socat which is a really cool multipurpose relay software. We are going to use it to create a link between a serial port ttyS5 and the TCP port number 3333, which the ESP8266 shall connect to. Install socat and run SocatCommands.sh from the Github repo using root privileges from a shell terminal. If the ESP8266 is powered and connecting correctly, you should see something similar to the following image.
 Use KillConnection.sh to close the connection, once you are done.
Third, we need to modify the Arduino backend just a little. The Arduino compiler needs to let the ESP8266 know that it should reset the ATMEGA chip before flashing. I modified the uploader file to do this and also disabled verification as I have run into trouble while verifying. (Don't worry your code should upload fine.) Pick up this modified version of Arduino from the tar file attached below. For those of you who want to modify the arduino source files, download the arduino source. Then pick up the Uploader.java file and replace the file in Arduino/arduino-core/src/cc/arduino/packages/Uploader.java . Re-compile Arduino and we are all done on the software side.
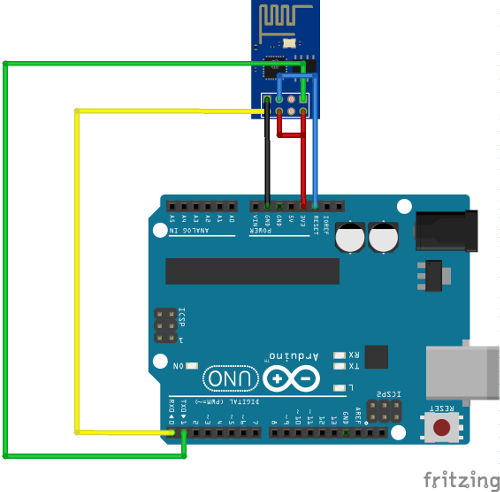
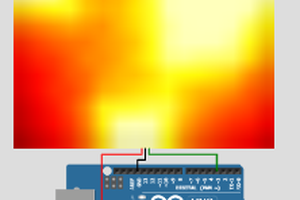
Hook up the ESP8266 to the Arduino as shown in the wiring diagram.
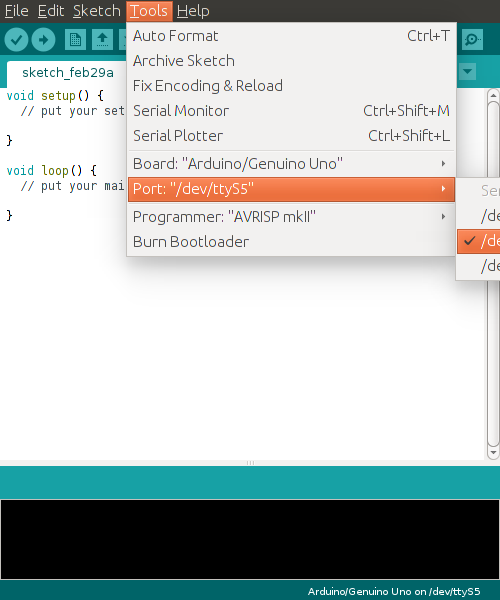
Once the Arduino and ESP is powered, run SocatCommands.sh. If the connection works as shown in the image before, fire up the custom version of Arduino. You should be able to select /dev/ttyS5 from the list of ports if everything is setup correctly.

 Open Technology
 Kimio Kosaka
hi, can some one pass out the serial firmware with my wifi credentials? please