 Joshua Vasquez
The laser cutter is an amalgamation of off-the-shelf parts with a little "glue logic" that I'll need to make at home. Most off-the-shelf parts, like pulleys, belt, and extruded tubes, are from either OpenBuilds or LightObject. As for that "glue logic," I put the micro mill to work for the first time cranking out parts by hand.
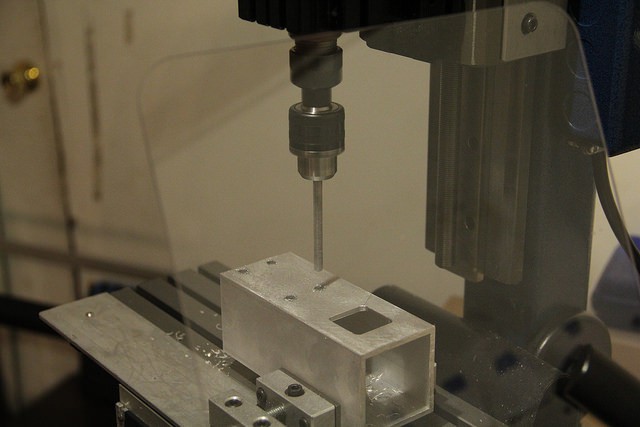
The milling machine is a Taig 2019 manual mill. It's tiny--hilariously tiny in fact! Nevertheless, it's overbuilt for it's size, so taking cuts out of 6061 aluminium is a breeze.
Before firing up the spindle for the first time, I needed to make a few modifications to the mill itself. Nothing too elaborate, just a Digital Readout (DRO). To fit the DRO onto the mill, I picked up a couple extruded aluminum angle channels from OnlineMetals. Hilariously enough, I made all the cuts and holes with a bandsaw and a hand drill, so these "adaptor plates" aren't pretty, but they'll get the job done of holding the DRO sliders in place.
Having a digital readout has been a tremendous speed boost to milling parts. Rather than having to count revolutions of the hand crank, I just read a small display!
Discussions
Become a Hackaday.io Member
Create an account to leave a comment. Already have an account? Log In.