 Ruslan
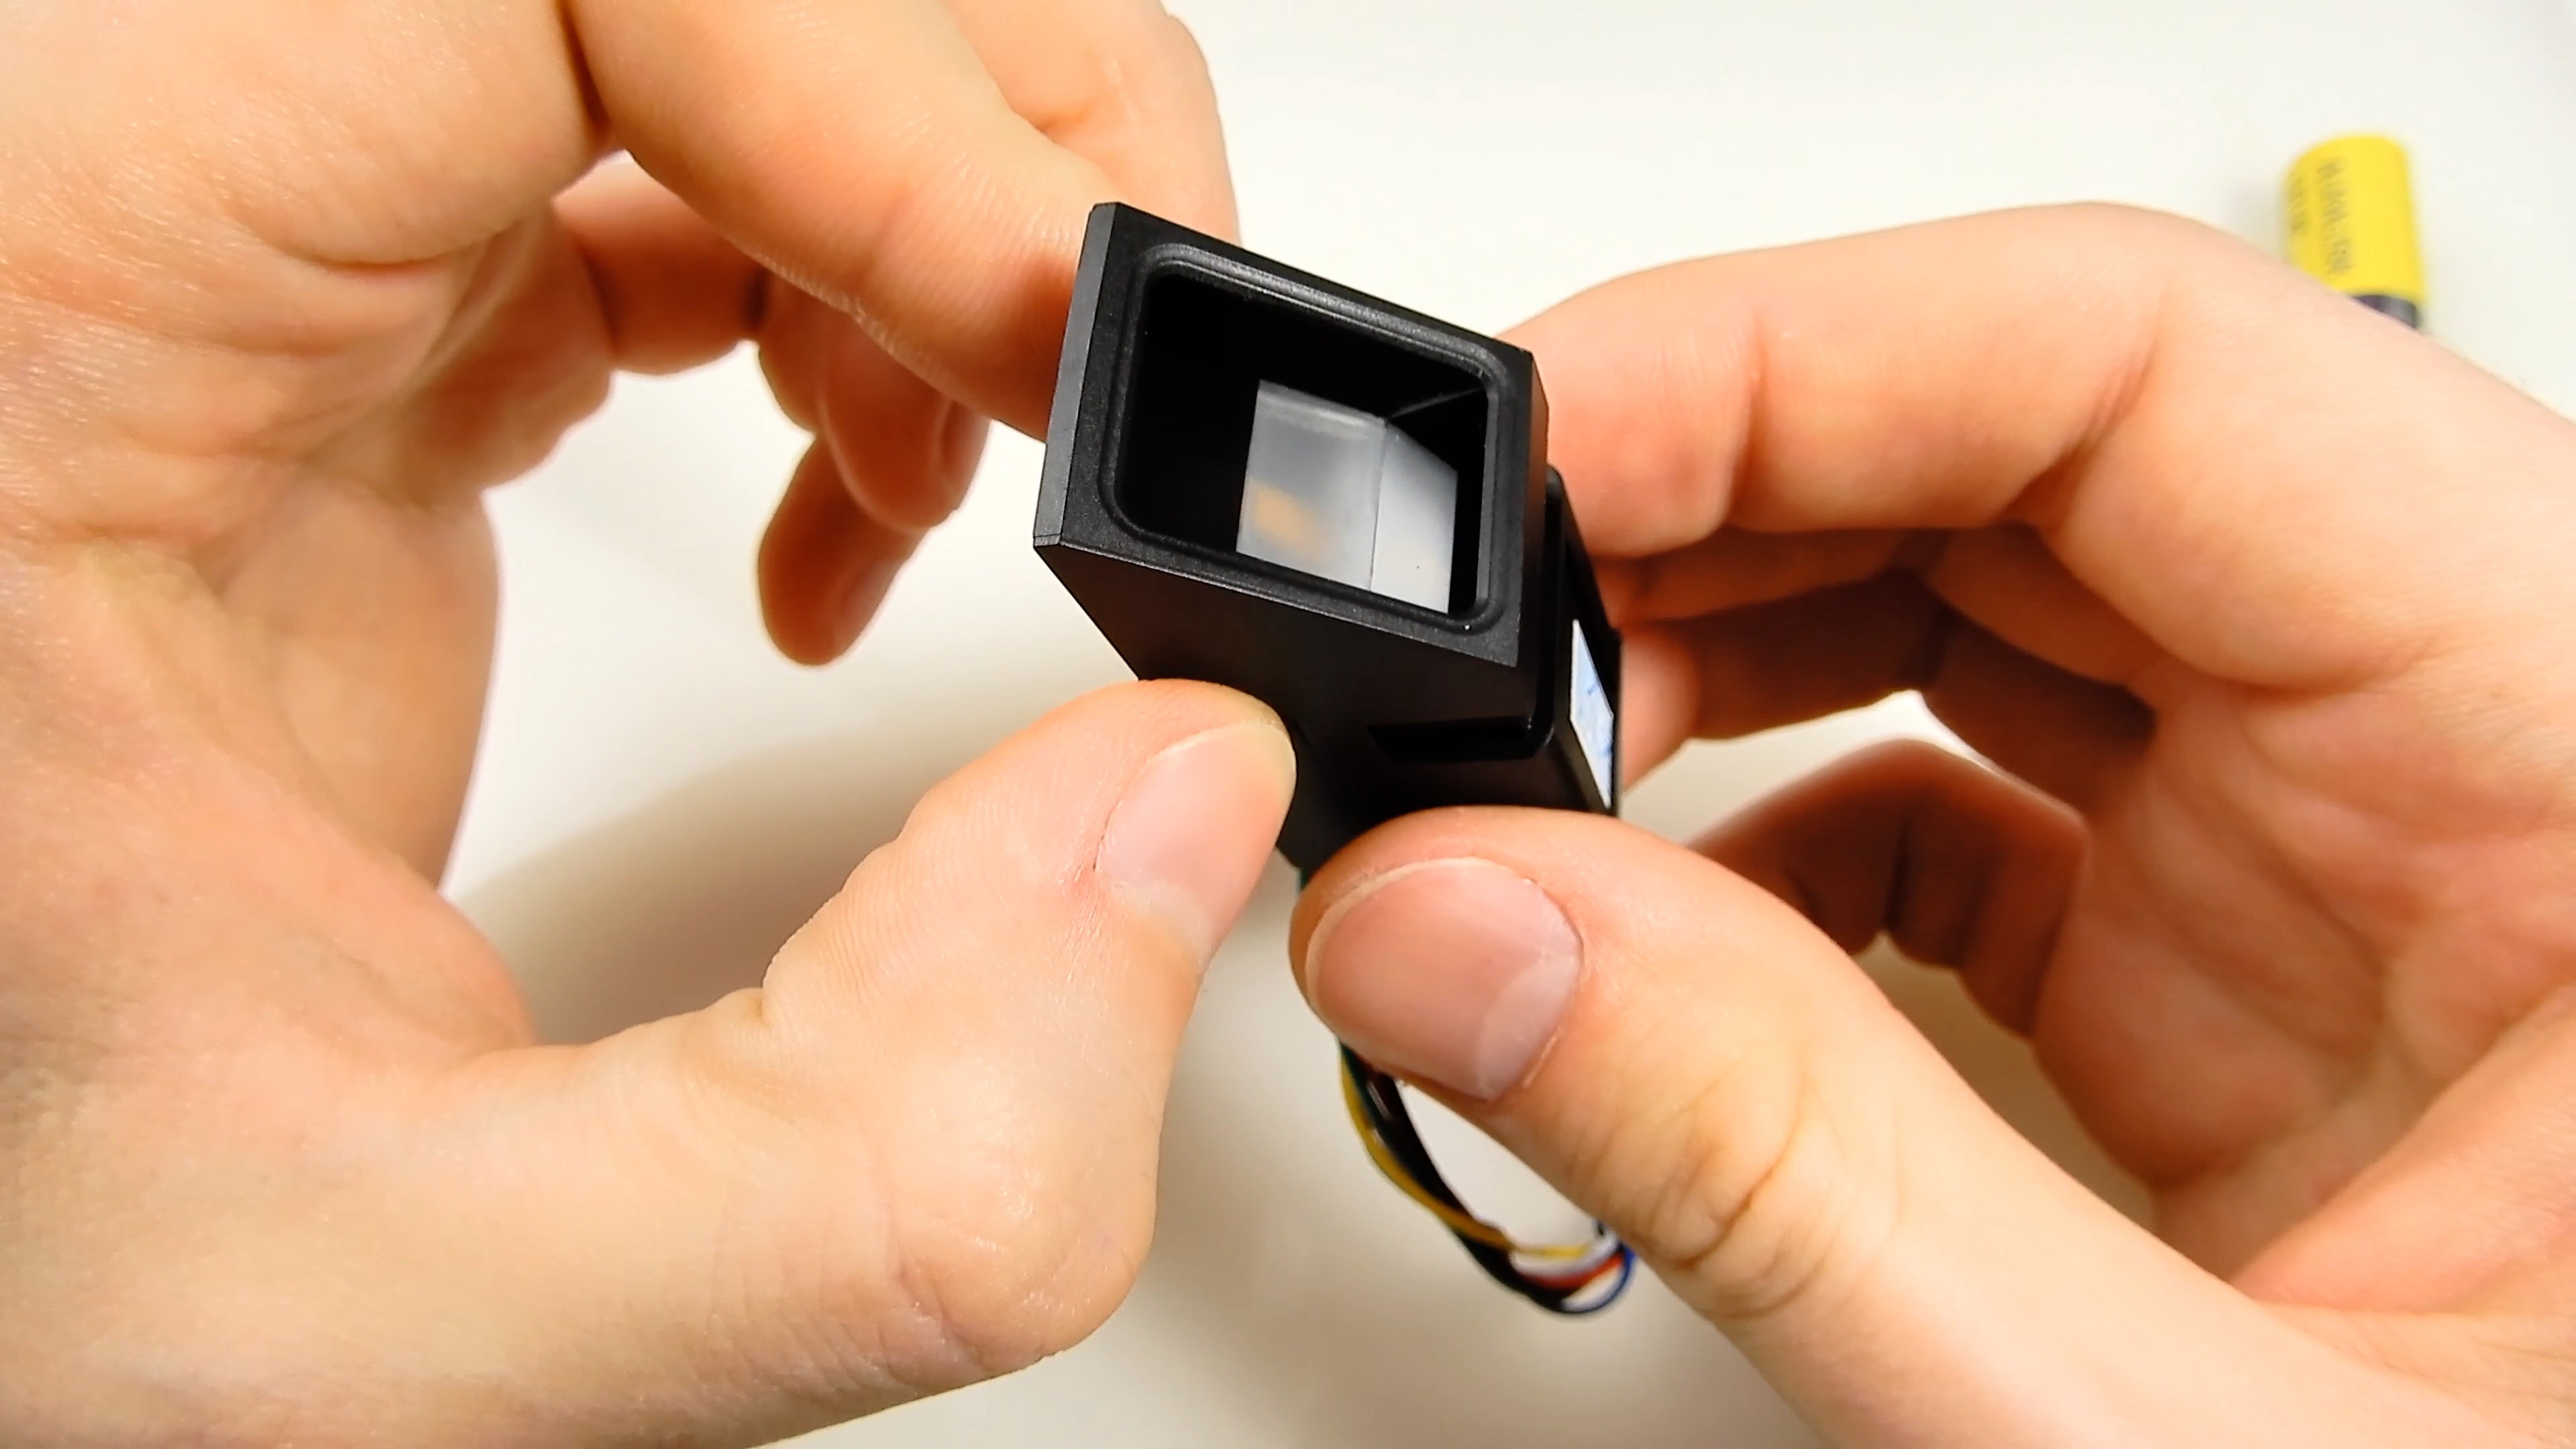
For this project you need a fingerprint sensor from China. I used a ZFM60XSA sensor, but most of these sensors are compatible with it in connection interface and protocol.
ZFM60XSA is essentially a digital camera with an optical system, a microcontroller, LED backlight and a touch button. Everything in the form of a ready-made module can be bought inexpensively in China.
The module is powered by 5V (allowable voltage range 3.8-7.5V). Current consumption is:
- 60 mA when powered
- 80 mA with backlight on
- 90-95 mA at the time of fingerprint scanning
Digital signals are 5V logic tolerant.
Connection to the module is carried out via the UART interface. The binary packet protocol is used. The master is a microcontroller that sends requests to the module, and the module responds to them.
The module has an address to commands to which it responds. The address can be changed with a special command.
Access to the module is authorized by a password (the password is sent to the module by the first command). After successful authorization, the password can be changed with a special command.
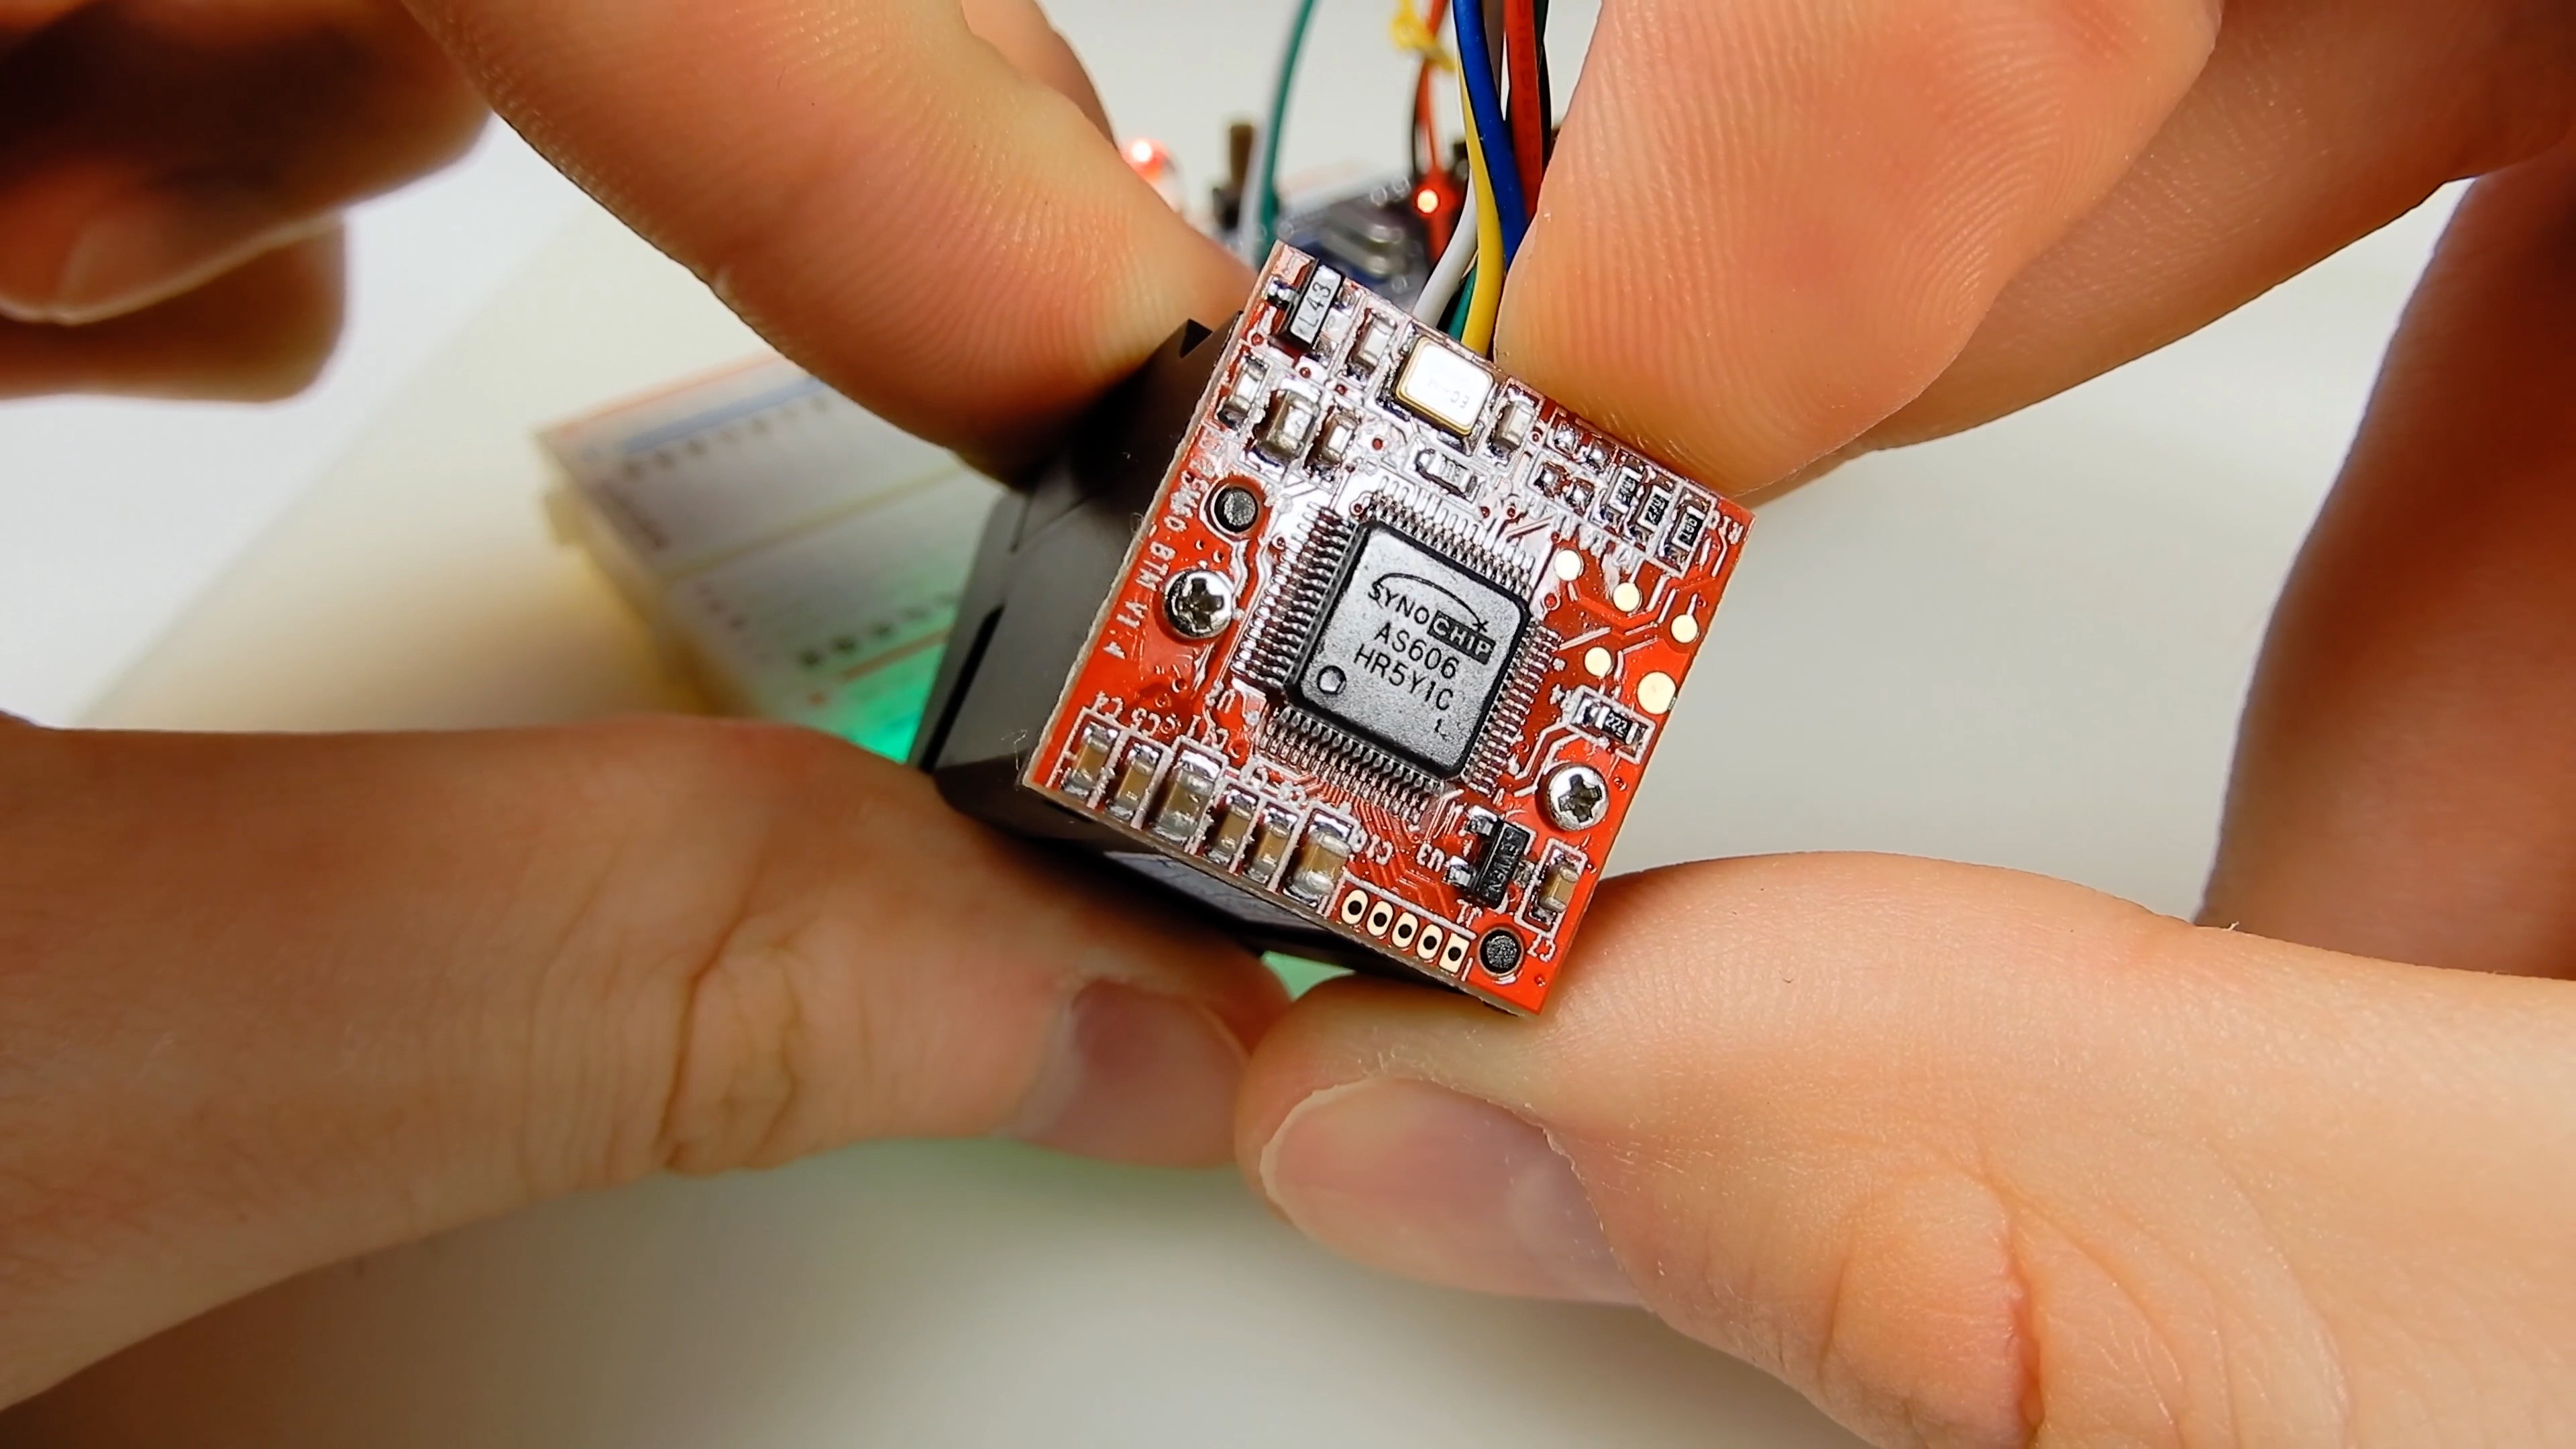
The module uses the SYNOCHIP AS606 microcontroller. The funny thing is that this microcontroller is much more powerful than the microcontroller I use as an application MC.
This chip has non-volatile memory to store a library of fingerprint templates (up to 1000 templates in my case) and 512 bytes of memory that can be used to store user data (there are read / write commands in the protocol).
Module operation logic

The GenImg command is sent cyclically, it succeeds when the finger is raised. The print image is placed in a buffer with a resolution of 256x288 pixels at 4-bit color (16 grayscale).
Next, the Img2TZ command is sent, which performs a convolution operation into one of the 256-byte buffers. These 256 bytes store the unique features of the fingerprint.
Next, the Search command is sent (there are several variations of this command, you can set the number of the template for comparison or the range of templates for searching in the library in case you know in advance what kind of person it could be). The command returns the template number, authorization flag, and match rate (from 0 to 100). Most often it is 100 or 70-80-90. The authorization flag depends on the specified comparison threshold (you can choose one of 5 possible levels of security - the higher, the higher the requirements for matching the pattern).
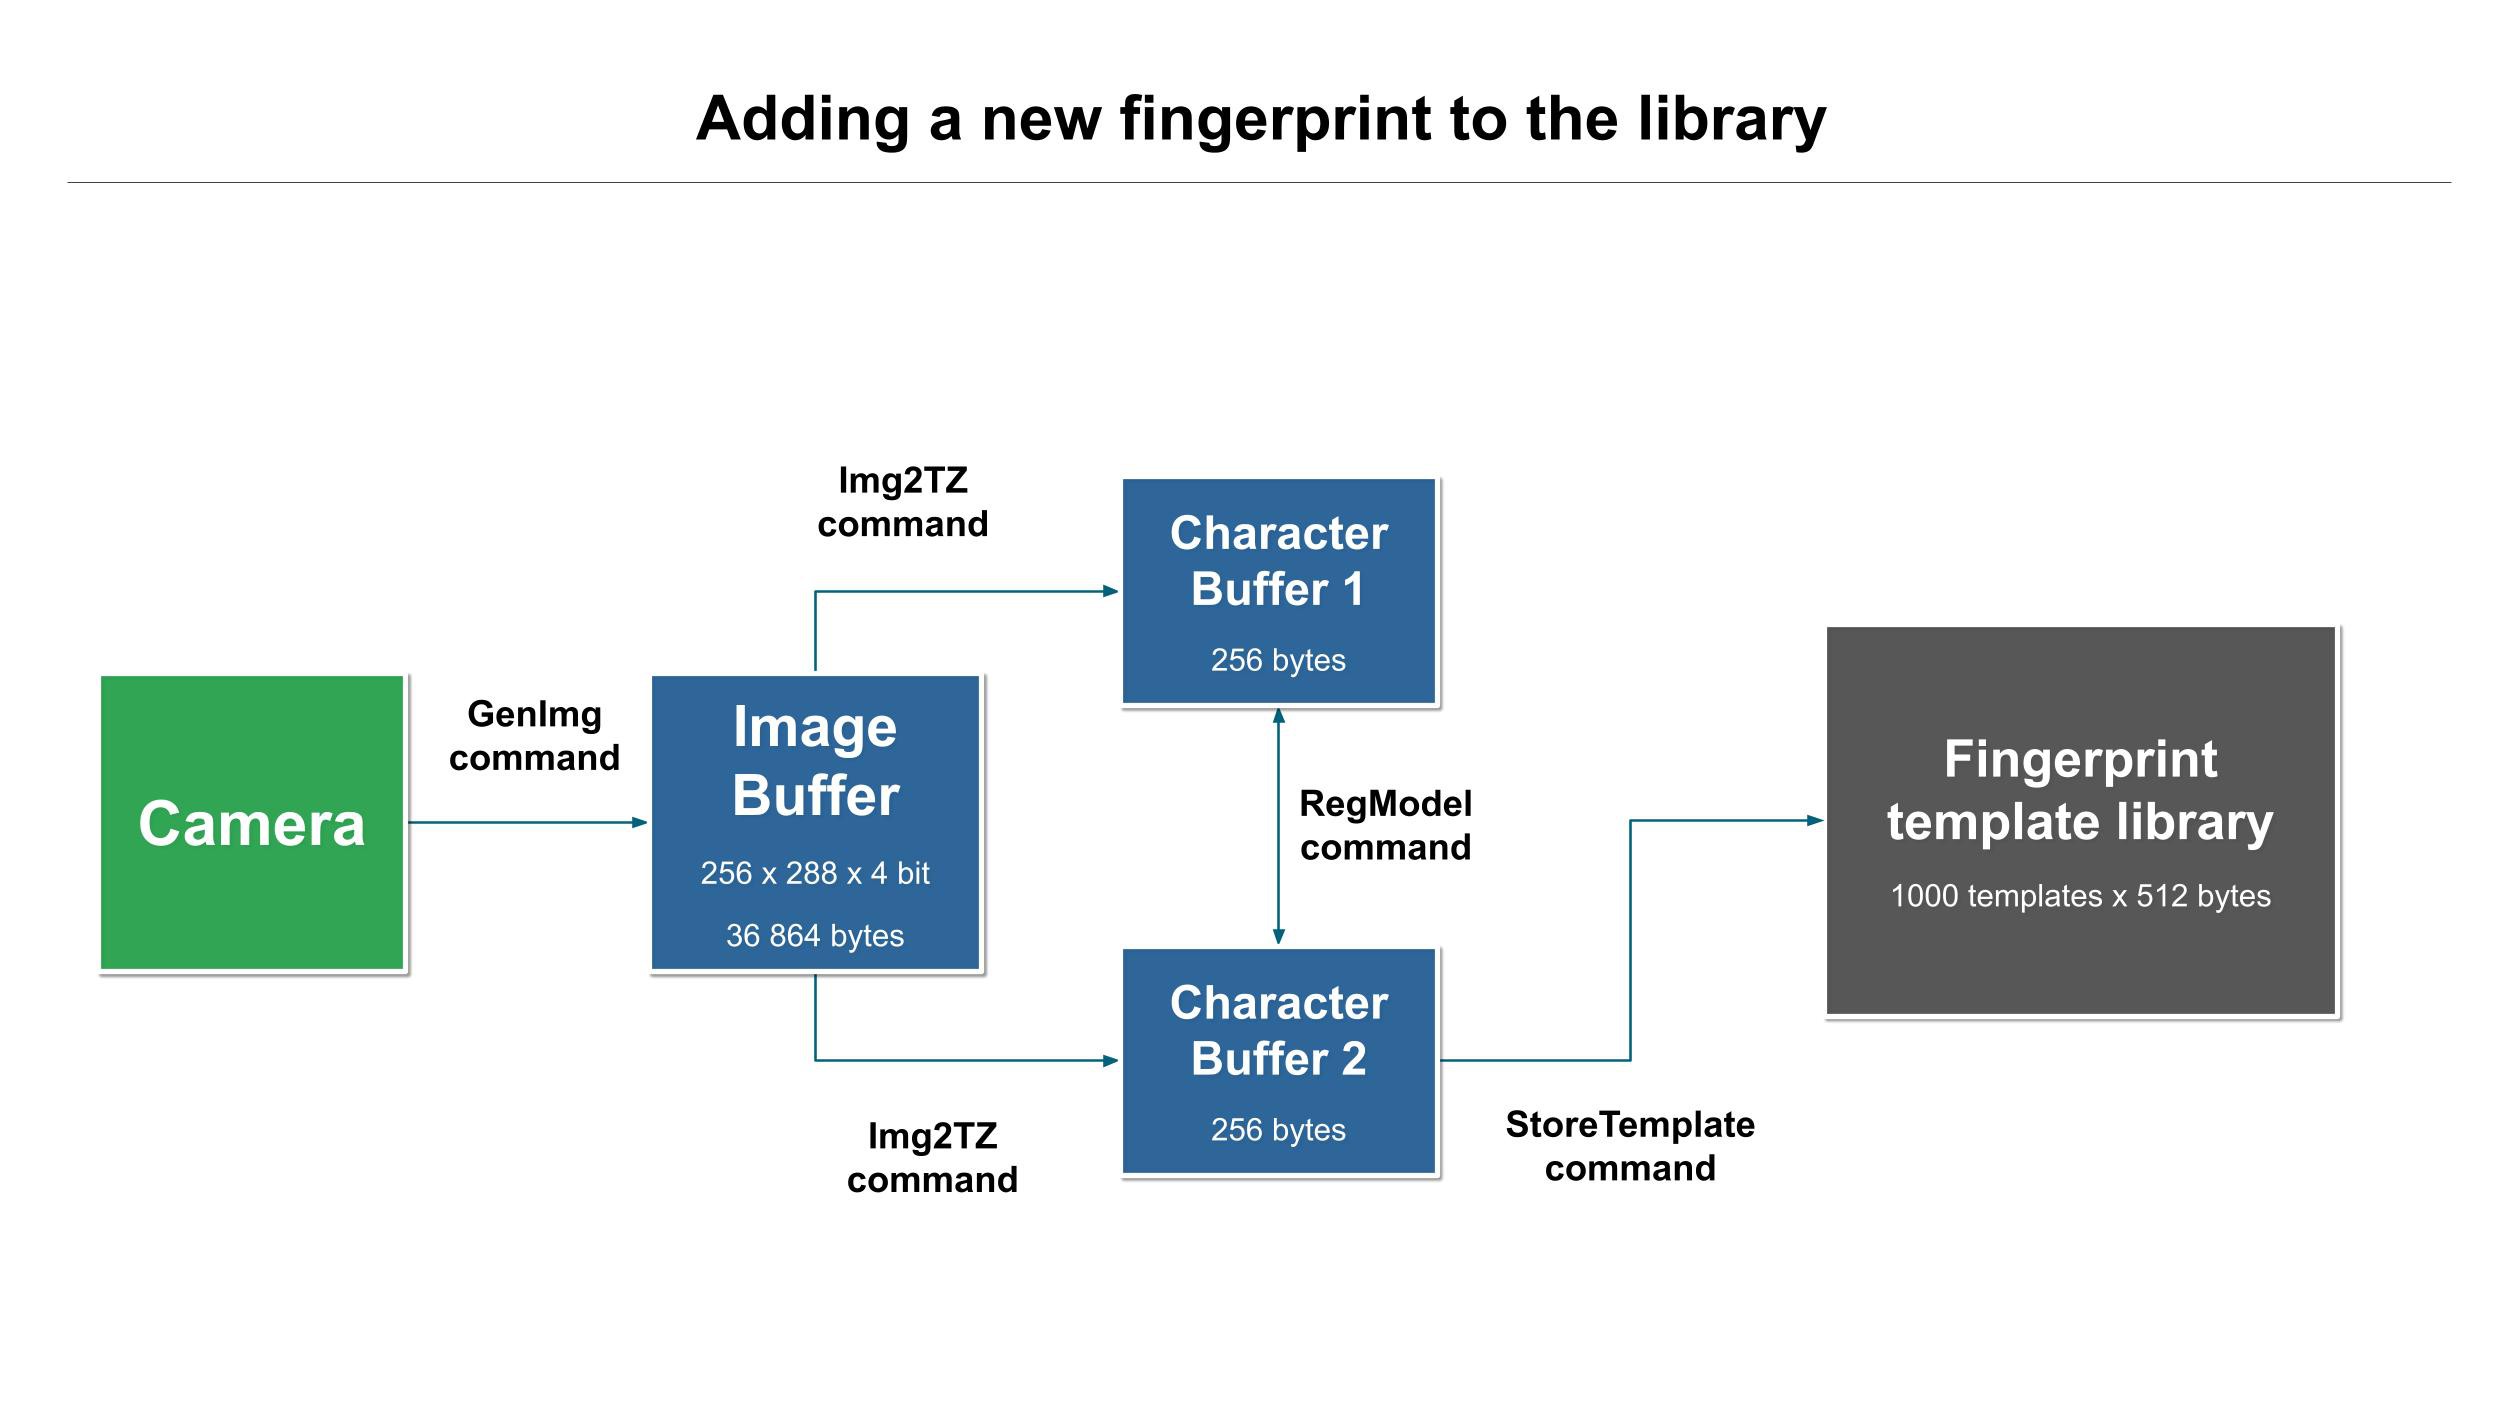
During training, the fingerprint is captured twice (in 2 character buffer). It is advisable to ask the user to put their finger a little differently between 2 grips, but in my project I do not do this.
The RegModel command makes an average version of 2 buffers. The StoreTemplate command stores a template in a library.
There is a SFG Demo utility that allows you to read the module identification data, adjust the exchange rate and packet size, and train fingerprints.
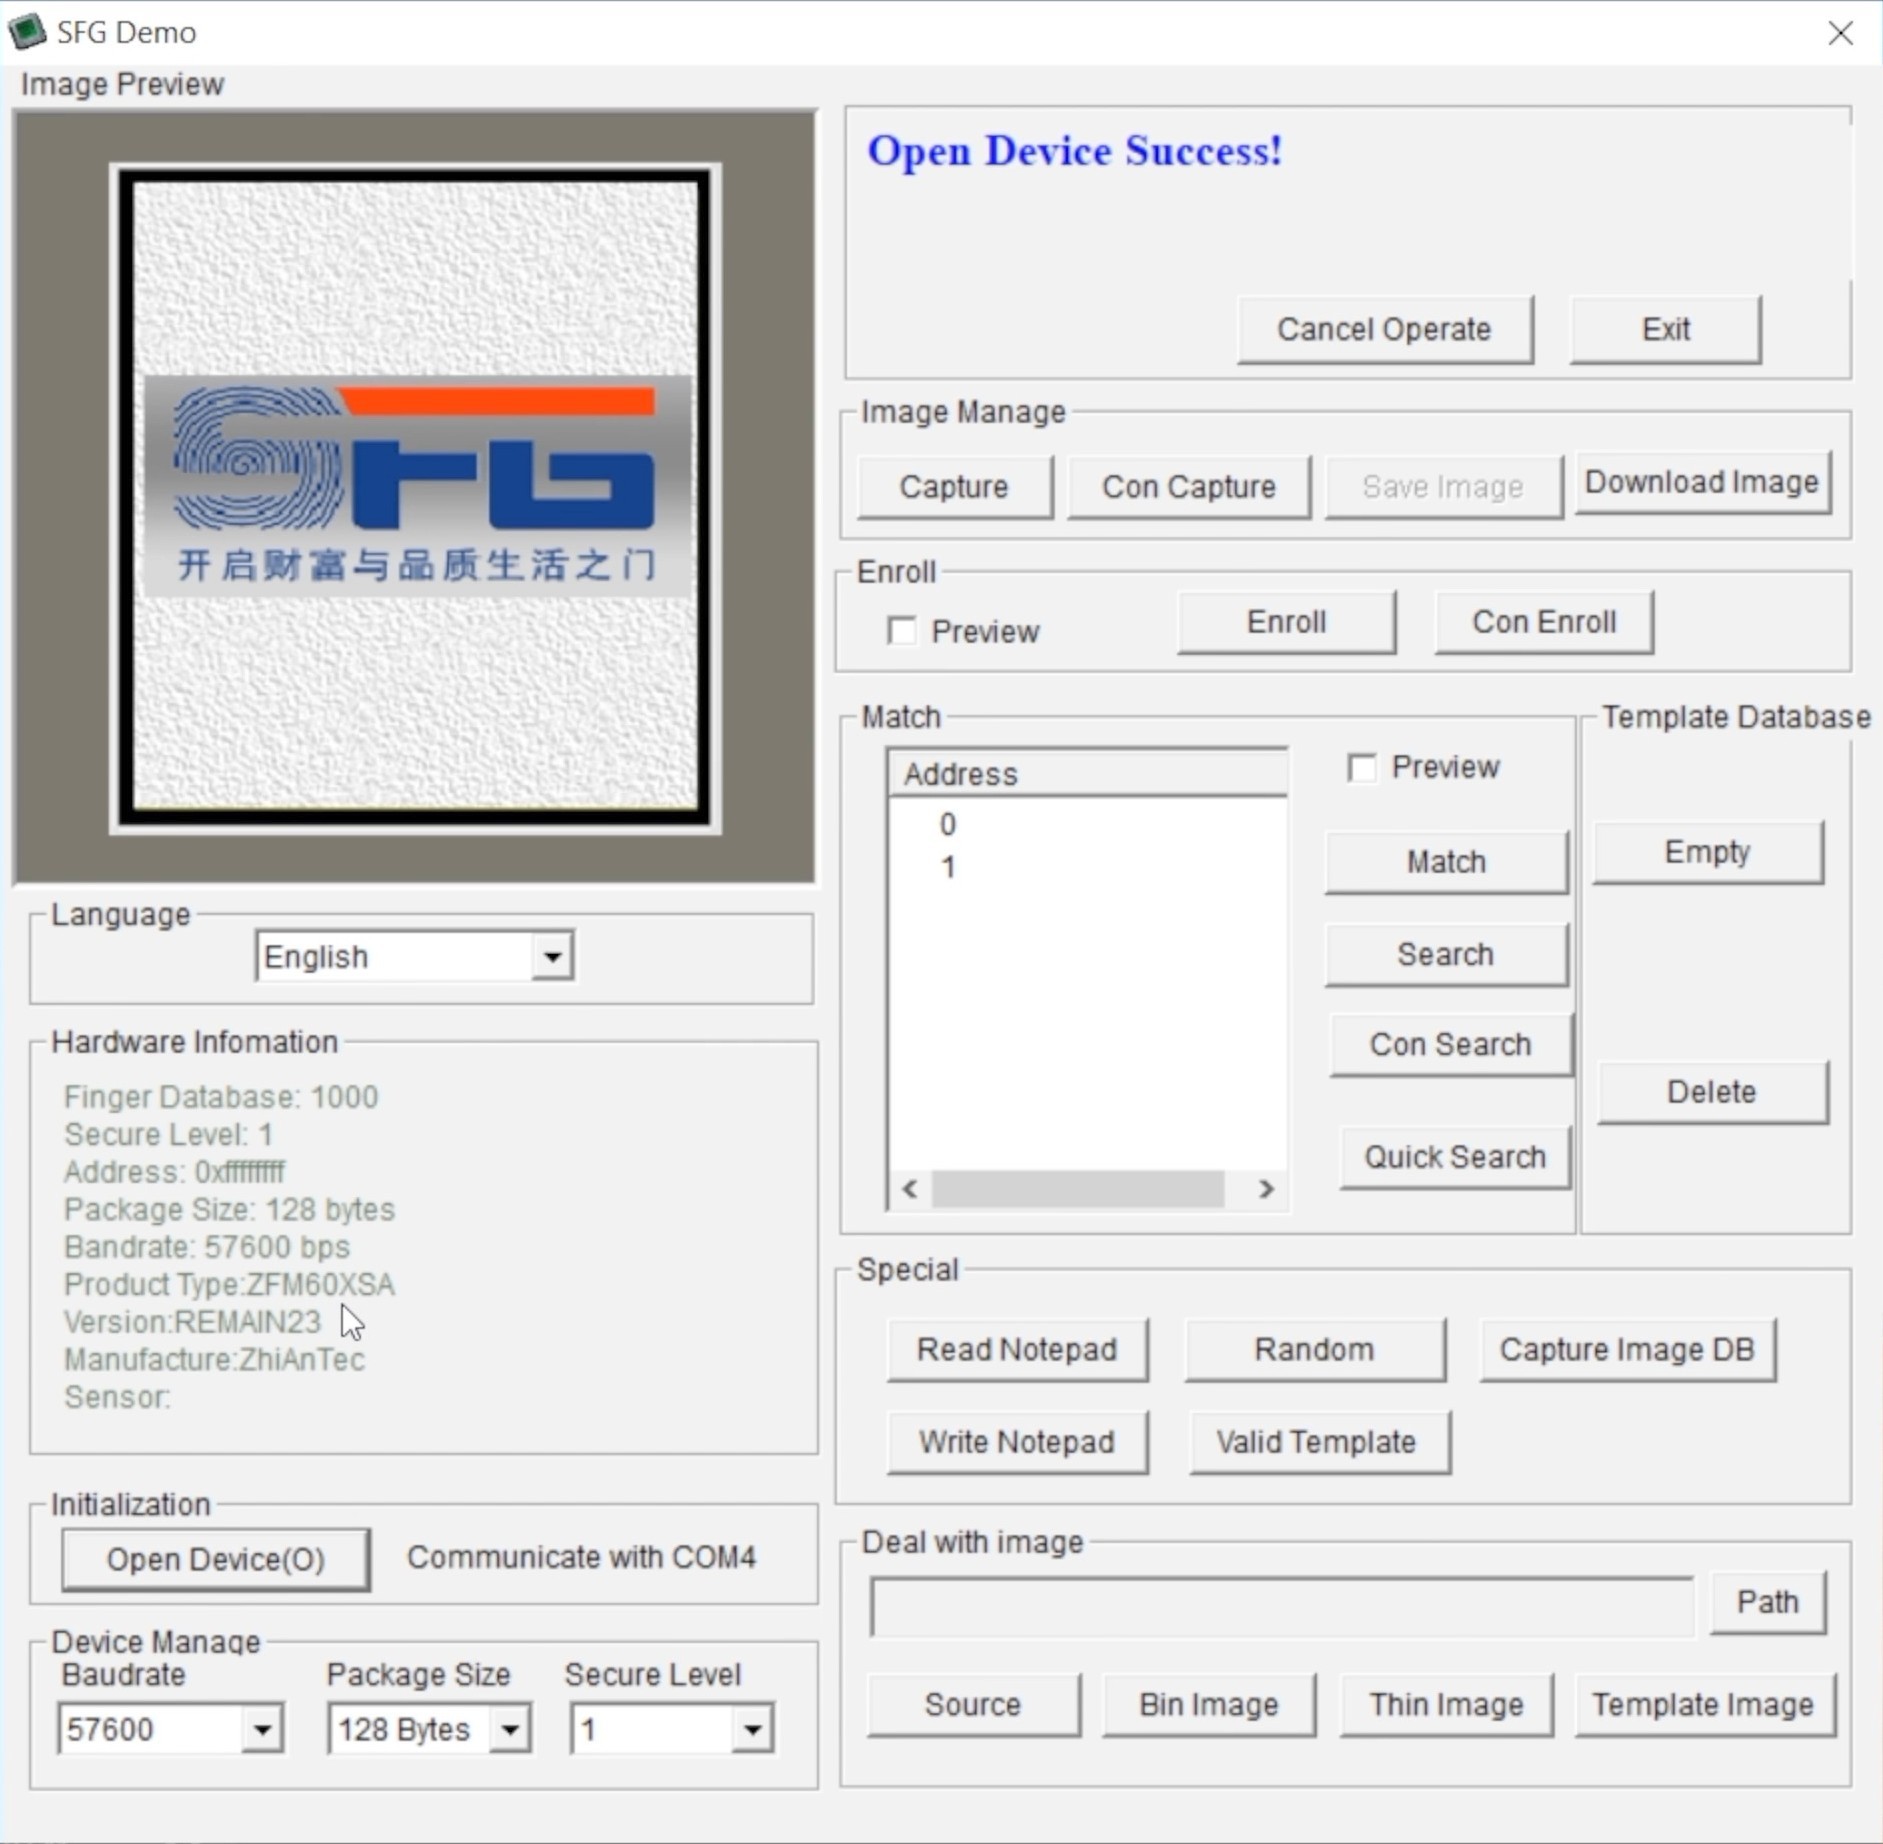
Also, this program allows you to read the fingerprint image:
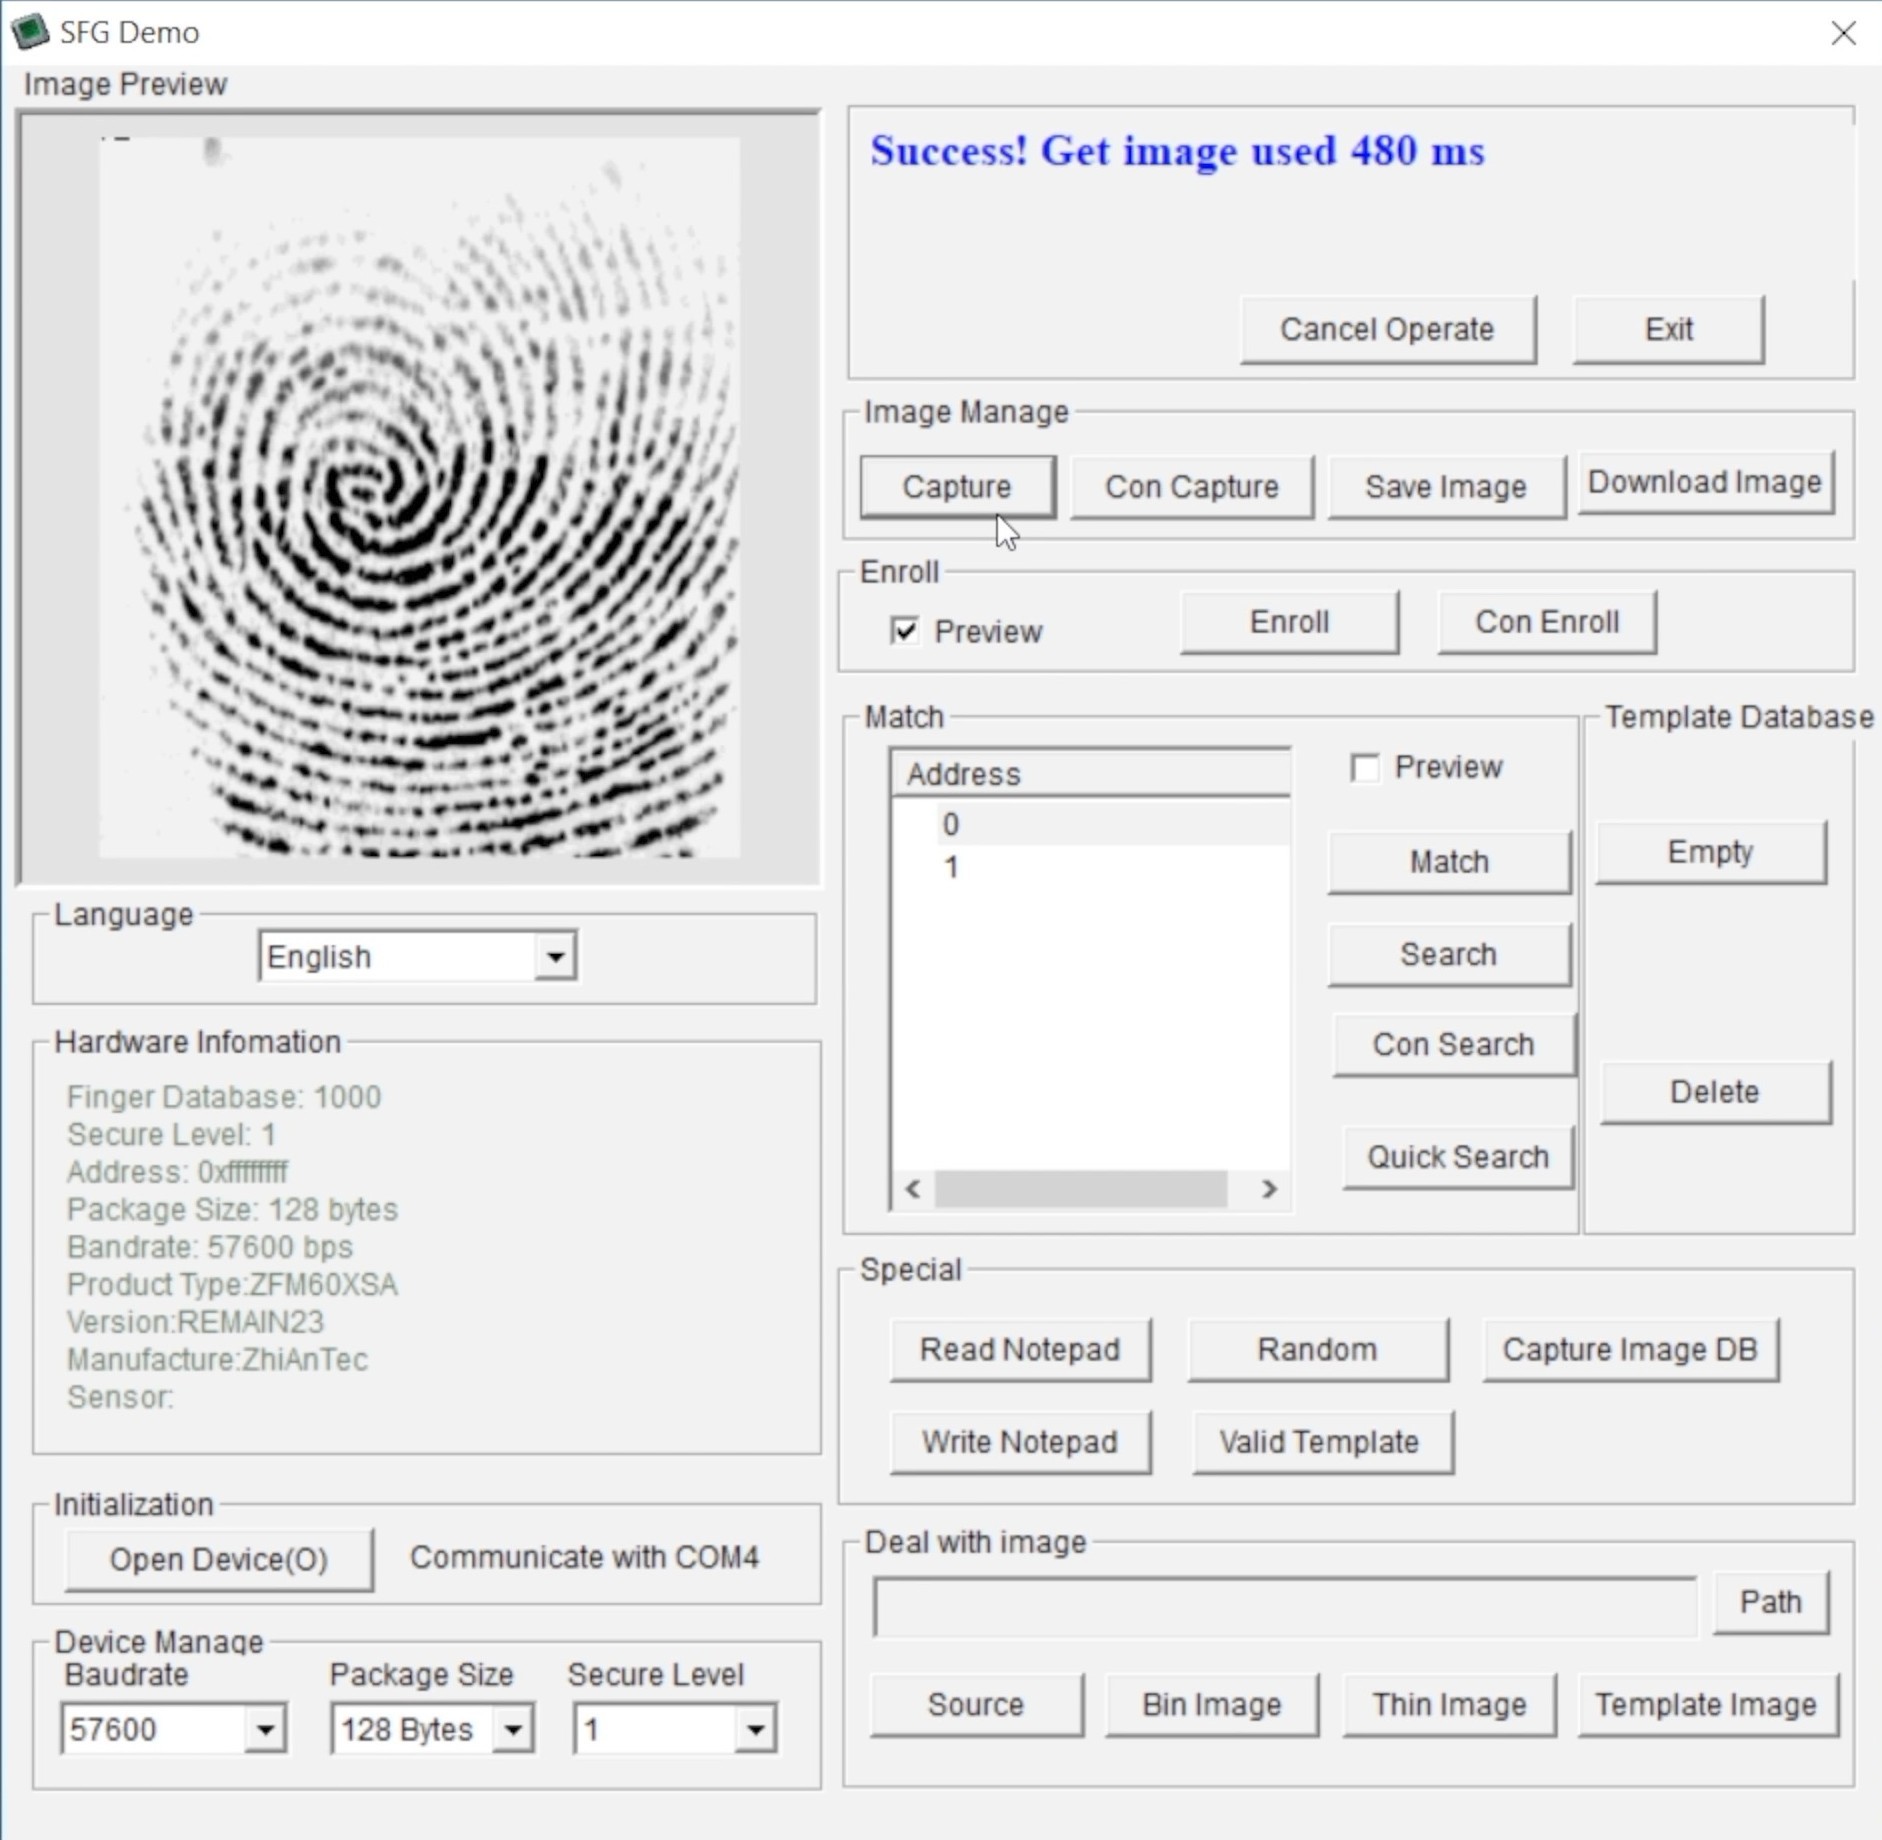
The time to read a fingerprint photo at 57600 baud is about 7.5 seconds.
Schematic diagram
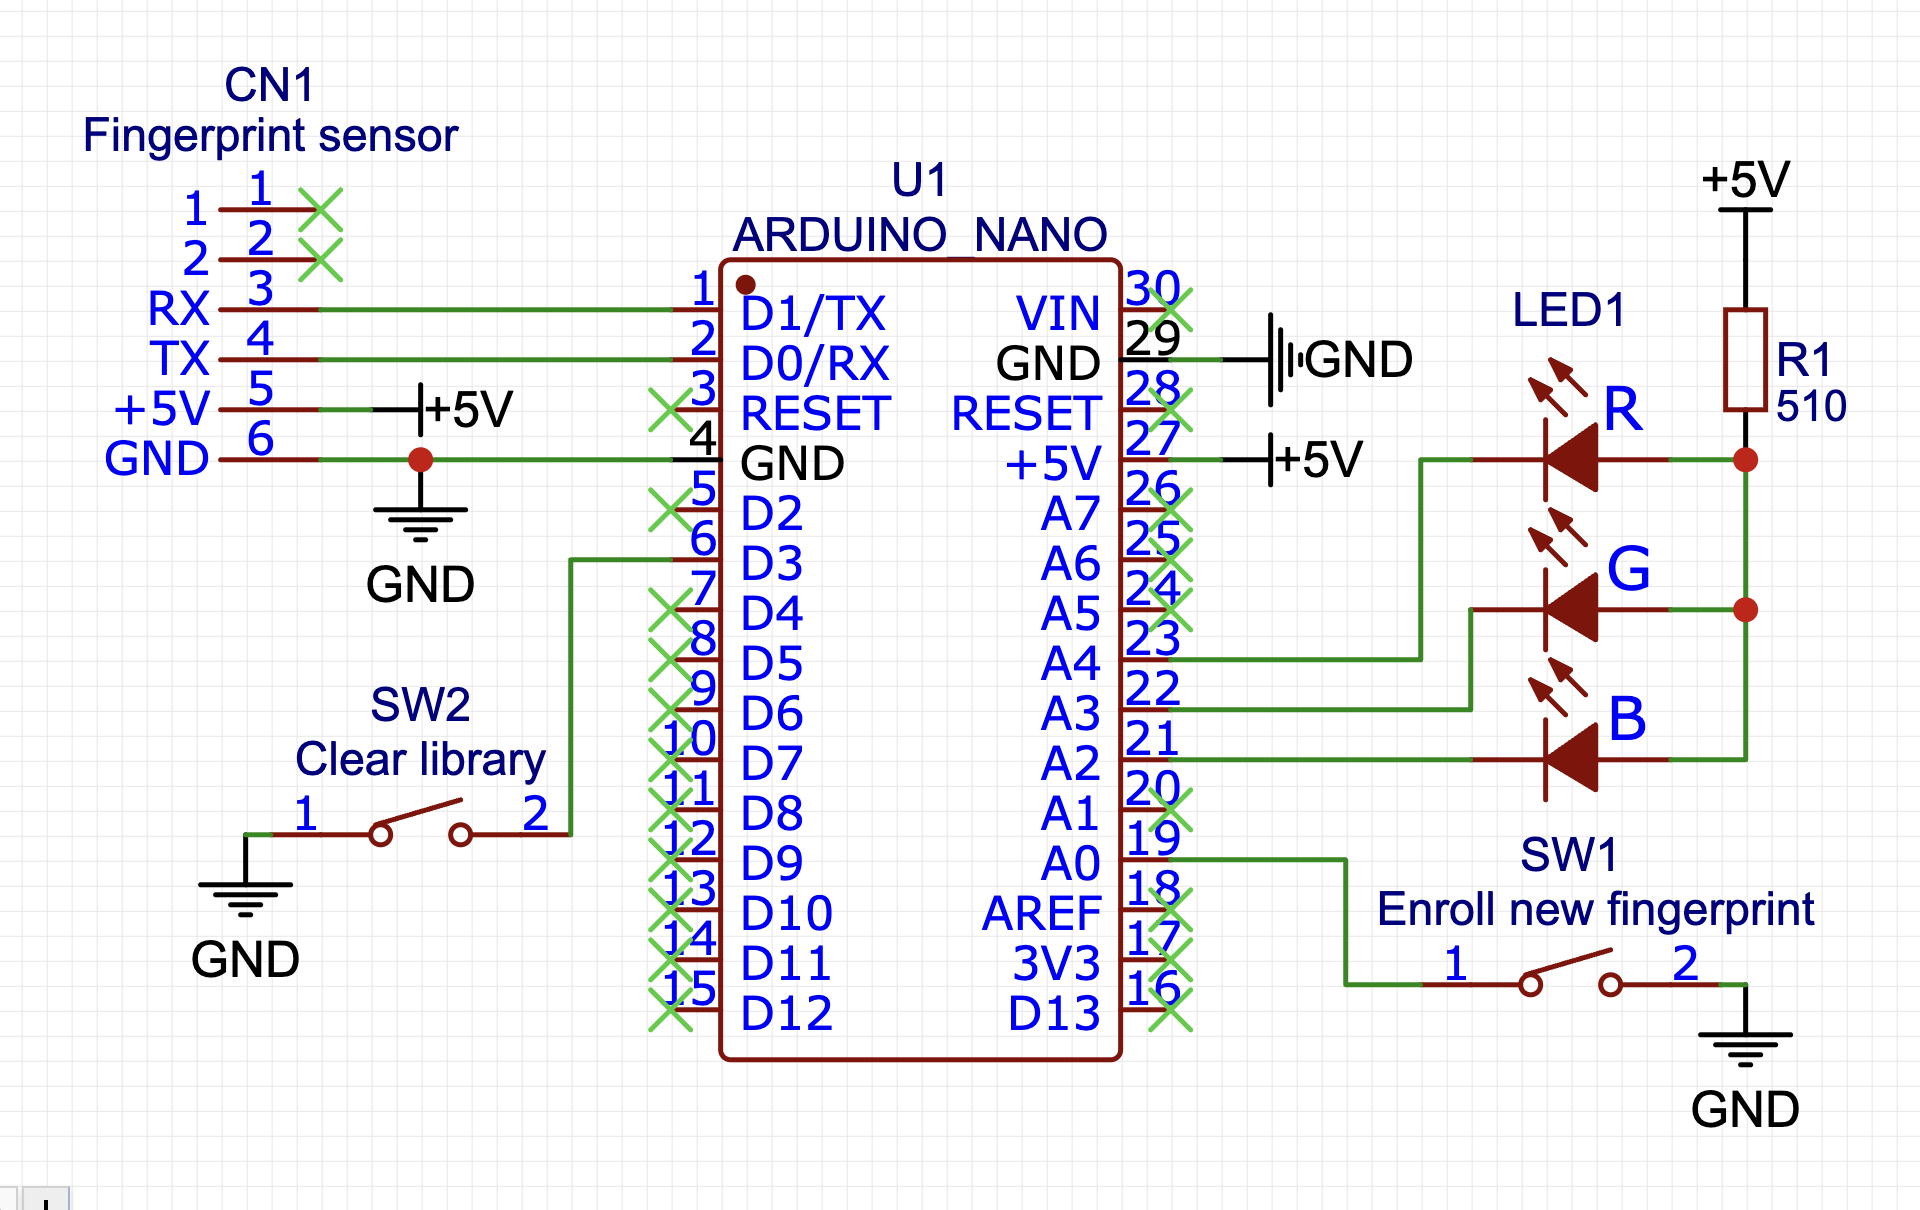
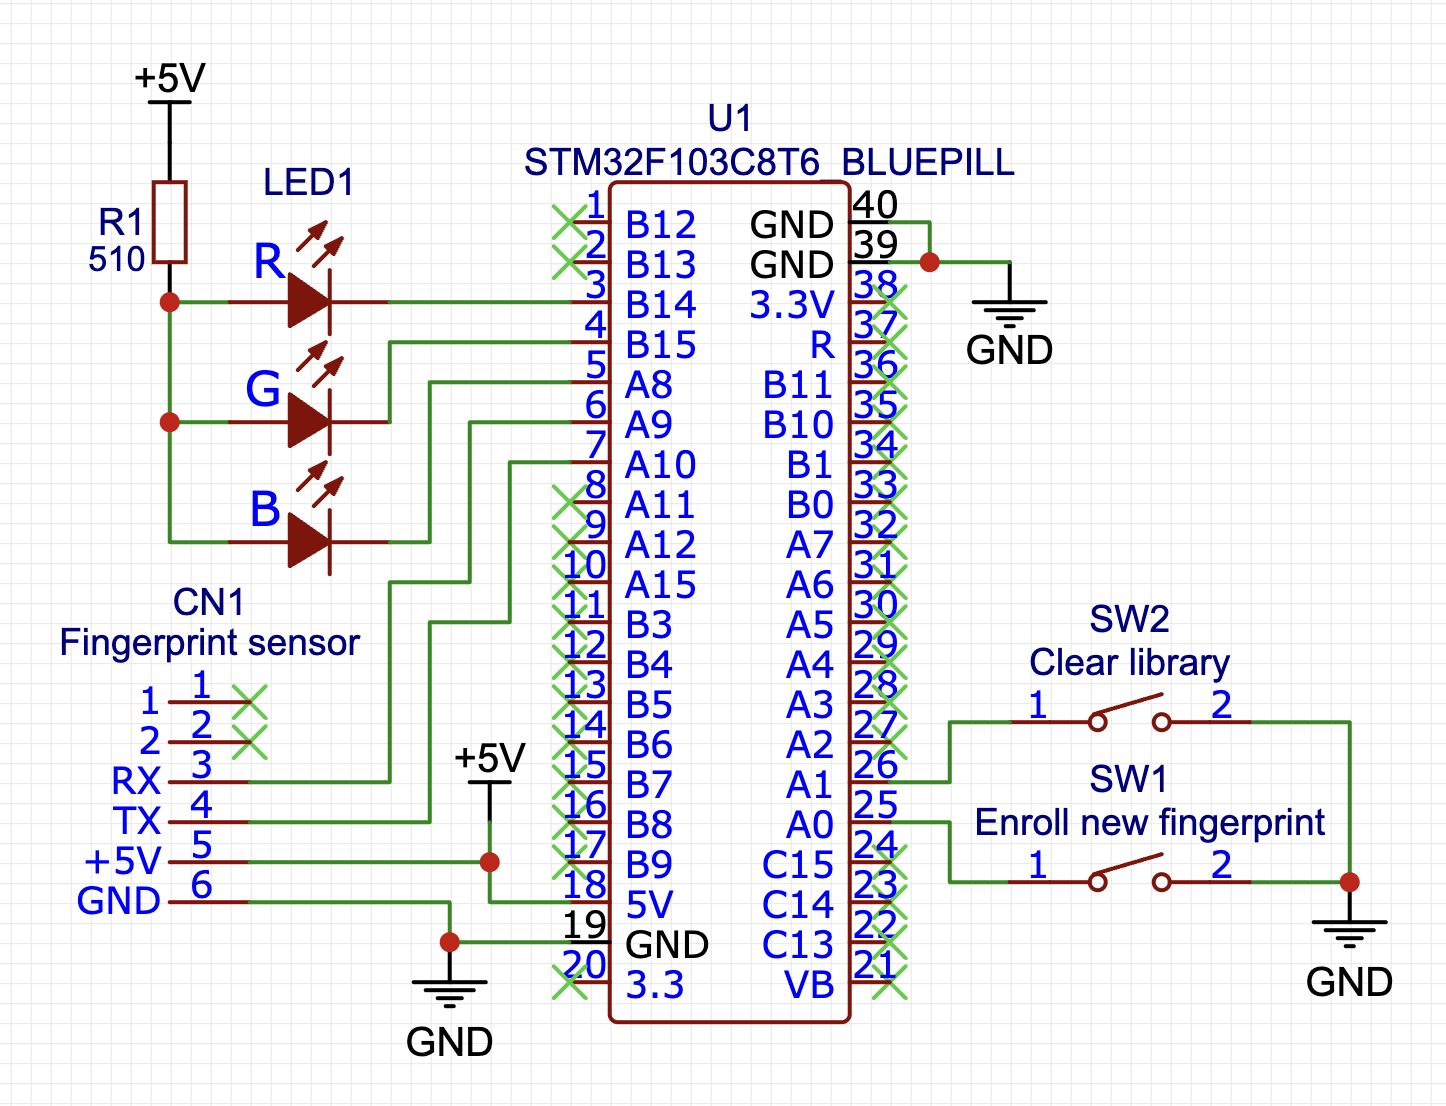
As you can see, the schematic is very simple. I am using an RGB LED for the indication. According to the algorithm of work, 2 colors never light up, so I use only 1 resistor to limit the current. The brightness of different colors will be slightly different, but this is not critical.
Red LED - access denied. It also burns until a finger is raised
Green LED - access is open
Blue LED - learning mode
1 button to enter the learning mode (must be held). In learning mode, the blue LED is lit and the red flashes twice intermittently. If you lift your finger, then the successful addition of the fingerprint template is confirmed by two flashes of the green LED.
1 button for deleting the template library (3x flashing of the green LED confirms execution).
In the project, I do not use the actuator, but this is easily done in the firmware sources. Or you can use the...
Read more »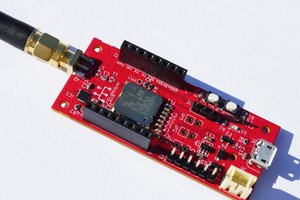
 Sergio Ghirardelli
 Timo Hyvönen
 James Cannan