 HarriRenney
This project doesn't involve many difficult parts, but there are lots of little bits to get sorted for it to work, these involve setting up hardware/physical bits and software. This is why I've decided to put all the steps to get this setup in the instructions sections, so if you want to build this or something similar, click down to view all of the instructions. Up here, I'll just write a brief review of everything done.
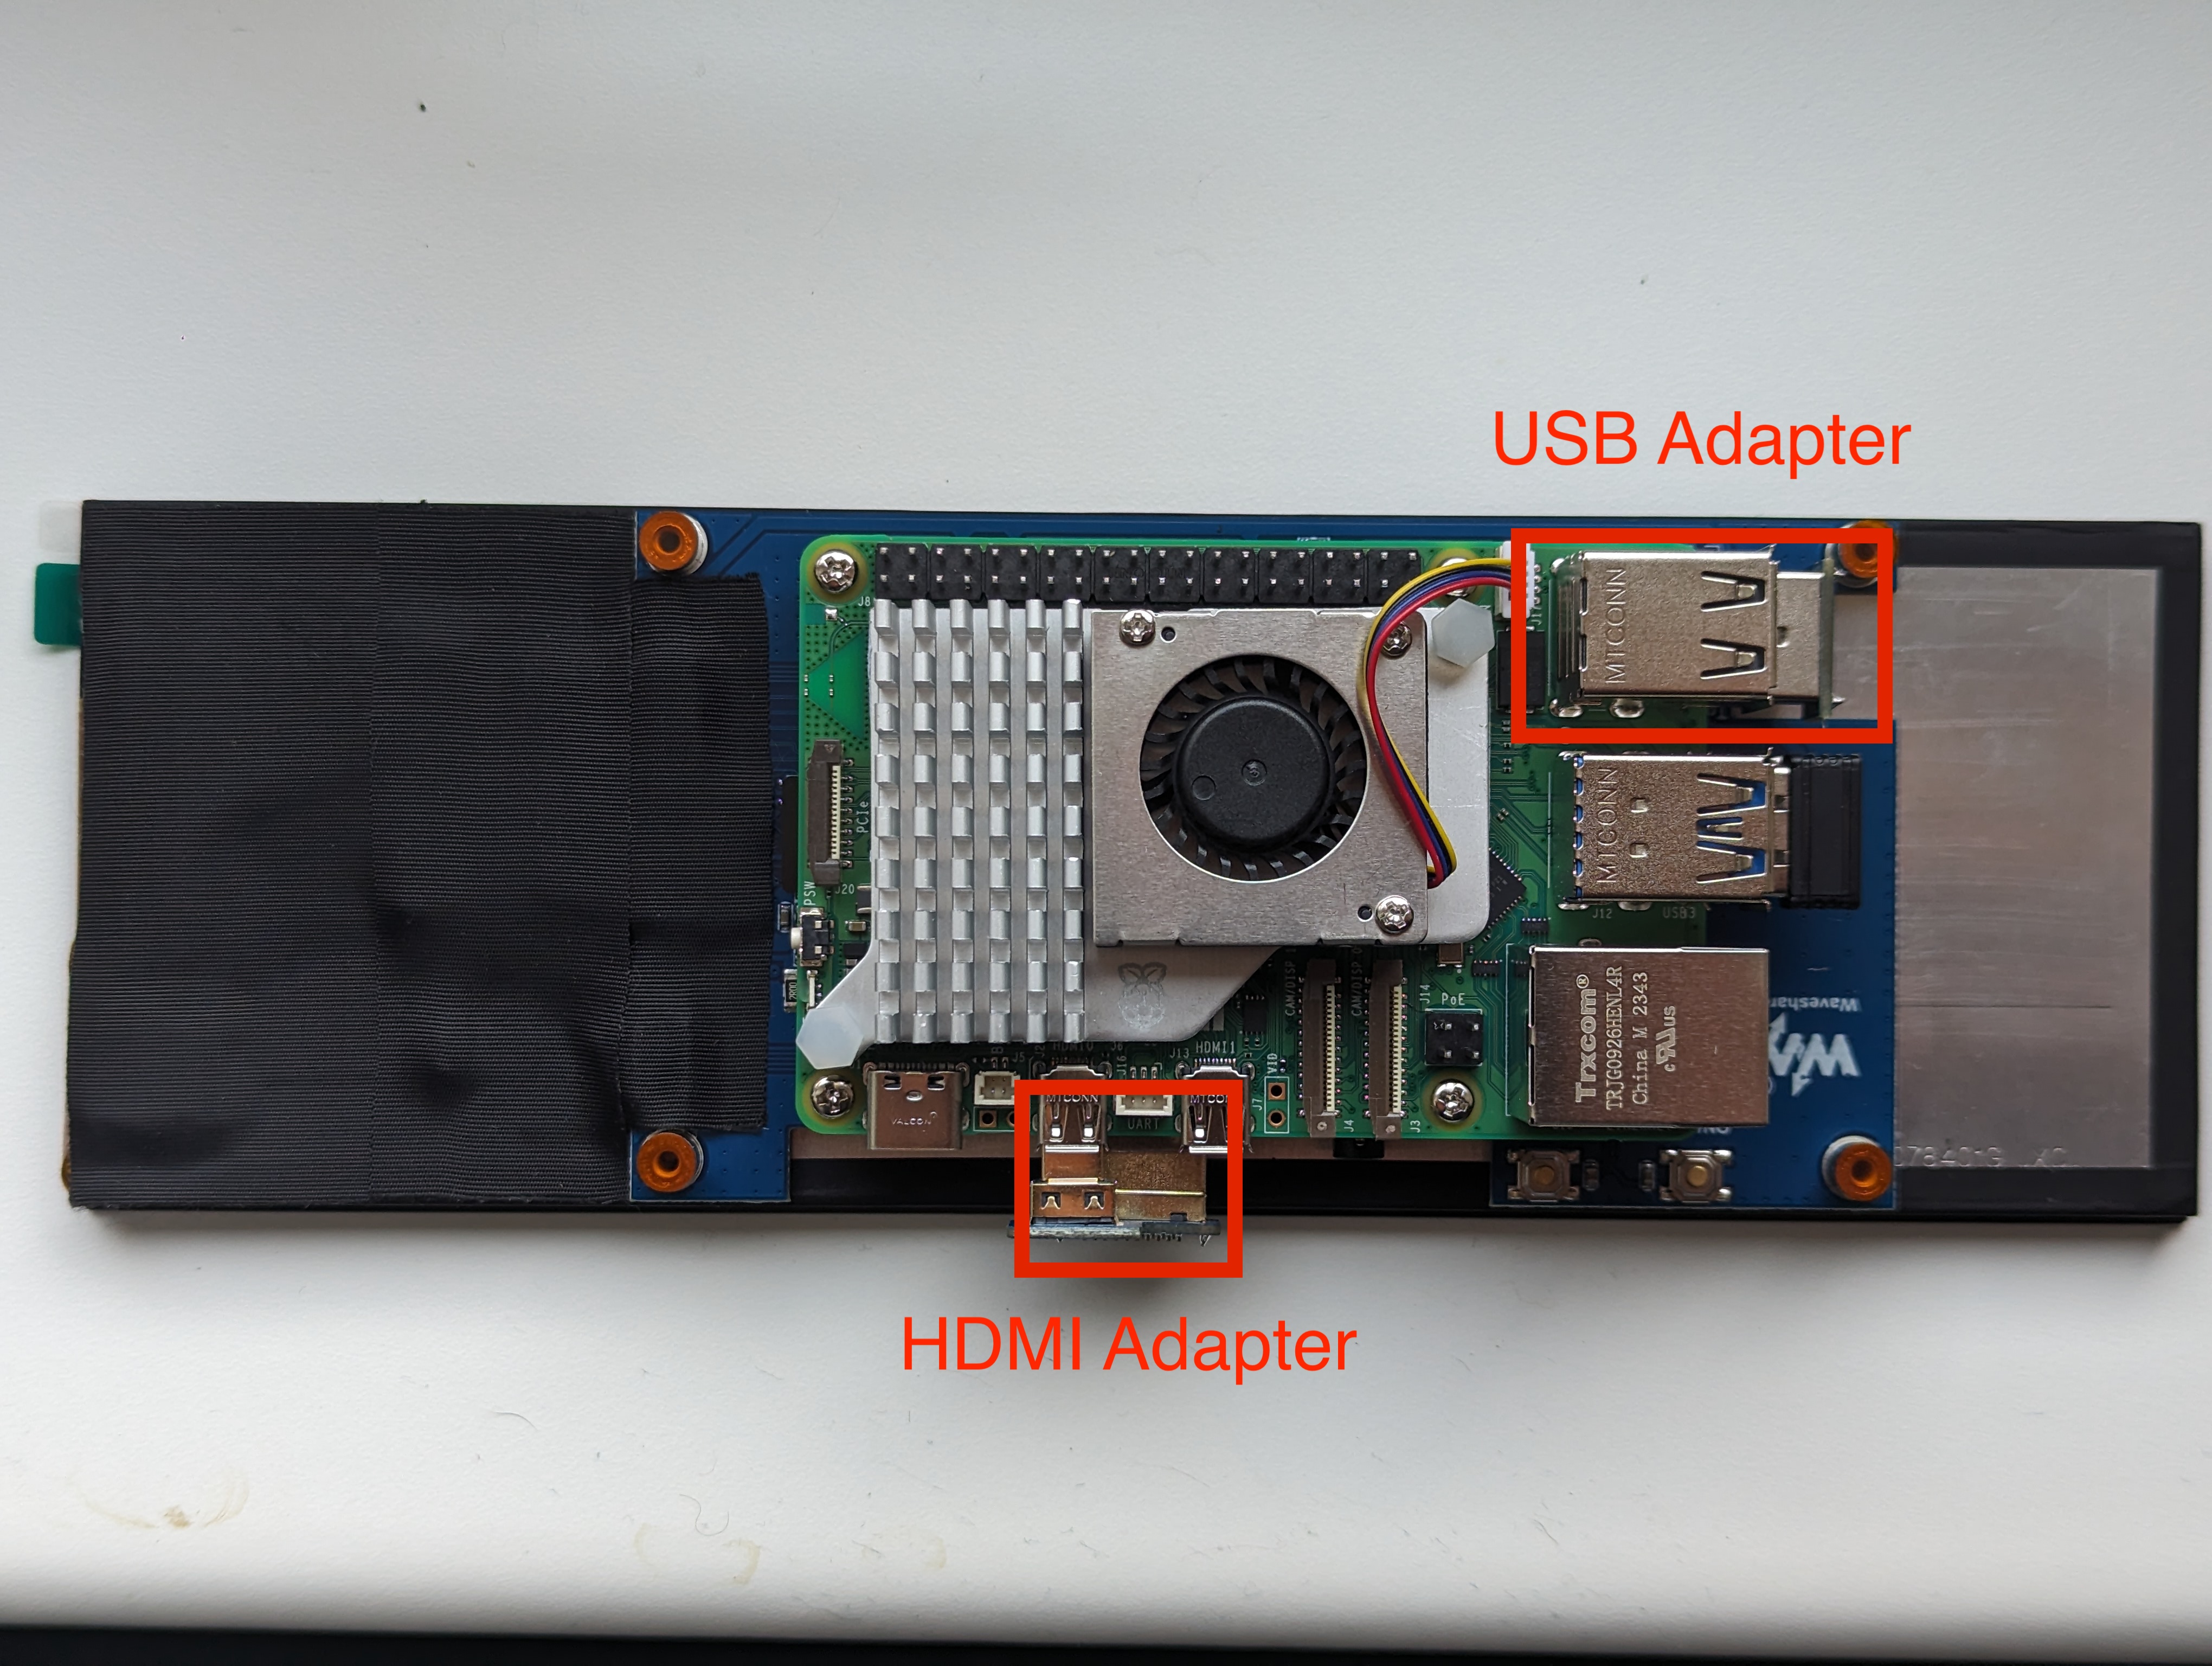
1. Screen Setup
Just buy a RPI 4 or 5, a WaveShare RPI 7.9Inch, follow the assembly and software guidance instructions to get it rotated horizontally and you've got the display ready!
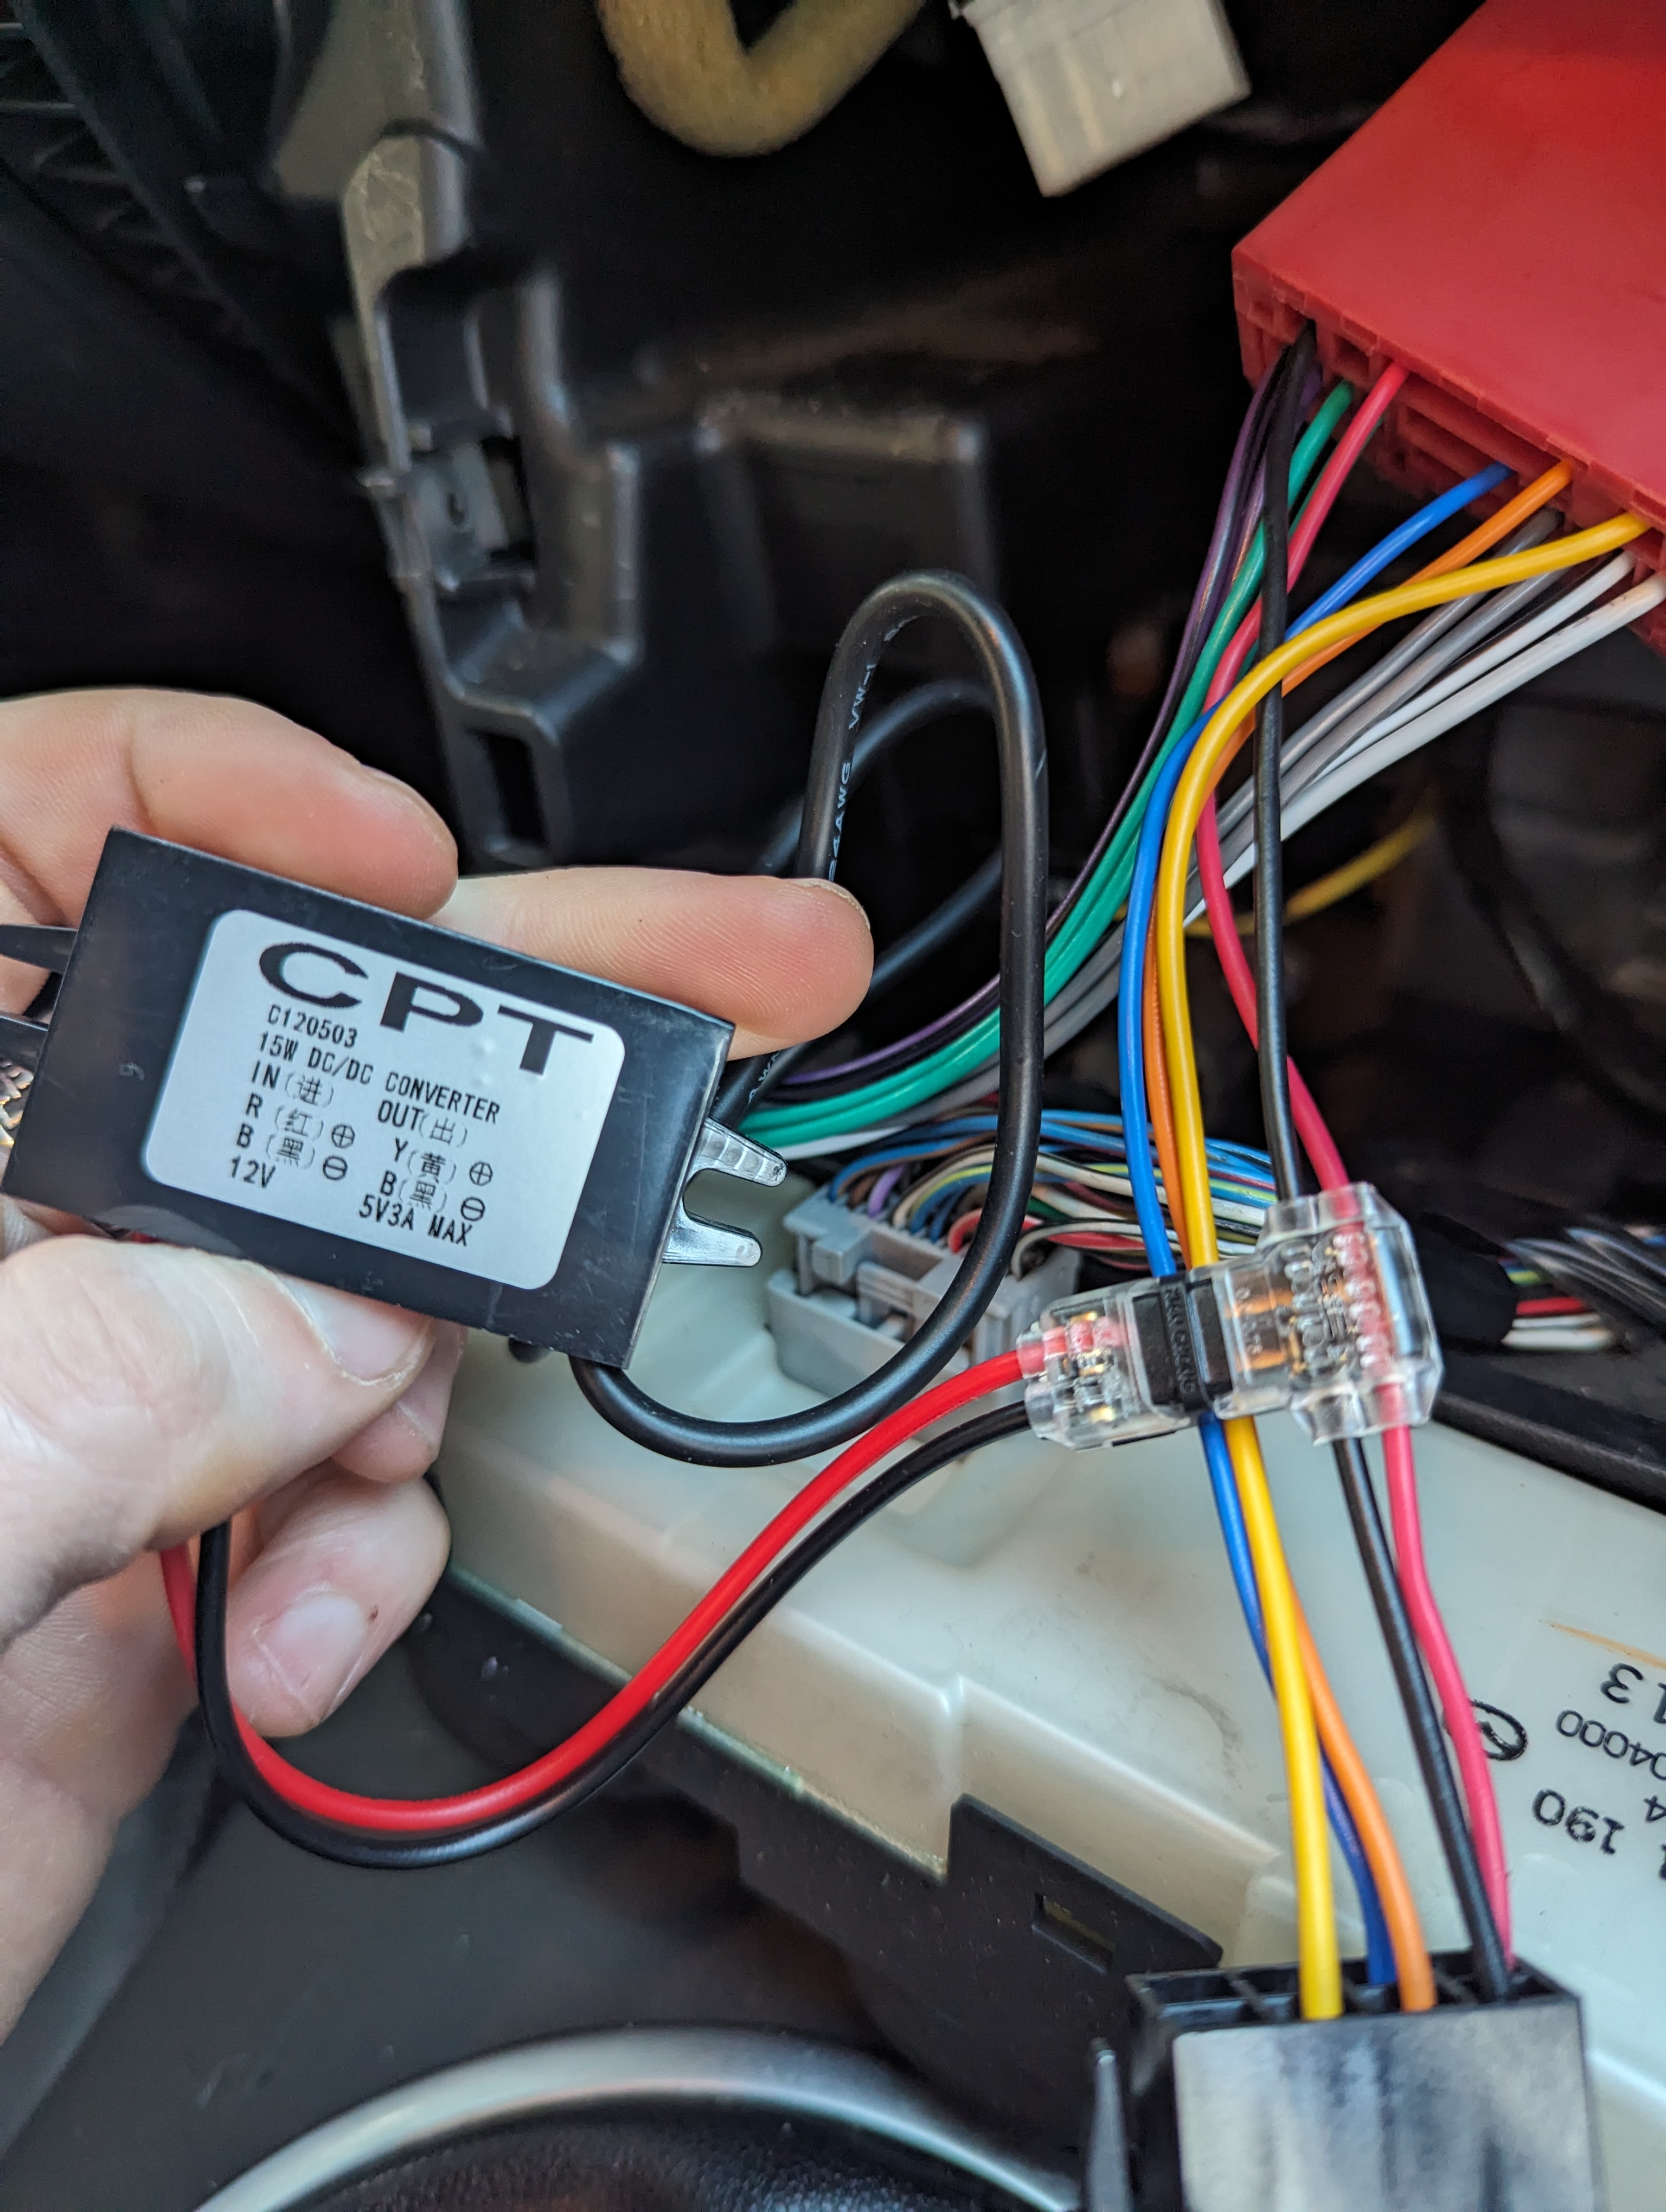
2. Wiring
Time to power this device up in the car. You'll need to tap off the 12V power supply from the ignition (used to power the stereo) through a DC-DC 12V to 5V downconverter that outputs through USB-C. You can now power the RPI! Be sure to add a momentary push-button on a configured GPIO4 pin so you can safely power off the PI.
3. OBD Bluetooth
Plug your OBDII Bluetooth device into your car and install and configure everything bluetooth related on the PI to automatically search and connect to the OBDII bluetooth device. That's sorted, great! Now you can start writing programs that can read OBD data from your car over a bluetooth. Nice.
4. PyGame Rendering
Now you can make whatever program you want to display things however you want! If you want to start with using my python script as a template, be my guest, it's on GitHub here. I used the OBD library to write callbacks for data I want from the car, then a PyGame rendering loop to render these changes to some dials, gauges and a simple line animation connected to the car speed.
That's it! One thing to note, I initially tried this project with the Raspberry Pi 3B, which didn't turn out to perform well rendering graphics the way I did it using PyGame. RPI 3 is a bit weaker in compute than the later generations, and has smaller RAM options. Instead, I decided to just buy the latest RPI 5 with 8GB RAM to avoid performance issues as much as possible, but I'd imagine a RPI 4 with 4GB RAM should do the trick.

 Nick Scratch
 HybridAir
 repkid
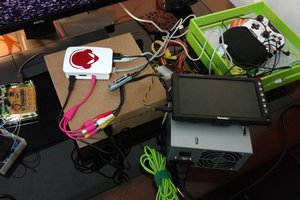
 Psyrax
I'm utterly mesmerized by your post! It's like stepping into a sanctuary of intellect and discovering the wealth of wisdom within.
chick-fil-a menu