 David Peter Roberts
Meshtastic lora network messenger.
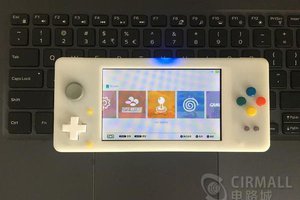
- Pi Pico W/ Pi Pico/ Pimoroni Pico which can be accessed via android app over wifi or wired, the meshtastic web interface (wired).
- Power can be either wired, independent using the Waveshare power and charge of the small mah battery (4-6hrs) without screen or keyboard.
- via a larger battery (charge circuit or native Pimoroni PICO charge circuit) wihtout the app using the OLED, keyboard and screen.
For the purposes of my build I plan to use the device as a standalone and should I need to program I prefer the cable method over the wifi (BLE planned later releases). But Ideally I prefer low power longer run time from the device on battery.
Further to simplify not to use step up or power charge circuit and having to many micro usb sockets I will be using the Pimoroni Pico (USB-C) and either a couple or 18650's or flat LIPO.
Plan is to mount these on custom PCB design to flatten the footprint as the Waveshare socket and pins make it quite tall. Goal is to expose the neccessary (or as many) pins for items such as OLED, GPS, piezo, led, click button (redundance if using keyboard in the build (will try and provide a pcb with and without keyboard if someone preferes the Pi Pico W + App combination.
Currently the Meshtastic implementation only supports GPIO 4,5 for I2C and GPIO 8,9 for serial. Bar notification, button pins that leaves a number or UART and I2C pins available and some can be redefined in the app or variant build file if you roll your own firmware.
Complete
- Breadboarding
- Hardware pin configuration
- Component setup
- Settings setup
- Wiring schematic
WIP
- 3D case and keyboard cover
- Battery selection/ configuration
- PCB final layout
- BOM
- variant file compile to include either uBlox or ATGM336H GPS module for rx/tx on UART
 Cirmall
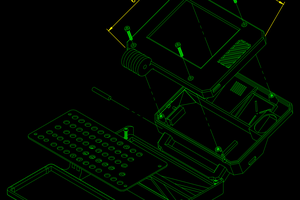
 ABrugsch
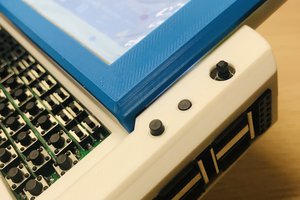
 rahmanshaber
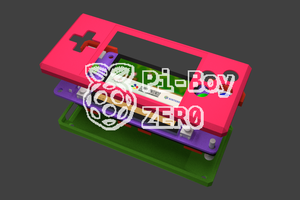
 JohSchneider