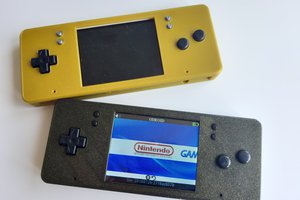
What is it?
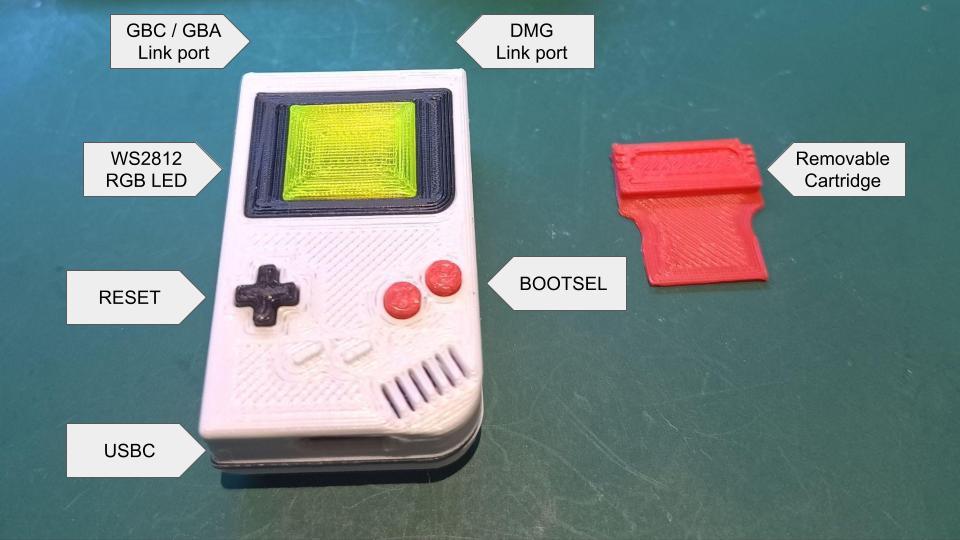
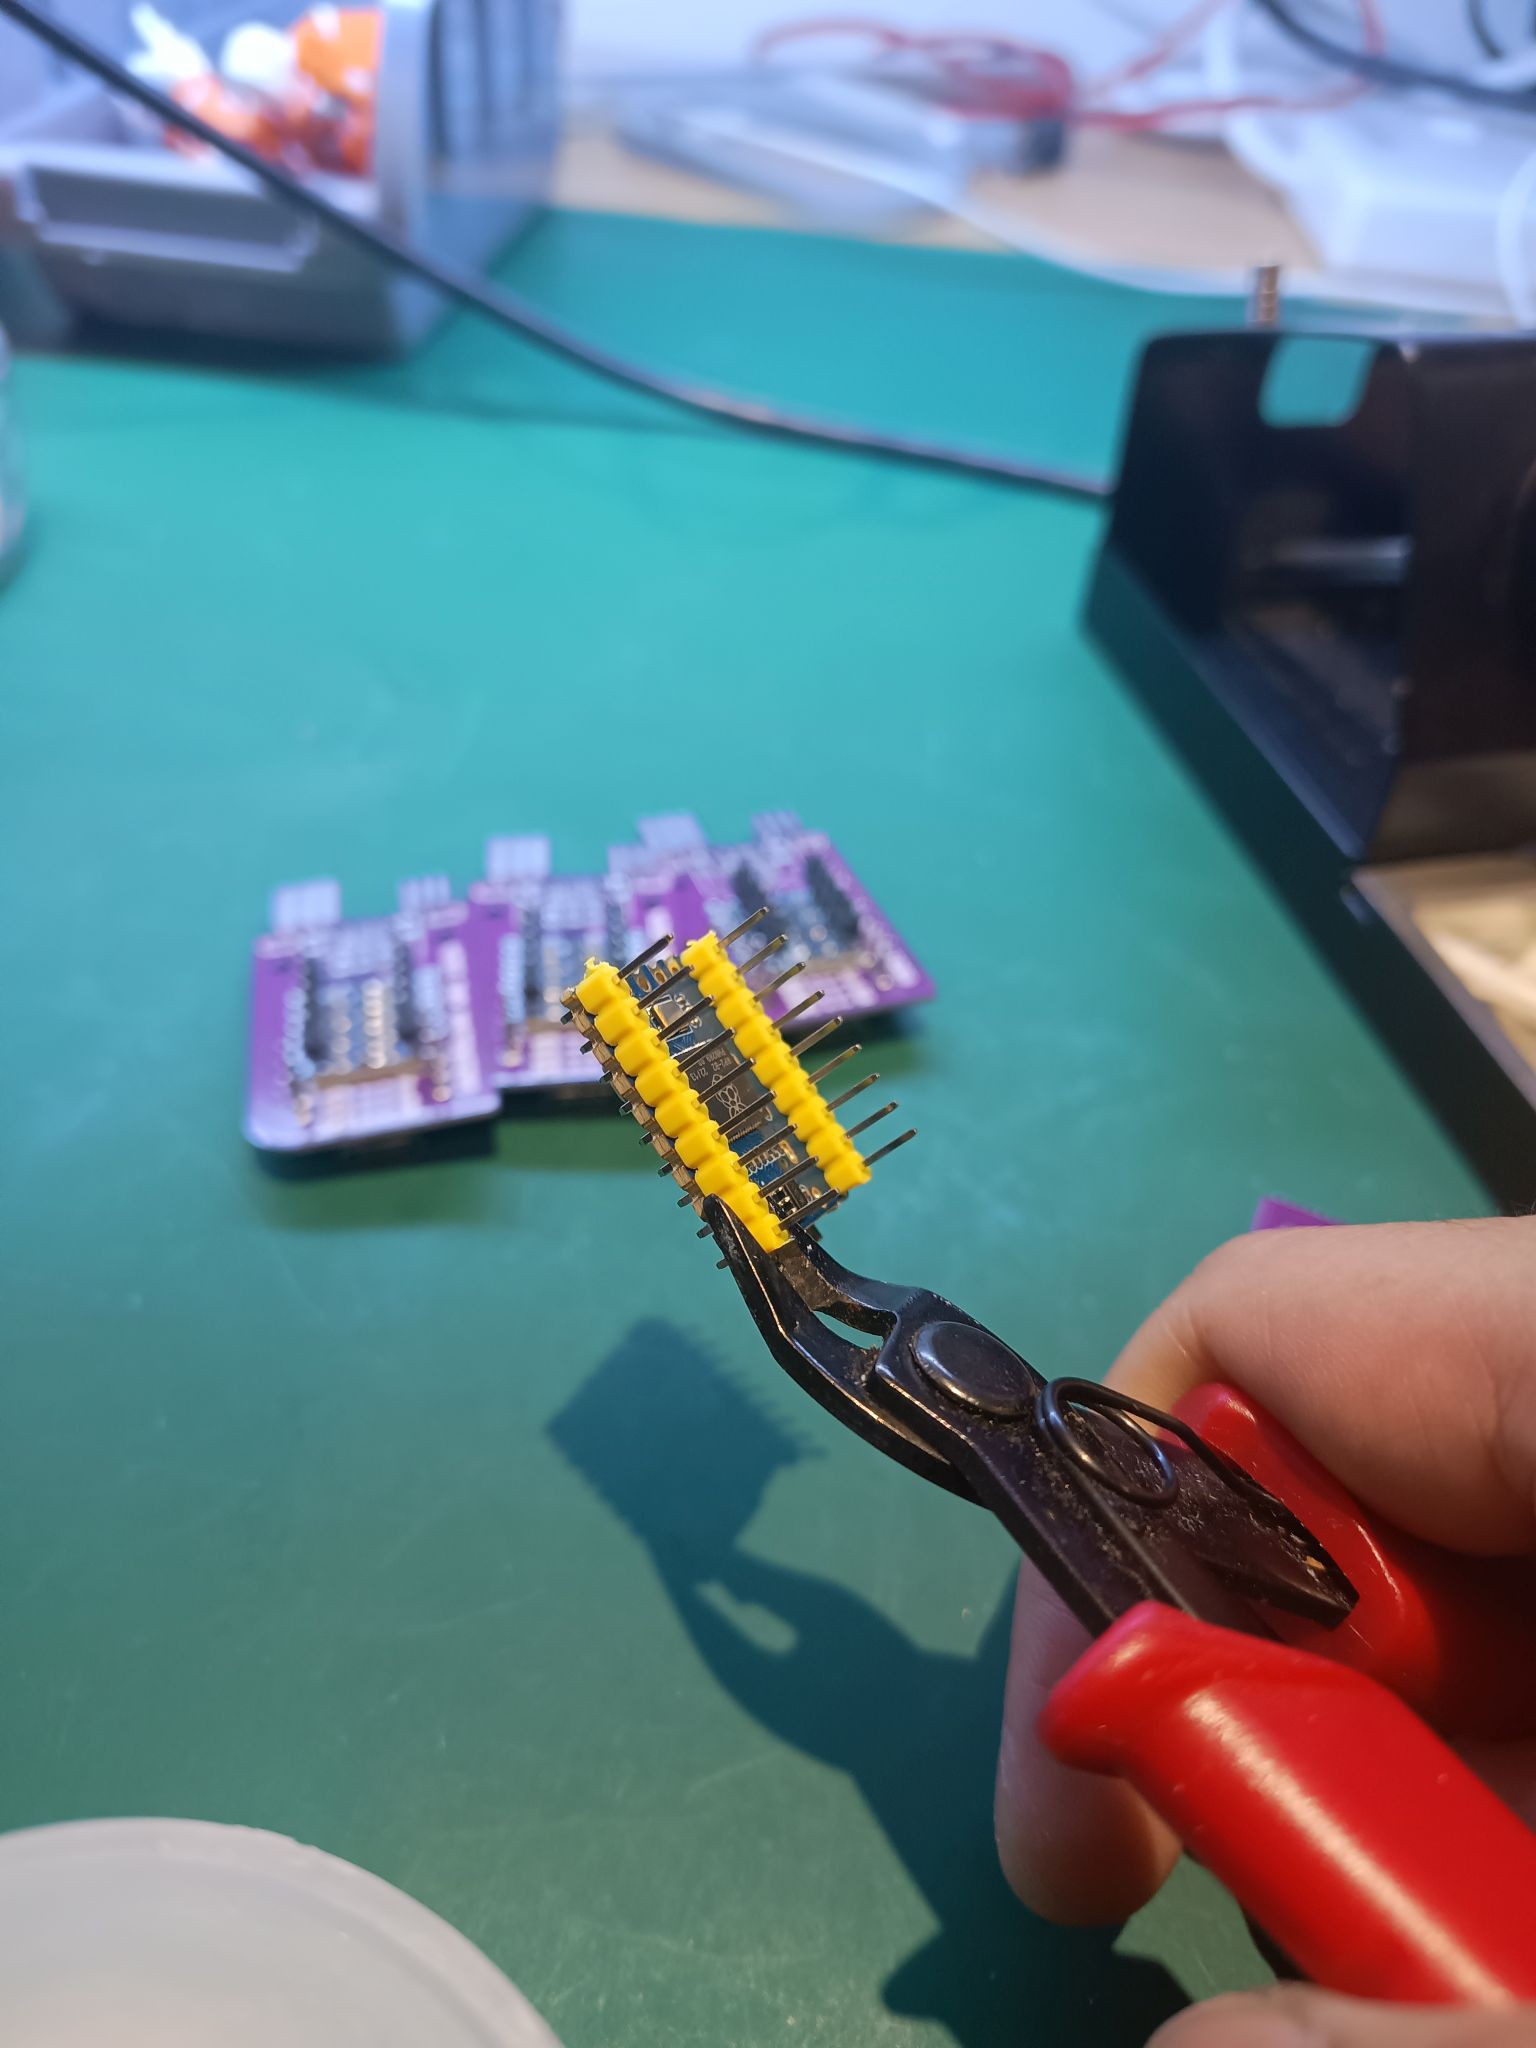
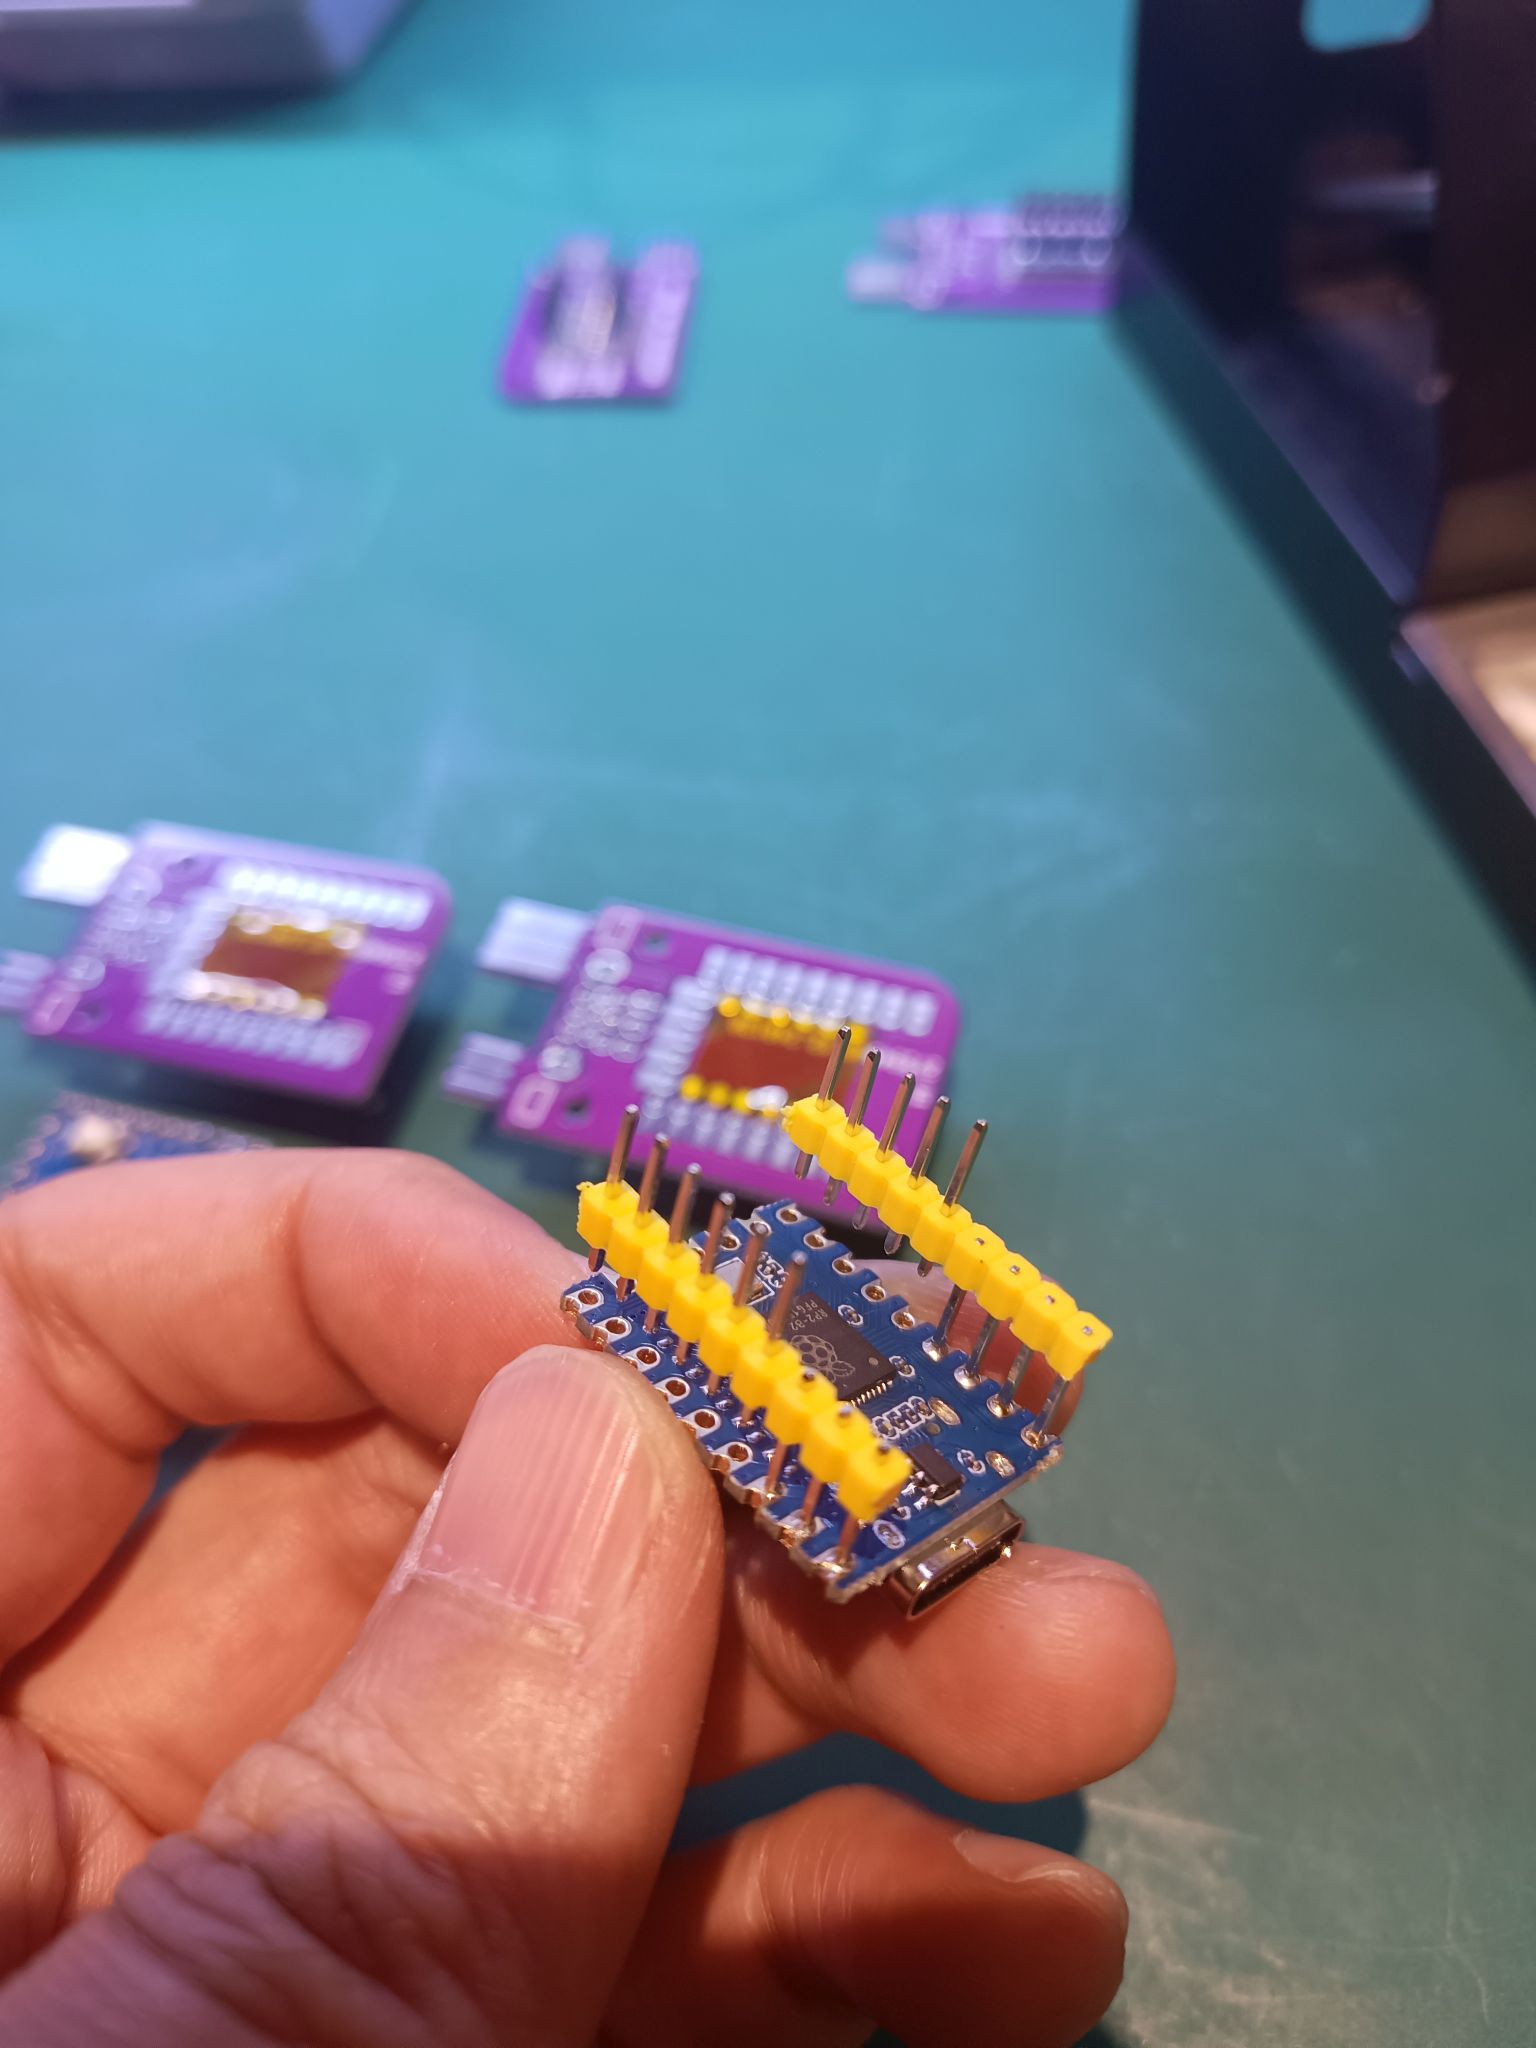
In a nutshell: I've made my own version of @stacksmashing's Game Boy Link Cable, or should I say in a GameBoy shell.

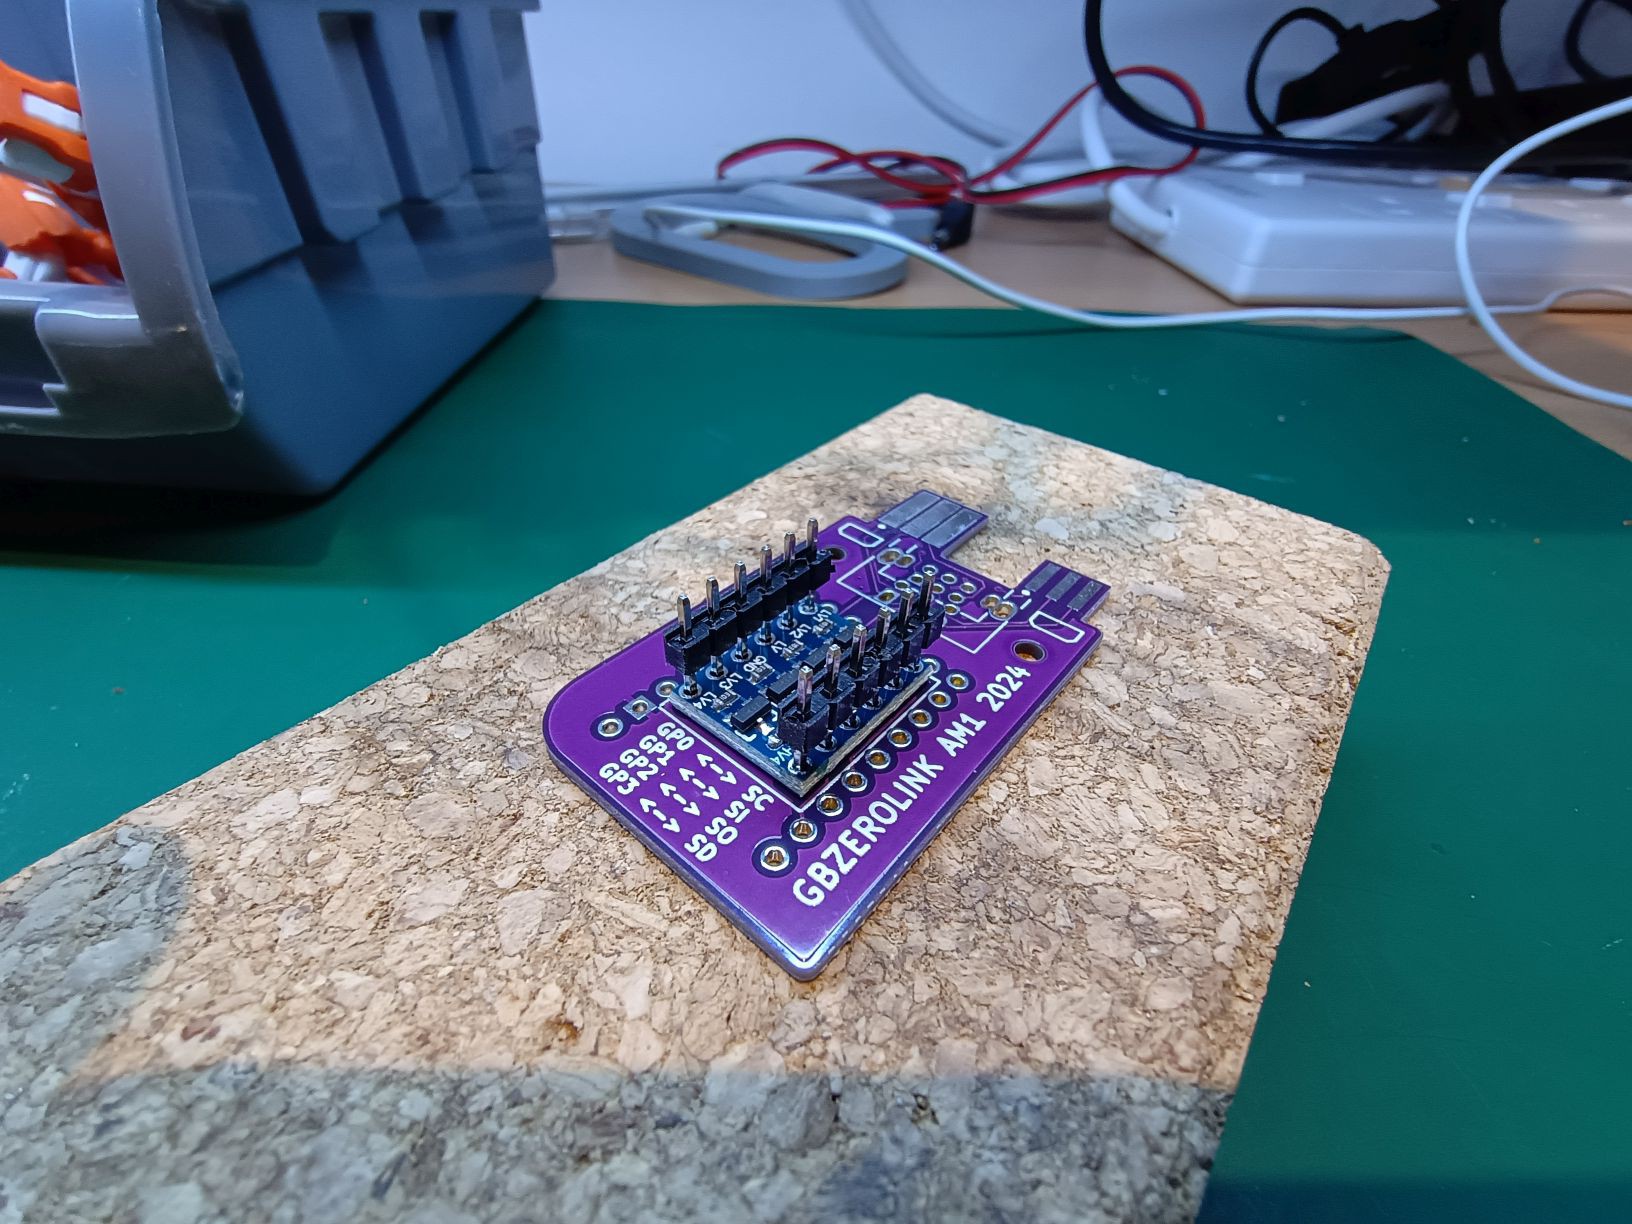
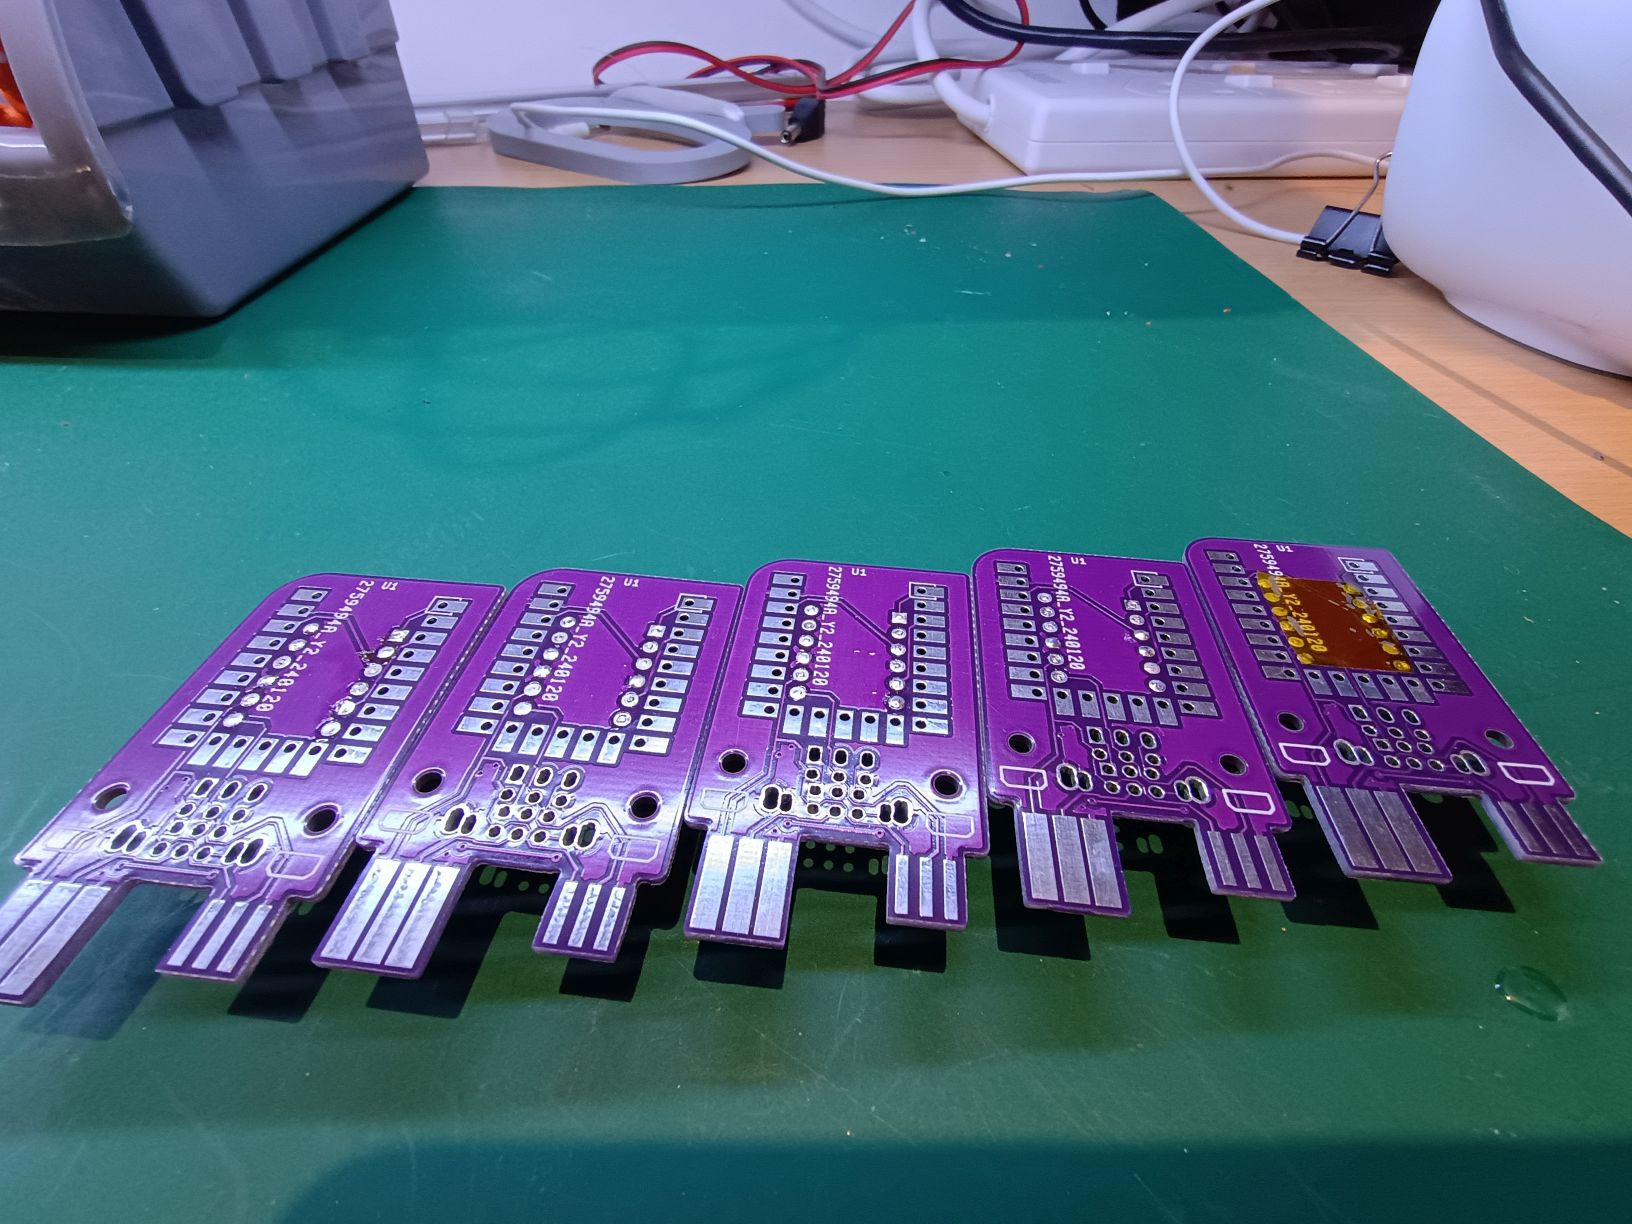
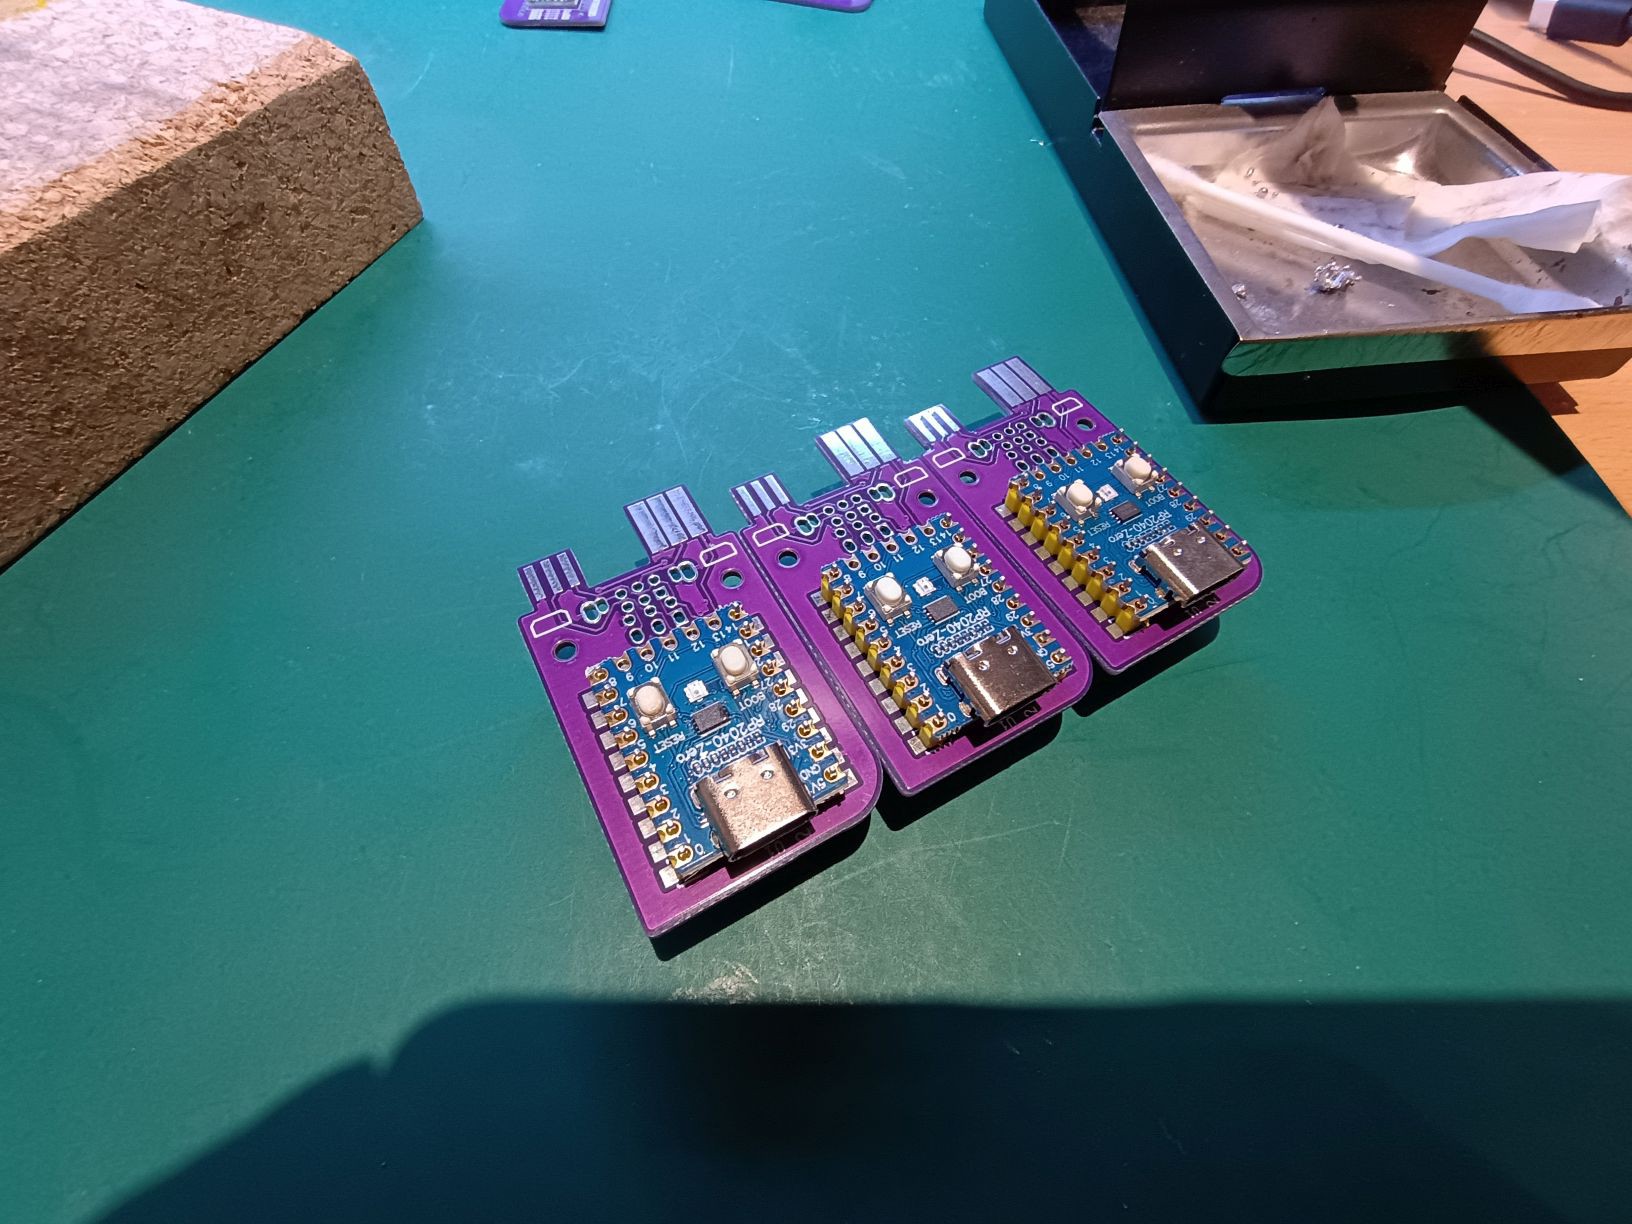
Features
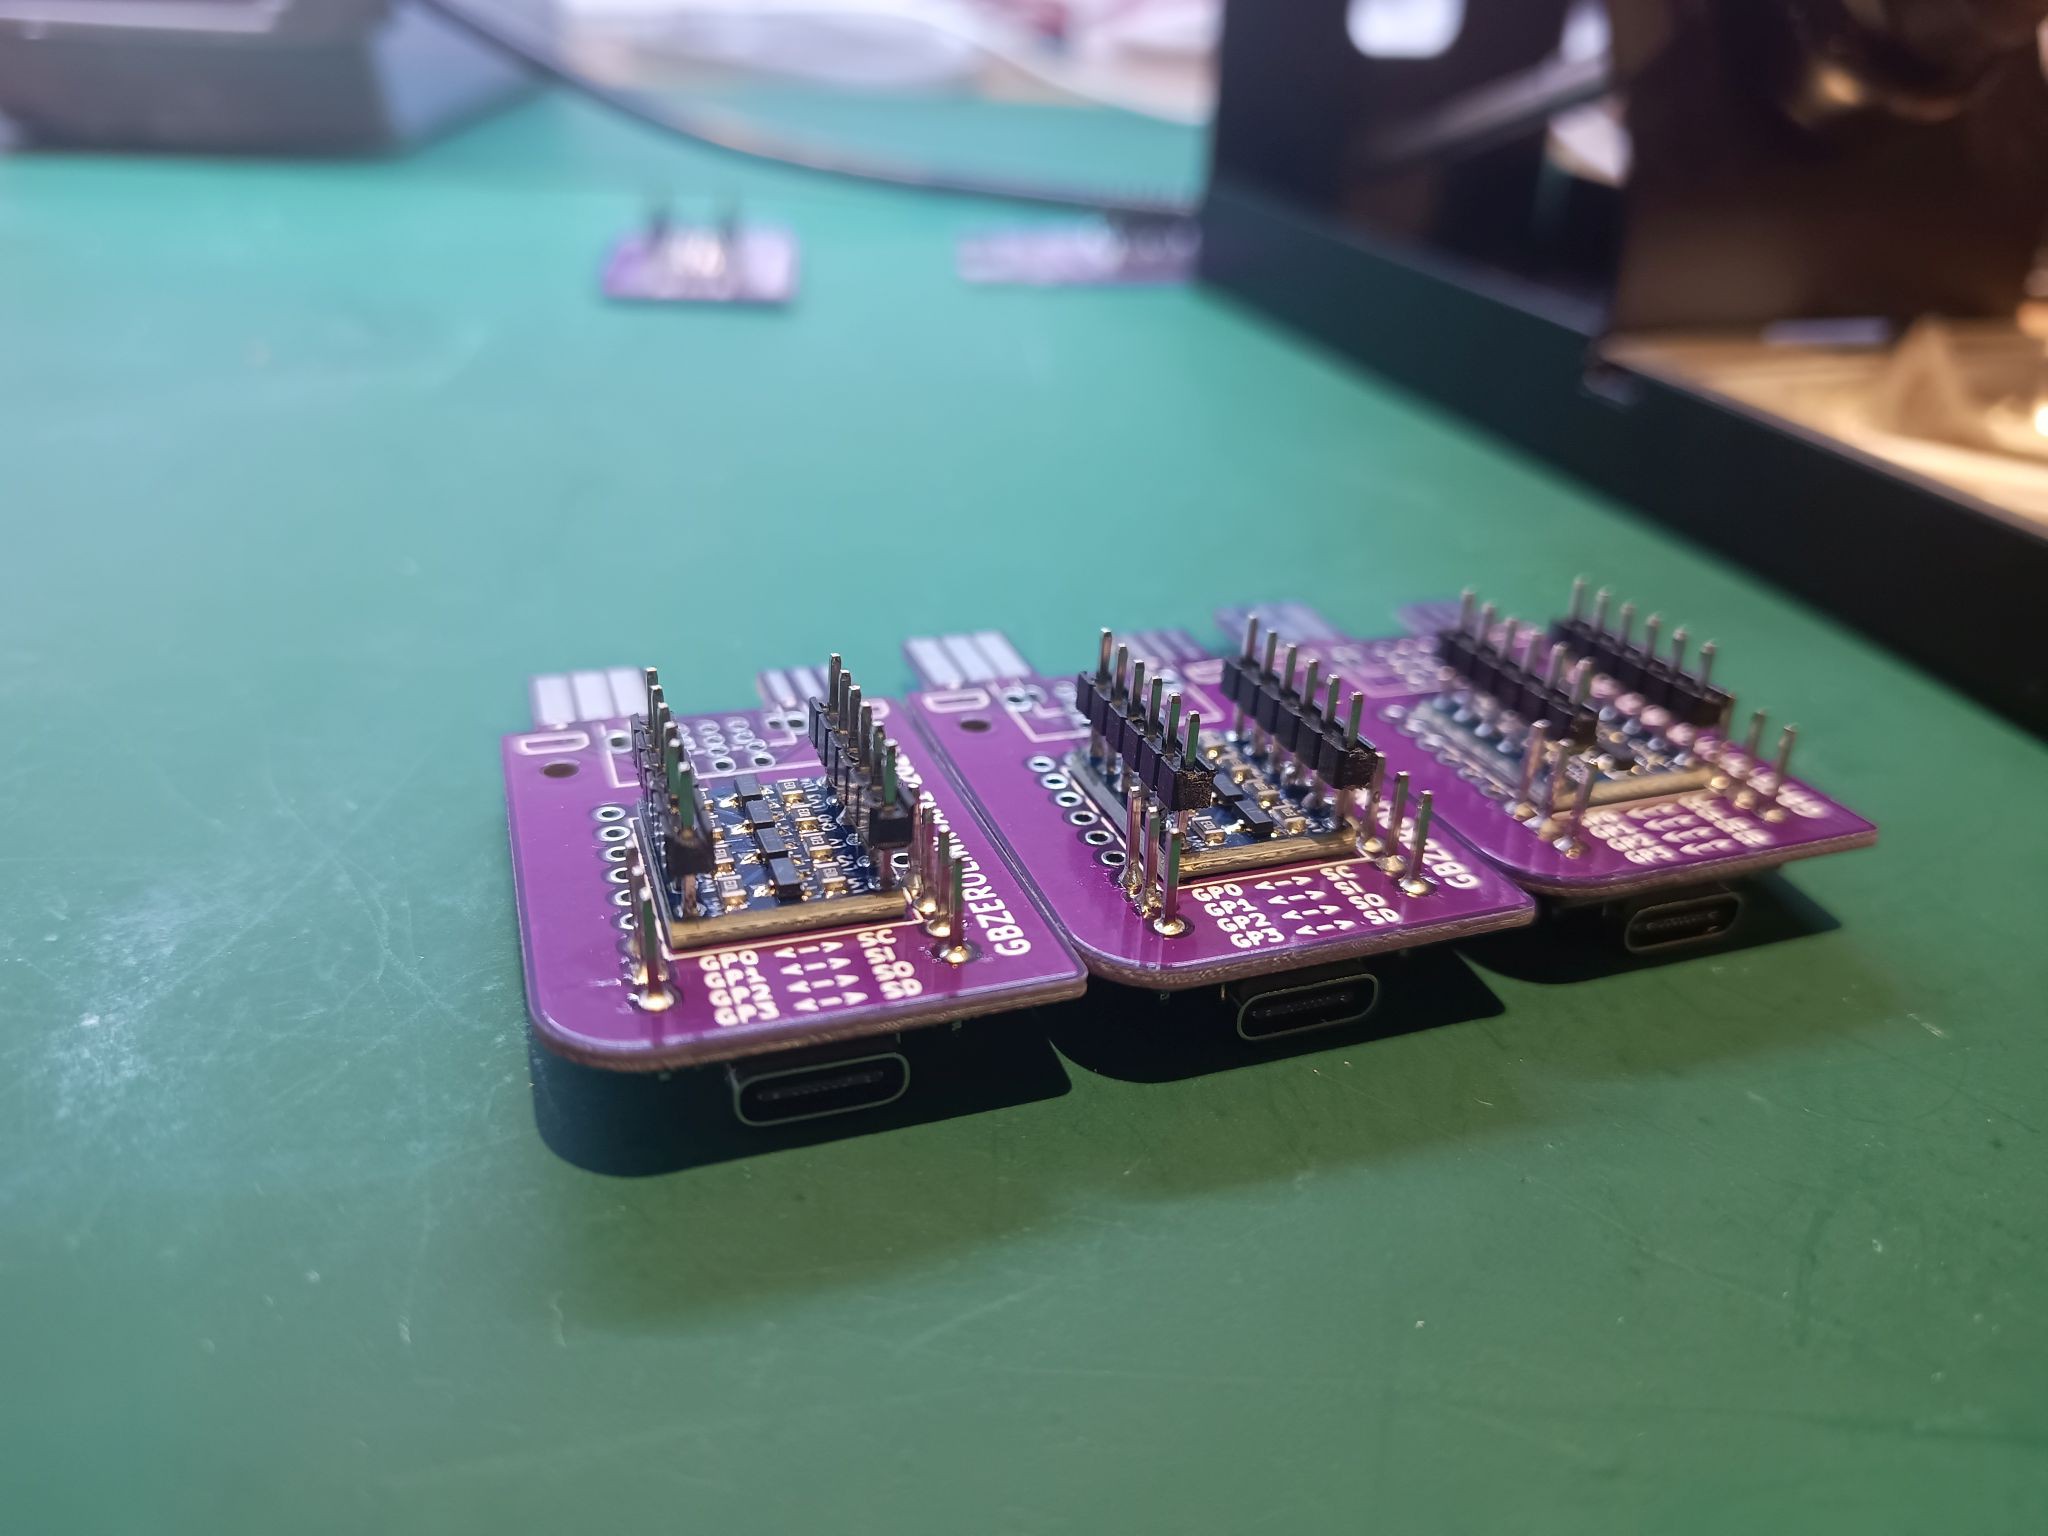
- USBC port - to connect to a PC or Phone.
- GBC / GBA / DMG Link port - auto select voltage for the level shifter 3.3V / 5V.
- Functional Dpad and AB Buttons - RESET and BOOTSEL respectively.
- RGB LED - visible through the translucent "LCD" screen, color change possible via BOOTSEL button.
- Removable Cartridge - a Game Boy isn't complete without game cartridges :)

 Miroslav Zuzelka
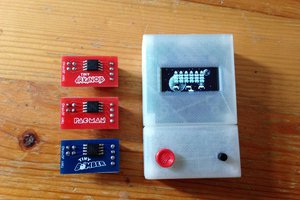
 megazoid
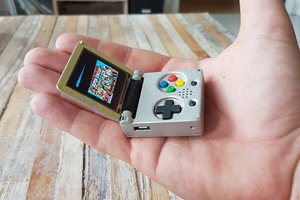
 c.Invent
 sjm4306
Cool!