 frankstripod
Welcome to the Teensy USB Development Board Bragging Project Log. My Teensy 3.1 was just delivered, and I love it so much that I am dedicating this project log to unboxing and testing.
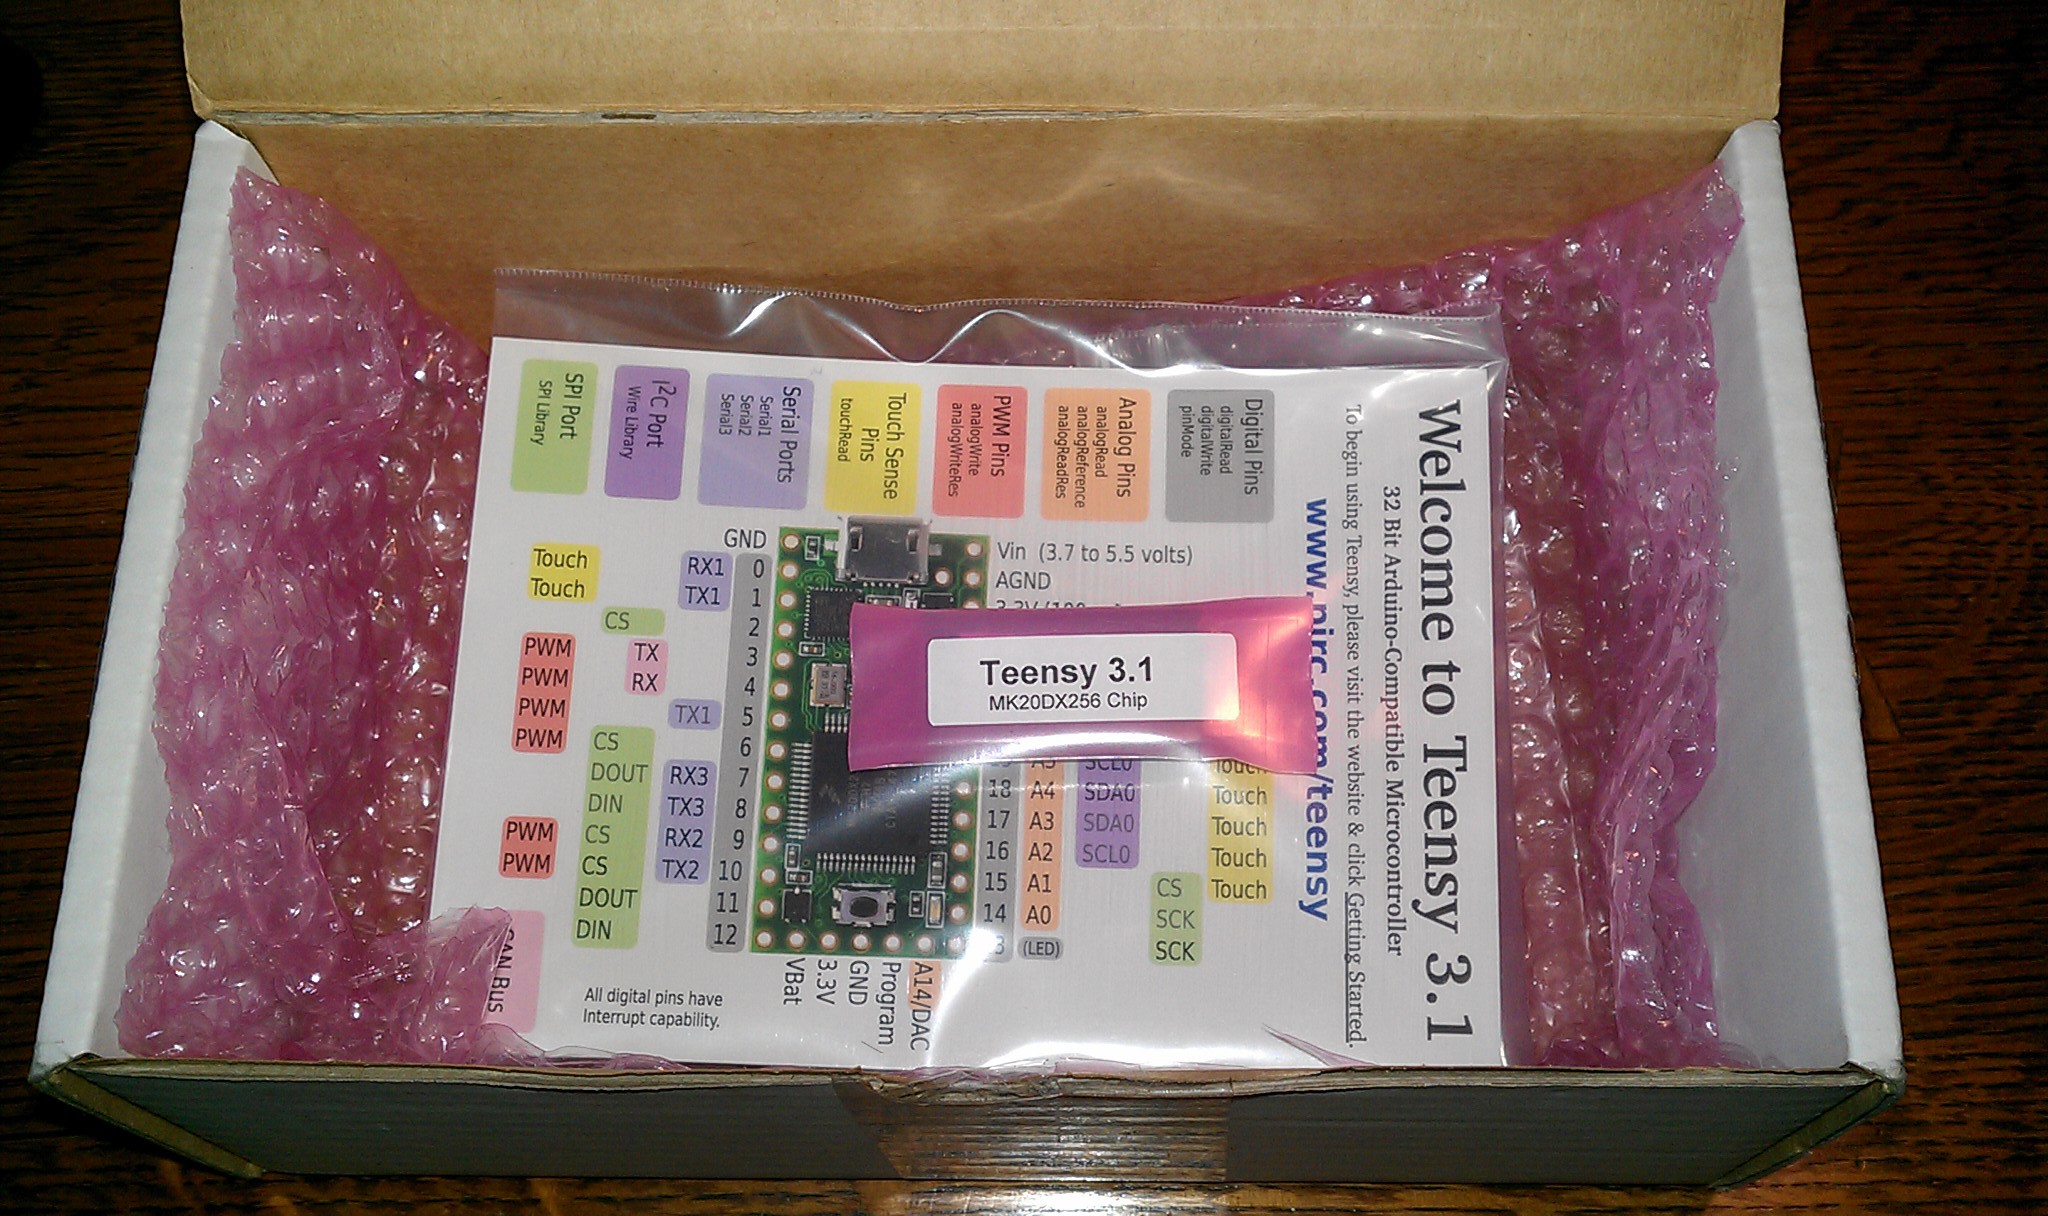
I ordered it direct from pjrc.com. Pictured below it arrived in its shipping box with plenty of packing, The contents were simple, just the Teensy, an invoice, and a laminated pinout card that was super handy on my desk.
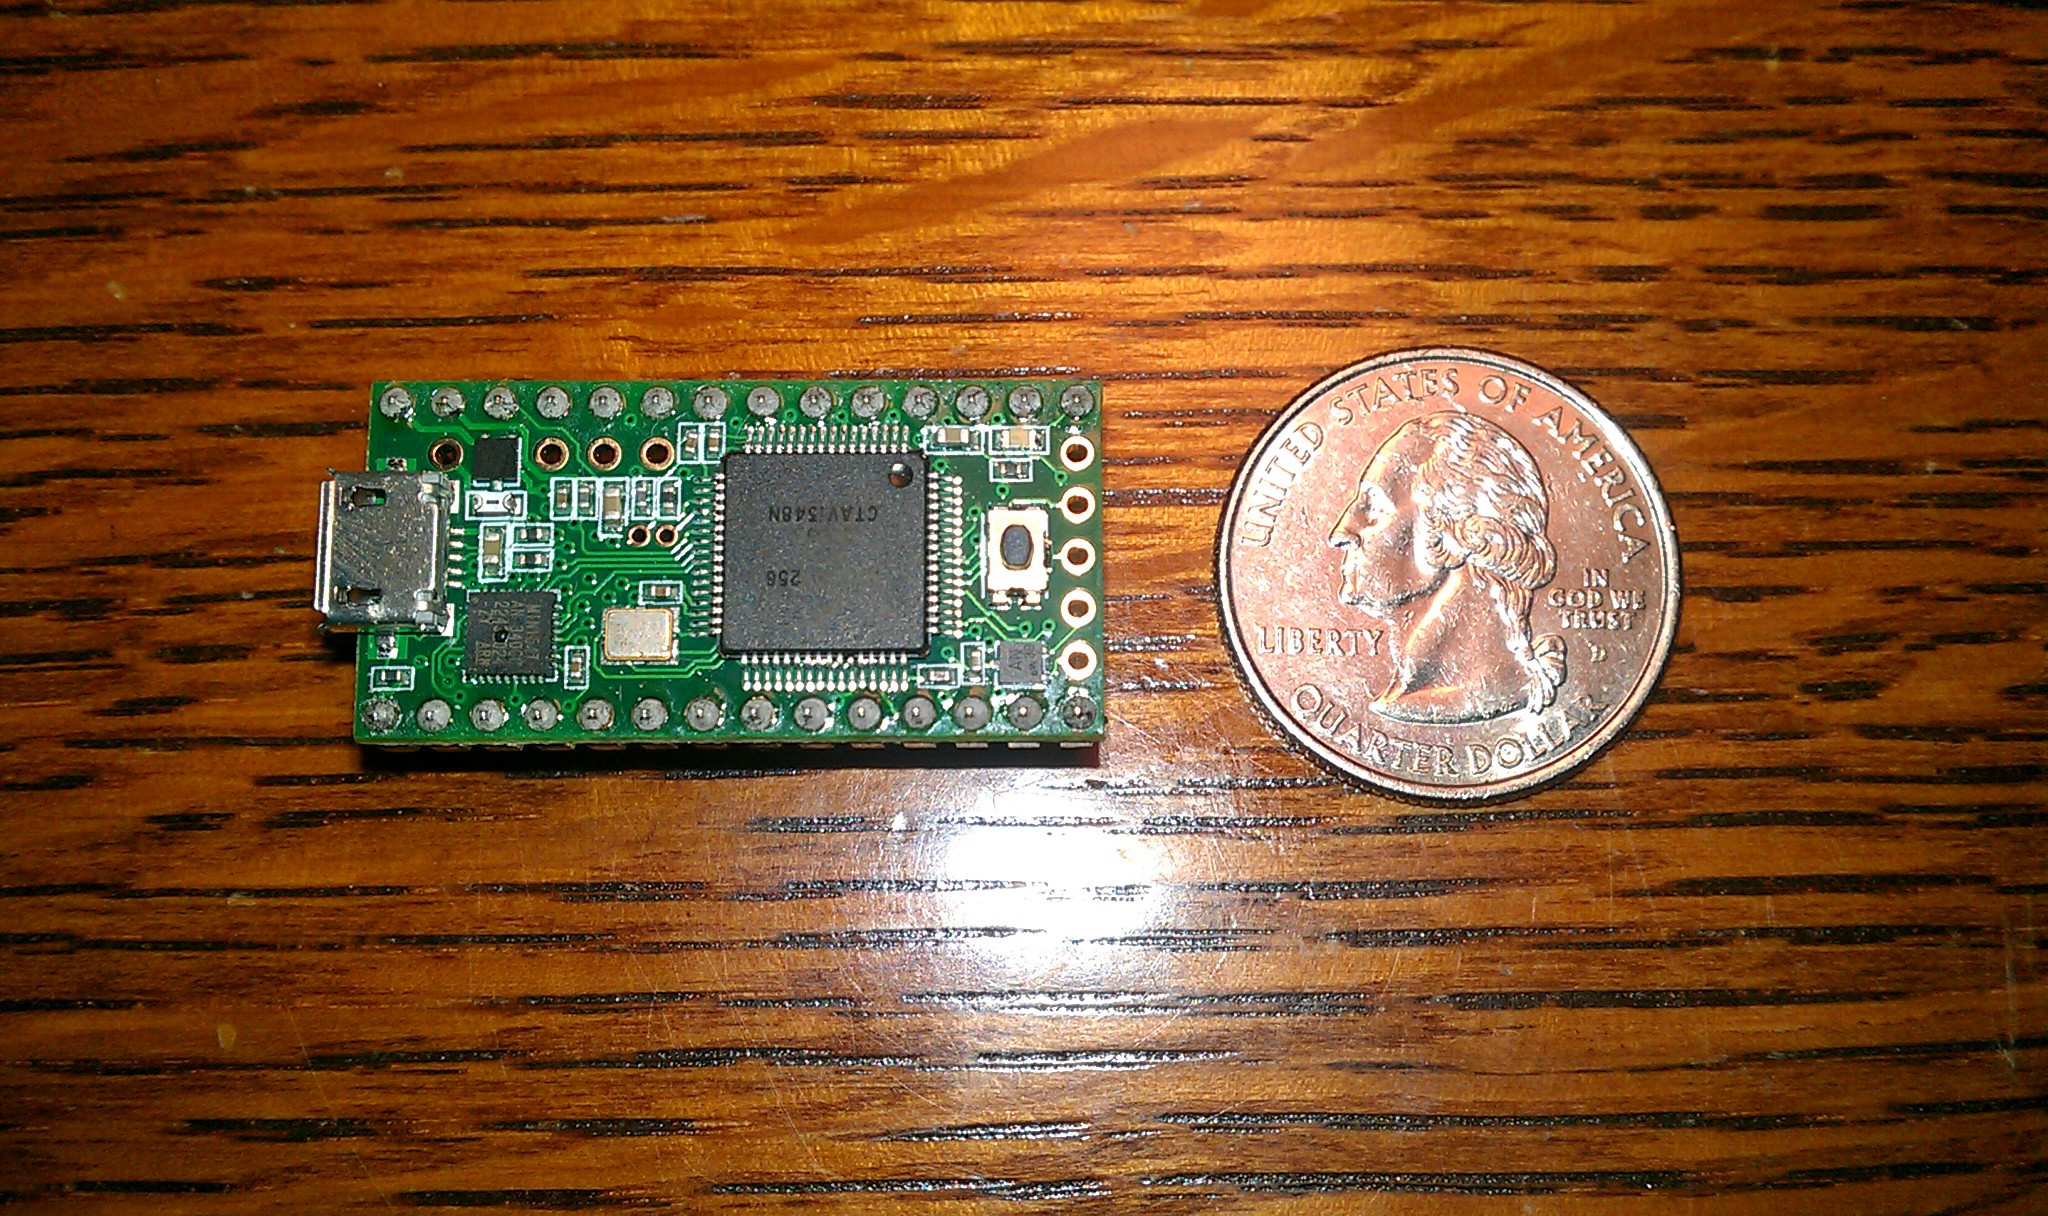
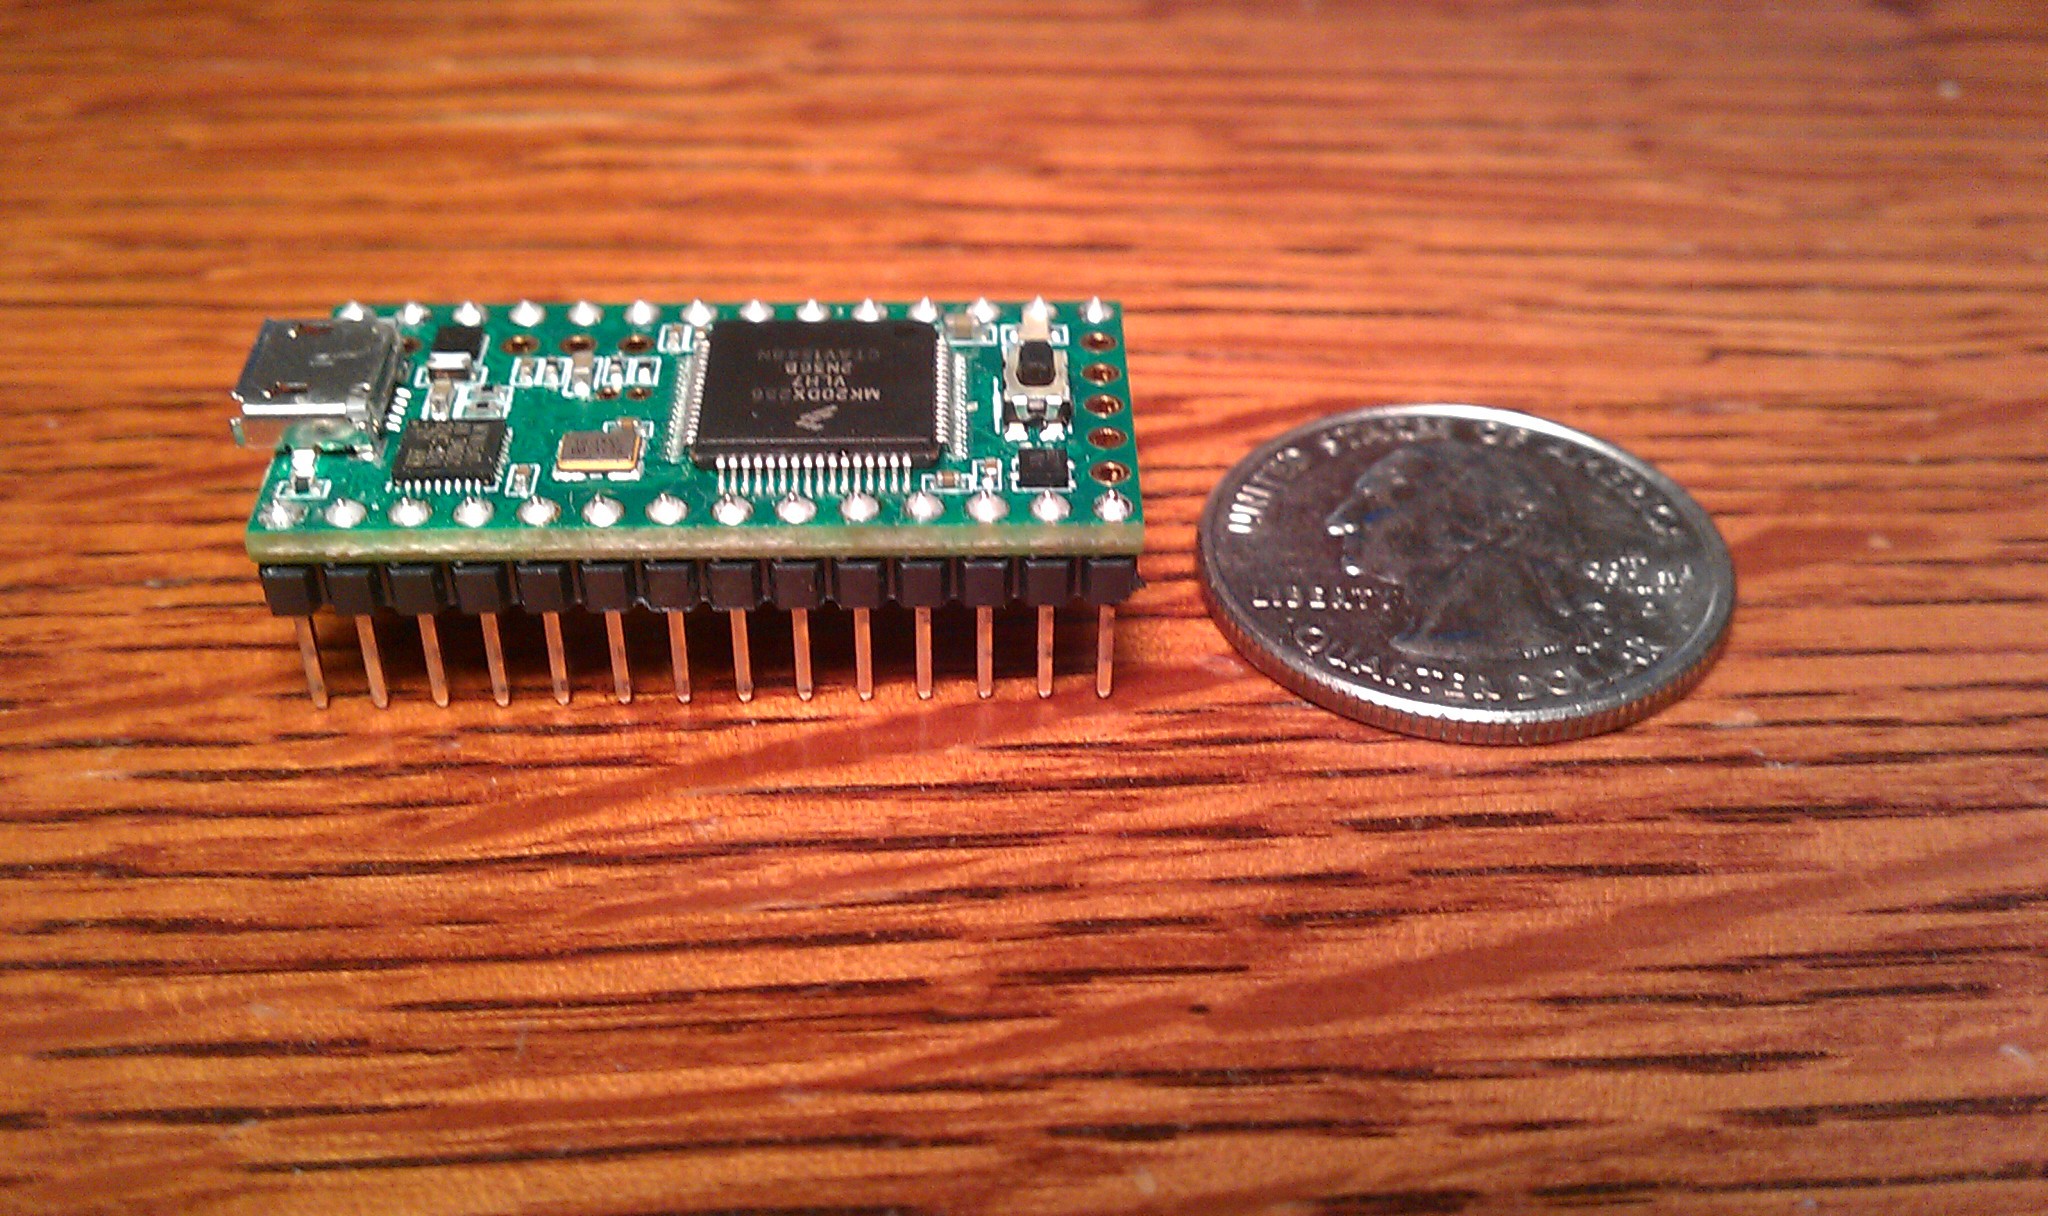
It is even more surprisingly teensy in real life. The size makes me think of concealing it in with other objects, like a TV remote, mouse, keyboard, multimeter, hard drive enclosure, or anything that has a little extra room inside it.
I ordered it with the pins already soldered on, so getting setup was really easy. I plugged it in my breadboard, found a USB cord and downloaded the software; Arduino 1.0.5 for Windows7, and teensyduino 1.18. I also had a multimeter and some scavenged electronic parts.
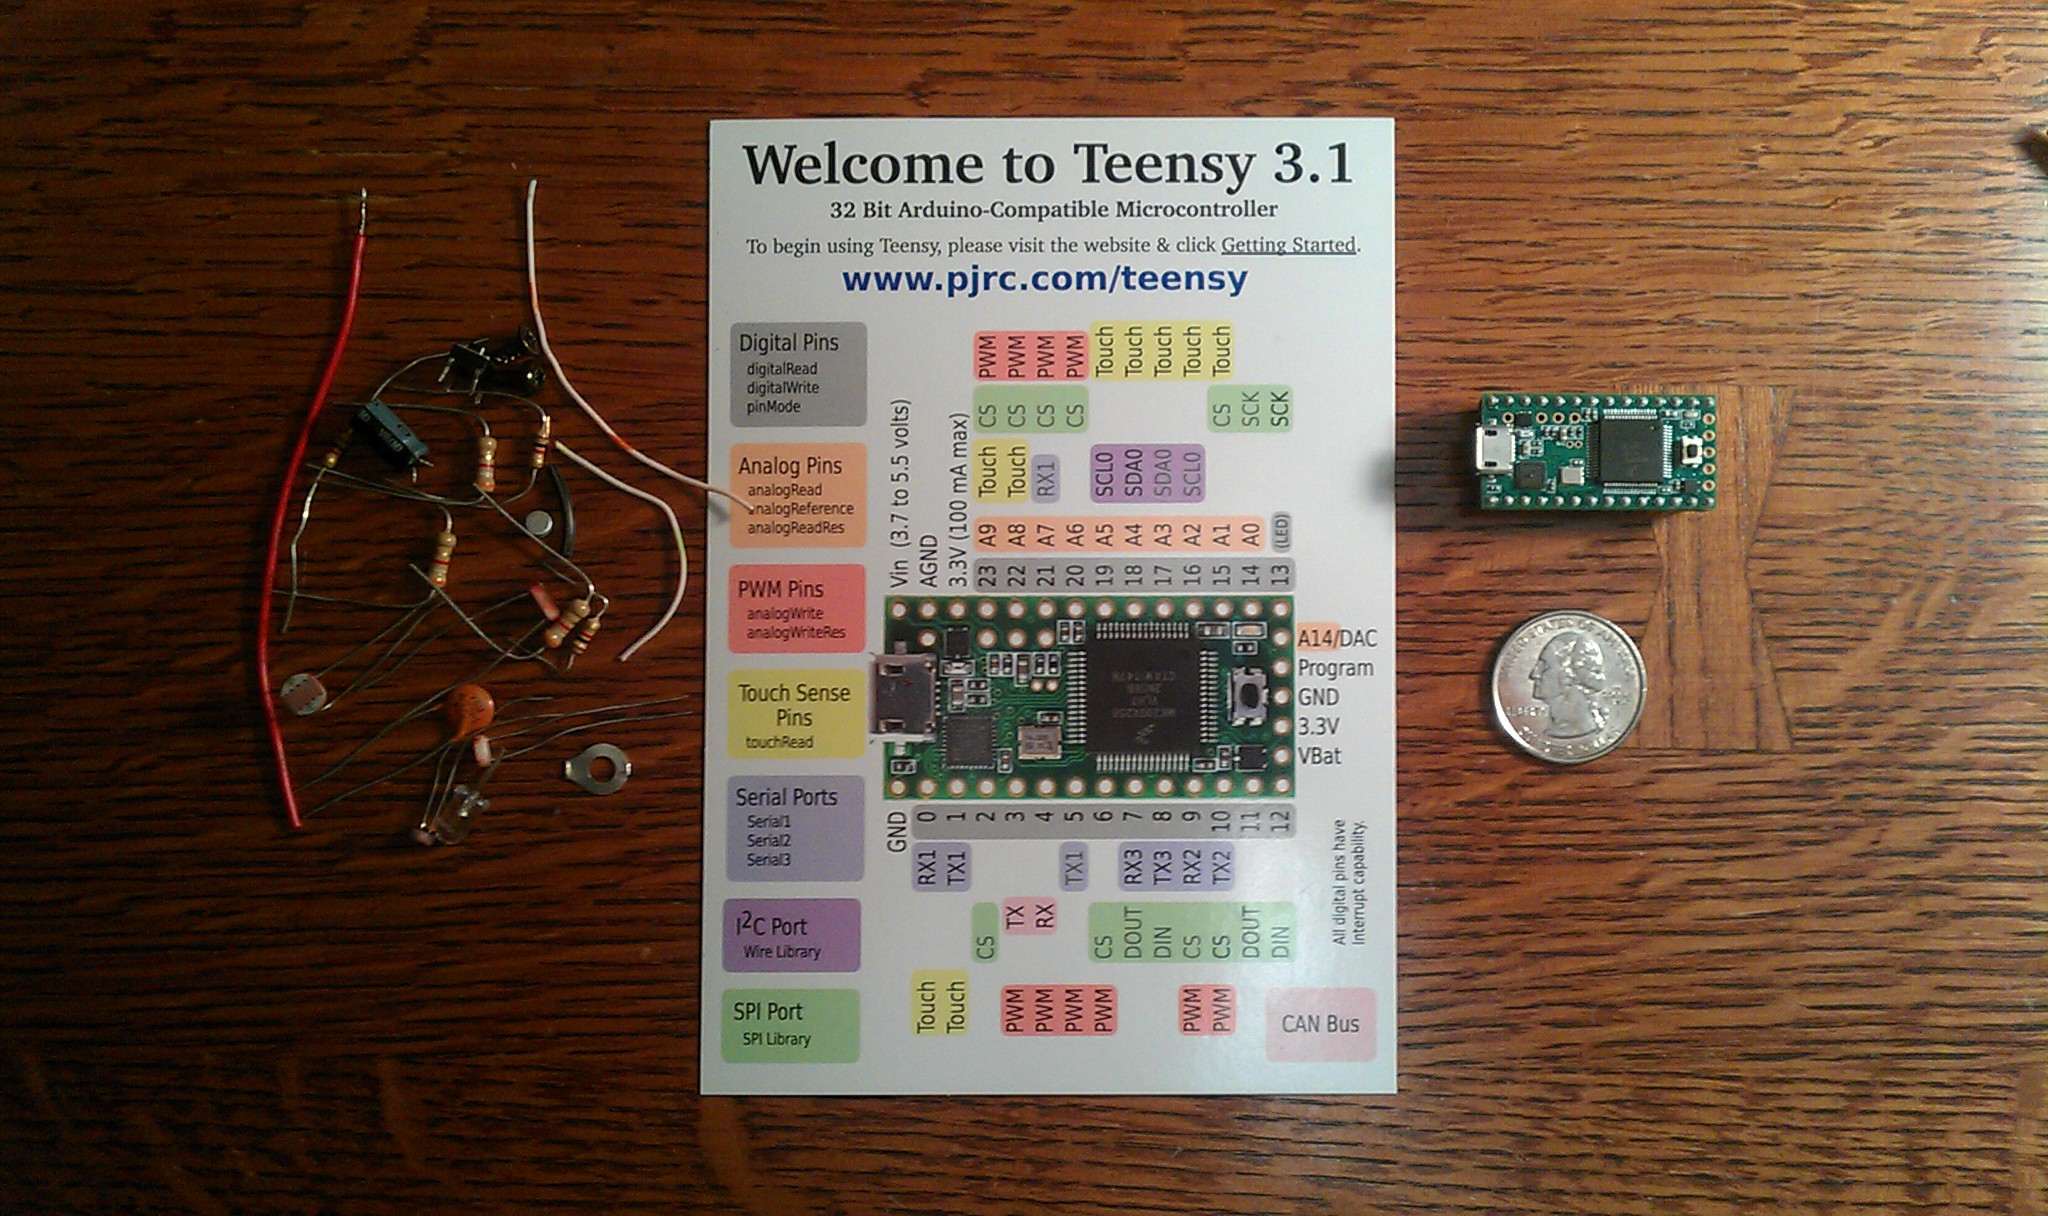

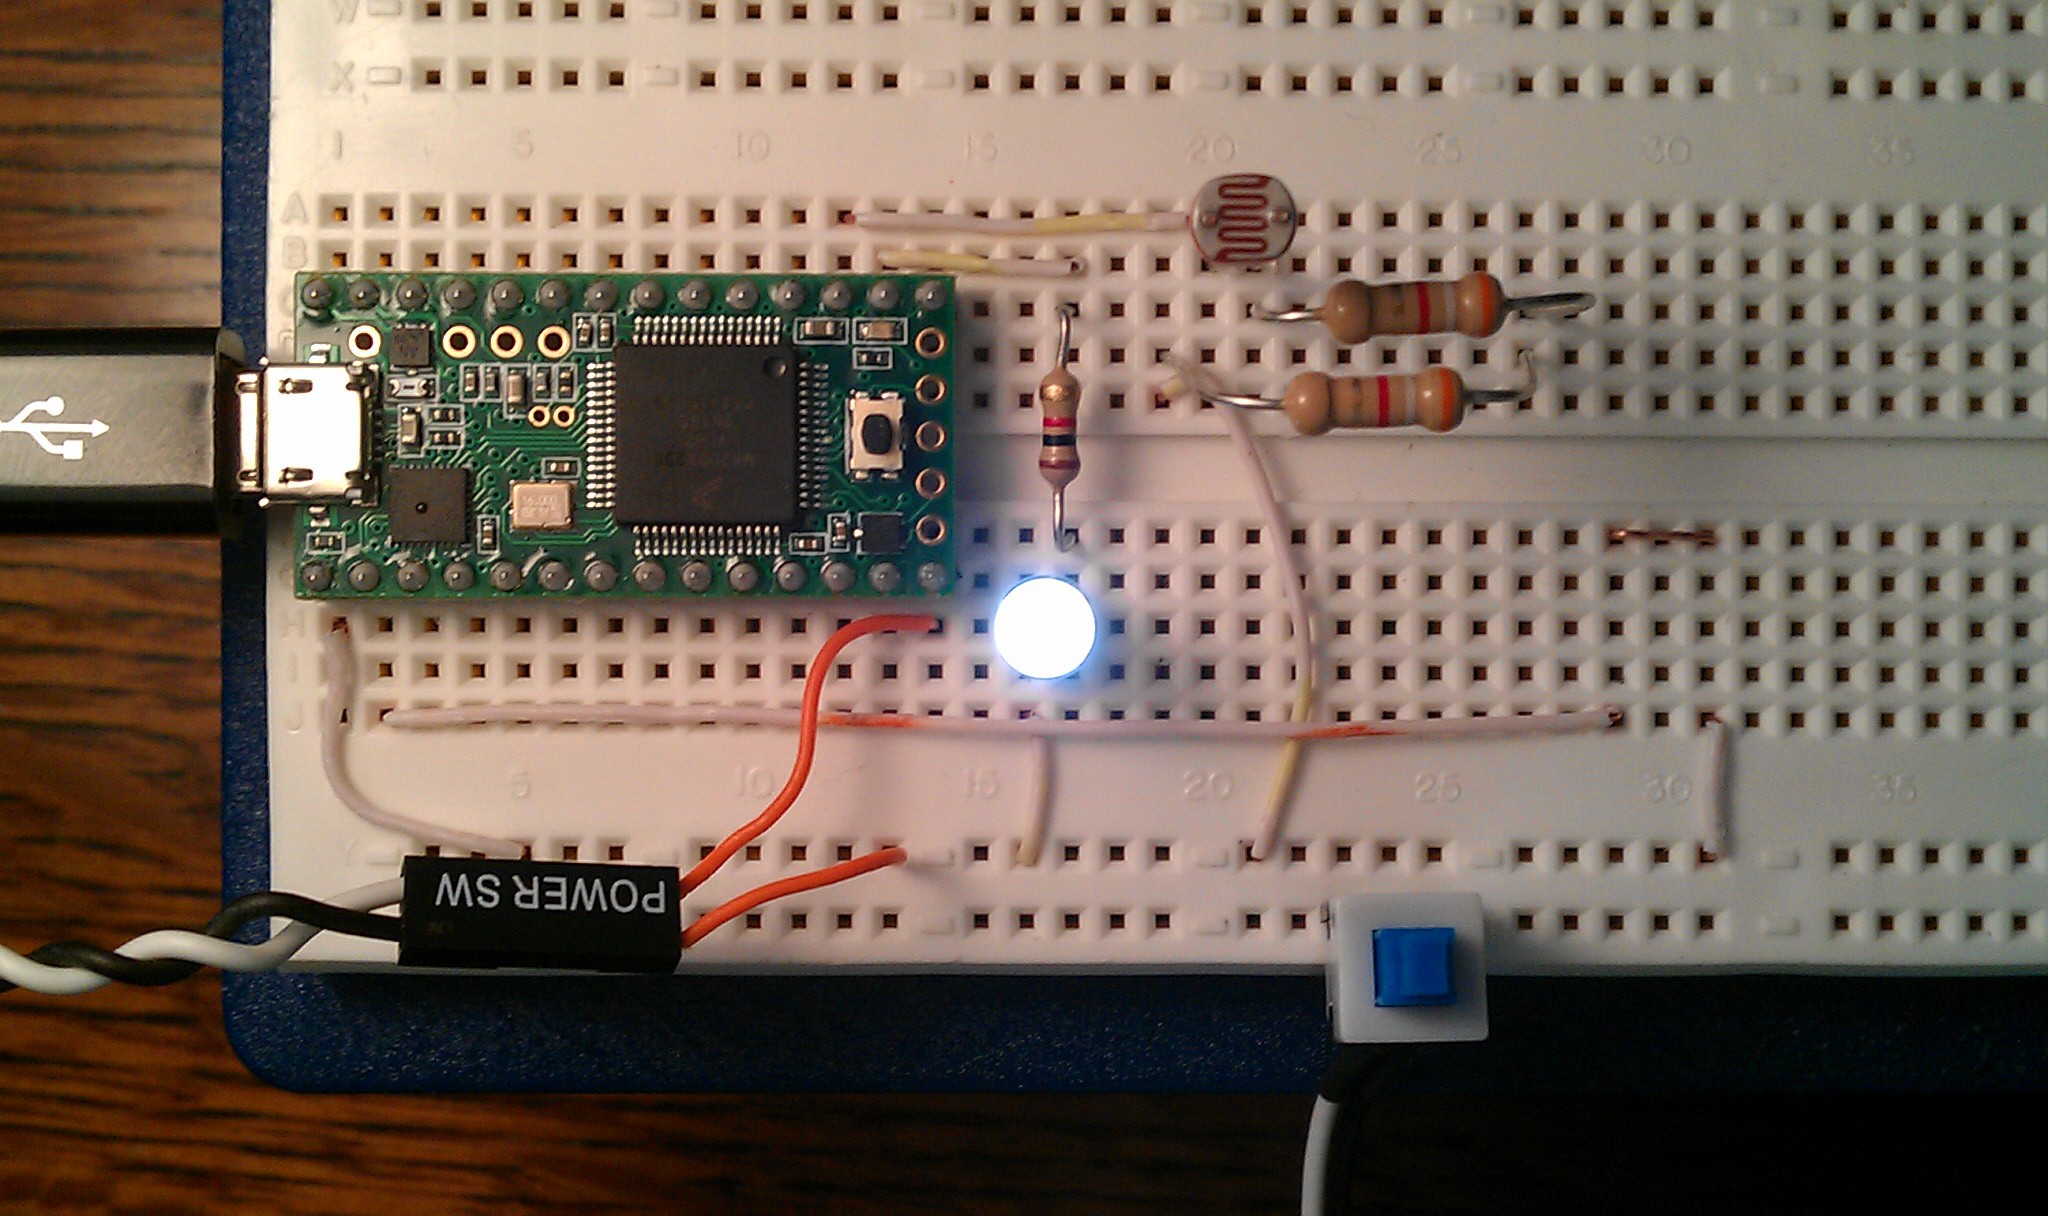
To get started, all I did was read the tutorials at pjrc.com, visited the forum, and skimmed thorough the getting started and reference at arduino.cc. After that I was copying and butchering code like a pro, and made more than a dozen working circuits and sketches all in a day. Pictured below is an LED toggled on or off by a momentary switch, the wave of a hand over a photoresistor, or the touch of a wire attached to one of the touch sensors.
While browsing the pjrc forum, I found a problem that could have killed my project. Paul was already working on it and has quickly posted a patch that solves all of my problems. This is going to be perfect for my mouse project.
Overall first impressions: easy to setup, easy to use, great support, very small and inexpensive. I would highly recommend it.
Discussions
Become a Hackaday.io Member
Create an account to leave a comment. Already have an account? Log In.