 Johnny
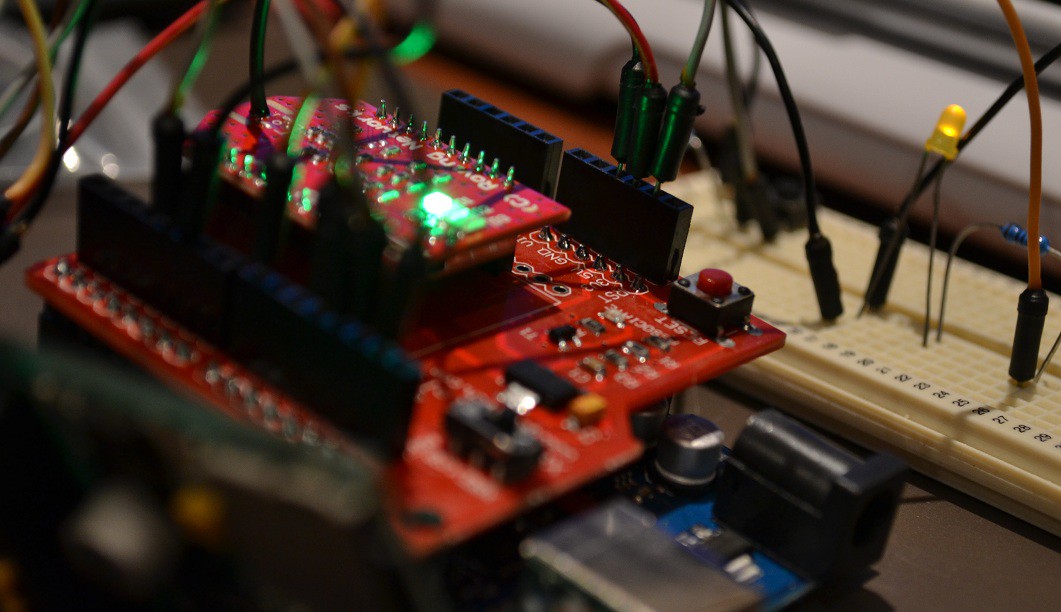

A lot of embedded/home-automation server demos and tutorials with WiFly and arduino use html forms with submit buttons on their websites to send HTTP 'GET' or 'POST' requests to change an output on the arduino, and in turn reload the entire page with updated statuses (inputs and outputs). This is OK, it's simple, but how will you know when an output changes external to the website?, e.g. a button on the arduino turns on an LED. Also each time you push a website button, you need to reload the entire page! This is a huge waste of processing time and more importantly, your time!. This "form submit" method is primitive..
The ideal embedded/home-automation web server's page has buttons that immediately effect the outputs in the real world. Also the outputs and inputs are known and are being displayed in real-time, all the time.. Read on to know how this can be done...
So I've been developing using the Asynchronous JavaScript and XML method, "AJAX!", to do these tasks. This means NO RELOADING. I can effect the arduino's outputs, and get regular updates automatically of the current states of the inputs and outputs and display them almost immediately, and no reloading :).
To do this a clients browser needs to create an XMLHttpRequest() object in javascript. This is used to send and receive data from a server, no reload (sorry for repeating myself).
Here's some example code:
An AJAX "GET" request in your javascript code will look something like this:
var xmlhttp = new XMLHttpRequest();     // Creates a new XMLHttpRequest object
xmlhttp.open("GET","wepage.htm",true);  // Use open, with the method "GET" or "POST",
xmlhttp.send();                         // the page you're requesting, and asynchronous or
                                        // synchronous. Finally, send it.
Upon the WiFly module receiving the request, the module will send something like this over serial to the arduino:
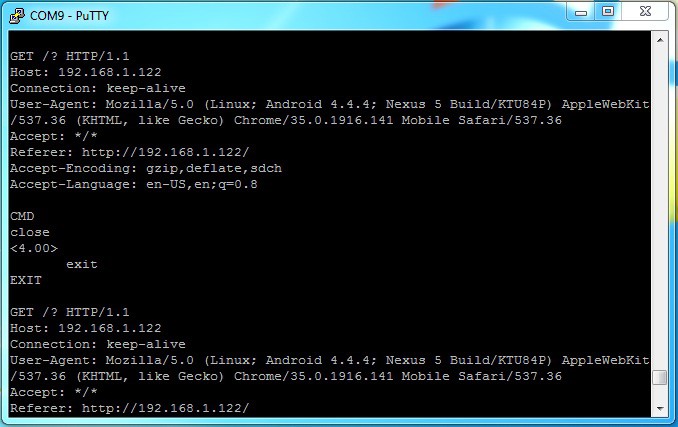
GET /wepage.htm HTTP/1.1 Host: 192.168.1.122 Connection: keep-alive User-Agent: Mozilla/5.0 (Linux; Android 4.4.4; Nexus 5 Build/KTU84P) AppleWebKit/537.36 (KHTML, like Gecko) Chrome/35.0.1916.141 Mobile Safari/537.36 Accept: */* Referer: <a href="http://192.168.1.122/">http://192.168.1.122/</a> Accept-Encoding: gzip,deflate,sdch Accept-Language: en-US,en;q=0.8<br>
Now the arduino is sitting there waiting for a particular sequence of characters, maybe "$1":
GET /$1
and this could mean to the arduino, "turn on LED1".
Likewise, if the arduino see's the following, it could mean, "I want to know the status of everything":
GET /?
If the website needs text in its response from the WiFly, like the example above, after the arduino has detected "GET /?", the arduino would respond with something like:
arduino code:
if(digitalRead(8)==0){
    Serial.print("off");
}
else{
    Serial.print("on");
}
delay(300);
Serial.print("$$");
delay(300);
Serial.print("close\r\n");
Serial.print("exit\r\n");


result:
on$$close
exit
Where "on" is the text sent back to the website. After that, there is a pause of 300ms, then the arduino sends "$$" followed by another 300ms delay. This puts the WiFly into command mode (the stuff just sent won't go through, don't worry) where the TCP connection can be closed ("close") and then command mode exited again ("exit") ready for more requests.
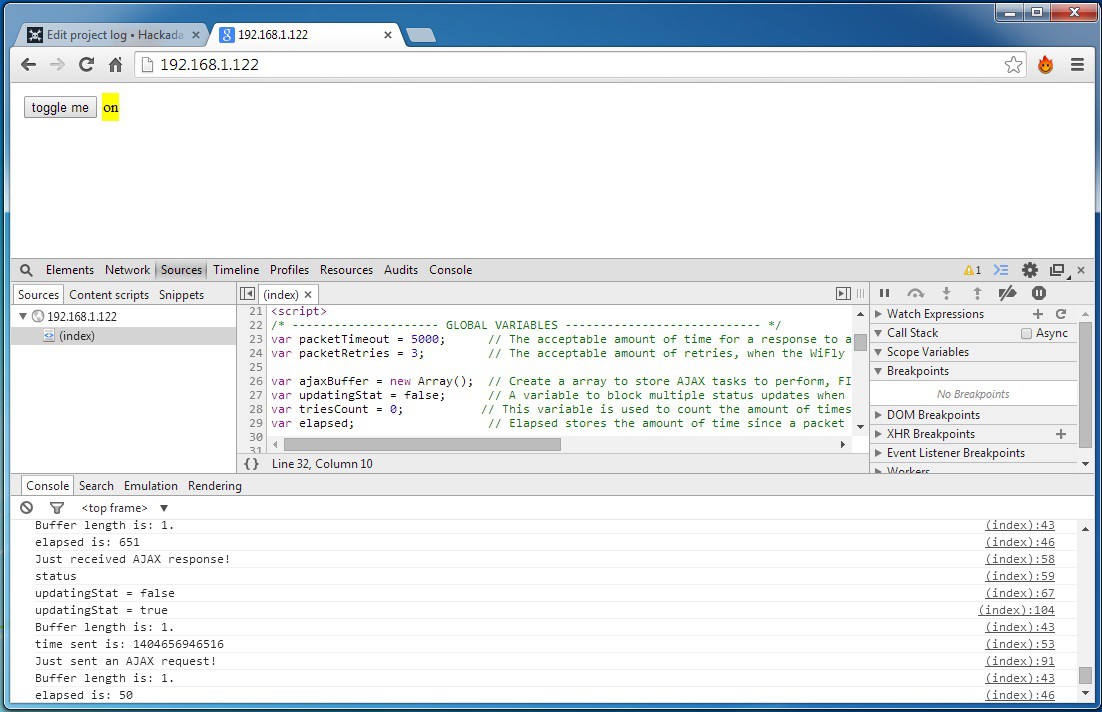
Meanwhile the clients web browser is there waiting for the response, in some sort of javascript loop:
if(xmlhttp.readyState == 4 && xmlhttp.status == 200){          // If the response is ready
    document.getElementById("status").innerHTML = xmlhttp.responseText;
    xmlhttp.abort();                          // Put the captured text inside the html
    xmlhttp = null;                           // element with the id "status" and
}                                                 // end the session.
When the browser receives the response successfully, the property "readyState" will equal 4 and "status" 200. Then you can grab the response text, place it inside an HTML element, and end the session.
This is the basics of AJAX and basis of achieving a pretty good embedded/home-automation web server. With the main goal of no refreshes.
Working Webpage and Arduino CODE:
If you want to check out my code for a simple embedded server that turns an LED on and off using AJAX and has some pretty cool features, such as a looping FIFO buffer for tasks, packet timeouts, and connection loss notification please visit:
https://github.com/johnnydrazzi/simple-WiFly-server
What you will need:
- WiFly Module
- XBee explorer (I use the FOCA v2.2 by Itead Studio)
- XBee shield
- an Arduino of your choice
- SD card & SD Shield (I used one by Mikroelektronika)
- USB to Serial (FT232RL or the like) (optional)
- Jumper wire, breadboard, LED and 330R resistor.
Recommendations:
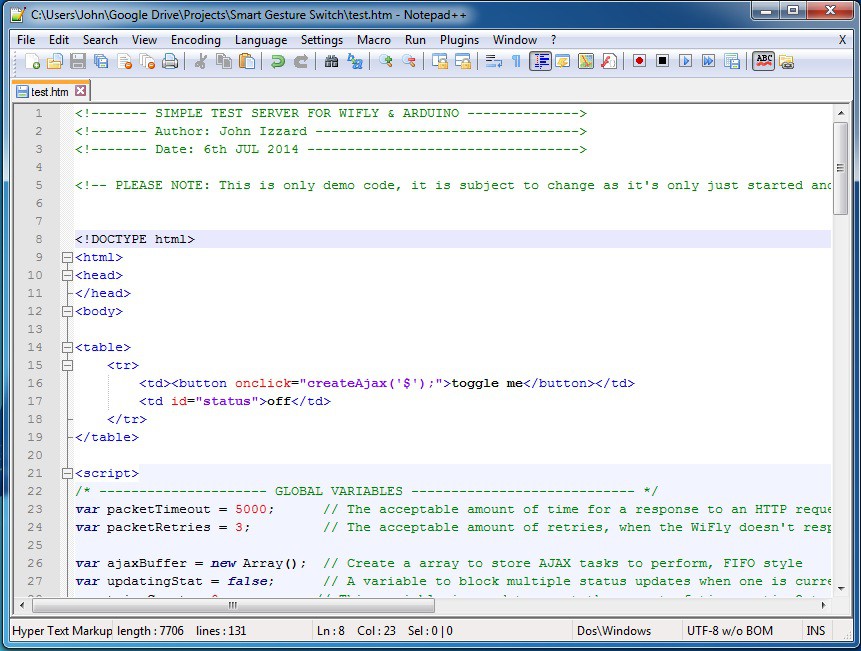
I recommend, if you plan on building your own website, download Notepad++. It's free, easy to use and it will color code your code and help find your syntax errors.
Secondly, download PuTTY http://the.earth.li/~sgtatham/putty/latest/x86/putty.exe. This program is awesome for setting up the WiFly module and sniffing that uart chatter.
Lastly, I use console logs a lot in the javascript code for debugging. Pressing F12 on most browsers will bring up the console.
Discussions
Become a Hackaday.io Member
Create an account to leave a comment. Already have an account? Log In.