 Benjamin Broce
PCBs arrived from OSHPark a bit earlier than expected (past the challenge deadline, but that's my own doing)! Just a bit of cleanup, and they'll be ready for soldering (once the DigiKey order arrives).

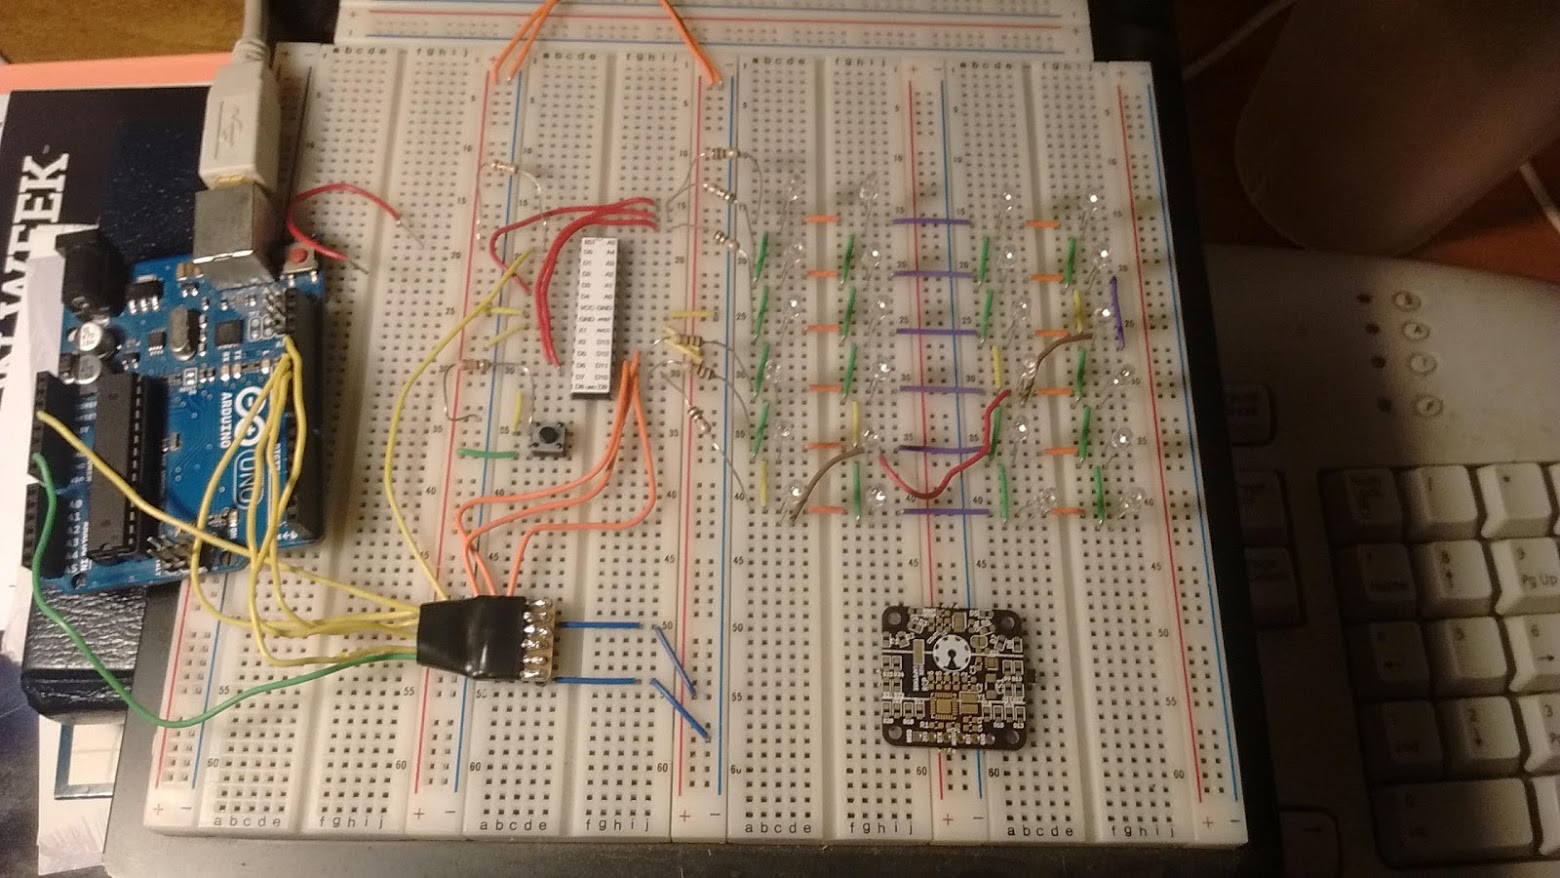 PCB dwarved by it's prototype :)
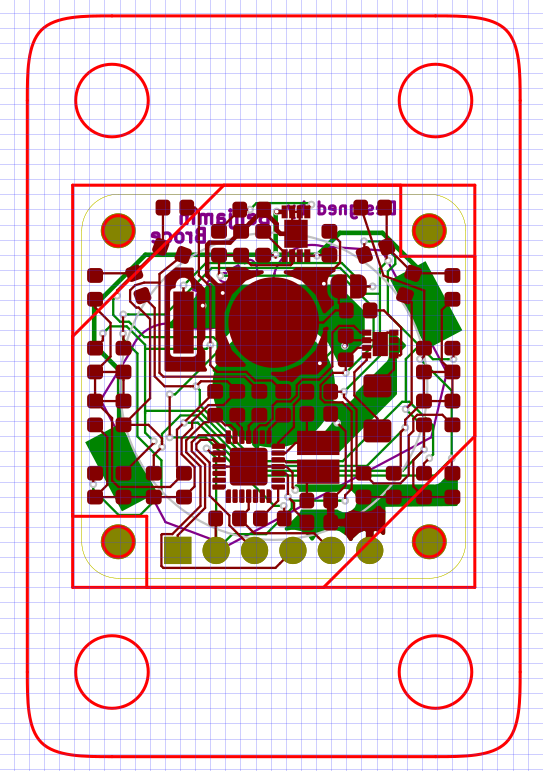
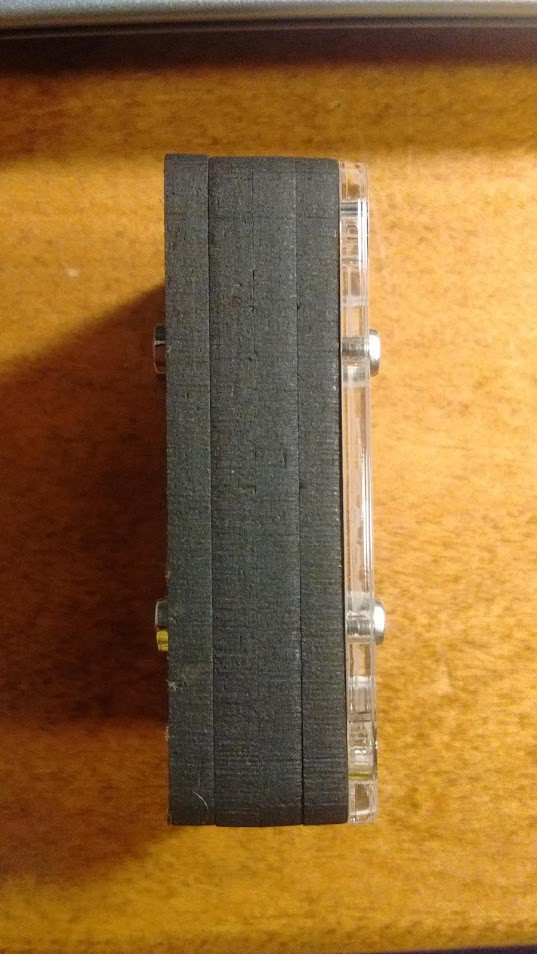
I decided to learn a bit of Inkscape to design my SVGs for laser-cutting an enclosure. I used the tutorials by ATX Hackerspace and Eric Bredder. My idea was to stack 4 layers of 1/8" MDF with a top cover of 2mm Acrylic, which could then be engraved. I accomplished this by exporting an SVG board representation from KiCad, importing it into a layer in Inkscape, and designing each piece of the enclosure in a separate layer, to process and gather into each actual layer of material. The master file (all layers overlayed) ended up like this:
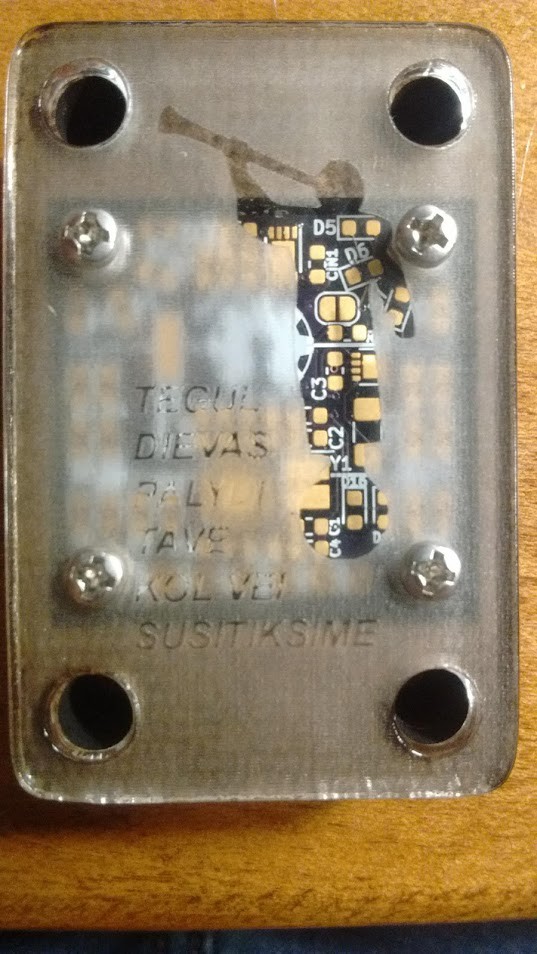
I decided to do a negative raster on the top acrylic layer, such that everywhere my text and images weren't were engraved, to allow more diffuse area for the LEDs to shine through:
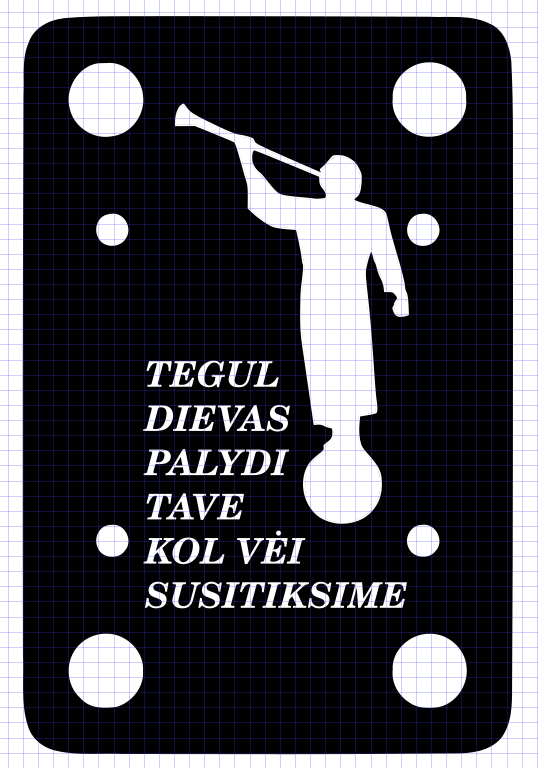
The image is of the Angel Moroni (an important symbol of missionary work in my church), and the text is a translation of "God Be with You 'Til We Meet Again".
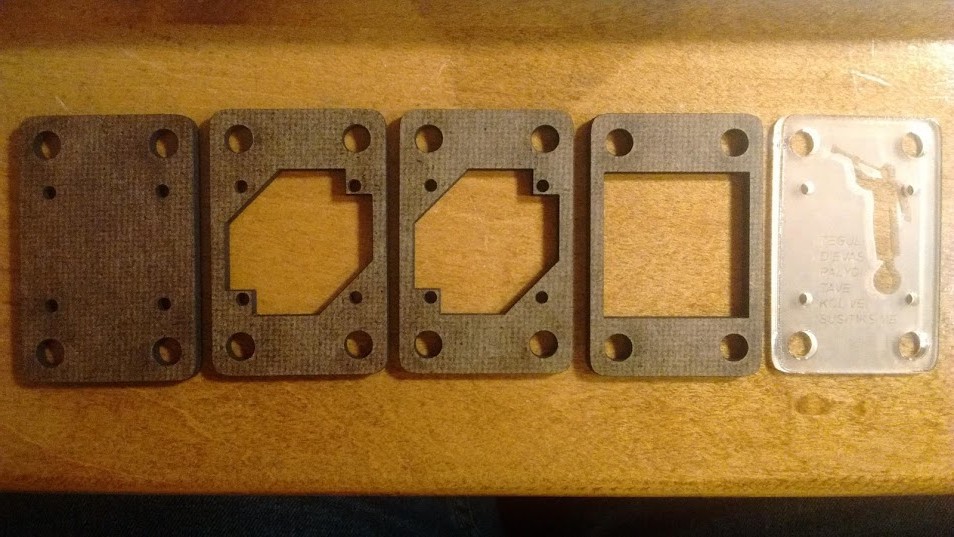
The lasering turned out really well!
Discussions
Become a Hackaday.io Member
Create an account to leave a comment. Already have an account? Log In.