Electroniclovers123
Step descriptions:
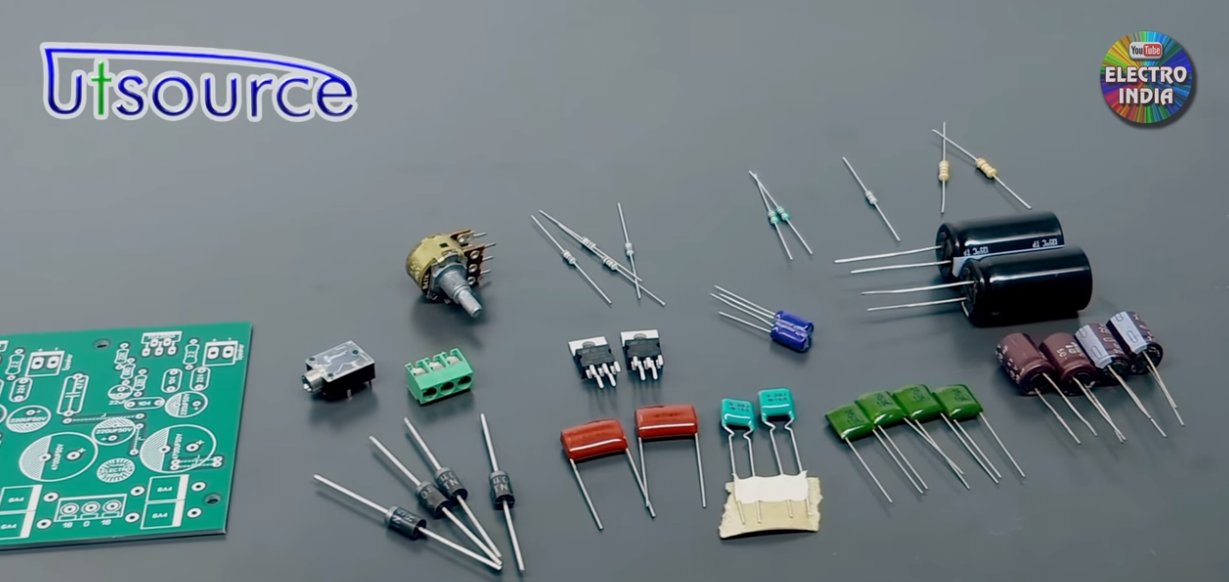
✦Step 1:-Here are all the part we need:
✦Step 2:-Install all the parts on the PCB board.

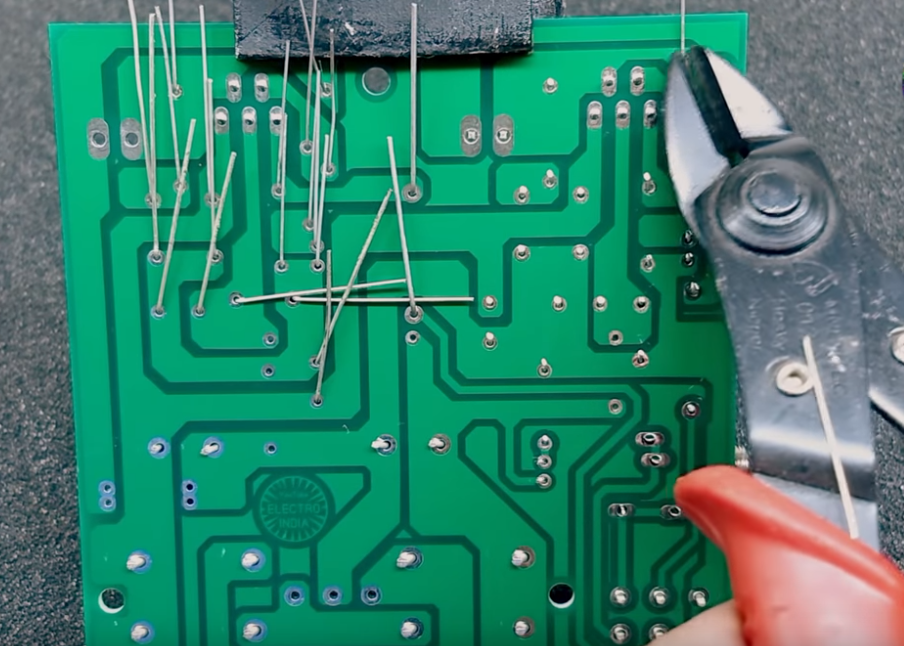
✦Step 3:-Backside, cutting the rest pins.
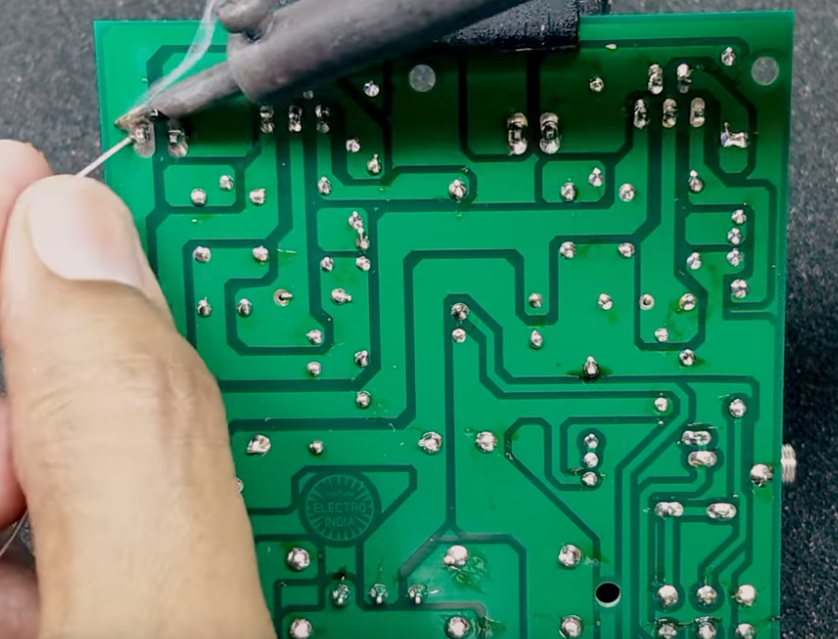
✦Step 4:-Apply liquid flux before soldering.

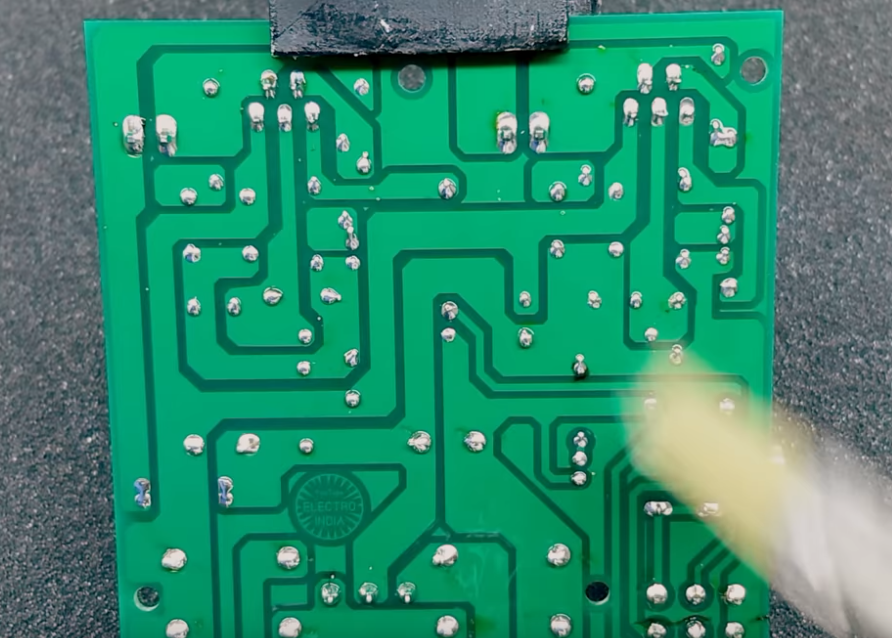
✦Step 5:-Now soldering and wash with thinner after soldering.
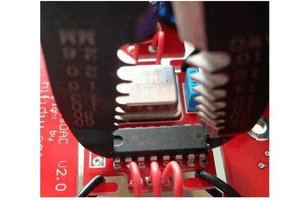
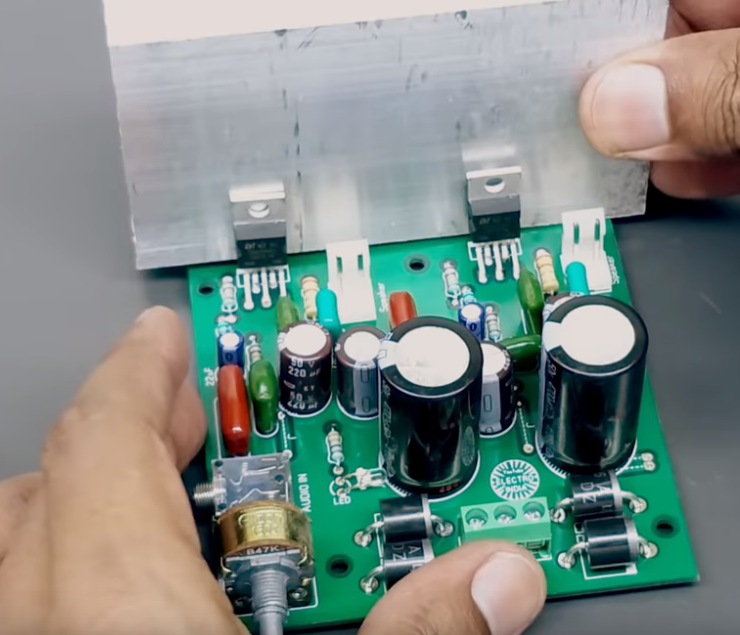
✦Step 6:-The board is ready and attach the heatsink.
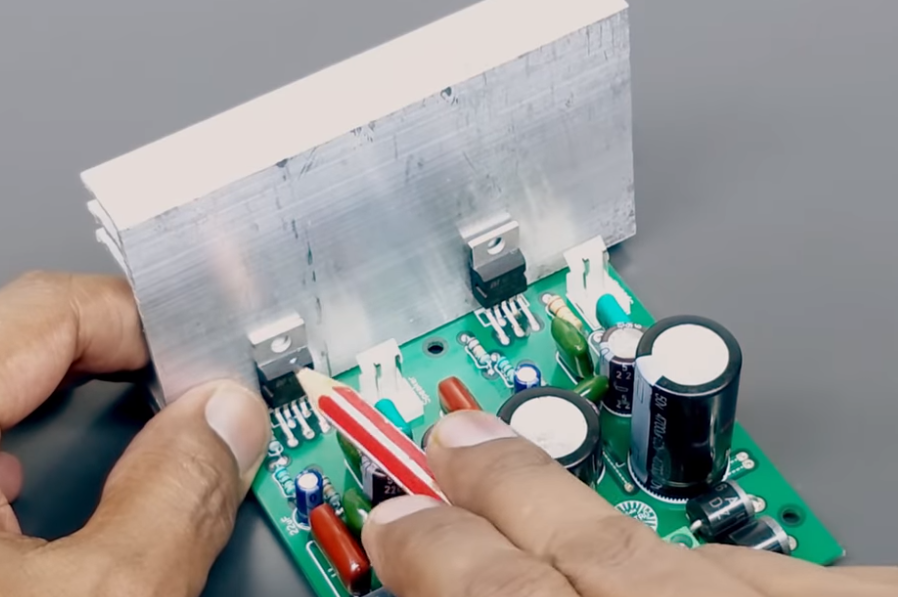
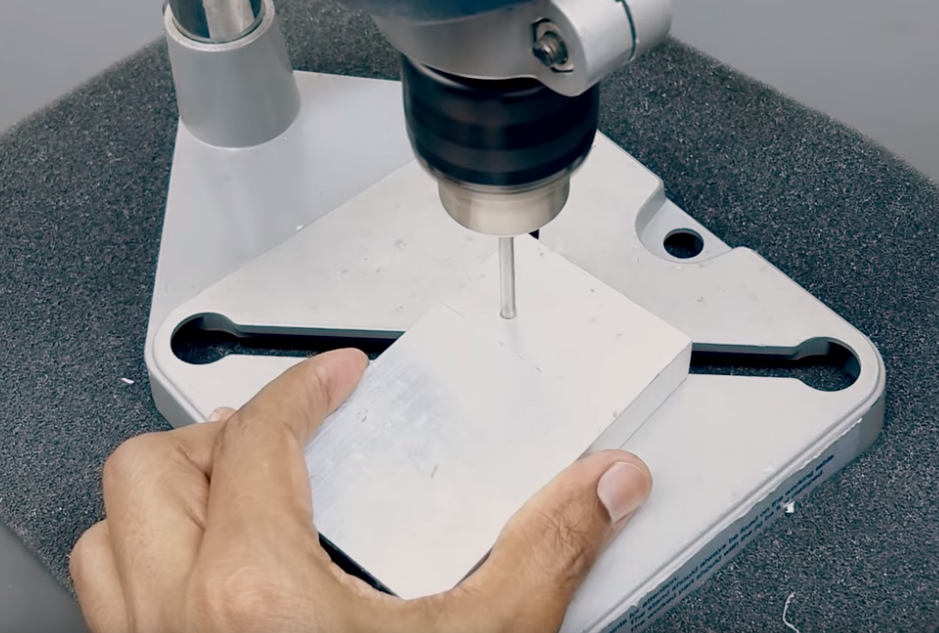
✦Step 7:-Mark the position for holes, make holes and apply compound on ICs.
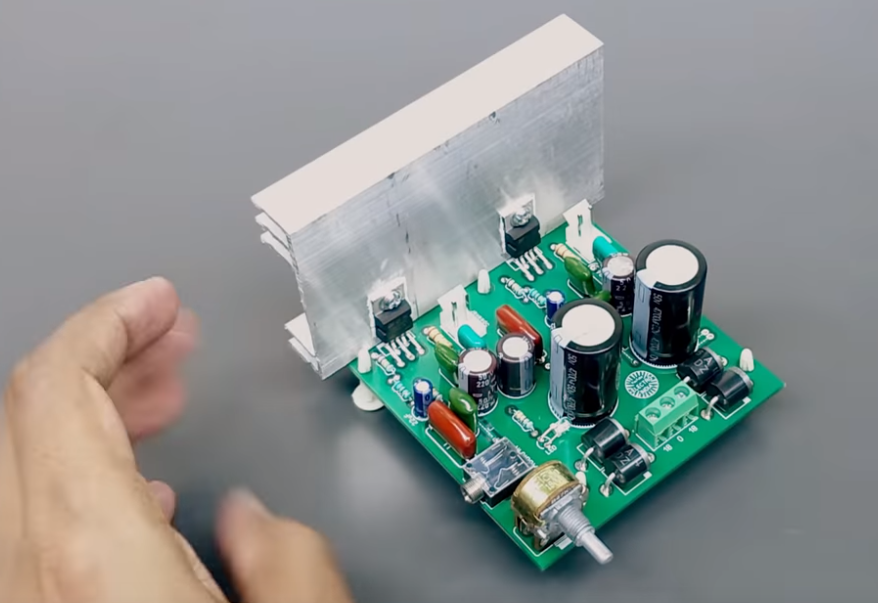
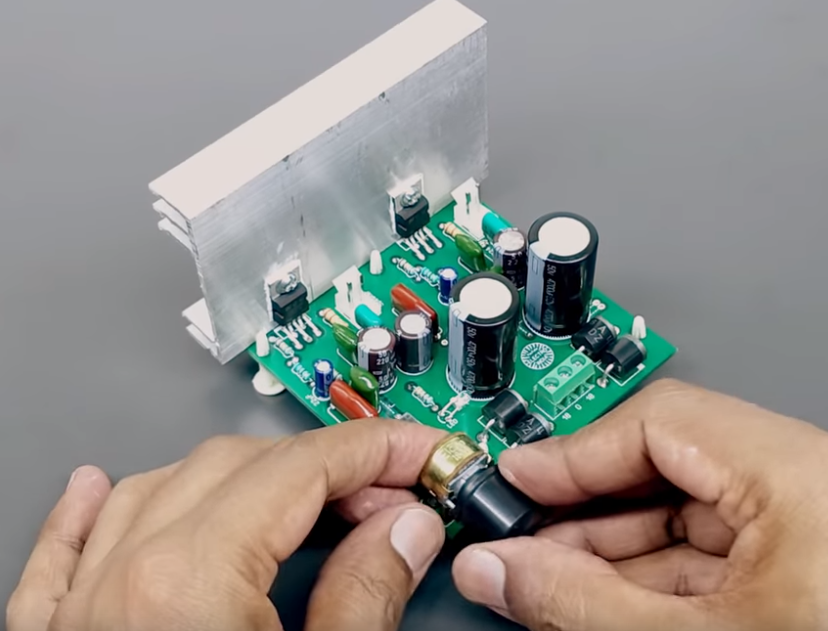
✦Step 8:-Attach the knob for volume controlling.
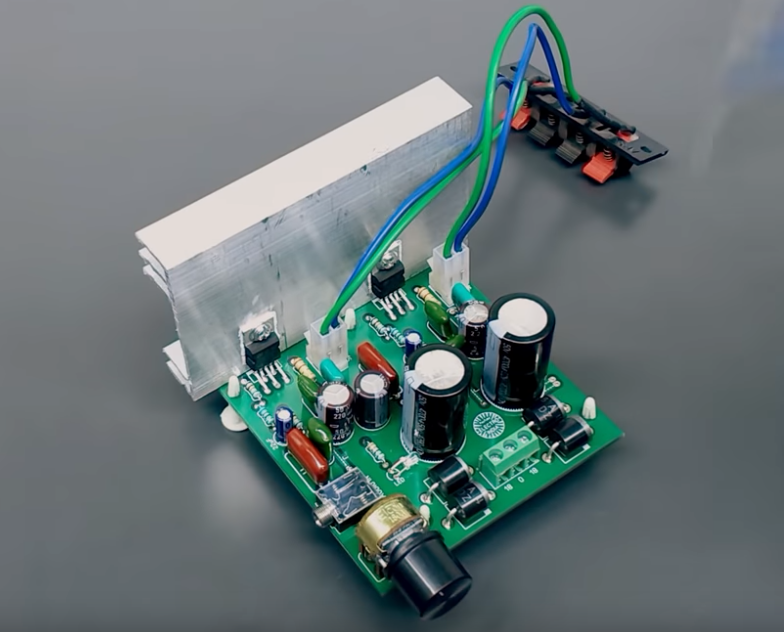
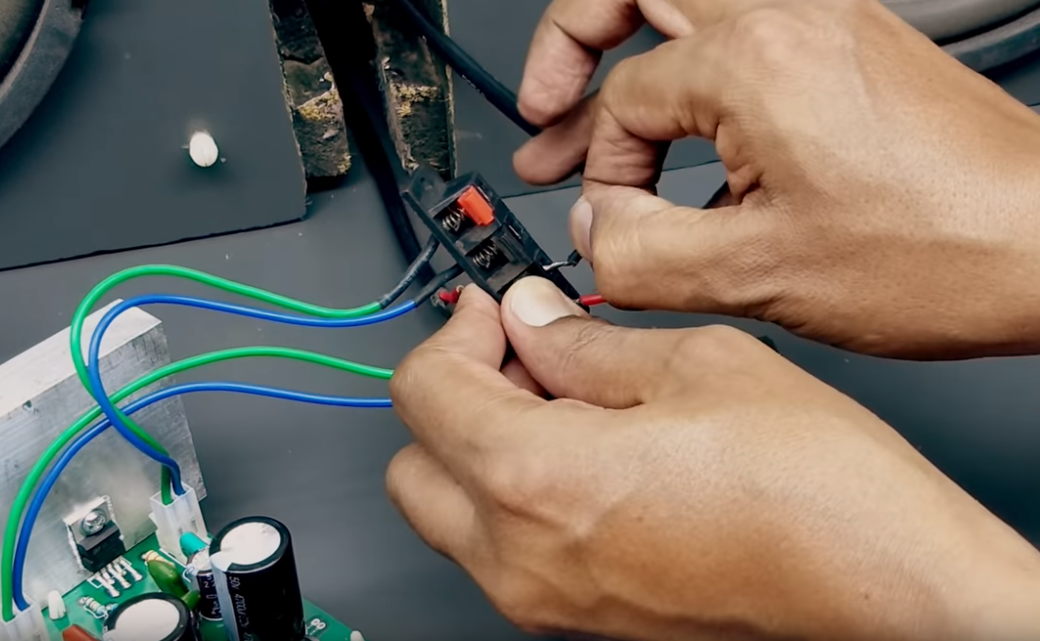
✦Step 9:-Attach the speaker socket.
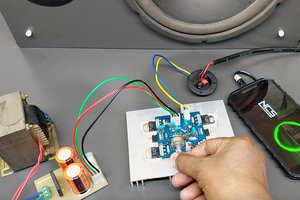
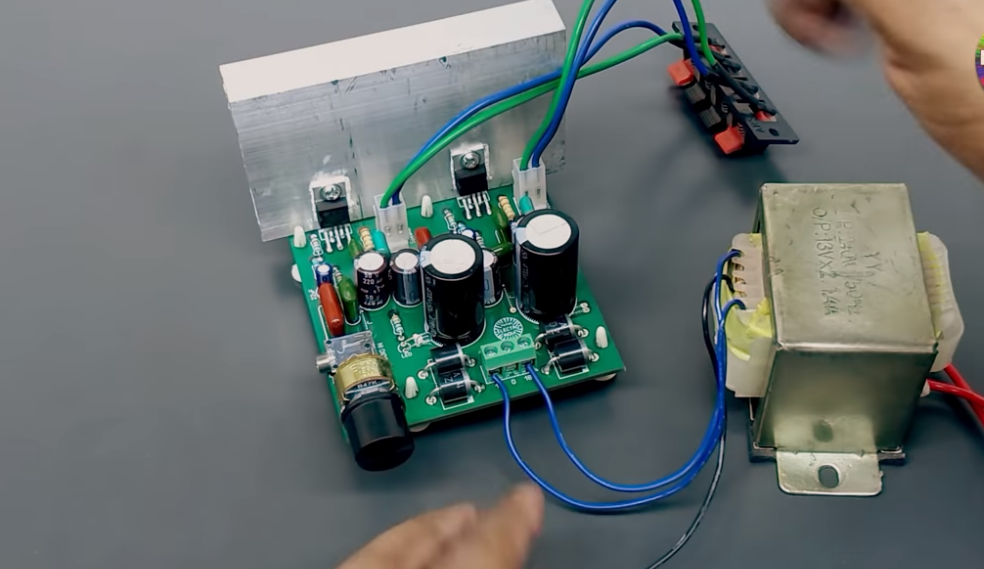
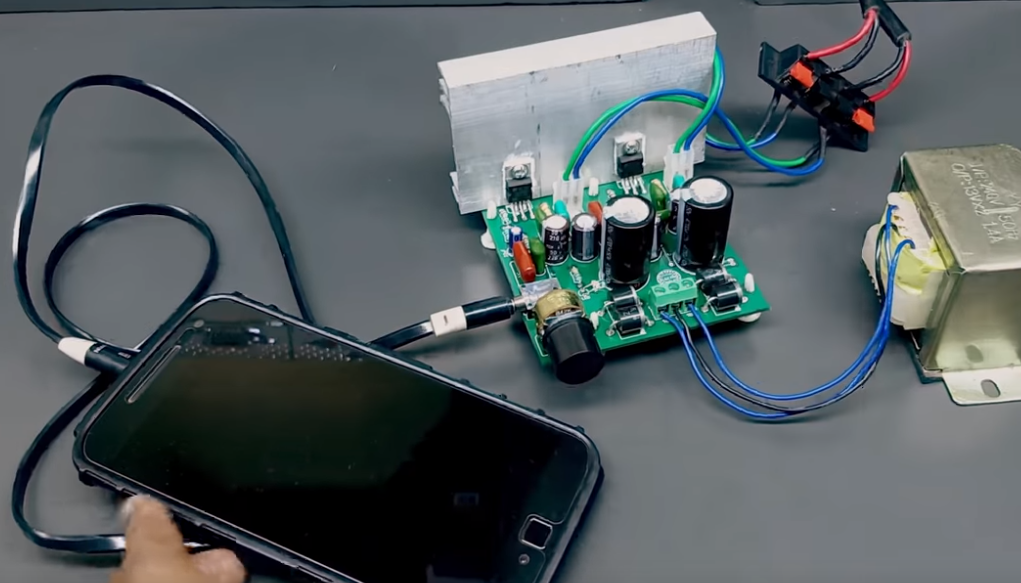
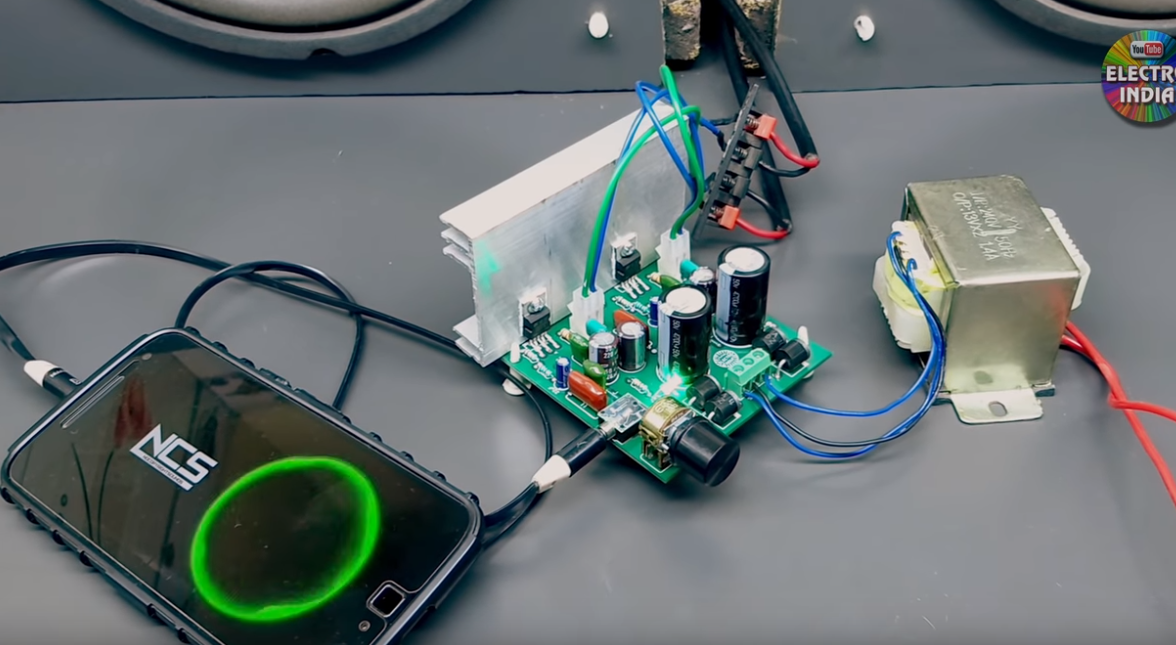
✦Step 10:-Connect the transformer, it is a 13-0-13 volt, around 1.5 ampere.
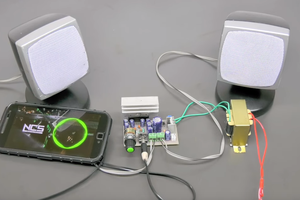
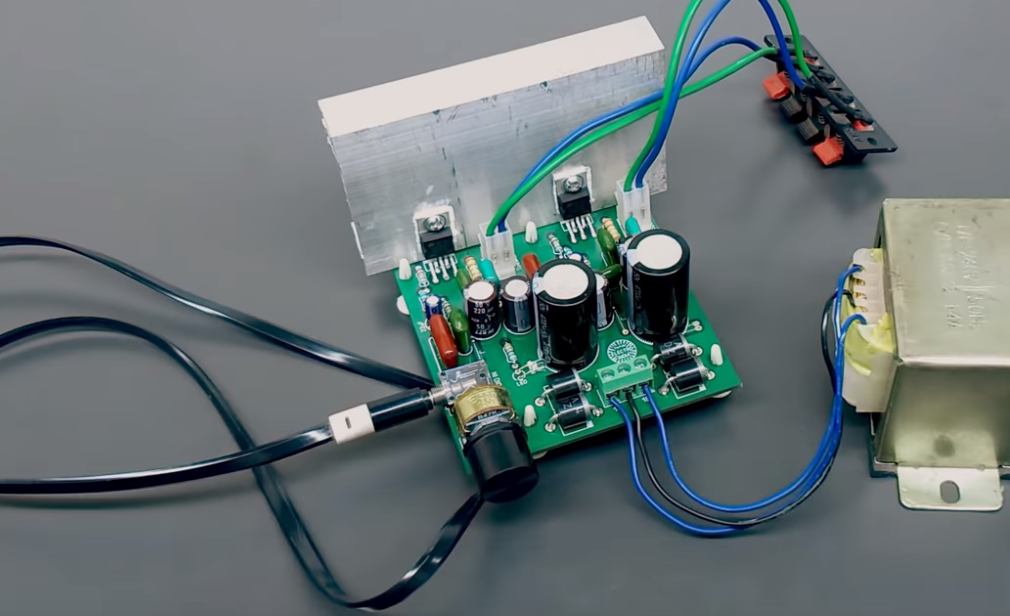
✦Step 11:-For connecting the phone, let’s connect the aux cable.
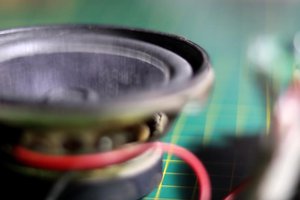
✦Step 12:-We have two 10ich subwoofer columns, and connect it.
✦Step 13:-Then connect the phone, and play.
Materials for the Project:
1 LED https://www.utsource.net/itm/p/6493467.html
1 AUX Socket 3.5mm for AUDIO IN
4 Capacitor 220UF50V https://www.utsource.net/itm/p/8361304.html
2 Capacitor 22uF https://www.utsource.net/itm/p/8361752.html
2 Capacitor 4700UF50V https://www.utsource.net/itm/p/8361876.html
4 Capacitor 0.1uf = 104 https://www.utsource.net/itm/p/6485161.html
2 Capacitor 0.22uf = 224 https://www.utsource.net/itm/p/8347115.html
2 Capacitor 0.47uf = 474 https://www.utsource.net/itm/p/8353888.html
1 Connector - Screw Terminal 3 Pin (5mm)
2 Connector 2 pin (3.96mm) https://www.utsource.net/itm/p/8309799.html
4 Diode 6A4 Or 1N5408 https://www.utsource.net/itm/p/834101.html
2 IC TDA2050 https://www.utsource.net/itm/p/889073.html
5Jumper
1 Potentiometer- Dual 47K https://www.utsource.net/itm/p/8045869.html
2 Resistor 1/2 Watt 2.2 OHM https://www.utsource.net/itm/p/8294868.html
4 Resistors 1/4 Watt 22K https://www.utsource.net/itm/p/6491286.html
1 Resistors 1/4 Watt 3K3 https://www.utsource.net/itm/p/6491269.html
2 Resistors 1/4 Watt 680 OHM https://www.utsource.net/itm/p/6491256.html
Video on Youtube: