 Dylan Radcliffe
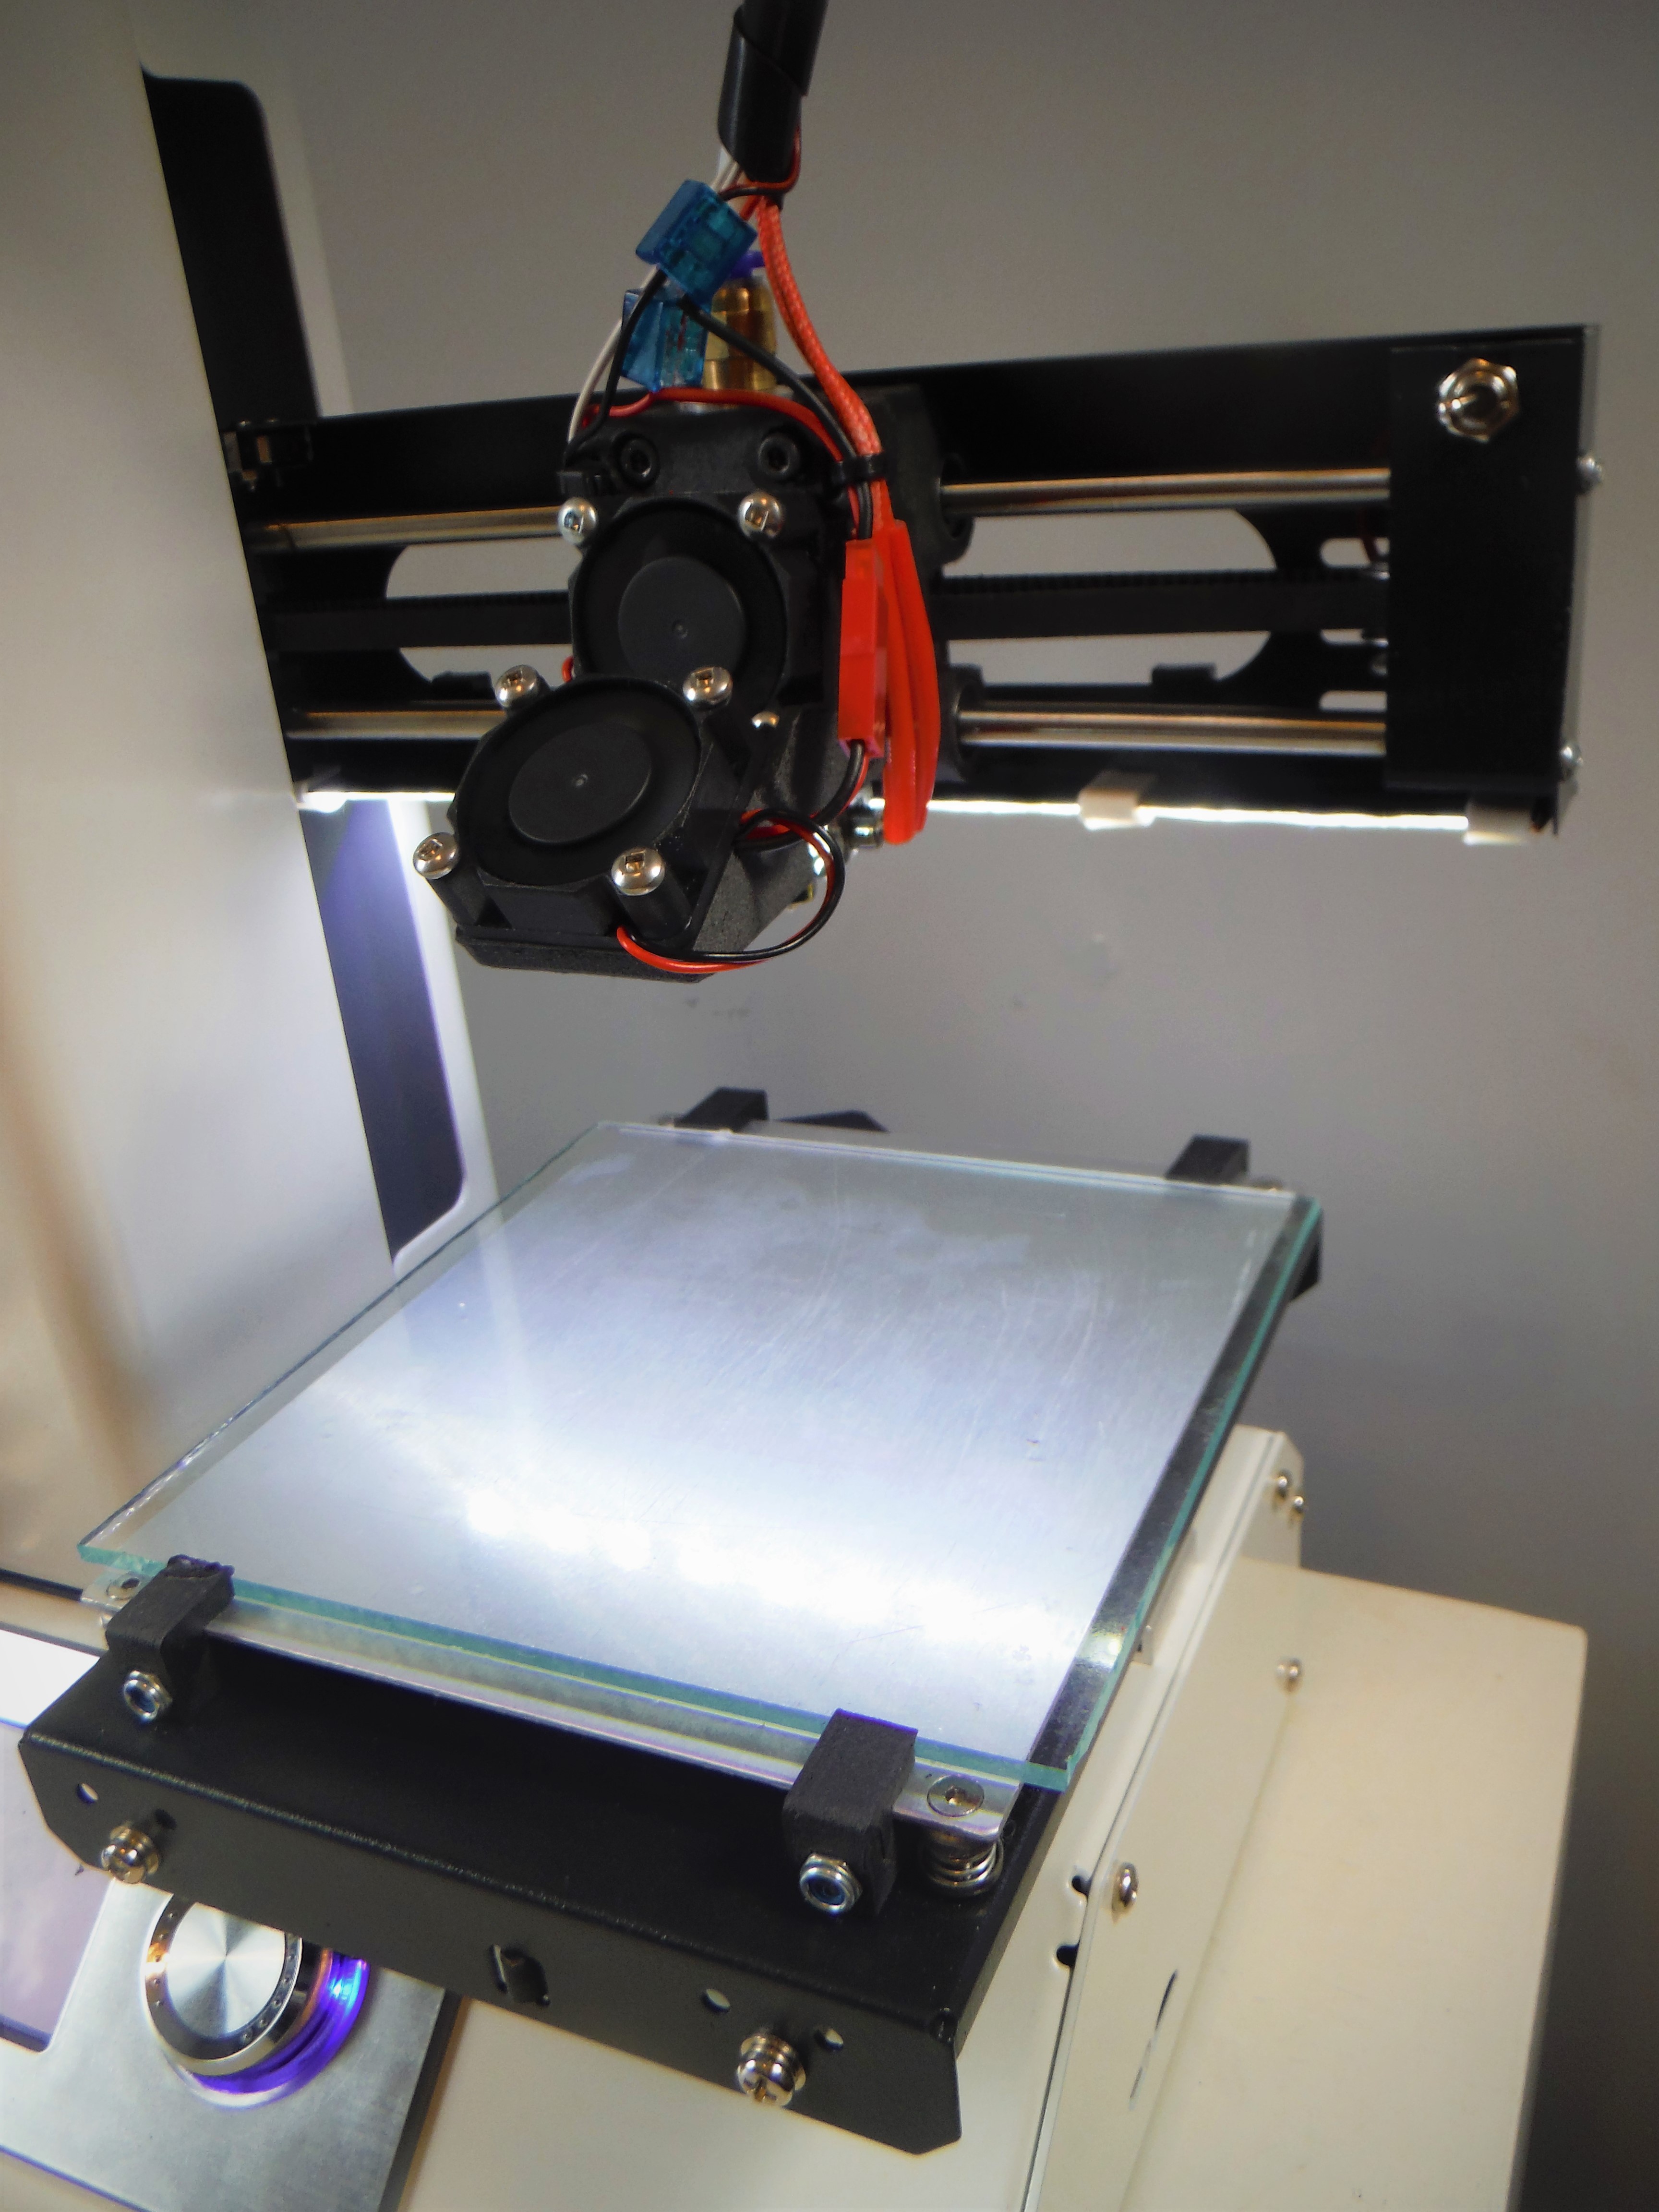
The Monoprice Select Mini has become the workhorse of my 3D printing and making projects since I acquired it in the fall. I haven’t had many complaints while using it, but one issue that I felt needed to be addressed was the dark build plate. Obstructed by the gantry and the print head, it is very difficult to see what is happening on the print surface and make adjustments to bed height or monitor any issues that may be occurring within the print itself. In order to fix this issue I decided to wire up an LED strip to the gantry assembly. Since I don’t always require an LED strip running on the printer, I wanted to include a switch to control the light in an easy to reach location.
You can download the files to complete this modification free of charge from our store page.
Materials and Equipment List:
- 22 Gauge Speaker Red/Black Wire
- 12v LED strip (I used white, but you could use any colour)
- Two Terminal Plug or Wire Connector (Optional)
- Panel Mount Toggle Switch
- Small Zipties
- 5 3D Printed LED and Wire Clips
- 3D Printed End Bracket with space for toggle switch
- Soldering Iron
- Handheld Hacksaw, Dremel or metal cutting implement
- Screwdriver Set
You’ll need to start this whole process with some disassembly, I suggest moving the gantry up about 50mm – 100mm from the build plate in order to make life easy. Remove the bottom plate, the front and back tower plates, and the gantry support. Disassemble the end of the gantry and replace the end bracket with the one you have printed. If you’re having trouble taking the stock bracket off, be patient a few quick taps with a wooden block should work just fine.
Cut the LED strip to the desired length making sure to cut in the appropriate location. I was able to cut mine to include 12 LEDs total. Remove the adhesive strip from the LEDs and attach it to the bottom of the gantry. Solder about 7cm of wire between the positive pad on the LED strip, and the toggle switch. Next, measure out enough wire to stretch from the end of the gantry to just beyond the stepper motor driving the x axis. Solder the positive wire to the toggle switch and the negative wire to the negative pad on the LED strip. You will notice on the gantry that there is a slight gap in the bottom corner where it is possible to very nearly push a wire into the slot. Using your metal cutting tool of choice (dremel or hacksaw), widen the gap by a couple of millimeters and push the wire into place. If the wire is a little snug, that is ok, it will help it hold in place.
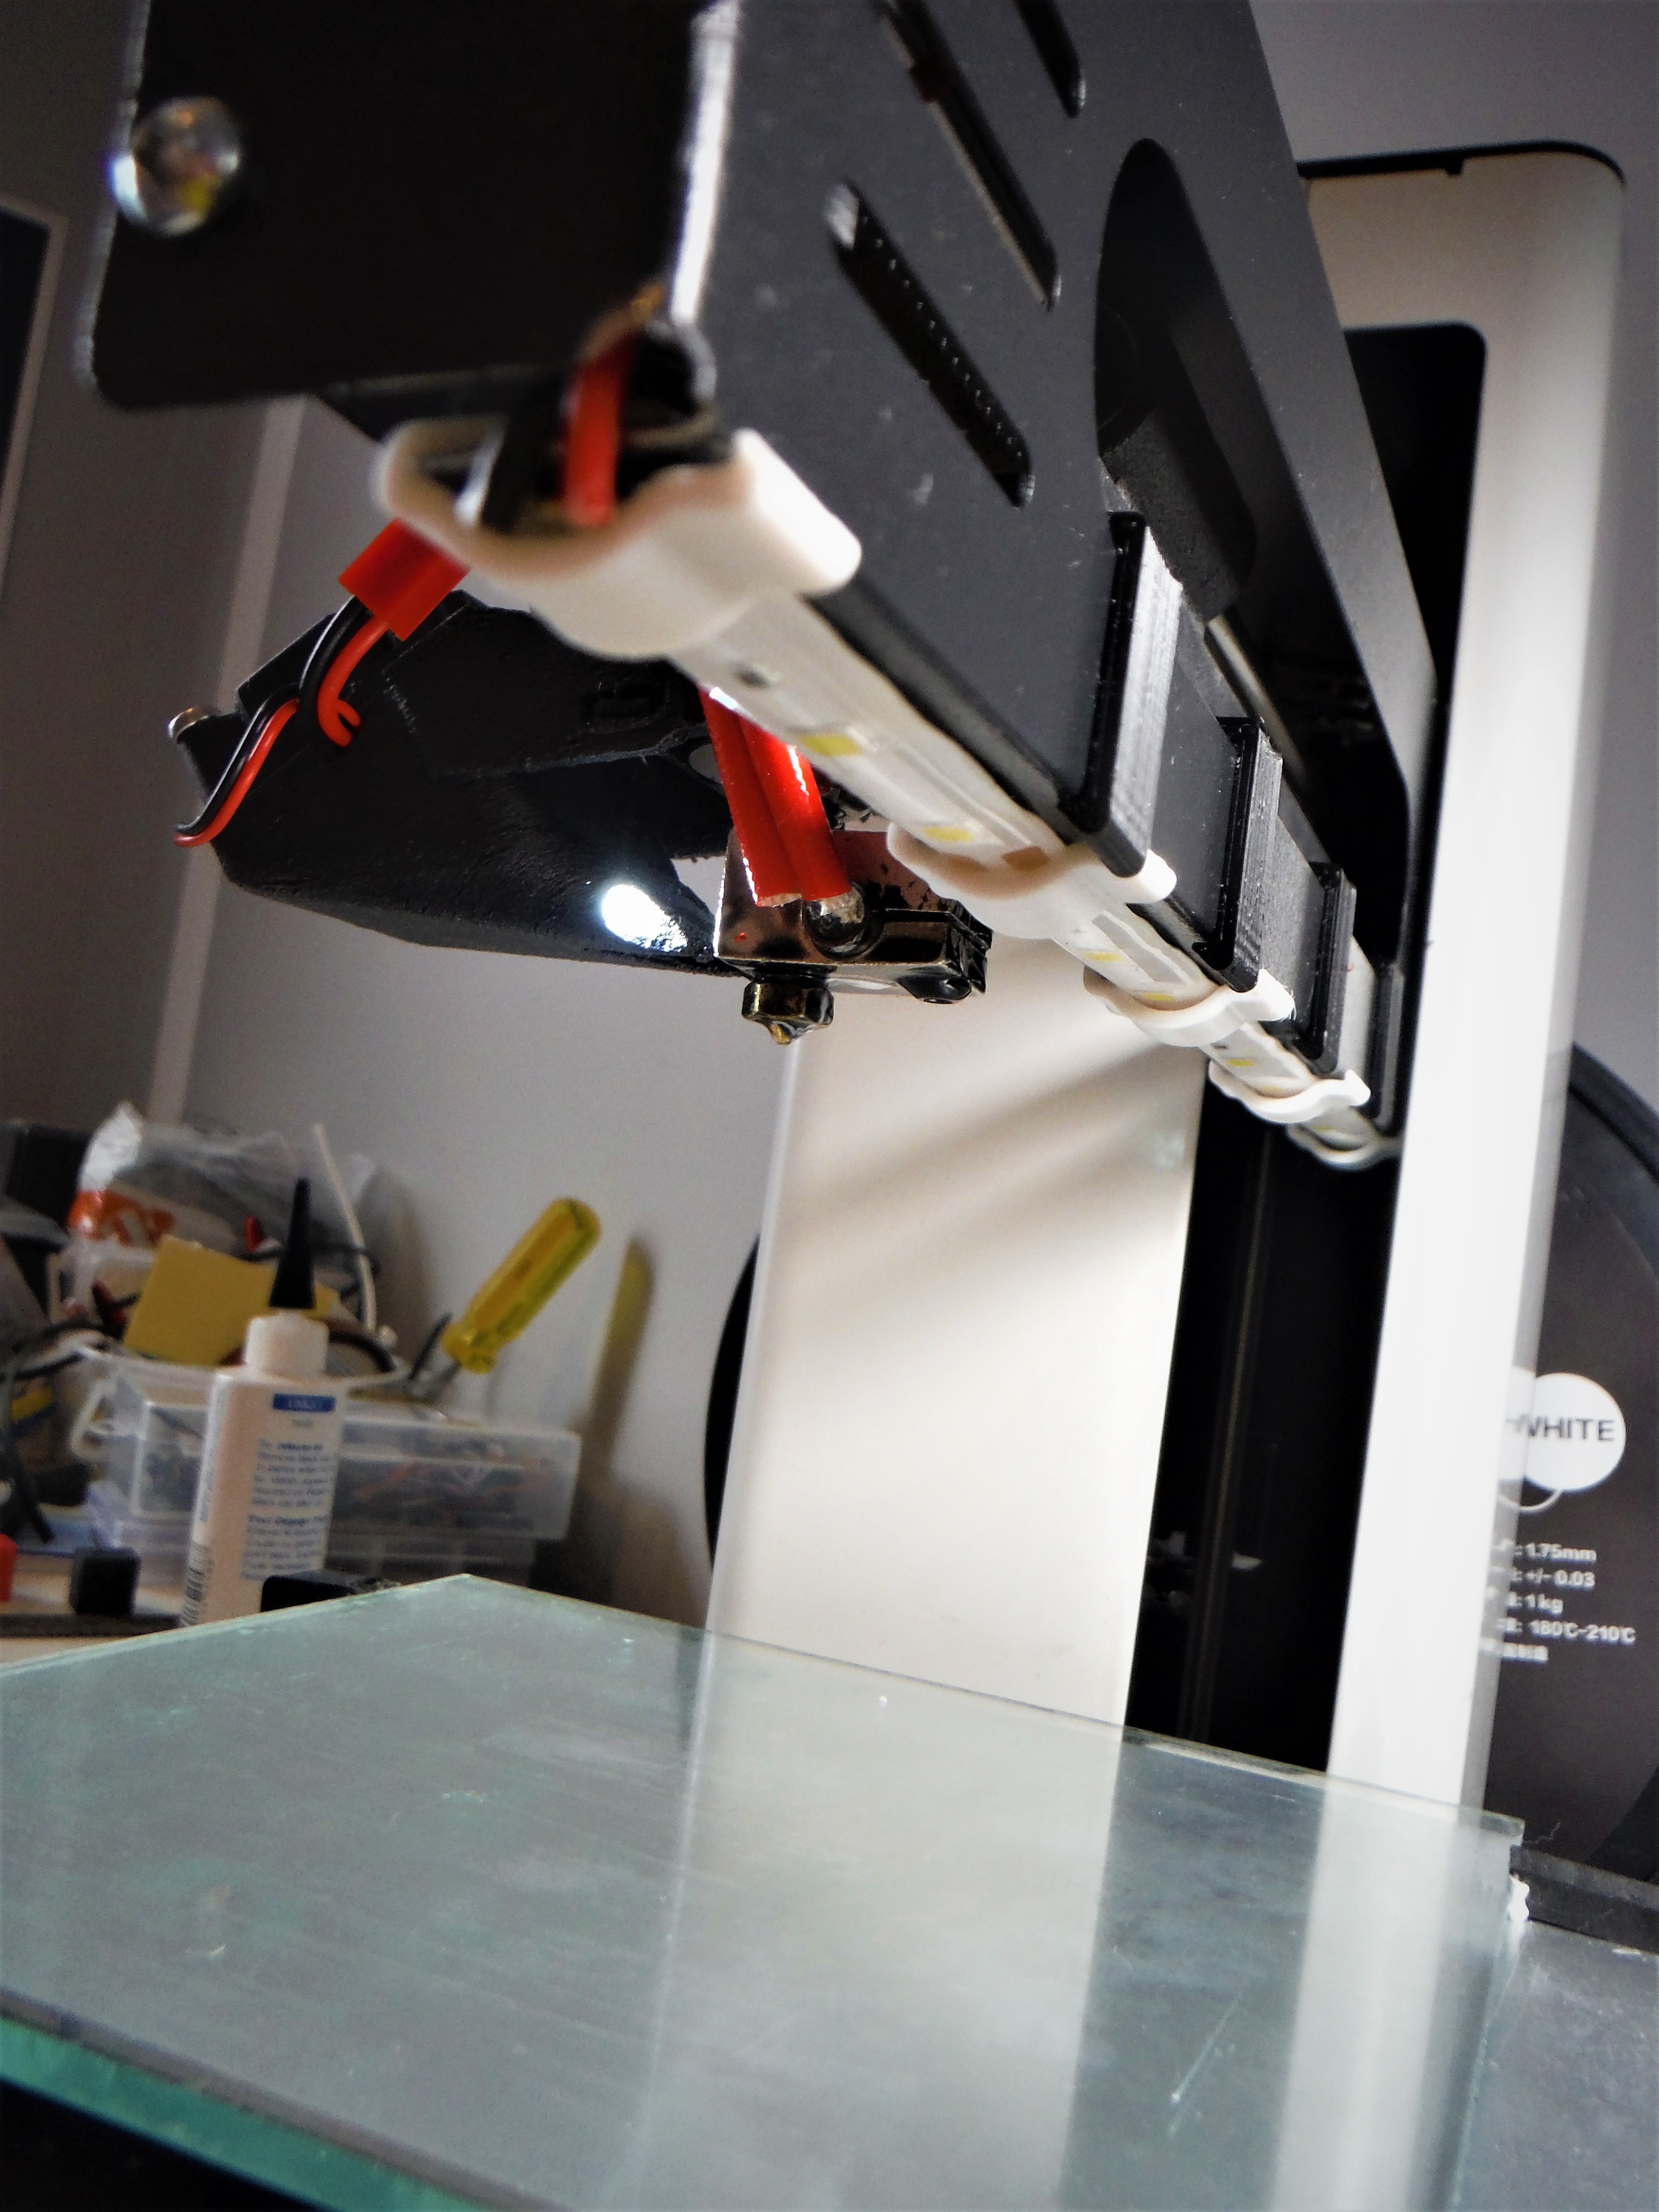
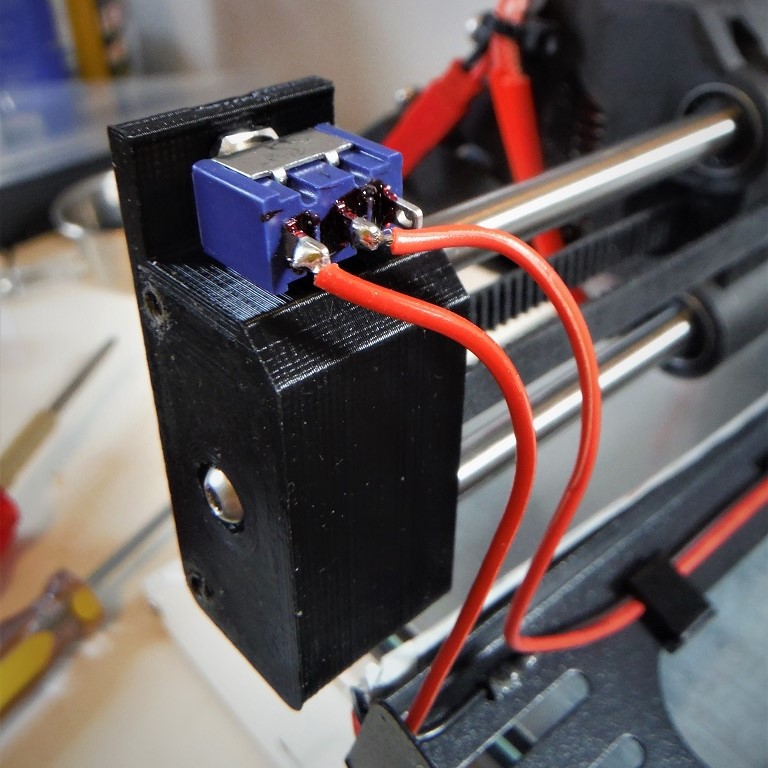
Using the printed clips you are now ready to fix the wires and the LED strip into place. Leaving some slack on the end with the toggle switch, add each clip about 20-40mm apart. I found that placing the wire into the clip and then attaching it to the gantry over the LED strip worked well. Once the clips are attached and the wires secured, place the toggle switch into the empty hole on the printed end bracket and secure it in place. Reassemble the rest of the gantry ensuring that all of the wires are tight under the clips. There should be a couple of centimeters of wire protruding past the stepper motor inside the tower.
Next you will need to run a wire from the main power supply and up the tower to where the wires you installed are hanging. In order to get the correct length of wire, I started by soldering a terminal into the end of the wire before even cutting it. I removed all of the zipties from the wire bundles inside the machine. Still connected to the spool I ran the wire up from the bottom of the machine to where it could connect with the loose wires hanging from the gantry. Working from the top down, I re-bundled all of the wires together with zipties incorporating the wire that I have added to the bundle. Once I had reached the base of the tower, I flipped over the machine and cut the wire in the base, leaving myself about 25cm of wire to play with. I directly soldered the wire to the bottom of the positive and negative terminal on the circuit board.
With everything wired in place and secured, I plugged the machine into the wall, turned it on and flicked the LED toggle switch! To date this is one of my favorite modifications for the Monoprice Select Mini. It is significantly easier to level the build plate and it is also much easier to monitor print jobs for any issues that may be occurring during the printing process.
Discussions
Become a Hackaday.io Member
Create an account to leave a comment. Already have an account? Log In.