 David Tucker
I had a chance today to knock out the last two shelves. They turned out nice and went up very quickly, now that I have put up several in a row. I ended up using 4.5 2x3's and 3/4 of a 1/2" sheet of plywood for a cost of roughly $70, not a bad investment.
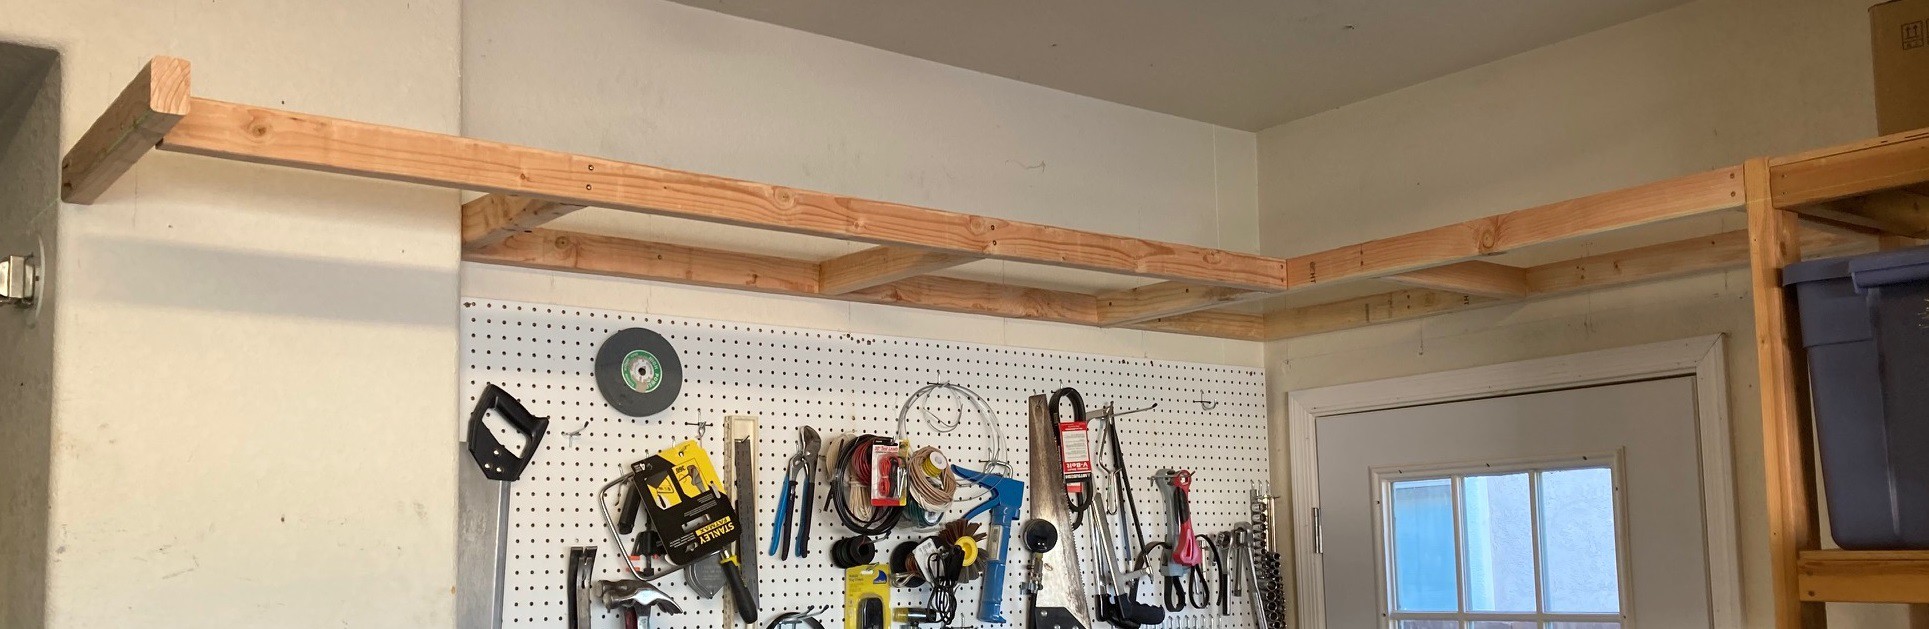
Here is the initial frame going up, I have a cross piece missing on the left side. The board at the far left sticks out further so I can run a lag bolt into the roof to hang the end of the shelf on.
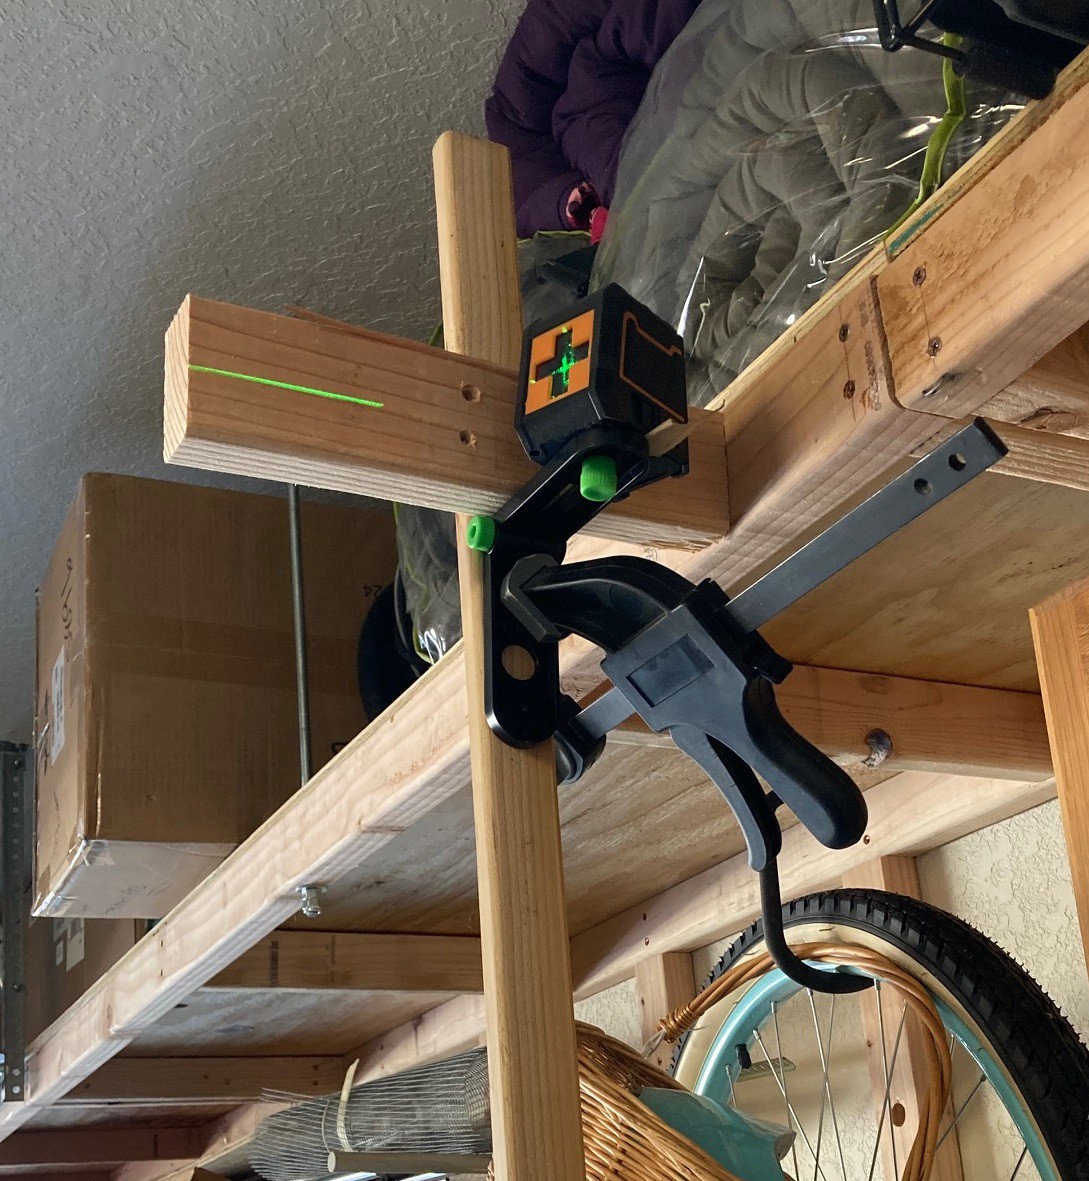
I had to get a little creative with hanging the laser. I need to come up with a better solution going forward.
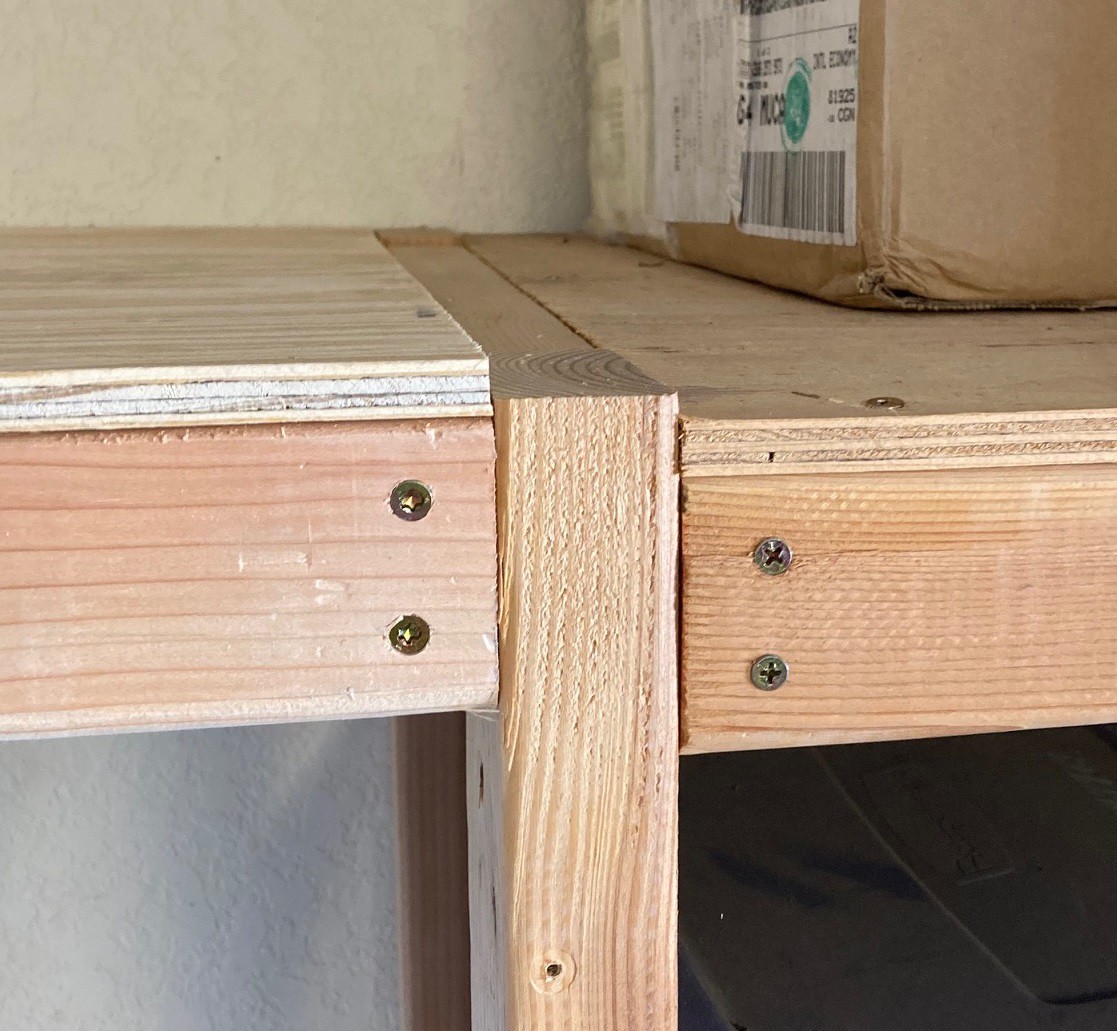
Being a dope I used the top of the existing shelves as a reference line rather than the top of the 2x3, so the new shelves sit a half inch proud. It was too late to move everything once I discovered this, hopefully no one but me notices it.
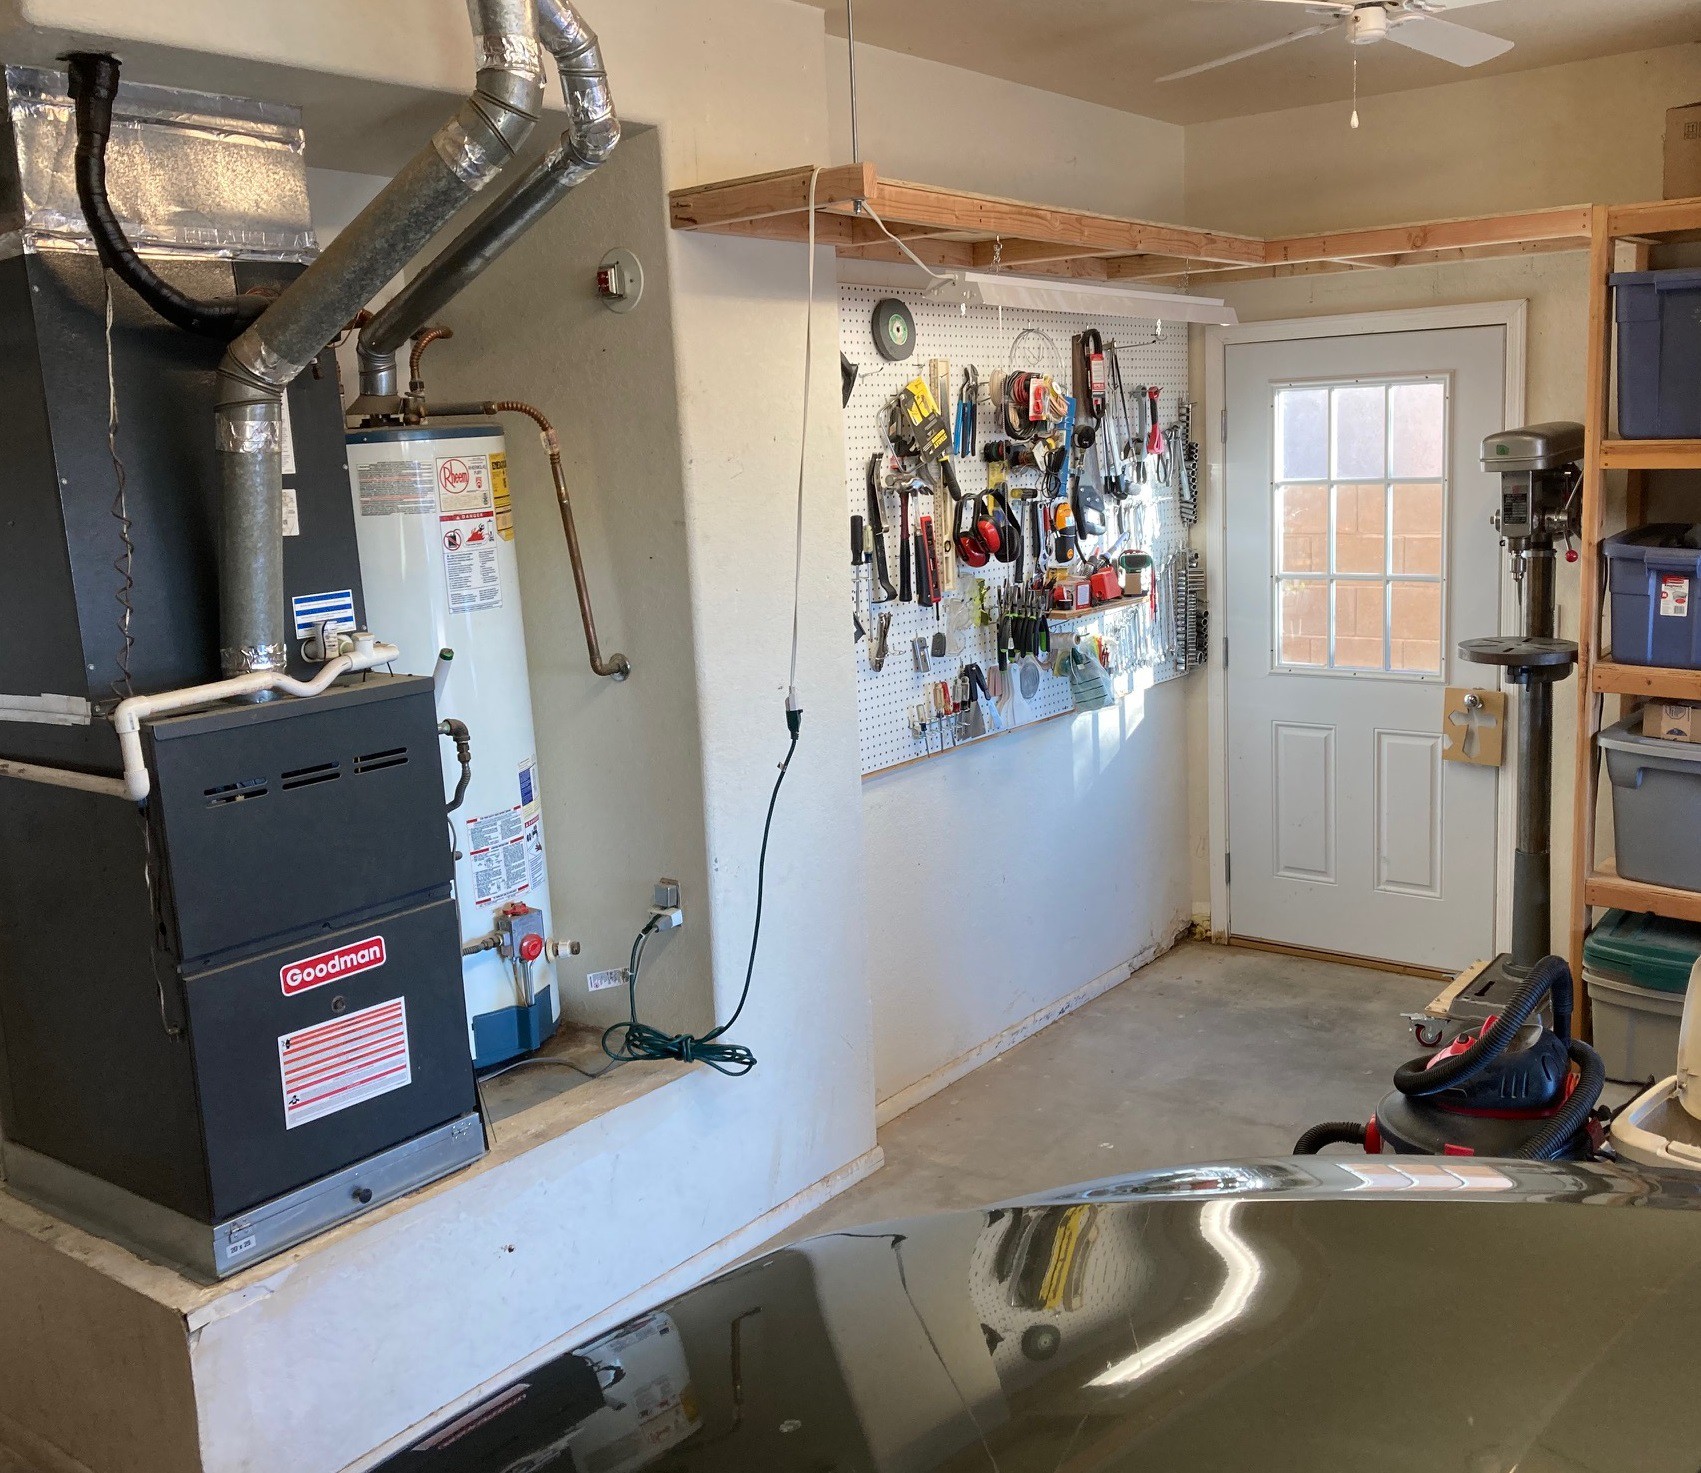
Here is the space all finished and cleaned up again. I need to go through my tools and chemicals and package up the ones I don't often use into small containers for easy retrieval later and pack them up and out of the way. Then I should have a rough idea of what is left that needs storage in the shop space.
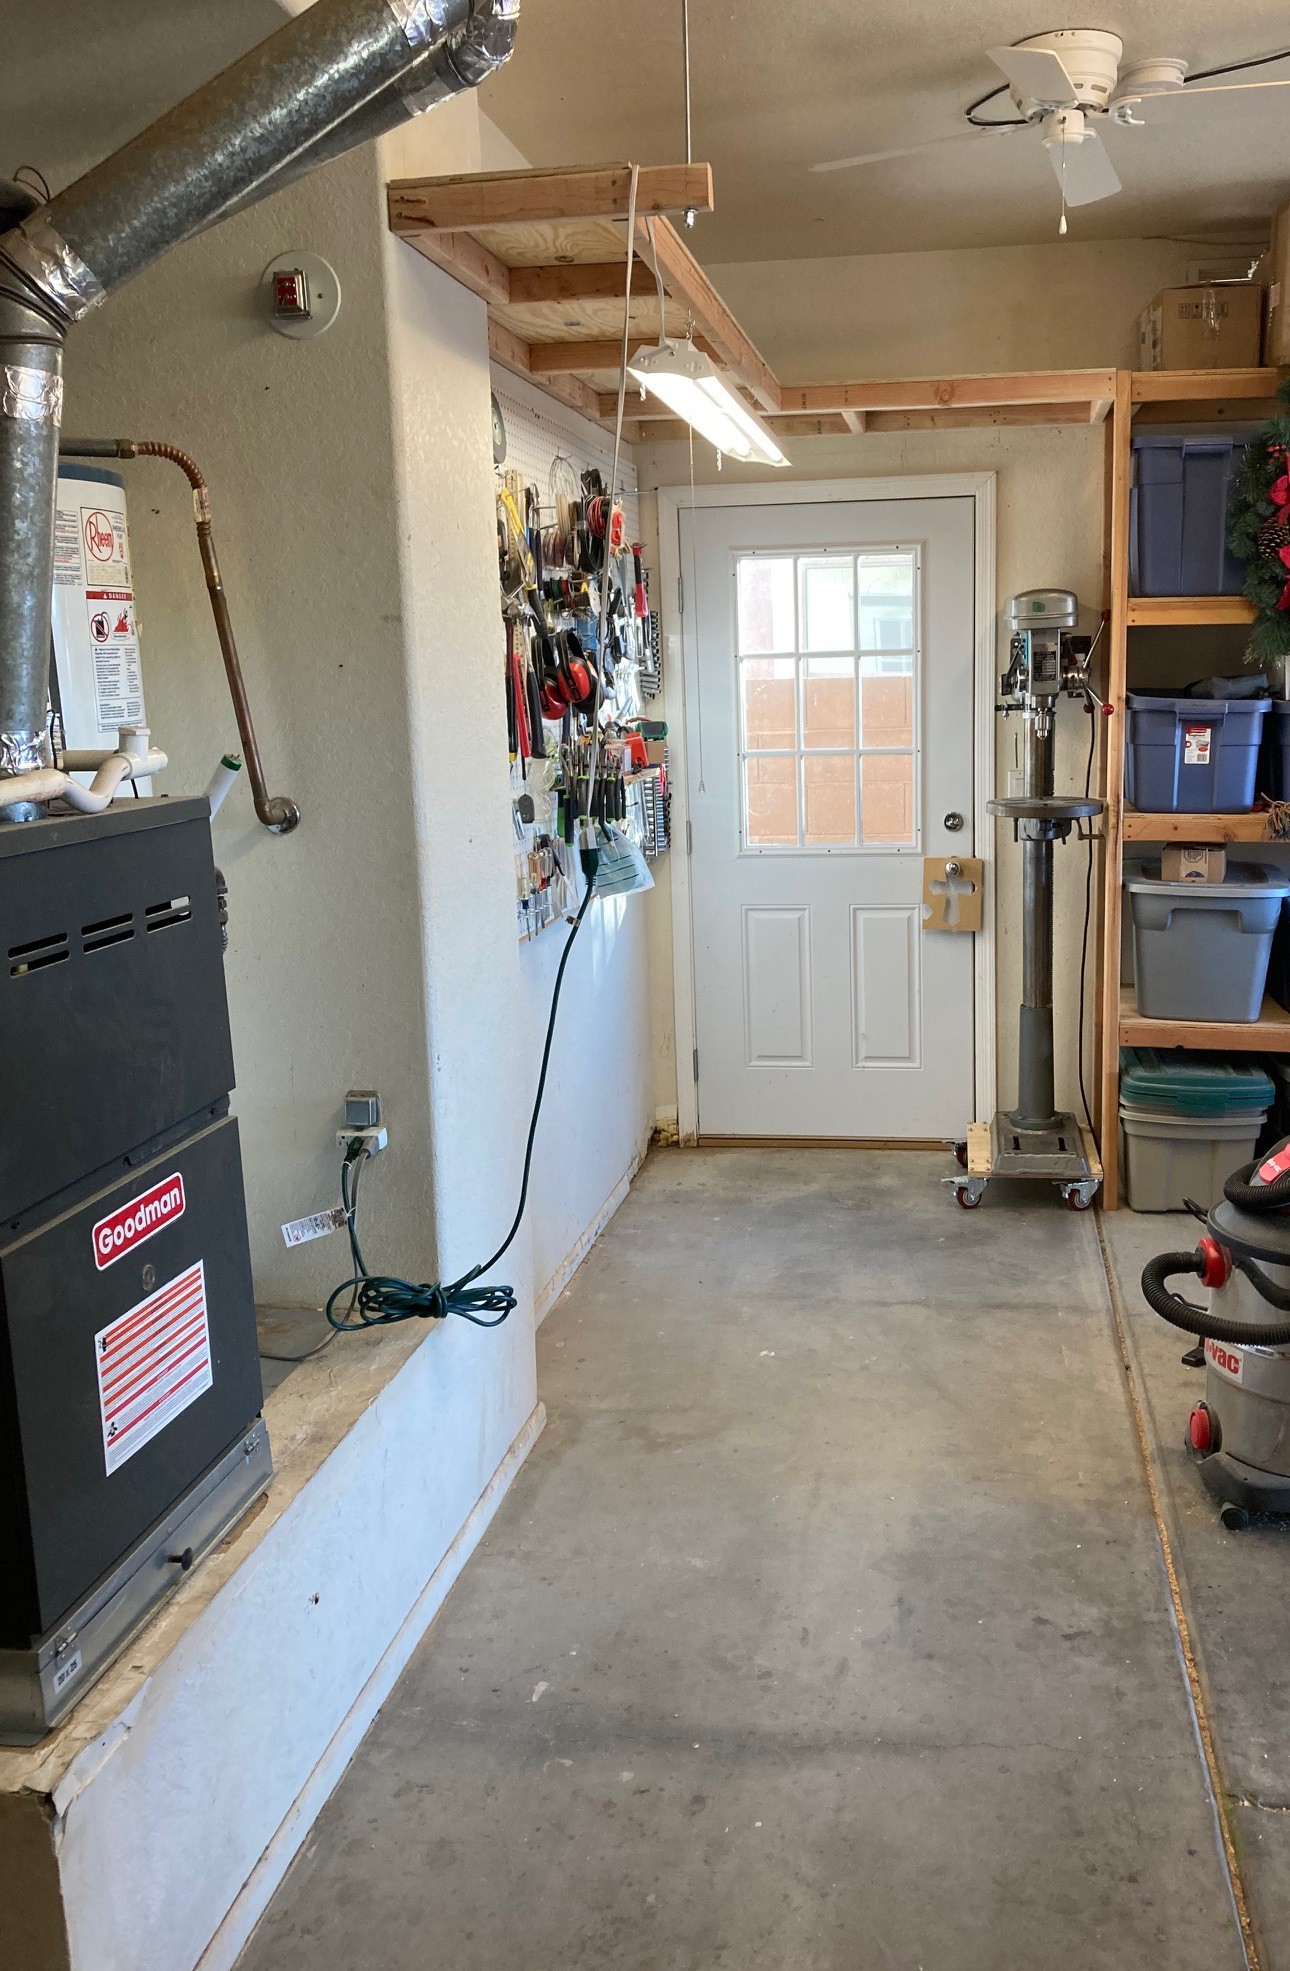
Here is a different angle on the same space. It is nice and long but not very wide. The nose of the cars goes right up to the expansion crack on the right sides. So whatever I come up with needs to give 2' or so of space from the line.
I really am starting to like the idea of moving the drill press over here by the door and having only some minimal storage added to the base. Not trying to fit it along the long wall would allow me to make the other carts a bit larger and that will give me more breathing room going forward. But it means loosing my large top to the drill table and it means the drill will need to be moved out for every use. I think it is an ok compromise, we will see.
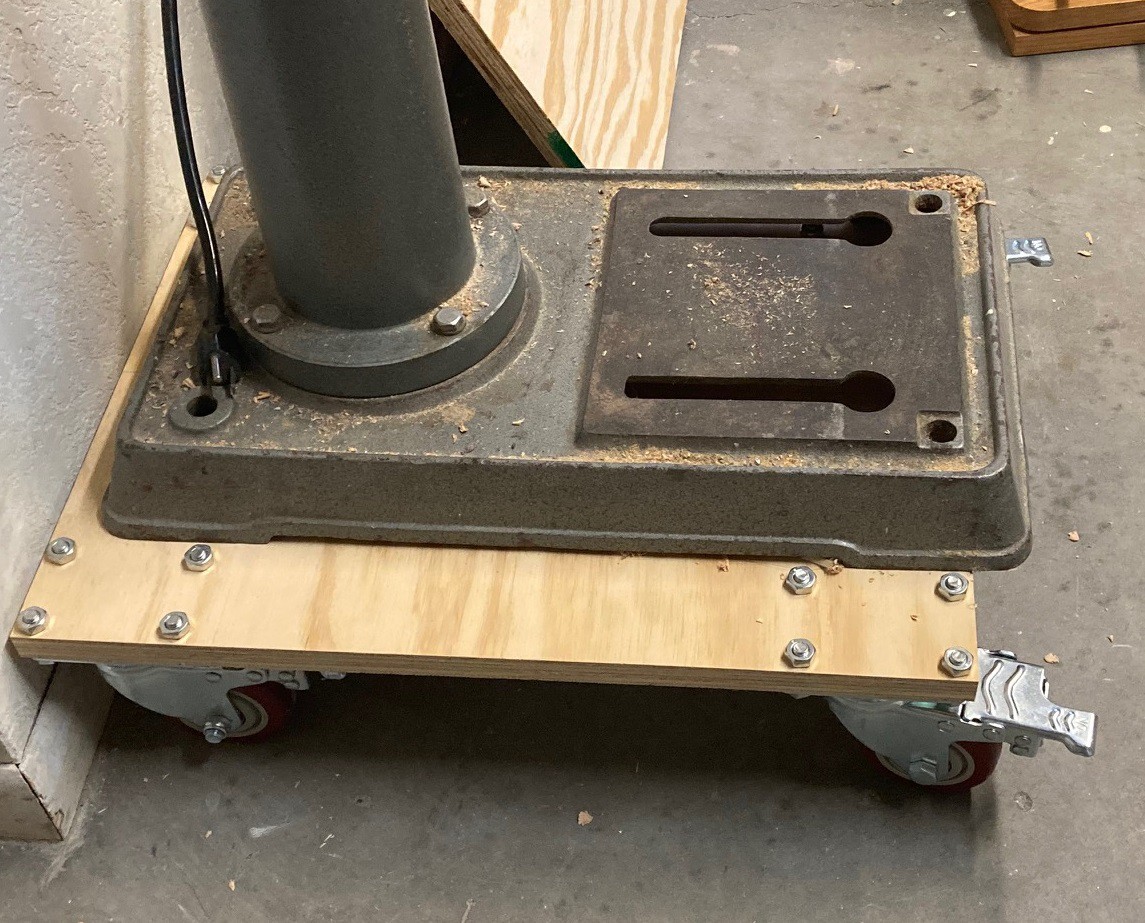
I have never worked with casters before so I decided to grab a piece of scrap wood and attach them. It was just big enough to wrestle the drill press onto. It is a bit sketchy but it lets me see how they work in practice.
I really like these casters, they roll nice, they lock easily, they unlock easy as well with a downward force (very nice!) and when locked they really stay put. However I don't really like them on my drill press. One thing I failed to take into account is that the center of contact of the wheel moves with the caster (seems obvious now). This means the casters can roll in towards the center of the stand and that makes everything more tippy. So the base needs to be 3" or so wider than the original base you are trying to support to maintain the same stability. This is no problem for a large workbench, a few inches hardly matters. But the skinny base on the drill press causes trouble and it is quite wobbly. They also raise the drill press a full 5" off the ground in this configuration. That is too much and it all feels too high when using the press.
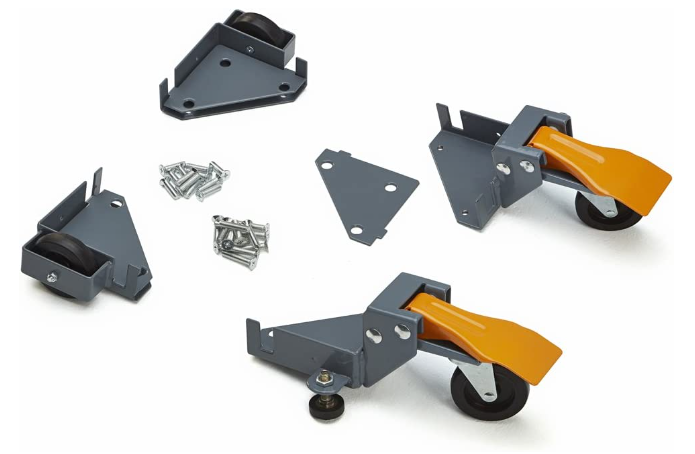
One idea for the drill press is to pick up this mobile base kit. The idea is that you mount these to a piece of plywood then bolt the drill press onto that The front wheels can be raised or lowered to allow the unit to roll around. The benefit here is that it is slung a lot lower and it uses solid feet that can rest on the ground when not moving. The disadvantage is the price ($60) and the fact the yellow pieces stick out a fair bit so your more likely to kick them.
Another idea would be to either get much smaller casters, making things more difficult to roll but providing less movement of the caster so a more stable base with less extra width needed. Or to hang the base from a board mounted across the top of the drill press to provide a lower overall stance. Smaller casters that lock in both directions are only $18 for a set so it is a much more expensive solution.
Finally the 3" casters I'm using don't work well with the expansion cracks in my garage. I need to think of a way to fill these cracks that will still allow them to function yet smooth out the surface so my wheels roll smoothly across them. I could use some sort of self leveling concrete, but I worry that would be too stiff and it would just crack over time as the pad moved. There are plastic strips made to replace the fiberboard you see crammed between pads, but they don't look like they would fit in my cracks and they are crazy expensive. And there are leveling epoxies and glues that would be plenty soft enough to avoid cracking, but they may be too soft to support real weight. I was wondering if I could put pvc pipe in the cracks then heat it with a torch to reshape it to fill the crack properly. And I could certainly 3D print something but only in 12" segments so it would take forever and be fairly non continuous. This all needs more research.
Discussions
Become a Hackaday.io Member
Create an account to leave a comment. Already have an account? Log In.