Close
0%
0%

Steam Deck Tablet

Slice and dice your way to a better mini pc.

Public Chat
Similar projects worth following
Inspired by the portable NES, PS2, and other console projects, it seemed like a good idea to take something portable and make it slightly more portable...

The buttons and controllers are peripherals to the Steam Deck, and the machine can operate without them. Removing the extra pieces will yield a tablet capable of playing amazing games and running full fledged computer applications.


Throw it in a mini arcade cabinet. Make a mini pinball game. Hook it up to the TV for some work. Try some Winamp in the car.

This began as an idea to make the Steam Deck even more portable...  I didn't say it was a good idea.  It's just my idea :)


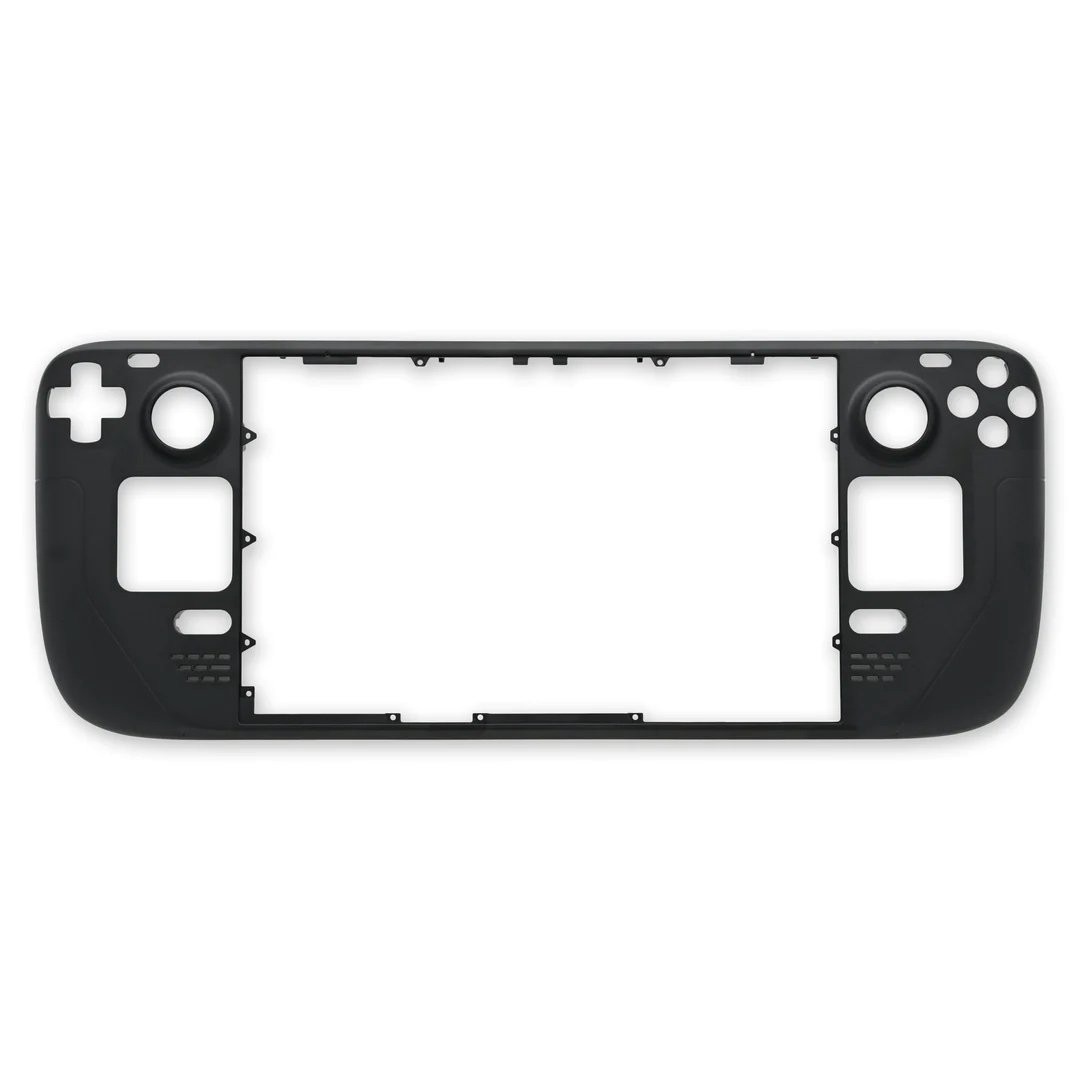
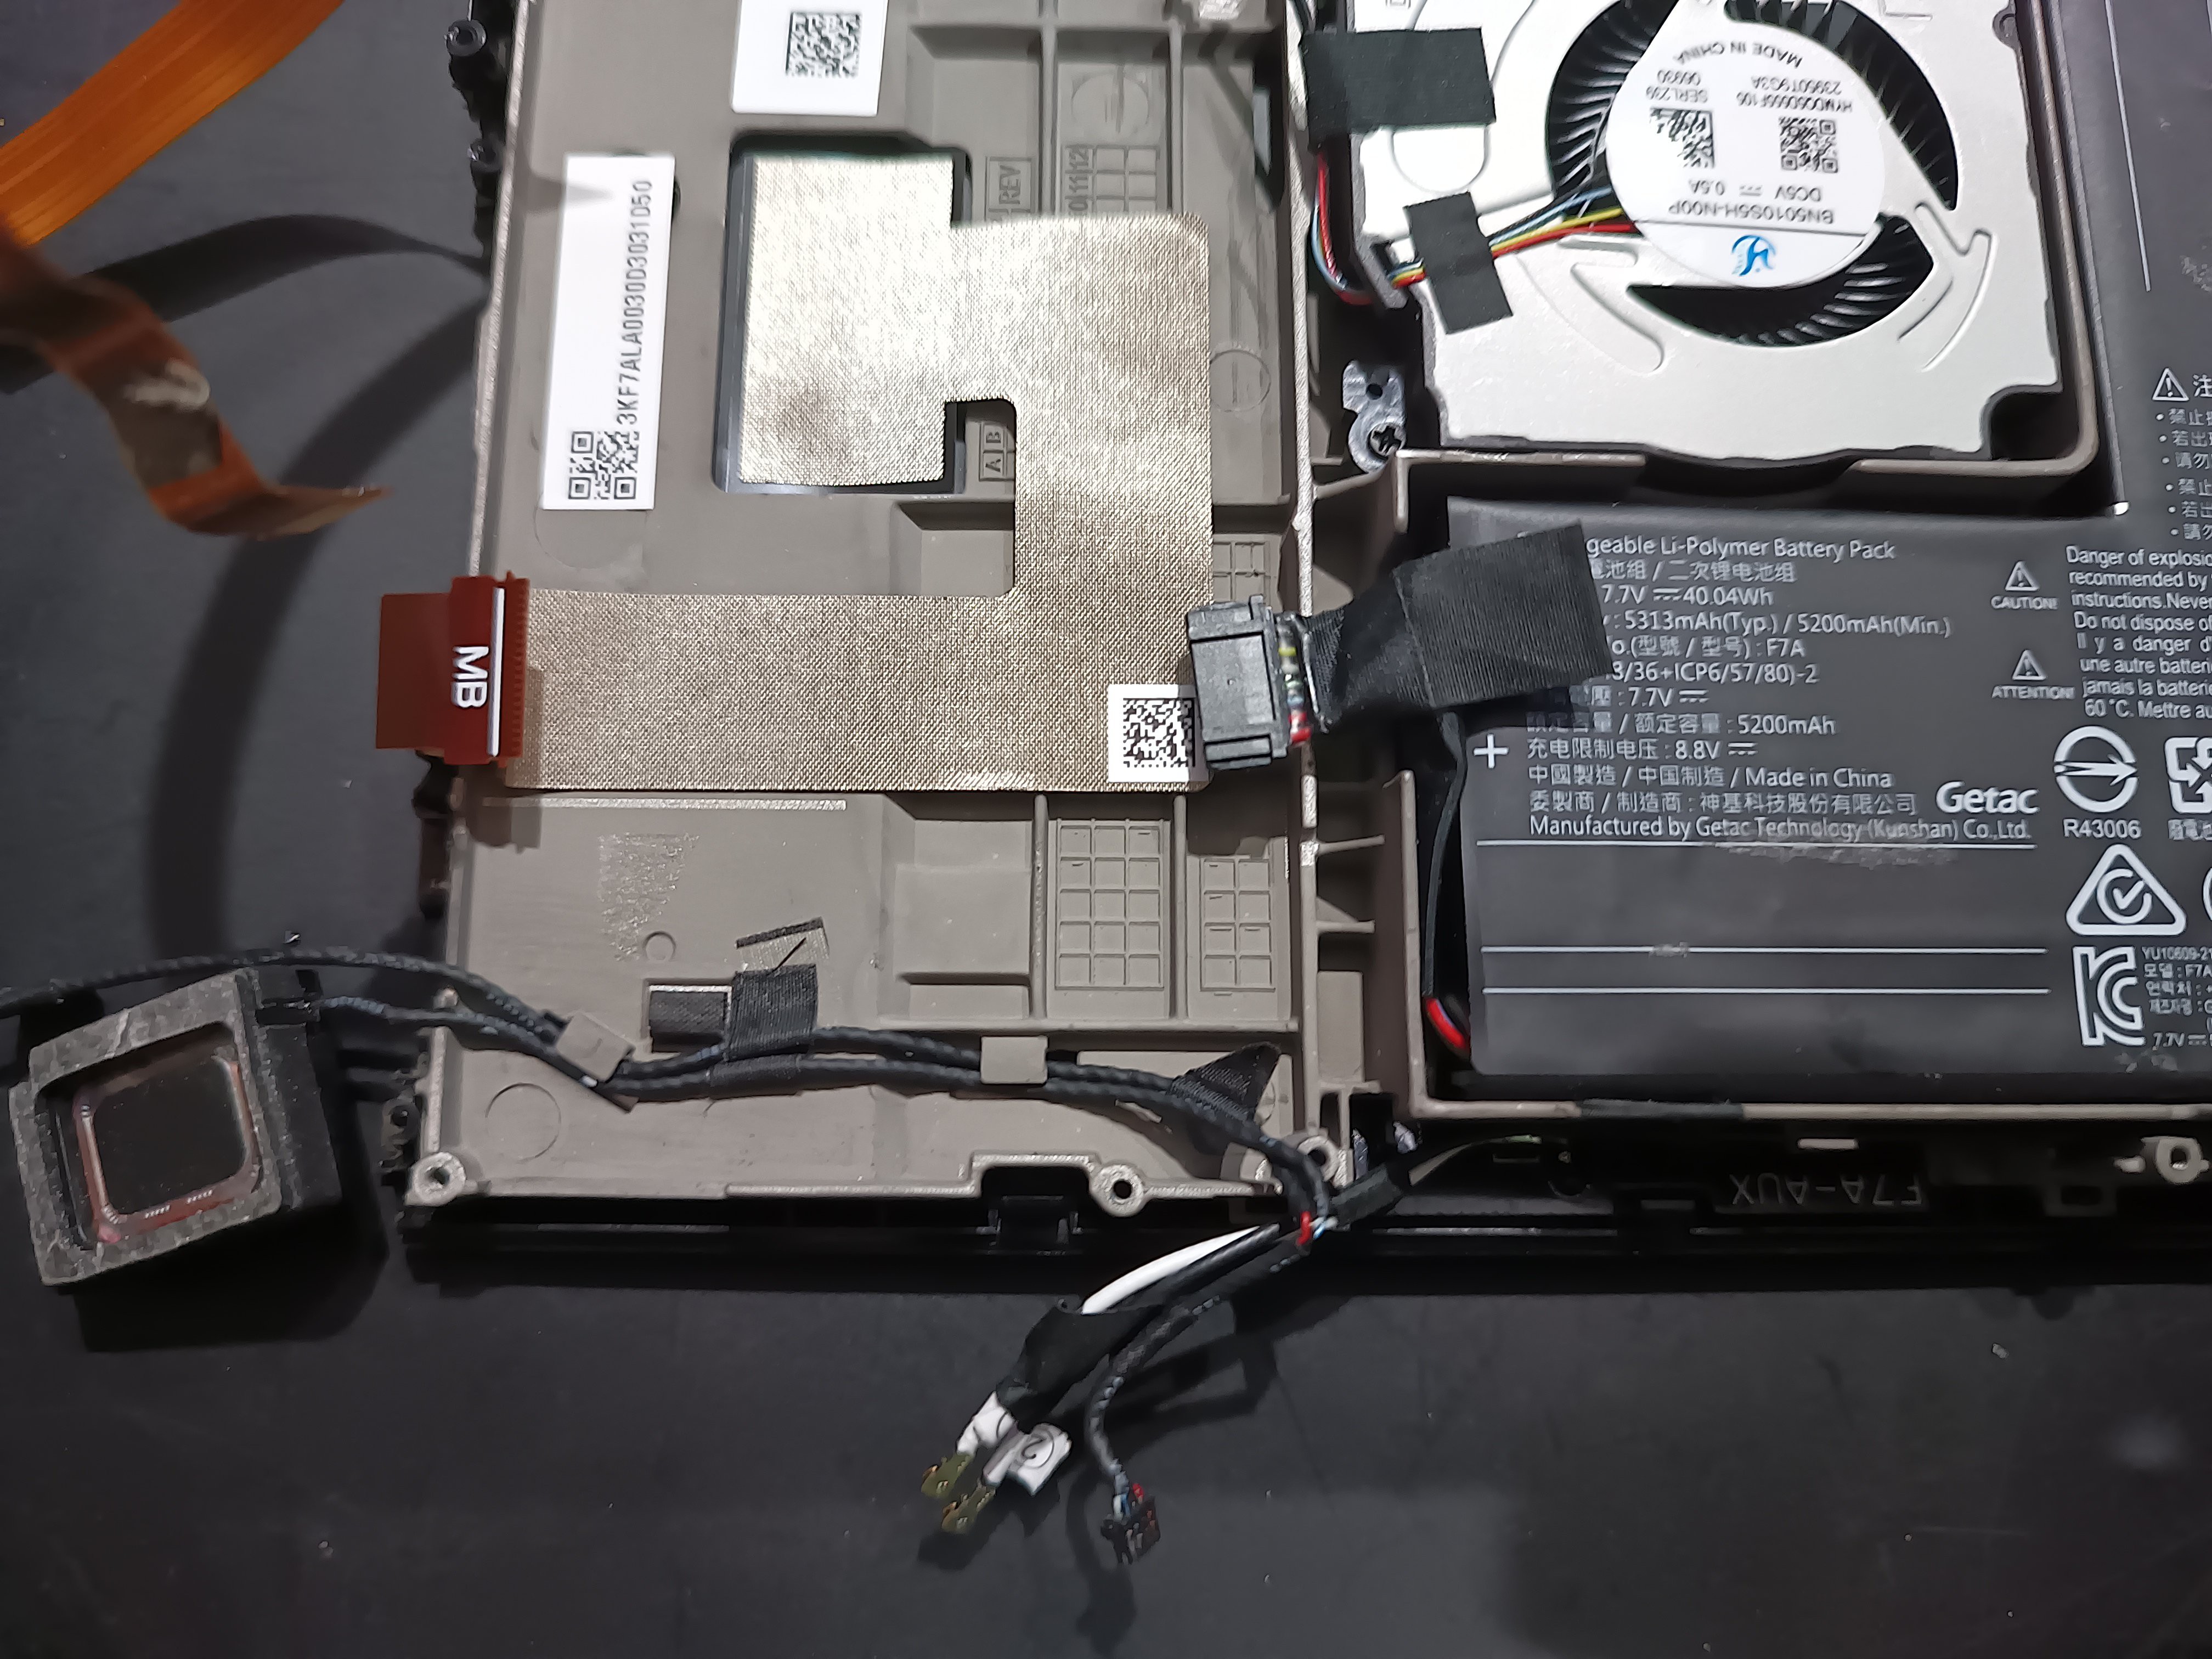
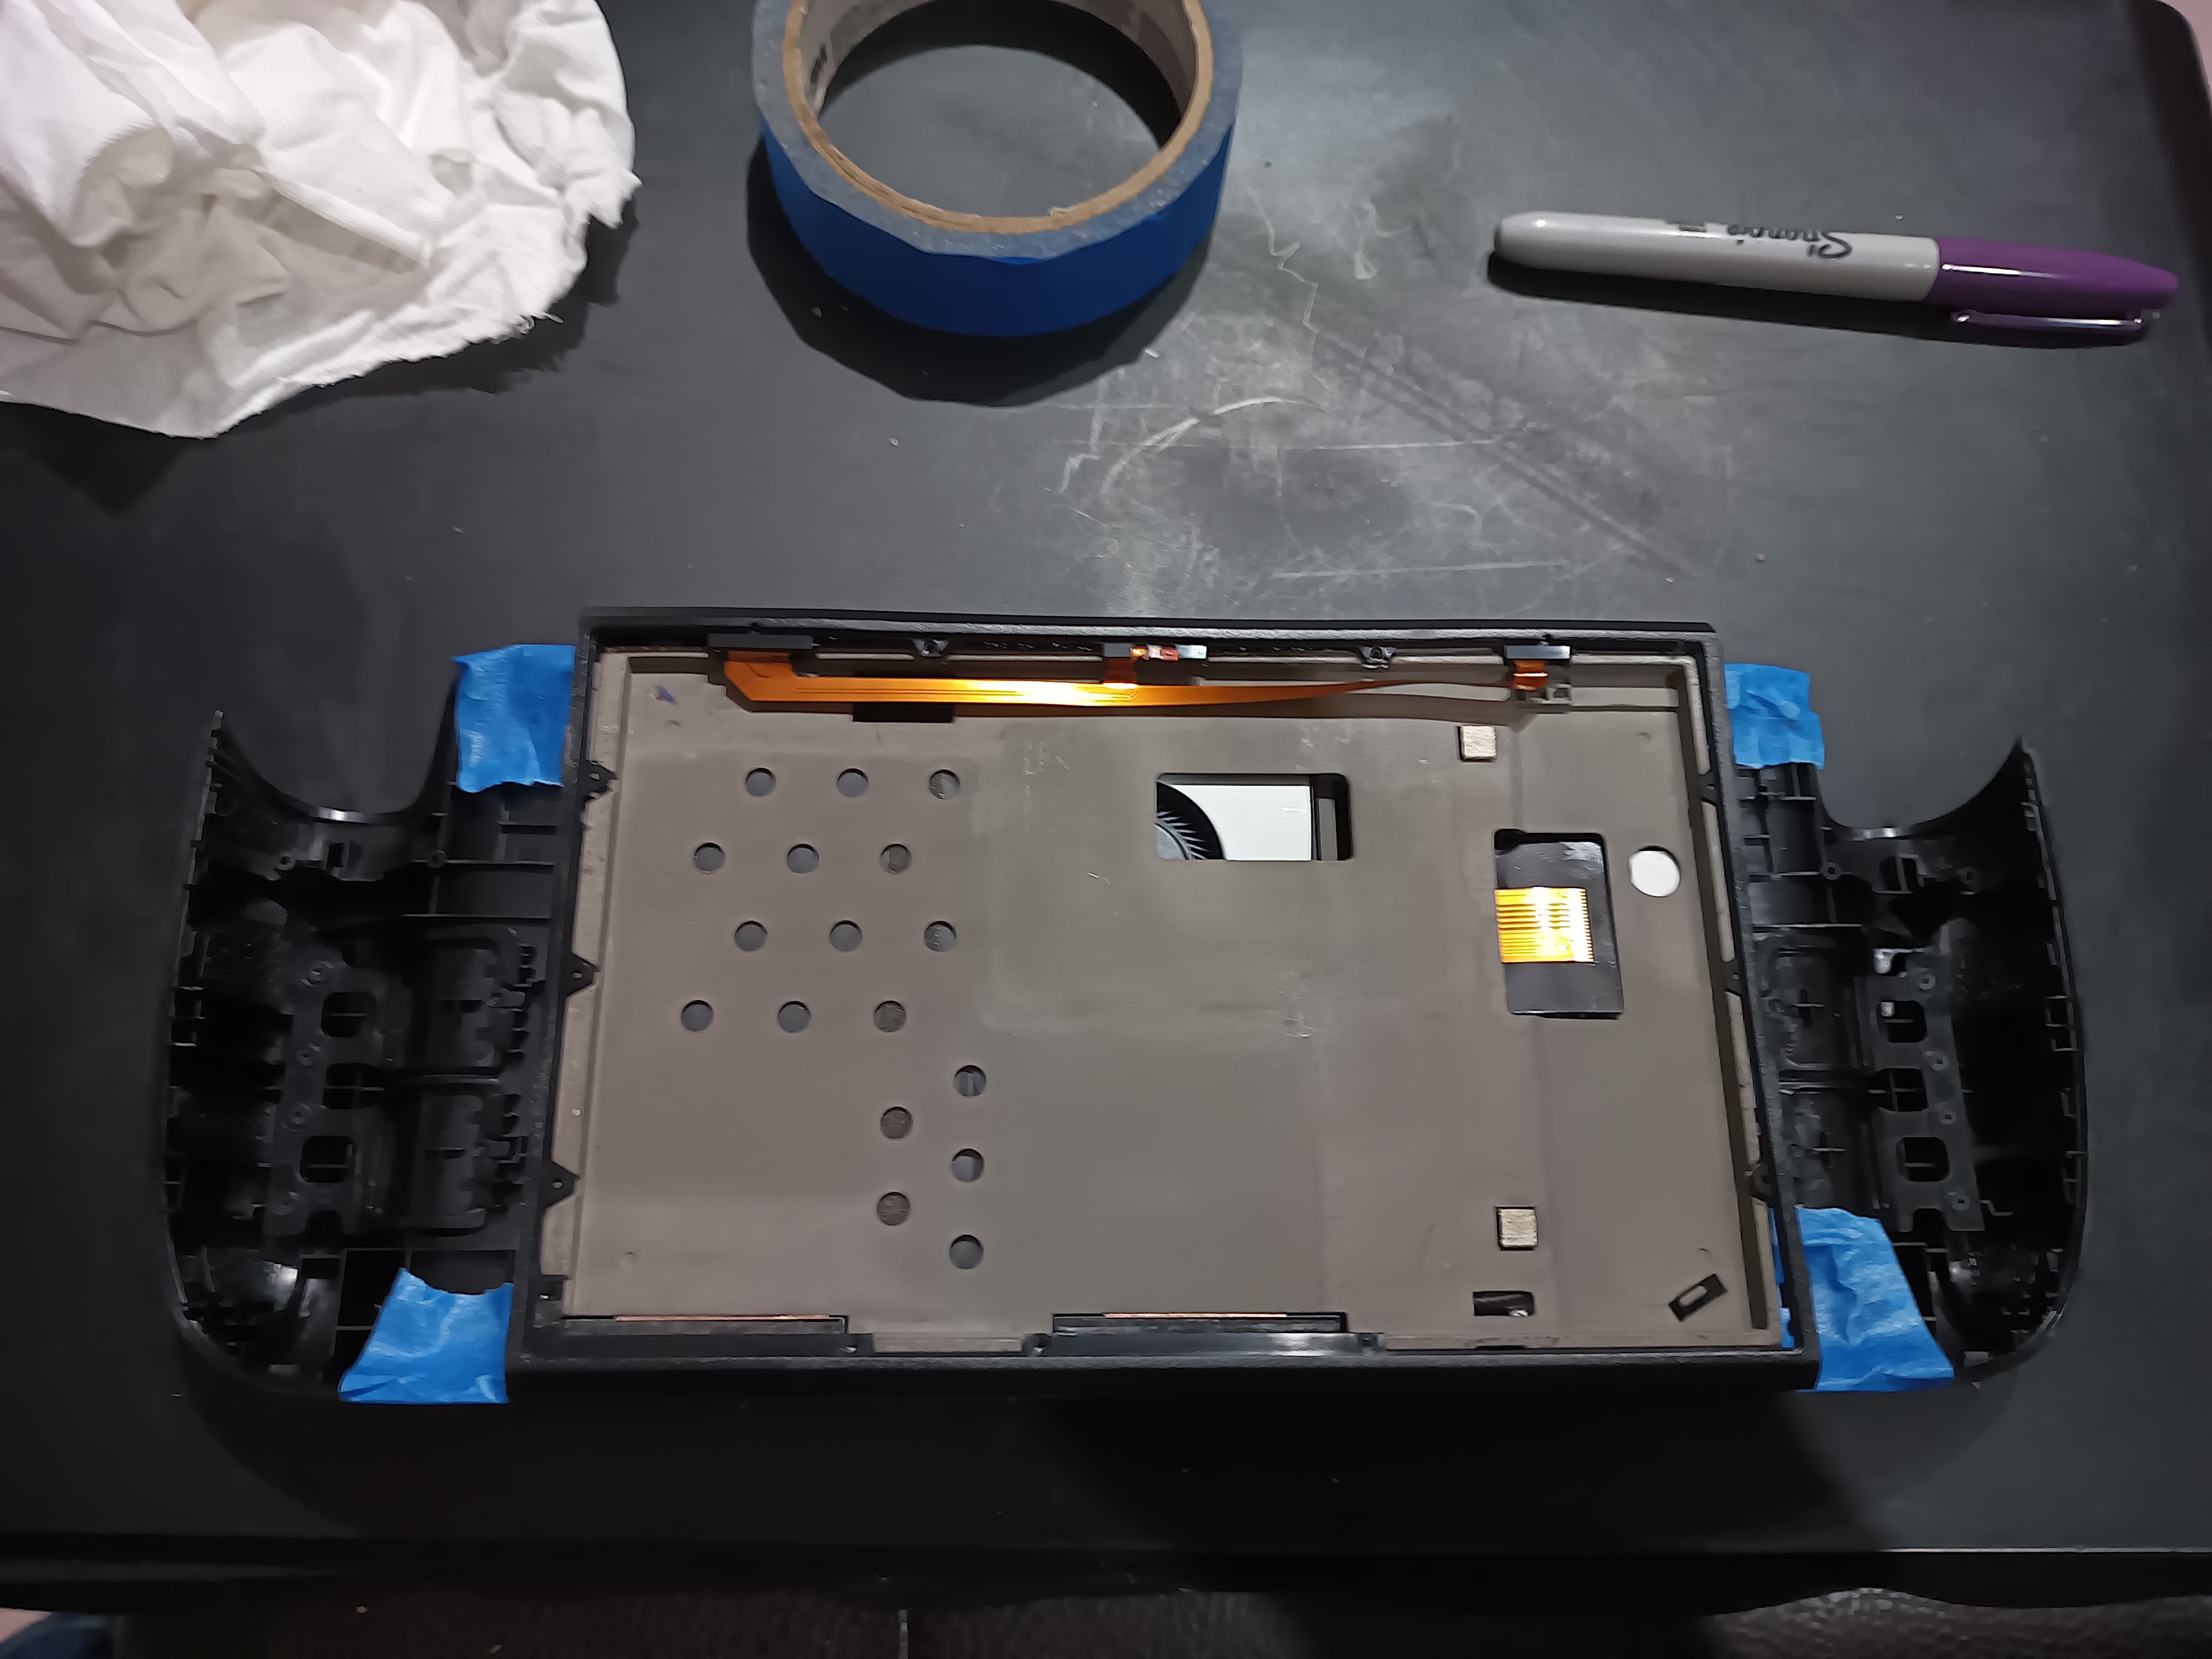
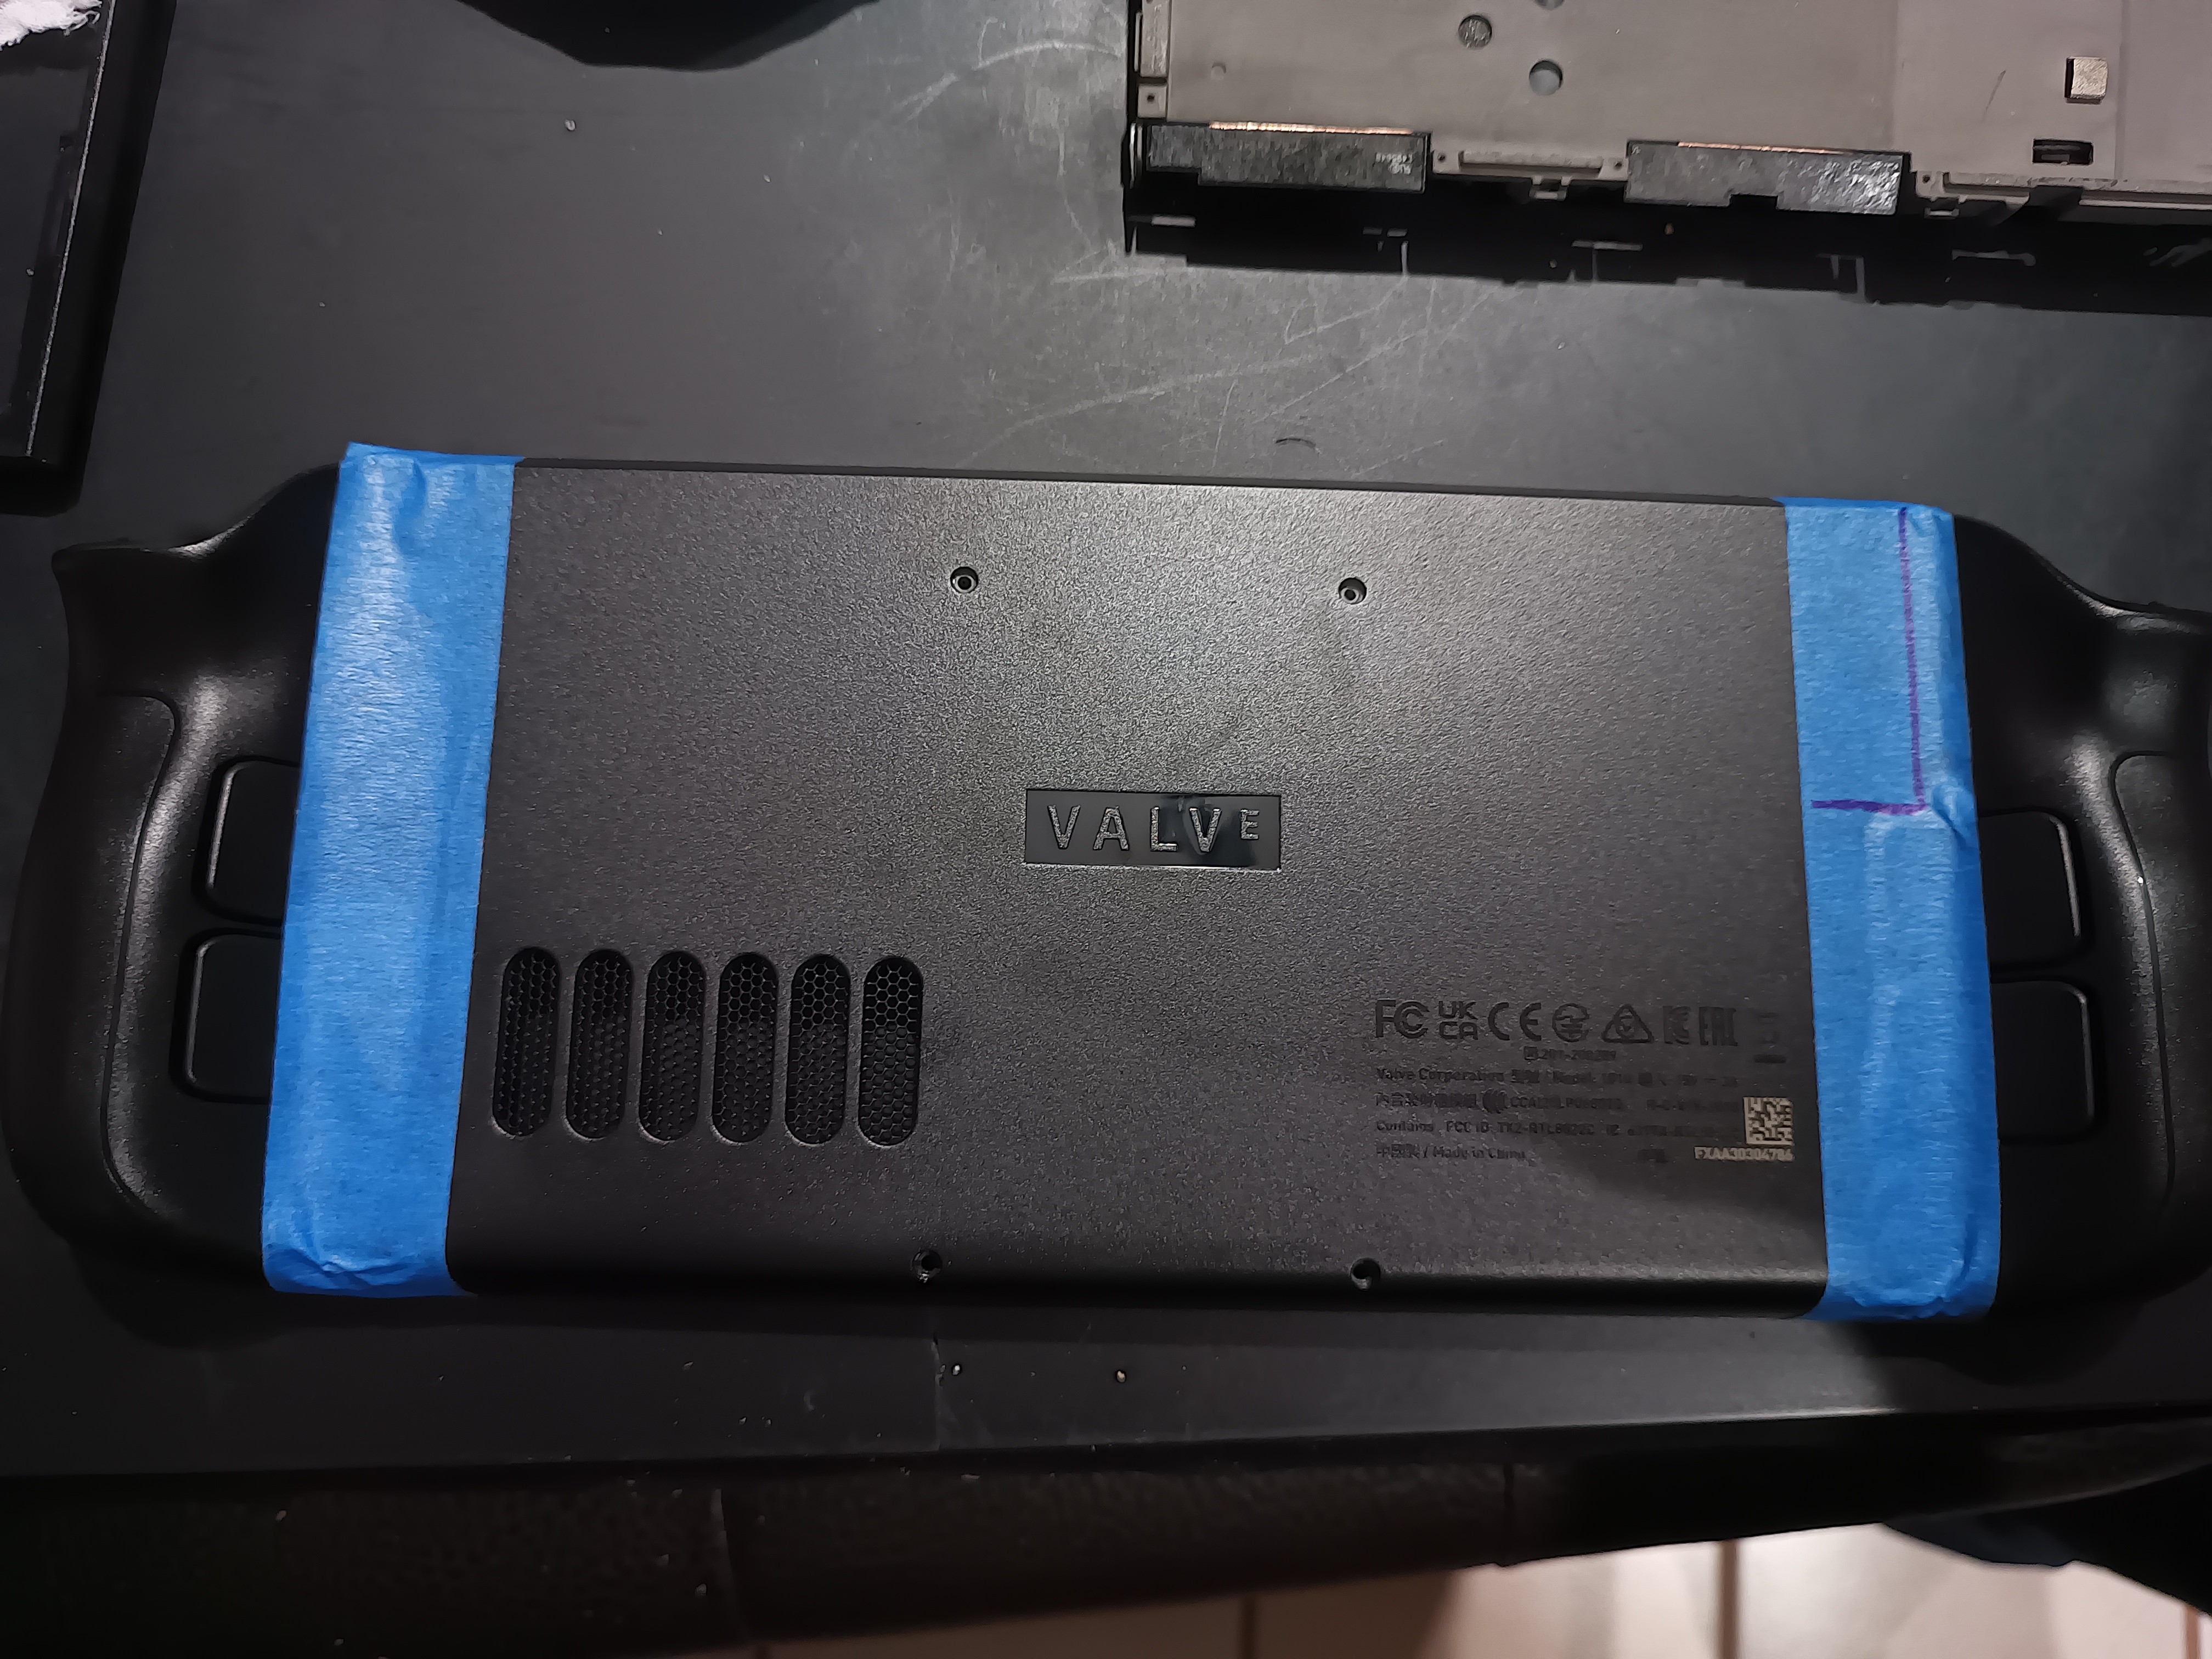
The concept is simple.  Get rid of the controllers, and make a tablet similar to the older ultra portable PCs.

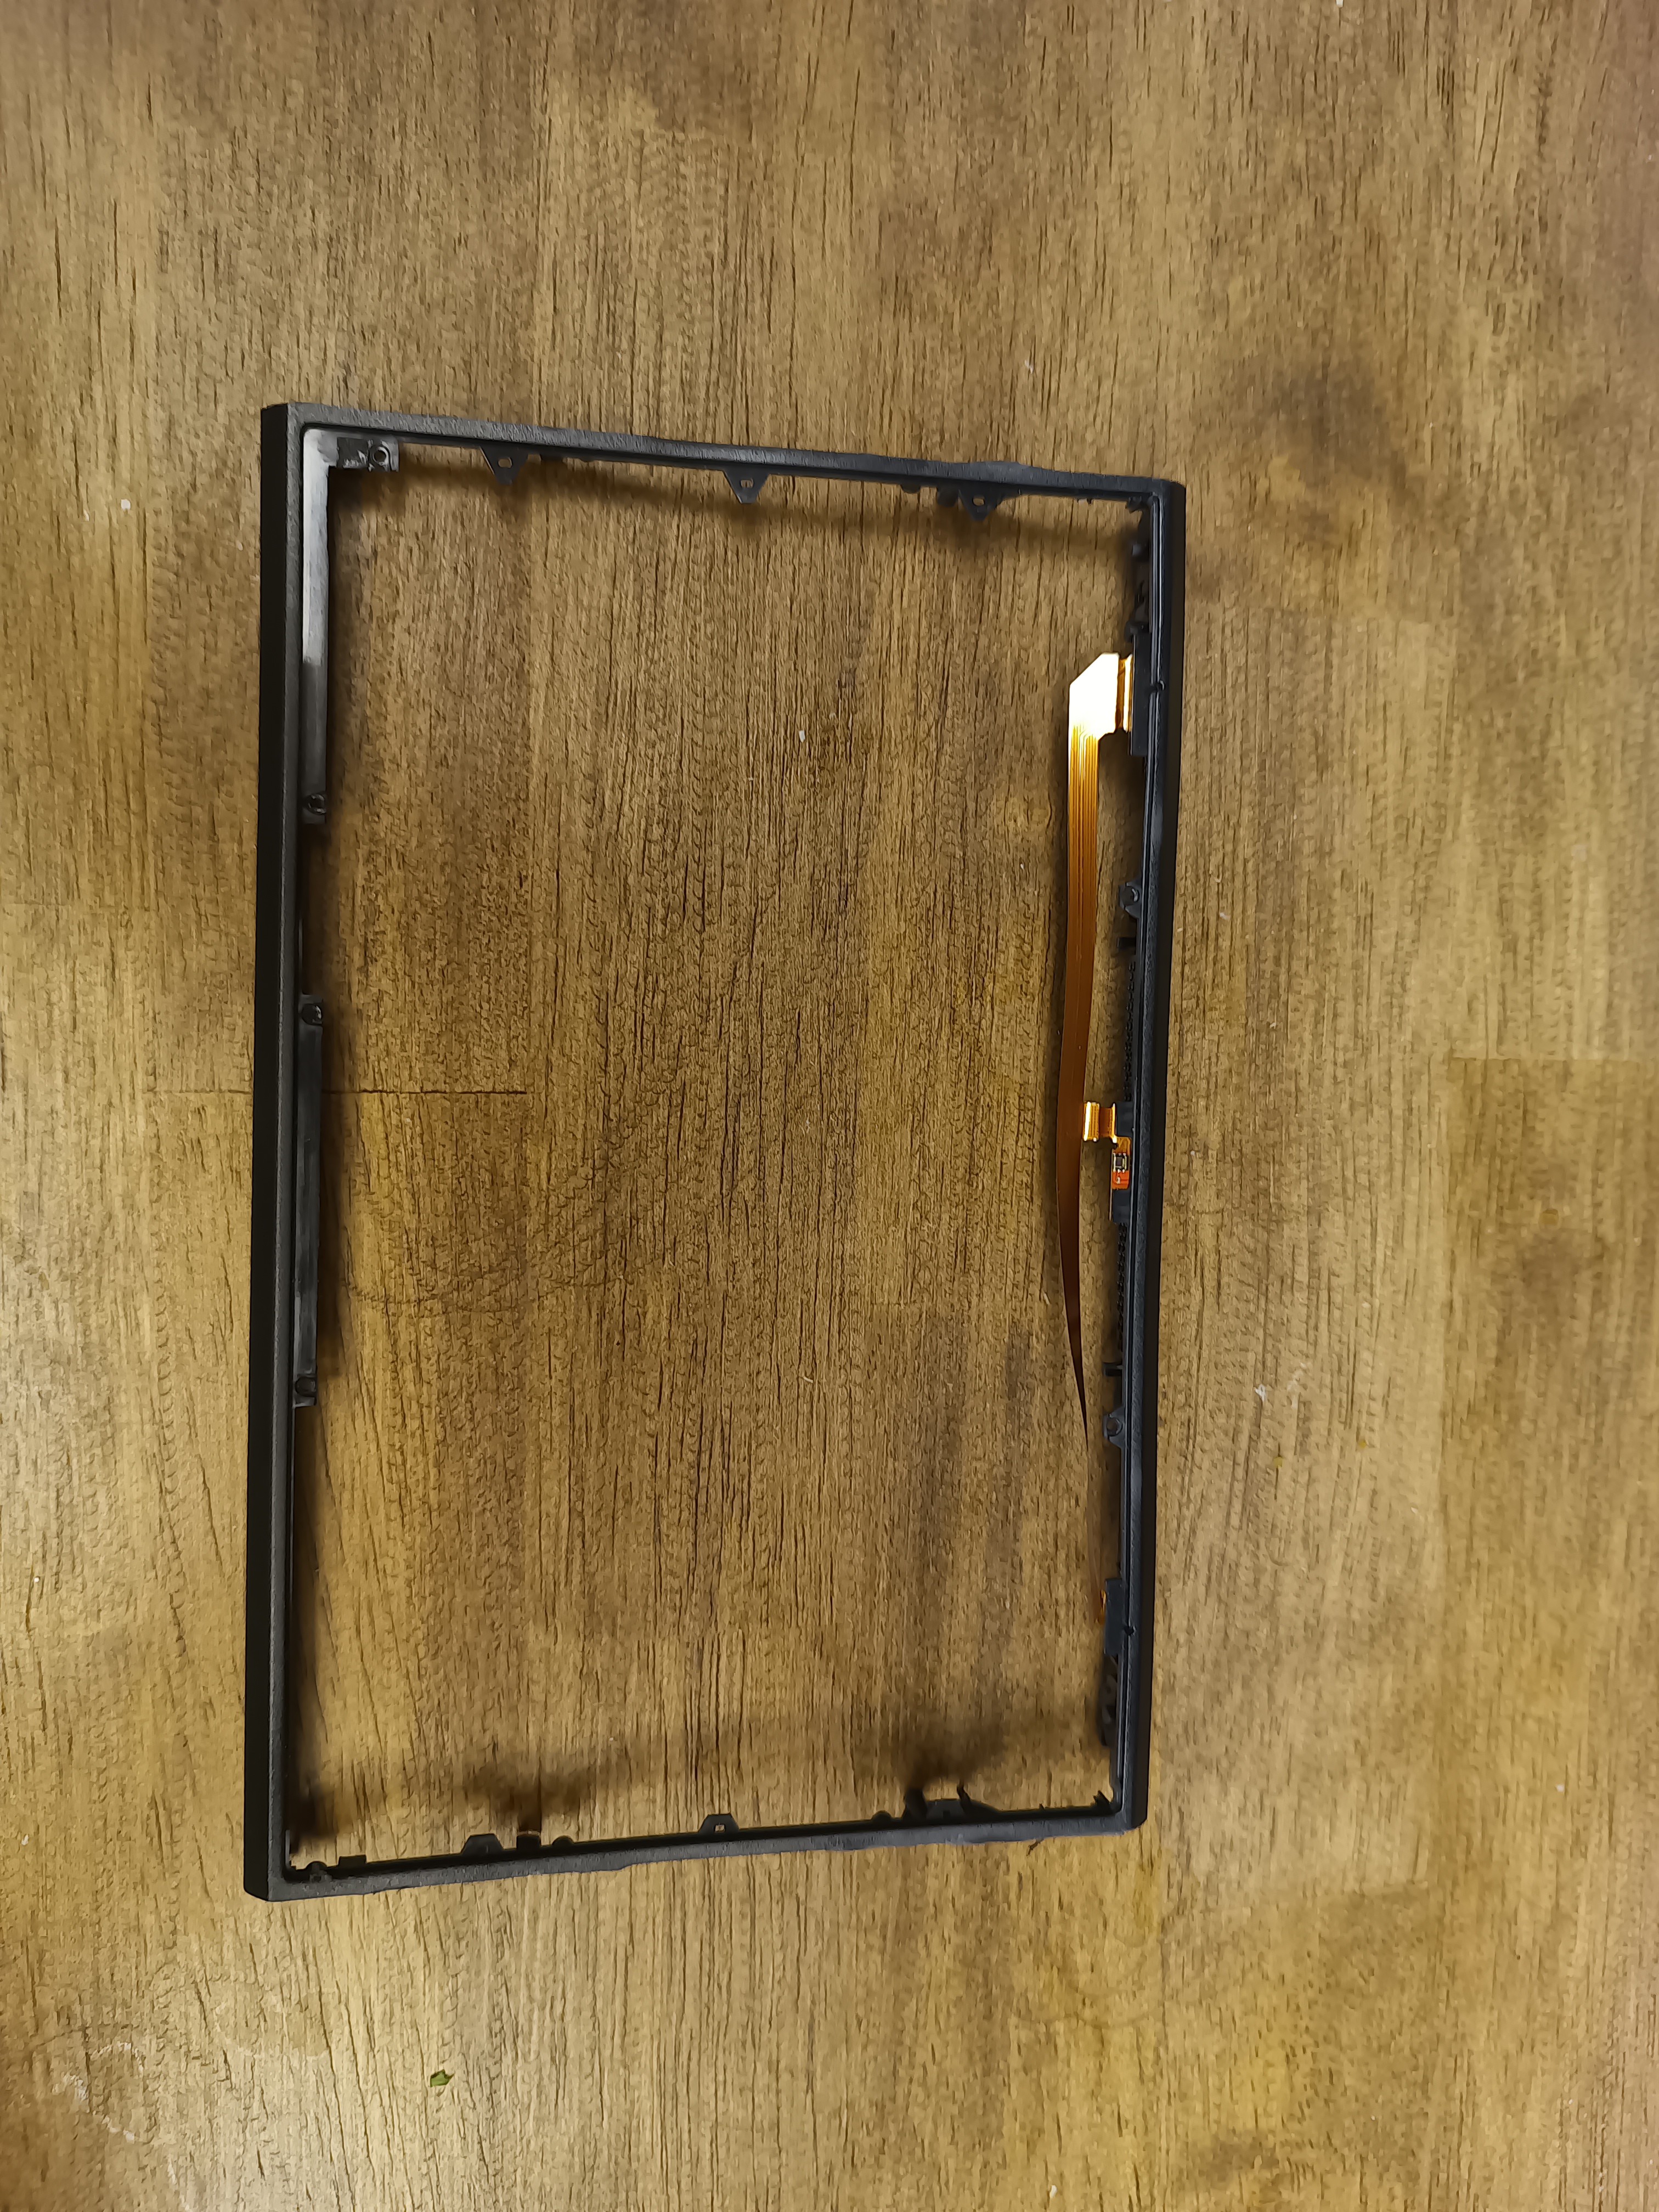
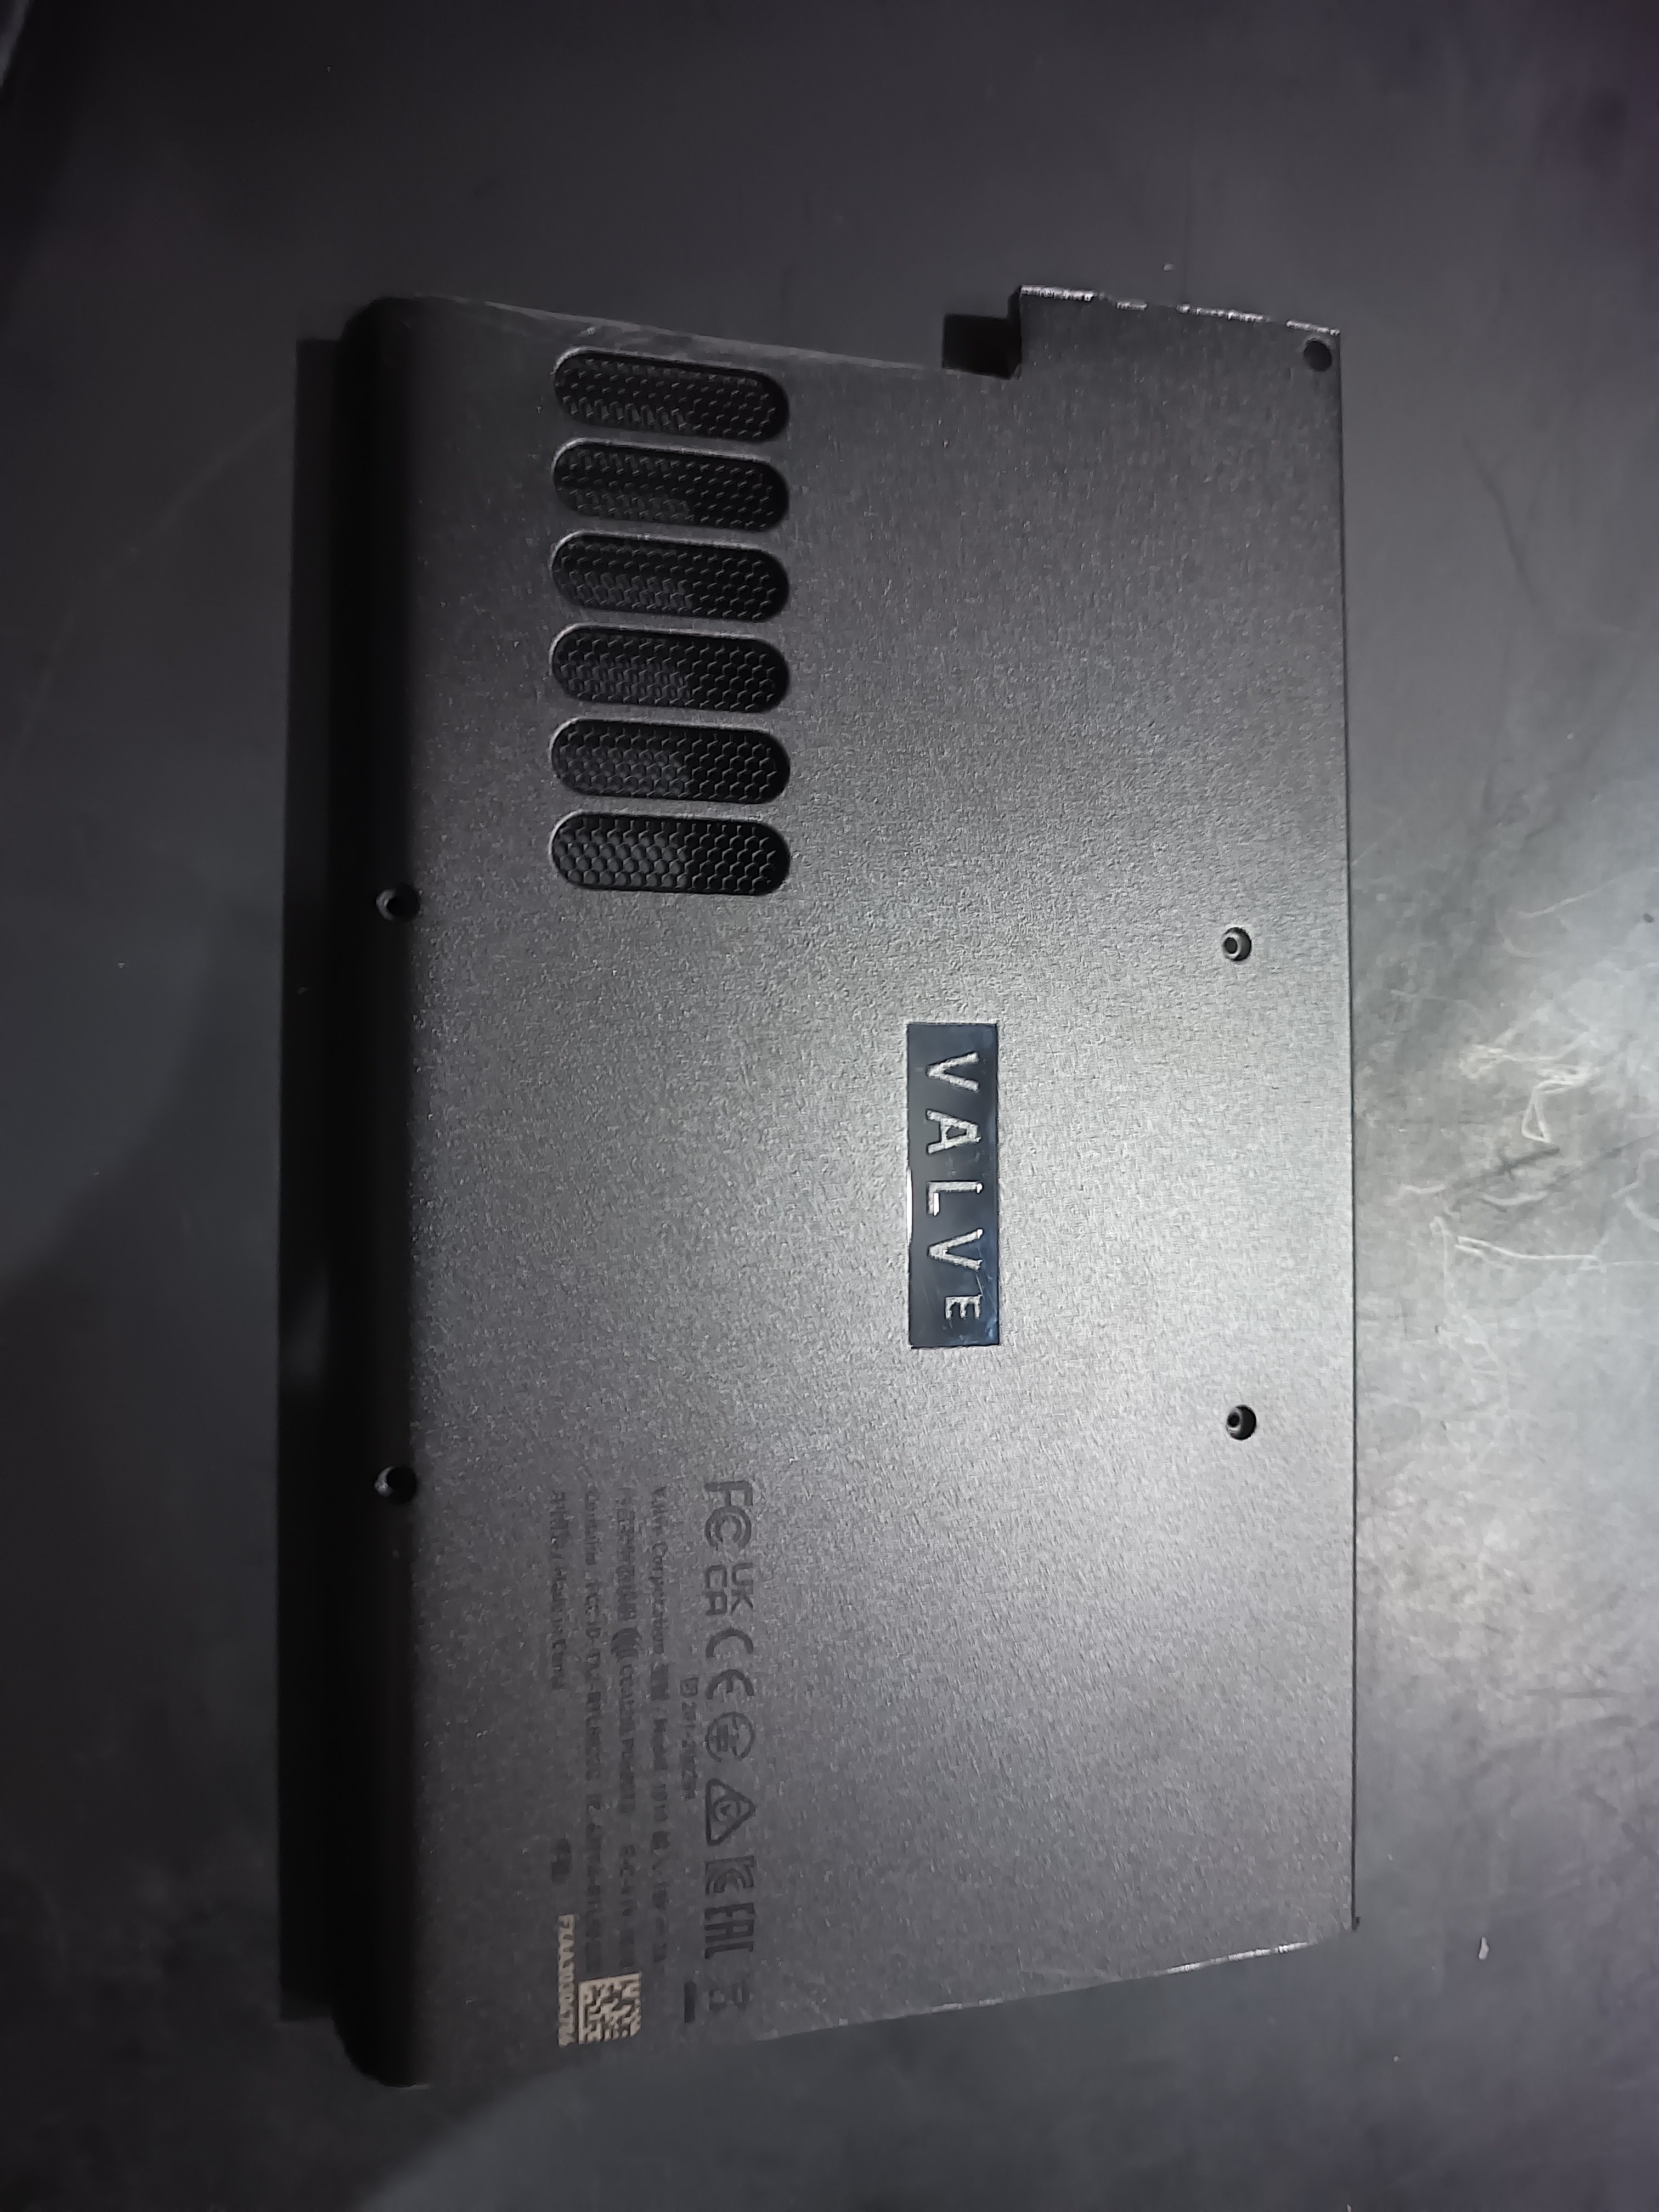
Admittedly, the case could use some work.  If anyone out there has decent design skills, I'll gladly take some help :)

Standard Tesselated Geometry - 585.77 kB - 06/23/2023 at 17:43

Download

Standard Tesselated Geometry - 946.08 kB - 06/23/2023 at 17:43

Download

Steam Deck Clip On v6.skp

Sketchup file that includes deck, clip-on stand, lefty, and righty

x-koan - 14.28 MB - 06/23/2023 at 17:43

Download

  • 1 × Steam Deck

  • 1
    Faceplate Cutting
    Using the trackpad holes as a guide, use painter's tape to mark your cutting line.

    Cut straight up and down along the edge closest to the center hole.


  • 2
    Main Block Cutting

    Cut the pieces of the metal block that stick out until you have something closely resembling a rectangle.

    An angle grinder makes this quick, but use short bursts of grinding and cover the components if you want to leave the board and battery in place.

    Now is also a good time to reroute the speakers as shown.

  • 3
    Backplate cutting

    Put the metal block, faceplate, and backplate together, and use painter's tape to mark cutting lines.  Disassemble, then cut the backplate.

    I chose to leave an extra piece of plastic on the speaker side to act as support.

View all 5 instructions

Enjoy this project?

Share

Discussions

Similar Projects

Does this project spark your interest?

Become a member to follow this project and never miss any updates