We have created nano scale probe using Tangsteen wire, but we have never glued it to active Quartz fork.
Once we have QFM, we could connect the electronics on PCBs, [PCBs makes it more mechanical and electrical stable].
After electronics done, we could connect the mechanical part and do the first experiment.
First thing first, Quartz Fork, it looks like an easy step but twice I've tried twice I got my Quarts fork filled with glue, I don't think it will do any good. On the second time I got idea to turn qfm upsidedown but now both qfm and syringe got in glue...
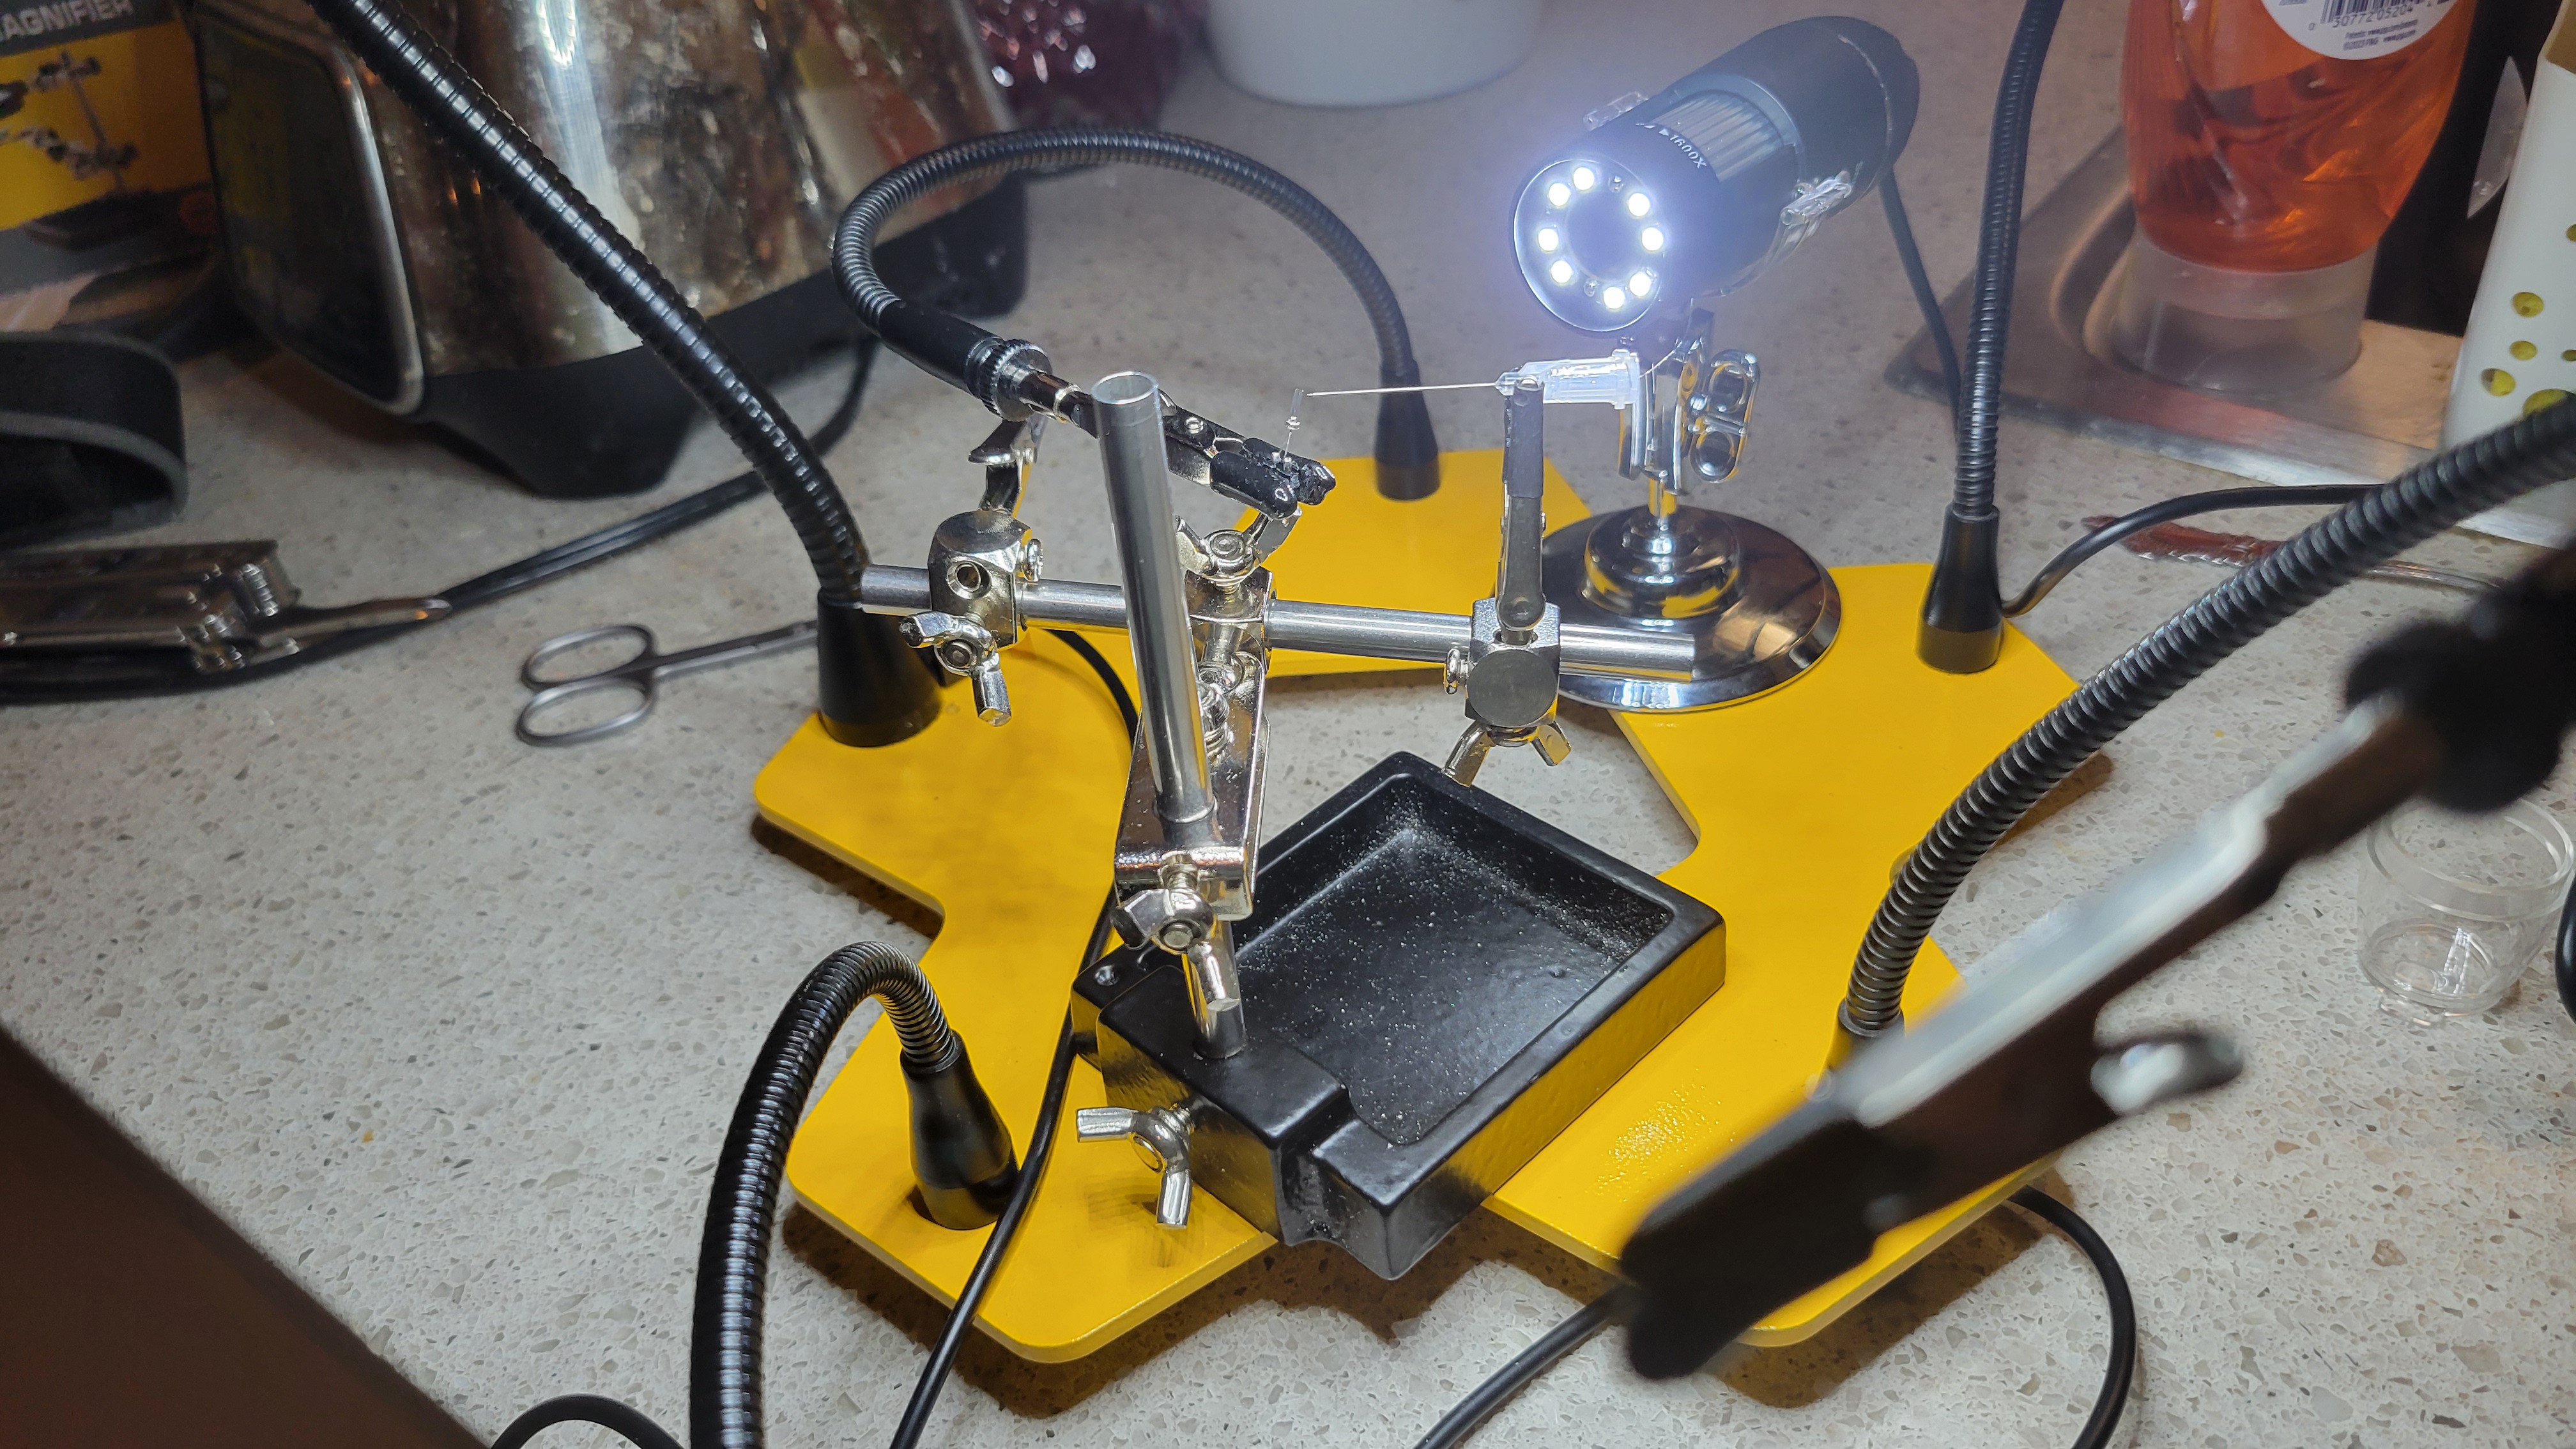
One interesting thing I've learned is to use a non-flexible 'helping hand' as it more rigid and has less movement.
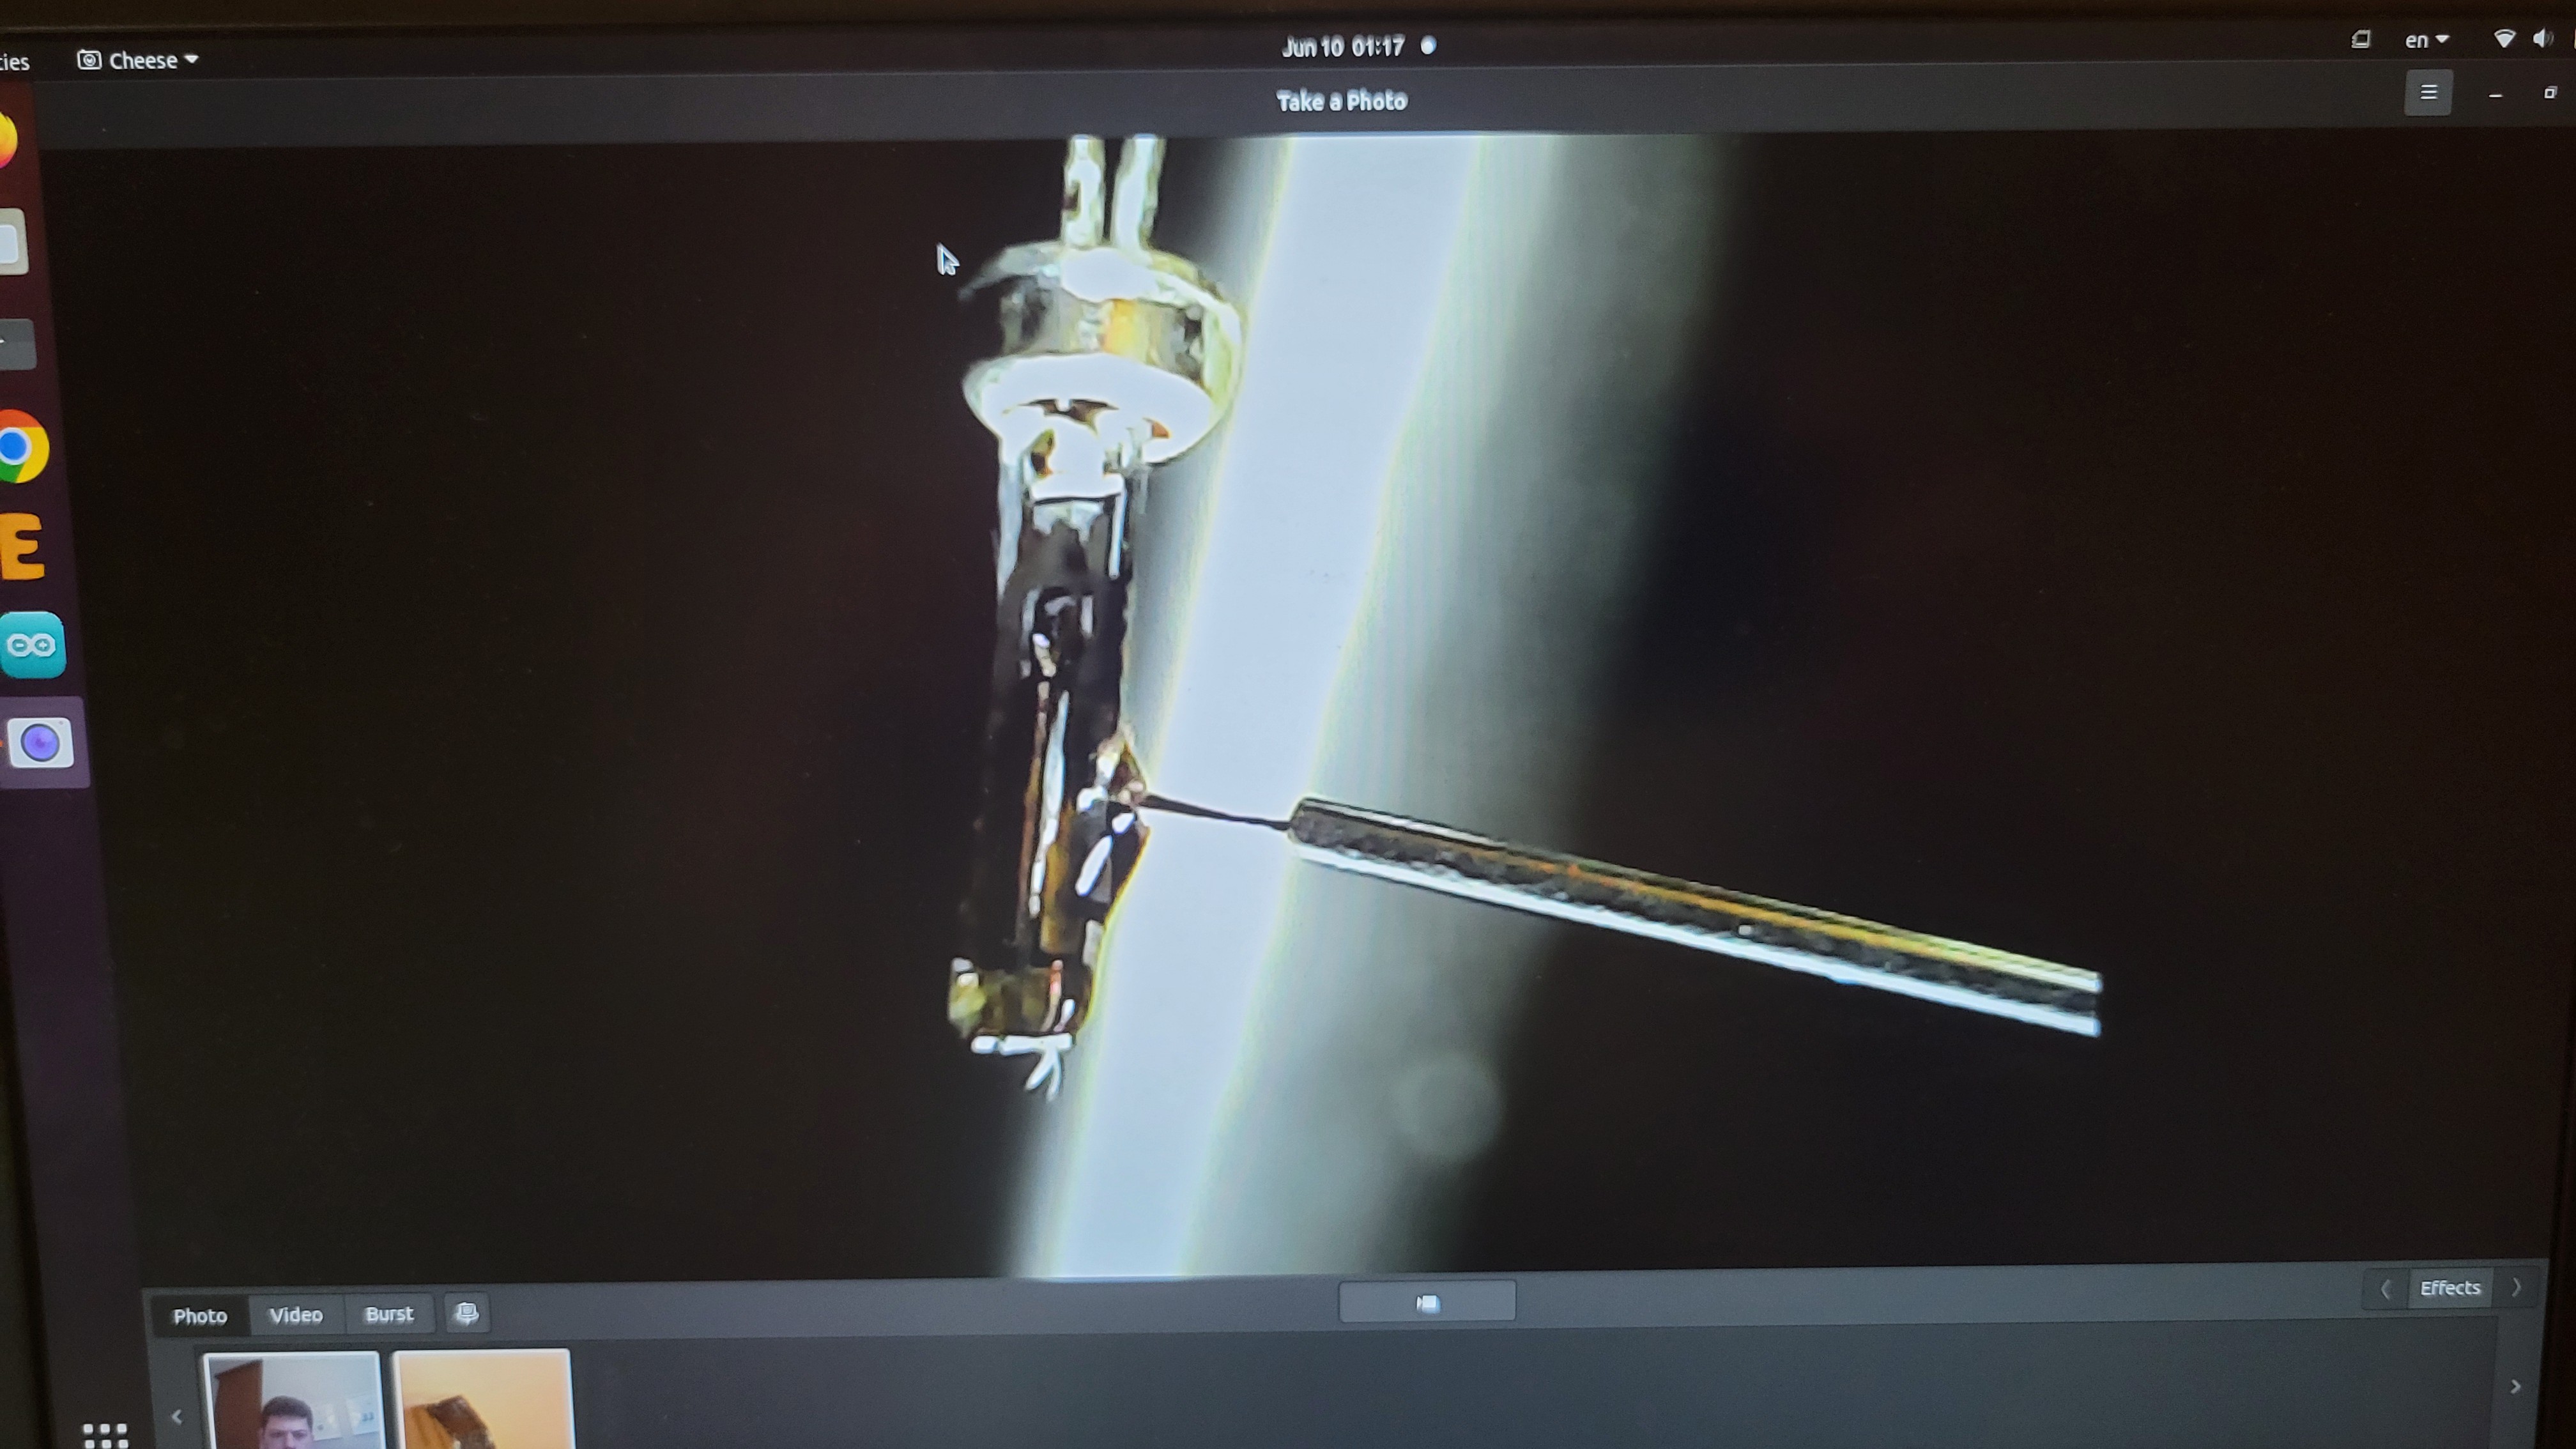
After successful gluing using syringe and microscope
 The next step was to etch a nano scale tip. After few hours of etching I got a feeling than I don't use Tangsteen wire after short google-seach I found out that I was sold some other wire
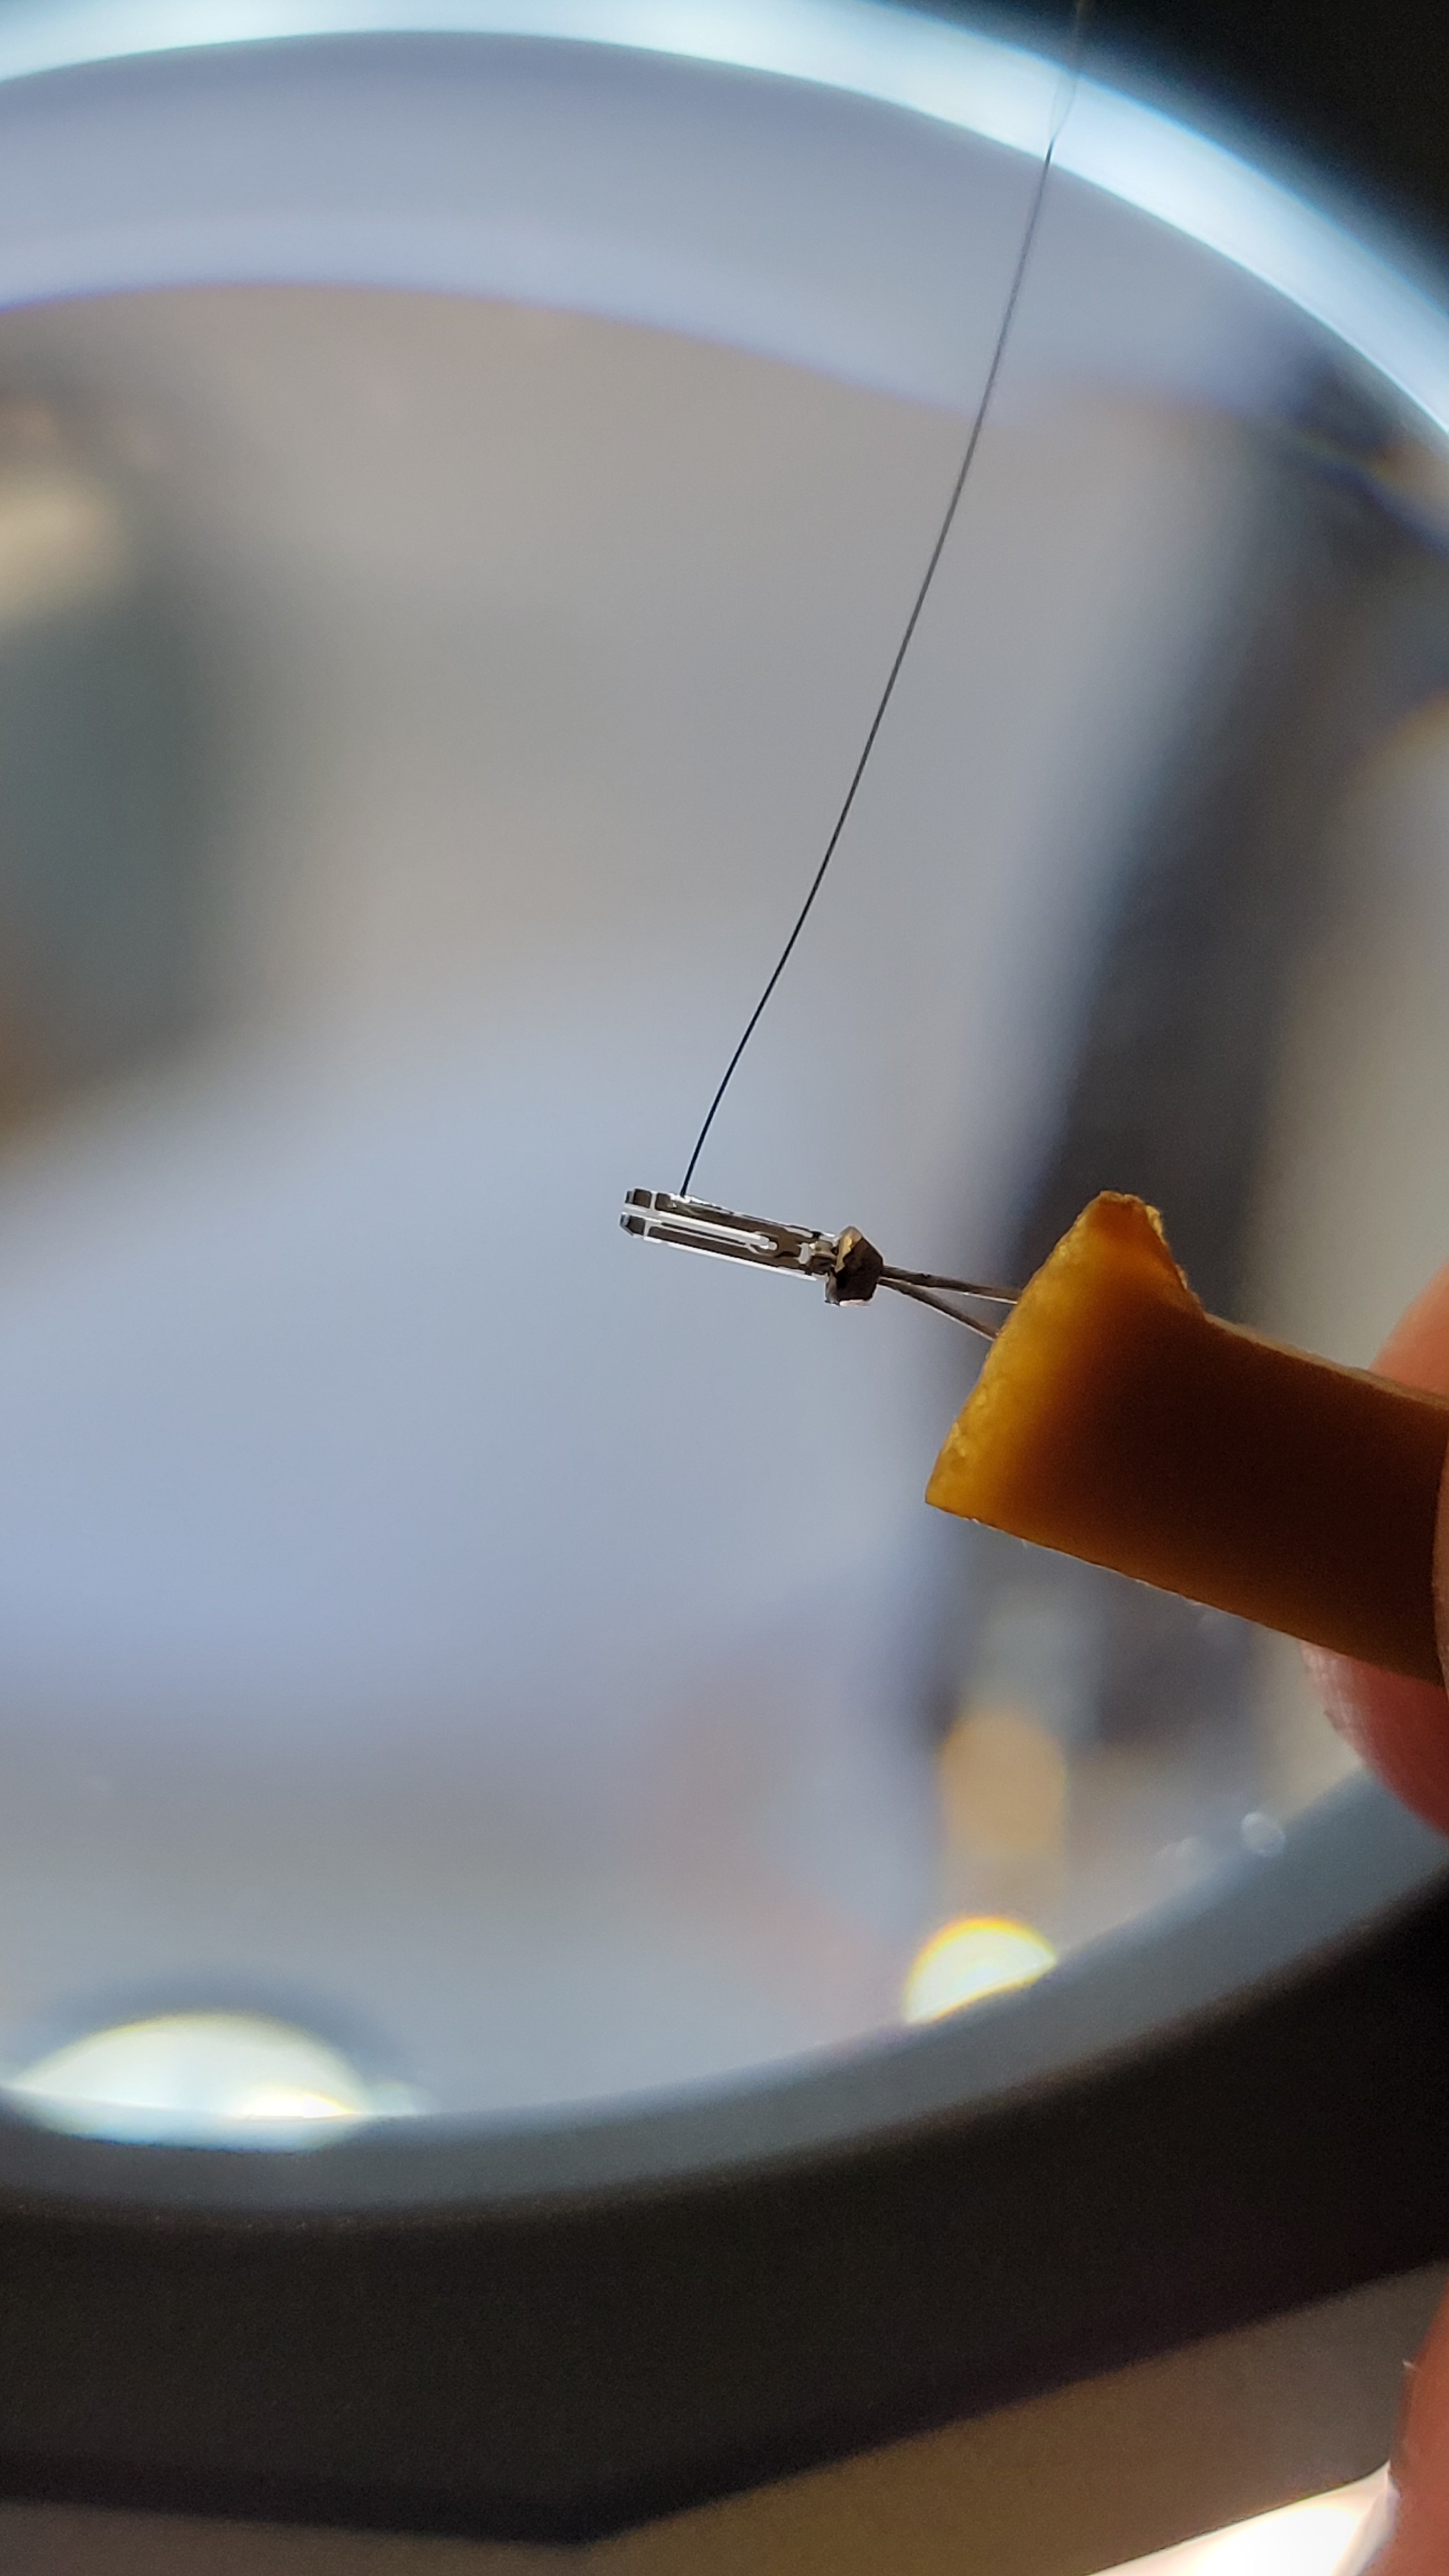
Got a new 0.1mm Tungsteen wire (I hope it Tungsteen) third time I scream :)
Managed to glue it right this time
After etching it in NaOH solution we get
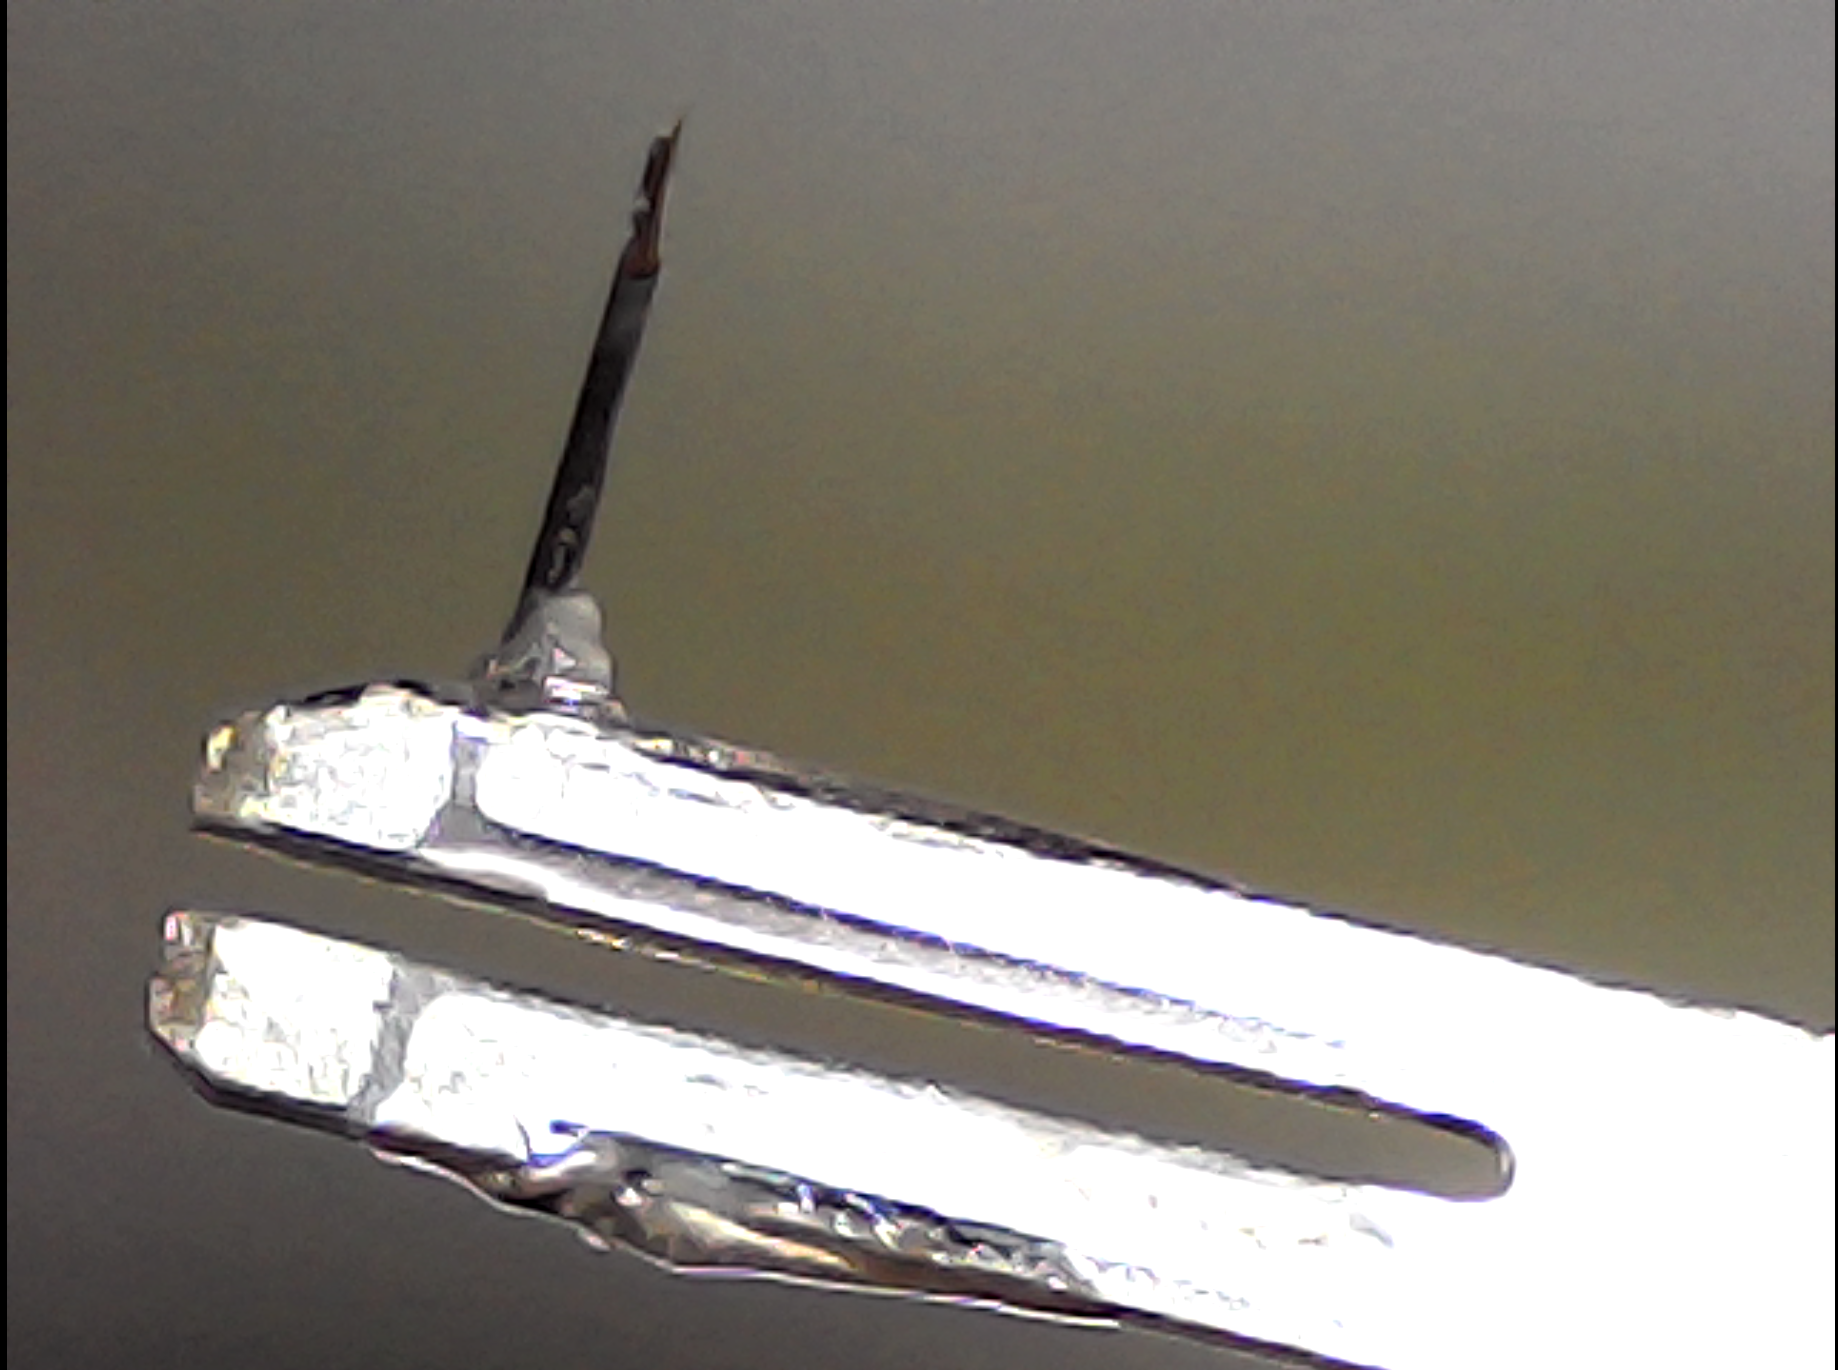
If we zoom in, we can see the tip
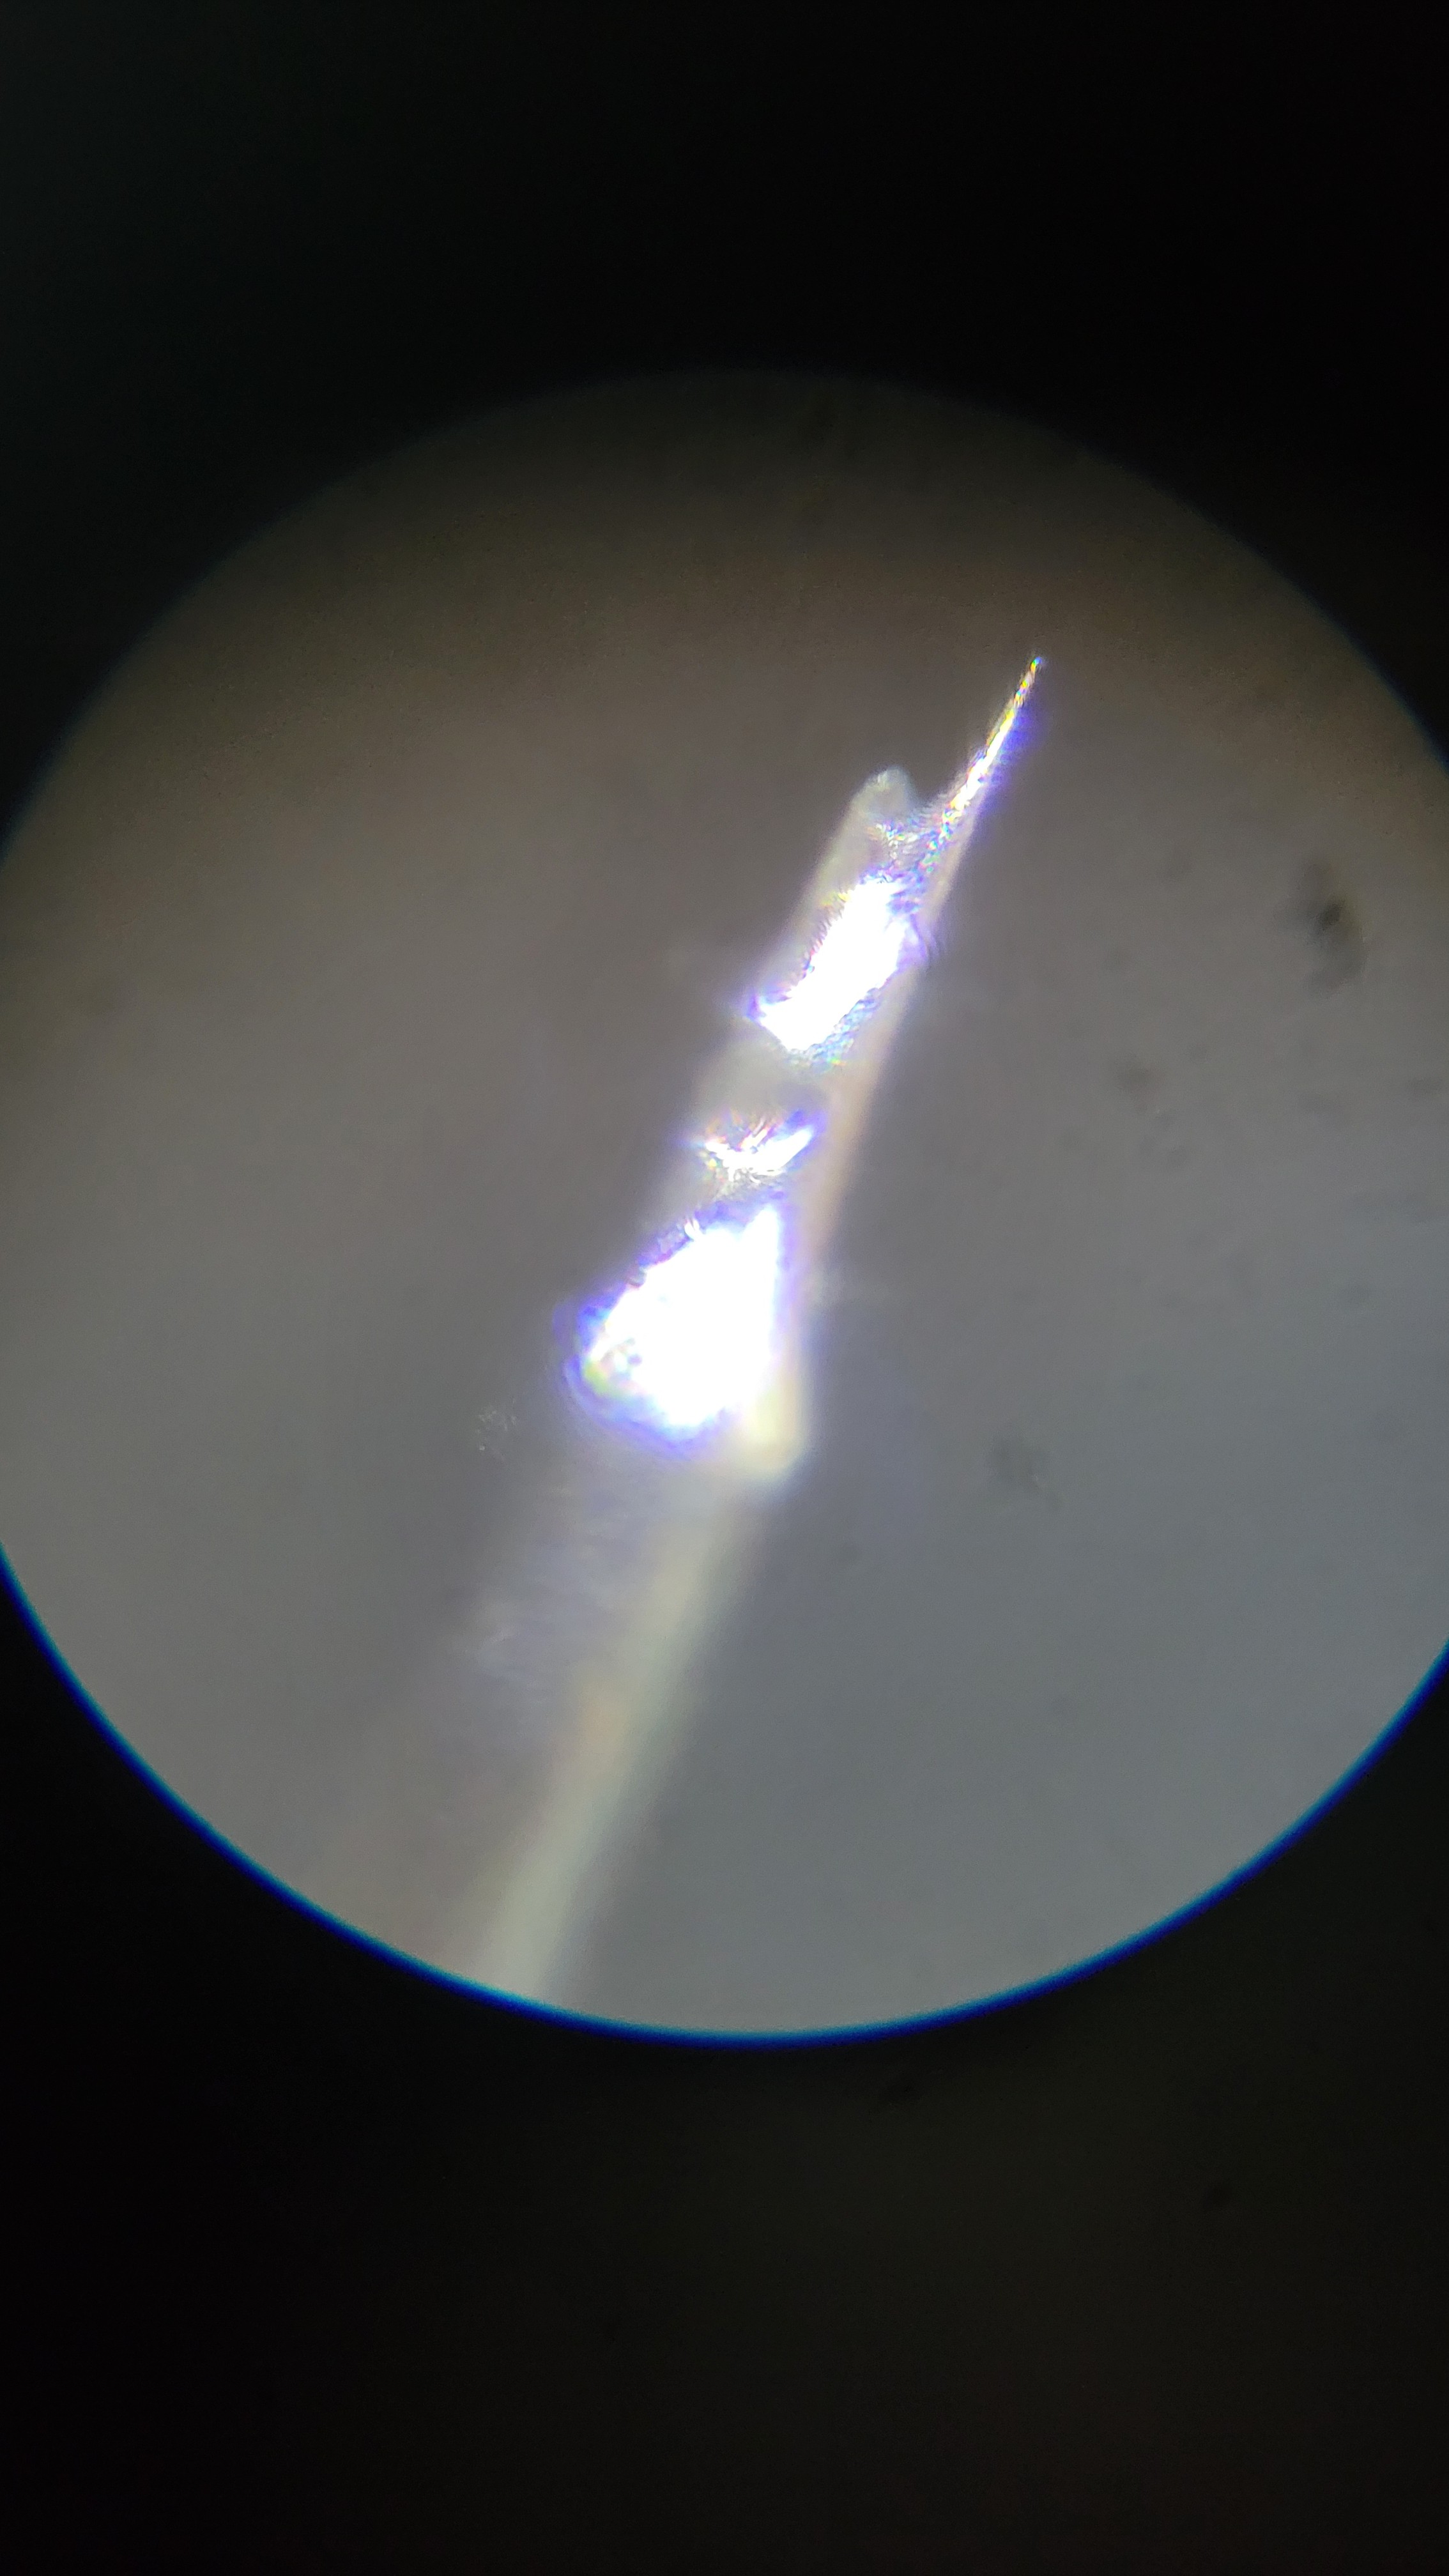
I don't know what I have done wrong to get this strange form but it's not bad for first time :)
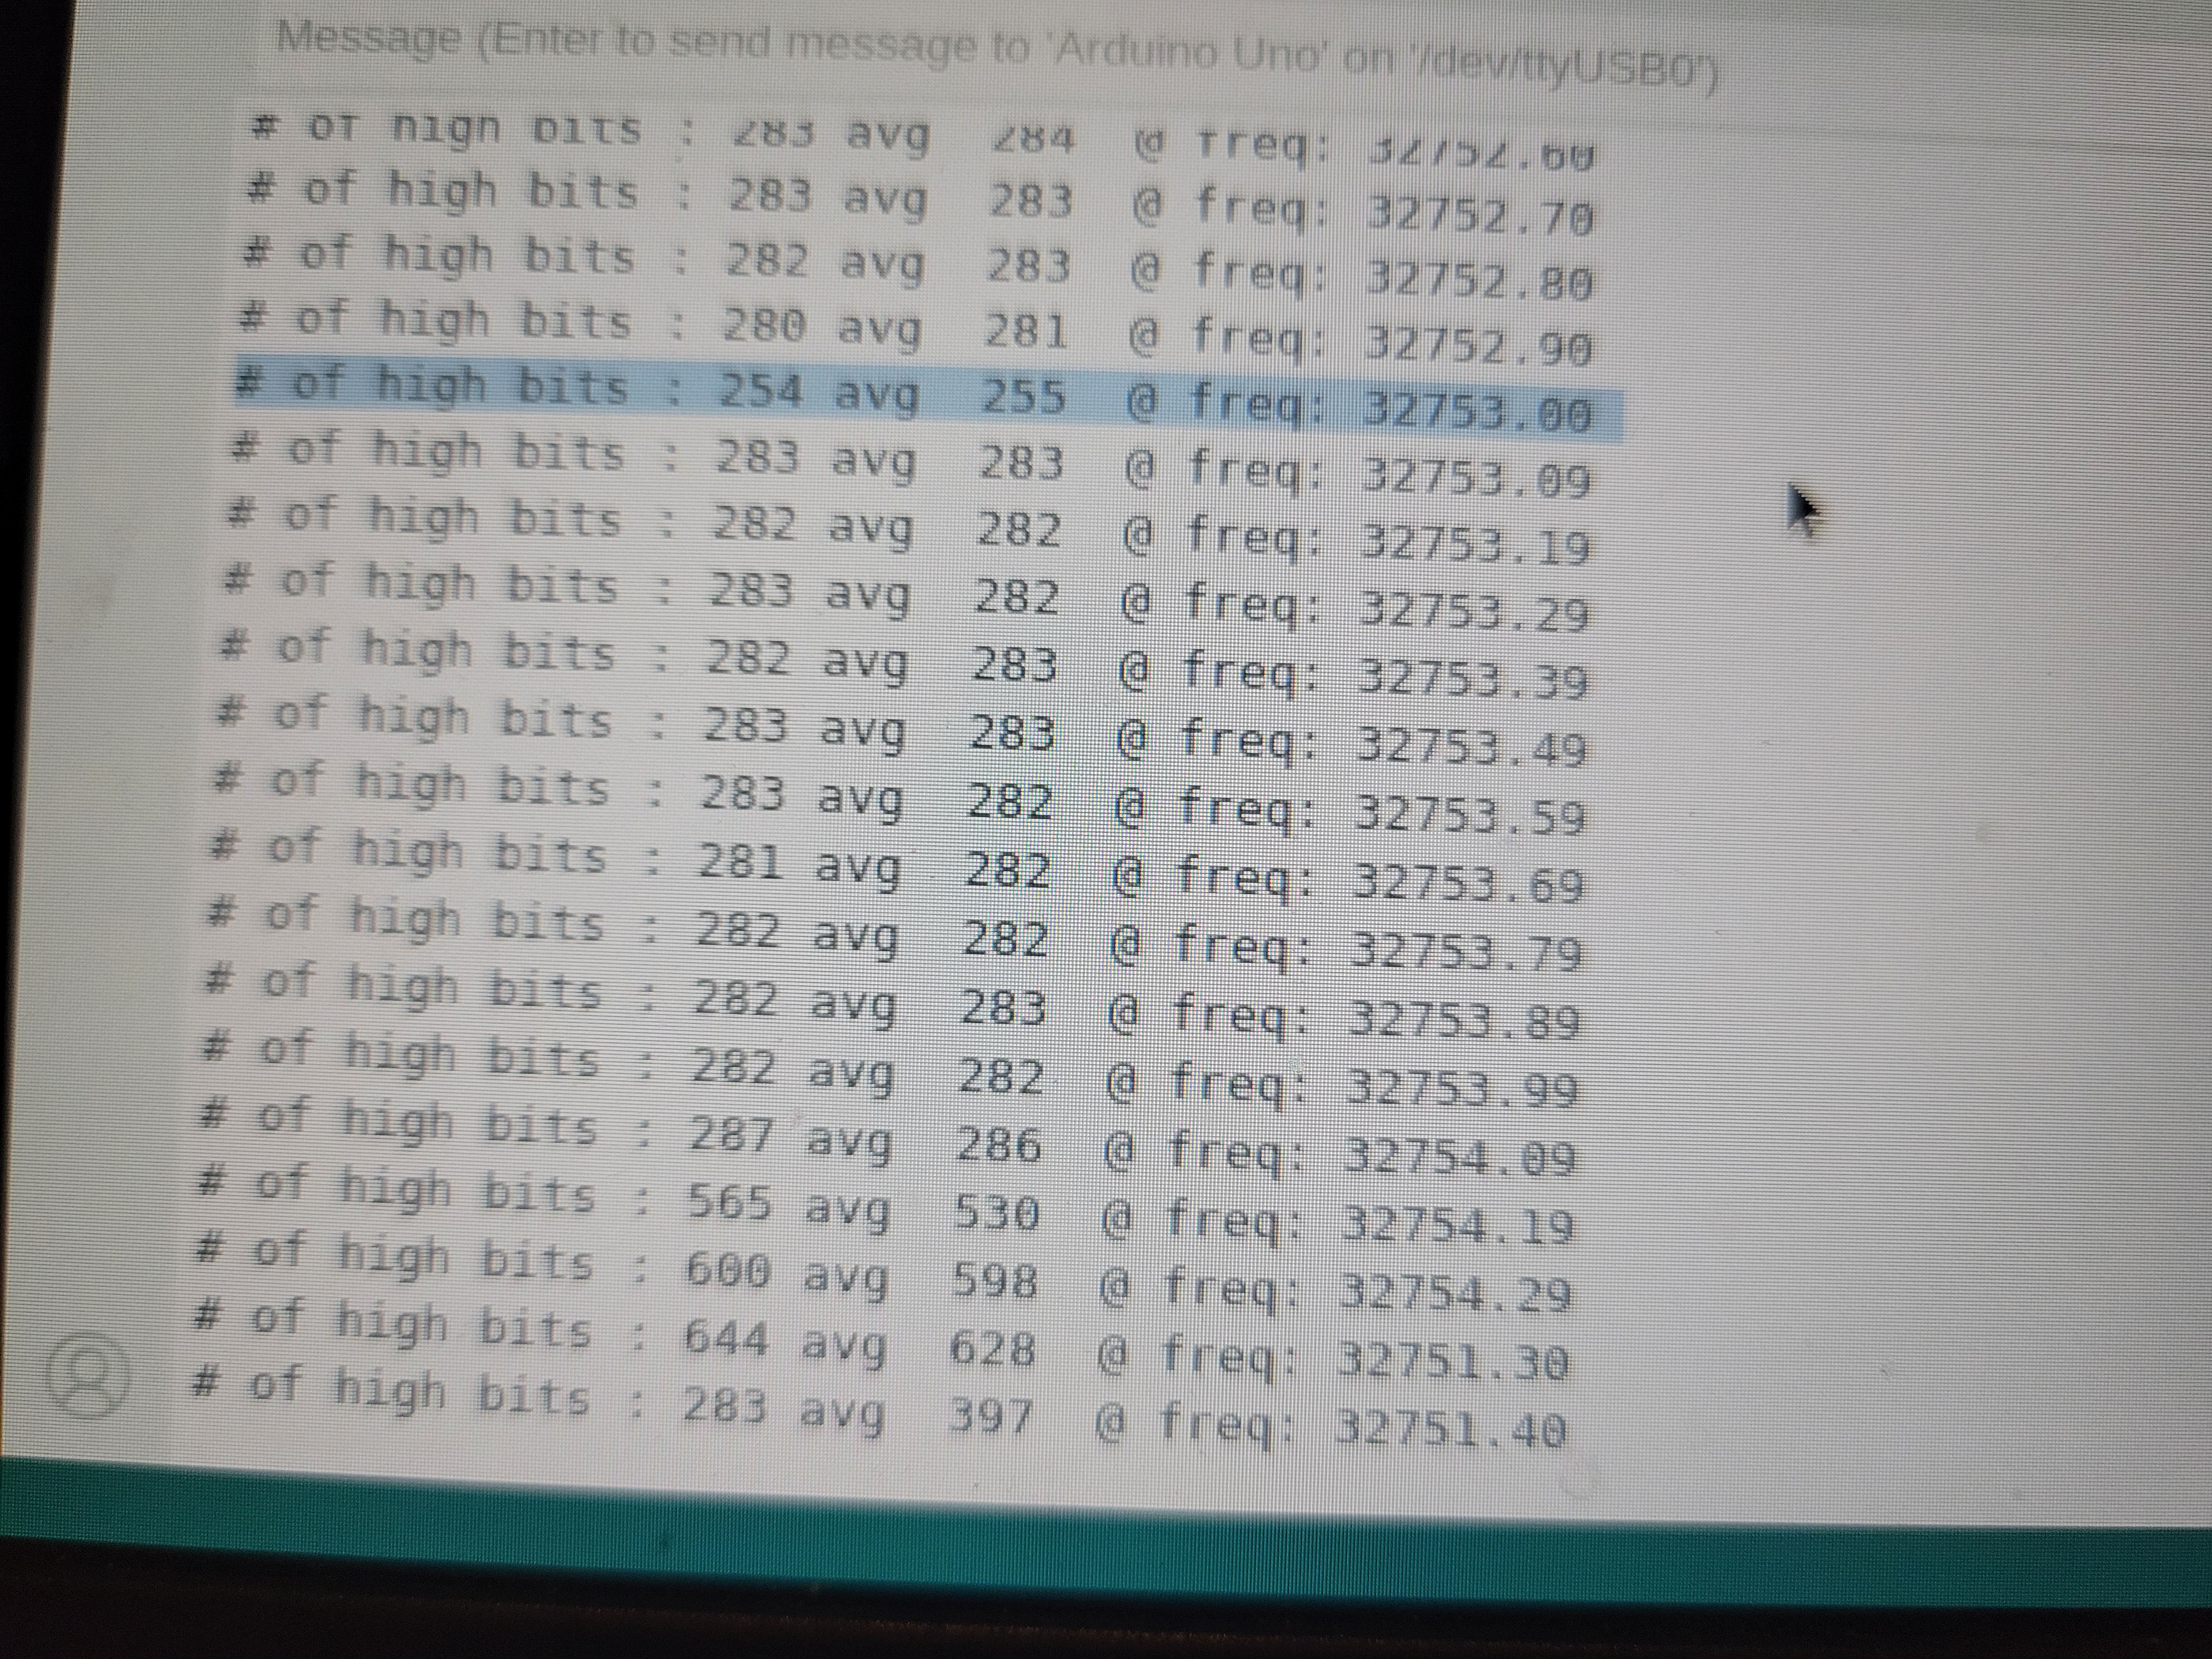
It's a frist time I am integrating data path from Arduino back to PC. The idea is to be able to measure frequency. After some minor changes (pullup resistor and sosftware chagnes) I was able to be able diffrentiate 1Hz quite easily. The output changes almost twice from 730 to 1200.

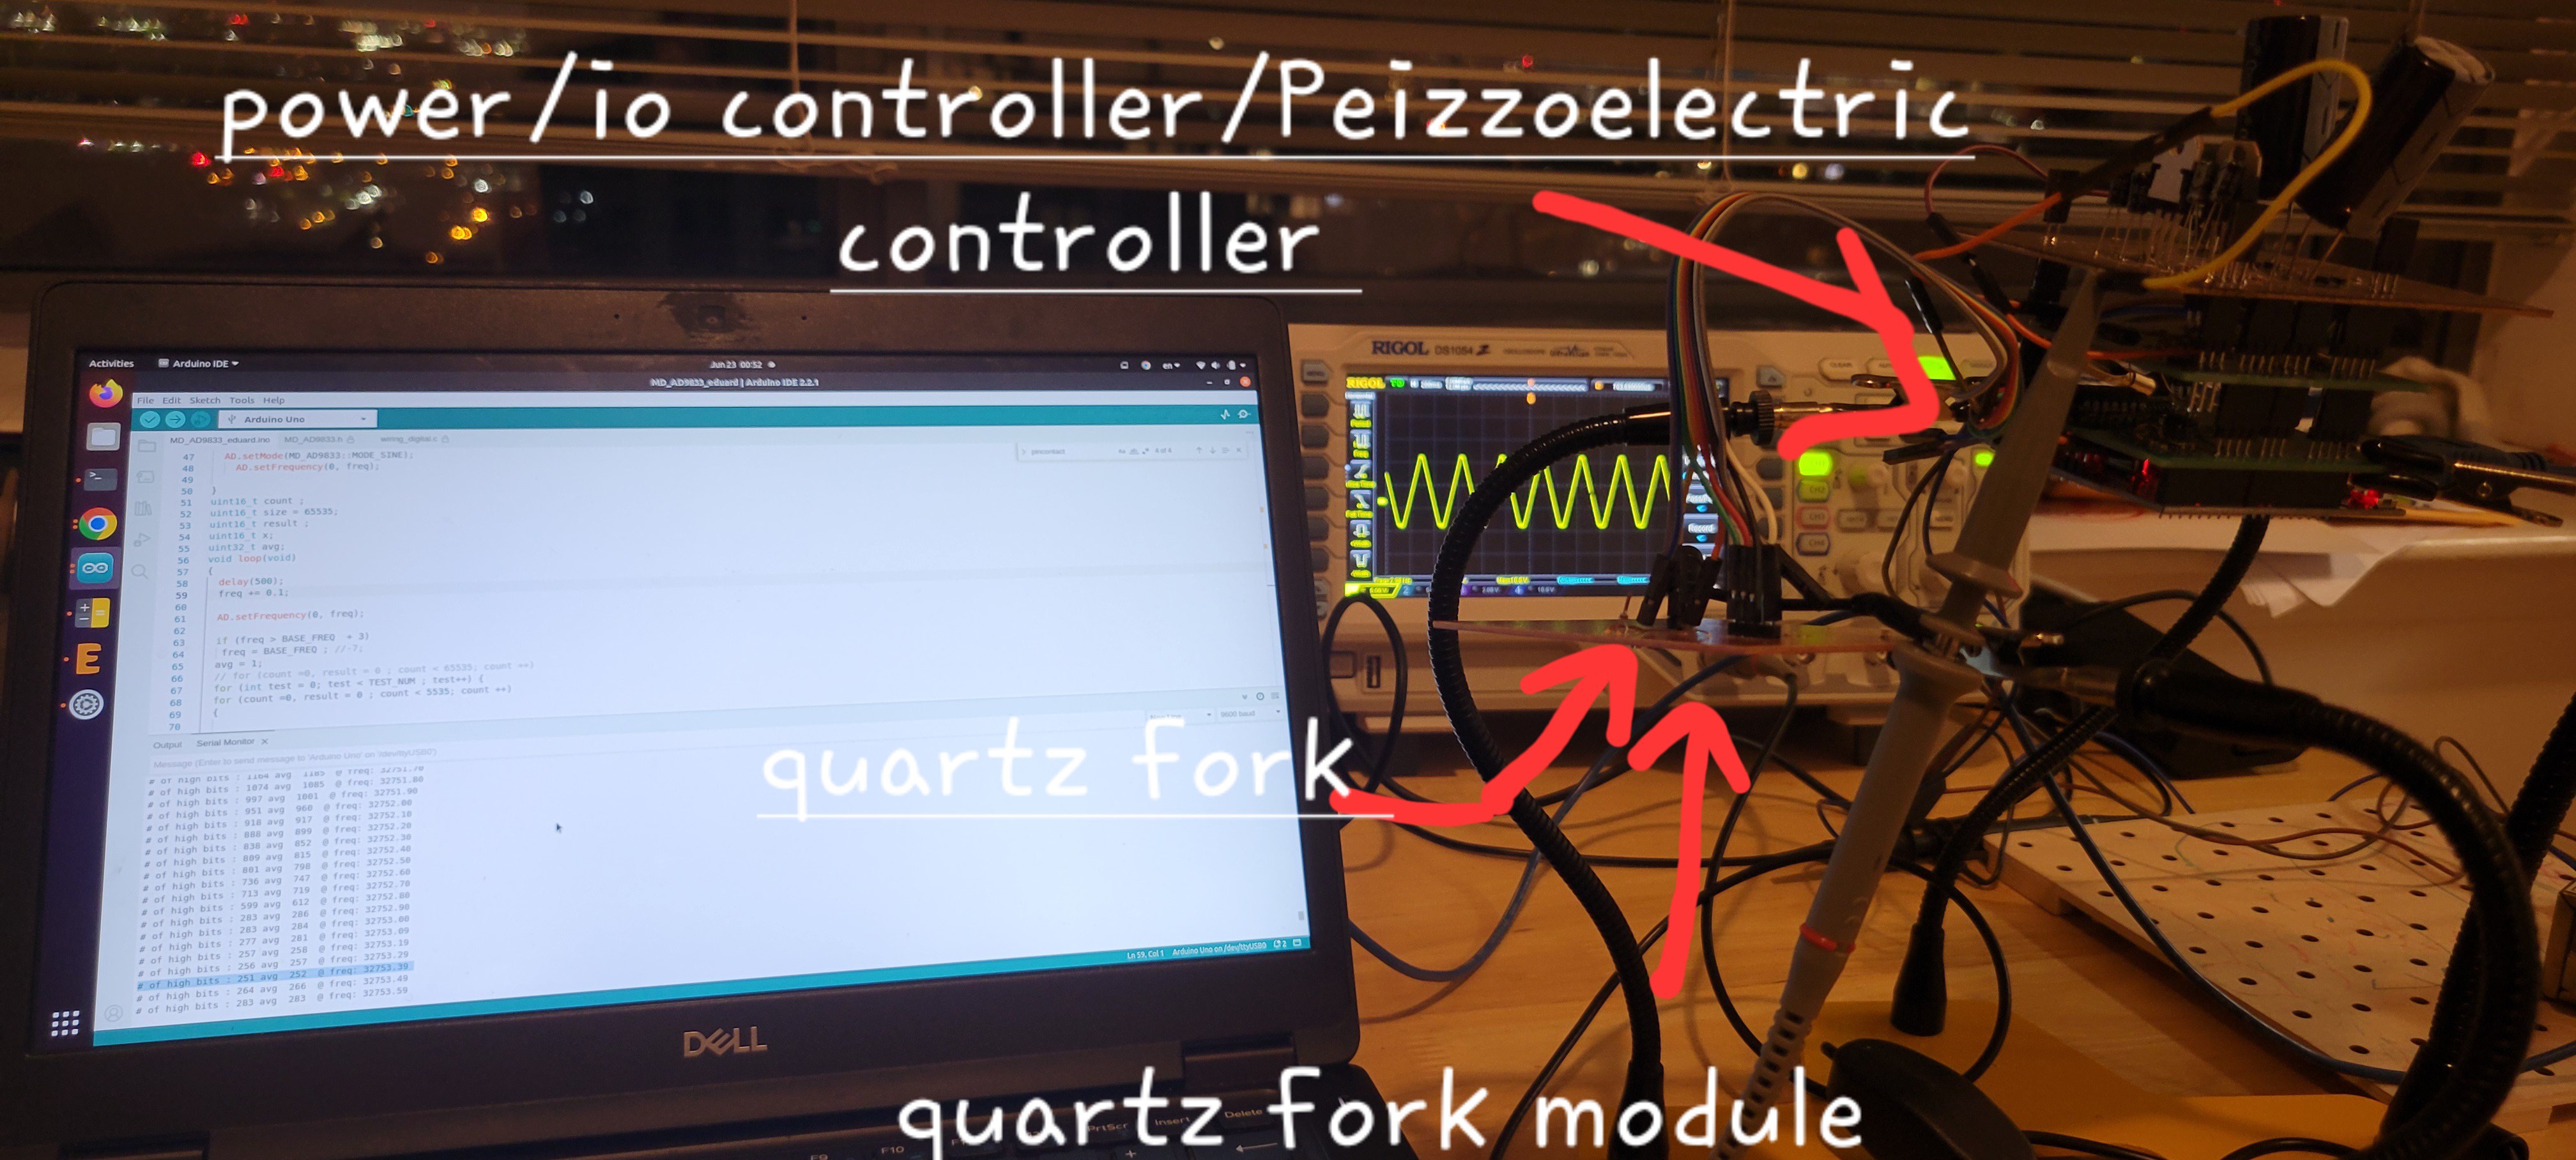
Now I am able to connect all boards together and get both frequency sweeper and 16vpp piezoelectric controller.
Discussions
Become a Hackaday.io Member
Create an account to leave a comment. Already have an account? Log In.