 Josh
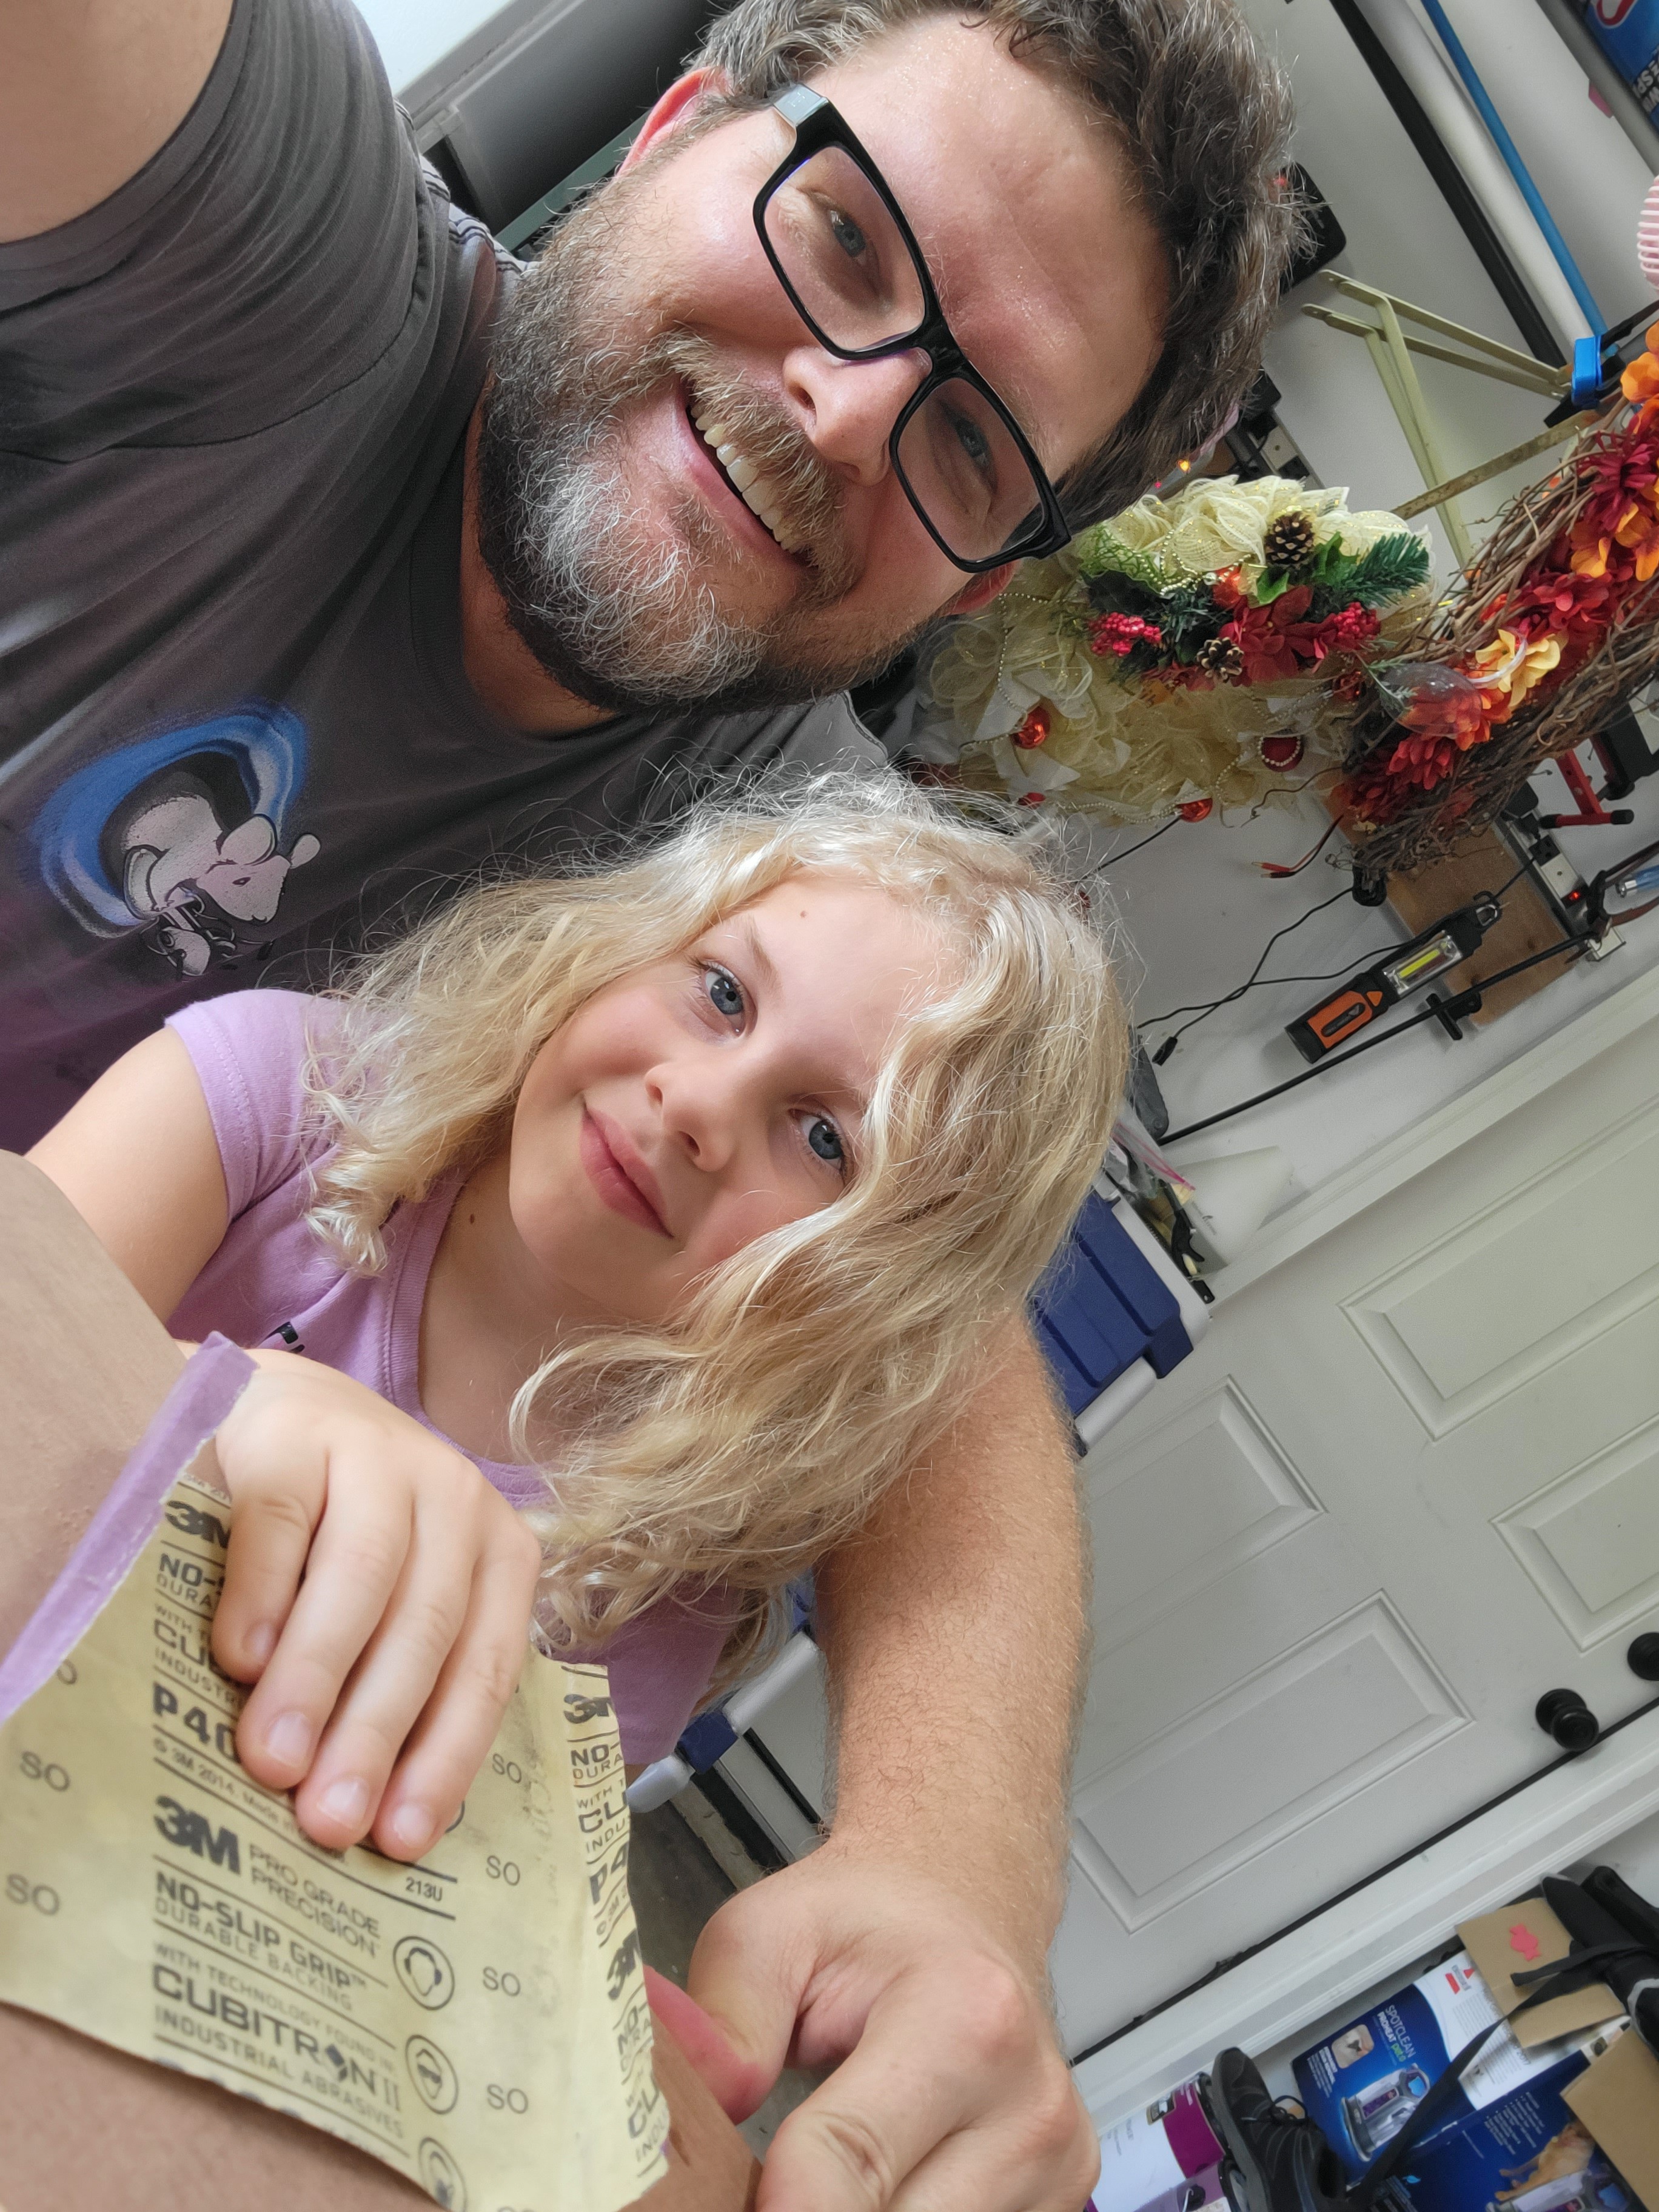
JoshOver the weekend, my daughters helped me sand the board that the switches will be installed in, paint it, and install the switches. Here's some pictures of the progress.
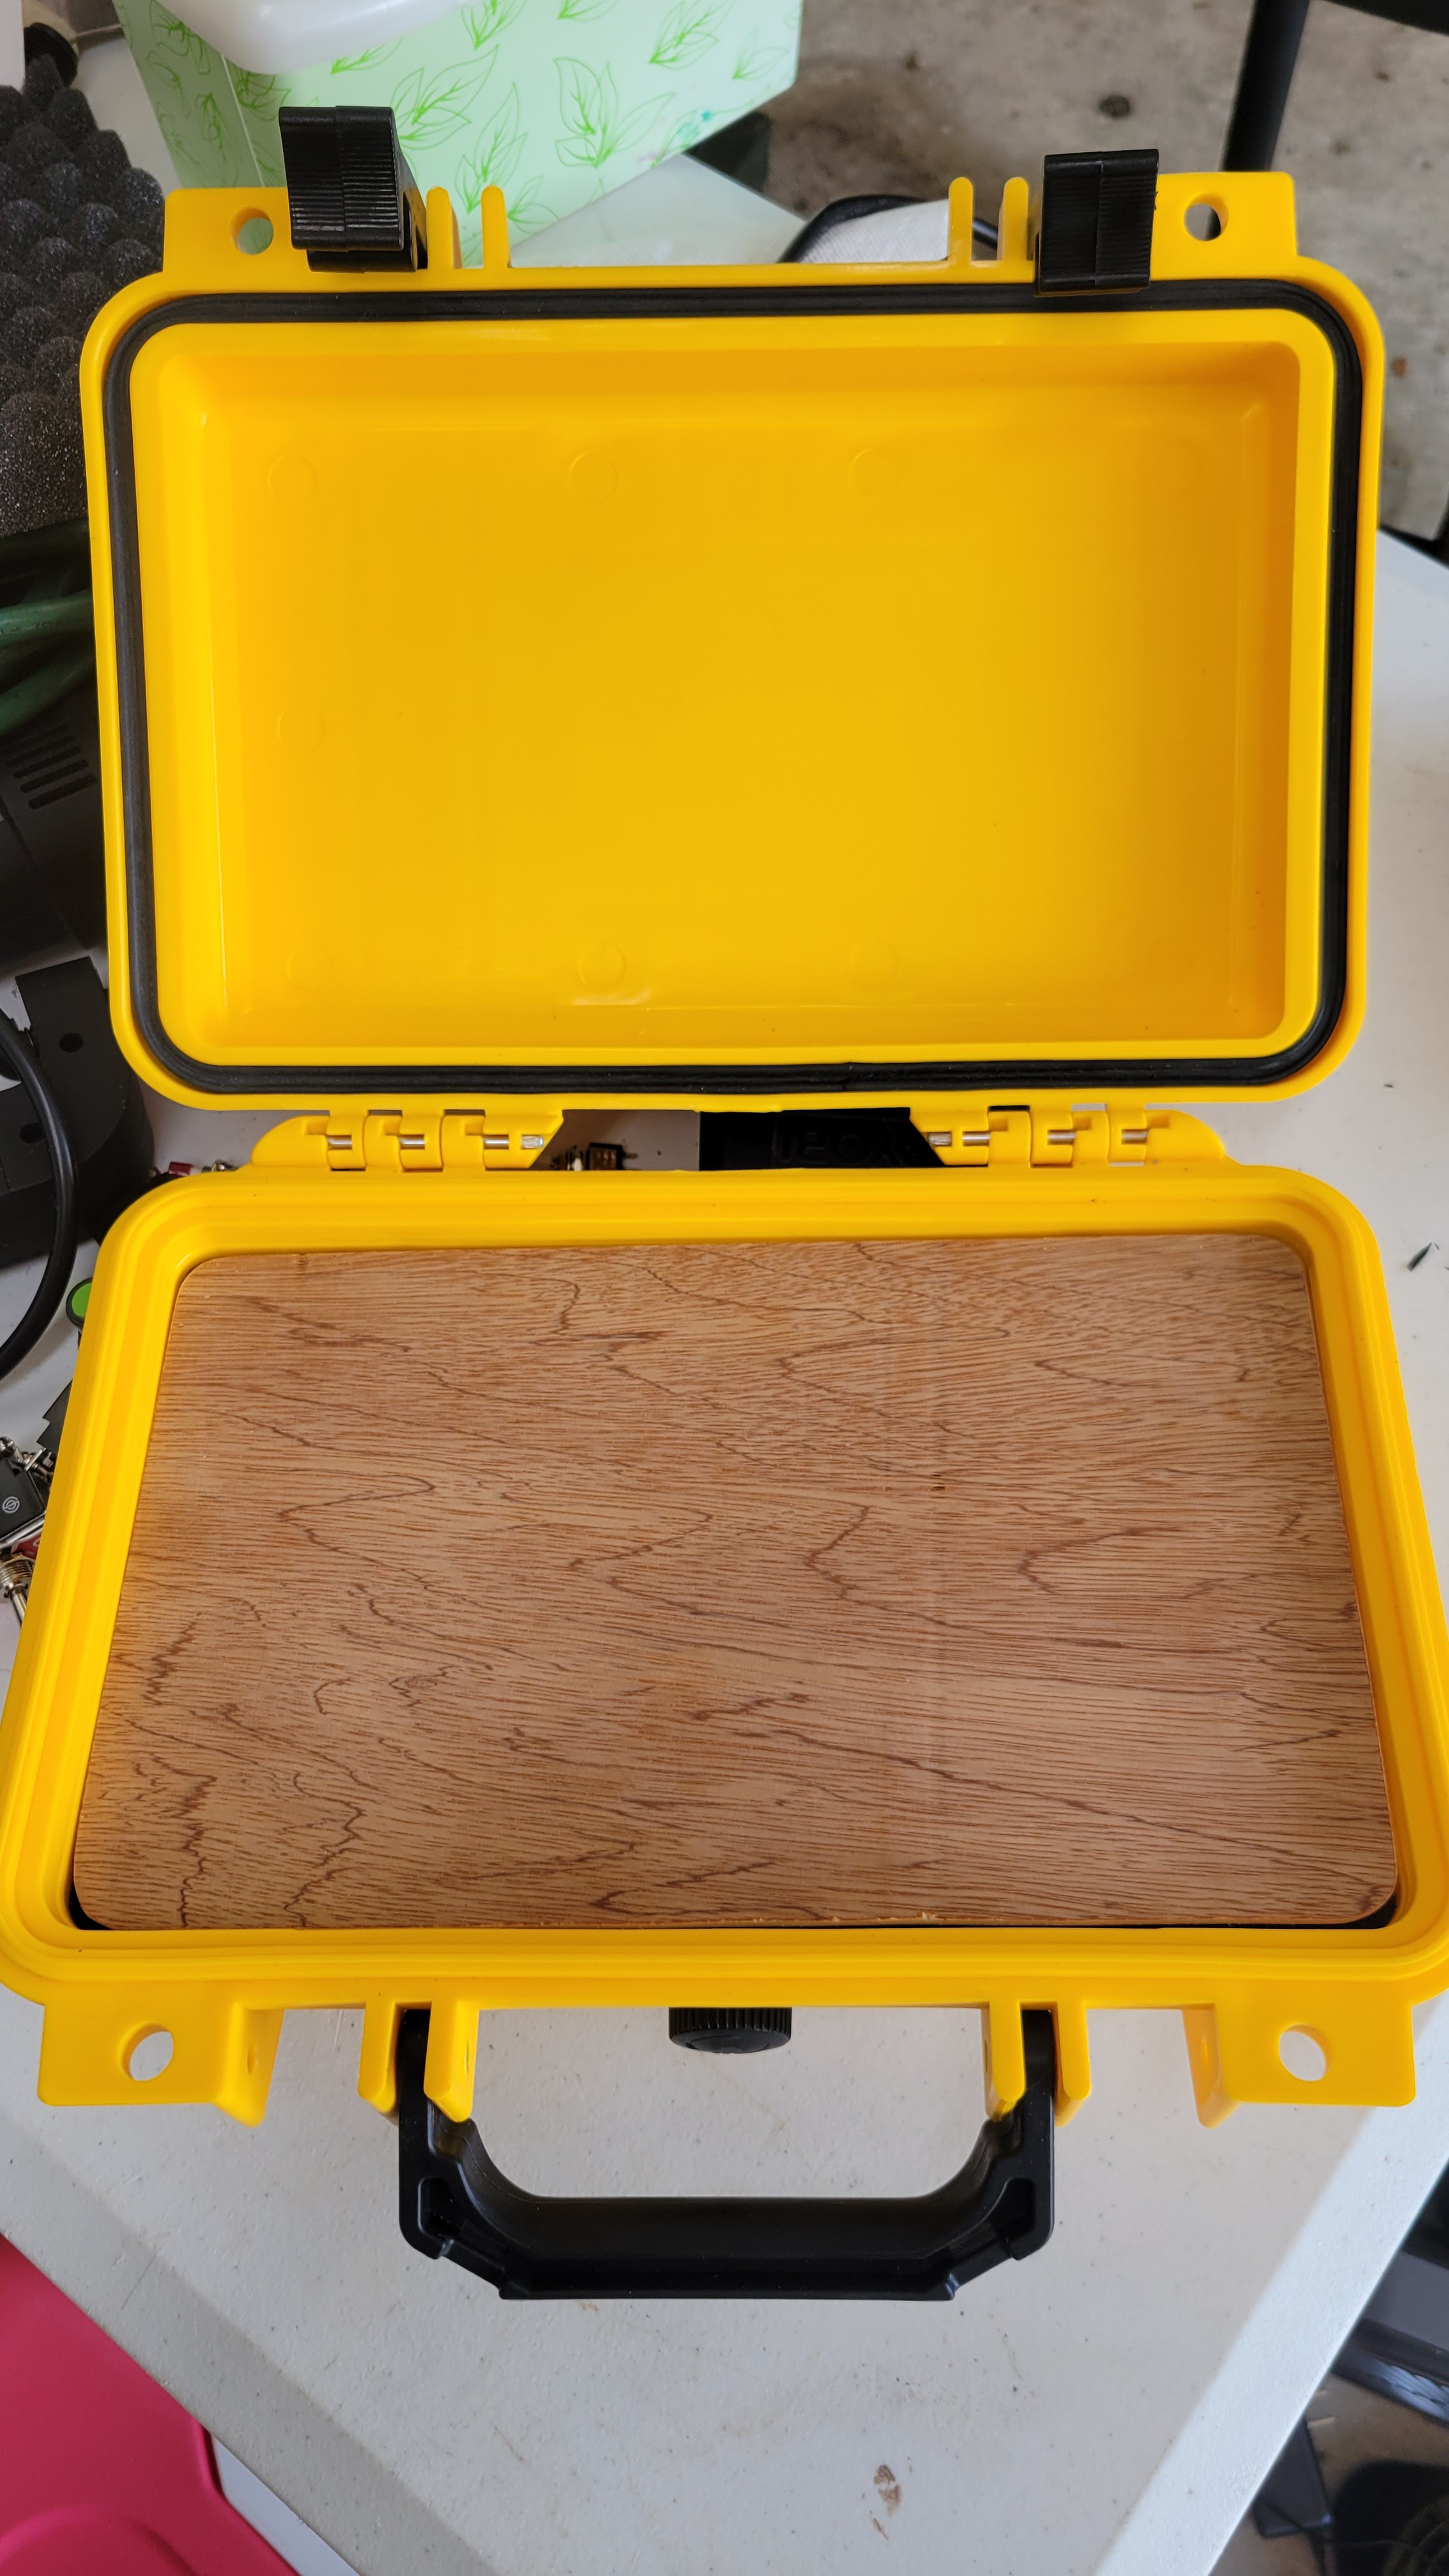
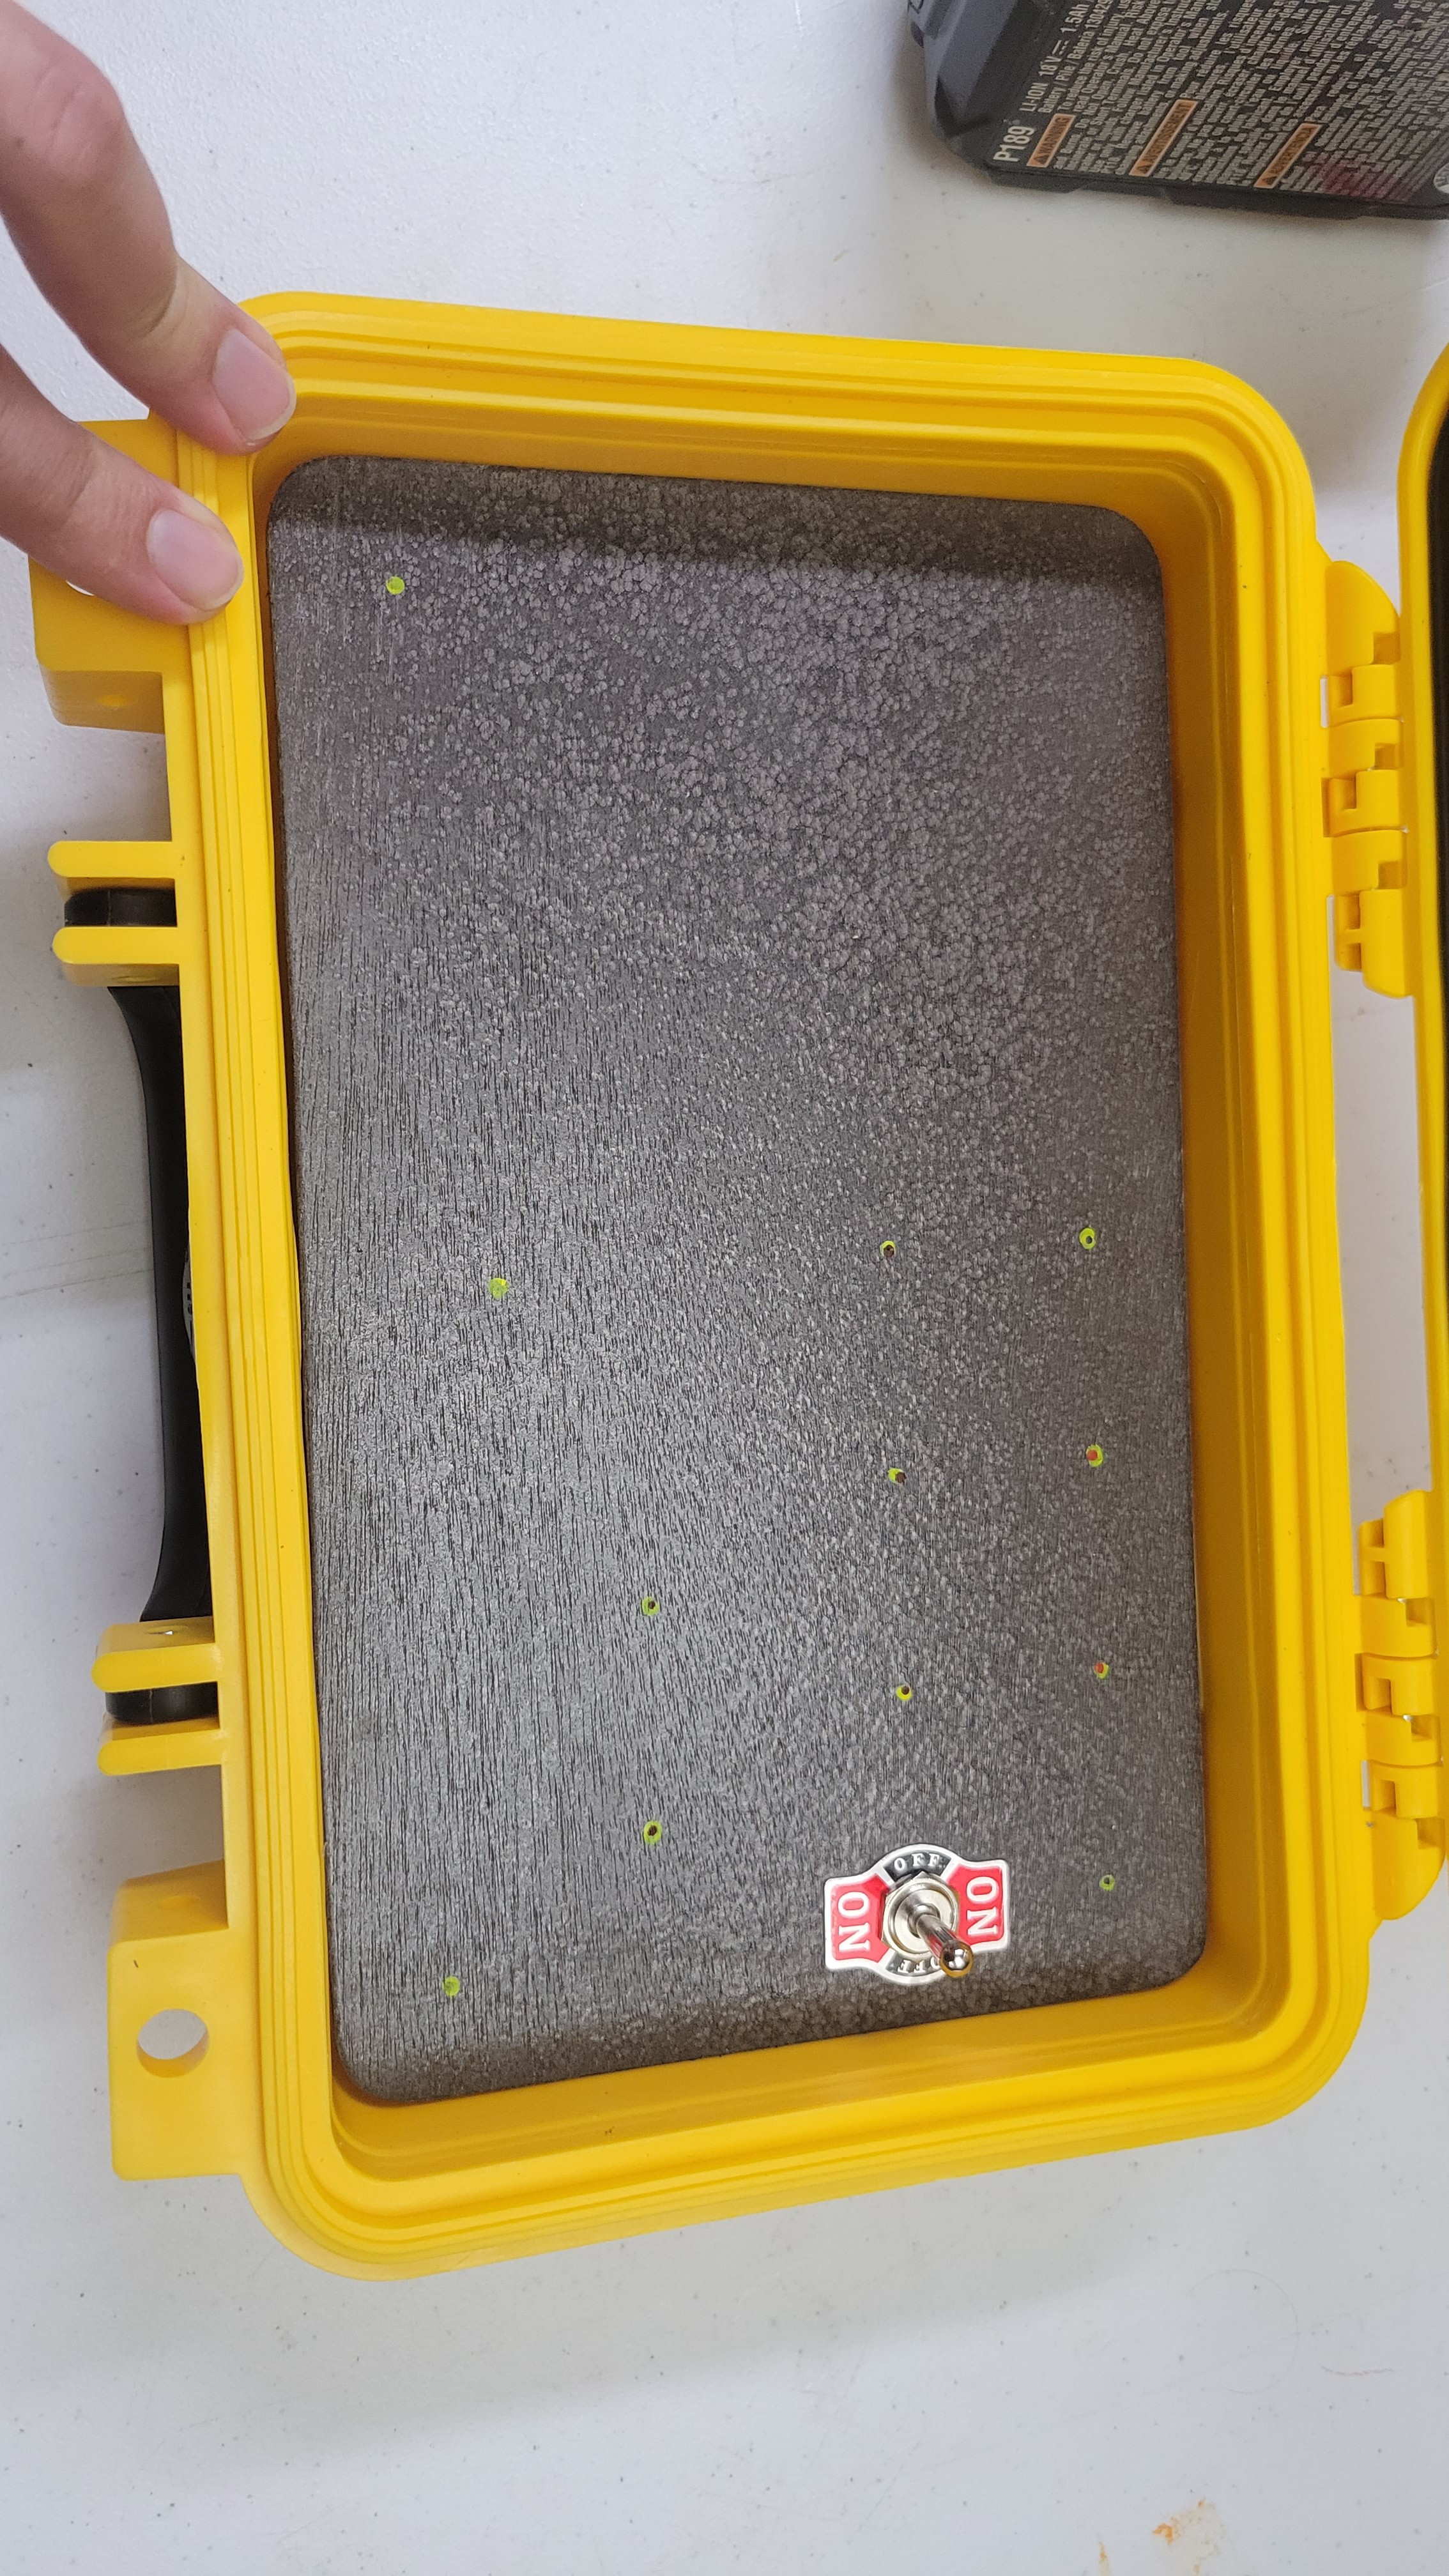
Here's the board fit into the box for the switches.
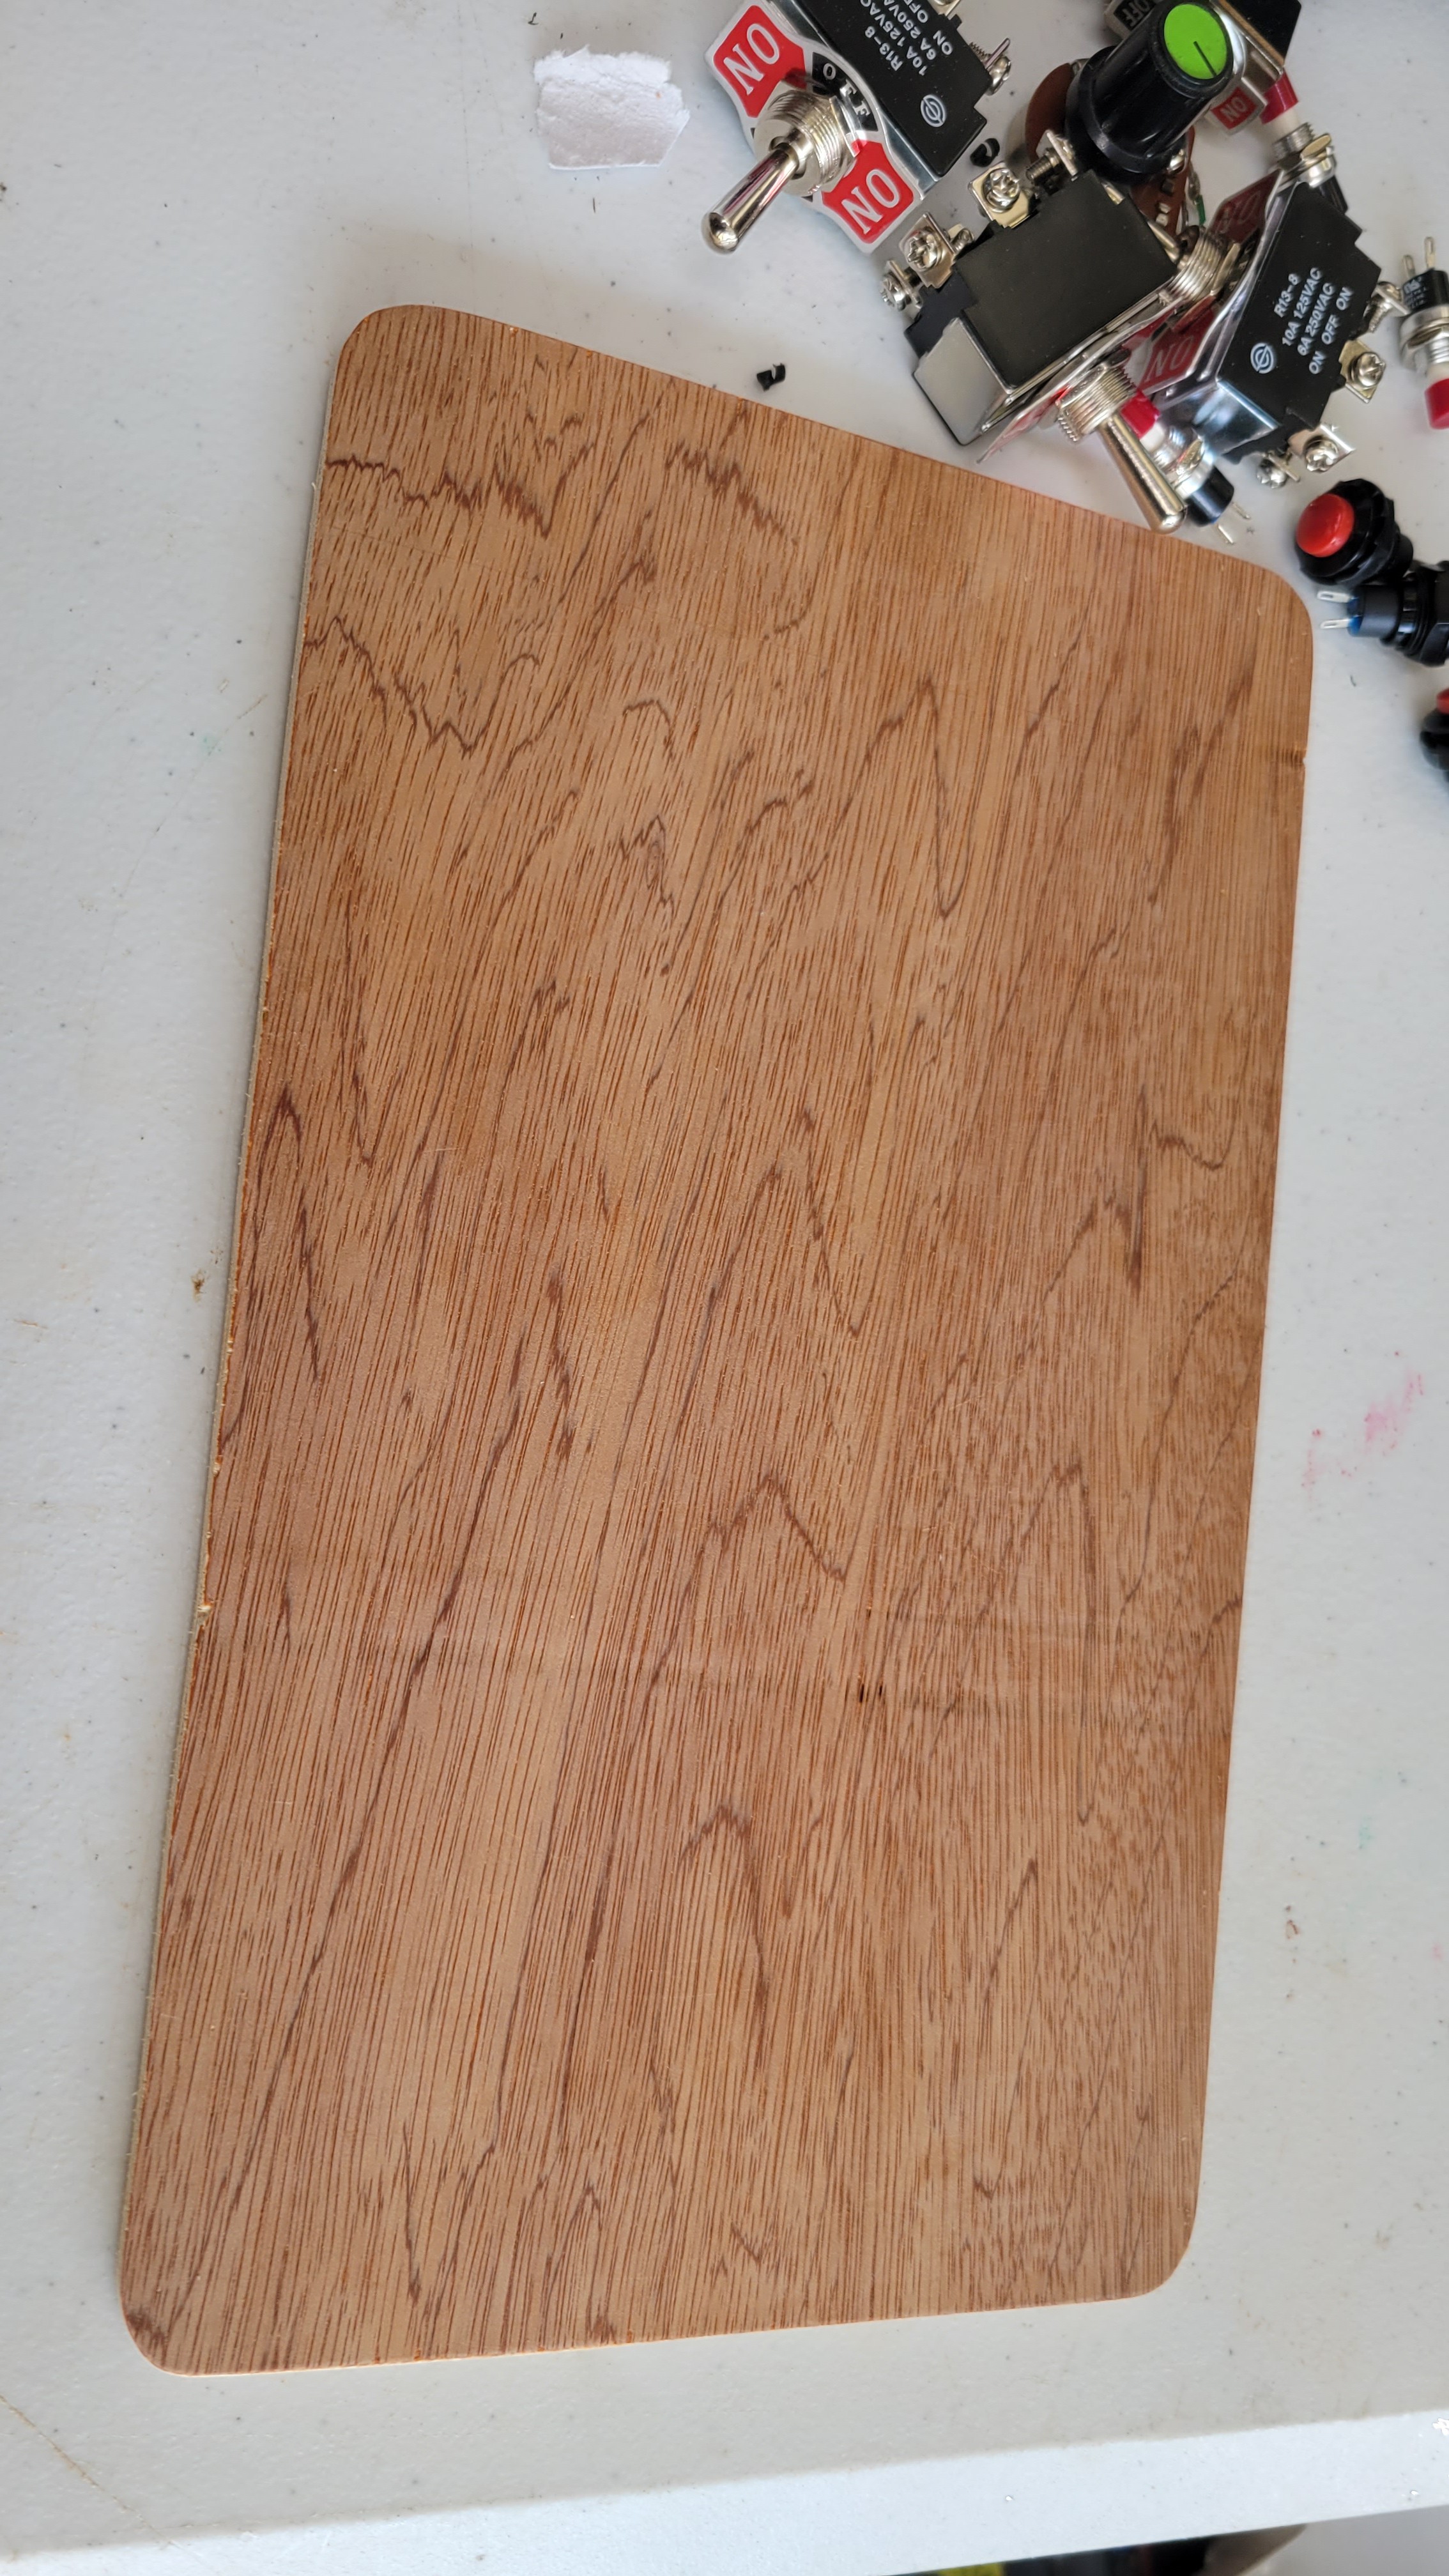
It's pretty smooth, but we still should sand the edges (with Daughter 3):
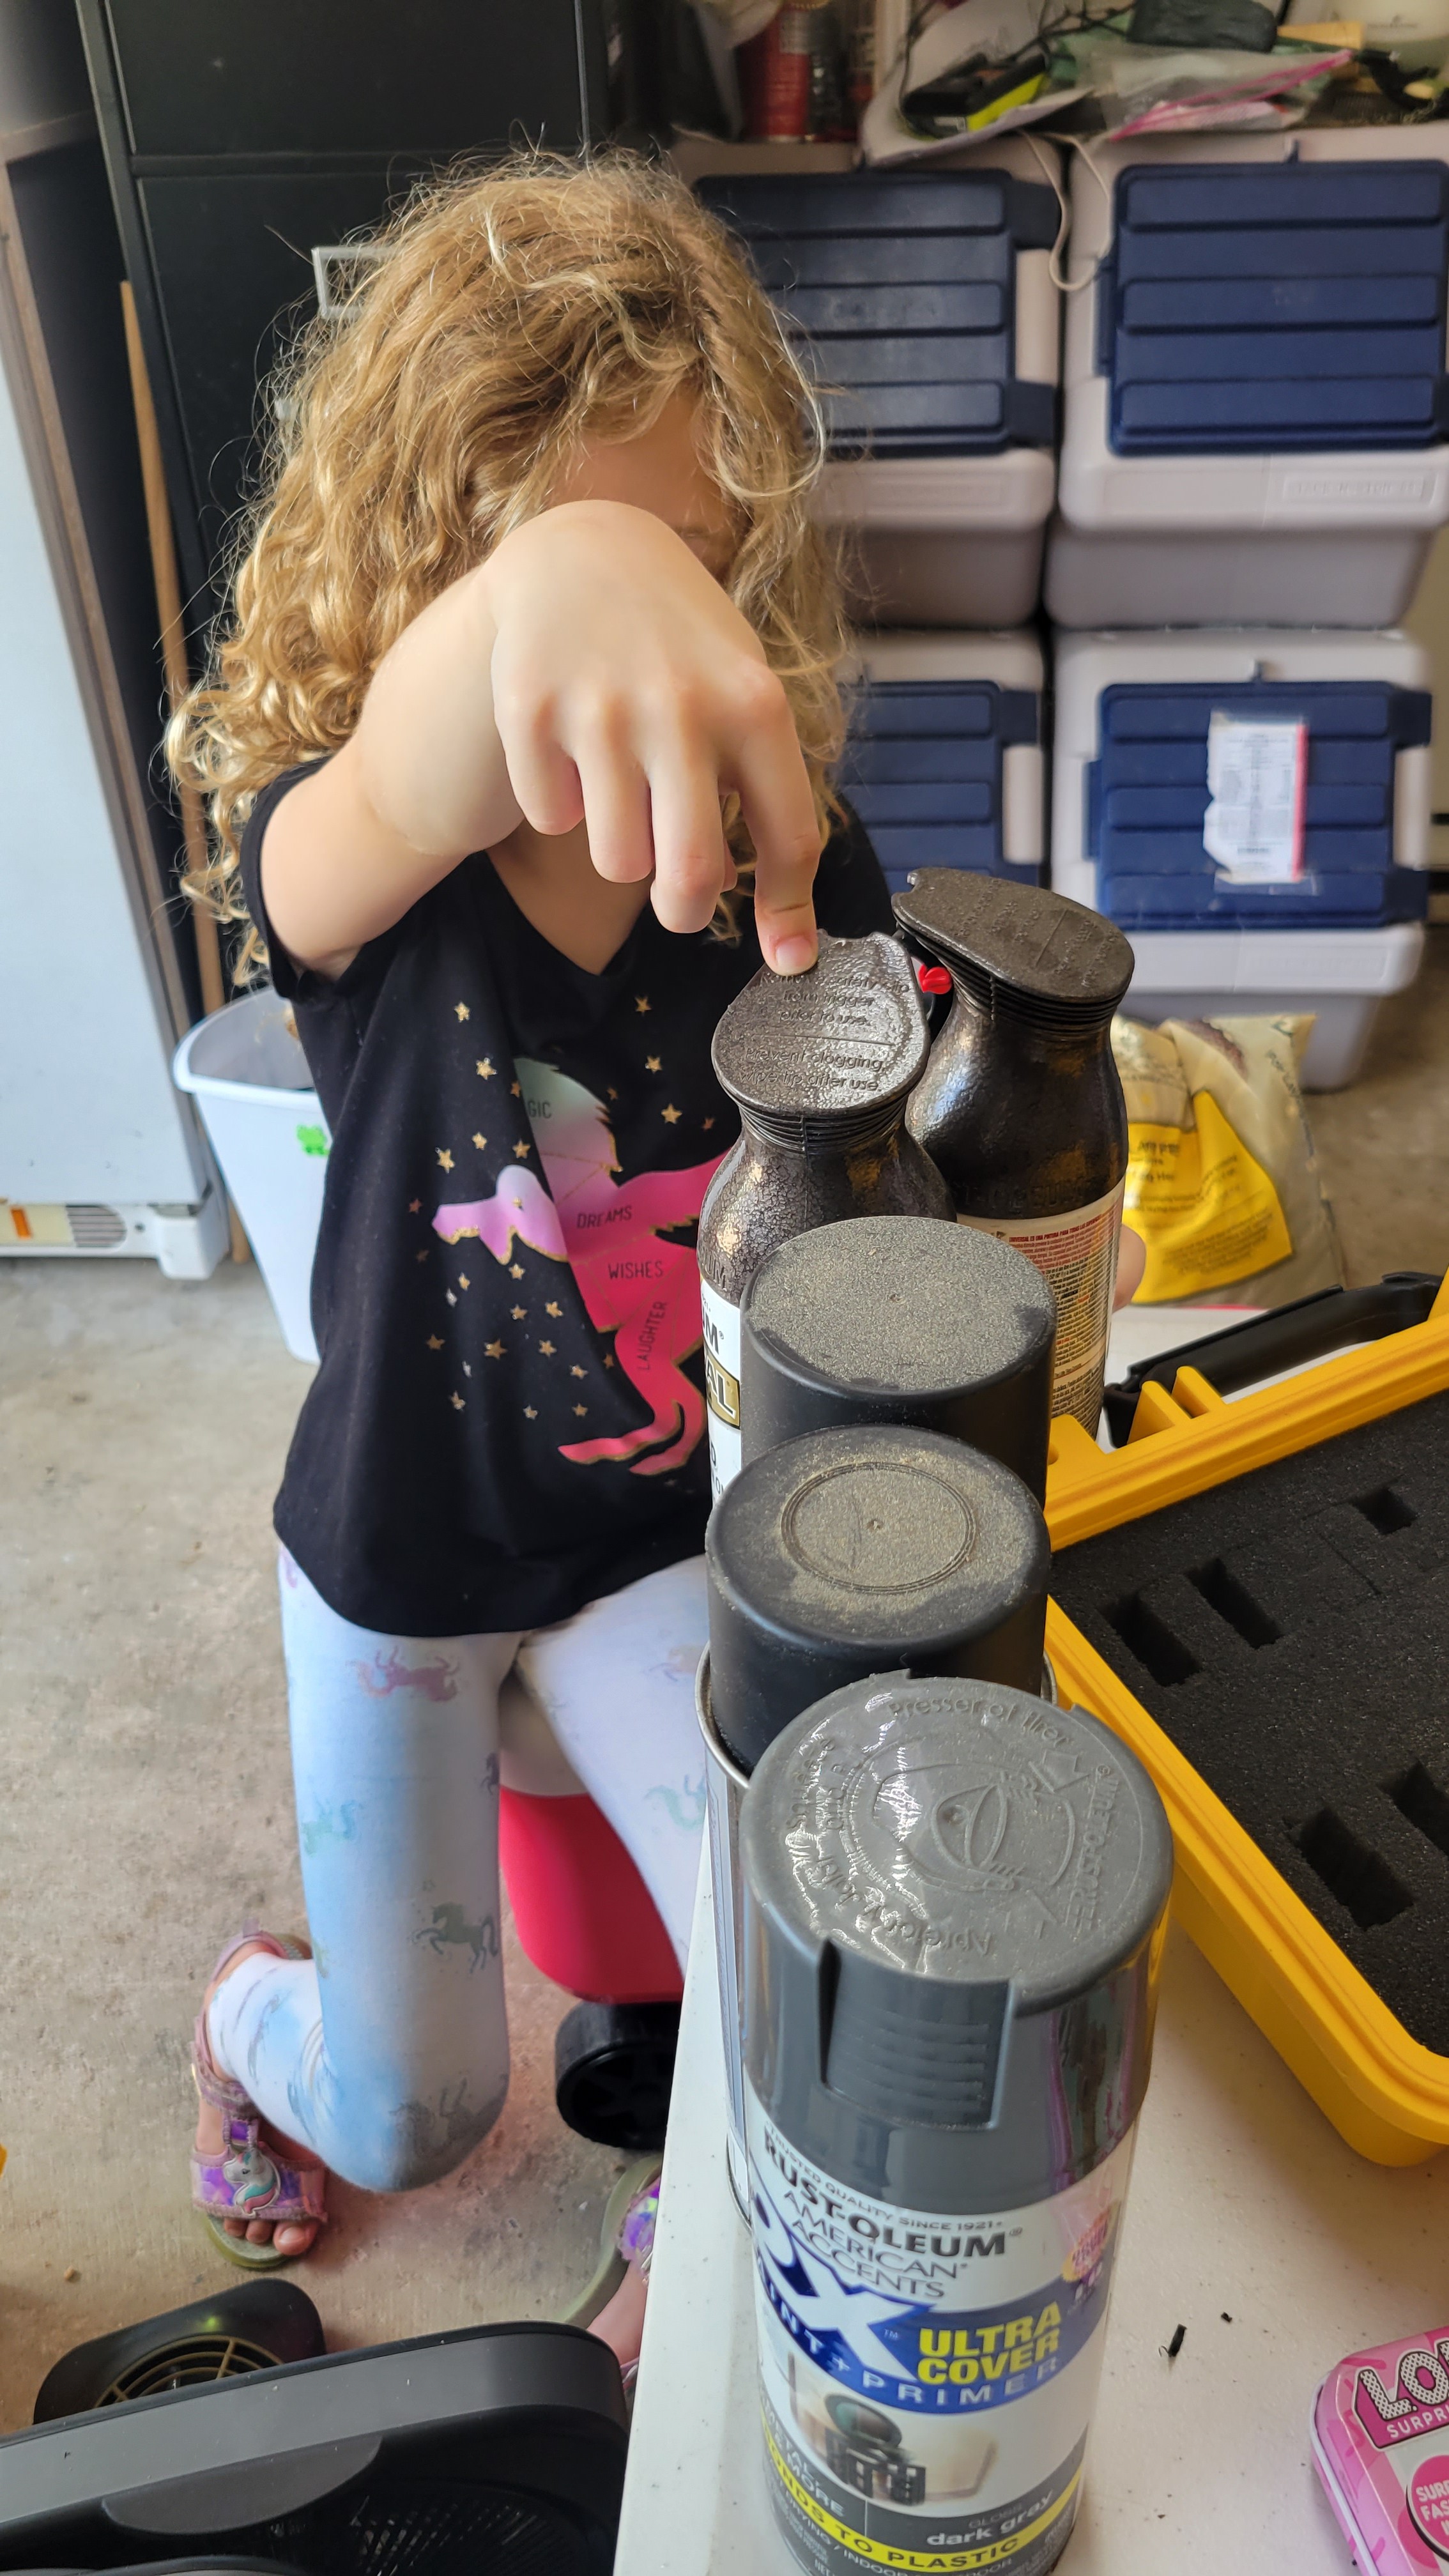
 Time to pick the paint (with Daughter 2)! She chose the hammer tone paint:
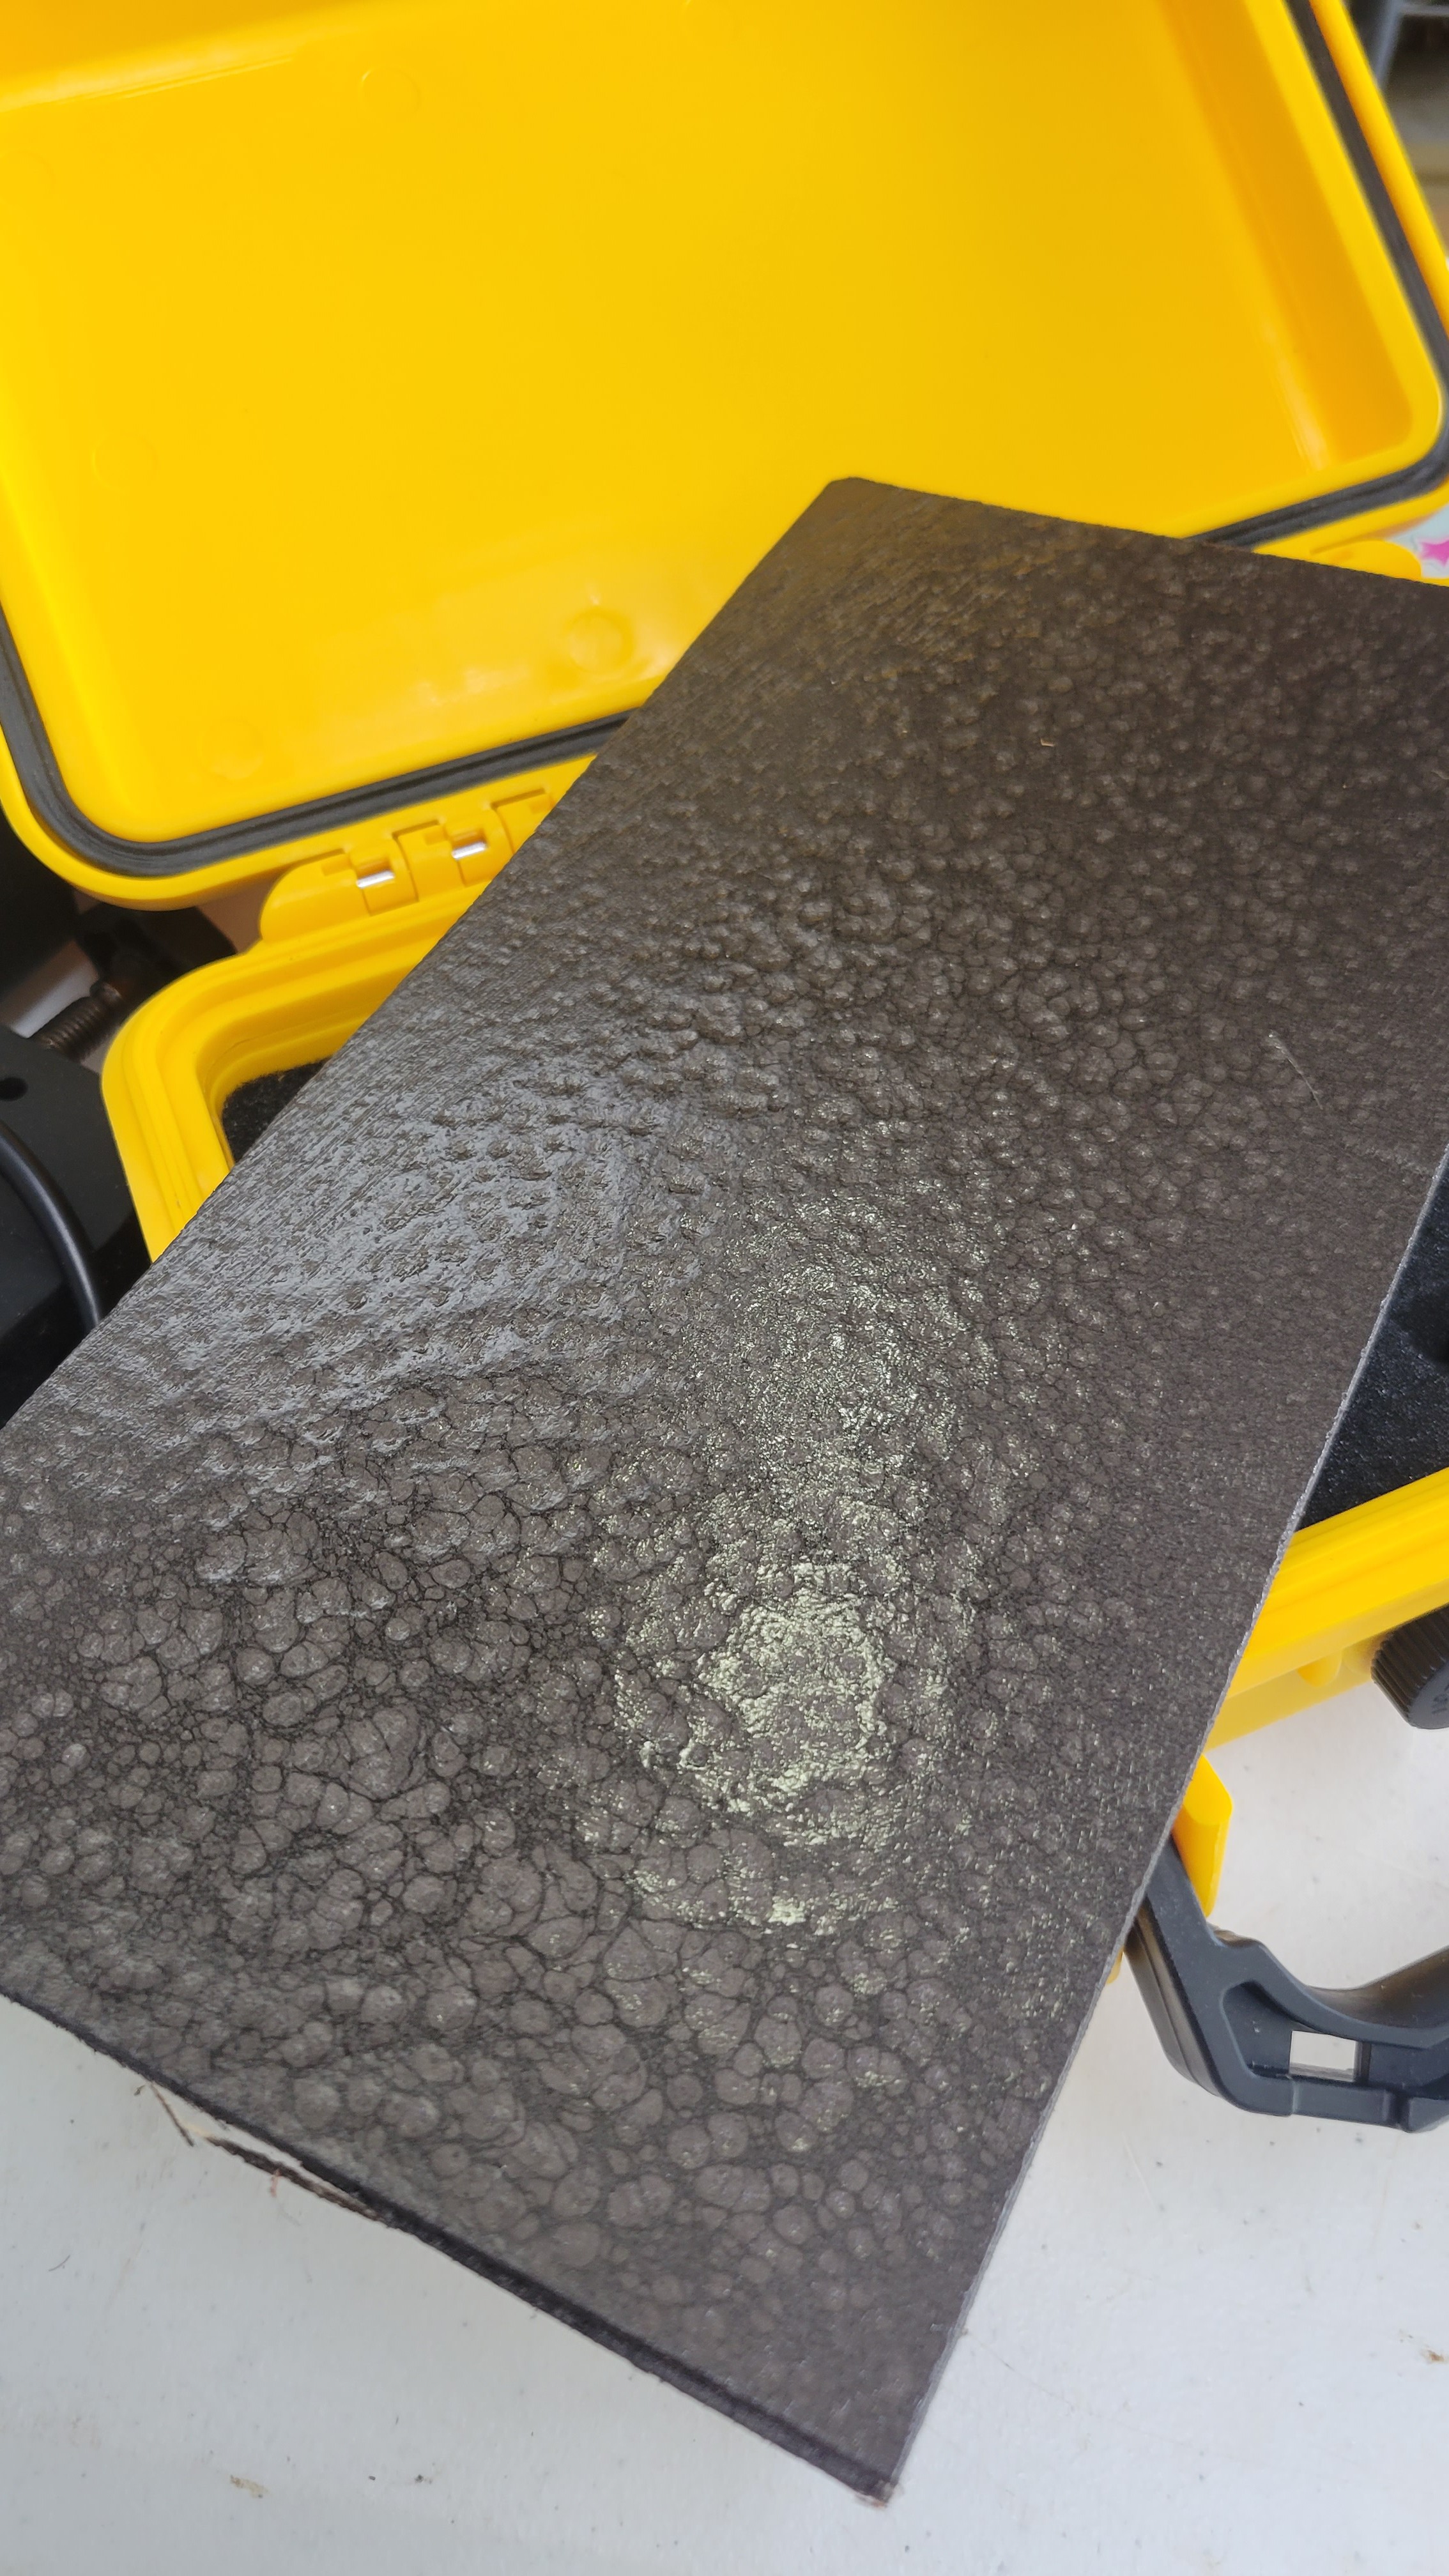
Learning to spray paint! (this is a test piece)
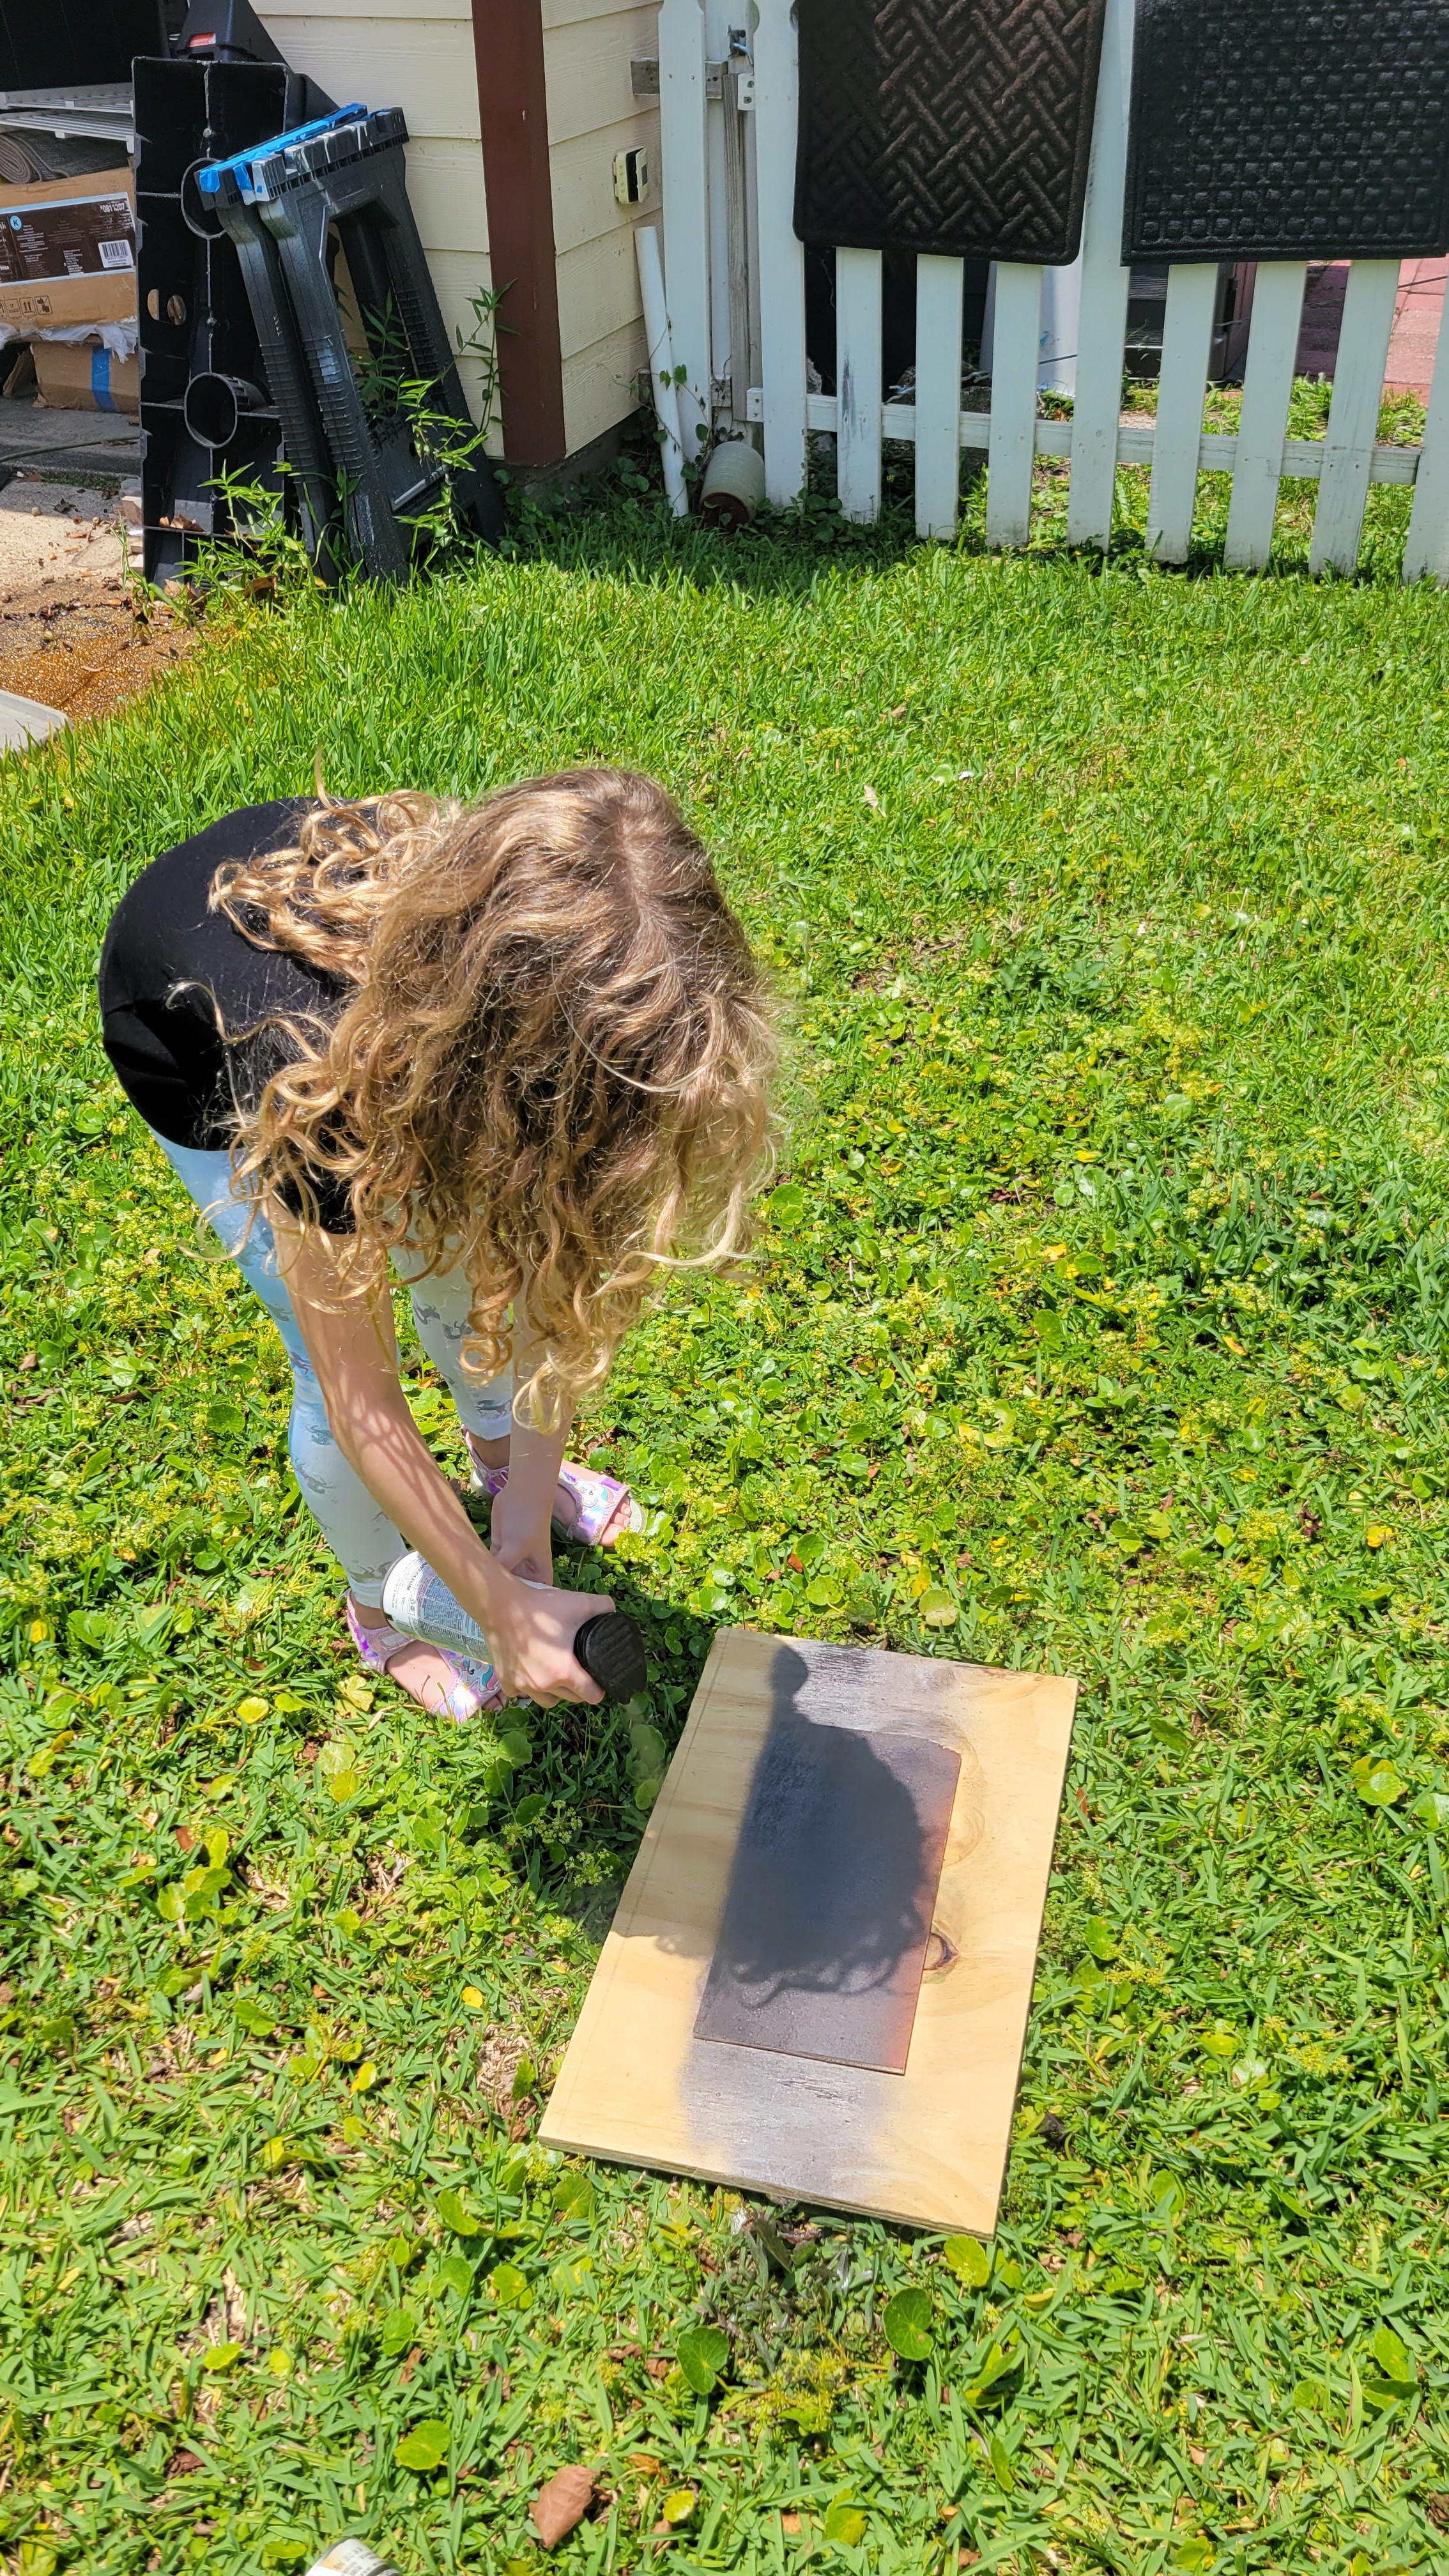 Spraying the display bezel:
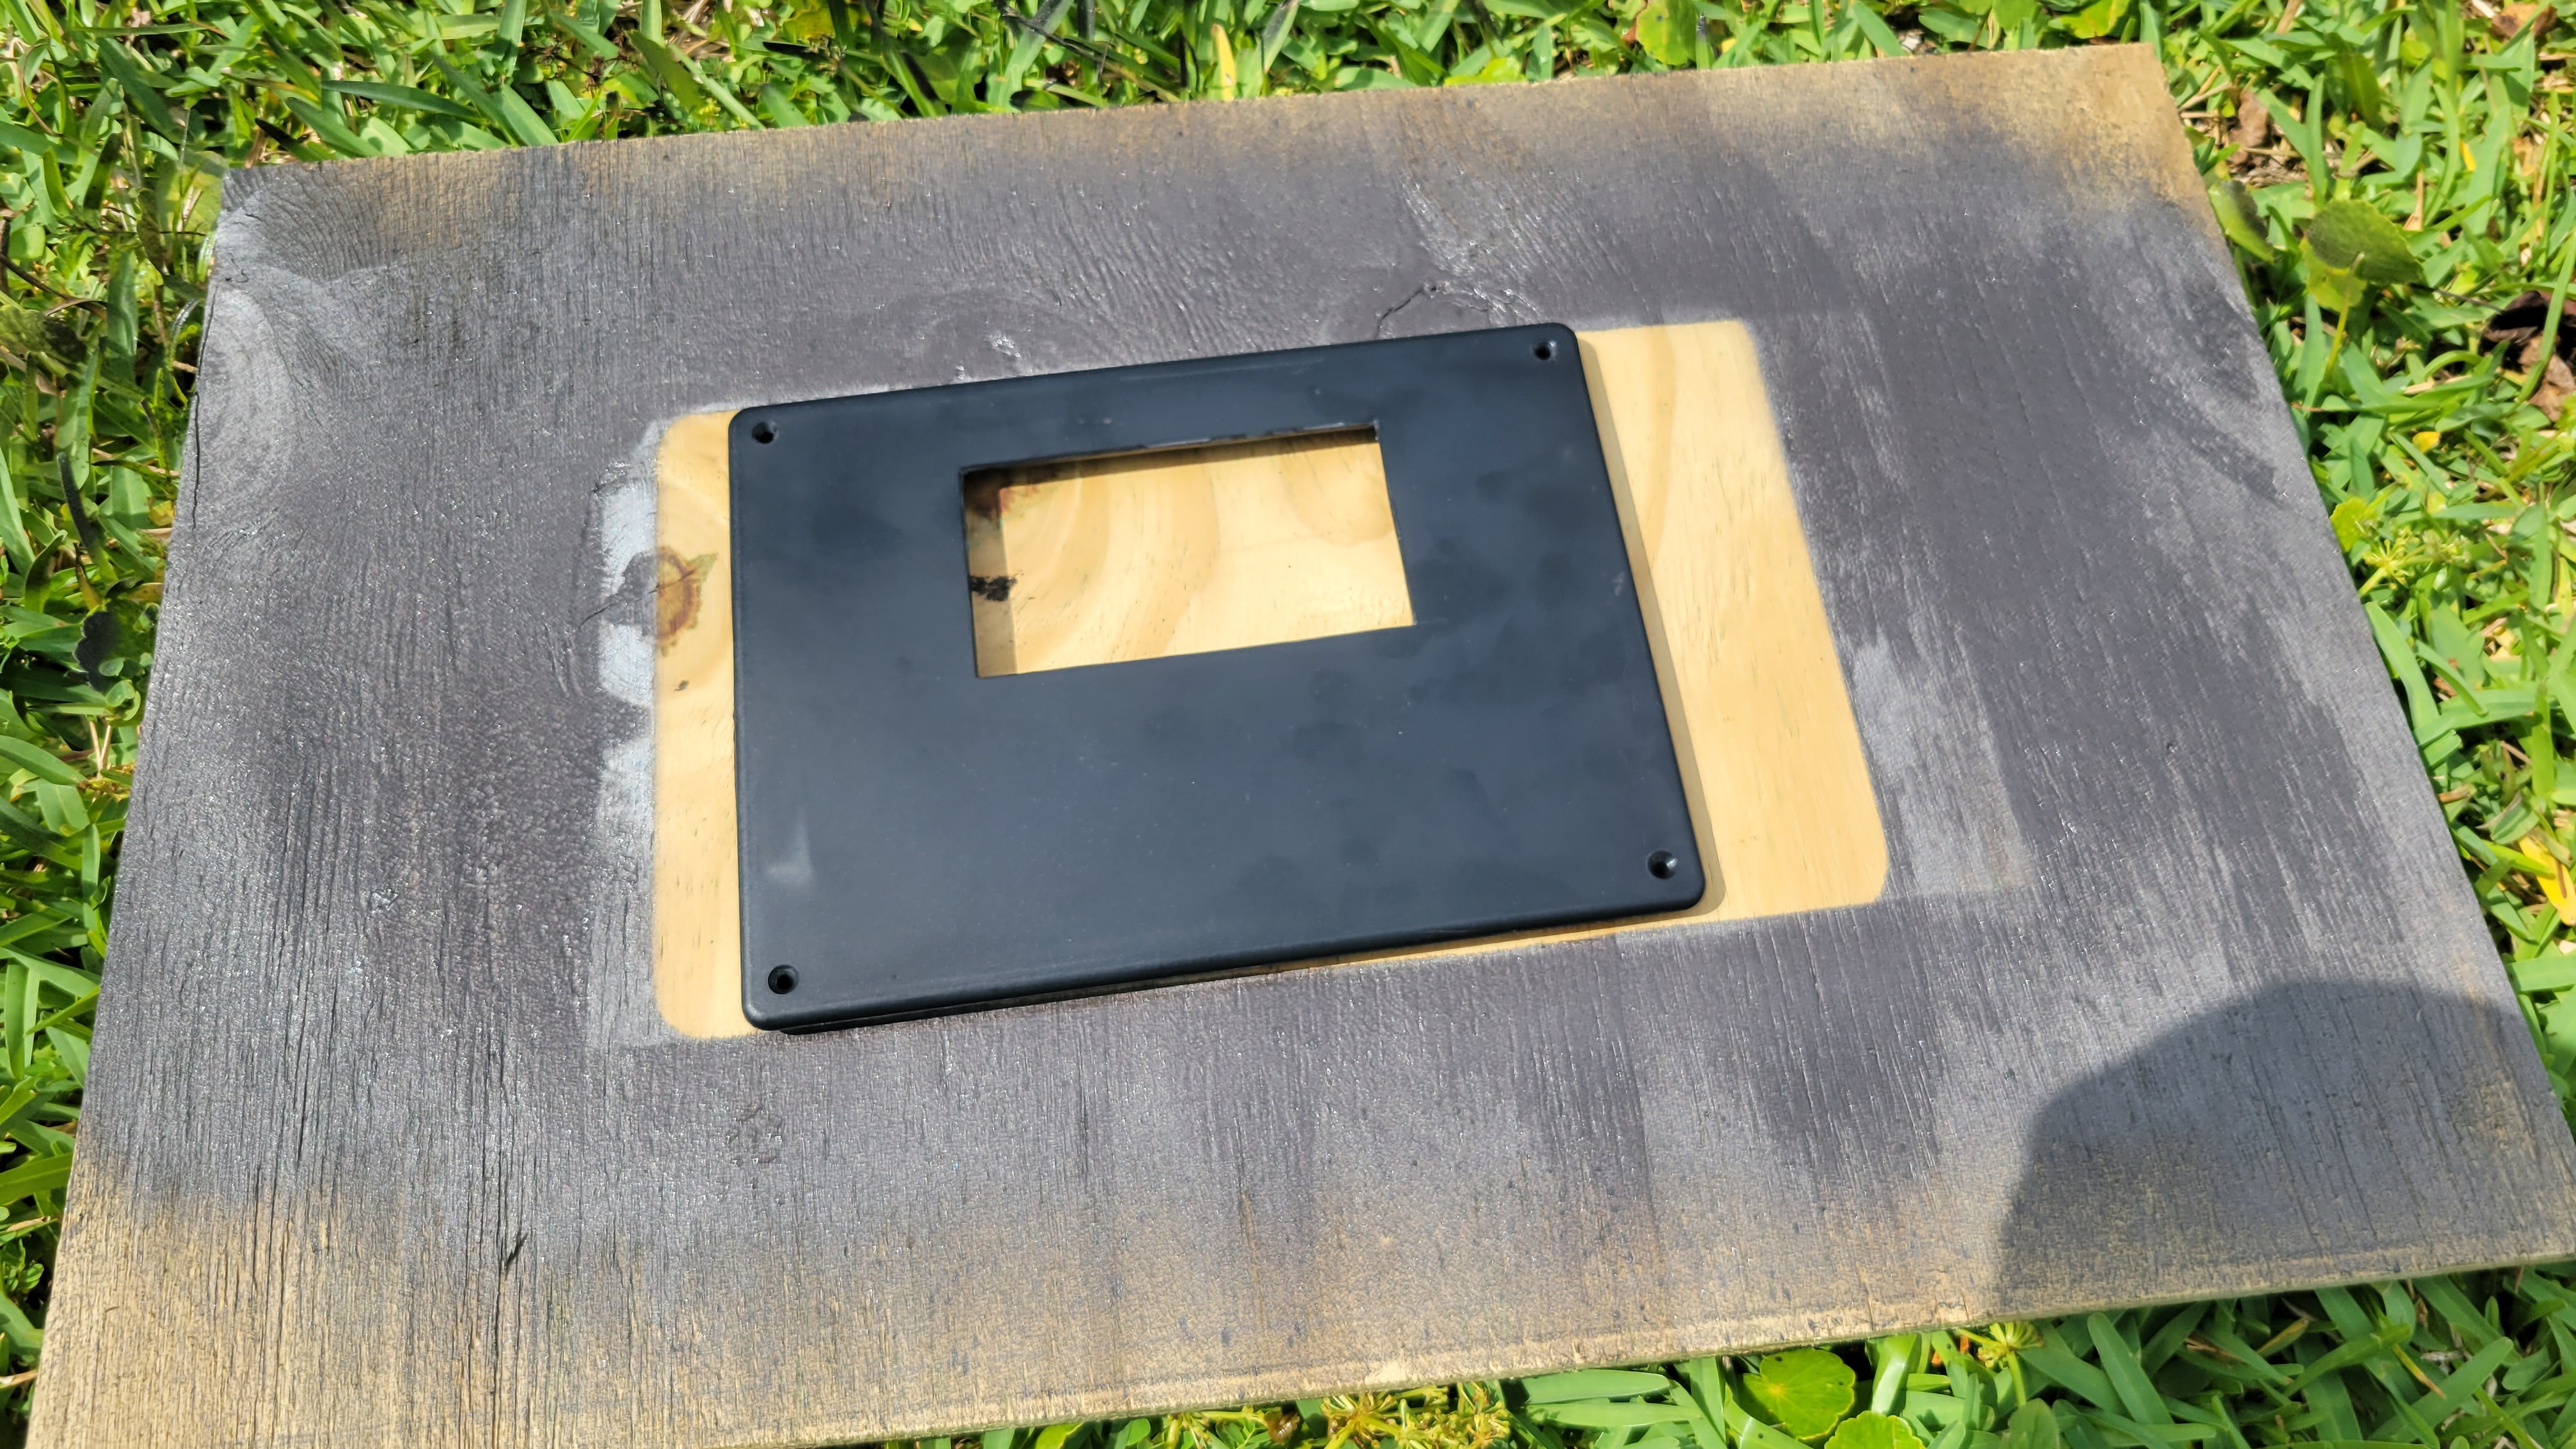
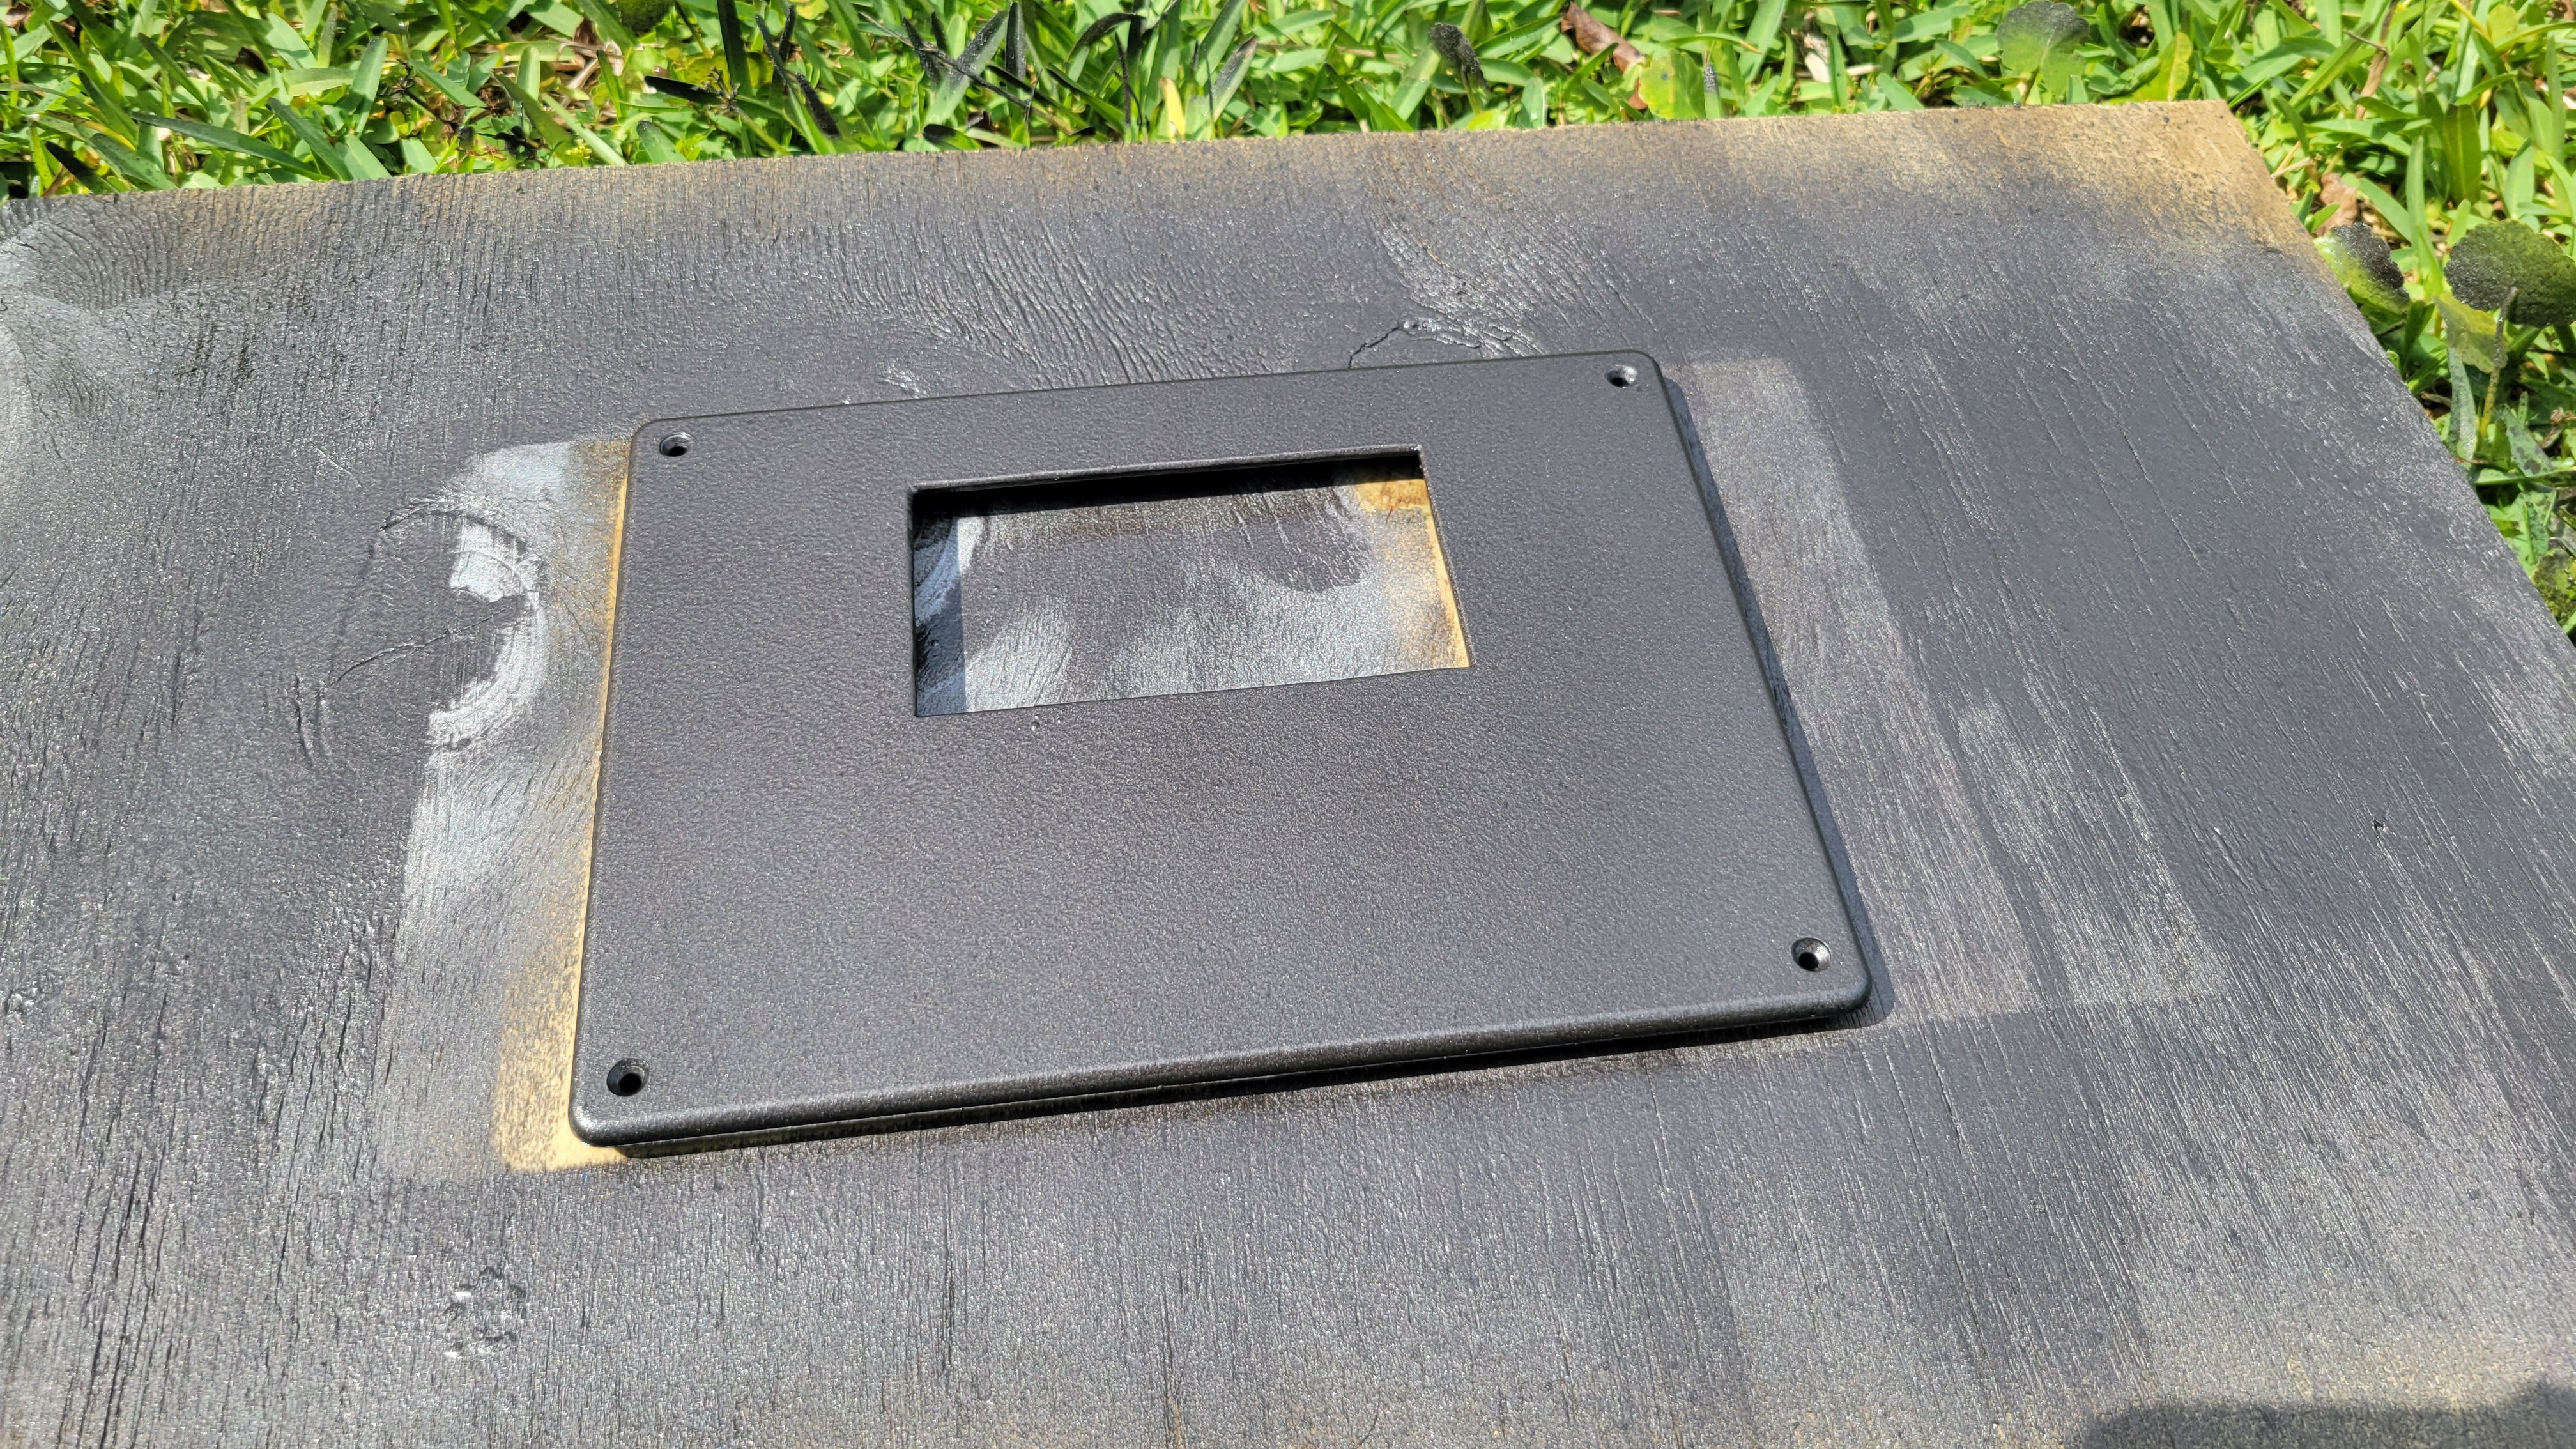
Test piece turned out great. Then it poured rain and I didn't get pictures of spraying the fit piece.
Selecting drill bits for each switch and pot: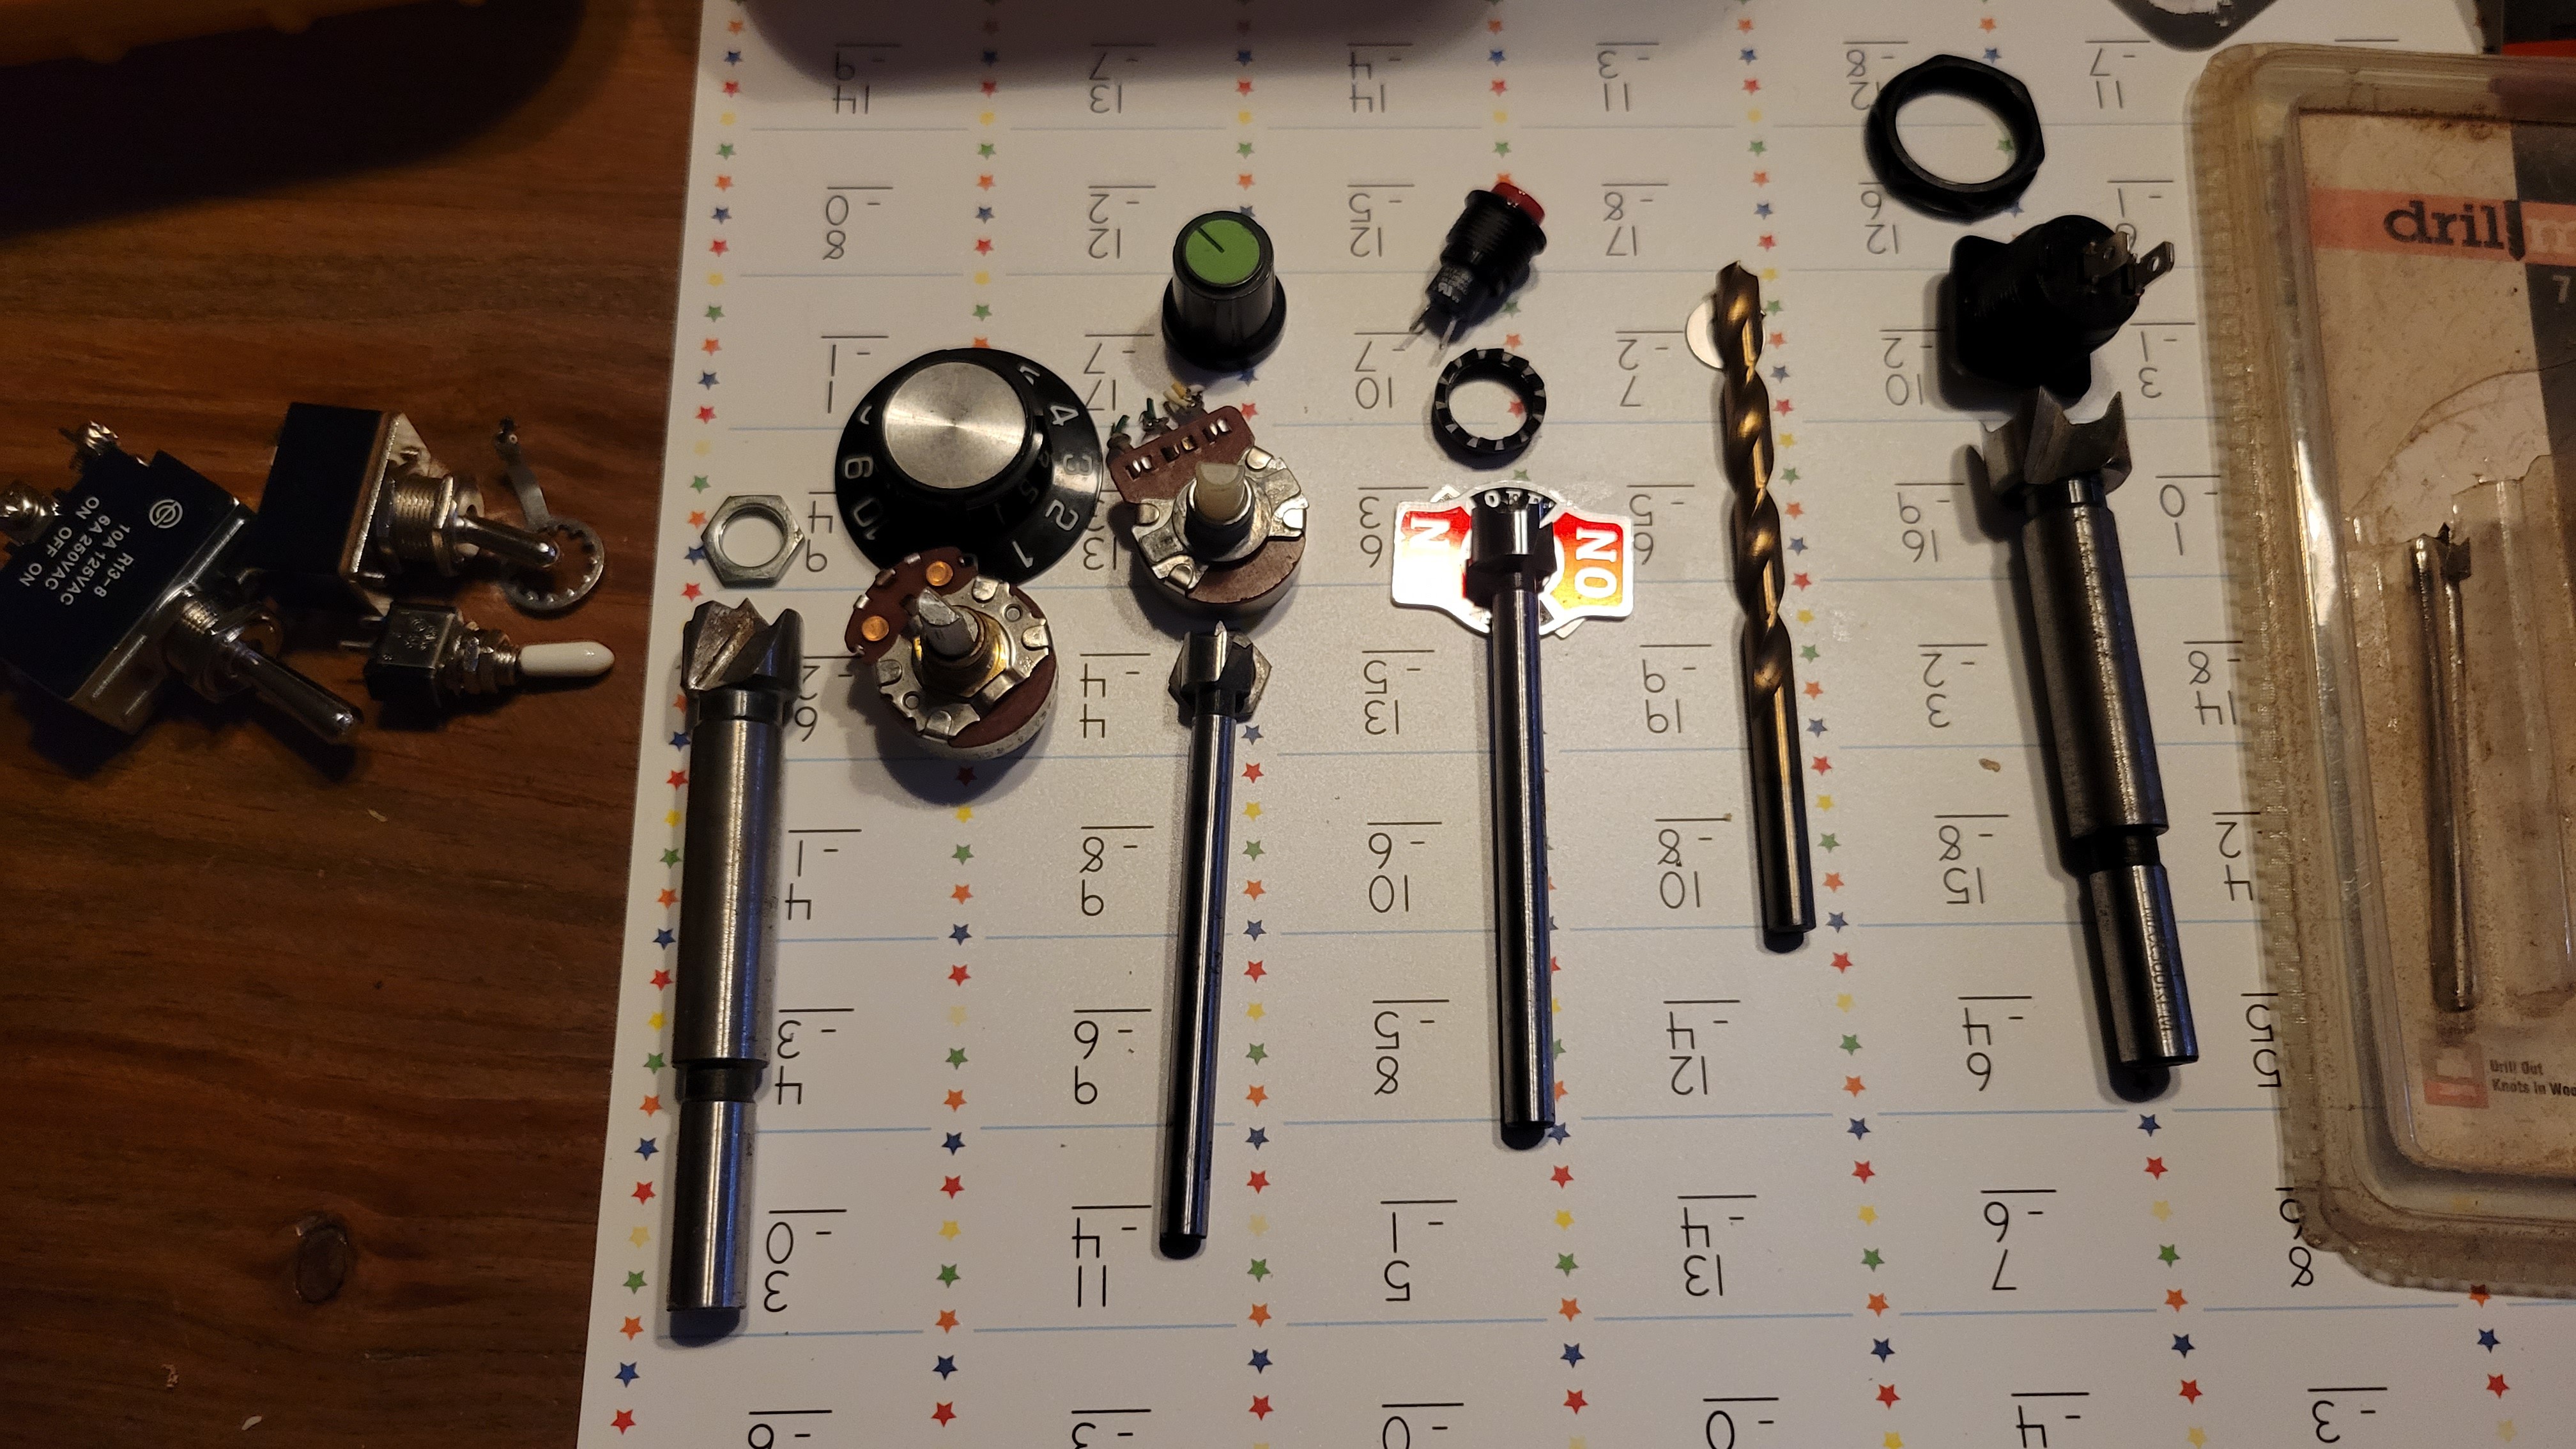 Board is marked out and one hole drilled for test fit.
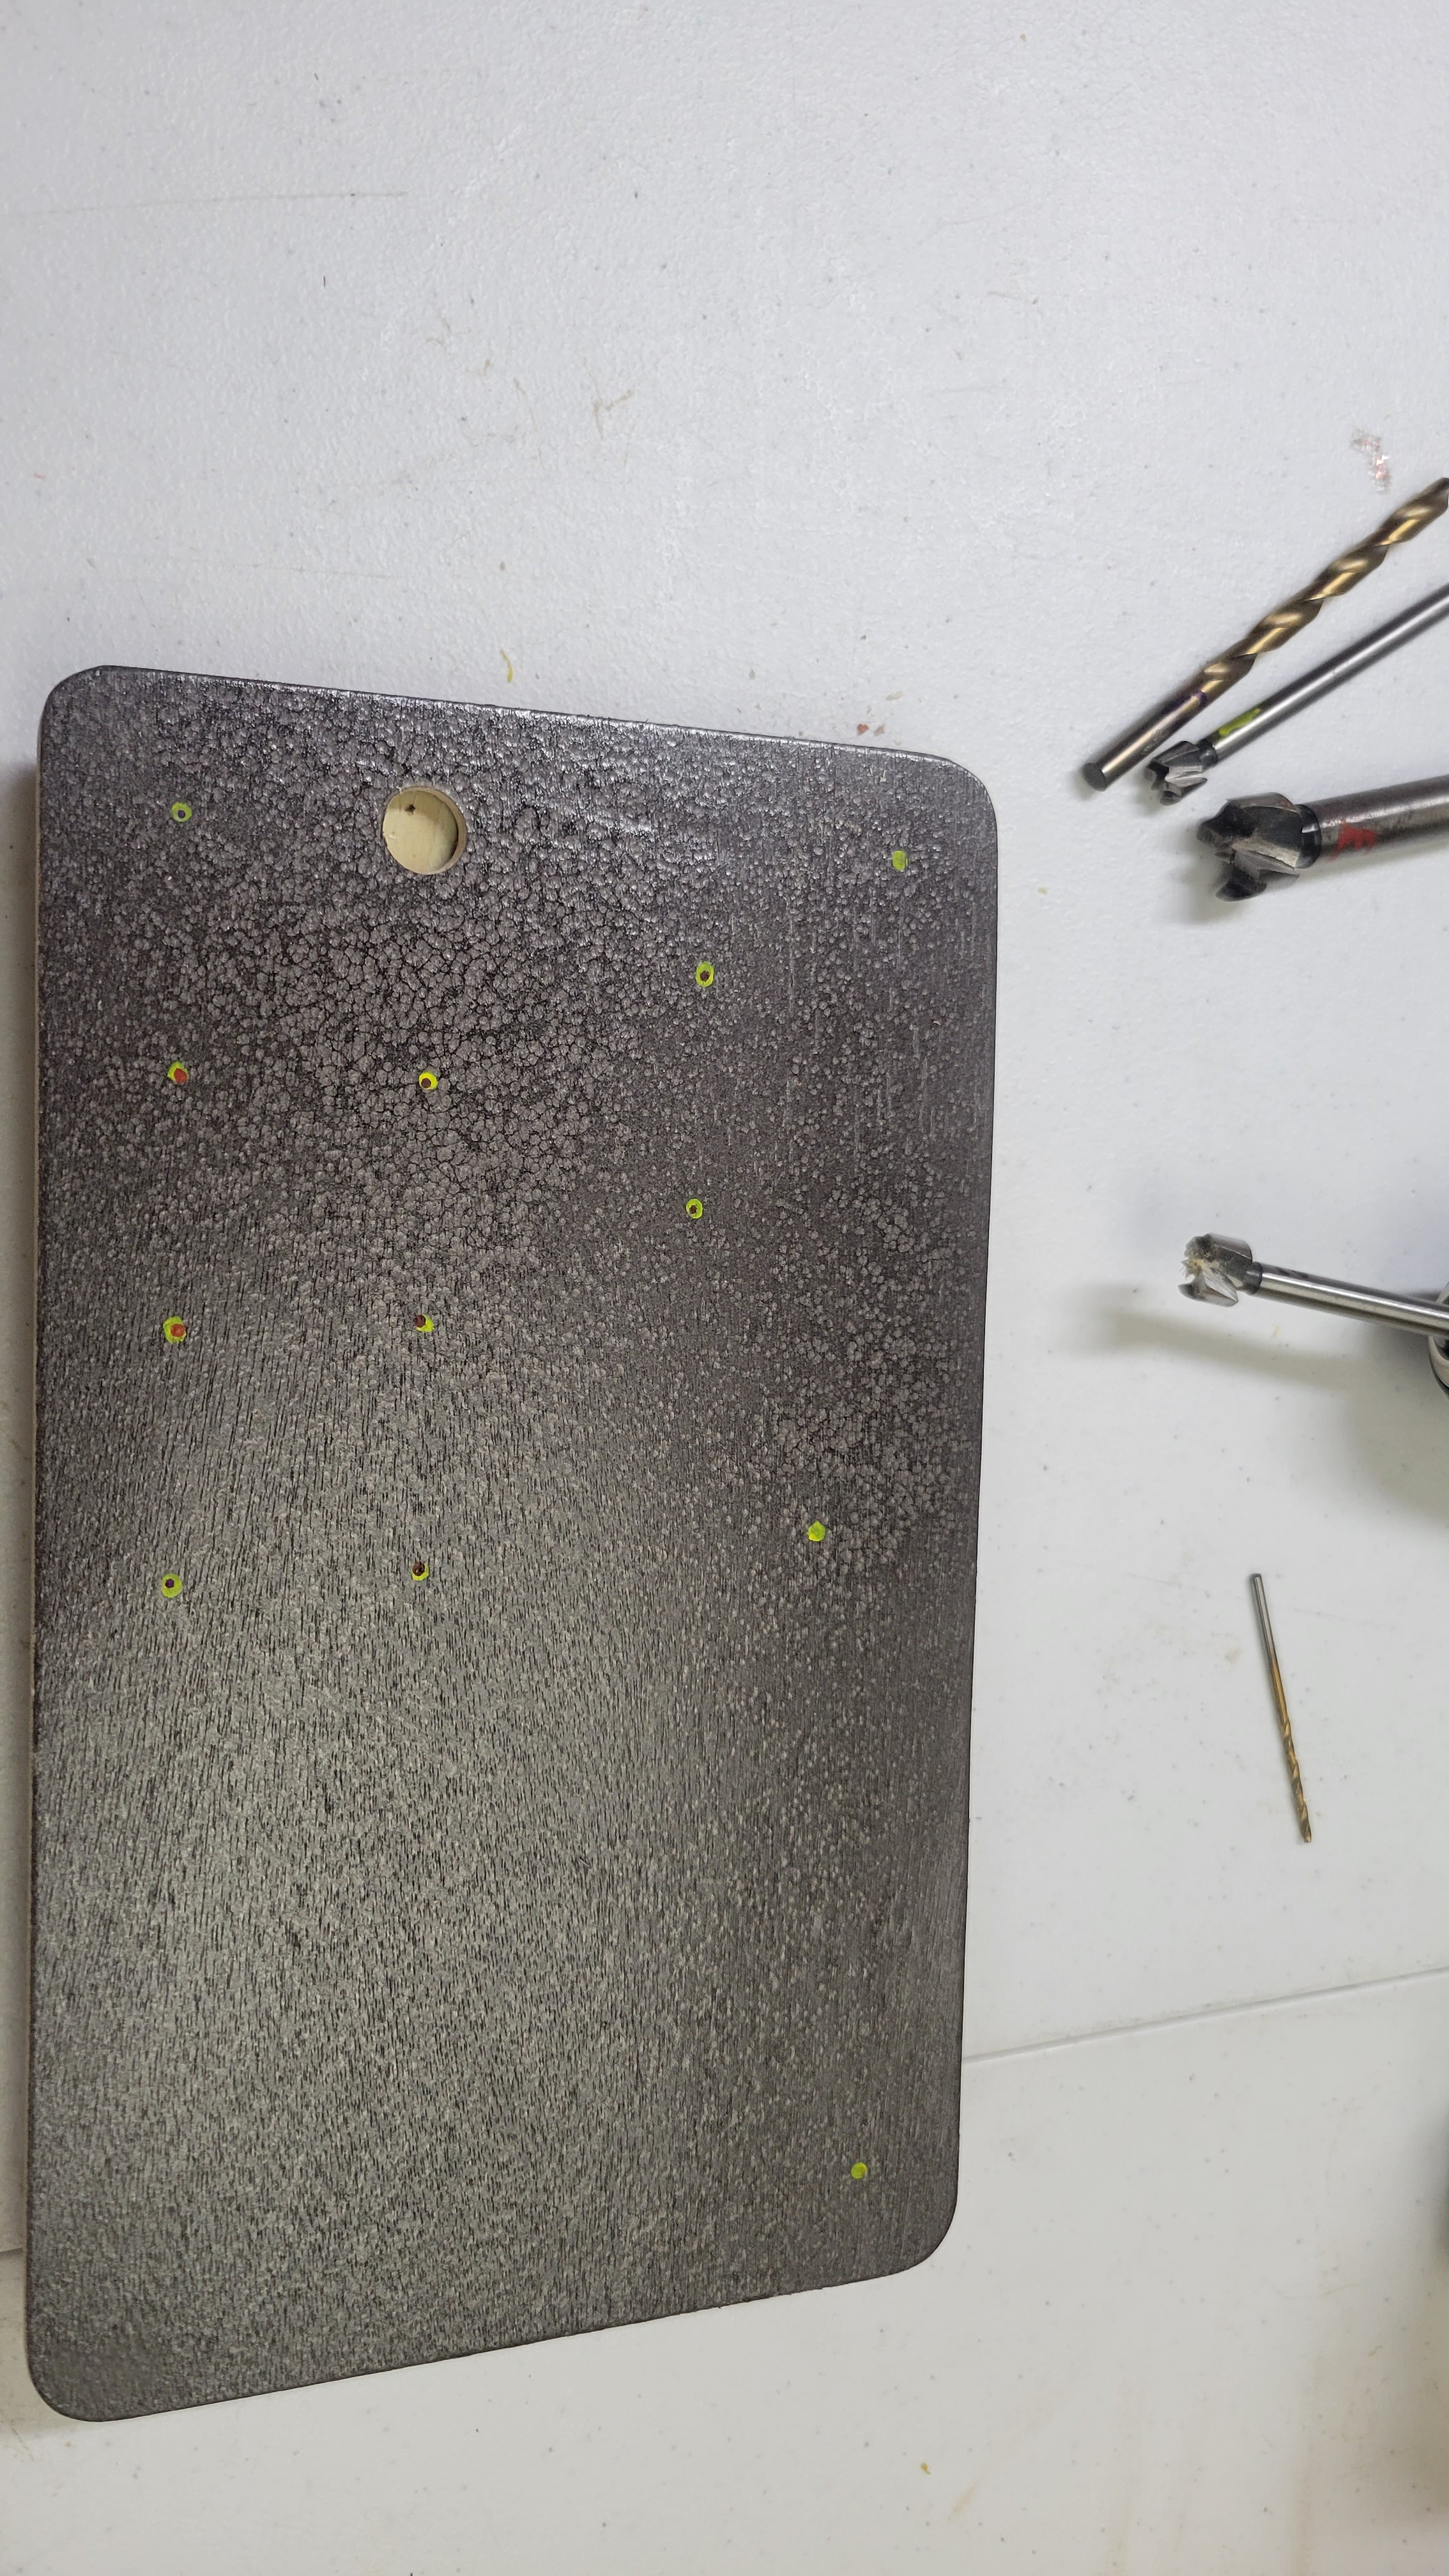
 Drilling holes with Daughter 1!
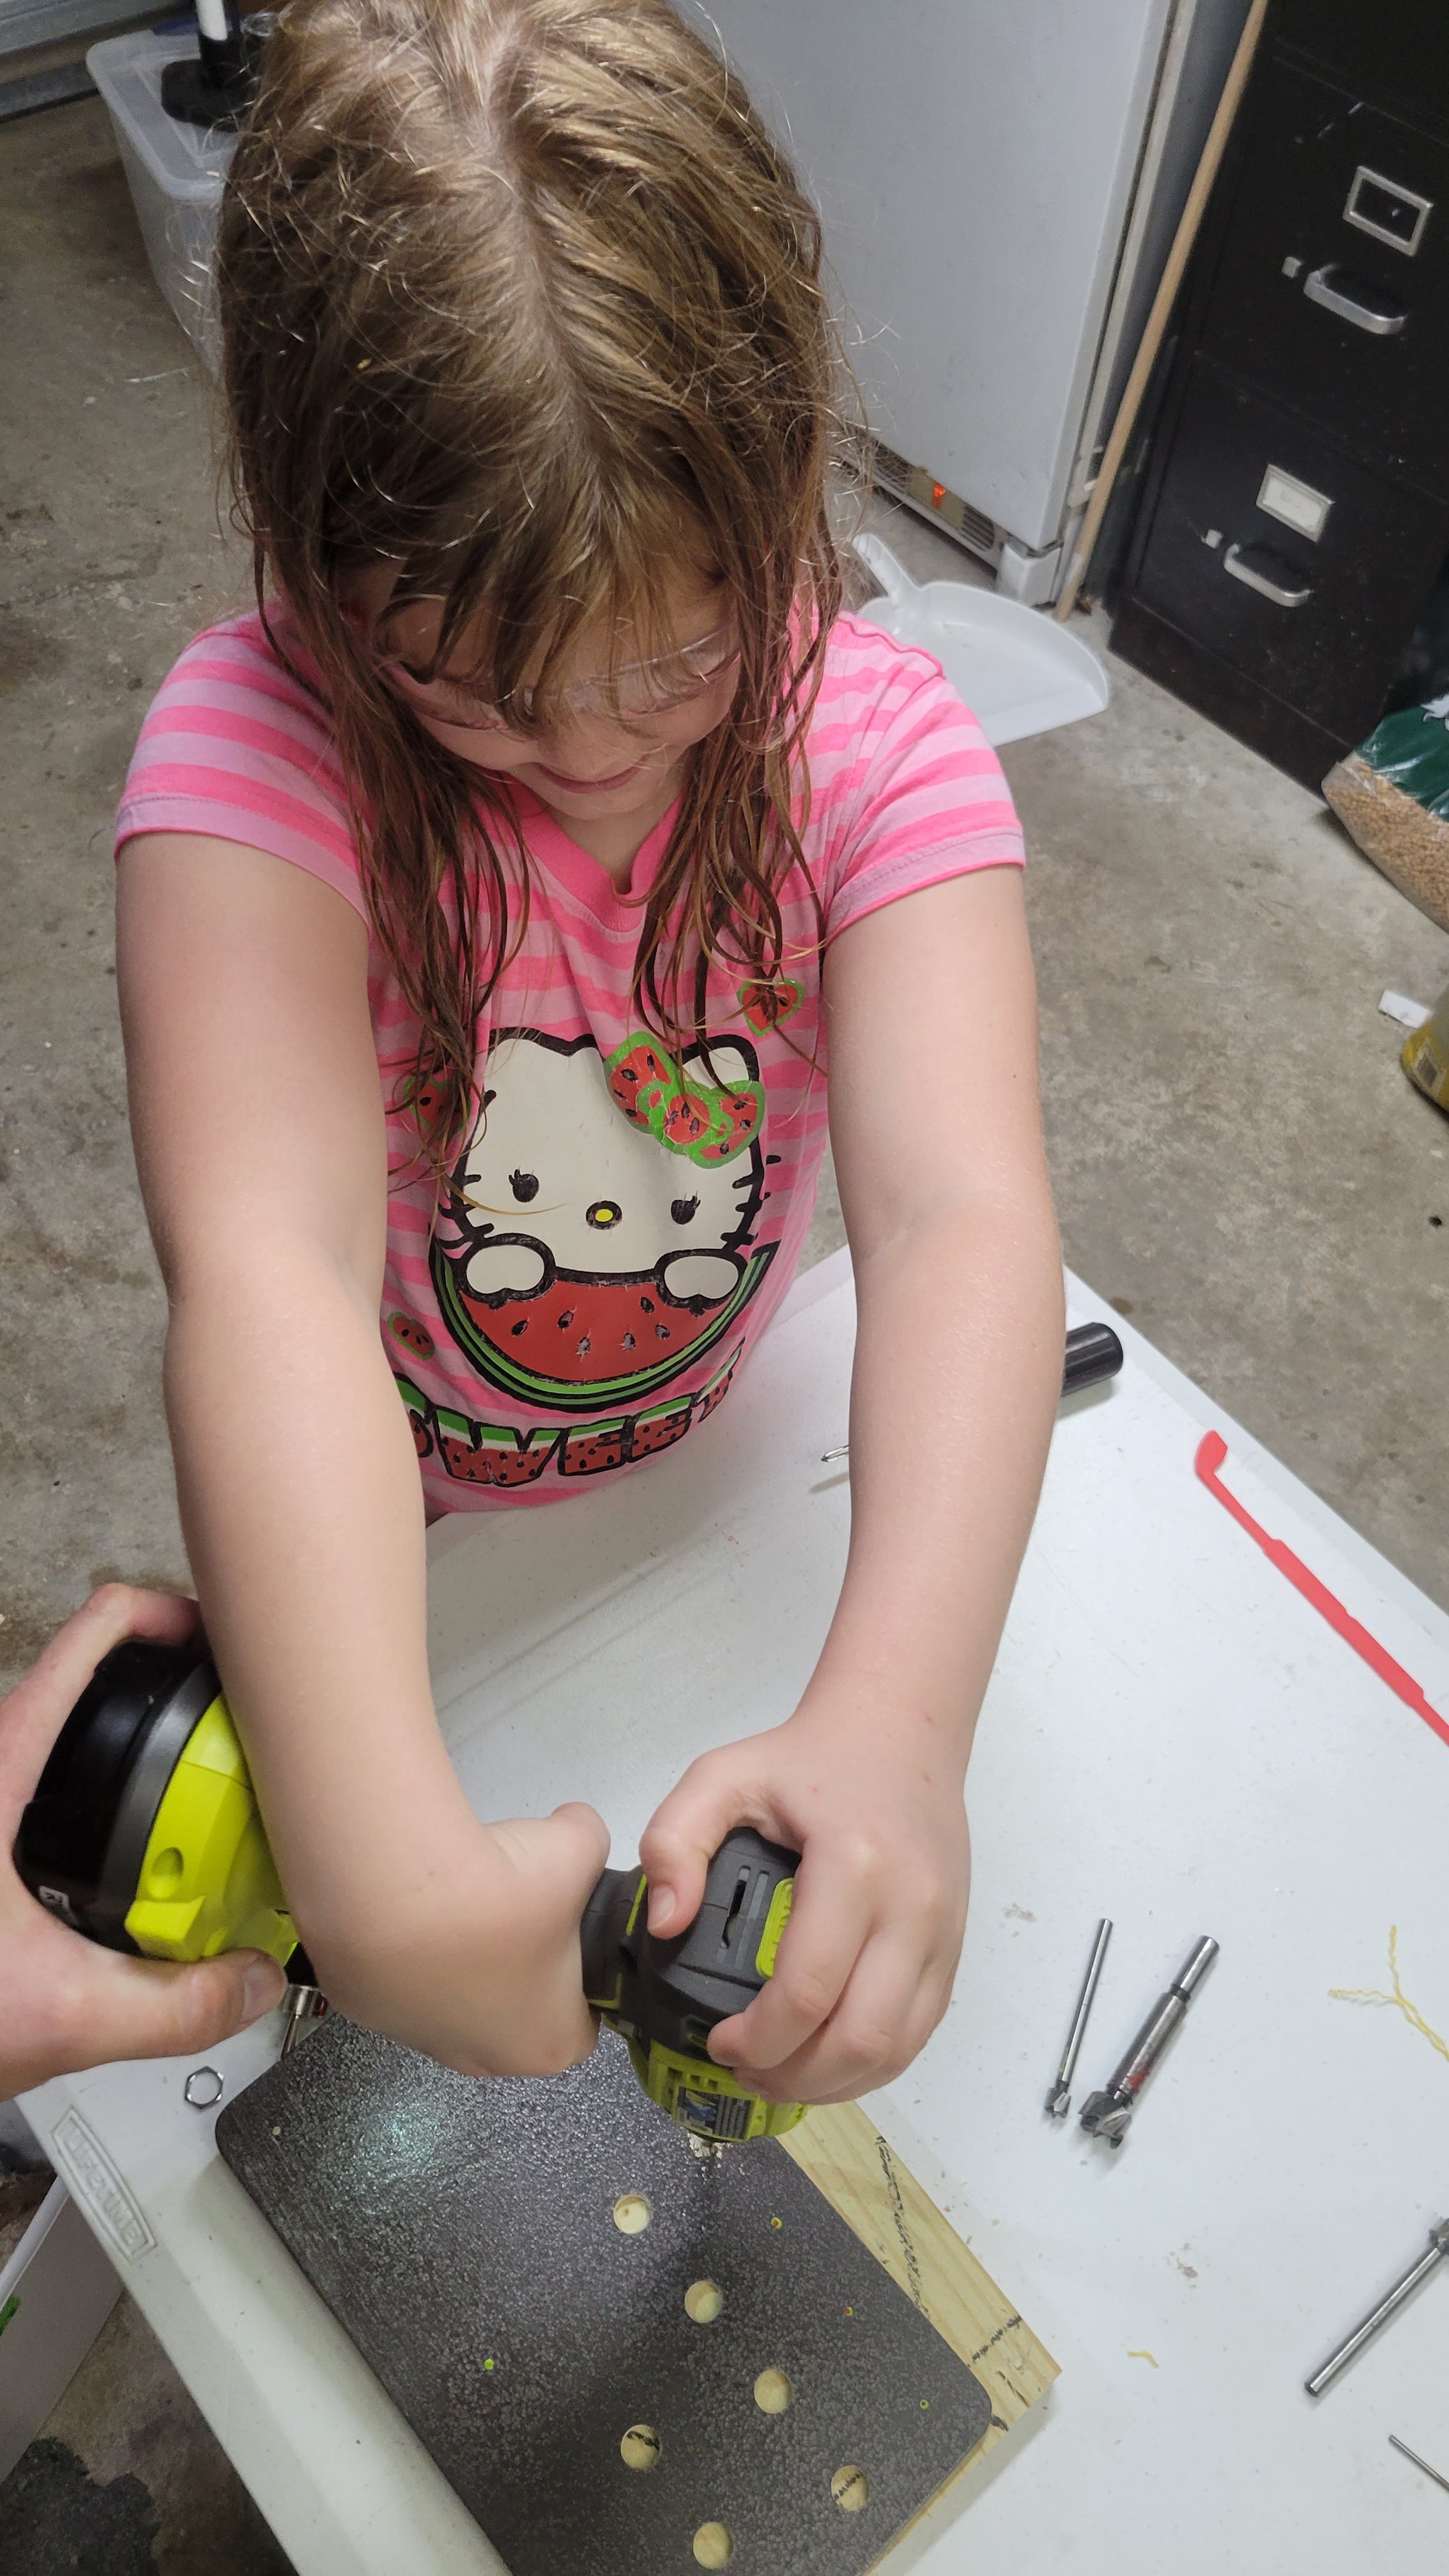
The pots don't have enough thread for the board thickness, so we have to drill half way through big enough for the nut (but smaller than the dial):

Then drill the rest of the way for the threads:
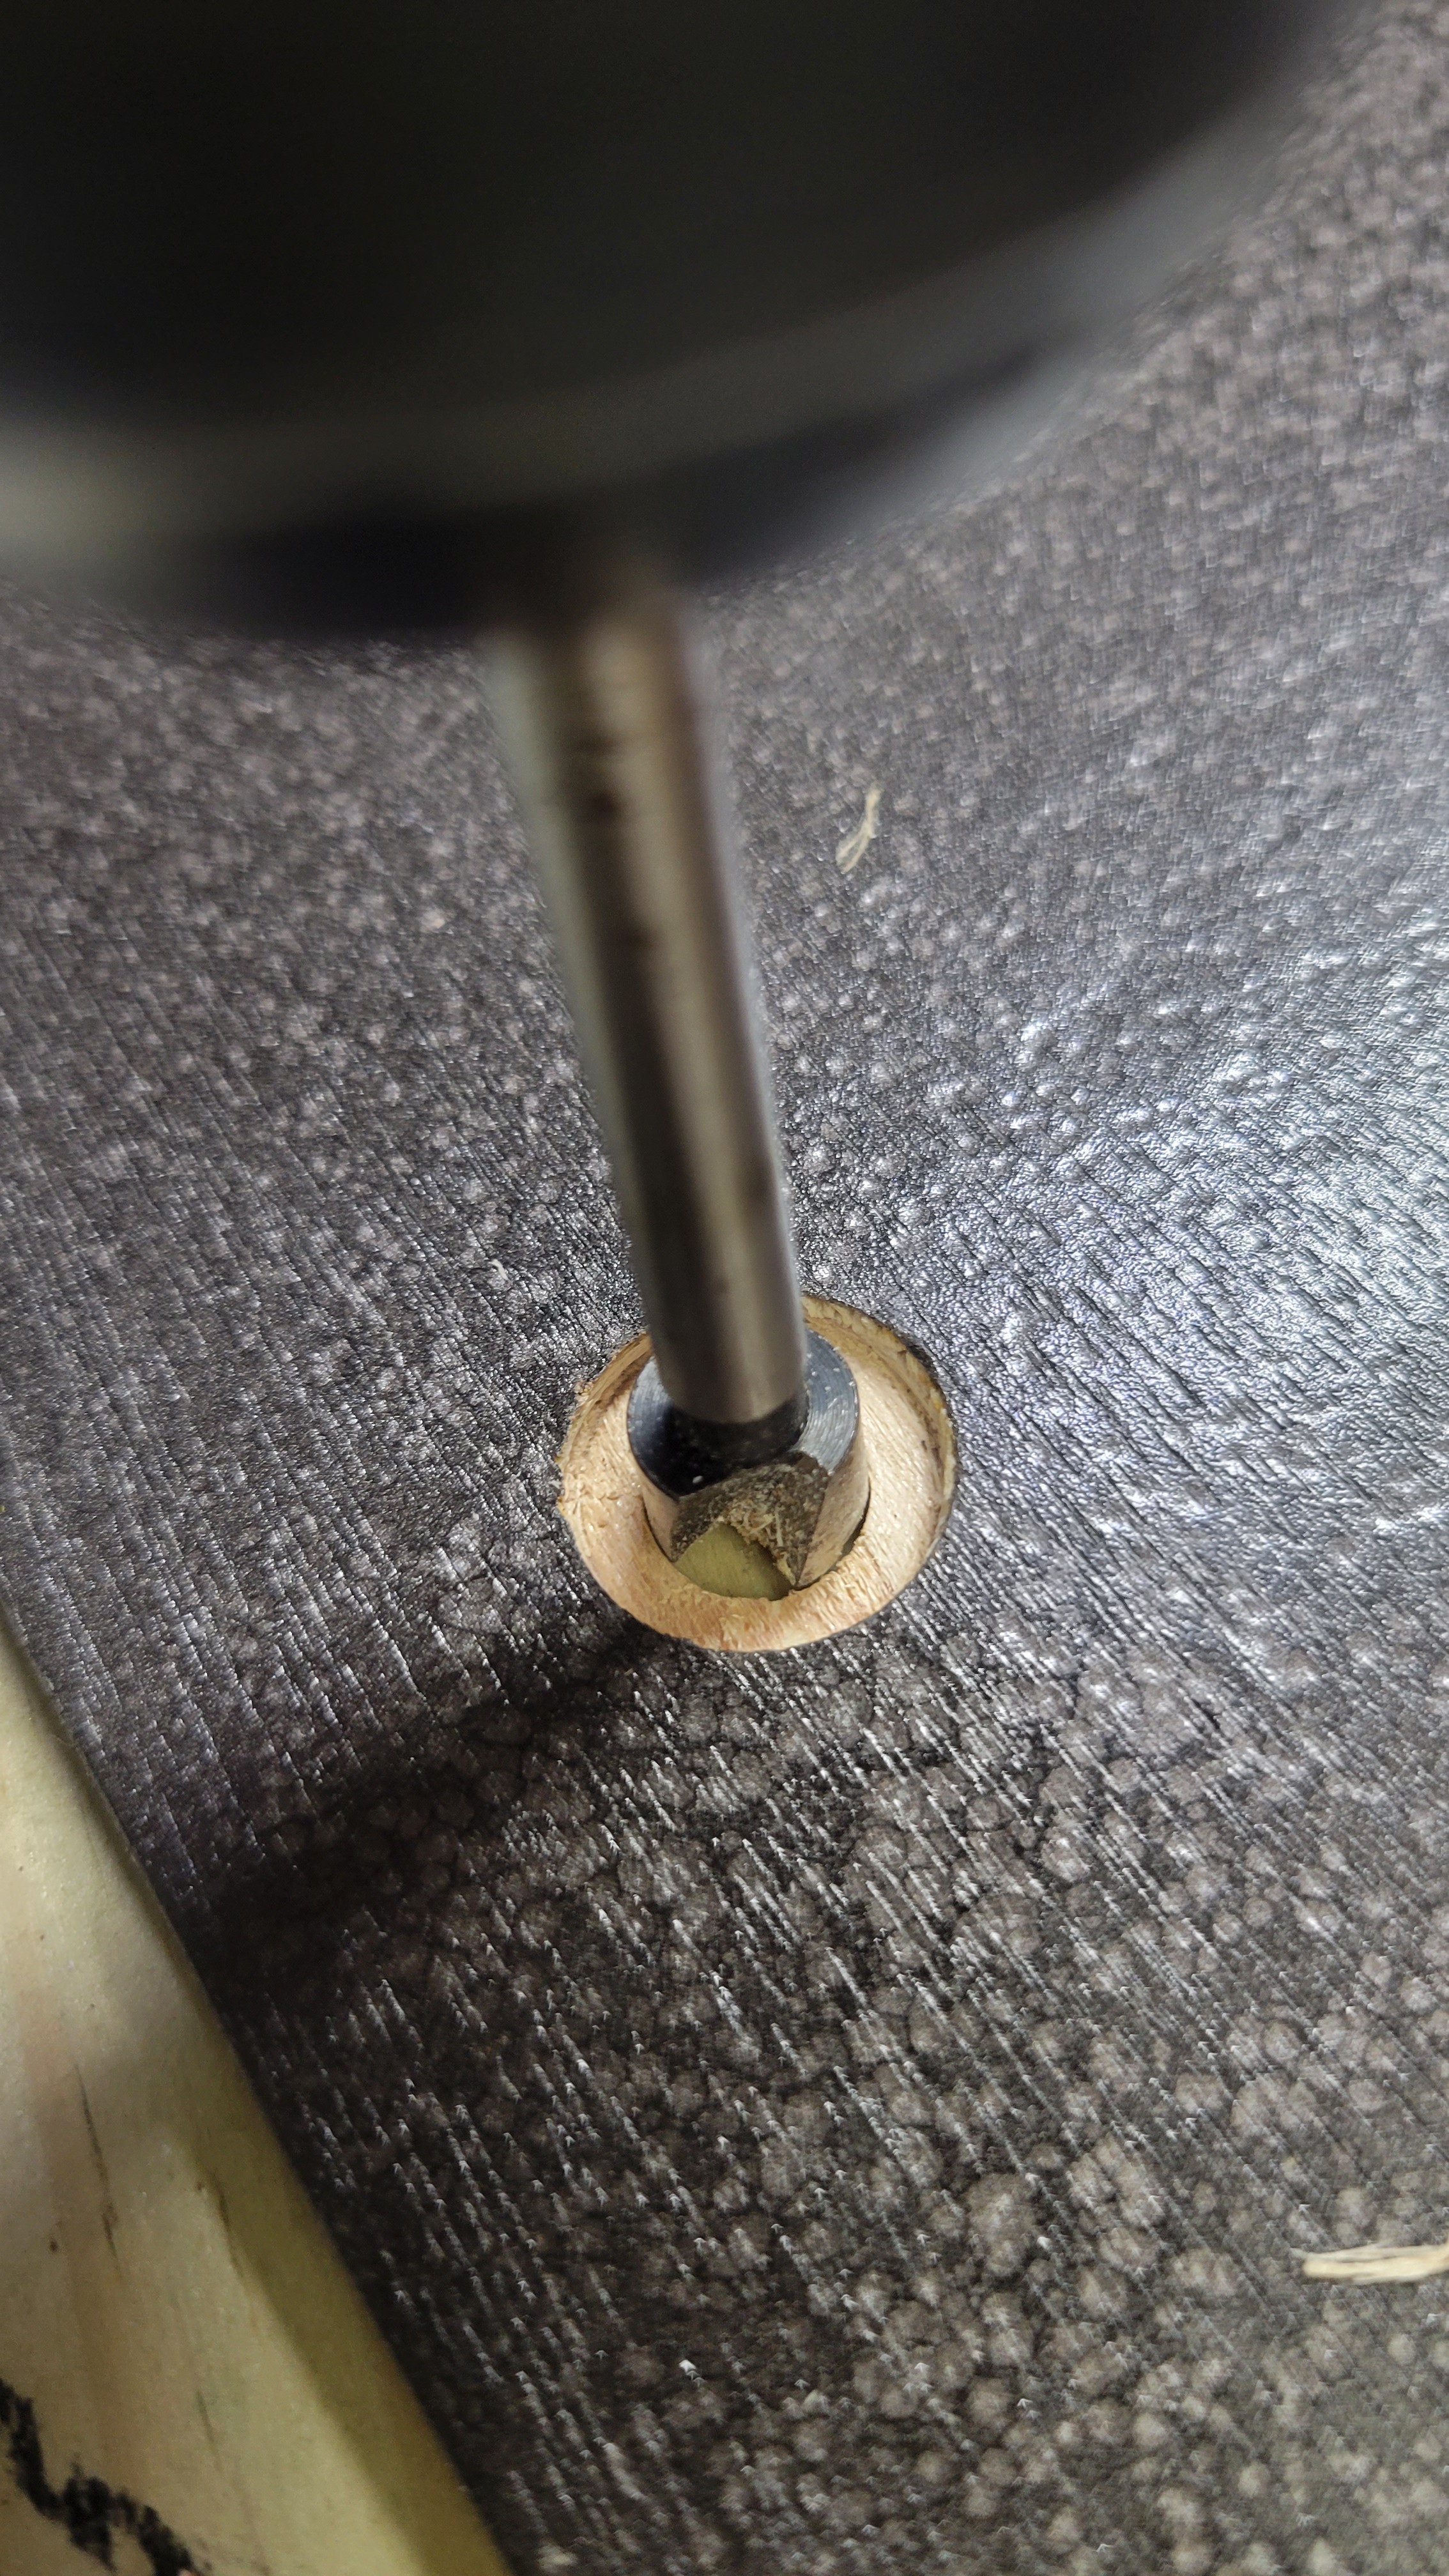
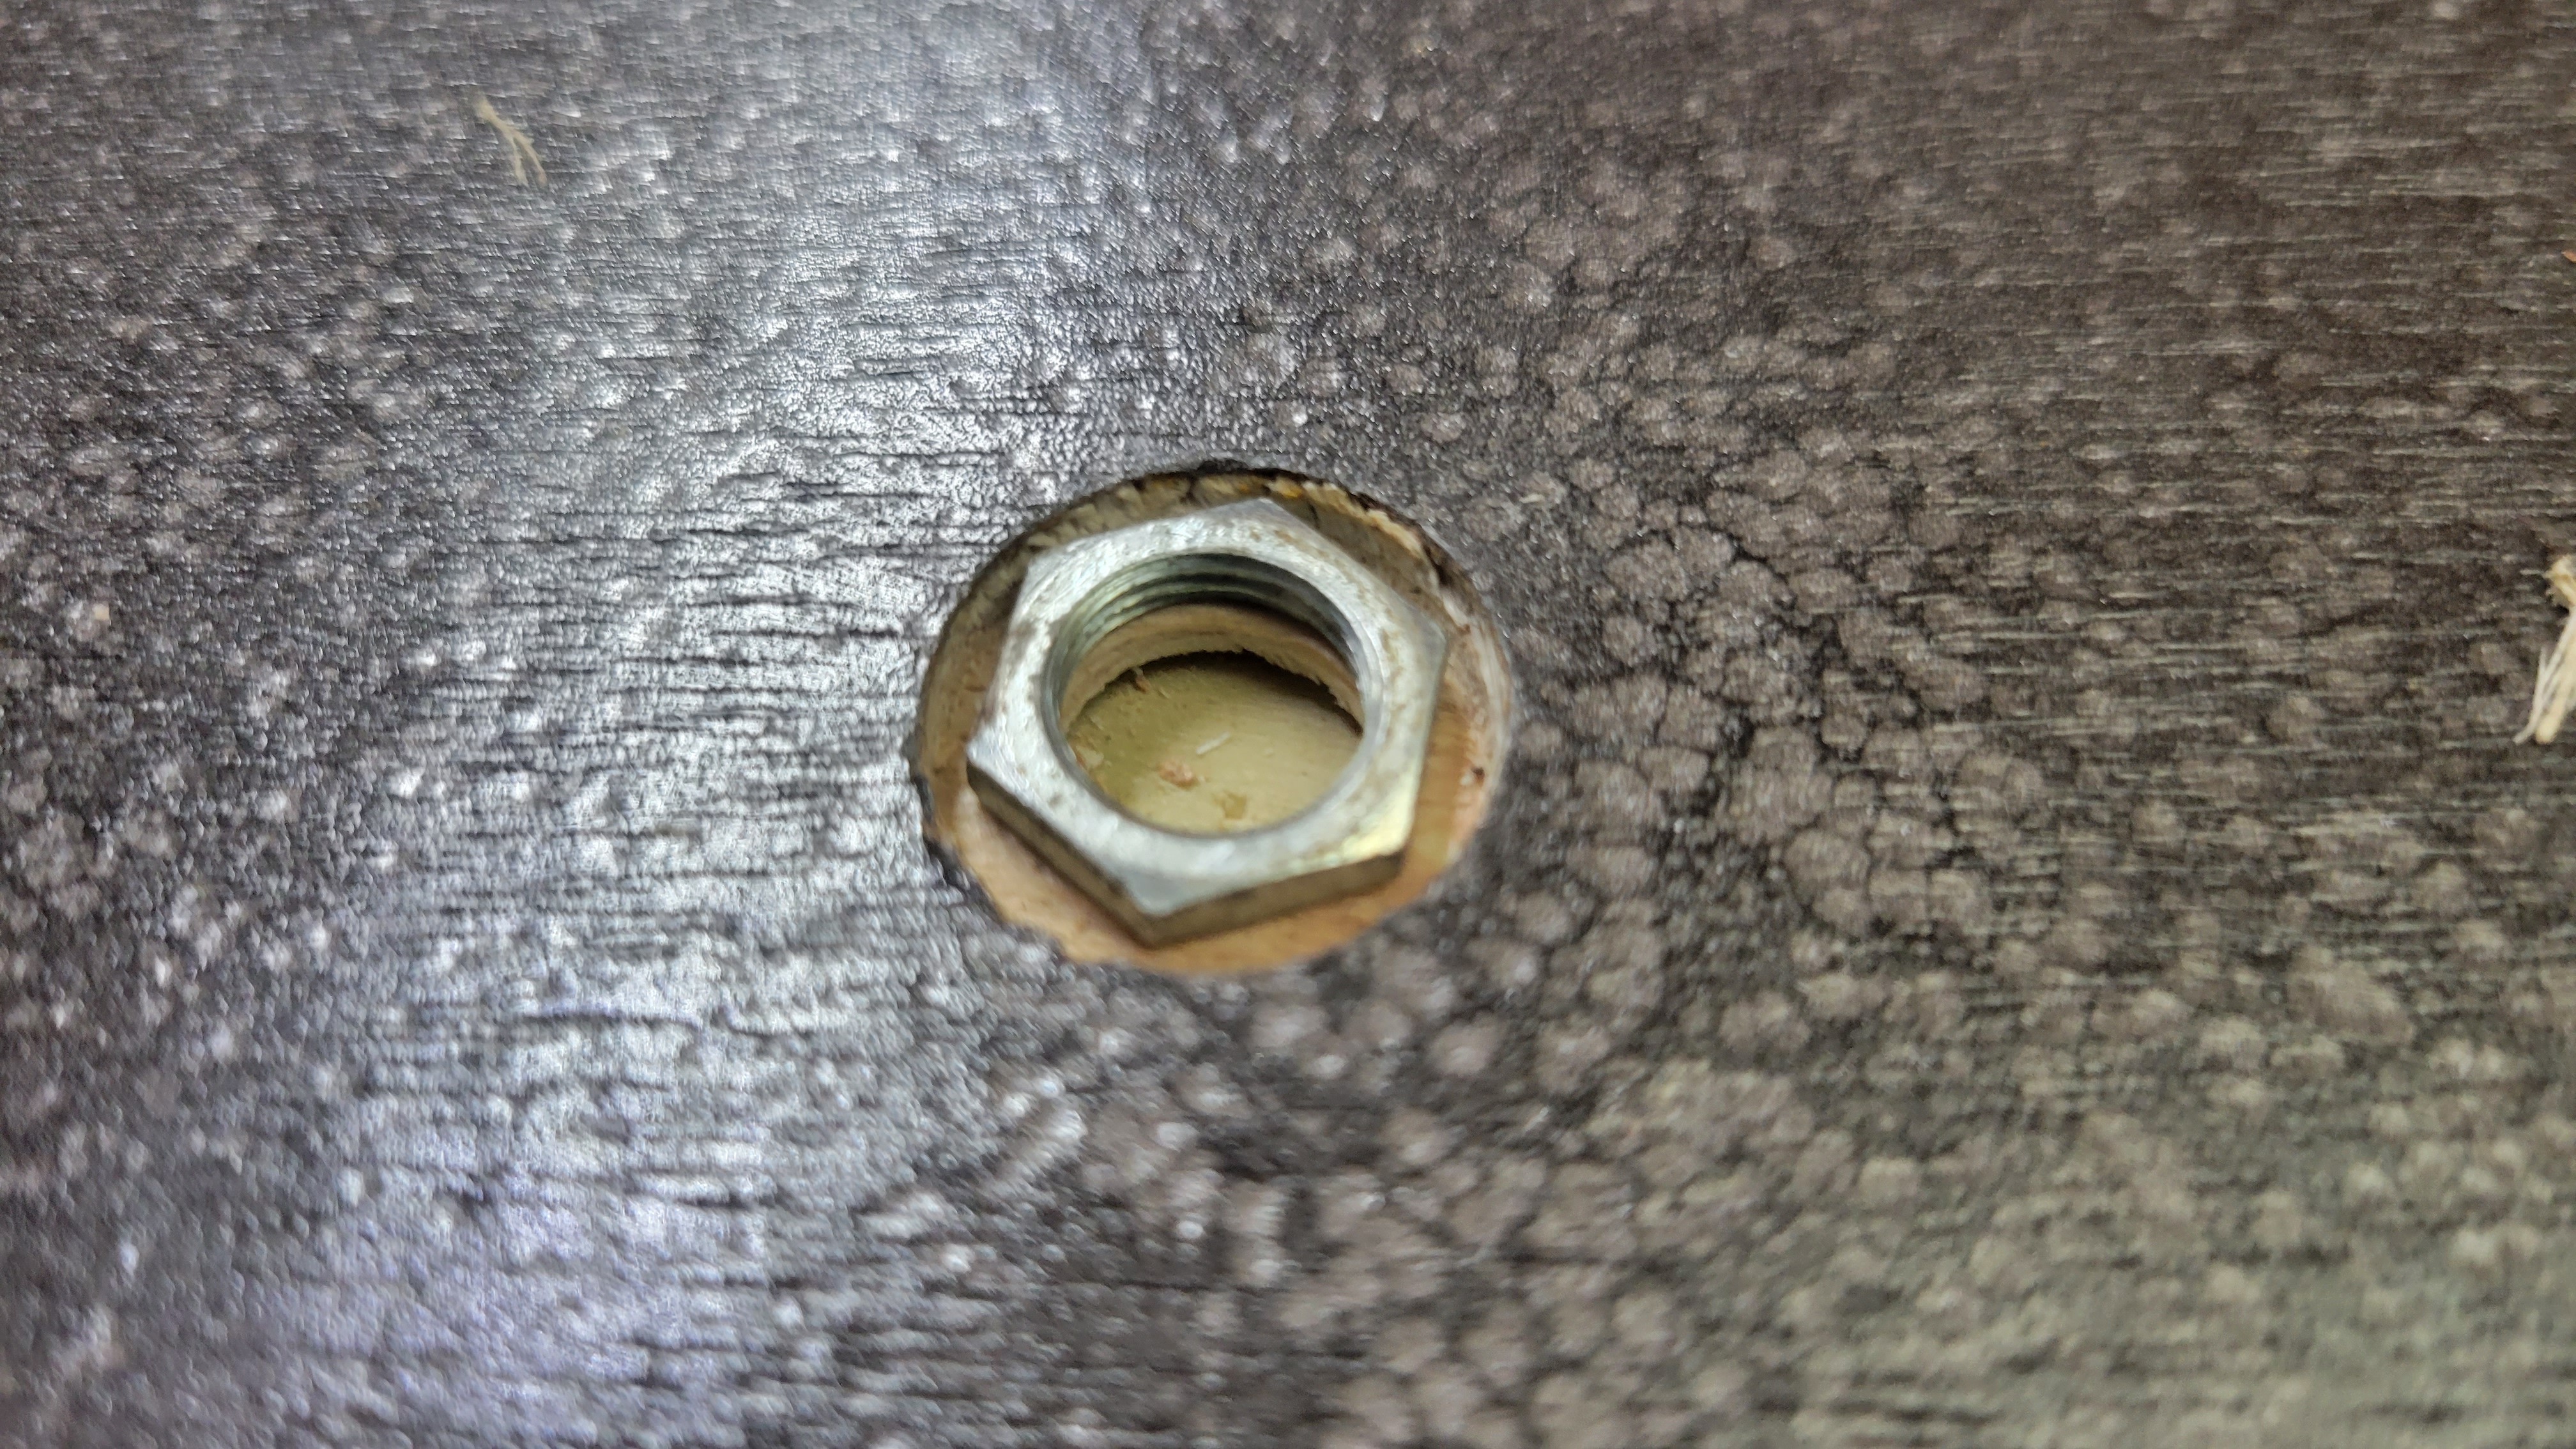
The nut sits flush with the top now.
 Almost finished drilling... just have to finish the corner pots and "Simon Says" buttons.
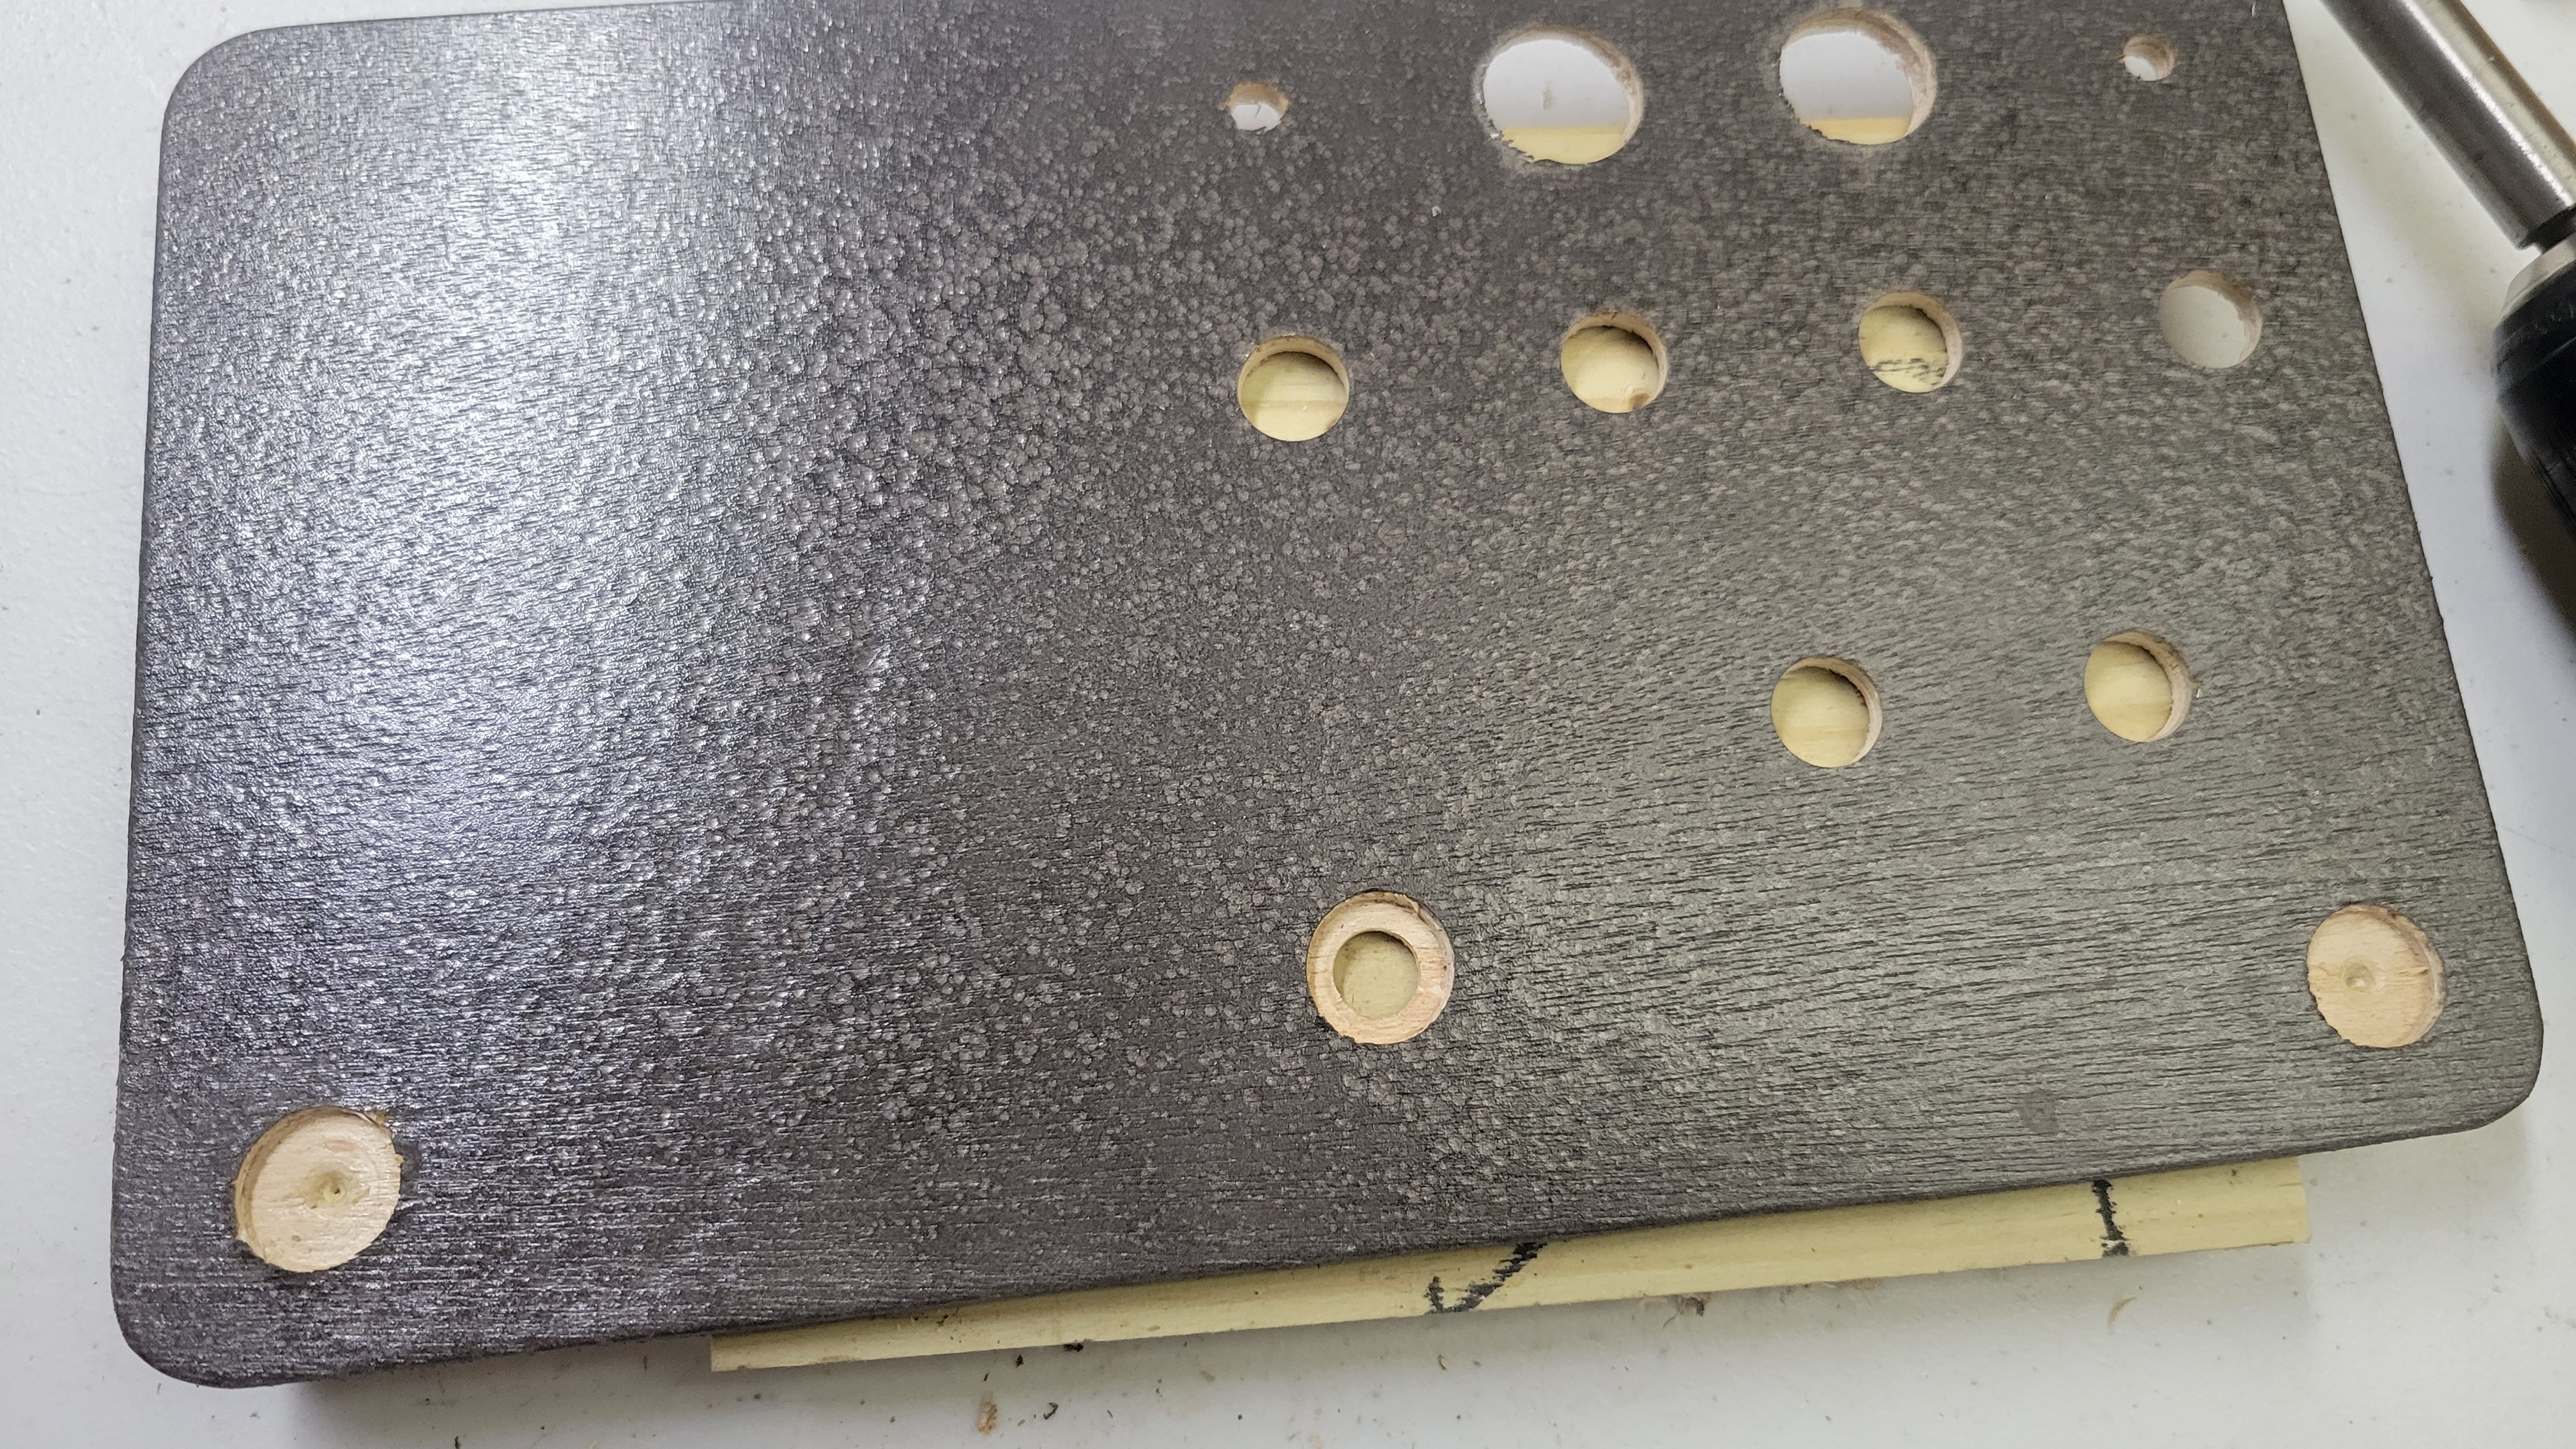
It got late and I didn't take pictures of the assembly process, but here is the finished interactive board. It's not mounted yet, just sitting in there.

I just realized I forgot to buy LED holders... I may try to simply drill a hole slightly smaller than the LEDs and use a press-fit and glue first though. I also have the dilemma of having to solder a current limit resistor on to 22 different LEDs. I may have to cheat and order pre-wired LEDs for 2 day shipping.
More to come soon!
Discussions
Become a Hackaday.io Member
Create an account to leave a comment. Already have an account? Log In.