 Timescale
The wheel I found wasn’t high end to begin with. A Thrustmaster 458 black. A very plastic experience, but never the less, I tried it and it somewhat worked until it didn’t. After 10 minutes of flaky steering, the steering stopped altogether and extreme left and right made the wheels get stuck. This should be an easy fix!… Or so I thought.

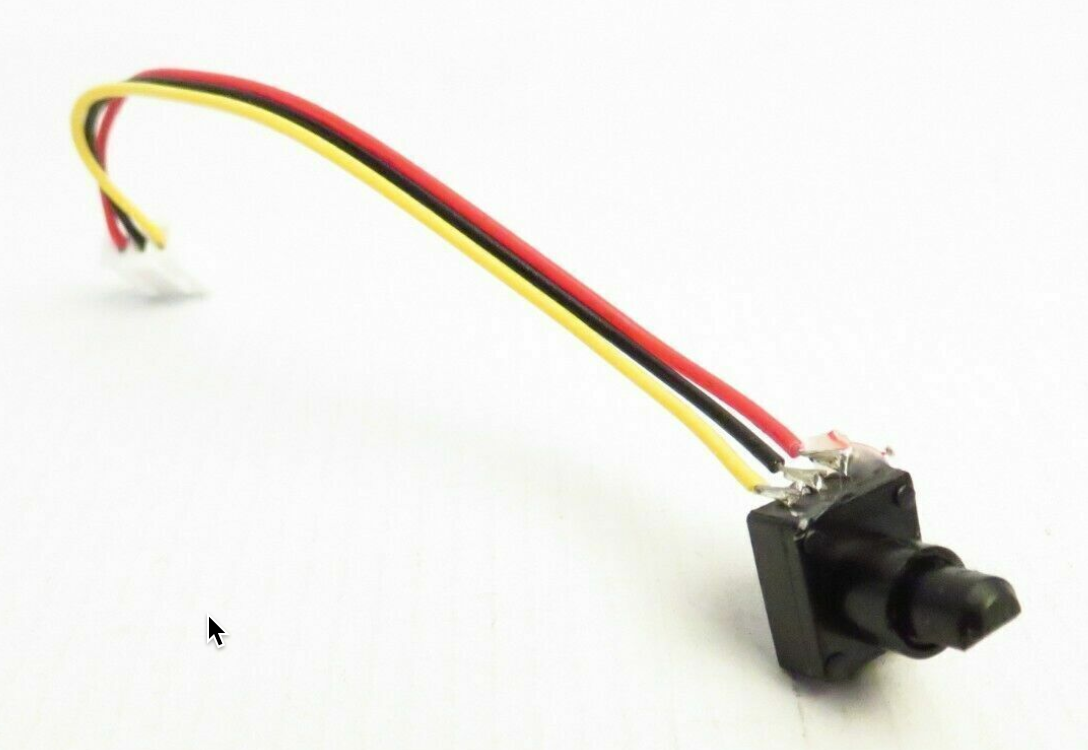
This wheel uses a rotary potentiometer 10K Ohm’s with about 270 degrees of effective rotation or somewhere in that area. Surely I would have a suitable part in my bin for a quick fix. It turned out the potentiometer had some peculiar dimensions. The shaft was sub 4mm with an even smaller flat bit.
I had no drop in replacement for both the correct shaft and the rotation angle. The only semi-official source for a replacement was defunct and the only parts I could find that would potentially do the job meant I had to mod the wheel. I did find some overseas parts, but with added shipping, it would cost more than the bloody wheel itself!
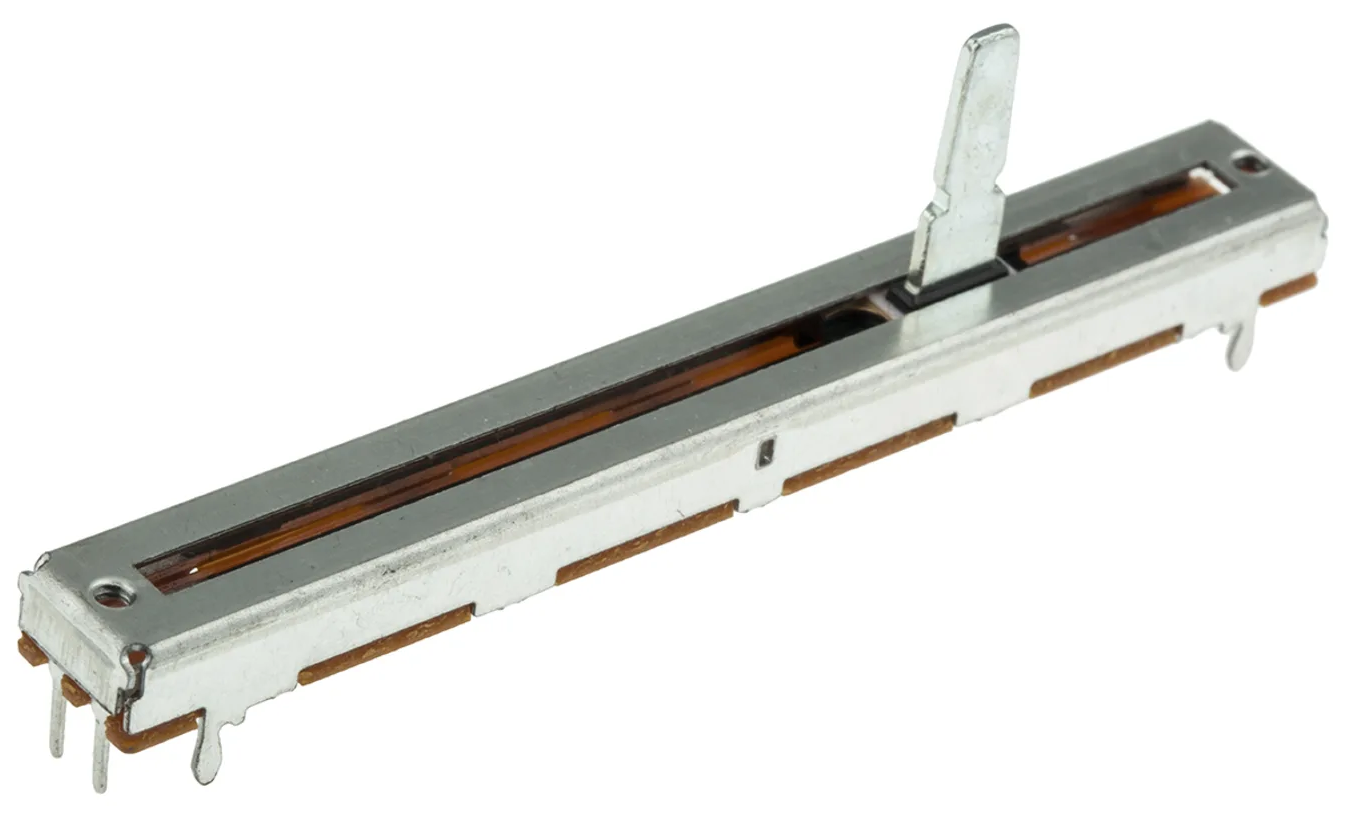
What I also had was a collection of (stereo) 10K linear slide potentiometers. I tried various 10K parts and most seemed to work just fine, but how to mod the wheel or the part to fit. I really liked the idea of using the slide potentiometers, but for that I needed an assembly that transformed rotation into linear motion.
I have Lego!
My goal was to make the hack on the wheel reversible and for that I needed to build a proof of concept. I needed that anyway, because it it drove like a bucket, anything I build would be useless.
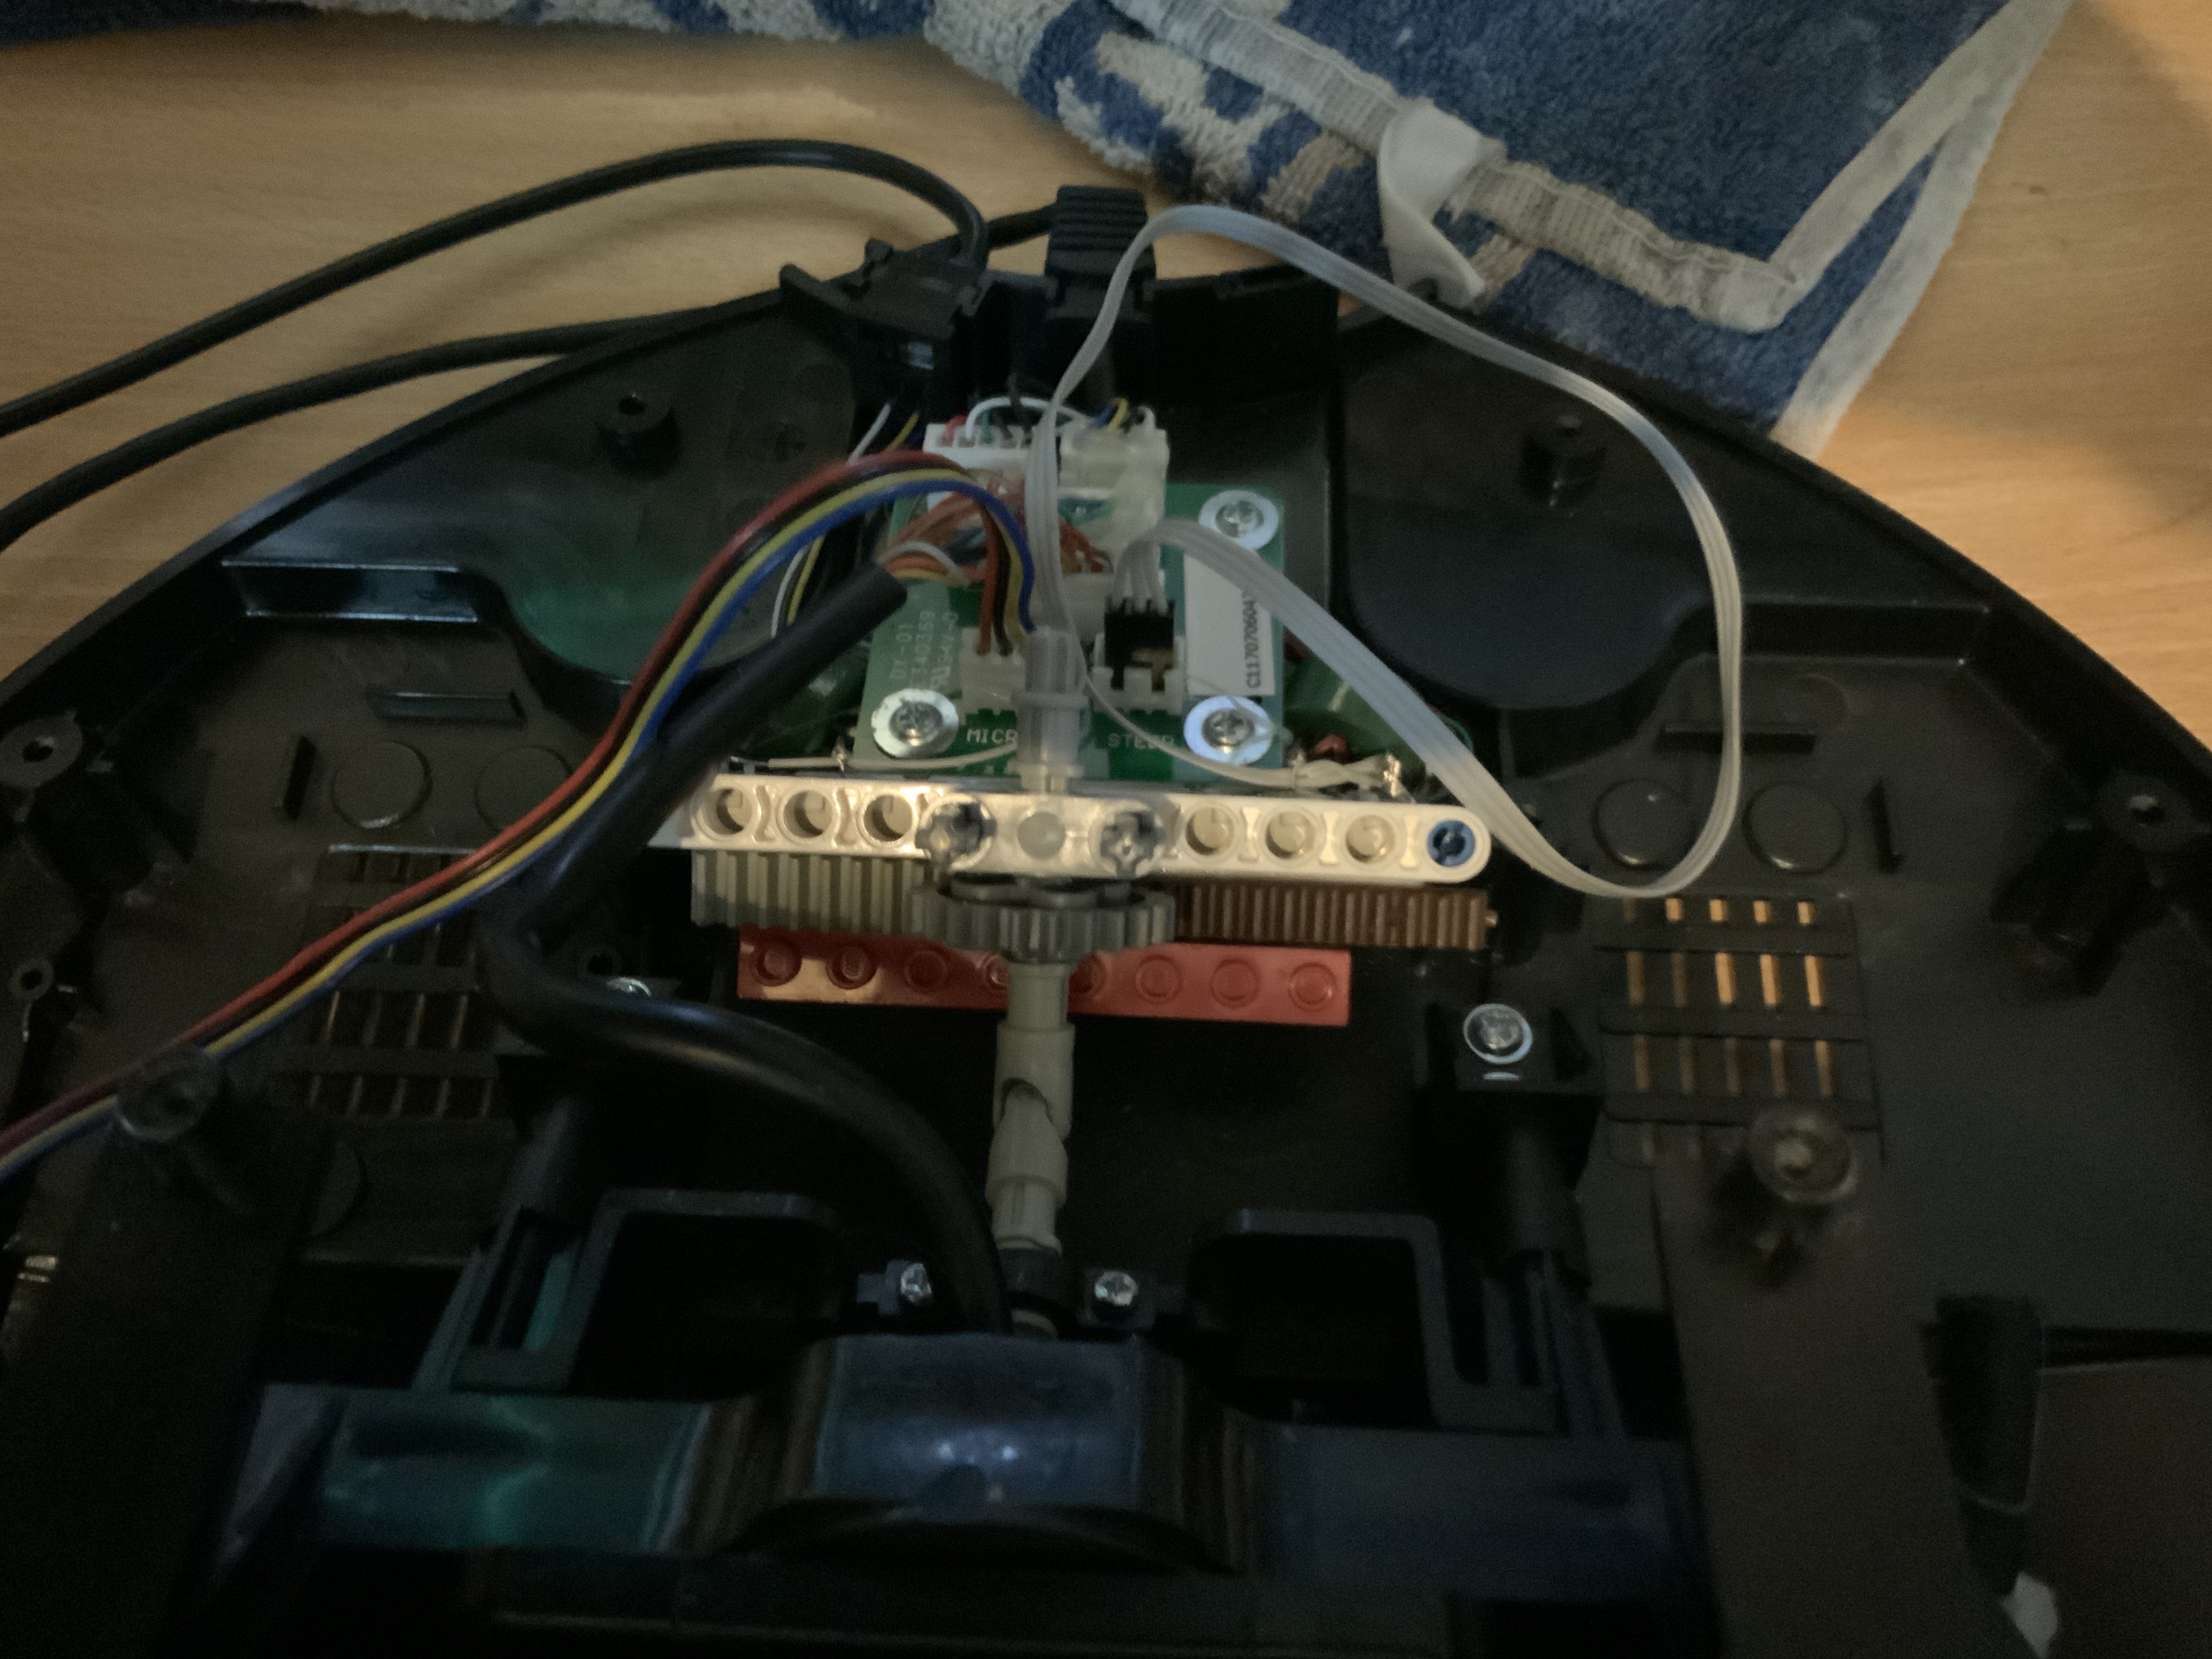
The motion needed to be linear, so the easiest option here is a rack gear. Of course I could only find one four-piece and I needed at least 2 and preferably 3. Here is where the first hack came in. I have a collection of RC parts which contained a linear gear that just about matched up with the teeth of the Lego part. A bit of cyanoacrylate and I had the length I needed glued to a Lego bar that would attach to the potentiometer.
The shaft was quite simple. Take a standard lego shaft, Dremel off one of the flutes and the fit is tight and perfect in the existing hole. As a happy accident, the “guide” for the original potentiometer shaft fit a Lego shaft bushing perfectly so it could continue to do it’s job.

Finding out what rotary gear to use was just trial and error. I tried various gears until the linear gear moved to it’s extremes in junction with the steering wheels extremes.
Then I needed to fix it all in place compactly and in a way where I could fit it to the wheel assembly. I preferred a tight fit over glue here, but screws were also an option if it came to that. As big as the device is, there is always not enough room. I could fit the assembly on an angle with a universal joint connecting the wheel shaft to the gear shaft. The whole assembly then fit almost near perfectly between the PCB and the support structure for the wheel.
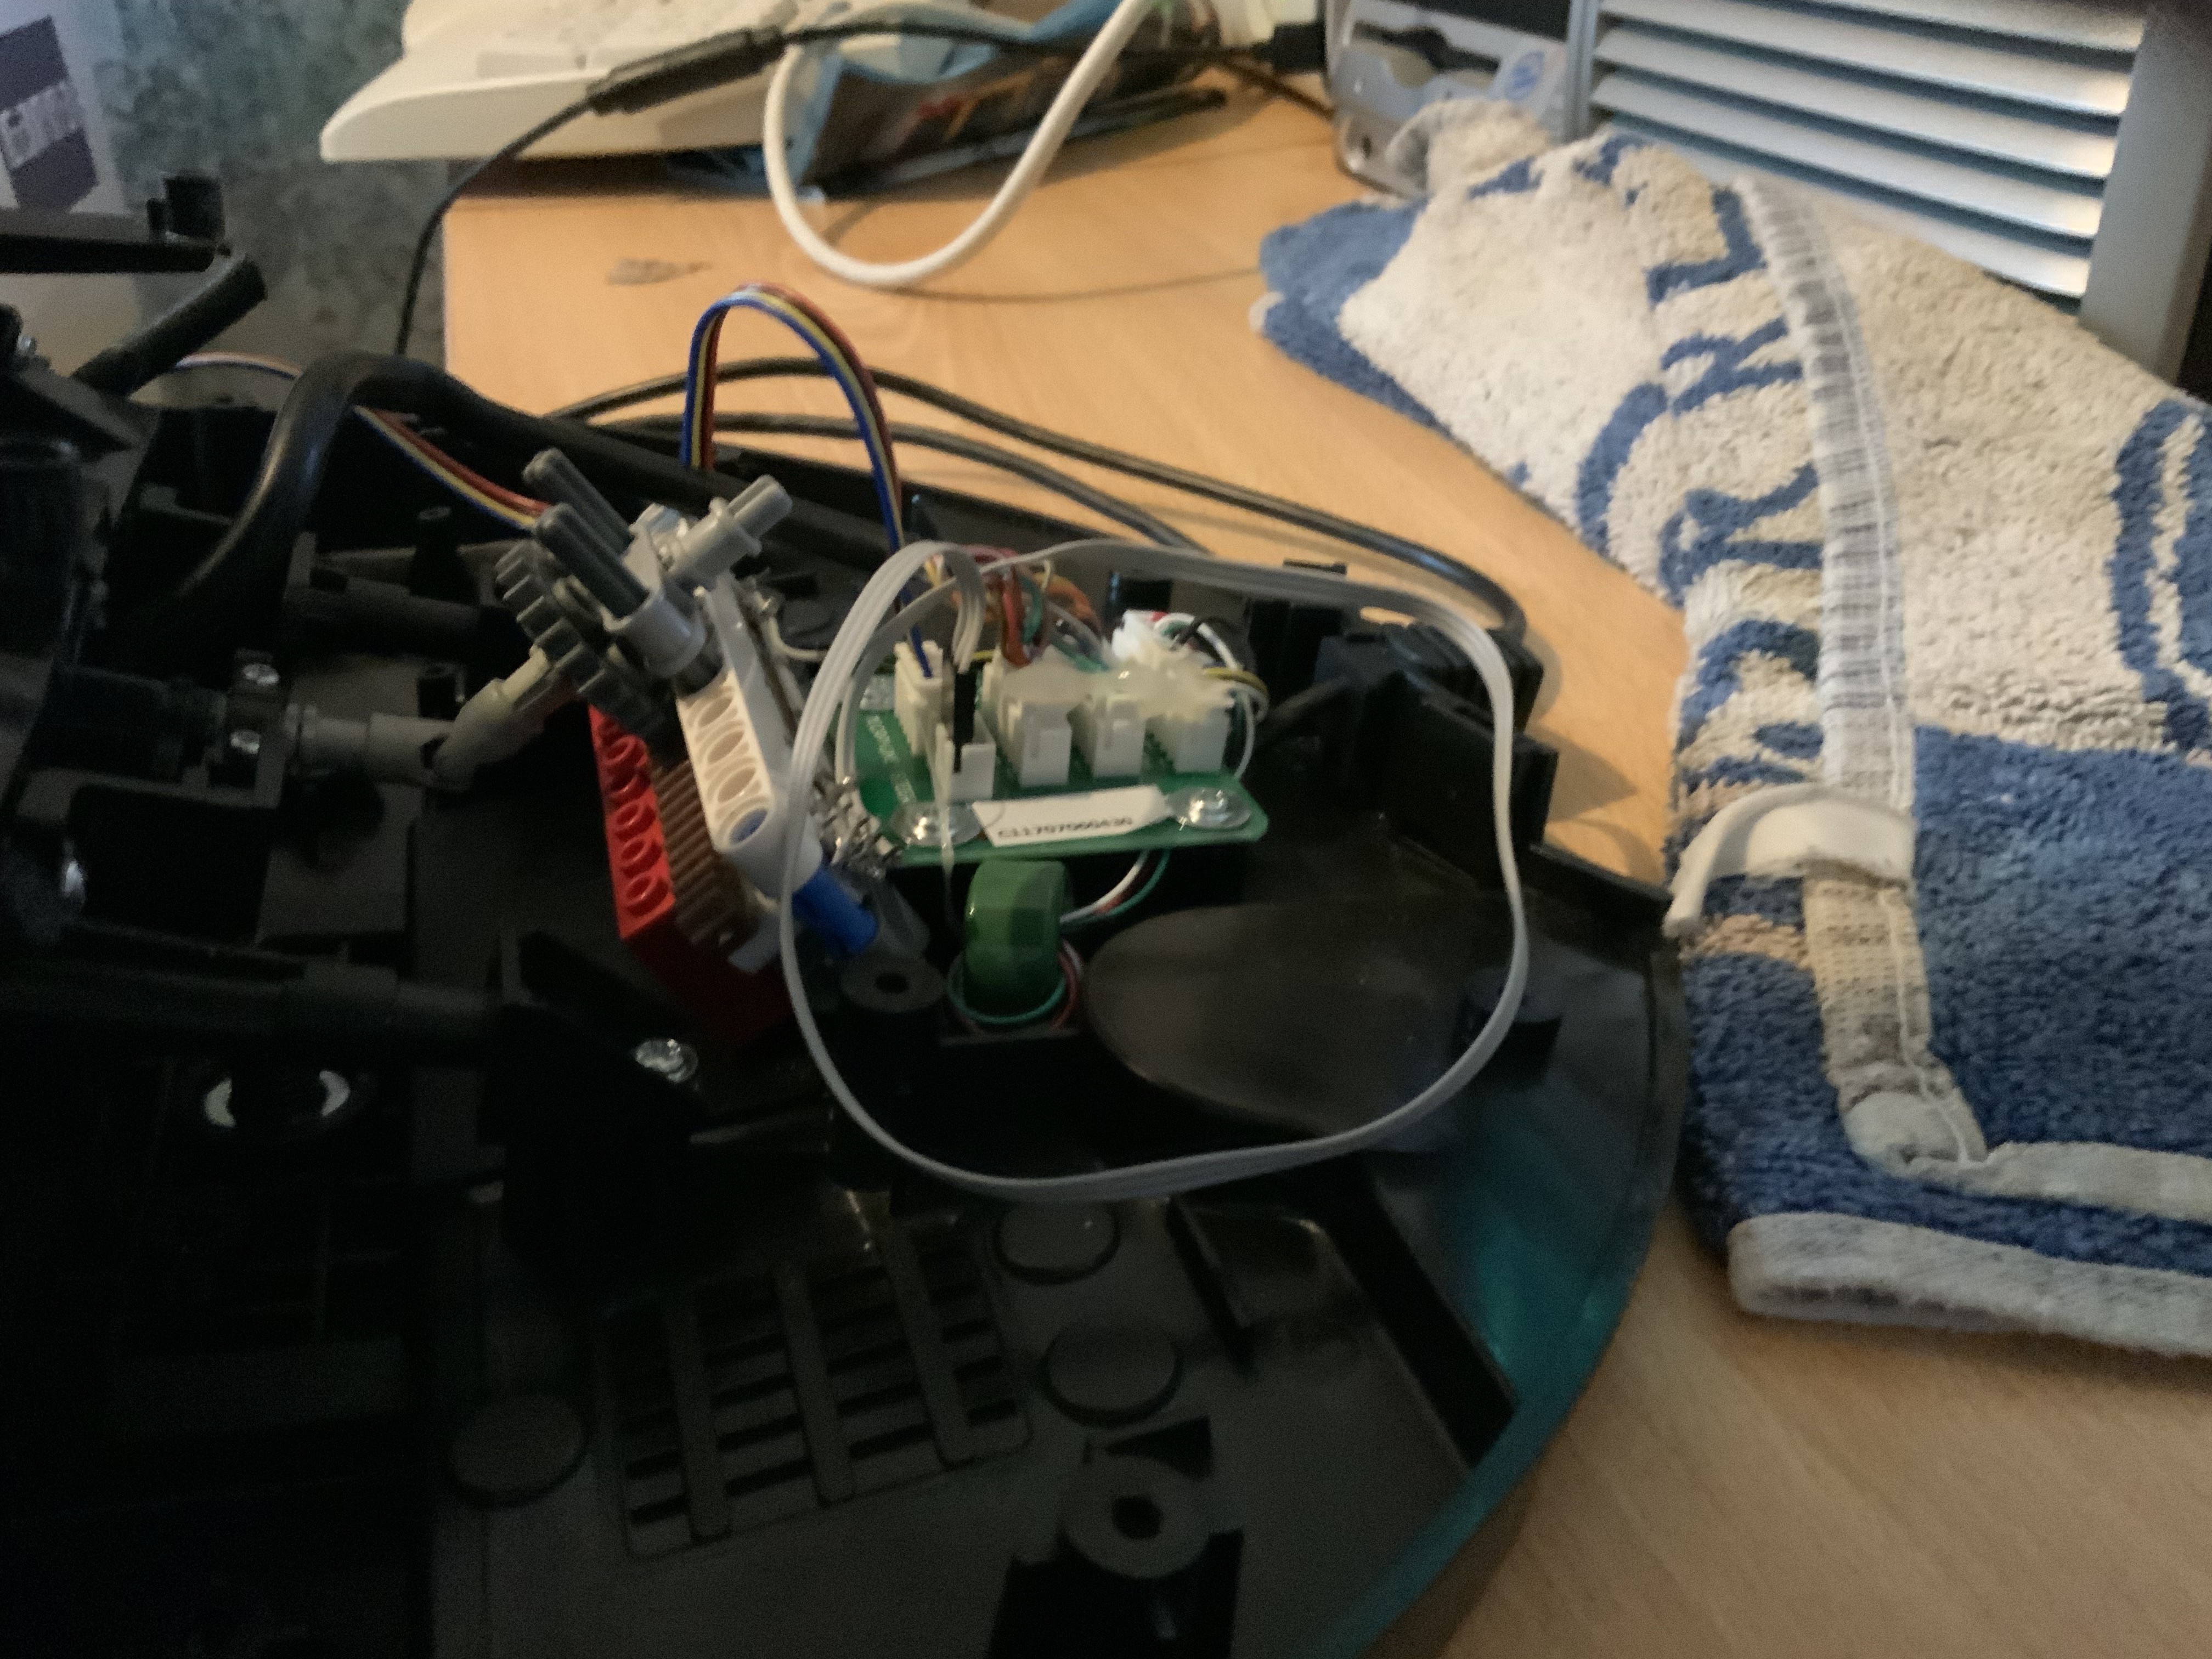
It was time to test it. I took the device to the gaming room and hooked it up. I knew the potentiometer worked and I assumed that dead weight centre was straight forward. After playing around for a bit with settings and making sure the assembly was doing fine, I tested a rally circuit and I came in first! Me thinks this is proof of concept and a more robust and refined version is called for, but really this midday hack is quite playable. Perhaps for testing further iterations, I'll use hot-snot to fix the entire assembly somewhat in place.
For a definite version, I’d like to have a more uniform linear gear, preferably 3 pieces of 4 from Lego. As you can see the whole assembly still moves around quite a lot and there is a lot of stiffness that can be introduced by fixing the gear shaft bits and securing the potentiometer a bit better, but that is all fine tuning really!
The potentiometers I have come from a digital mixer that crashed and burned several years ago. I’m willing to bet these parts are a hell of a lot better than the cheap small rotary potentiometer the cheap budget racing wheel used initially. In fact, it could very well be an improvement even with the flung together prototype I build in under two hours. The travel on these linear parts is also a lot longer than on the small rotary unit, so even with a tolerance of 20%, I think these are much more accurate and responsive.
Things that went a bit wrong :
- I wire up the potentiometer incorrectly several times until I found out I got the signal wire mixed up.
- The first steering shaft was a bit to short and crept out of the universal joint at one point.
- The first test left was right and right was left, but as signal was the middle, I just had to reverse the connector!
So now I need to refine the concept where it is stiffer and more reliable. When I'm done with that, I'll post the parts and dimensions to follow if anybody else wants to try this fix. Also, you do not have to use Lego. I use it for rapid prototyping, but with the details you could use any building material. So you do not have to sacrifice your precious Lego on a cheap device if you do not want to. Me, I find it to be an excuse to get more Lego!
You could use fake Lego, wood, metal or a 3D print. As long as you can fit the potentiometer and have the right gears.