Mrinnovative
Introduction
Hello friends in this video I have built a PCB etching machine.
this machine used or chemical treatment of Copper clad PCB
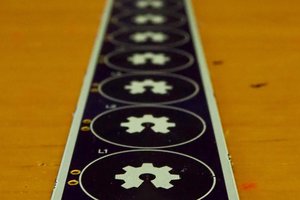
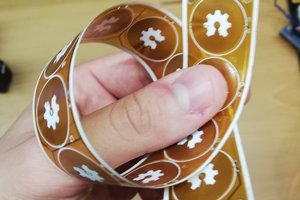
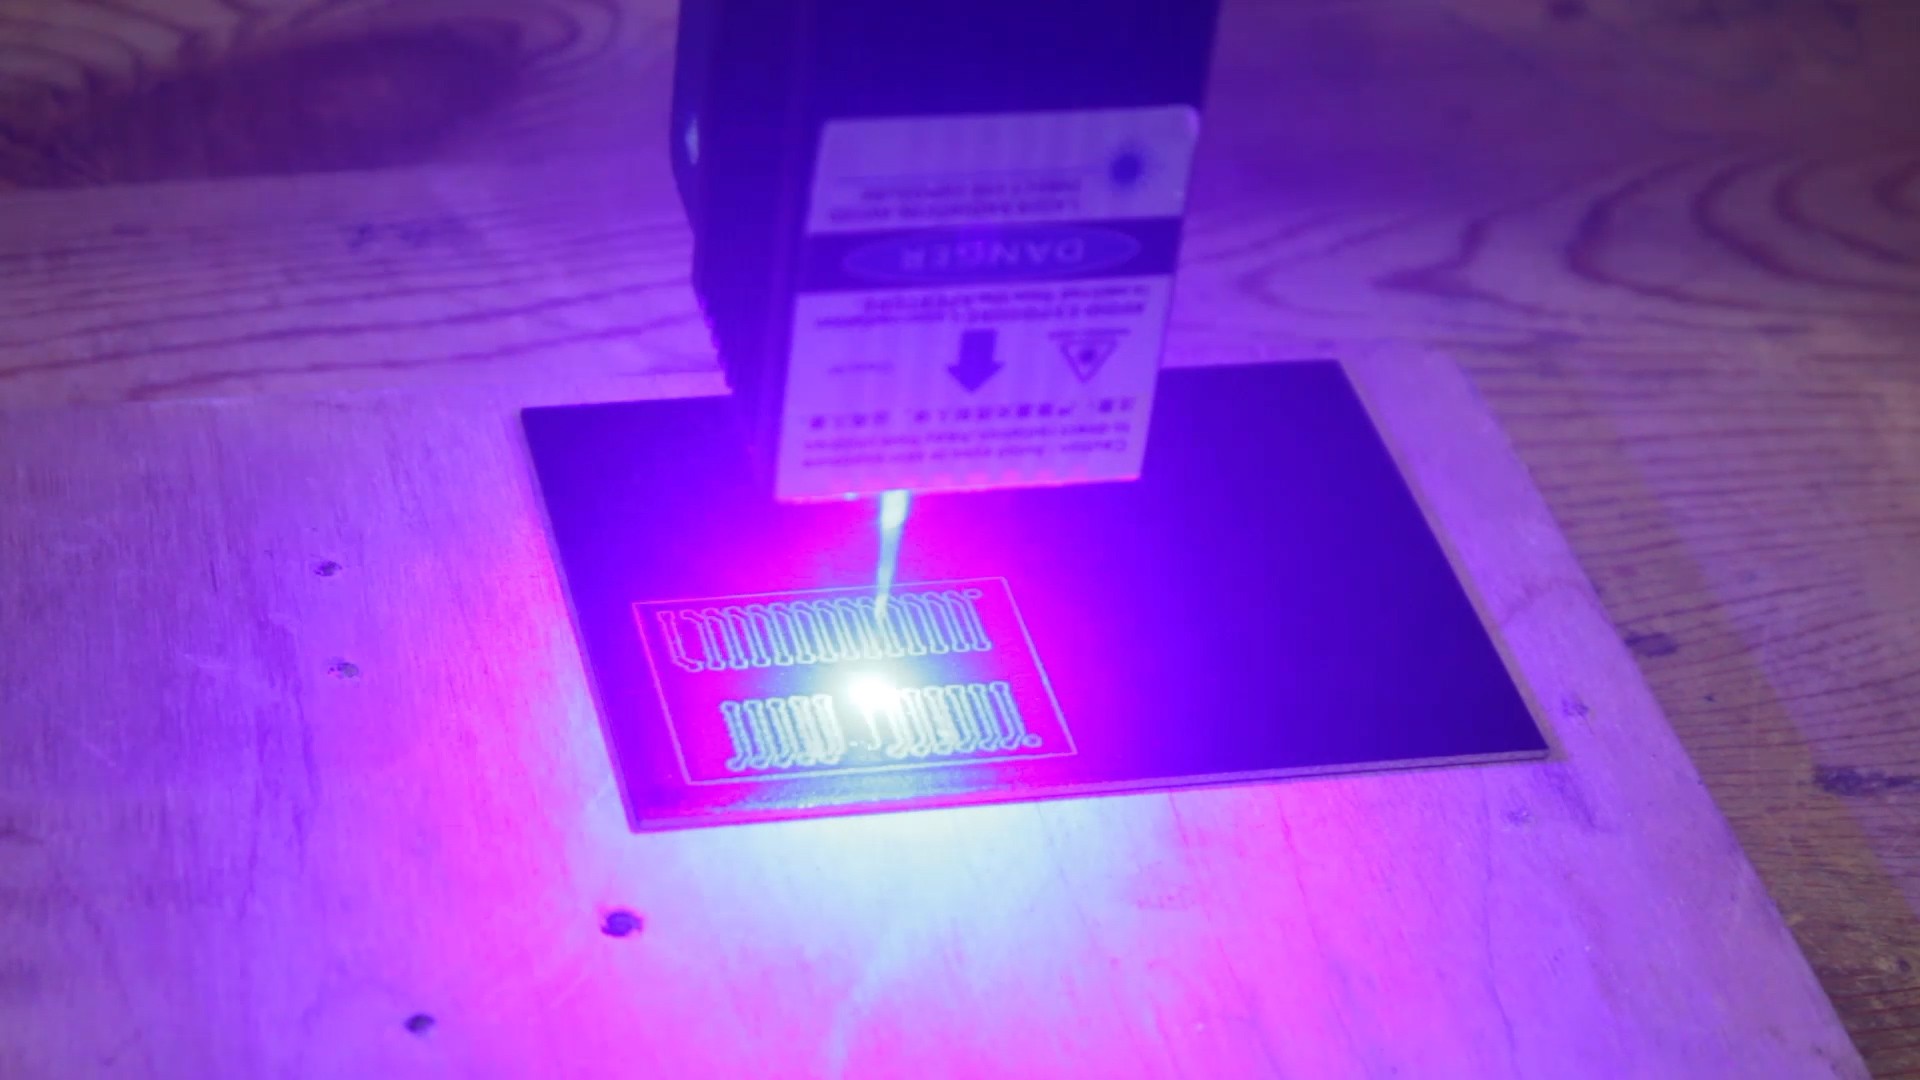
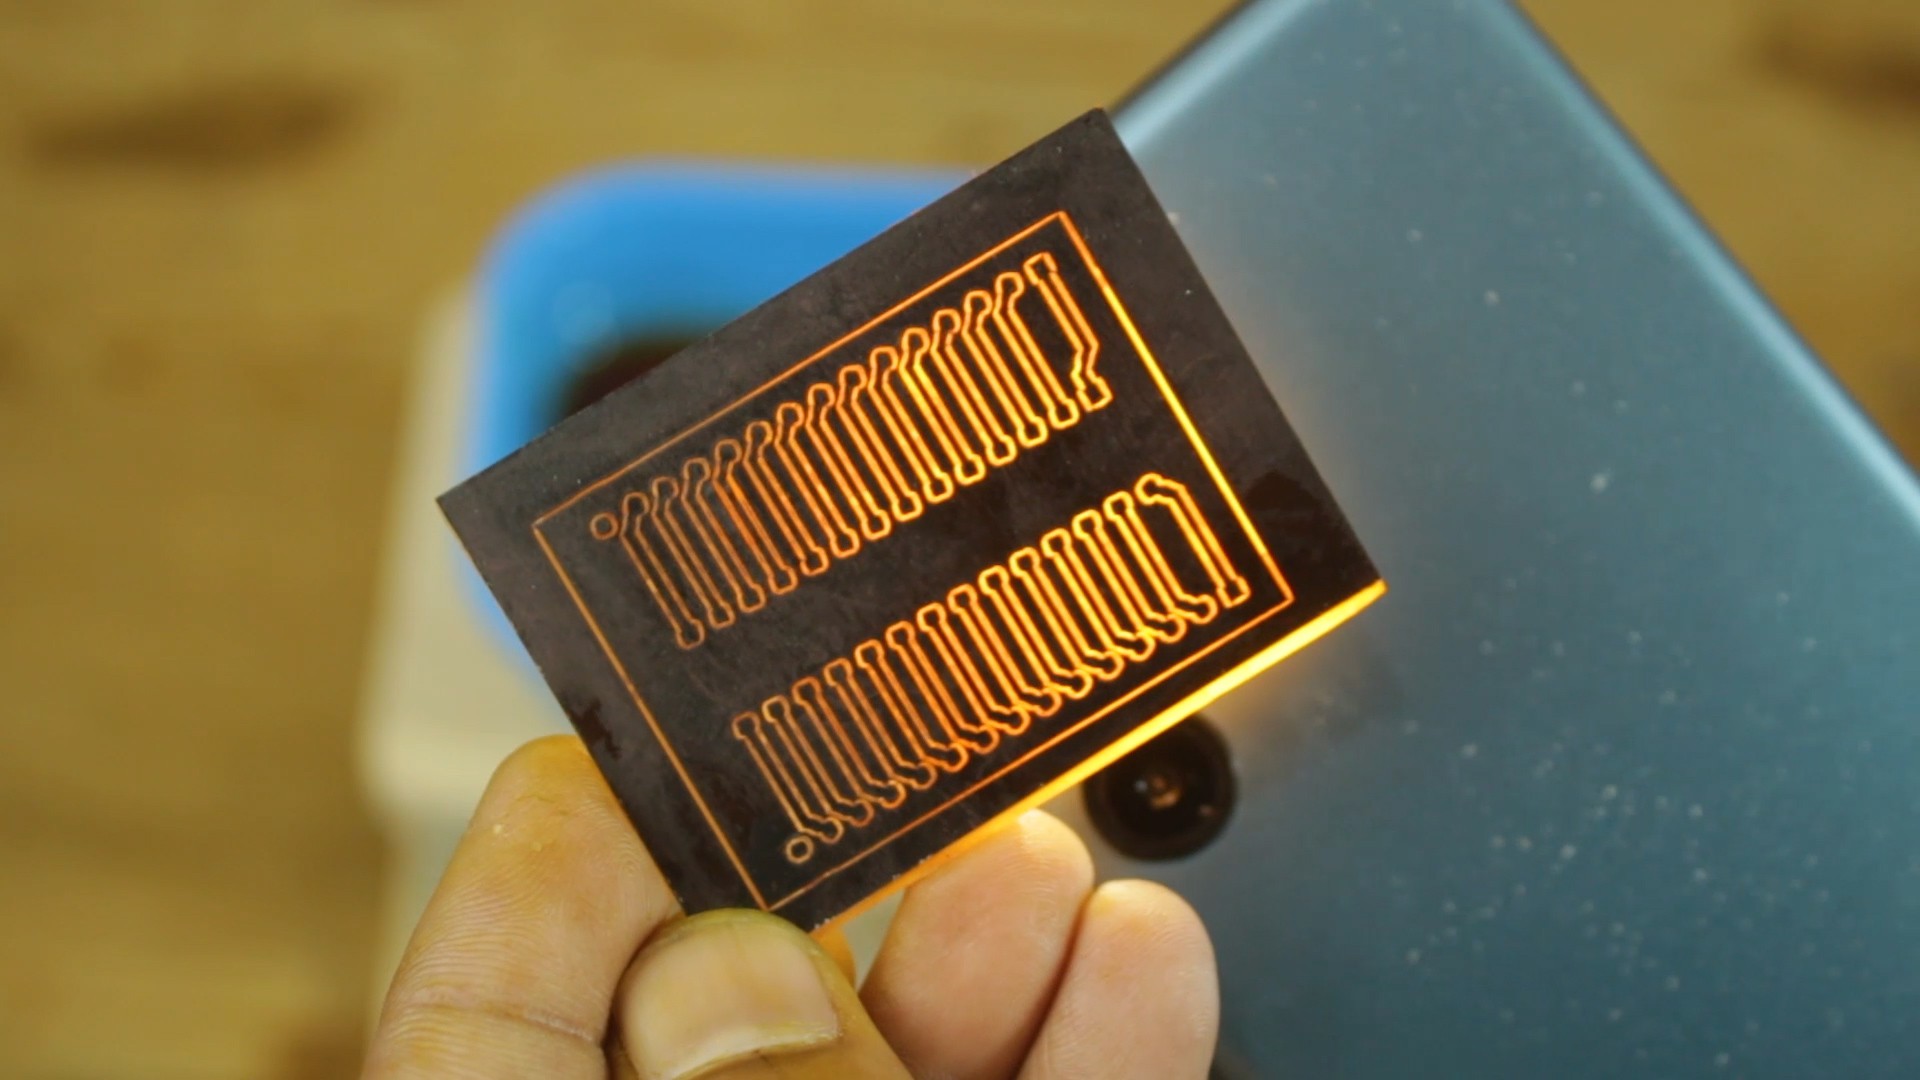
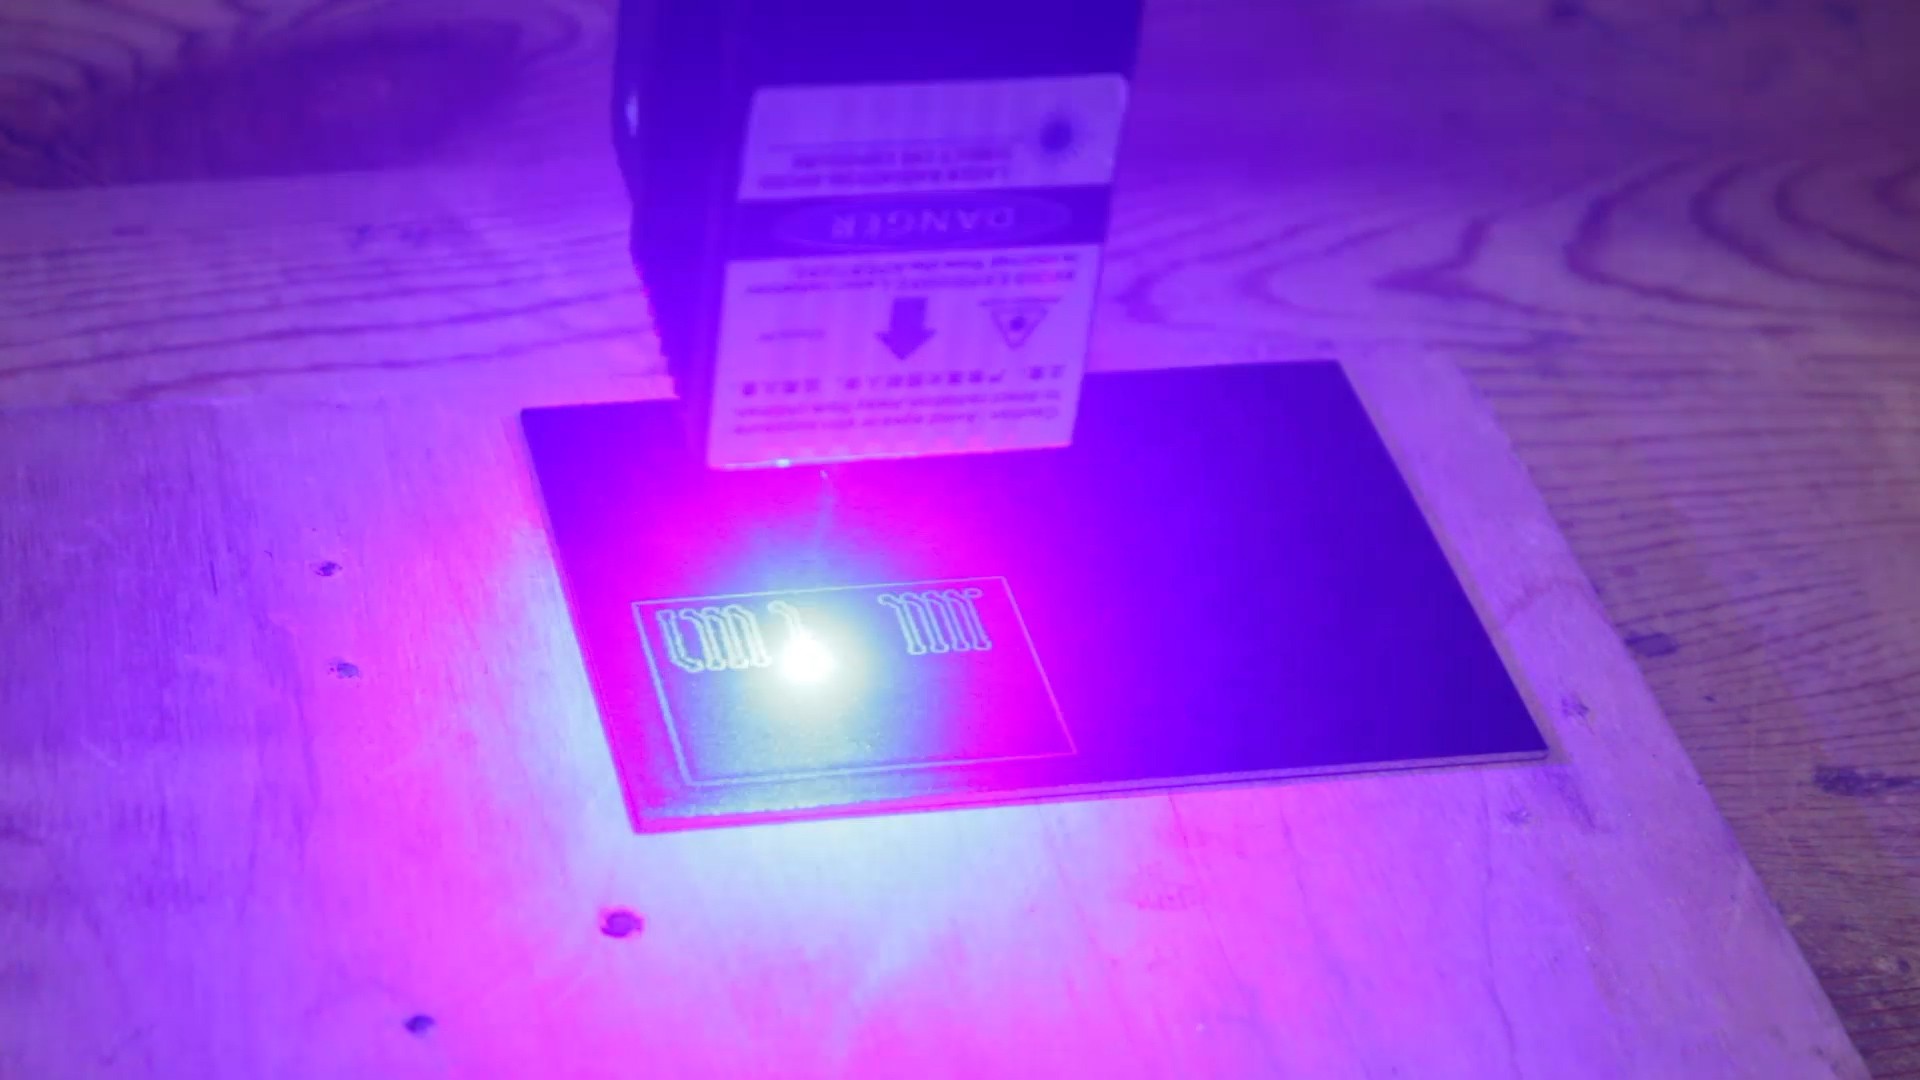
first black spray paint on blank copper clad PCB, then I trace the PCB track using Laser machine.
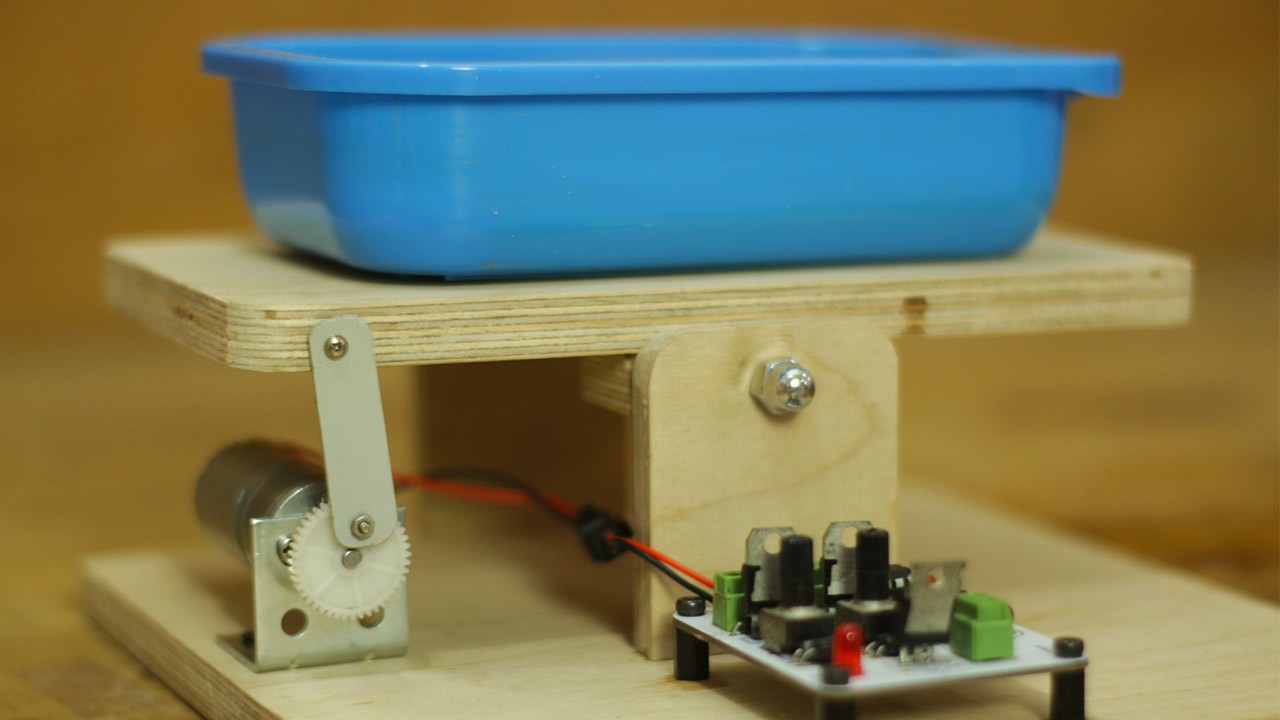
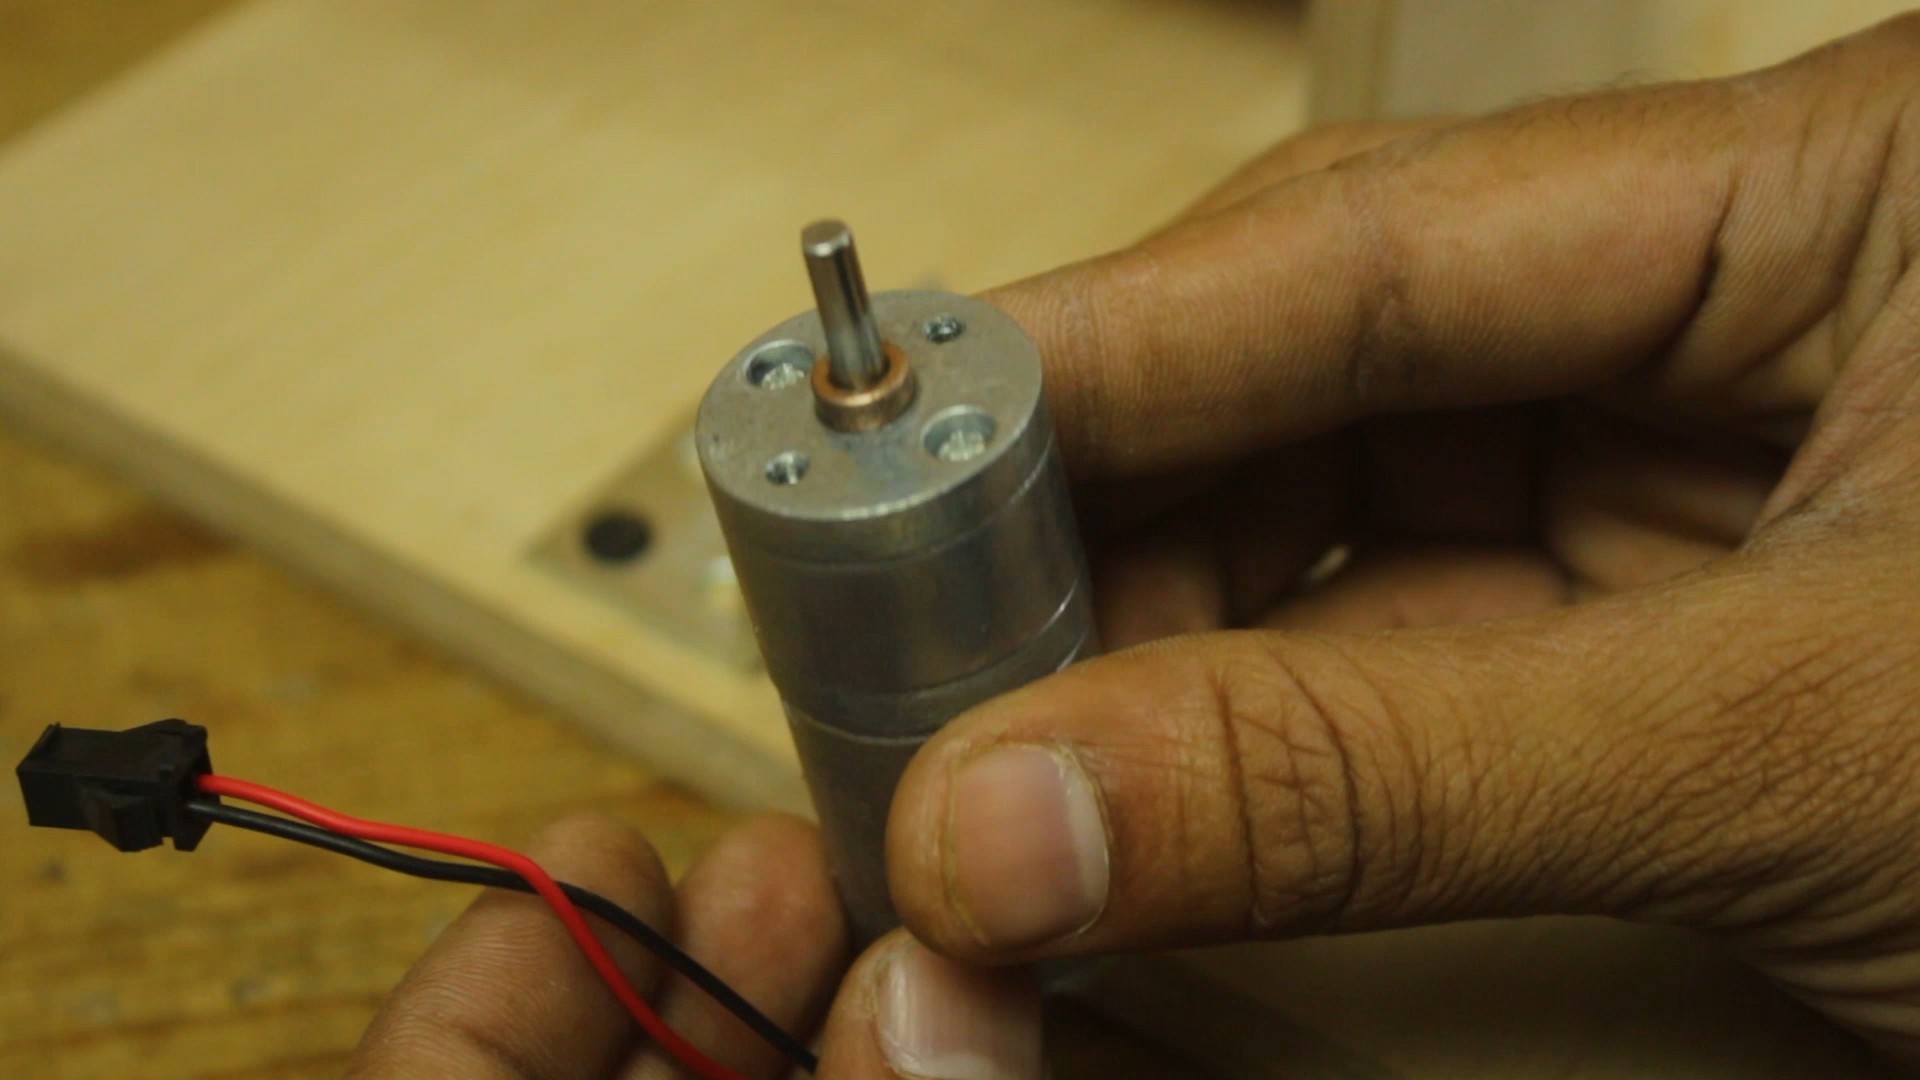
Then I dip this PCB in solution off ferrous chloride and here this machine came in picture, this machine continues to shake PCB so that exposed copper evenly dissolve in the solution.
Supplies


- 12mm wooden sheet
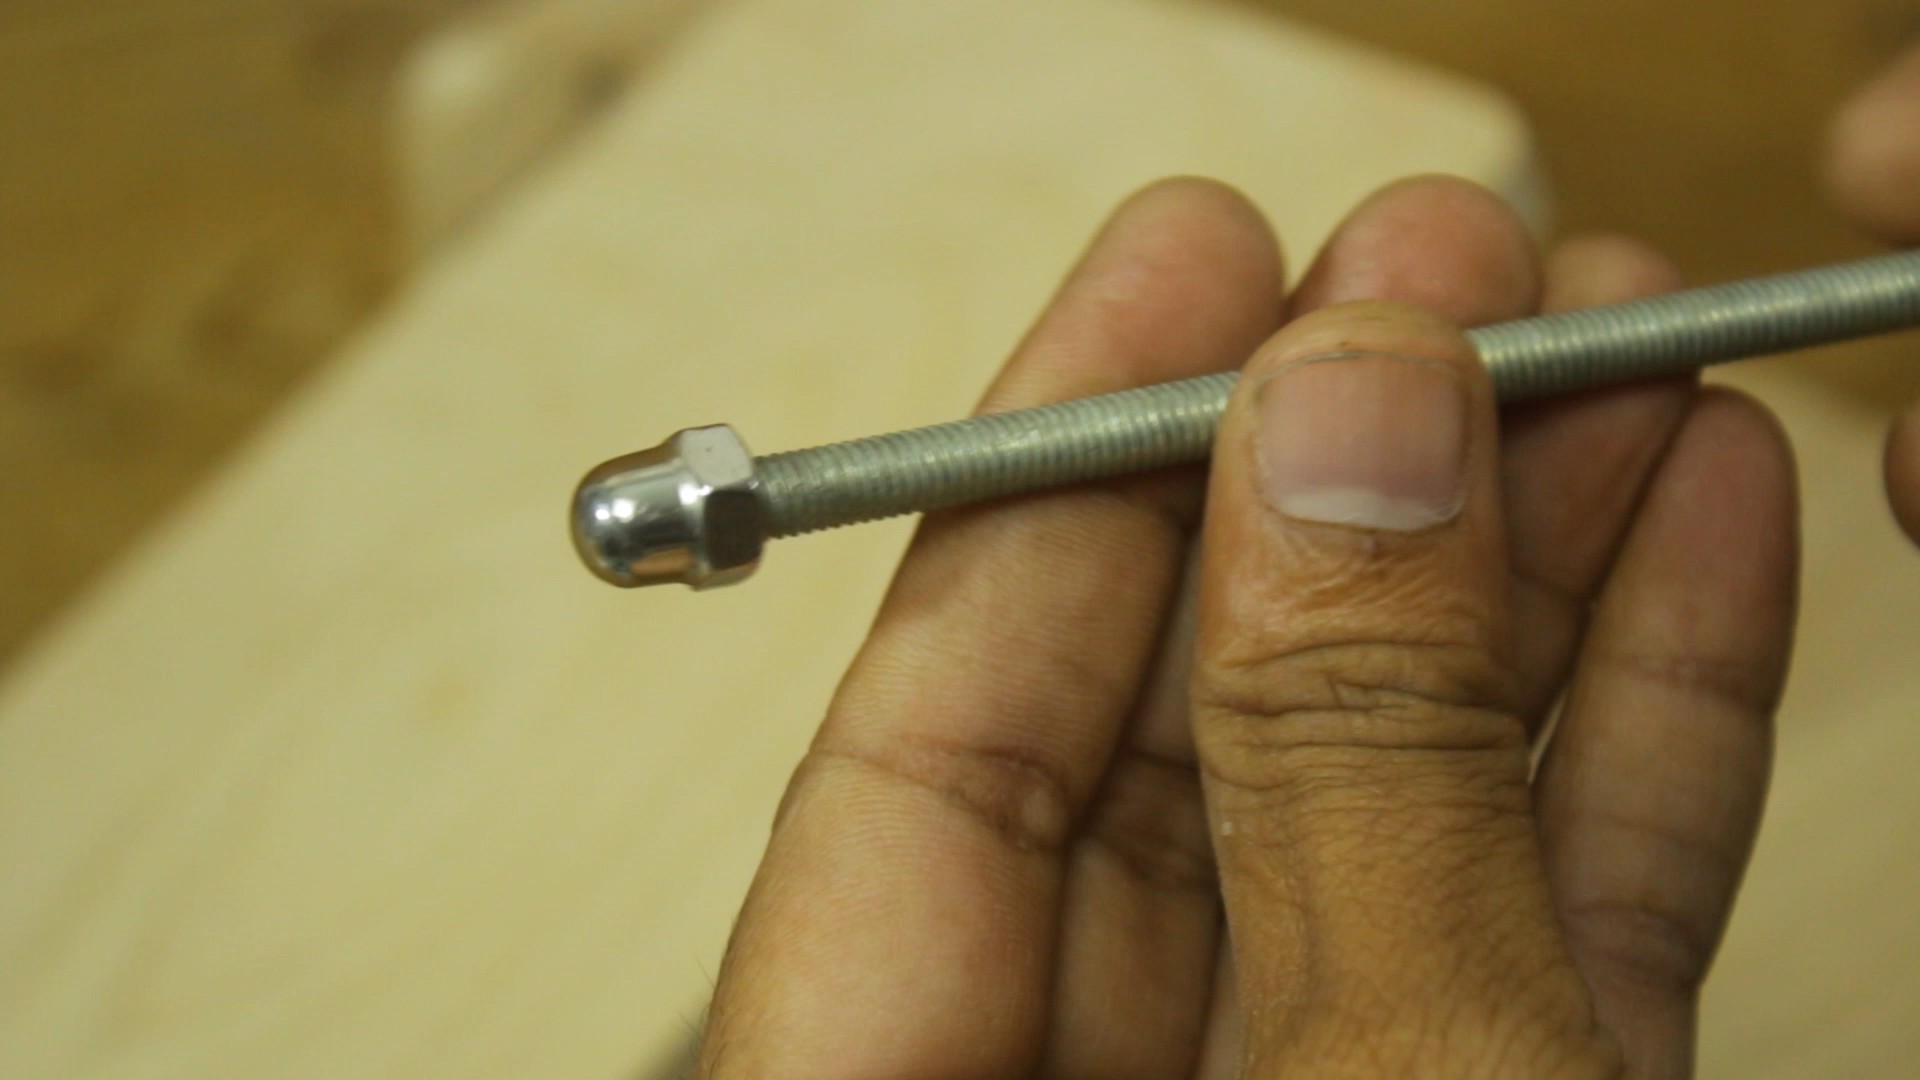
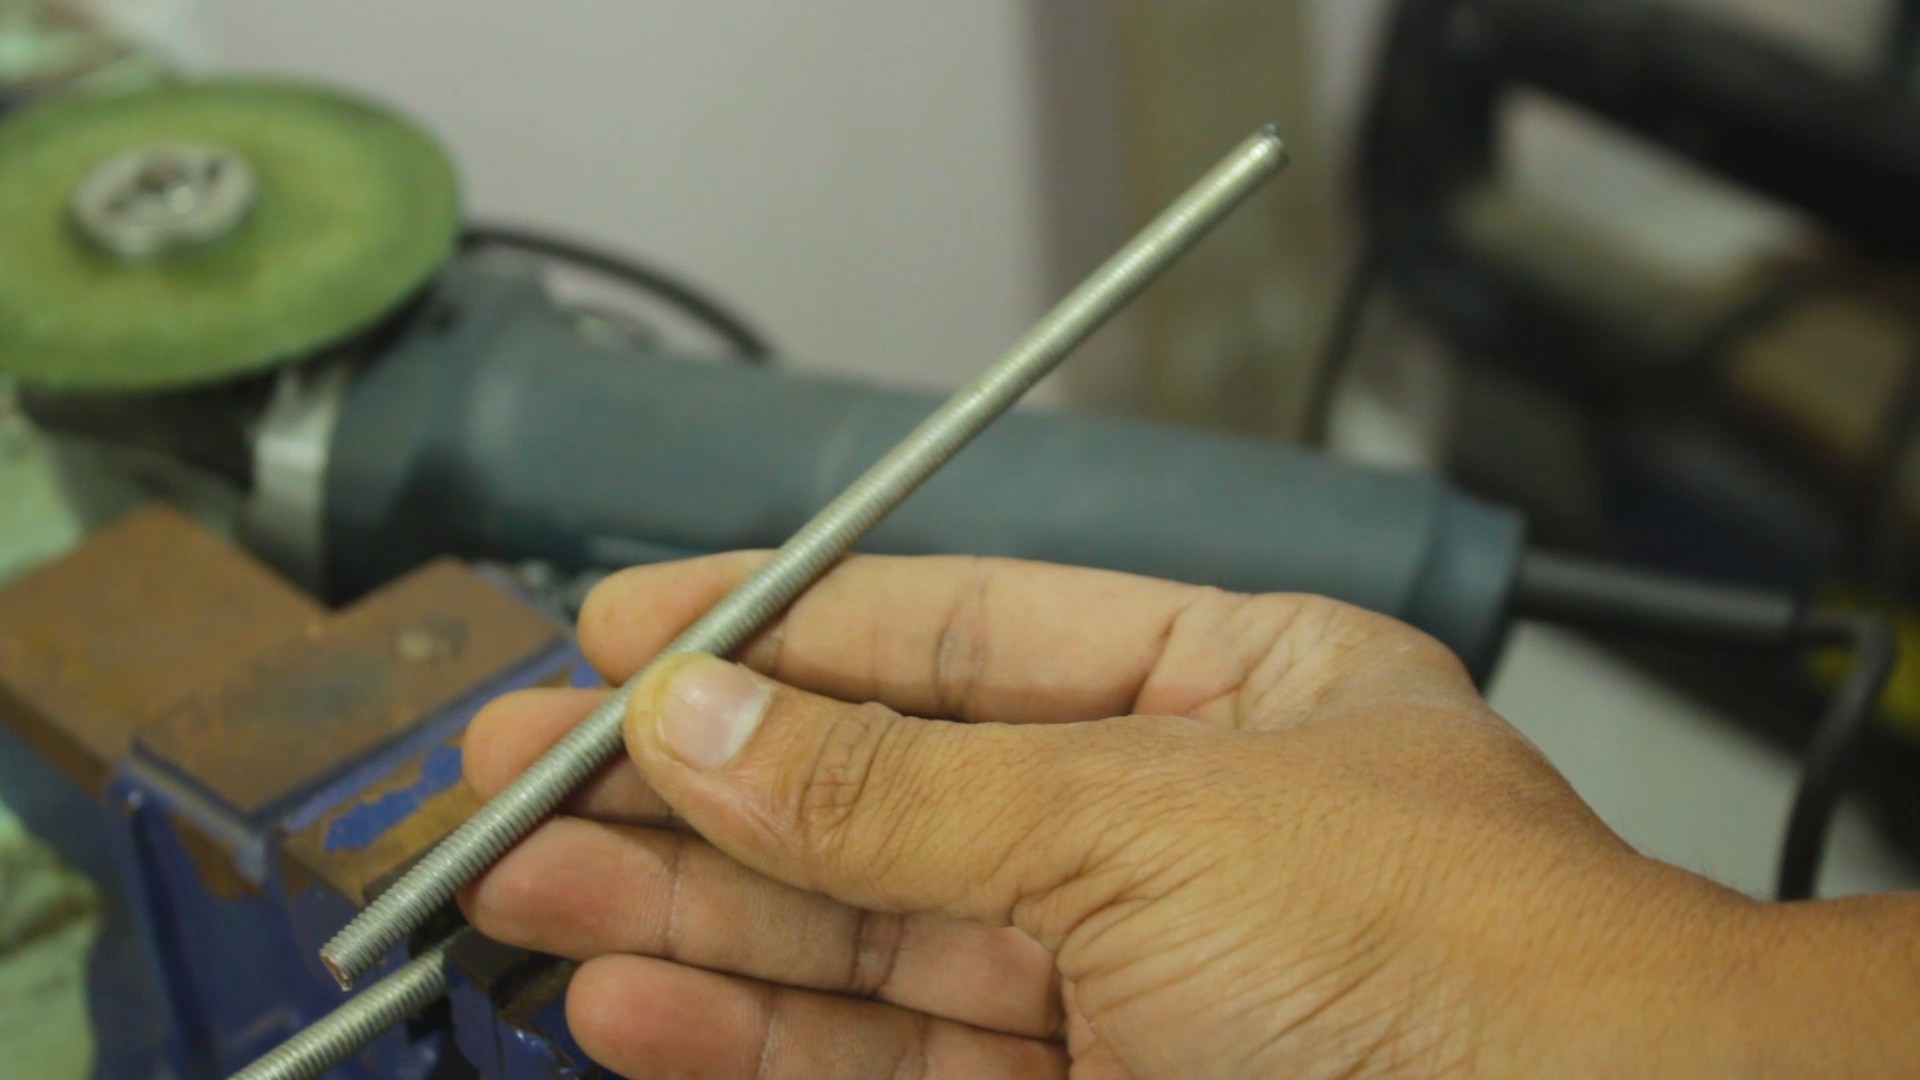
- M6 threaded rod
- M6 dome nut
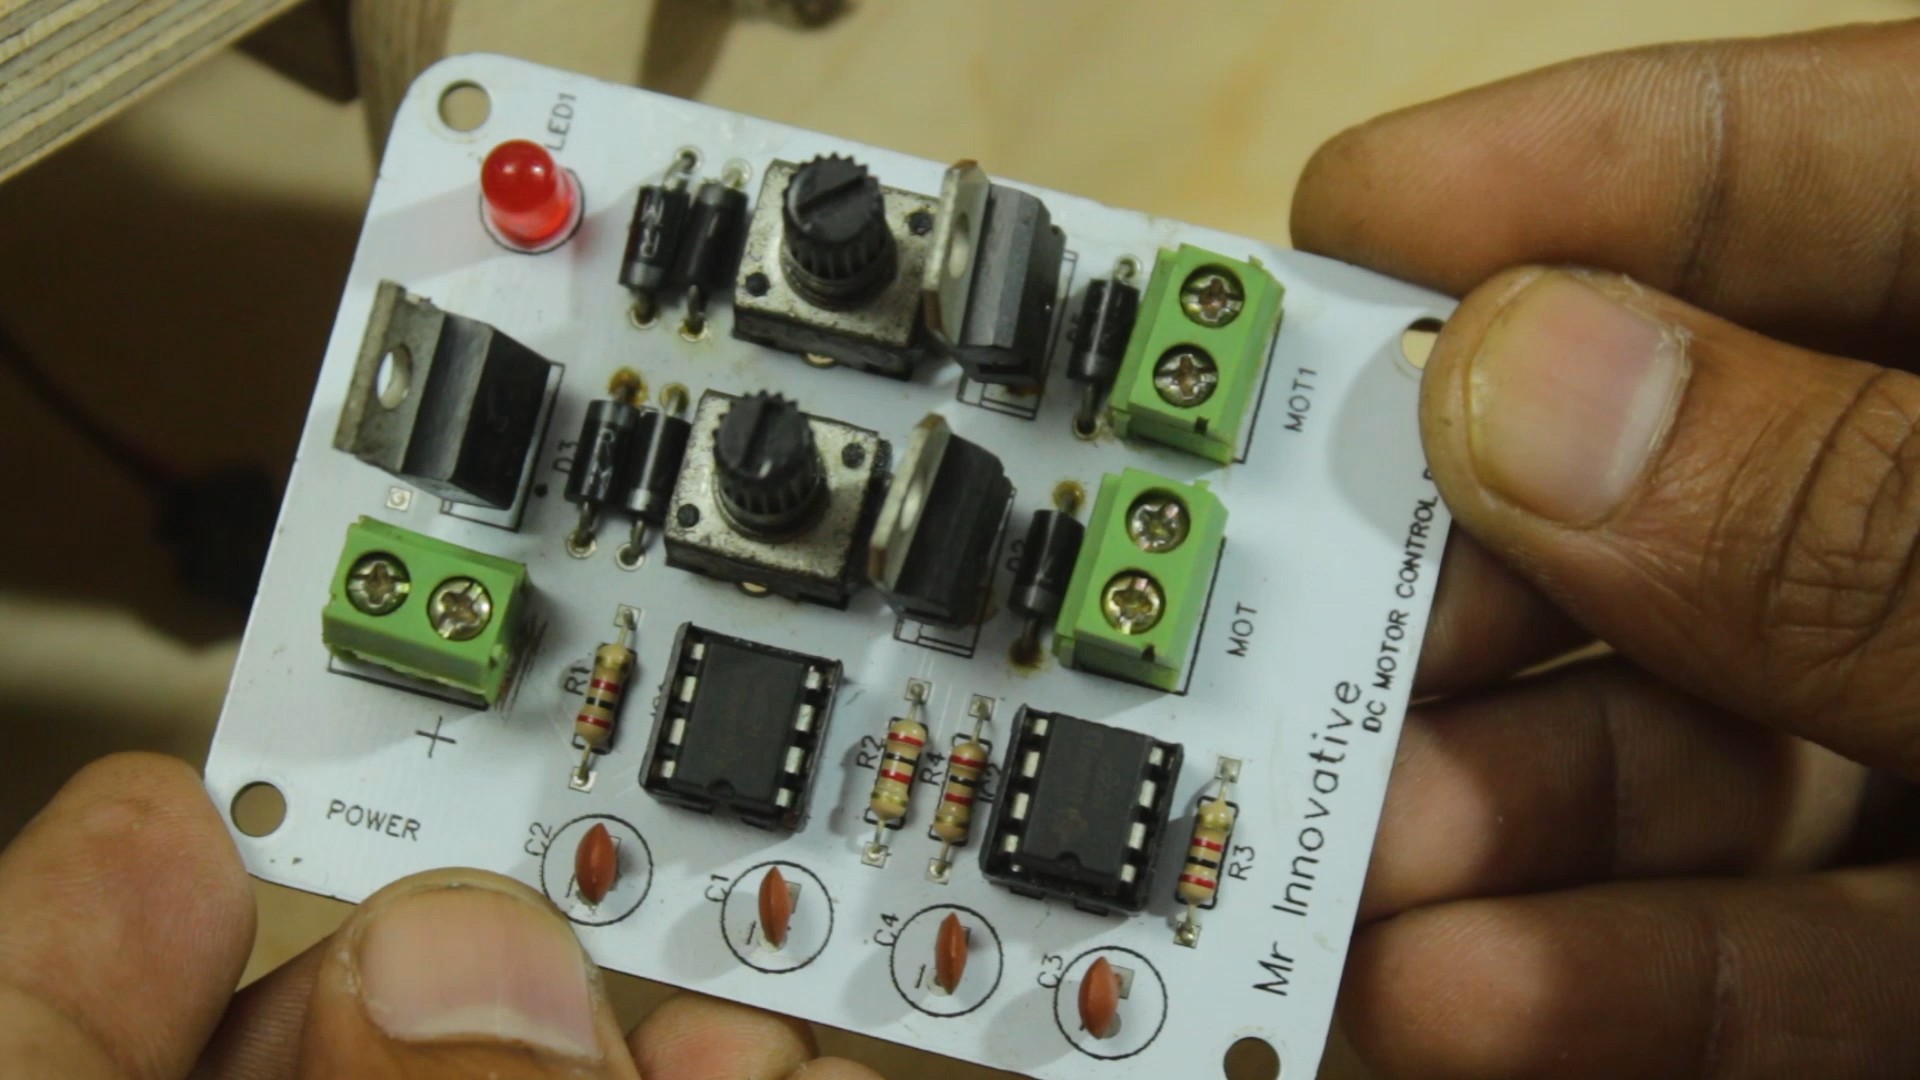
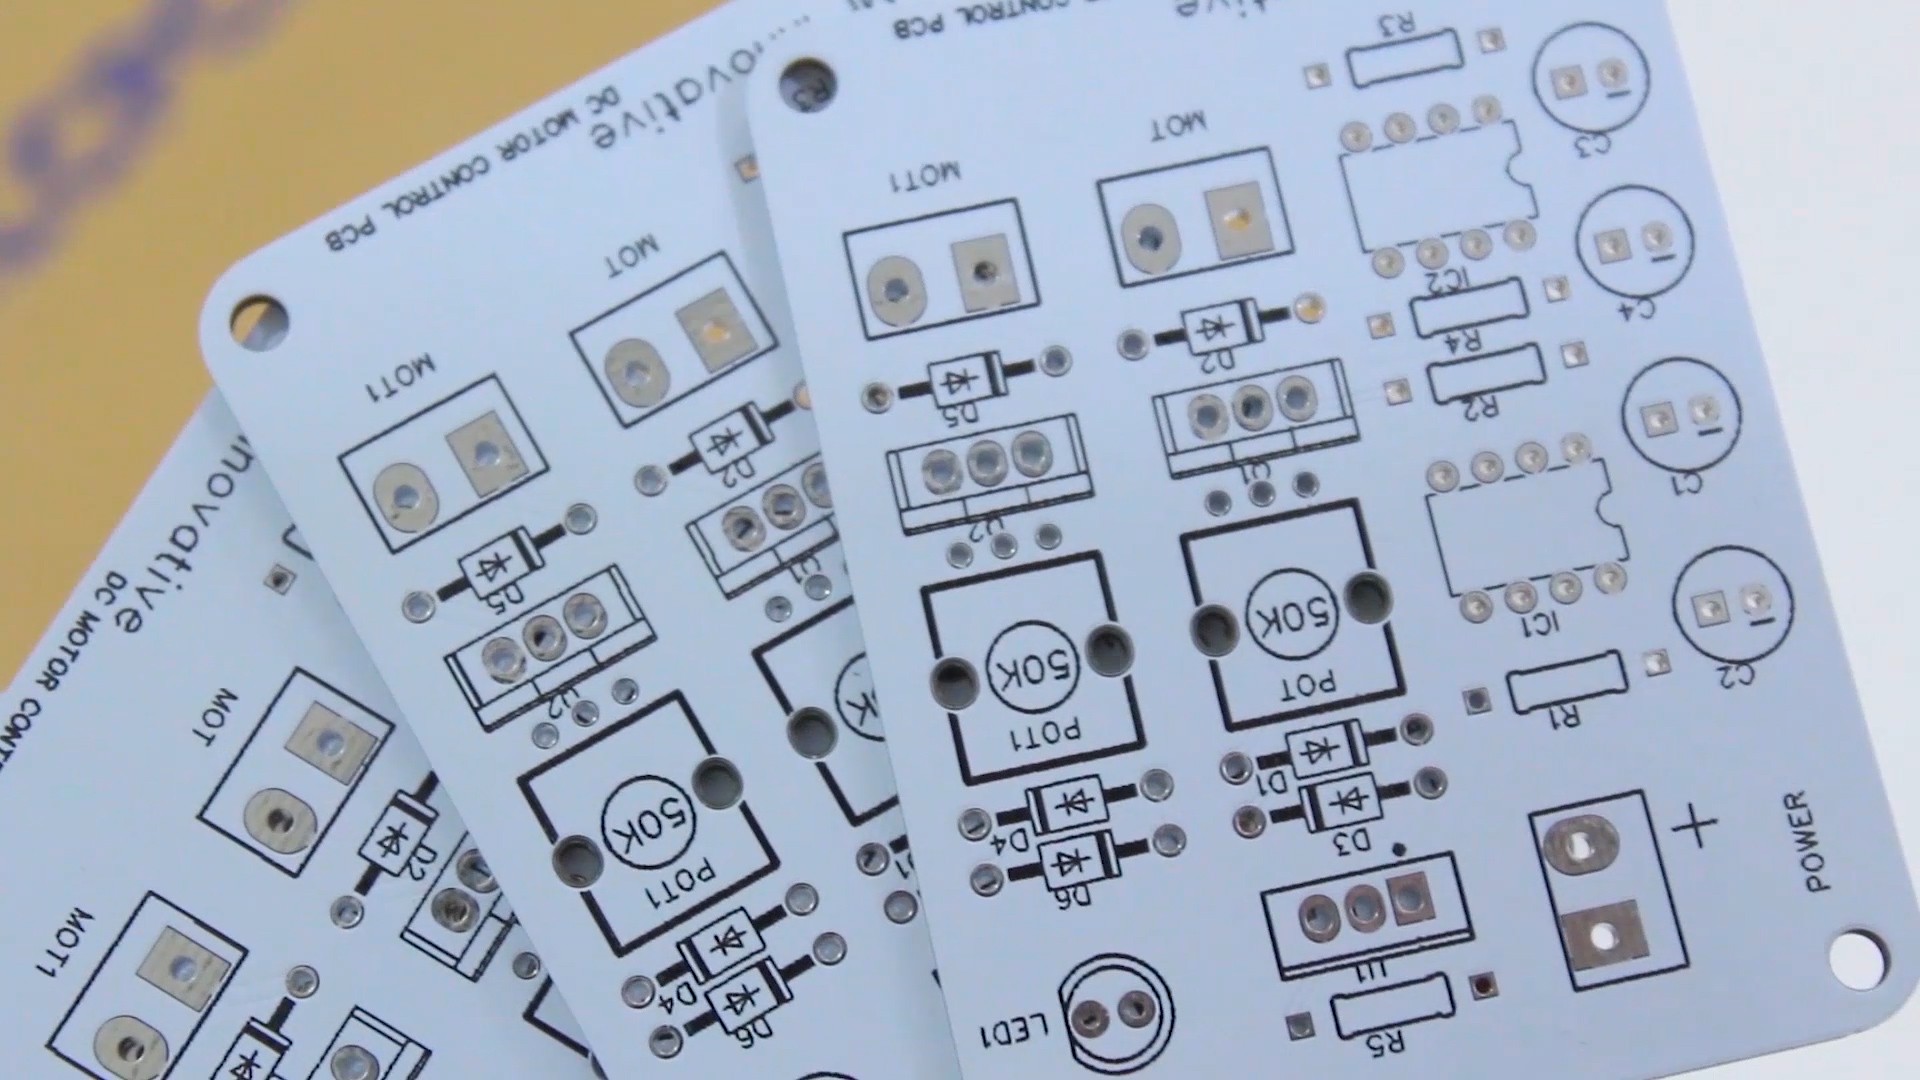
- DC motor speed control PCB
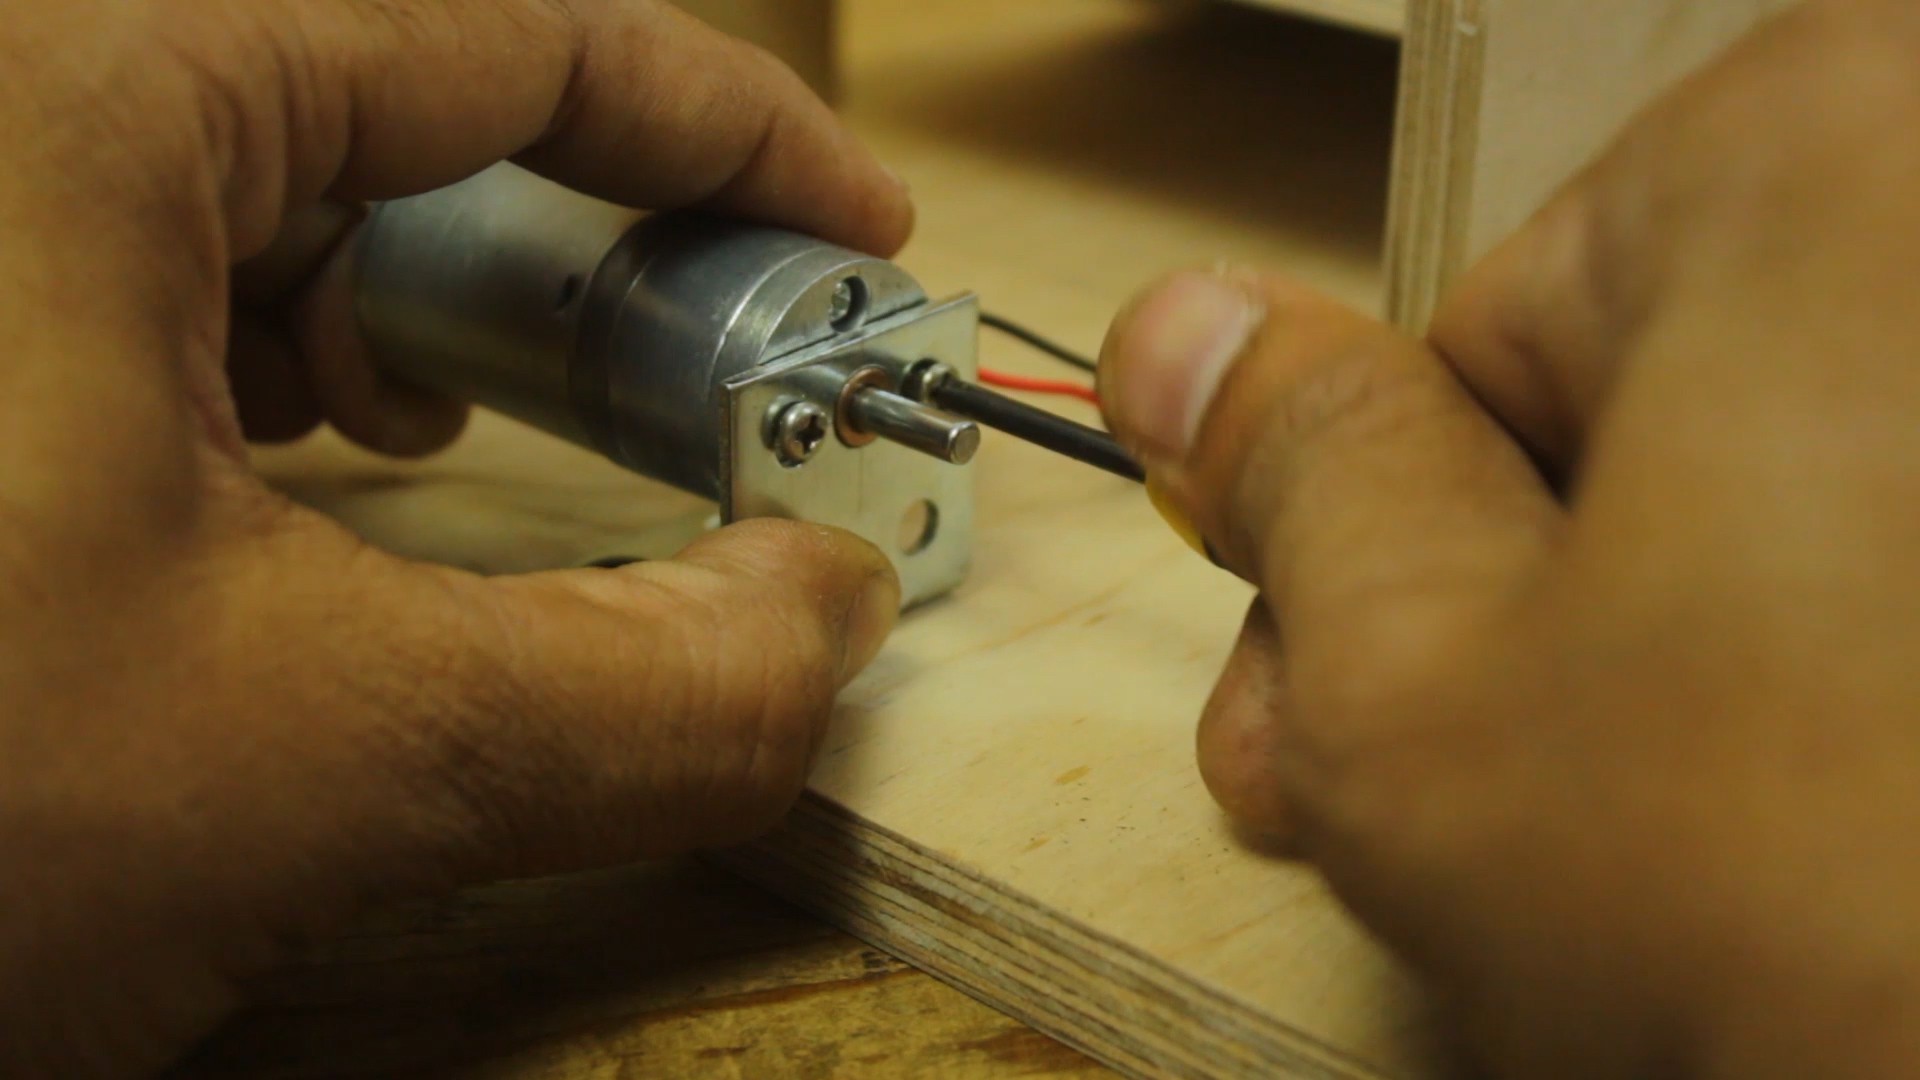
- DC gear motor
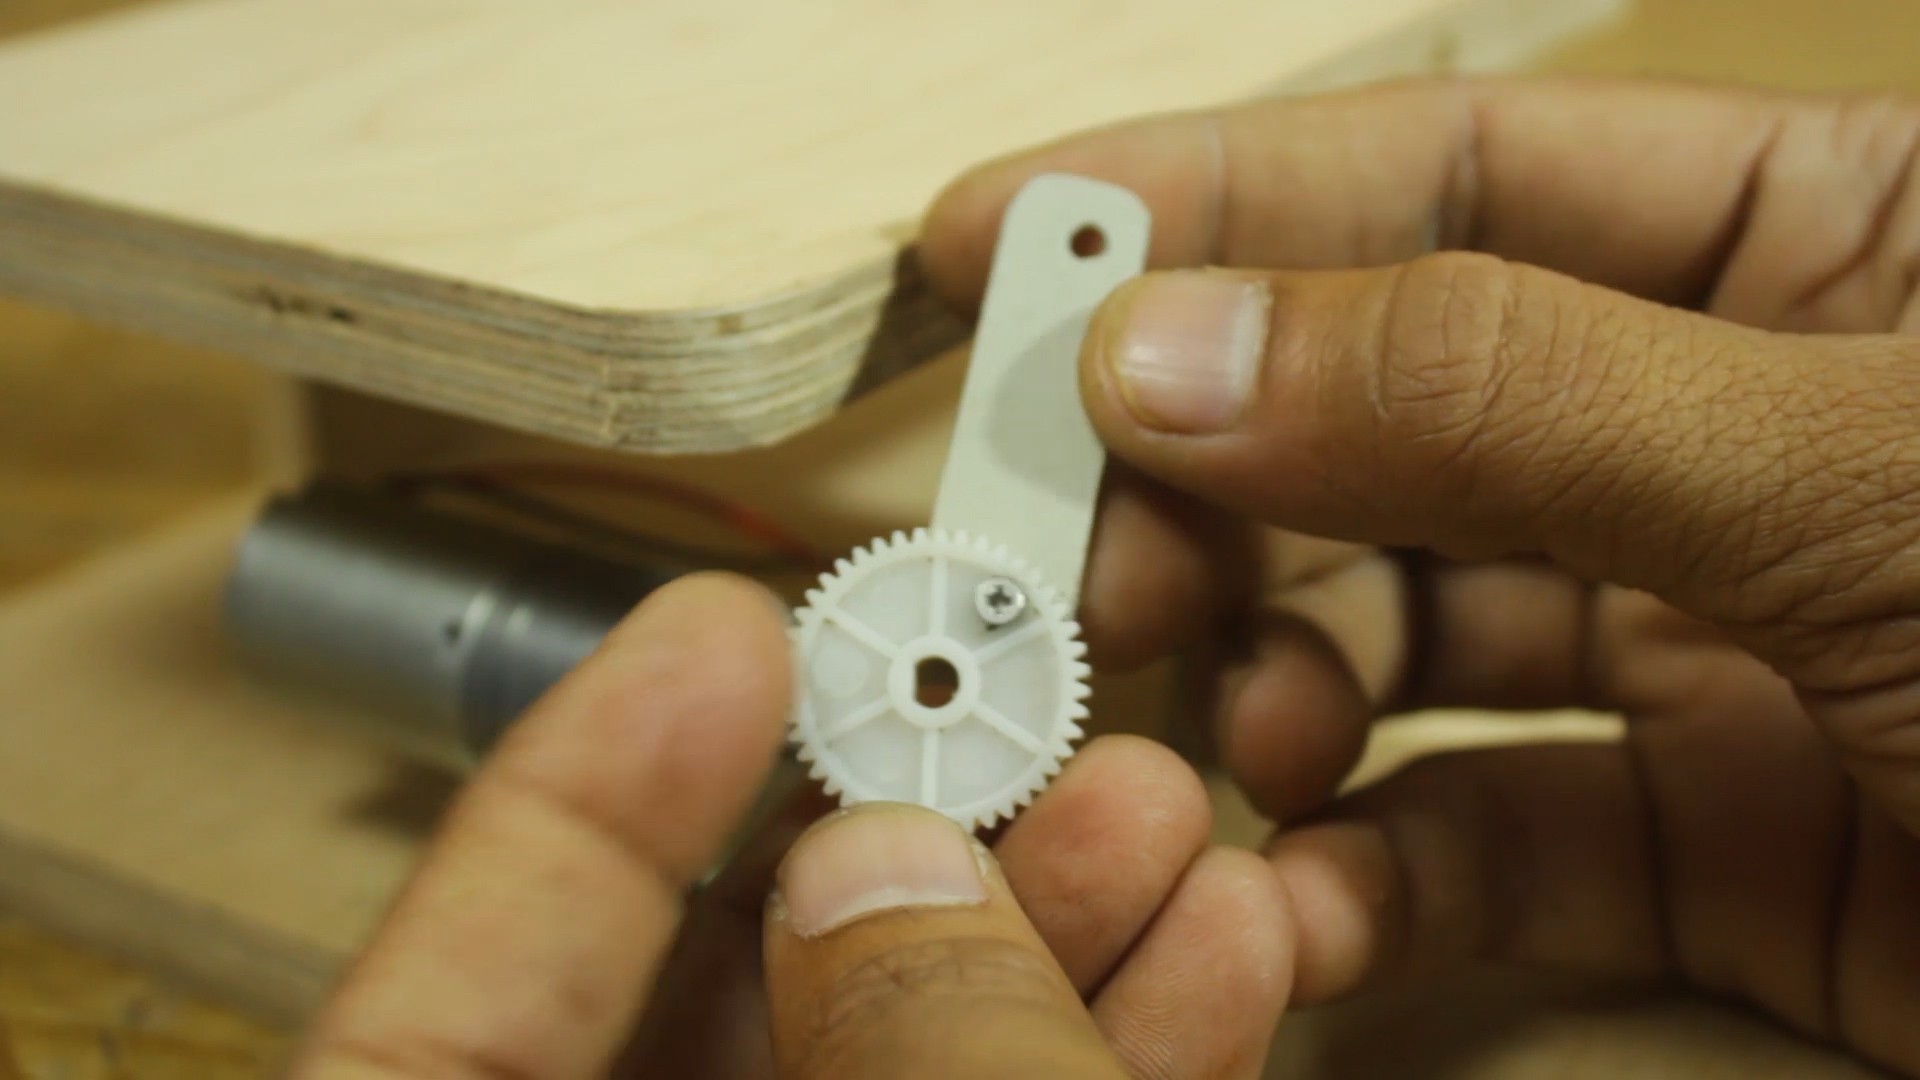
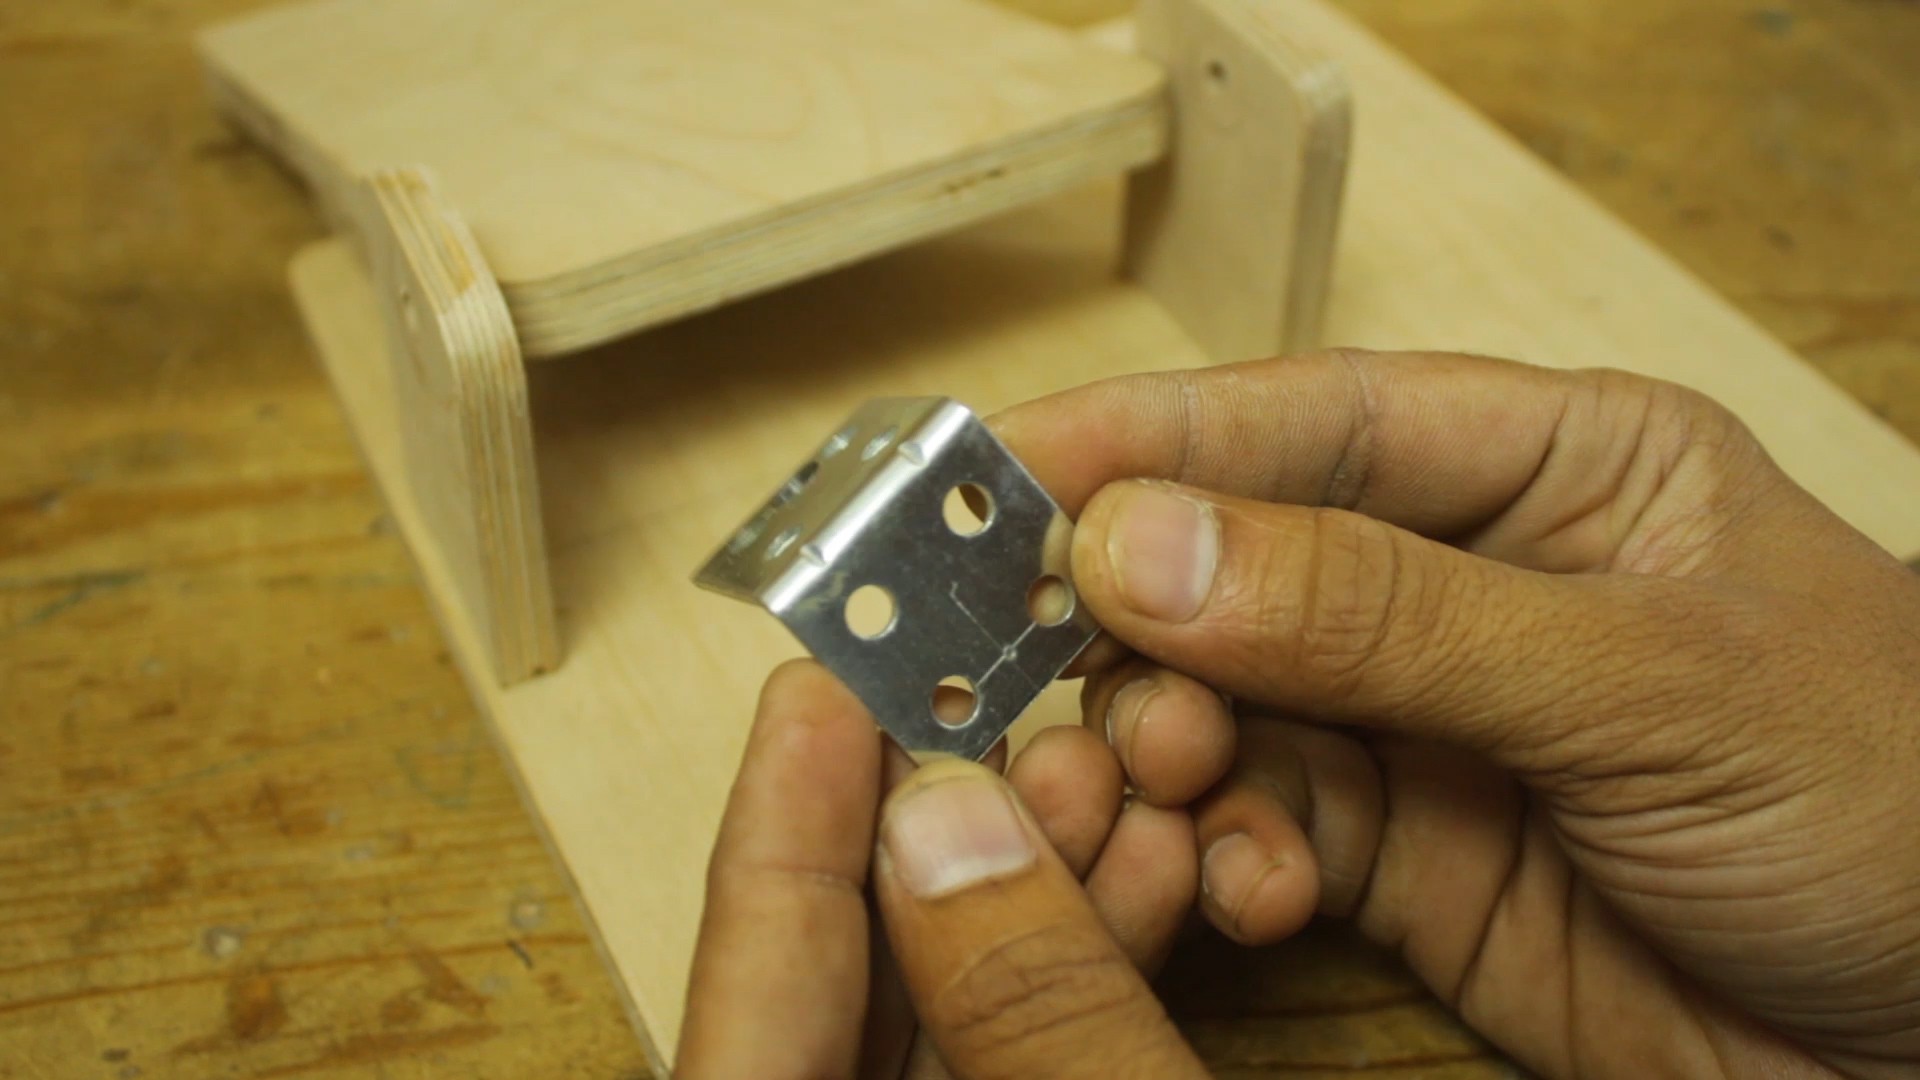
- Motor clamp
- some plastic parts
- Plastic tumbler
- Ferrous chloride power
- PCB to etch
What Is PCB Etching
PCB etching refers to the process of removing unwanted copper from a printed circuit board (PCB) to create the desired circuit pattern. PCBs are typically made of a substrate material, such as fiberglass, with a layer of copper laminated onto the surface. The copper layer forms the conductive pathways that connect the electronic components on the PCB.
The PCB etching process involves selectively removing the copper from the board, leaving behind the copper traces that form the electrical connections. Here's a general overview of the PCB etching process:
1. Design the PCB:
- Use PCB design software to create the layout of the circuit, including the traces and component placements.
2. Transfer the Design to the PCB:
- Print or transfer the circuit design onto the PCB substrate. This can be done using various methods, such as using a laser printer and transfer paper or using a photosensitive film.
3. Apply Etch-Resist:
- Protect the areas of the PCB where you want to keep the copper traces. This is often done by applying an etch-resistant material (e.g., photoresist) to the entire board, exposing only the areas that need to be etched.
4. Etching:
- Immerse the PCB in an etching solution, typically an acid (e.g., ferric chloride or ammonium persulfate). The acid removes the unprotected copper, leaving the desired circuit pattern.
5. Remove Etch-Resist:
- After etching, remove the etch-resistant material from the PCB. This can be done by washing the board with a suitable solvent.
6. Clean the PCB:
- Rinse and clean the PCB thoroughly to remove any remaining etching solution or residues.
7. Drilling and Finishing:
- Drill holes for component leads and mount the electronic components on the board. Additionally, add any necessary finishing touches, such as a protective coating.
It's important to follow safety precautions when working with etching solutions, as they can be corrosive and potentially harmful. Additionally, proper disposal methods should be used for the chemicals involved in the process. PCB etching is a common method for prototyping and small-scale production of electronic circuits.
Method

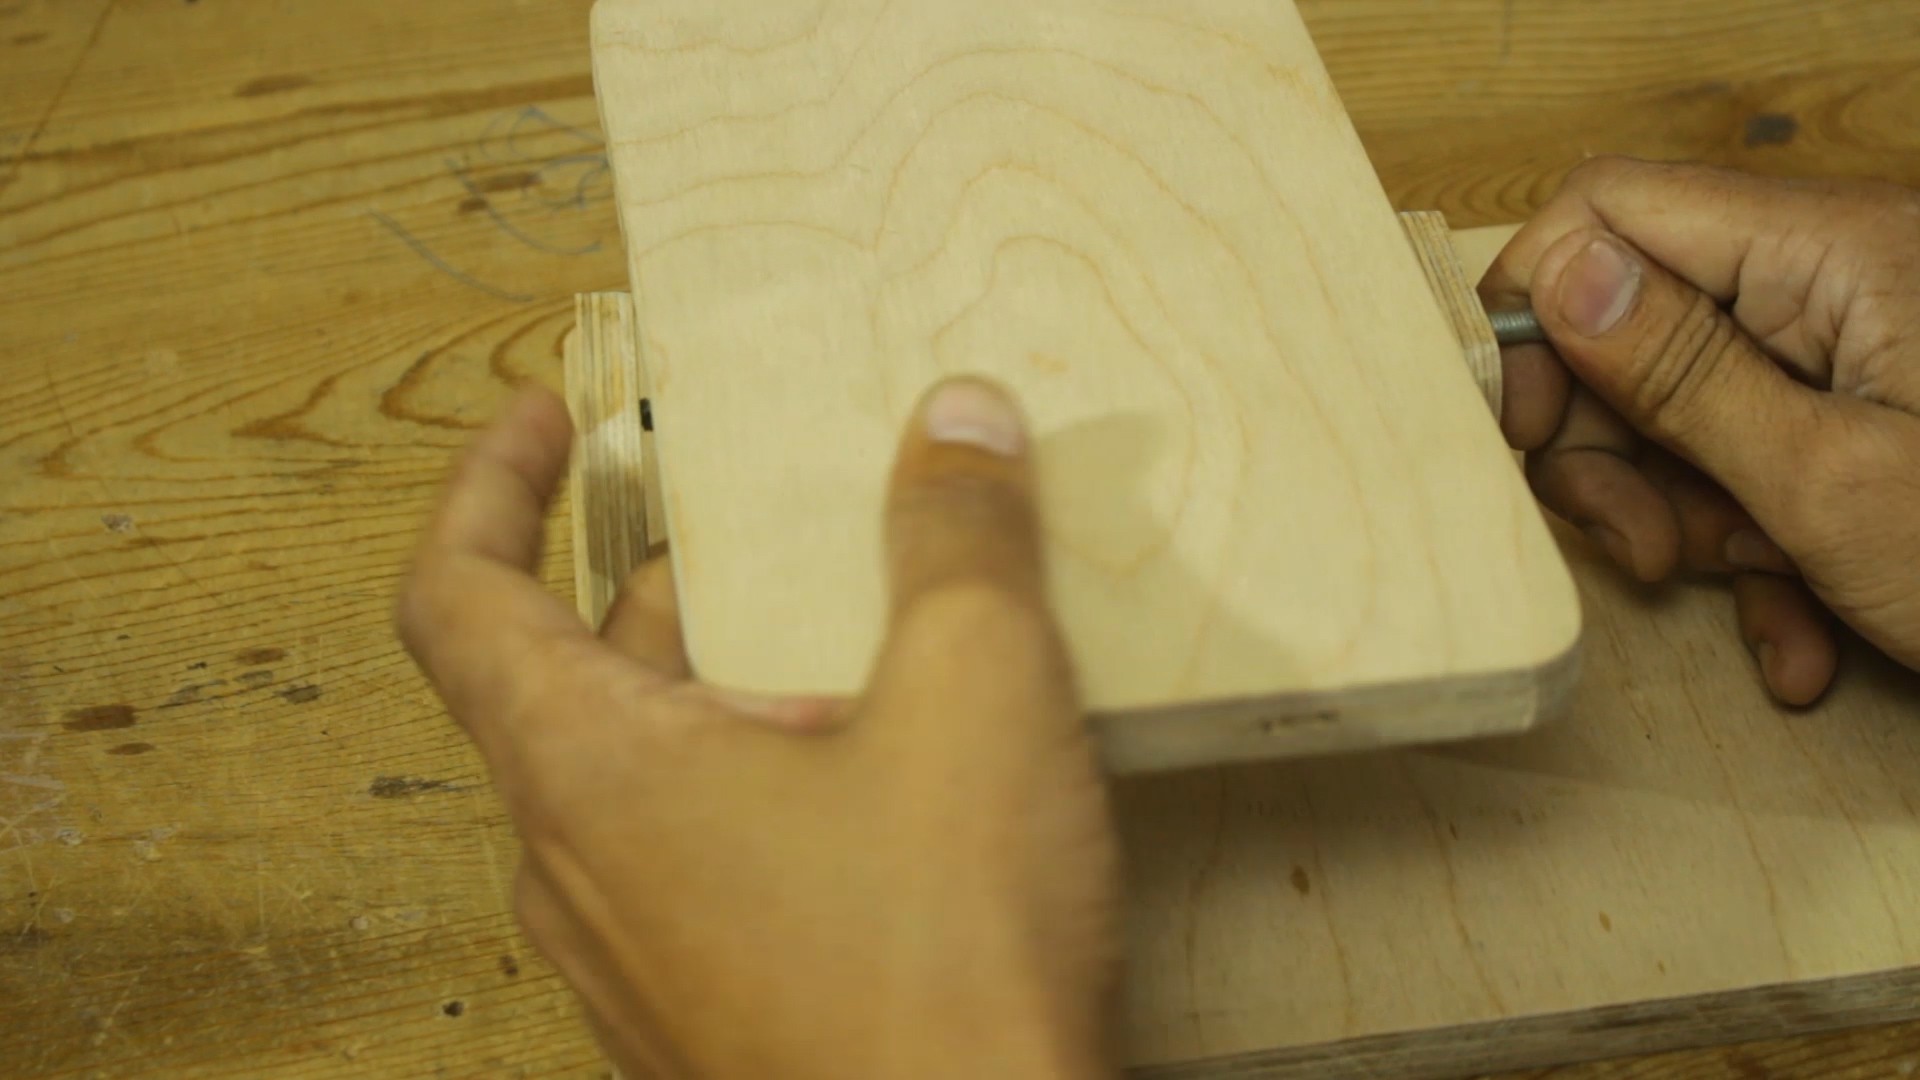
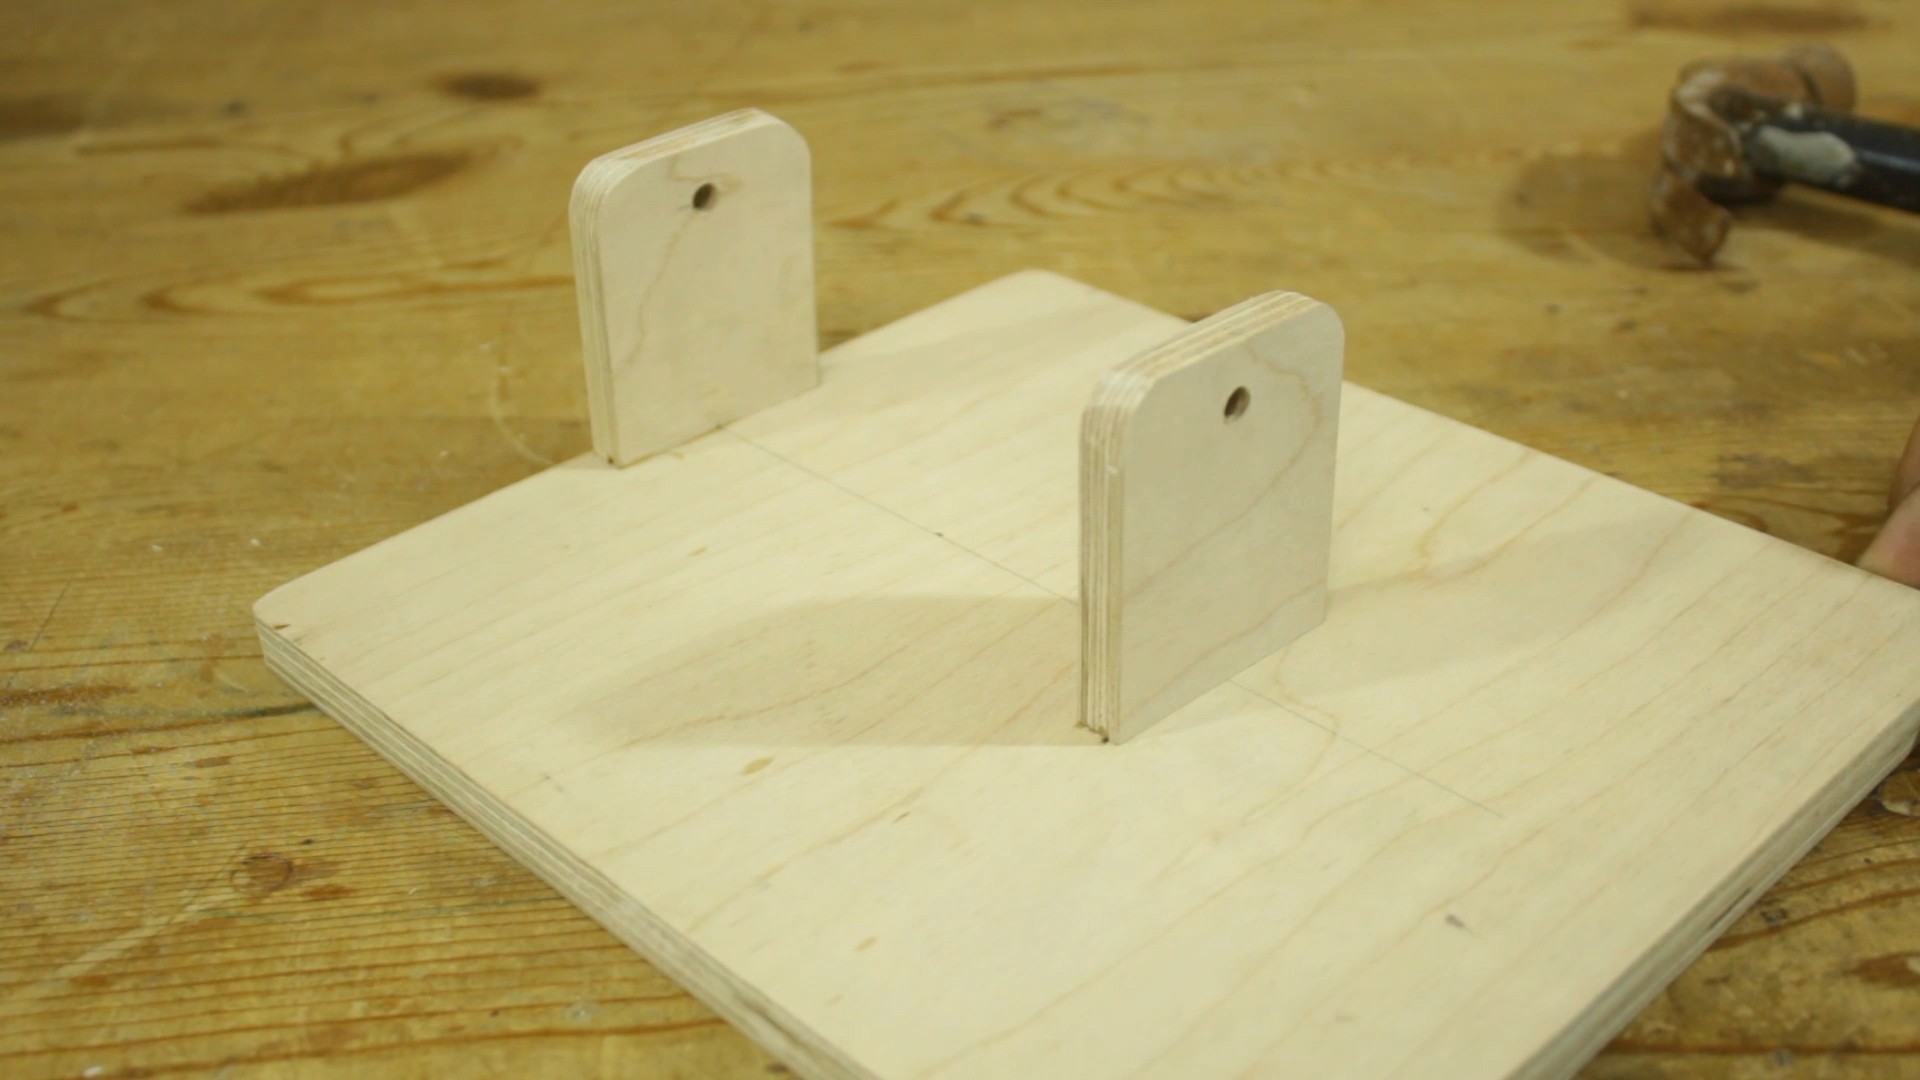
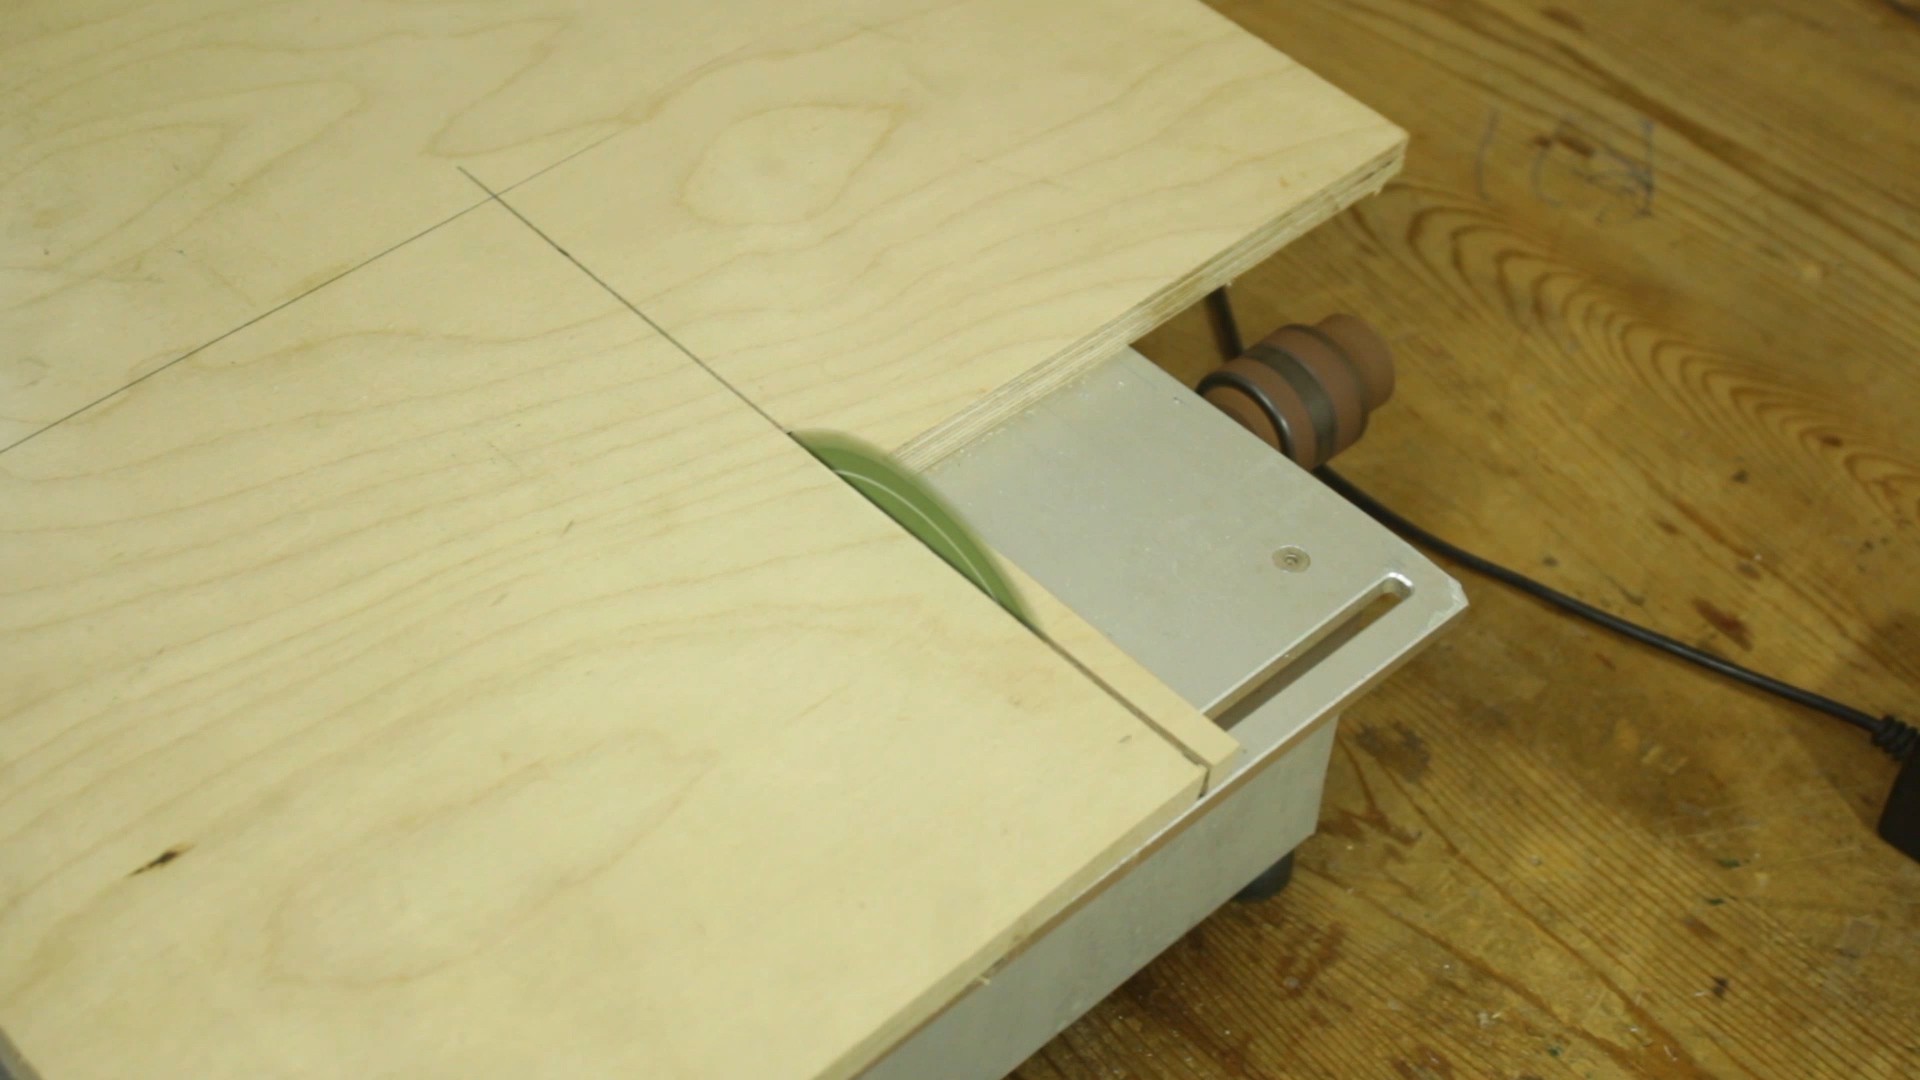
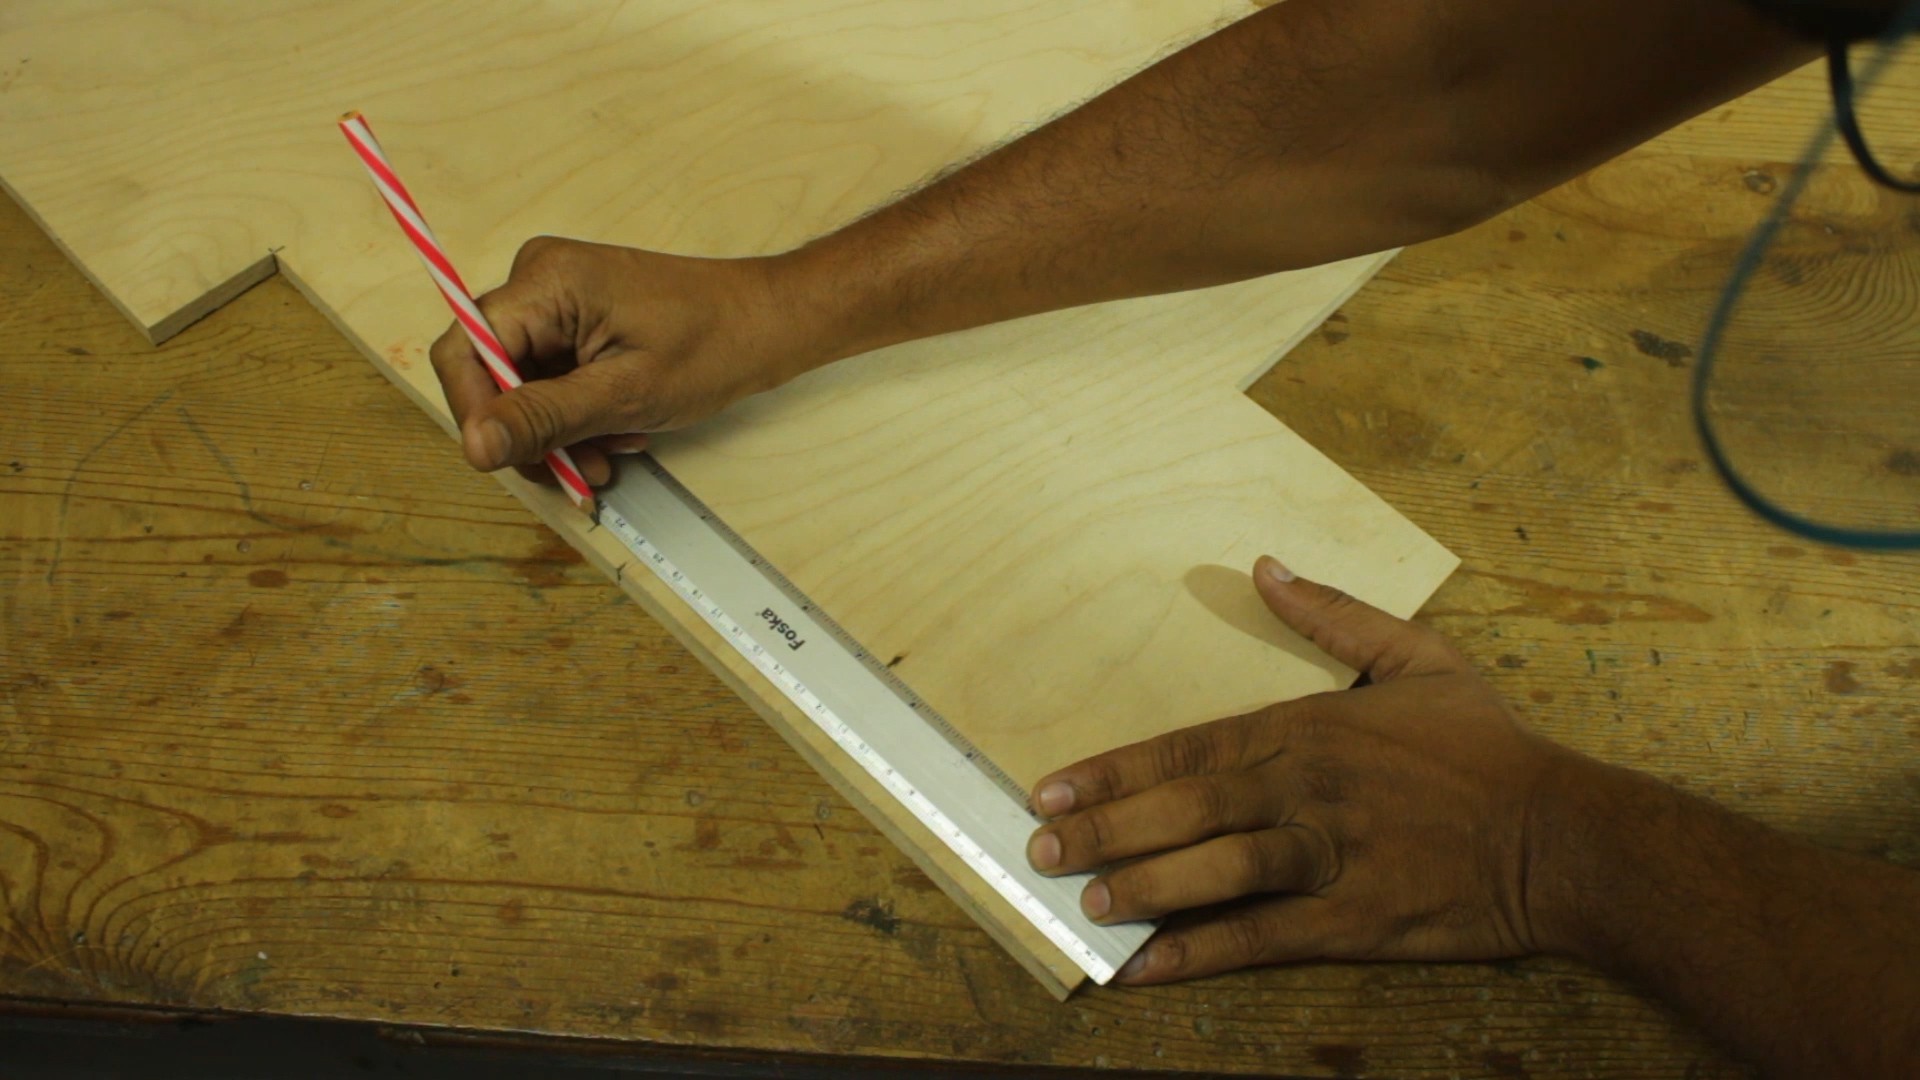
Design the Frame:
- Plan and design the wooden frame to hold the various components. Ensure it provides stability and accommodates the size of the PCBs you intend to etch.
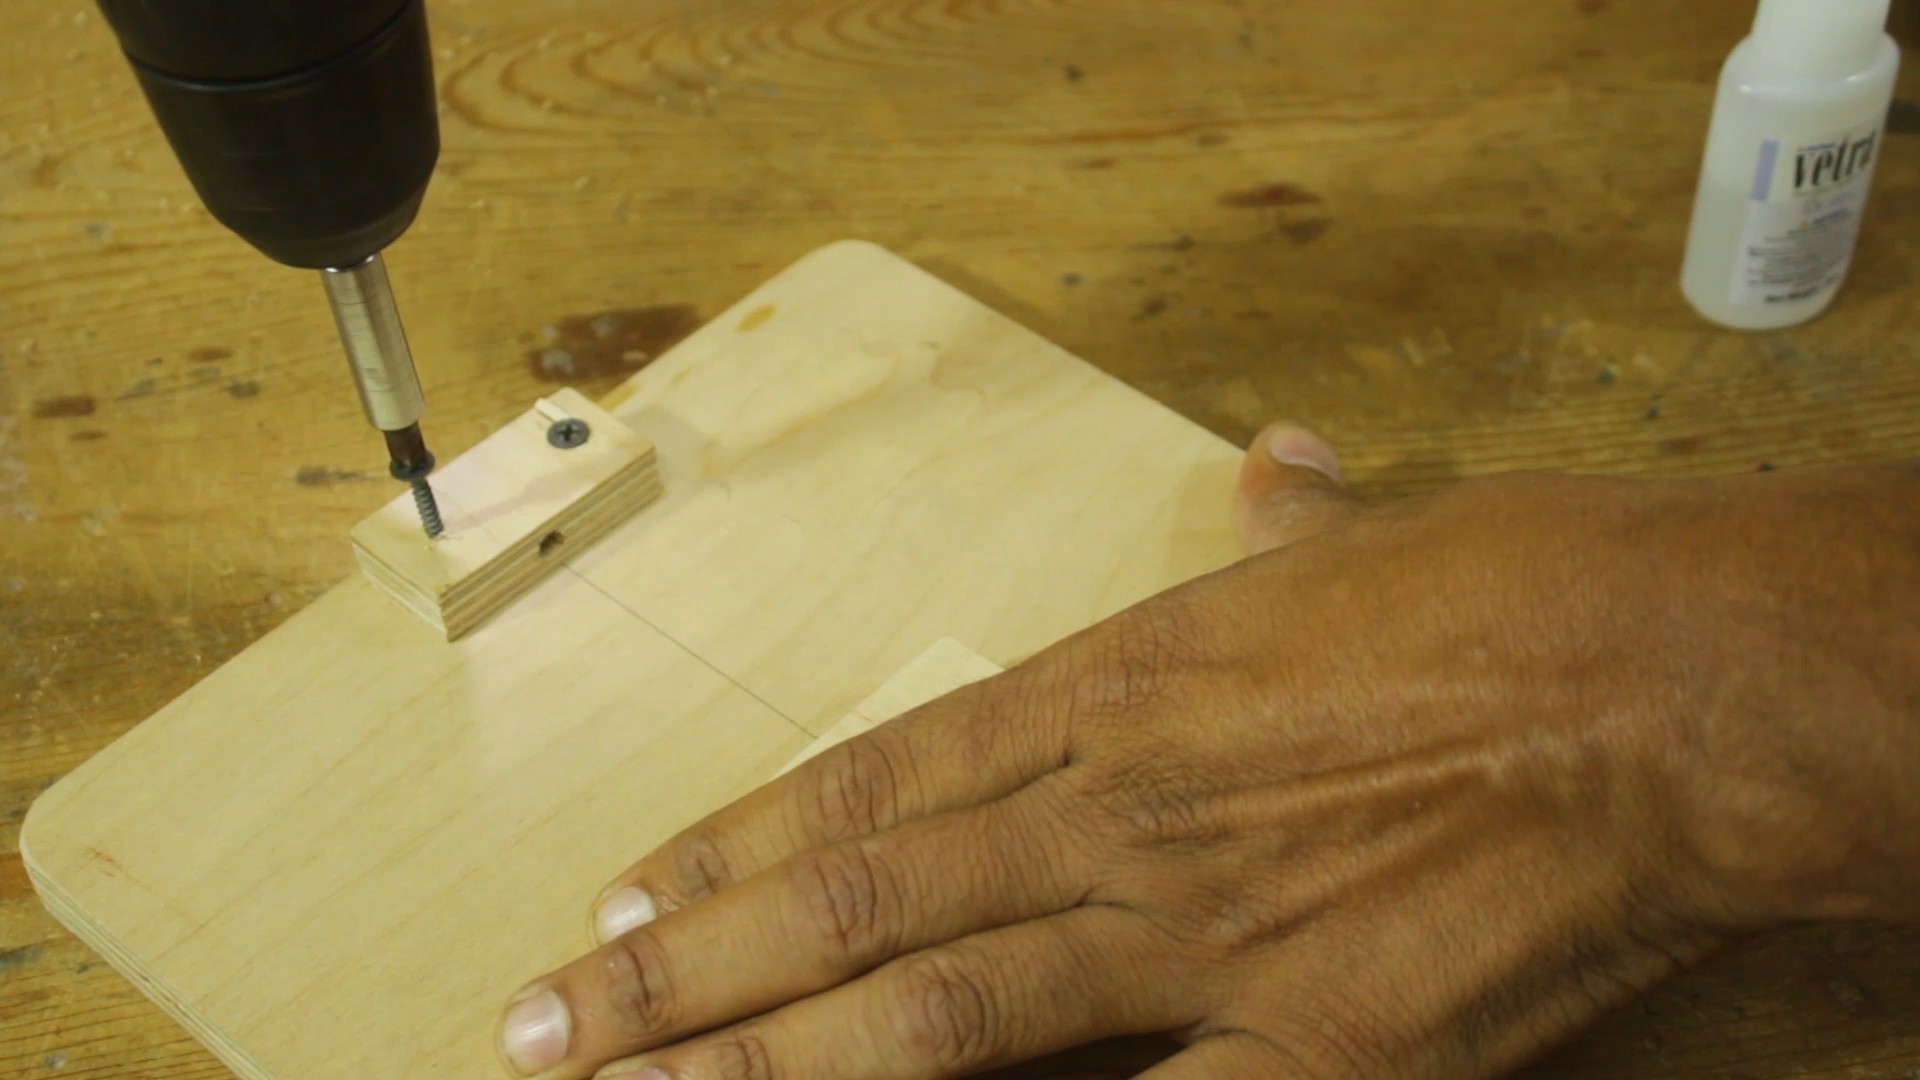
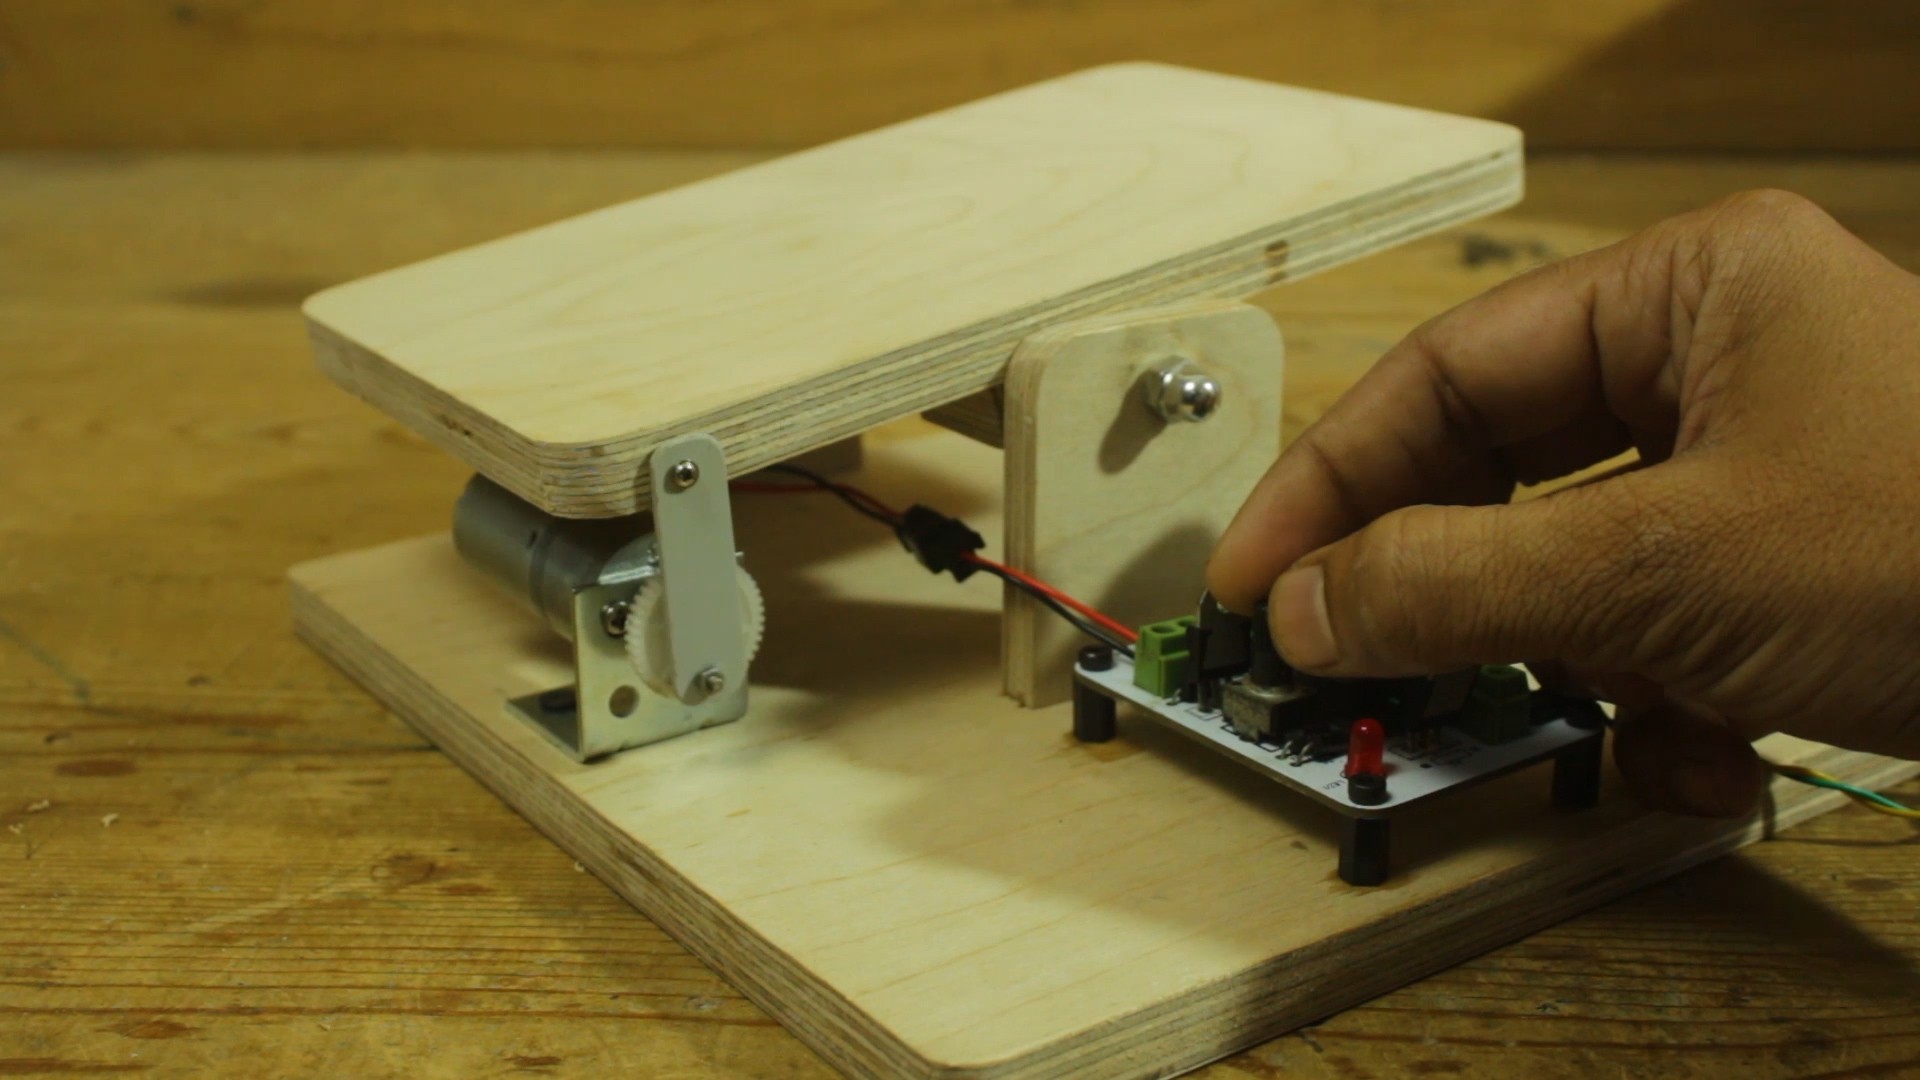
Build the Wooden Platform:
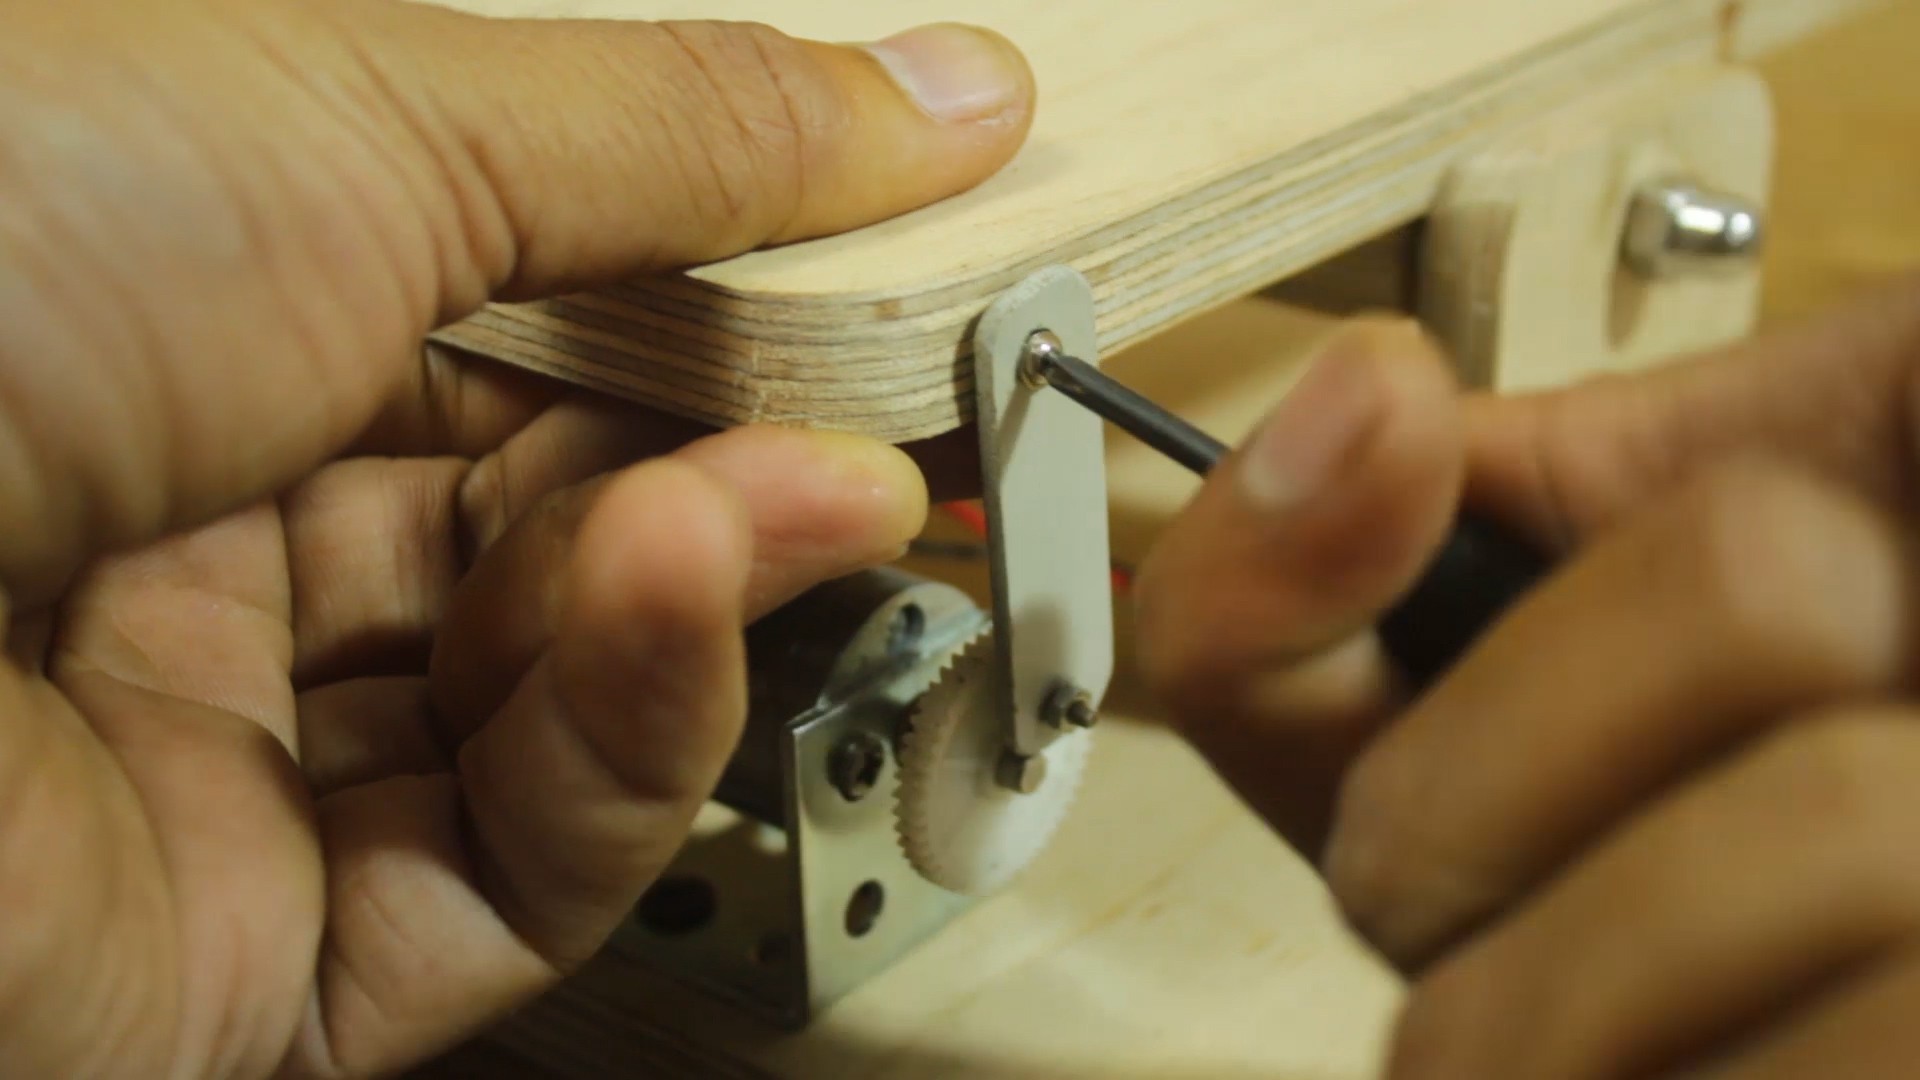
- Create a wooden platform that can move up and down. This will hold the etching solution bucket. Attach the DC gear motor to the platform, ensuring it is securely mounted.
Assemble the XY Table:
- If your design includes an XY table for precise movement of the PCB, assemble it according to your plans. This table should allow for smooth motion in both the X and Y directions.
Attach the DC Gear Motor:
- Mount the DC gear motor on the wooden platform, ensuring that it is aligned properly. The motor will be responsible for raising and lowering the etching solution bucket.
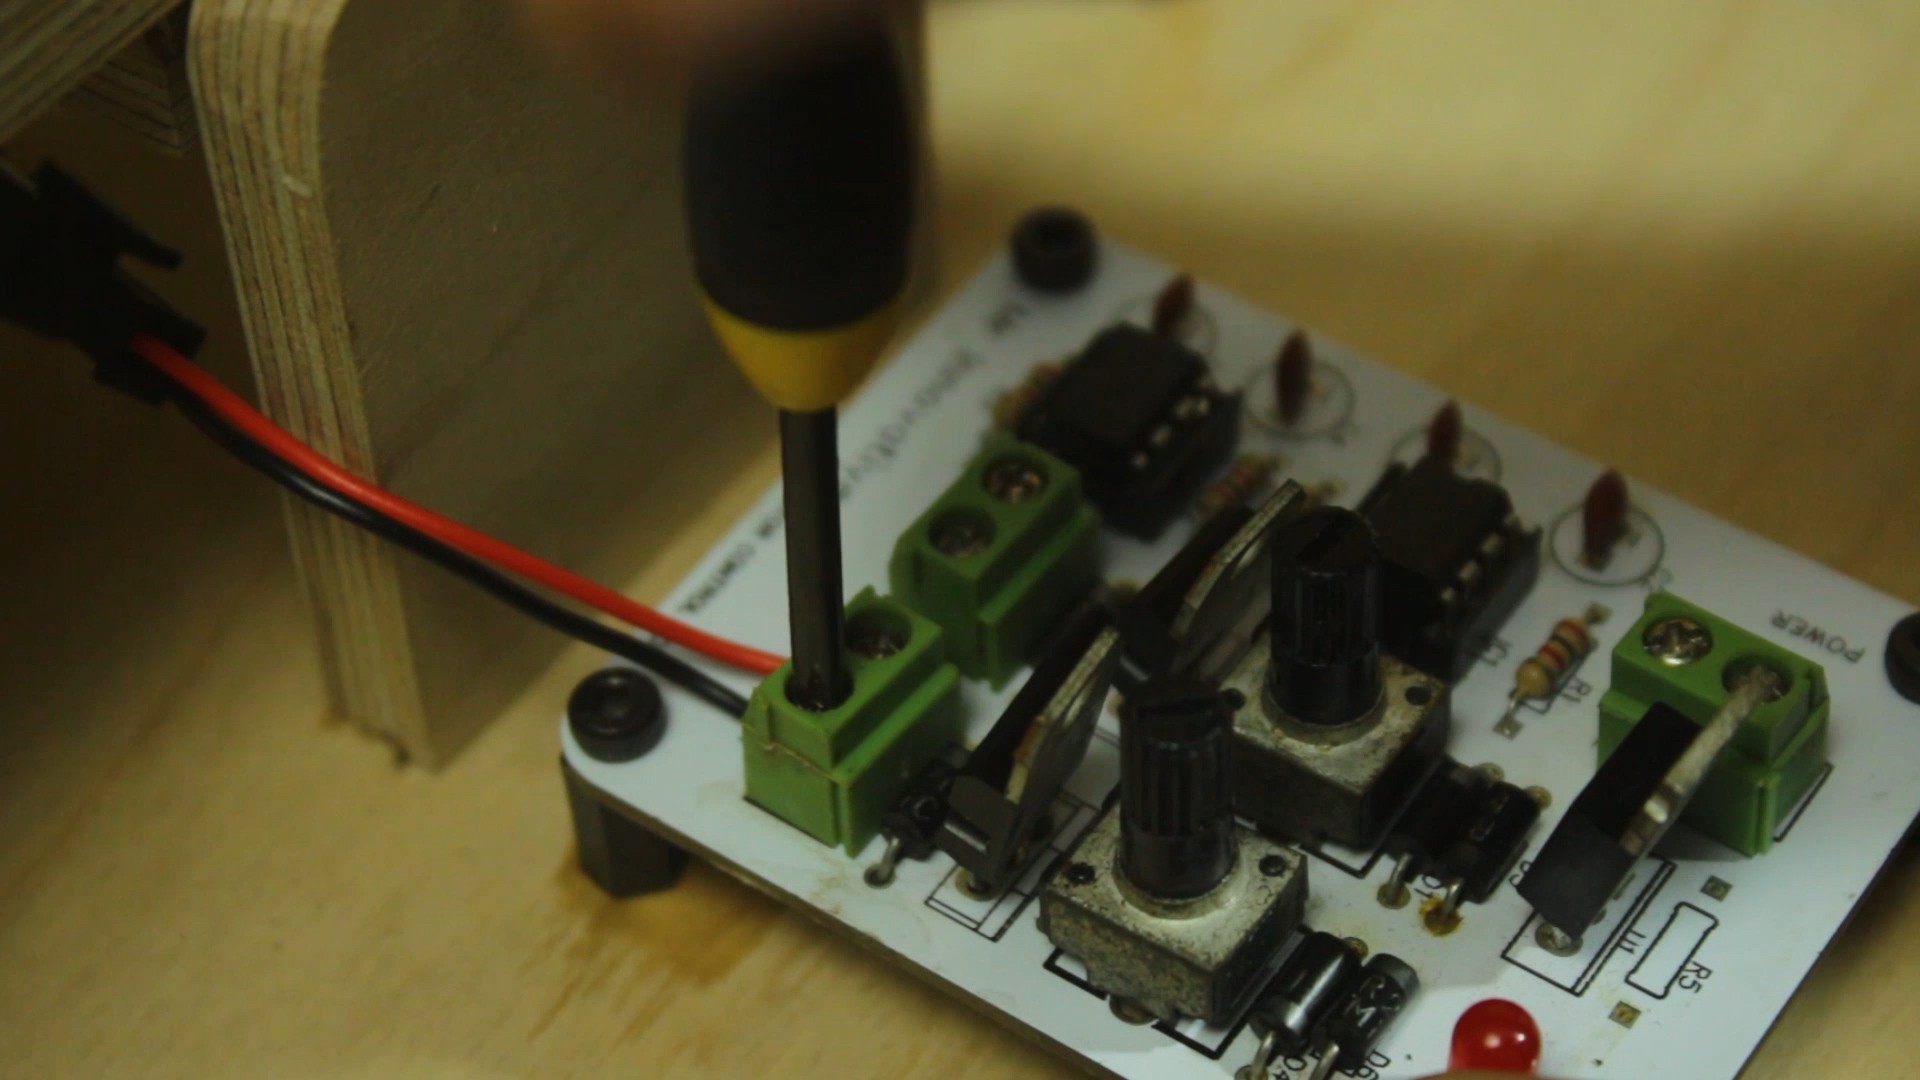
Custom PCB for Motor Speed Control:
- Design and fabricate a custom PCB for controlling the speed of the DC motor. This PCB should incorporate a motor driver circuit and a speed control mechanism. Connect the PCB to the DC motor using appropriate wiring.
Connect Power Supply:
- Connect the power supply to both the DC motor and the custom PCB. Ensure that the voltage and current ratings are suitable for the components.
Testing:
- Test the motor speed control by varying...
 Carl Bugeja
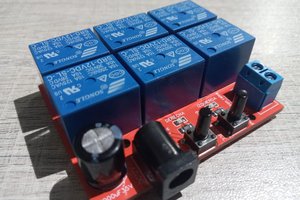
 ElectronicABC