 magnustron
Background
What's more annoying than being away from home and trying to program an embedded device using a foreign machine, let's say to interface an LED? - No or different dev tools, missing cables or programmers, no name the least. You may ask yourself: why is all this stuff actually needed to make a simple LED blink? Wouldn't it be great to just be able to enter these 5 lines of code without having to worry about all this frameworking?
It turns out that it is actually conceptionally quite simple to solve this problem: just run all the tools on the embedded device itself and let it communicate with the PC by make it looking like standard peripheral(s). Let USB be your friend and make your device look like a flash-stick that contains the code it should execute. Let it also look like a keyboard to let it input something and let it look like a serial port to enable bidirectional communication.
Now, one may take this one step further by asking what is the minimum device that would fulfil these needs. It can all be done essentially using a single uC, which is demonstrated by lua-stick.
Implementation
- Hardware
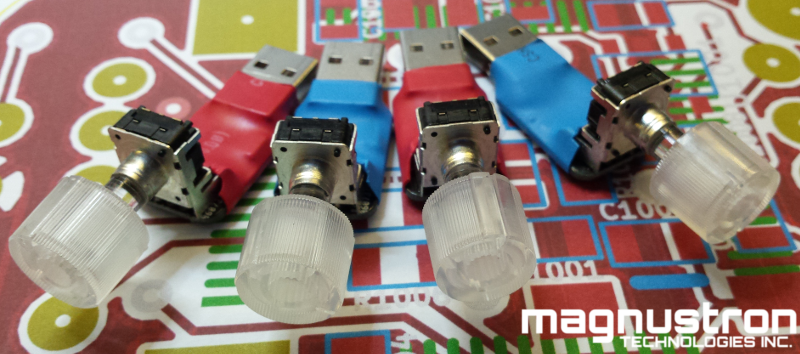
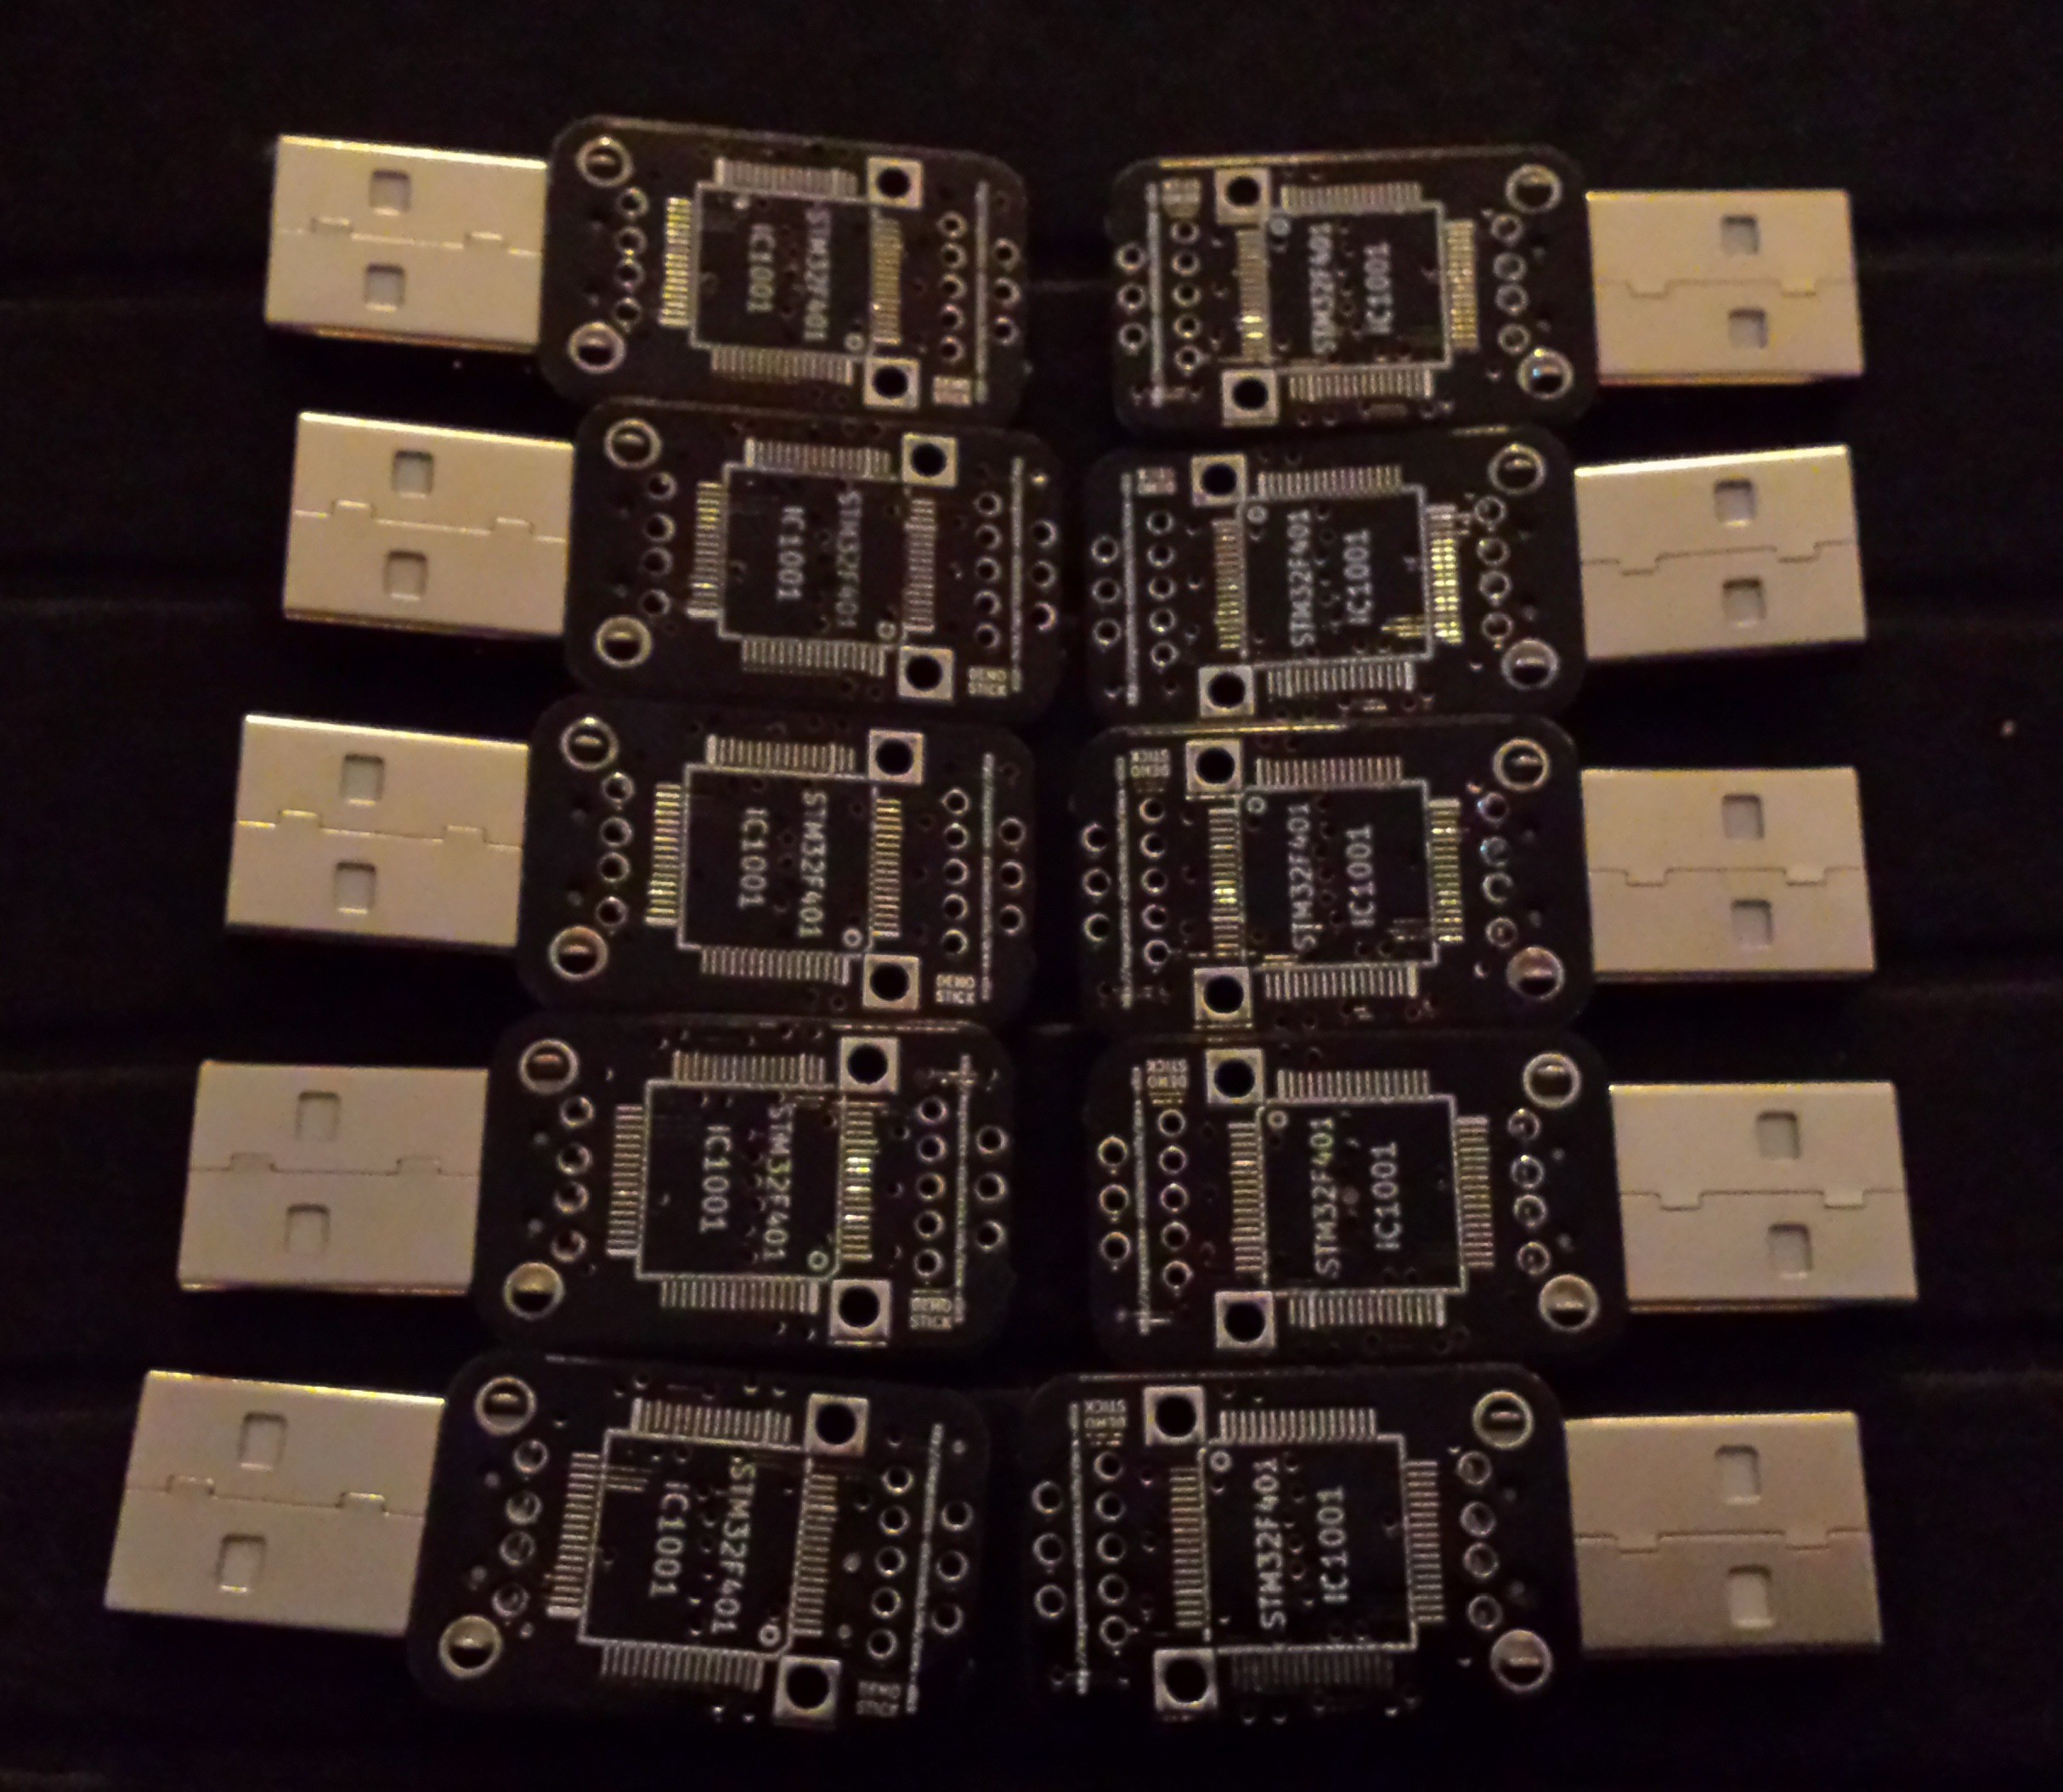
lua-stick is implemented using an STM32F401 uC. Its internal flash serves to store system code as well as a 48kB FAT12 partition for user code and data. As a user-interface it contains an RGB rotary switch. - Software
lua-stick uses its USB port to enumerate itself as MSC, HID and CDC simultaneously. It contains a lua compiler and a set of libraries to communicate with the PC and the periphery.
Future
lua-stick is a working proof-of-principle piece of hard- and software. A future version shall have a bit more electrical I/Os and a form-factor (giving up the rather large rotary switch) more compatible with a real key chain.
Use cases
The current lua-stick is already pretty universal; here are a few simple examples:
- external PC volume control switch (using HID interface)
- temperature logger (using CDC interface)
- random keyboard, e.g. Alt-F4; Ctrl-Alt-Del; etc. (using HID interface)
- LED notifier (using CDC interface)
- Any kind of timer (no PC interface)
- etc.
Next future lua-stick will add communication to external devices:
- universal interface to between PC and serial line controlled electronics (using CDC interface)
Despite all the tasks above, it is a perfect vehicle to teach programming!
Openess & Connectivity
Hard- and software were developed using open tools and will become open source/hardware:
- PCB and schematics are done in kicad.
- All software is based on GCC, ST-supplied libraries (peripheral and USB), and lua. A lot of customisation was needed to make it working smoothly together and I am in the progress to clean up the code and sort out the different copyrights and licenses. After, all will be published on github under an appropriate open-source/-hardware license.
Connectivity is essential for this device in two ways:
- Programming is done via USB mass-storage interface.
- When running the software most applications will probably like to send/receive data to/from a PC. Eventually it will be the programmable babel-fish between PC and the device of your liking.


 James P.
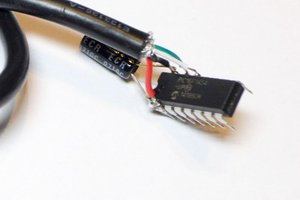
 Colin O'Flynn
 Oliver